Software & Lights
When you plug in the Glaive RGB Pro it will automatically be detected by Windows and will work right away, but if you want to do any customization you’ll need download Corsair’s iCUE software.
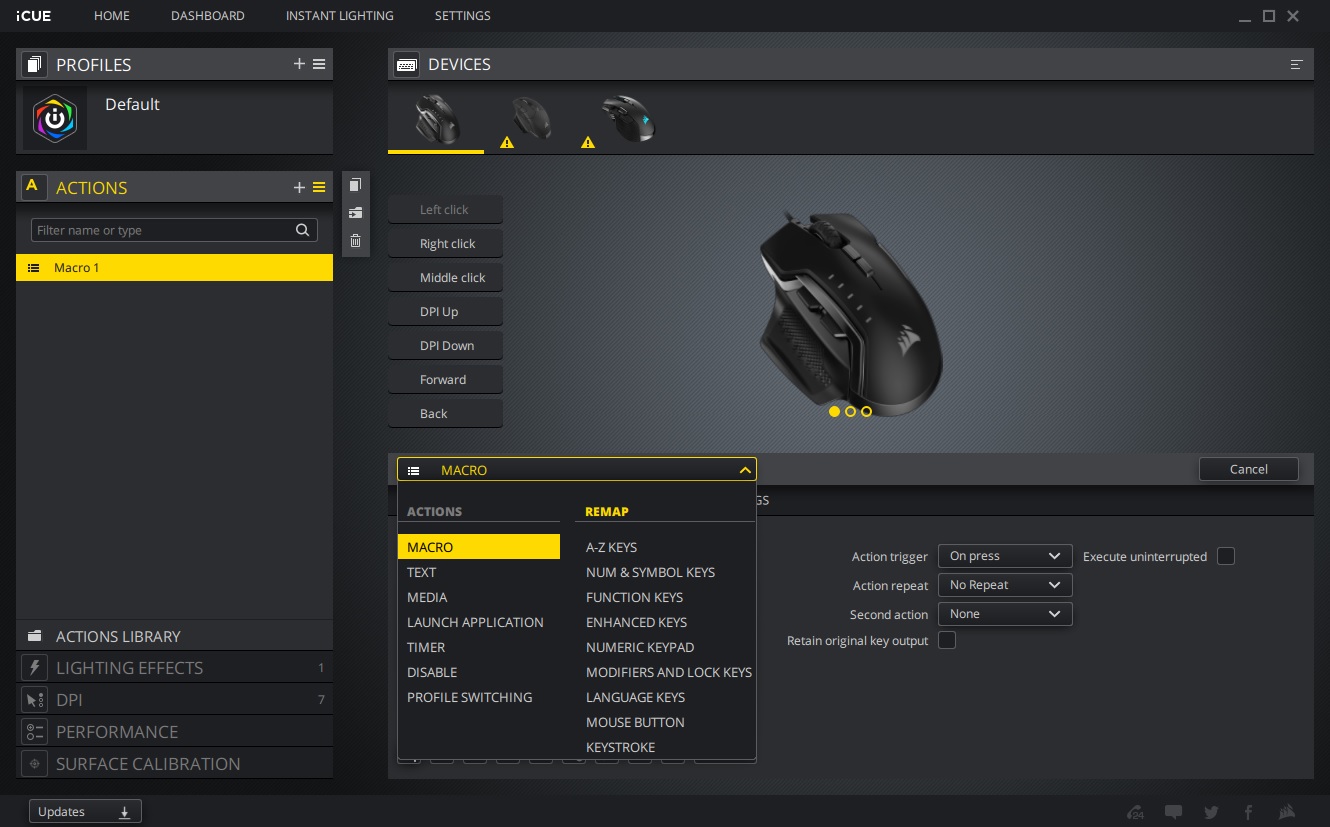
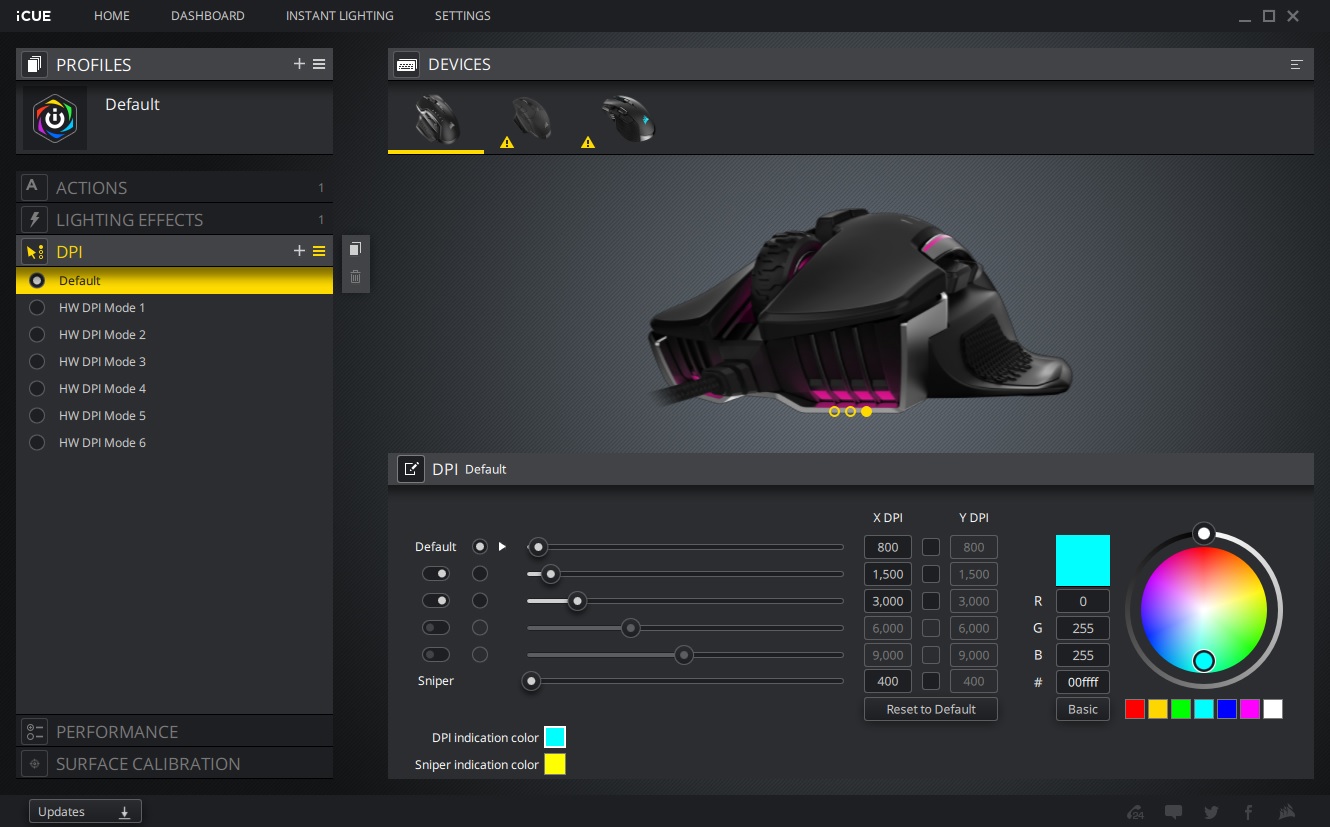
Once installed go ahead and open up iCUE. It will show you all of the Corsair devices connected to your PC. You should see a Glaive RGB Pro Icon. When you click on it you will be directed to a section where you can customize the mouse.

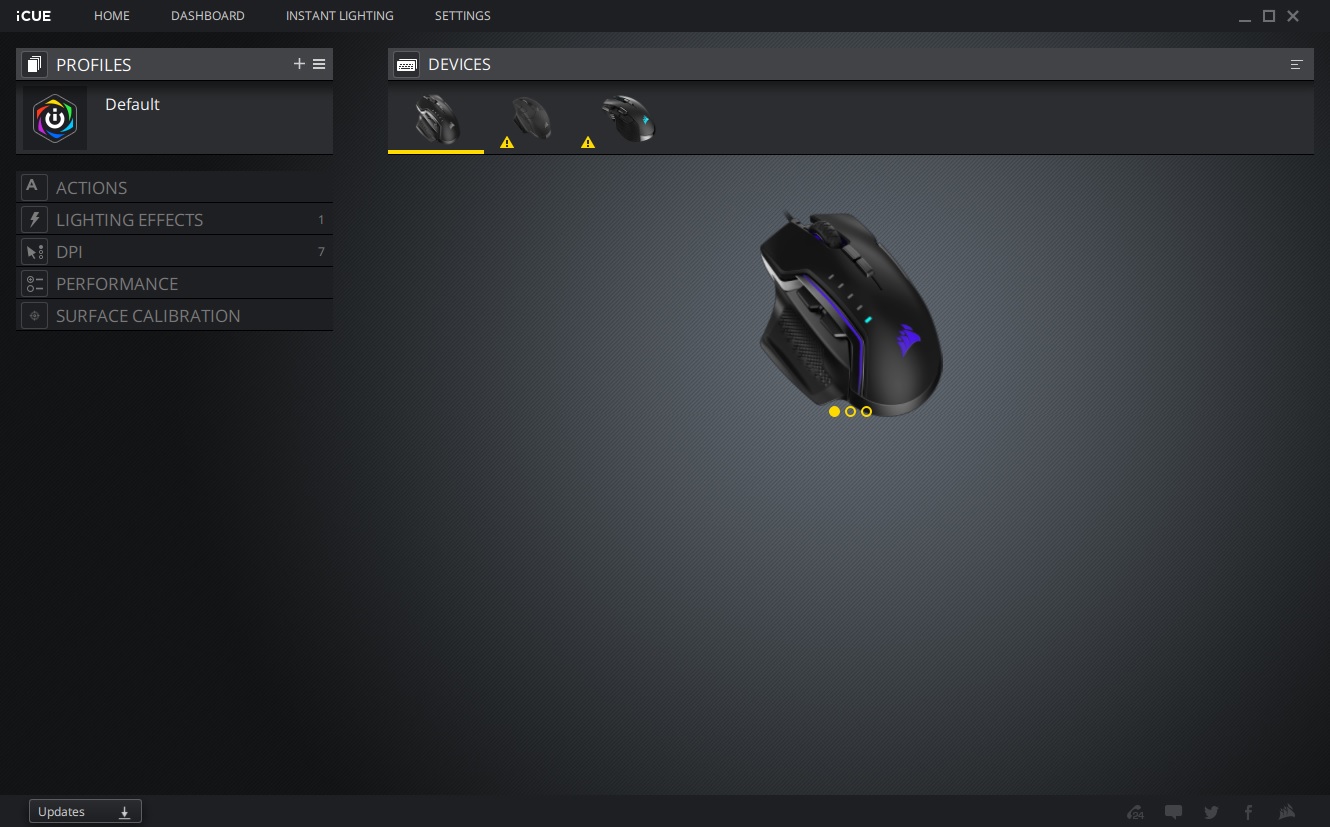
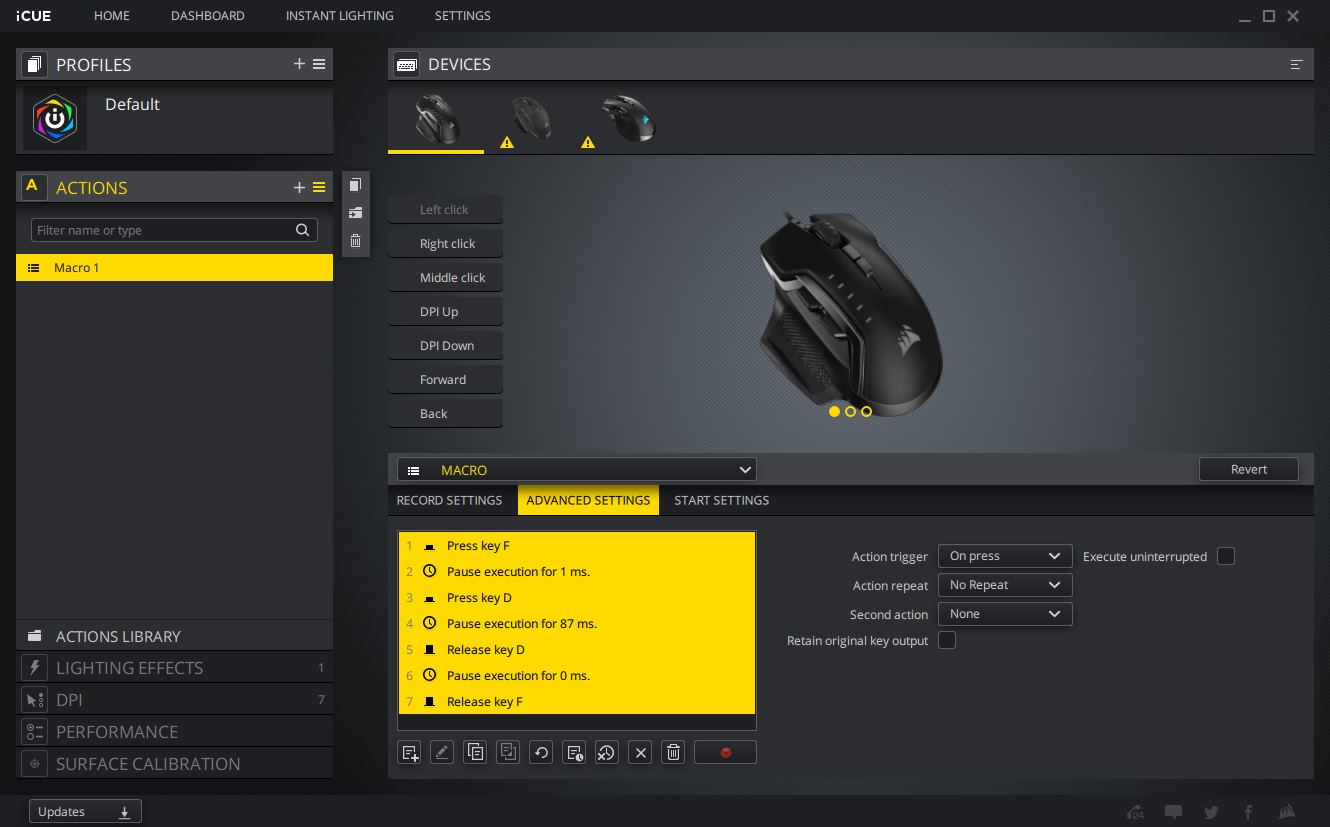
The first tab on the left side is Actions. Here you can set different actions for each of the 7 buttons on the mouse. You have the ability to select a macro, text, media controls, launch an application, set a timer, switch profiles, and completely disable the button. Creating a macro is very easy, you simply record what you want your macro to be. You can even go in an edit your macro if you want.
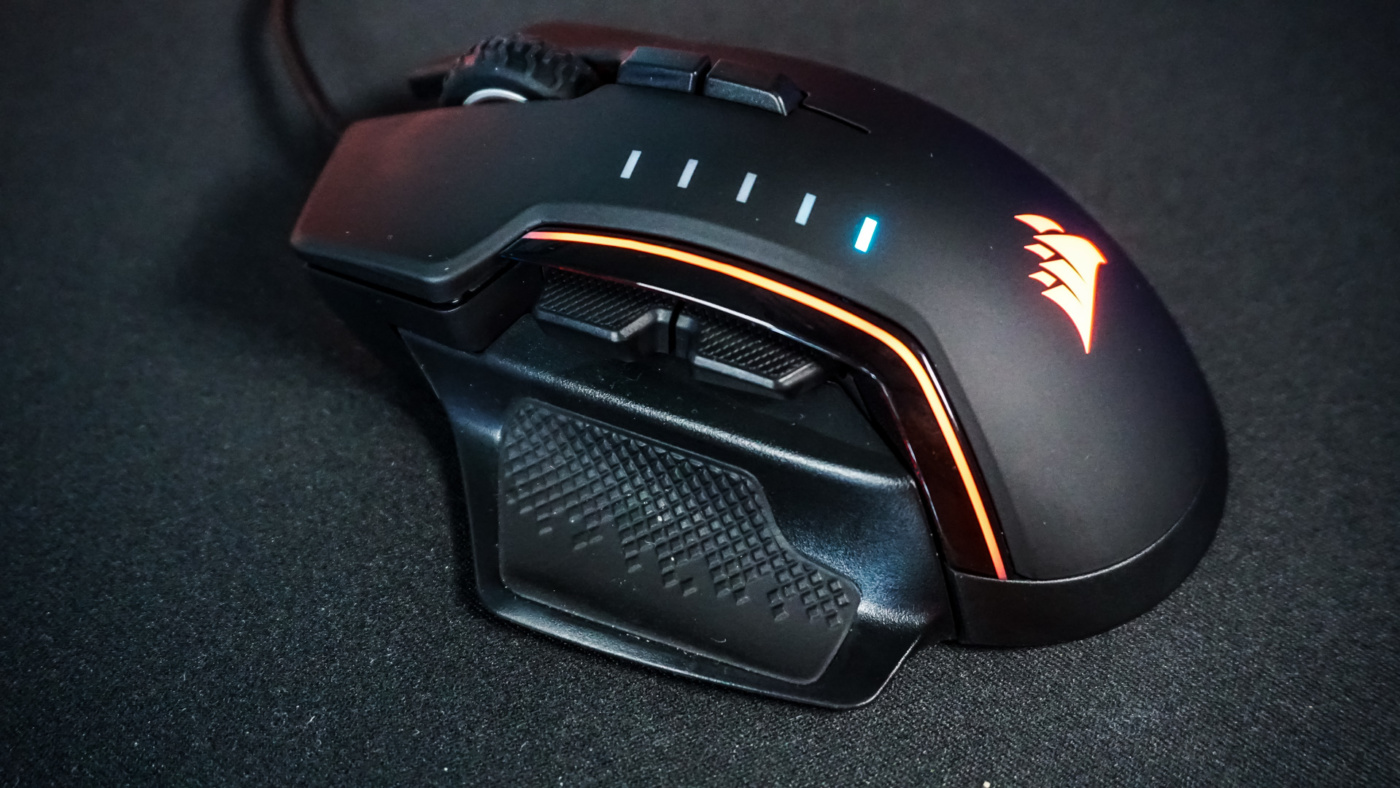
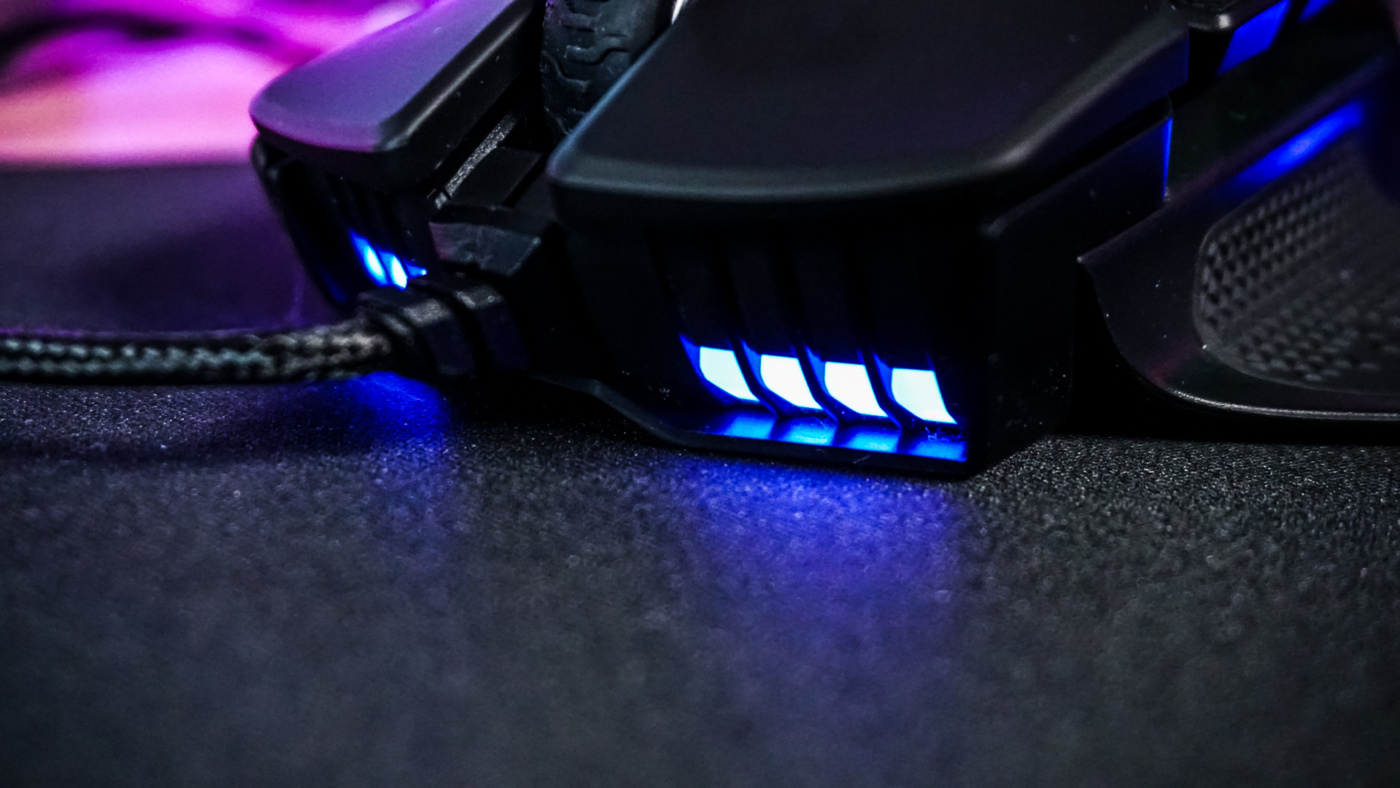
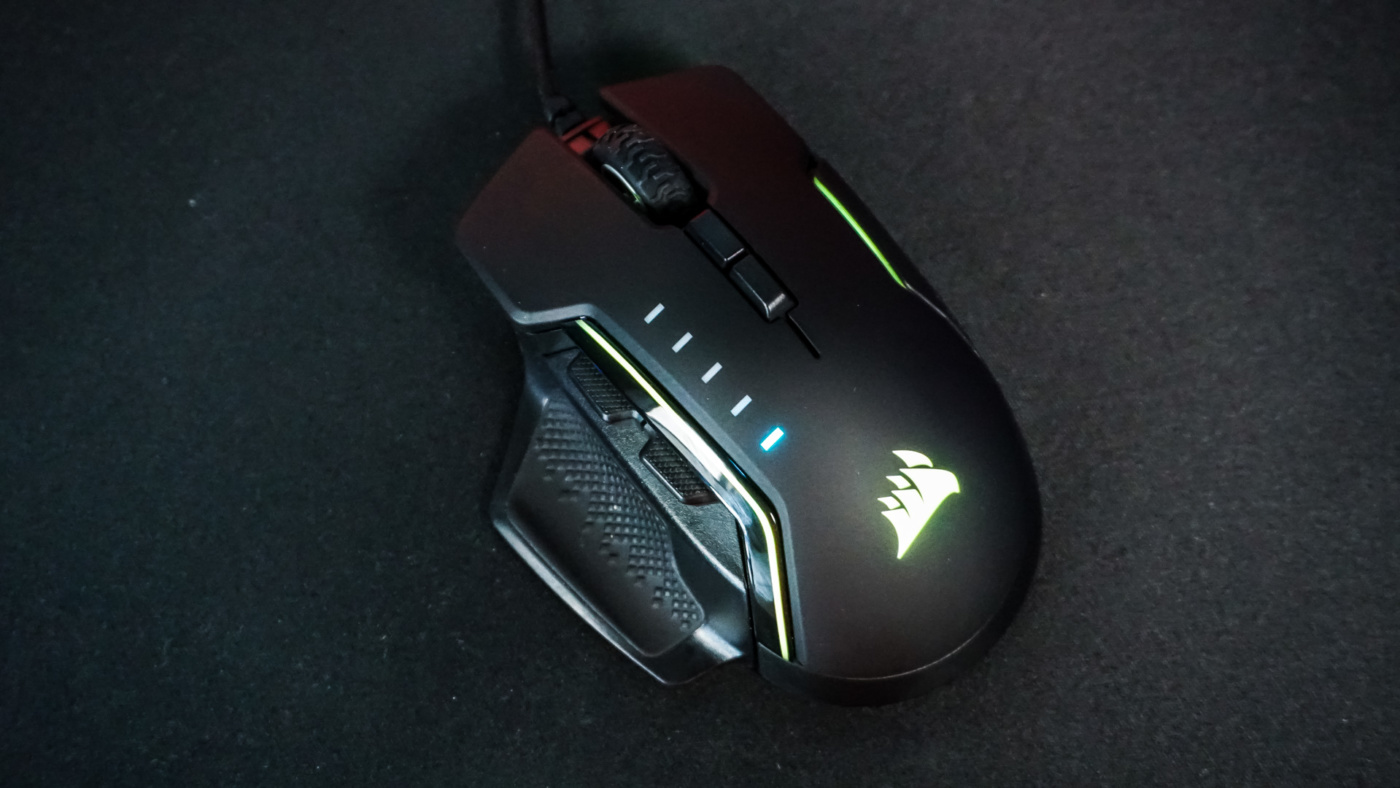
The next tab is lighting. There are three different lighting zones on the mouse which can be controlled independently or linked.
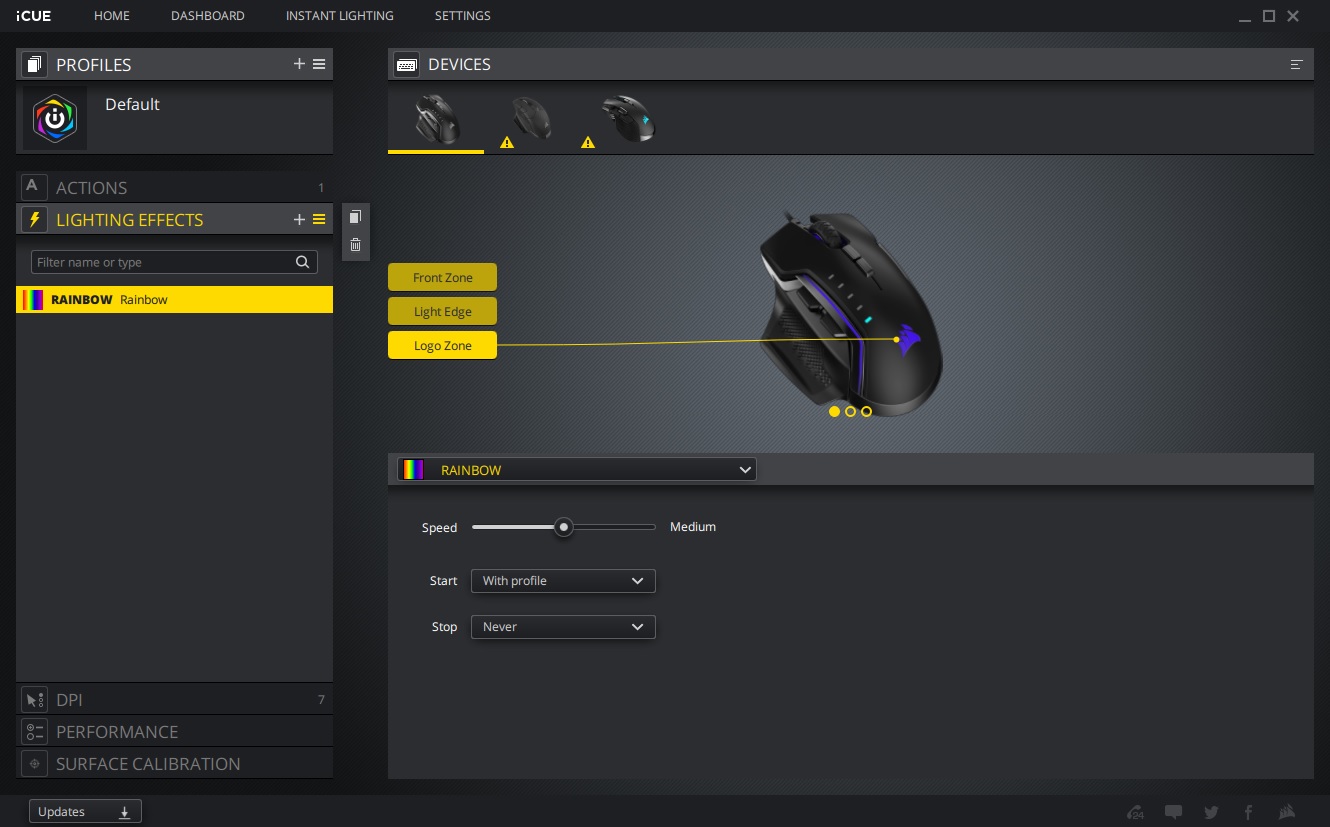
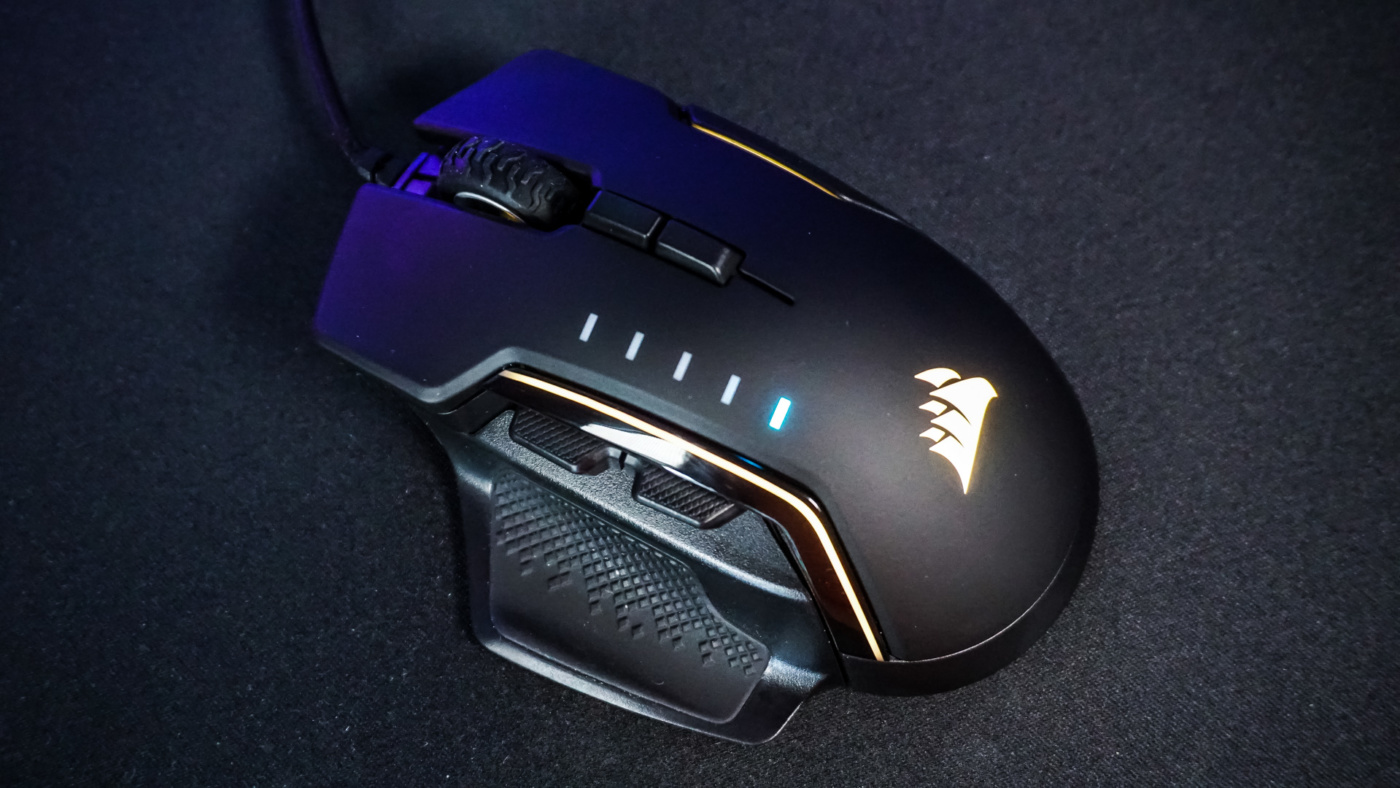
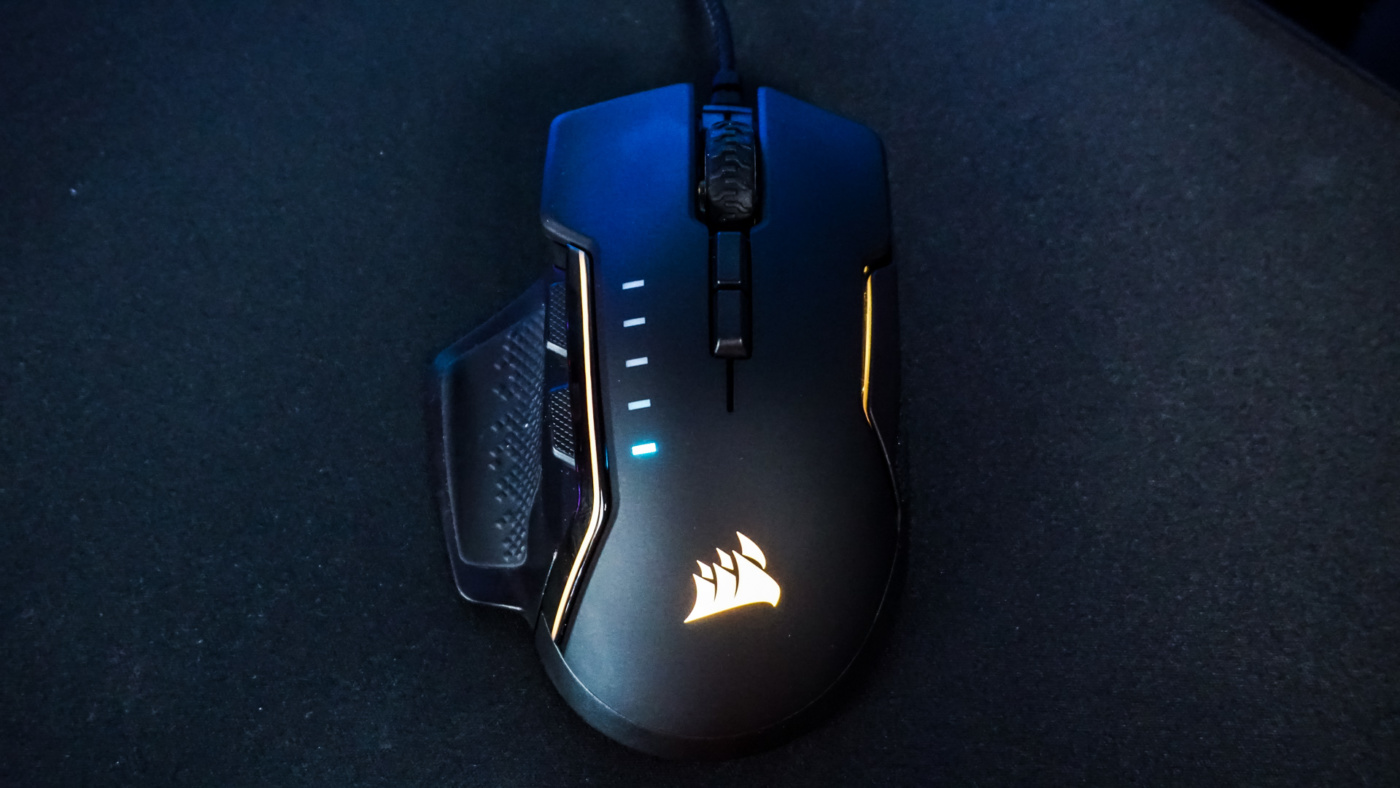
The lighting on the mouse is quite good. You have lighting on the front of the mouse, on the palm rest and on the left side.
Under the DPI tab you can define 5 different DPI levels as well as one for a Sniper setting. You can adjust DPI levels starting at 100 in single DPI increments.
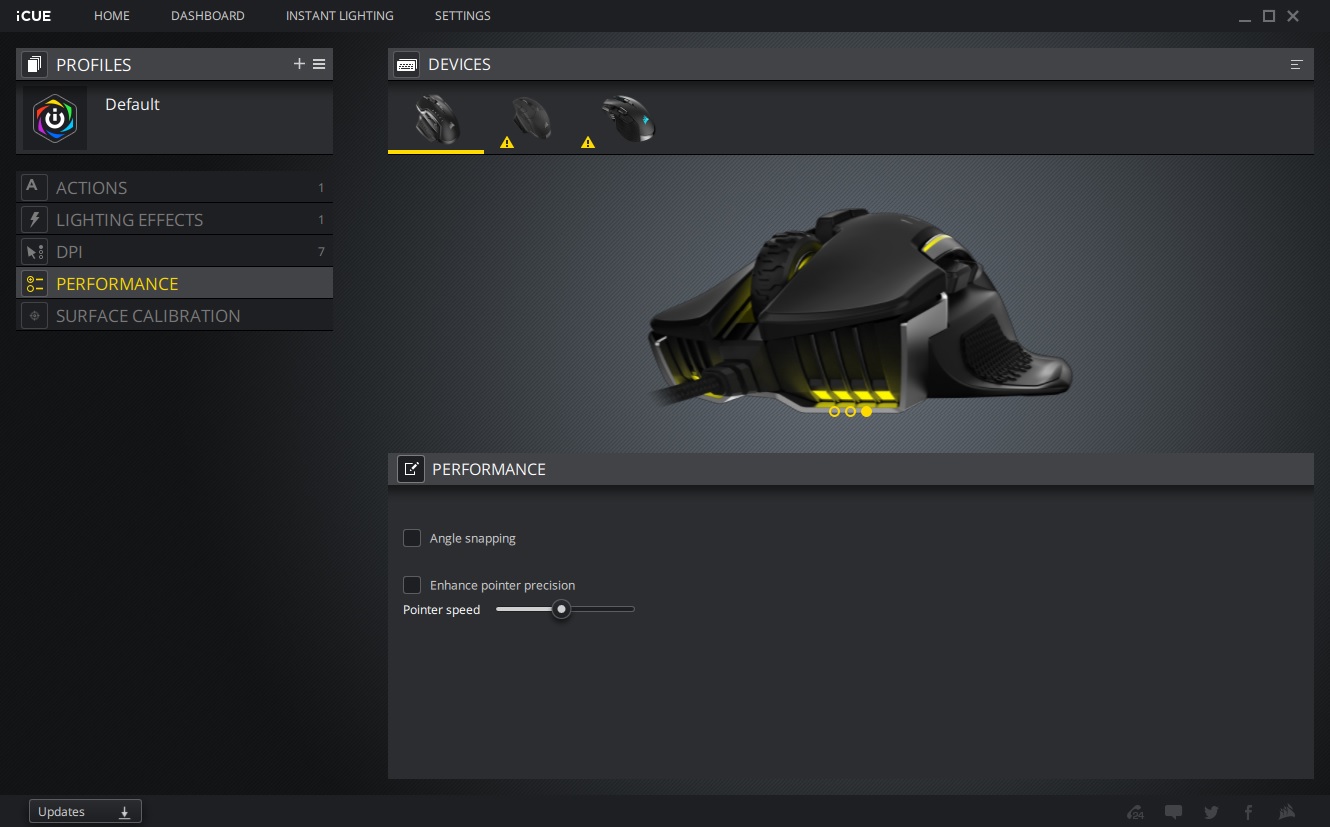
The next tab is Performance. Here you can turn on angle snapping, enhance pointer precision and set the pointer speed.
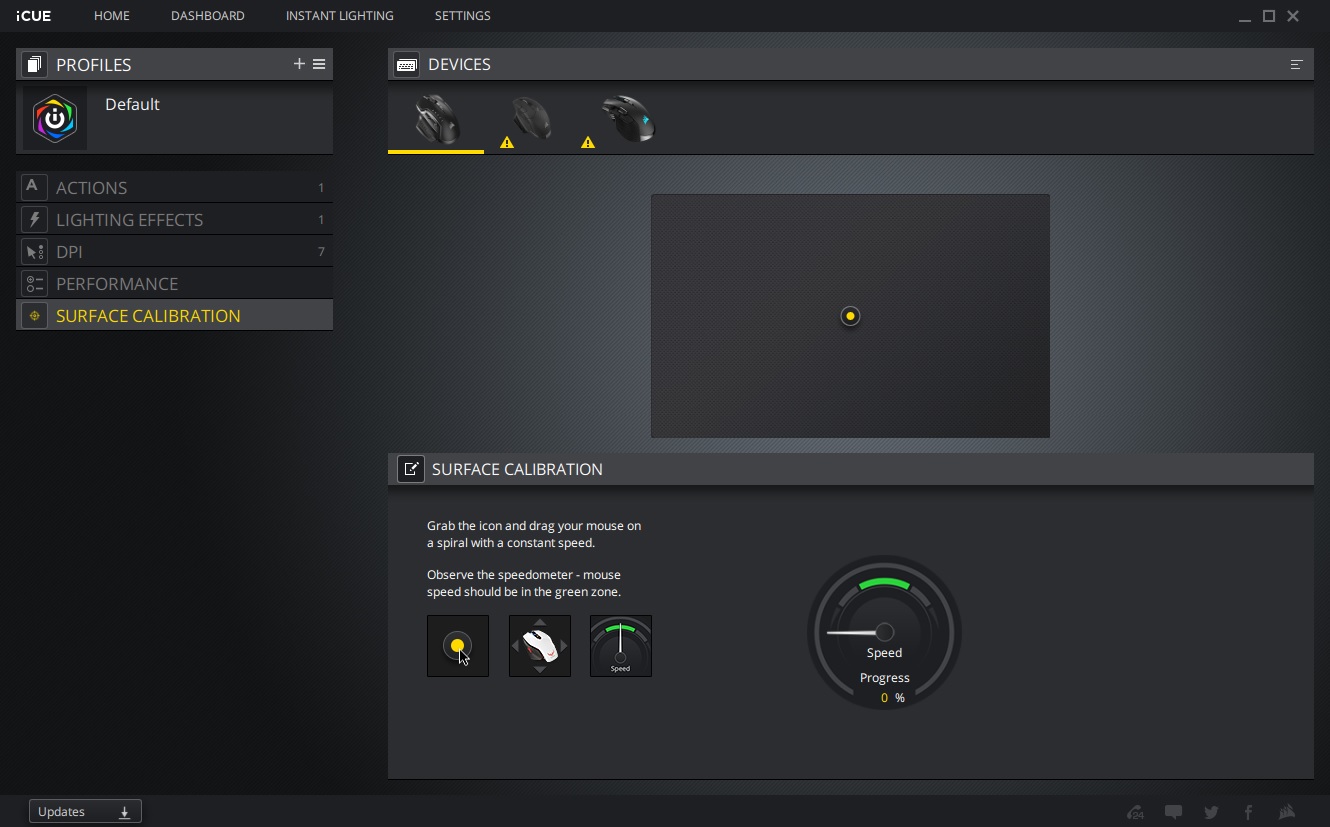
The last tab is surface calibration, which I recommend you do when you first get this mouse. It will calibrate the mouse to your gaming surface for the best performance possible.
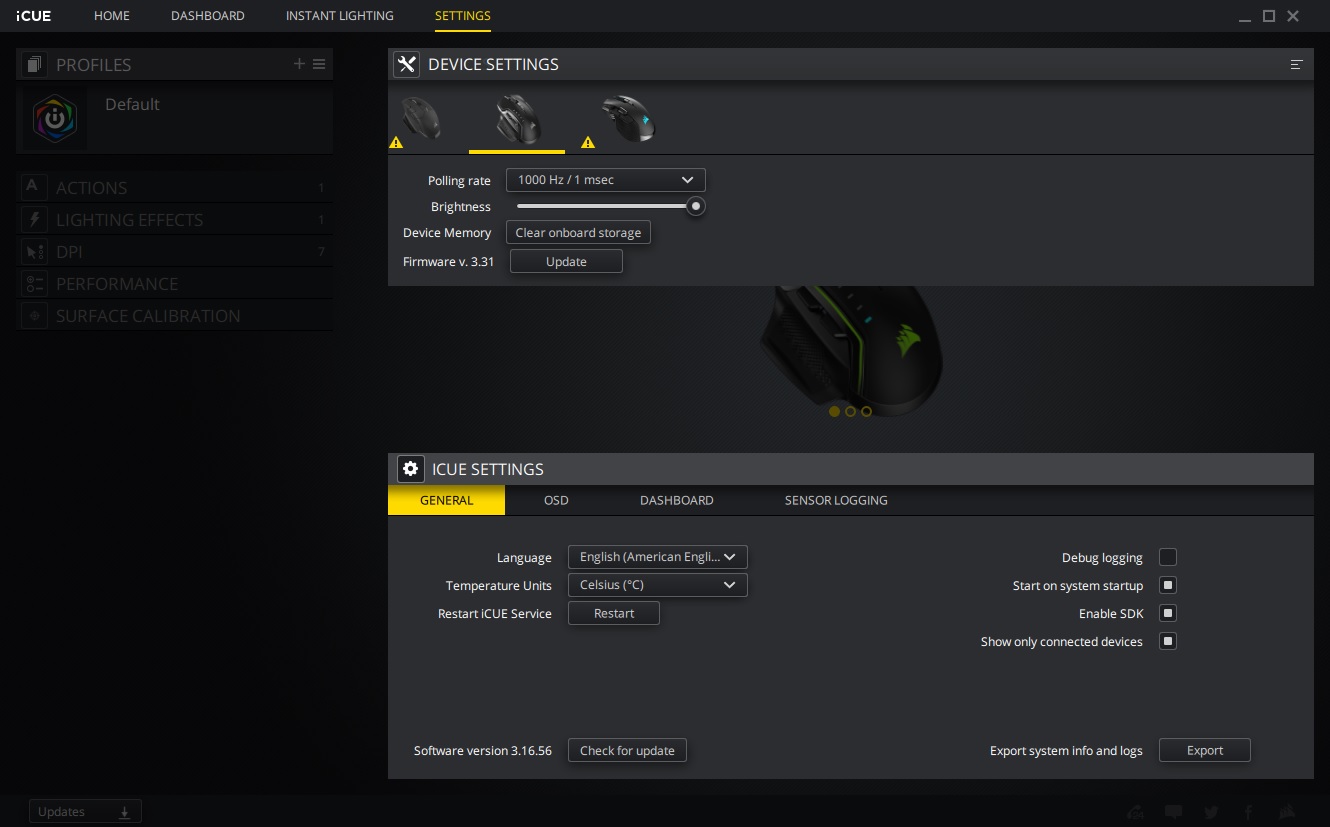
For some reason some settings for the mouse can also be found in the “Settings” tab at the top of iCUE. You can set the pooling rate, brightness of the LEDs, clear the onboard storage, and update the firmware.