Setup & Lighting
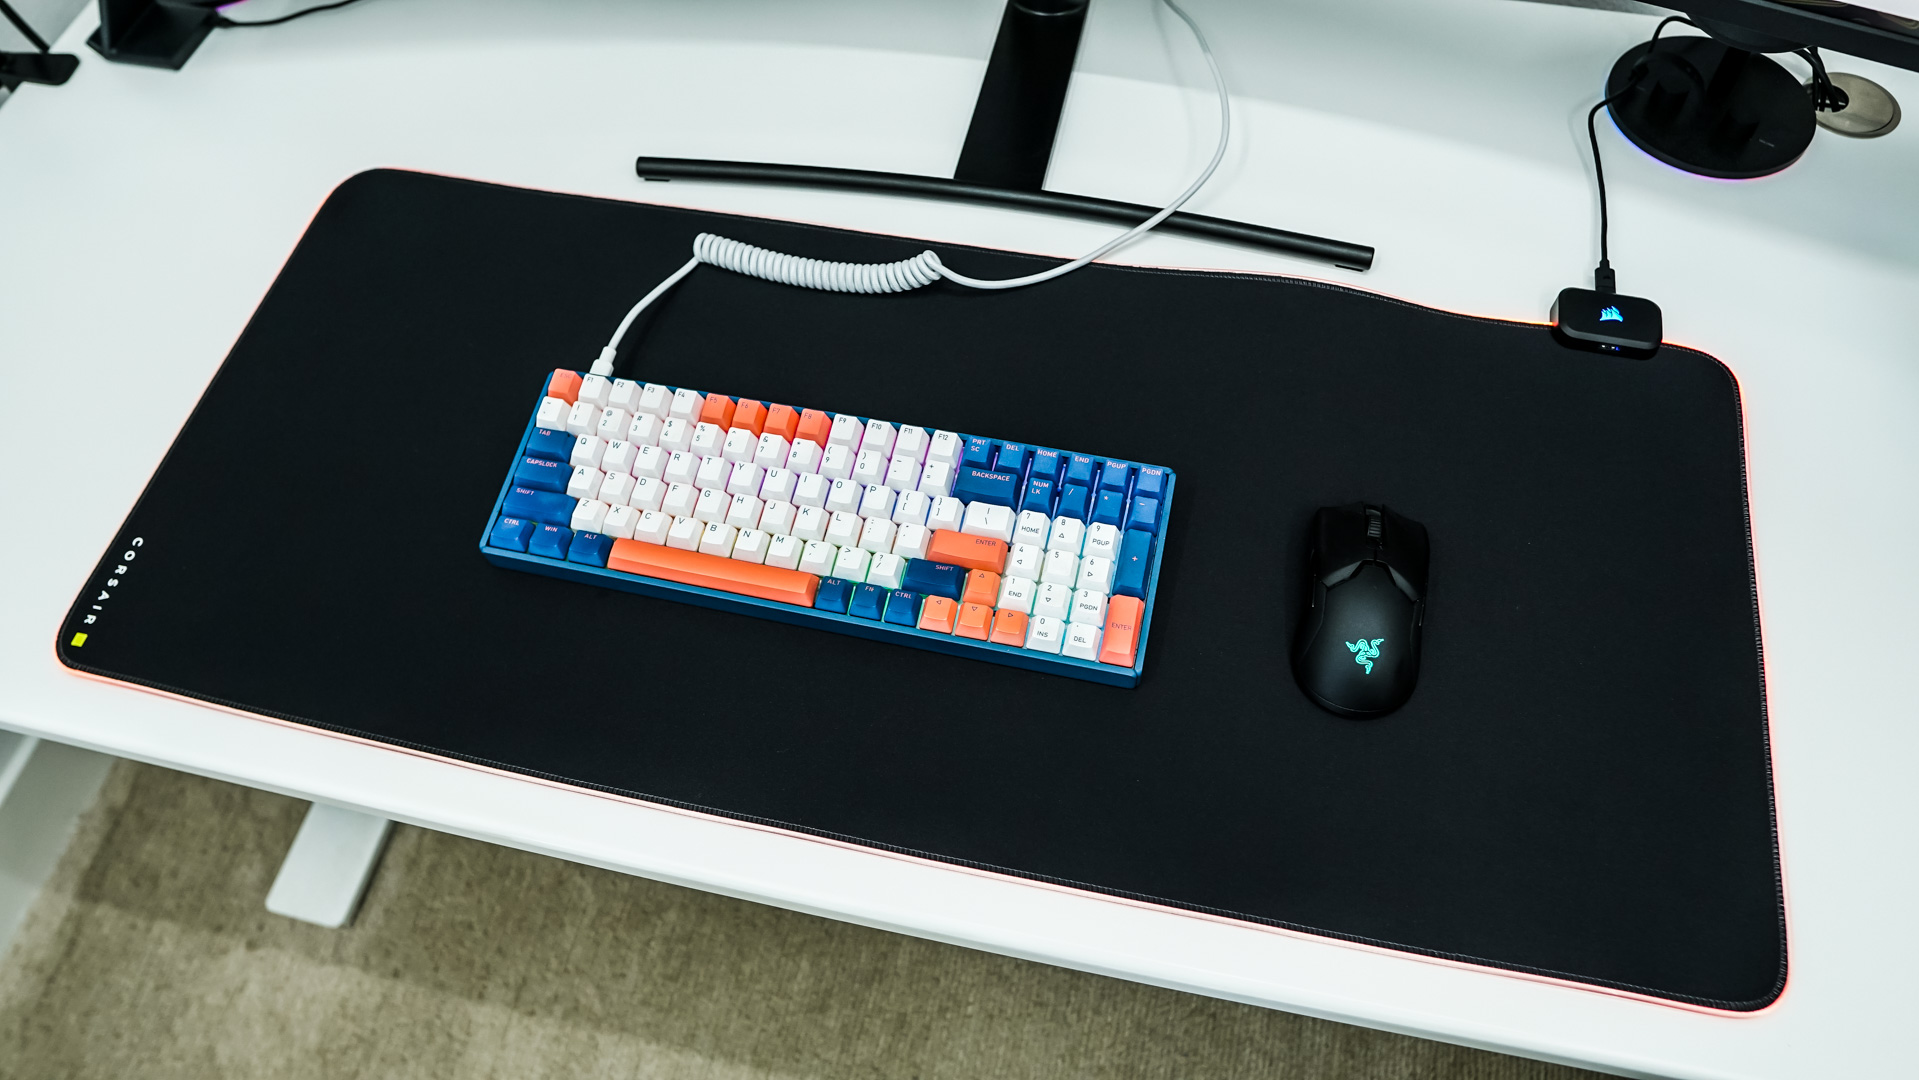
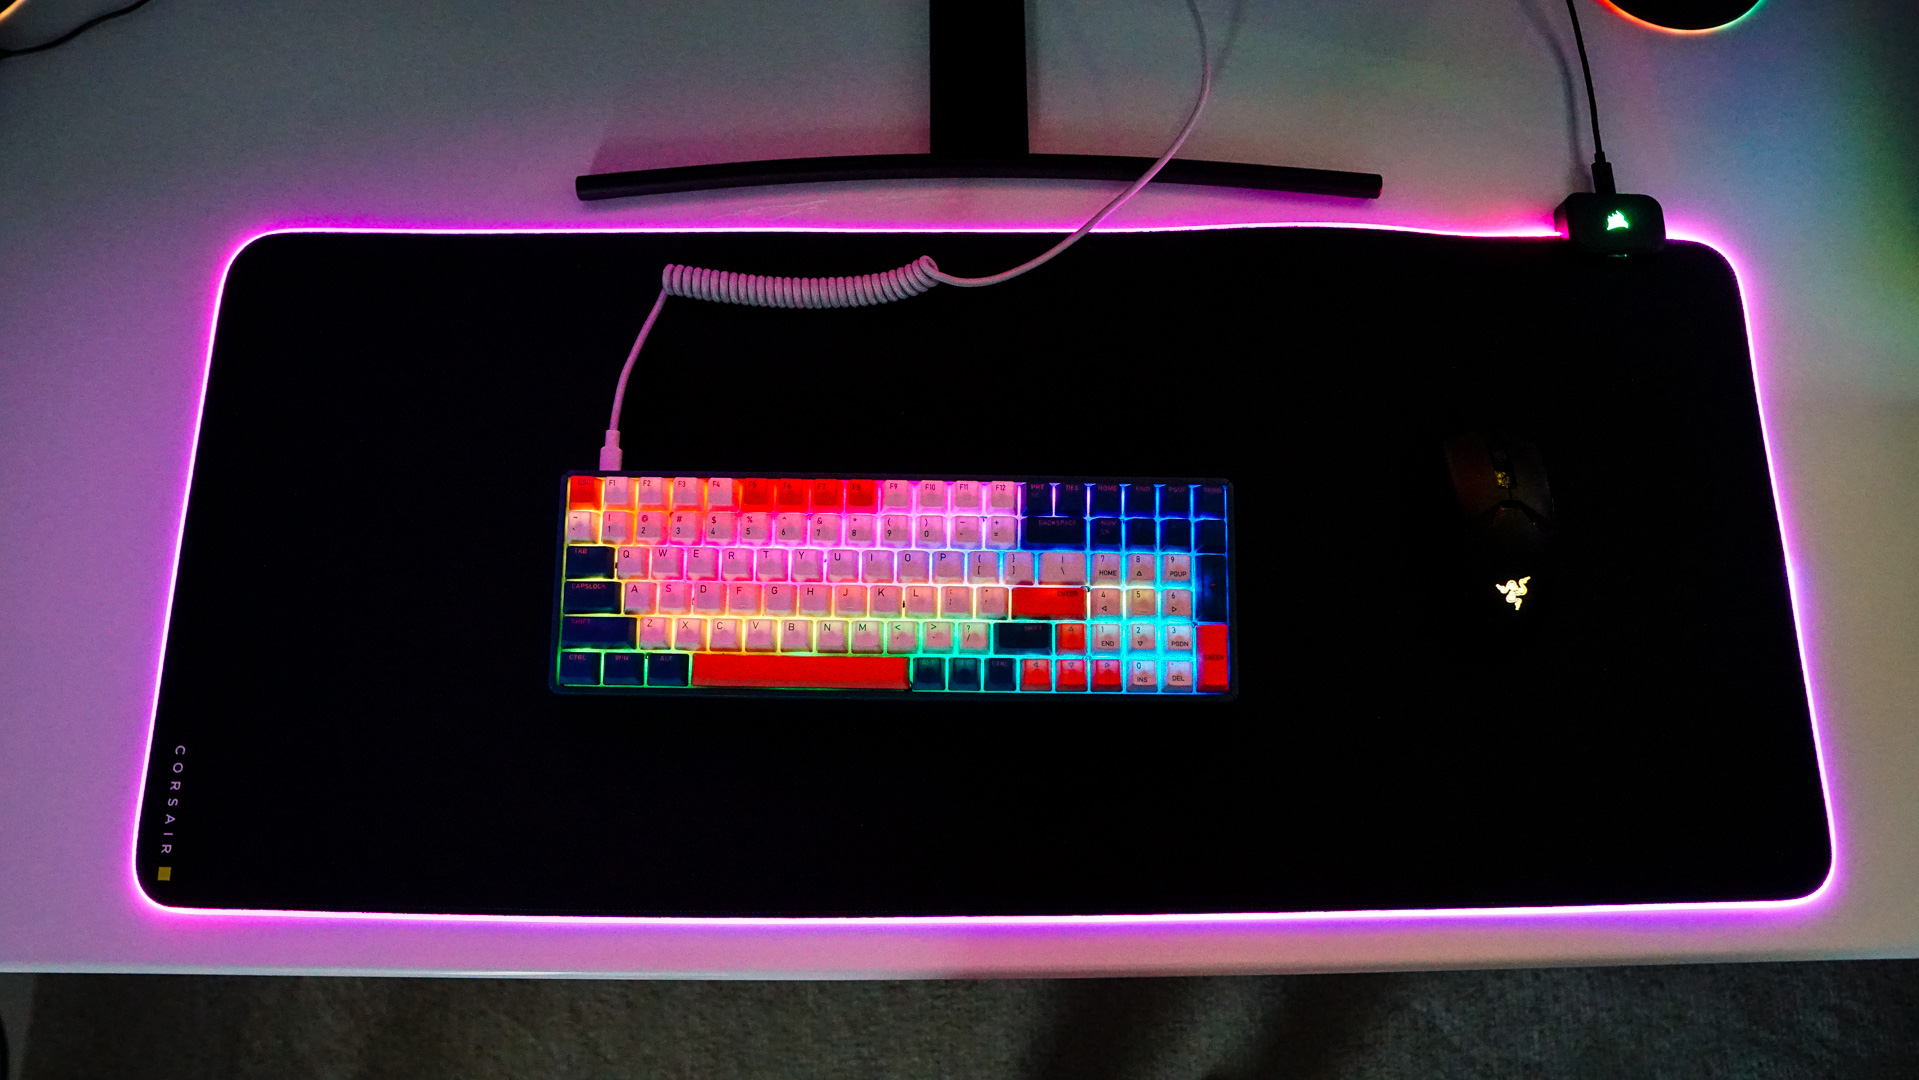
Getting the MM700 RGB setup is extremely easy. Just place it on your desk and plug it into your PC using the supplied USB cable. To give you an idea of the size of the mousepad here it is sitting on my desk.
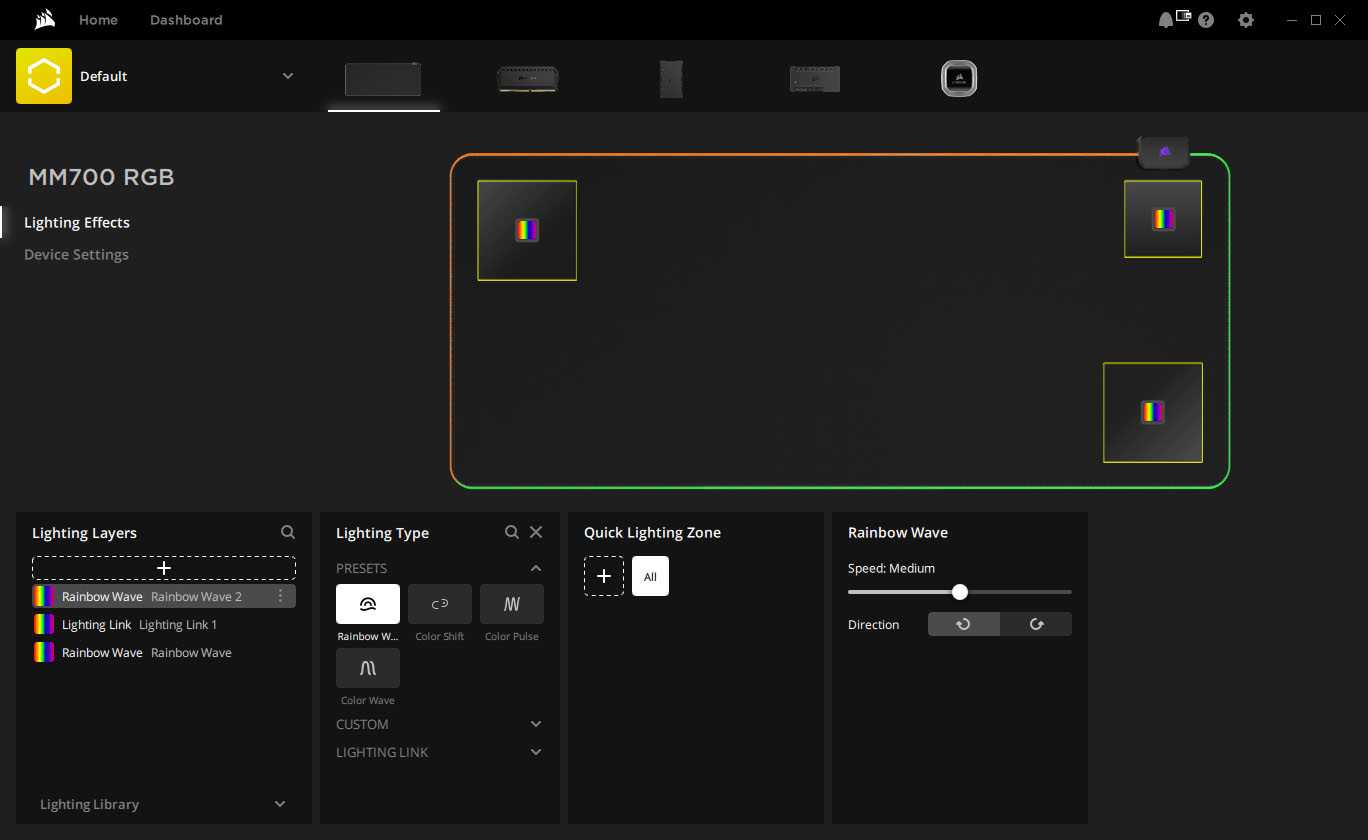
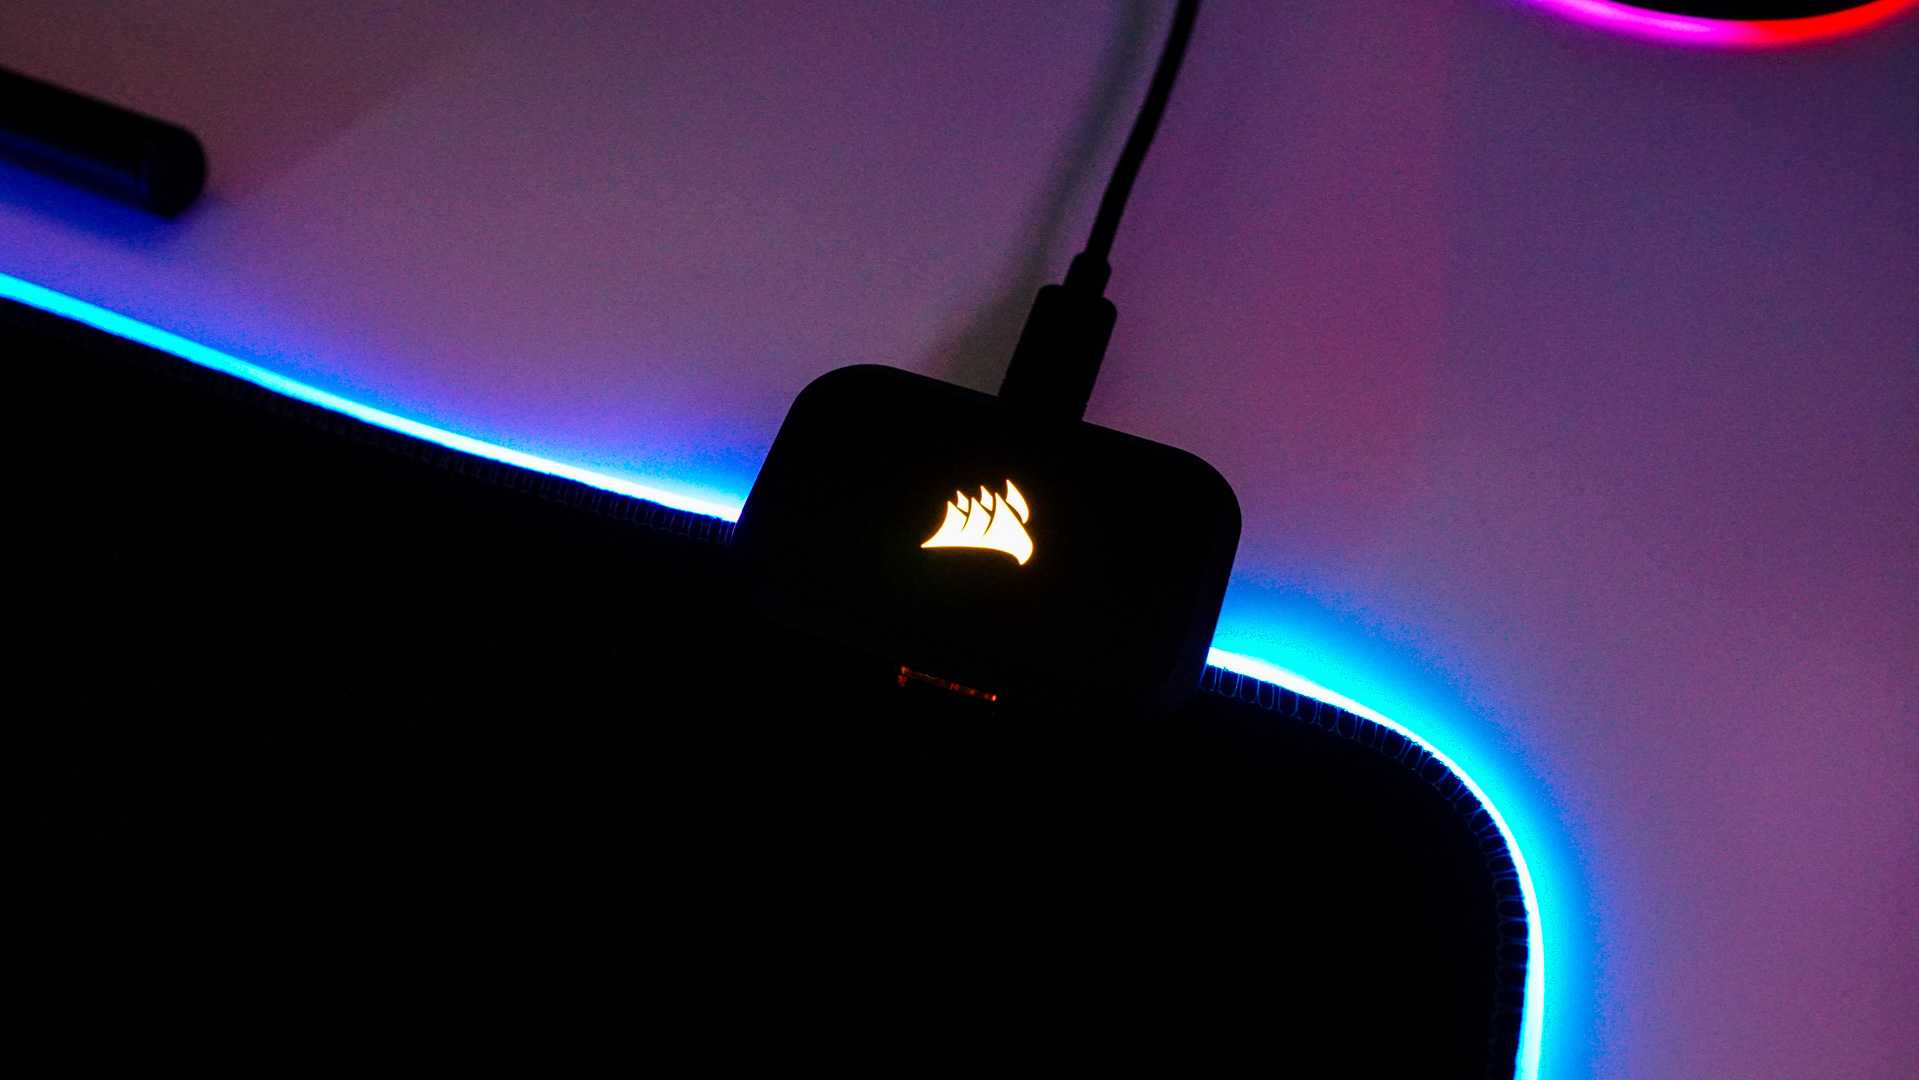
Now from here you don’t have to do anything, the mousepad will light up and you can cycle through the different lighting effects using the button on the back of the little controller box. But if you want to do any more customization than that you’ll need to download Corsair’s iCUE software. Once installed you should see the MM700 RGB under your list of installed Corsair products.
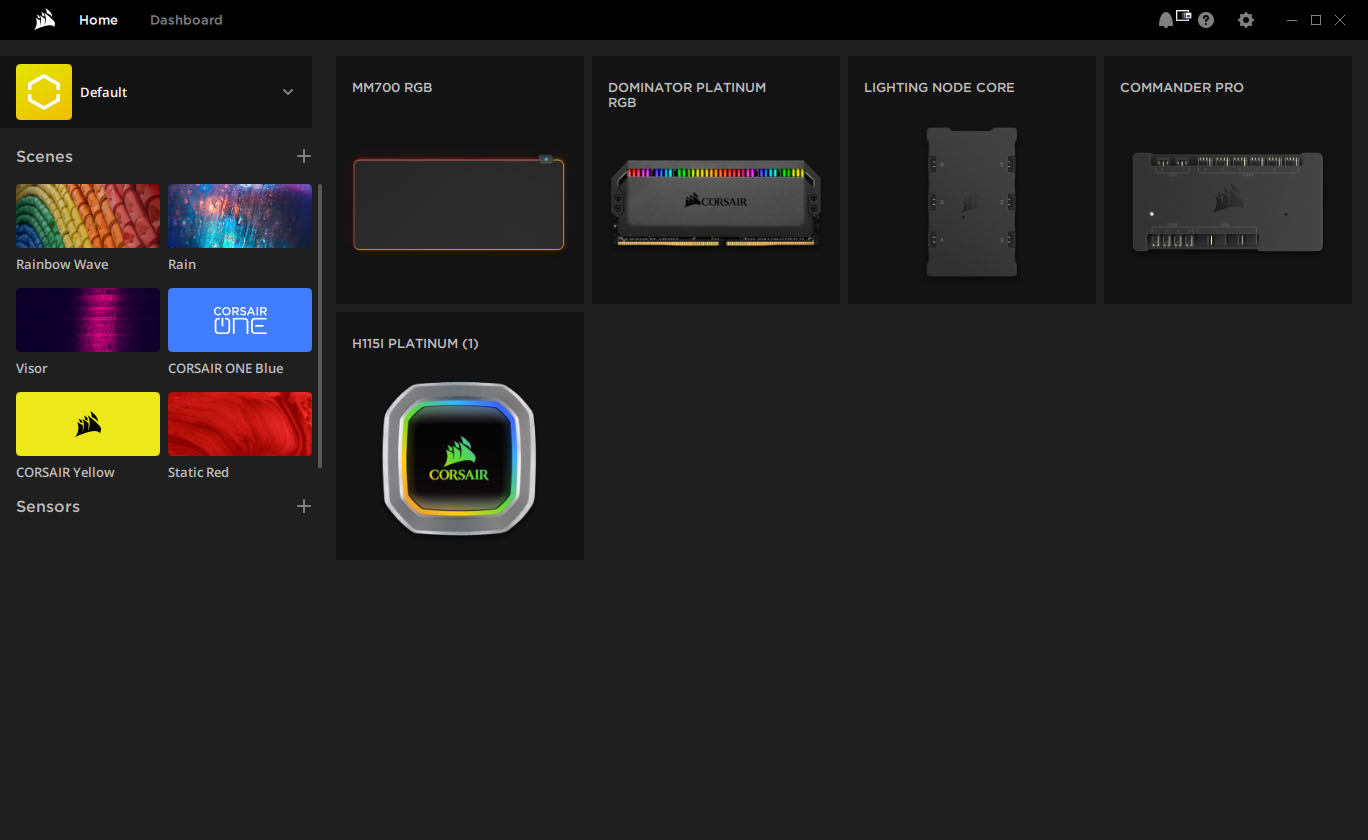
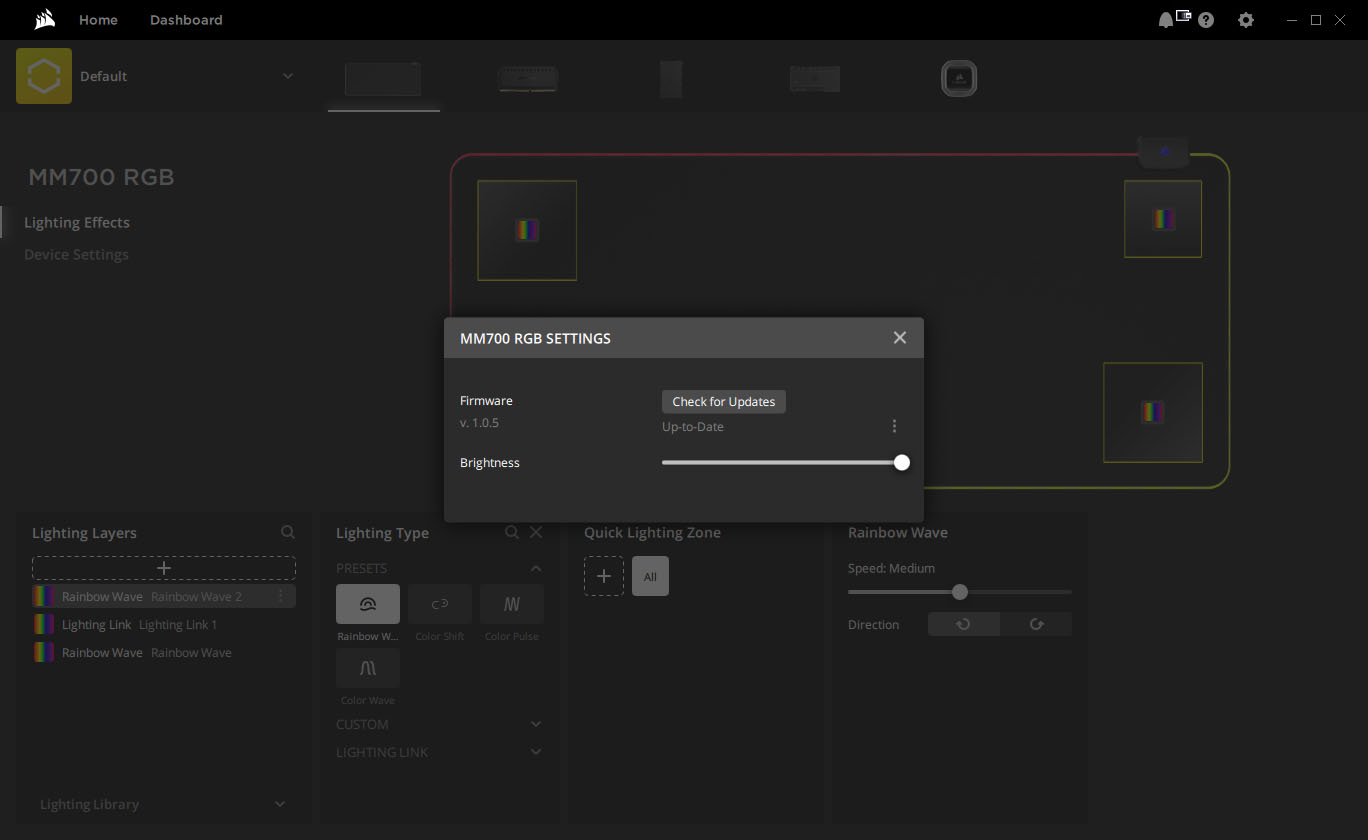
Clicking into it we are brought into the lighting effects for the mousepad. There are actually 3 different lighting zone, all of which can be controlled independently. You have the Corsair logo on the control box, the top left side of the mousepad, and the bottom right side of the mousepad. You can select a bunch of different presets for each of these, set your own custom lighting, or even link the lighting with all of your other Corsair products.
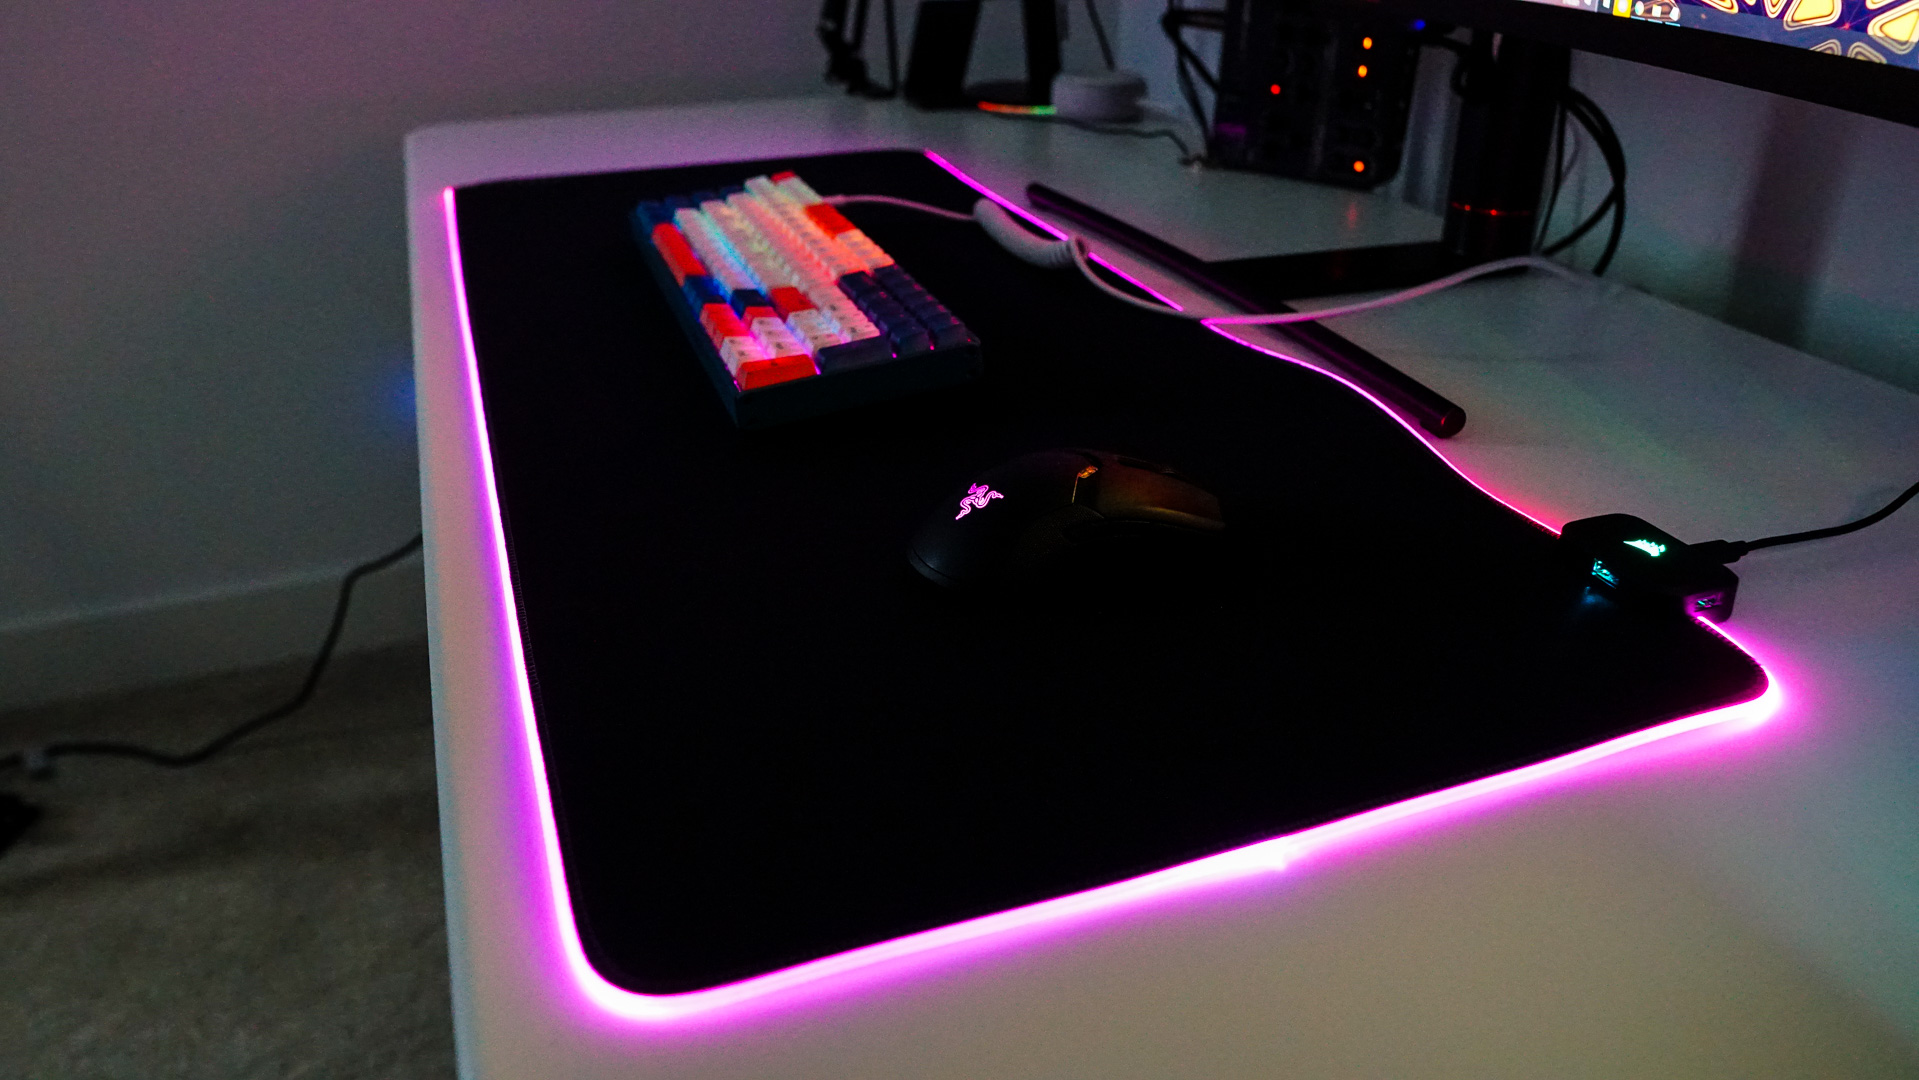
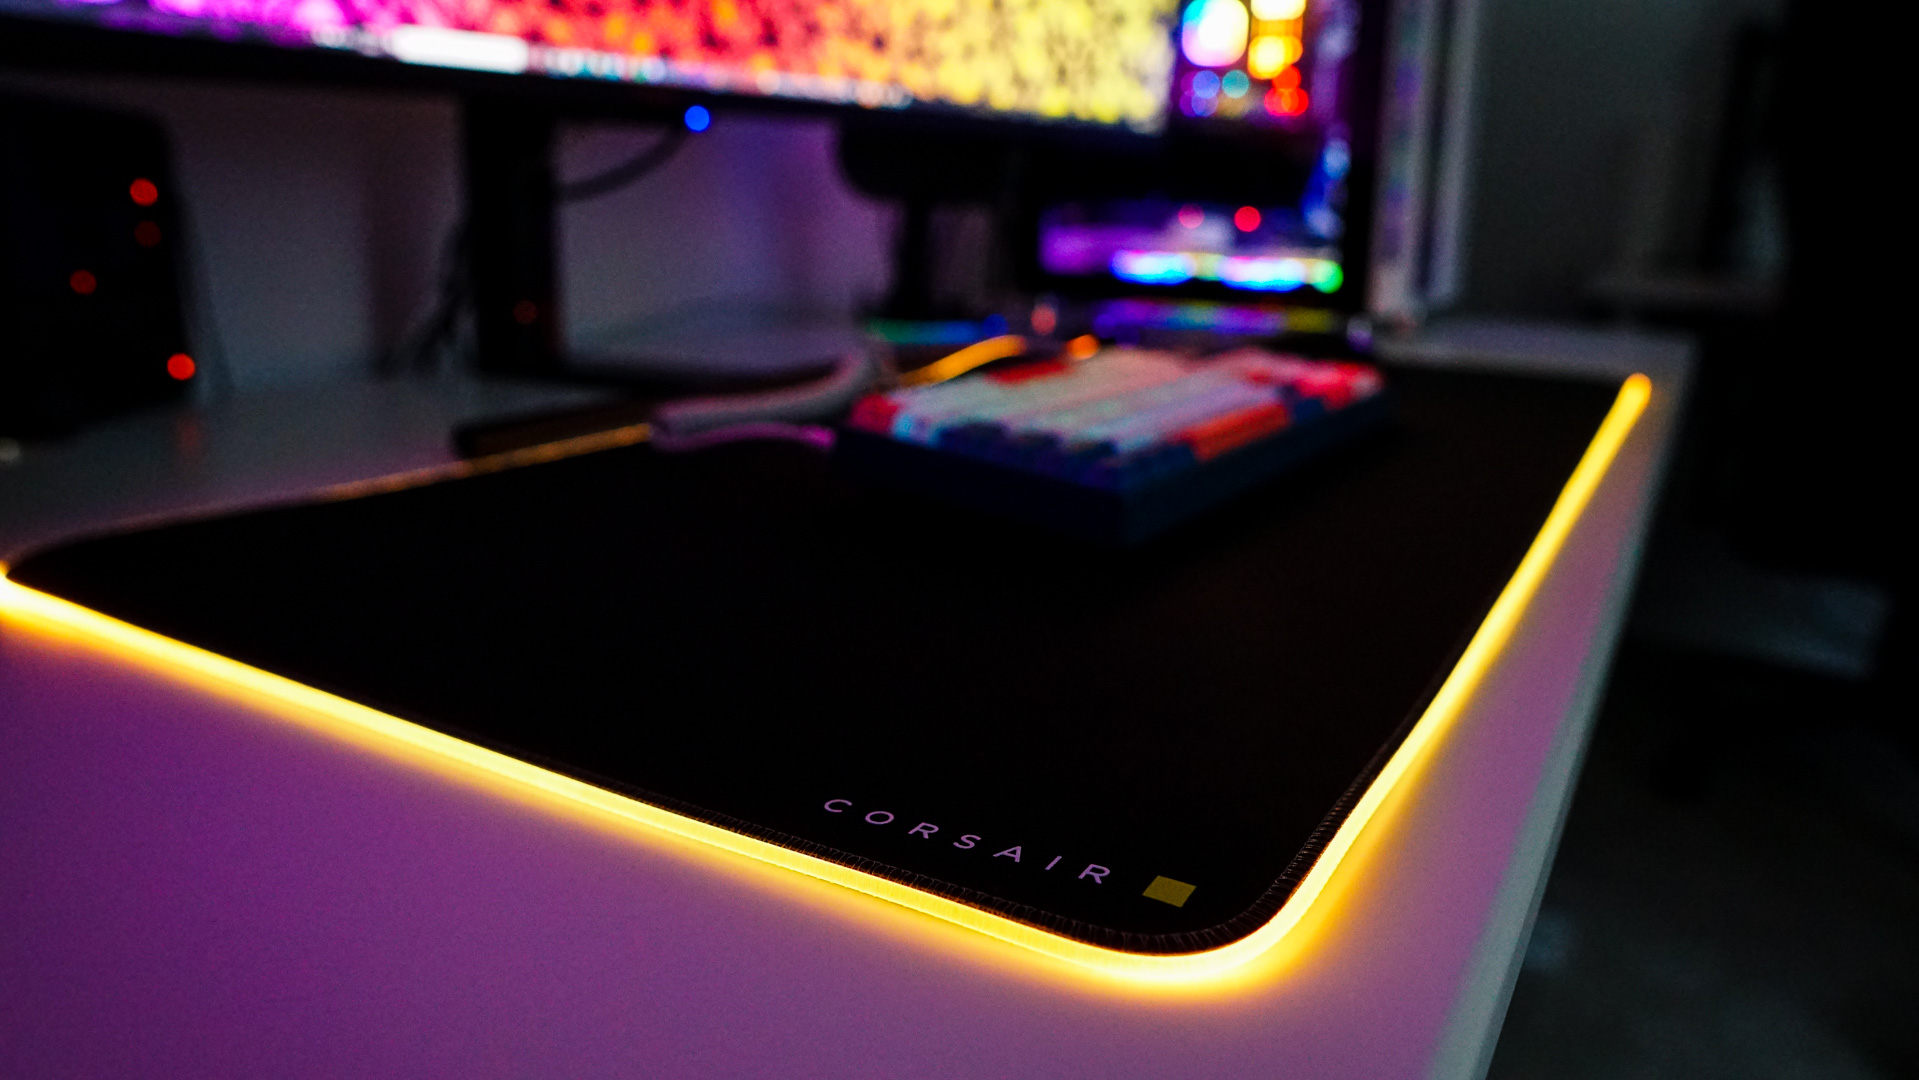
Overall the lighting is very good. I’ve reviewed a few RGB mousepads and many times the lighting gets dim or has gaps in it, but the lighting here is very full and looks great!
There is also a “Device Settings” section where you can check for new firmware and set the brightness. For those wondering you can turn the RGB lighting completely off.