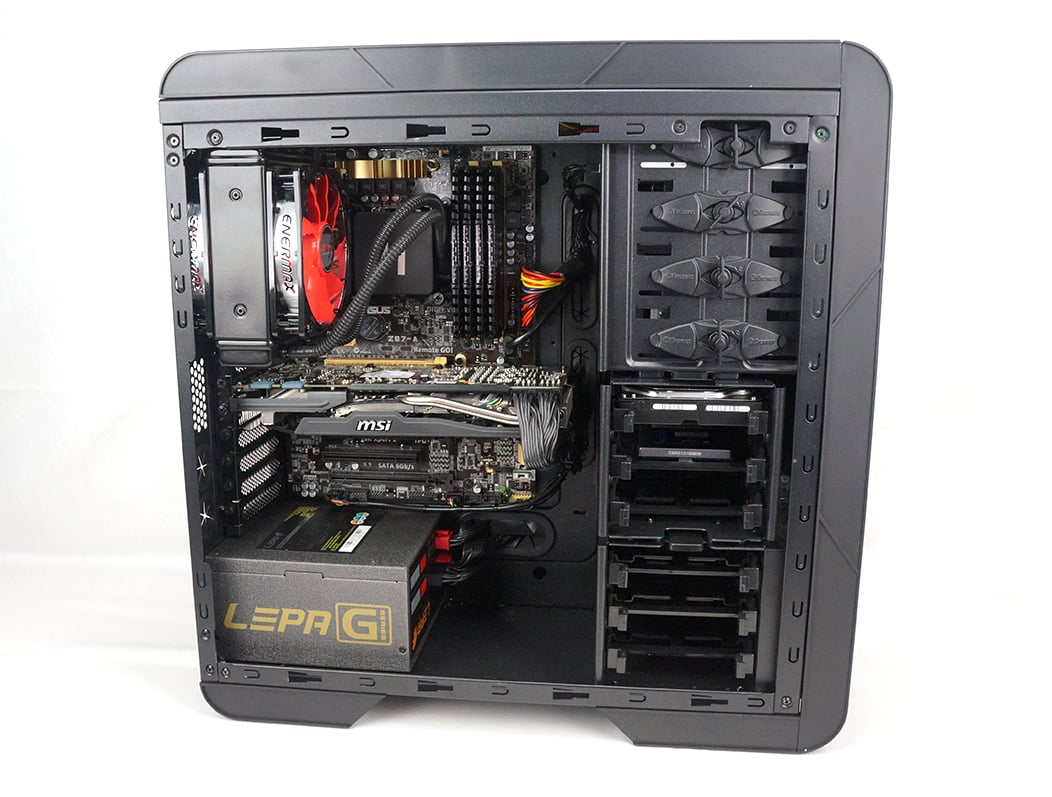
A Look Inside
Taking a look inside we see a pretty basic design here. It is definitely a surprise to see cable routing holes in a micro ATX case. There are 6 total cable routing holes and each one has a rubber insert installed so you won’t rip or cut your cables.


Starting at the top of the case you have the two 5.25-inch drive bays. These use a simple tool-less locking system for easy installation. Moving down there are three 2.5-inch drive mounts. This is the first time we have seen these, you actually install your drives on the opposite side, which we will show you in just a second.


There is a large open section. This allows for you to install longer video cards and even install watercooling components here. Below that is a hard drive cage with two removable trays. These trays support both 2.5-inch and 3.5-inch hard drives.


On the bottom of the case there is a large ventilated section for your power supply and remember there is a filter under there. The 5 expansion slots use thumbscrews for easy maintenance.


At the top of the case there are no fans installed, but you can see how easy a 240mm radiator and other cooling solutions could fit up there. With any new case we expect to see a CPU cutout in the motherboard and there is a large one here. This will allow you to install an aftermarket CPU cooler without having to remove your motherboard from the case.


If we take the opposite side panel off the case we can see how everything is setup. There is an internal USB 3.0 connector, which is always a plus. There is more than enough room behind the motherboard tray to route all of your cables. Taking a closer look at the 2.5-inch hard drive mounts you can see you will just have to simply slide your drive in and you will be good to go.