Installation
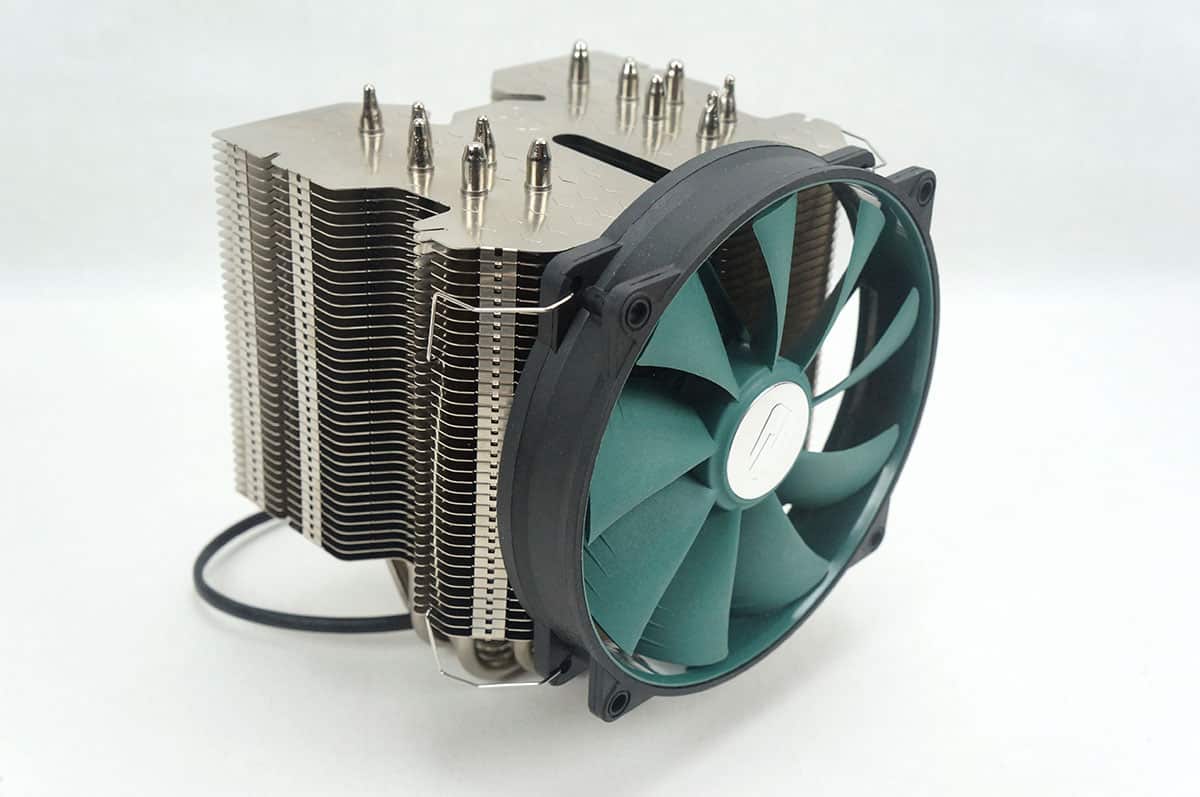
Like almost all of the air coolers we have tested recently we will be installing the DeepCool Lucifer in our LGA2011 system. This installation is normally the easiest because you do not need a backplate. Even though you should be able to install this cooler inside your case the sheer size of the heatsink makes it a little hard and we would suggest removing your motherboard from the case.
Starting with socket 2011 installation take the four socket 2011 screws and install them. From there take the two attachment brackets and install them as you see in the second photo below. For socket 2011 installation the pegs should be in the furthest hole. Now just secure the brackets with the included top screws and apply your thermal paste.


Now take the heatsink and place it on top of your CPU. Carefully take the middle attachment bracket and place it in between the cool and secure it to the two attachment brackets that you previously installed. Installation was actually not that bad at all for a larger CPU cooler.


To attach the fan take the fan clips and install them on the ends of the fan and then pull them back to lock the fan into place. The fan will definitely get in the way of memory modules with larger heatspreaders.