Elgato Camera Hub Software
Thanks to USB’s Plug and Play functionality, installation of the Facecam 4K is effortless, and after a quick download and installation of the Camera Hub software, I was all set to get started tweaking the camera to my preferences.
Camera Hub is fairly straight forward software, which is much appreciated. When you start getting too technical with cameras and their settings, you can easily confuse and scare off those that just want the camera and software to work without having a doctorate in the subject. The main window features a large preview image of the camera, which is exactly what I would expect to see when modifying camera settings. On the left side of the window there is a set of three tabs – Camera, Effects, and Prompter, each of which will be covered below.
Camera
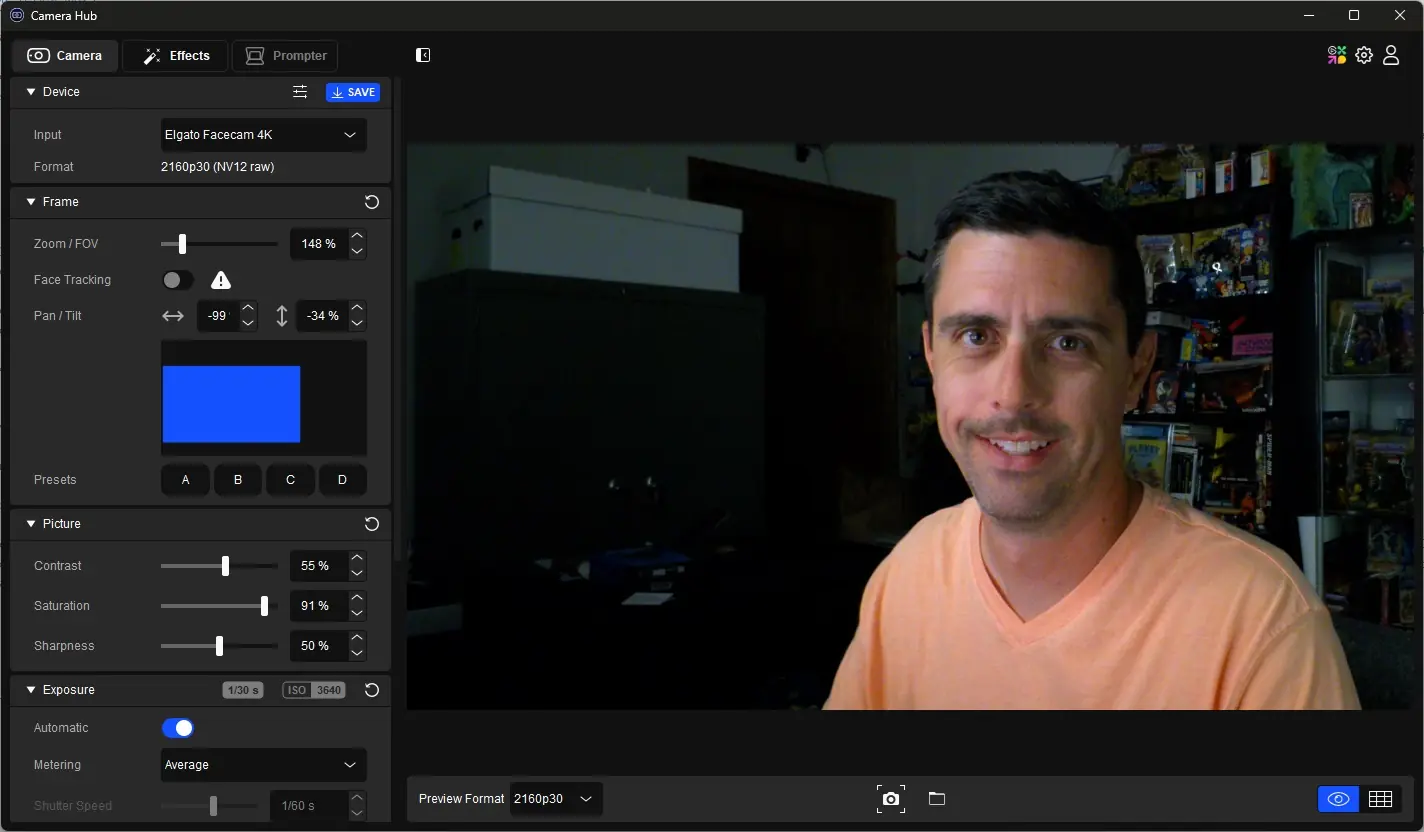
This is where the majority of folks will spend their time in Camera Hub, and it is home to most of the controls for the camera as one would expect. This tab is broken down into multiple sub-sections, including Device, Frame, Picture, Exposure, White Balance, and Processing.
In this first image there have been no adjustments made to the default settings, other than a slight bump in Saturation. This shows just how wide of an angle the Facecam 4K has, and the area you have to work with.
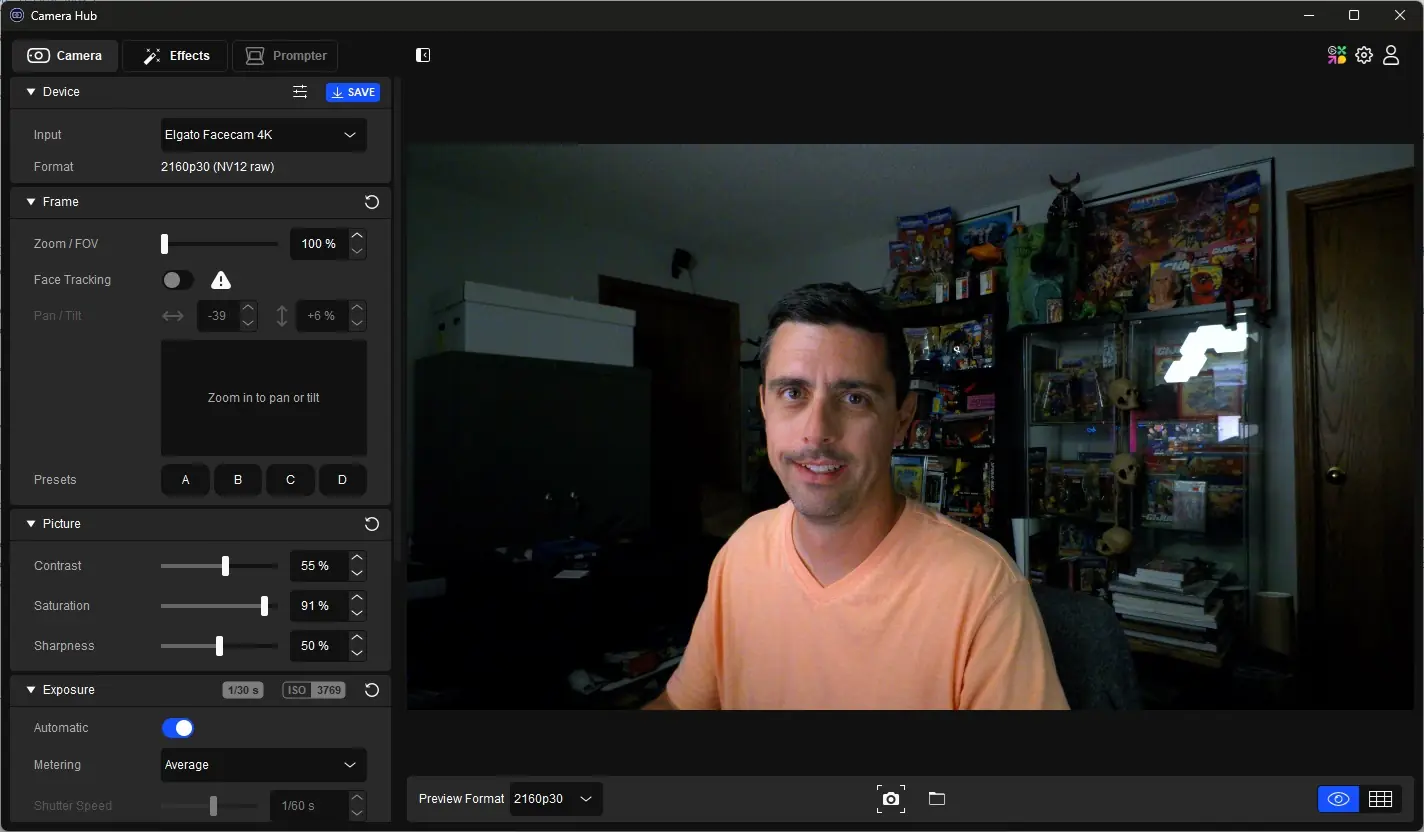
The Device section allows you to choose your camera should you be using more than one Elgato camera, and shows the current video format of the camera. Here you can also adjust a few settings via the slider button, including low-light mode, control of the status LED on the front of the camera, and even reset the camera back to factory settings.
The Frame section allows you to frame your shot, and offers adjustments to a digital zoom, face tracking if you install an optional NVIDIA SDK, Pan, Tilt, and the ability to set multiple preset framing options. The wide angle shot provided by the Facecam 4K really allows you to have some great flexibility in your shots, which are further enhanced by the custom presets.
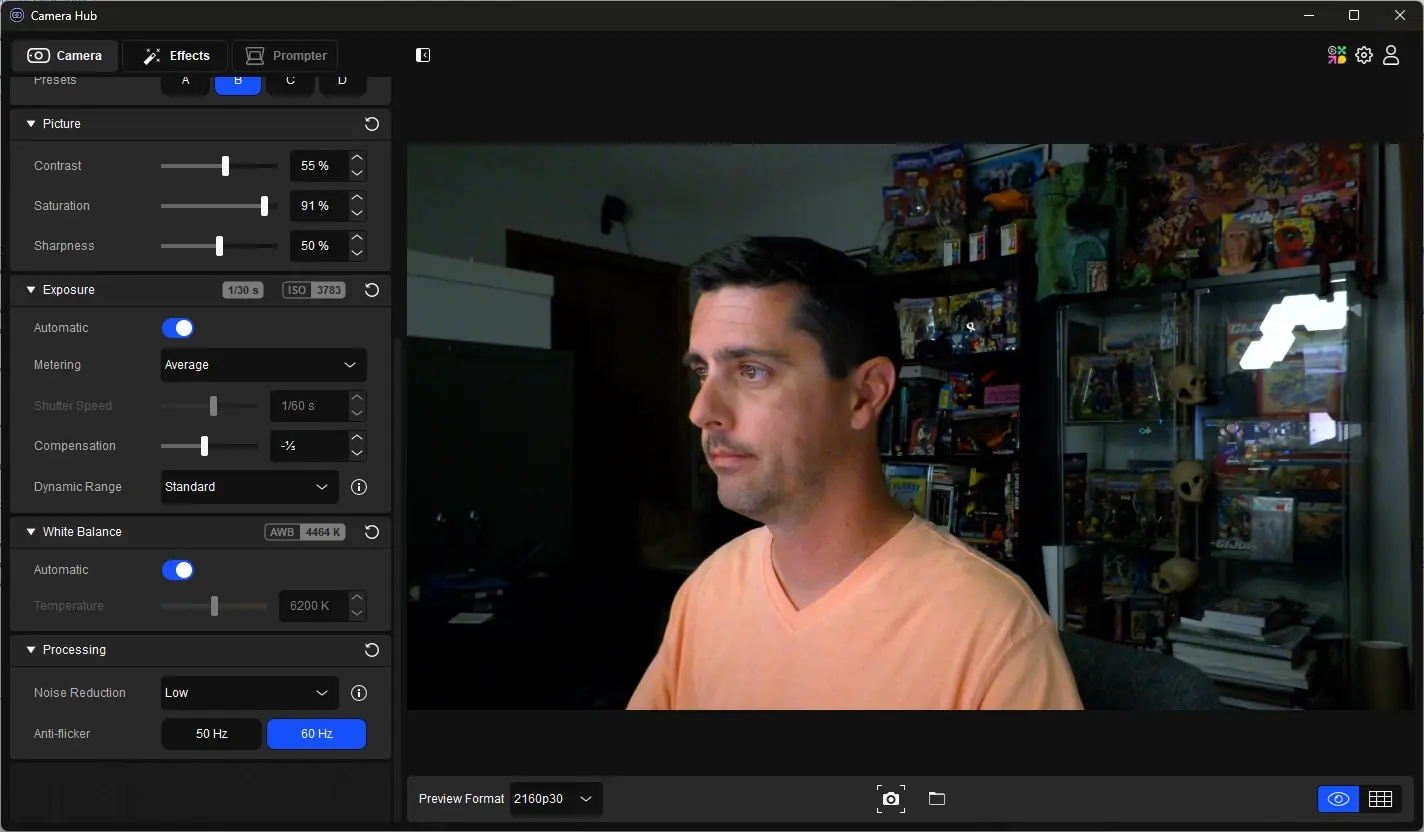
The Picture section lets you adjust image Contrast, Saturation, and Sharpness.
The Exposure section allows for Automatic (my recommendation for most situations) or manual adjustment of ISO and shutter speed, Compensation settings, and Dynamic Range (HDR) presets.
The White Balance section also offers Automatic (again, my recommendation for most situations) as well as manual color temperature control.
The Processing section lets you adjust noise reduction to reduce the graininess of your image, as well as compensate for lighting frequency to reduce flicker.
Each of these configuration areas adjusts the preview image in real time so that you can see exactly how each one affects the camera output. While Exposure and White Balance offer Automatic settings, don’t be afraid to swap over to manual and adjust things yourself if you feel comfortable. Just know that those are static settings, and can make a great shot in one scenario look terrible in another.
Effects
The Effects tab offers a few additional adjustments that are pretty much self explanatory, and don’t require any sort of camera-specific knowledge to utilize.
The Orientation section lets you flip the image upside down or mirror the image if needed.
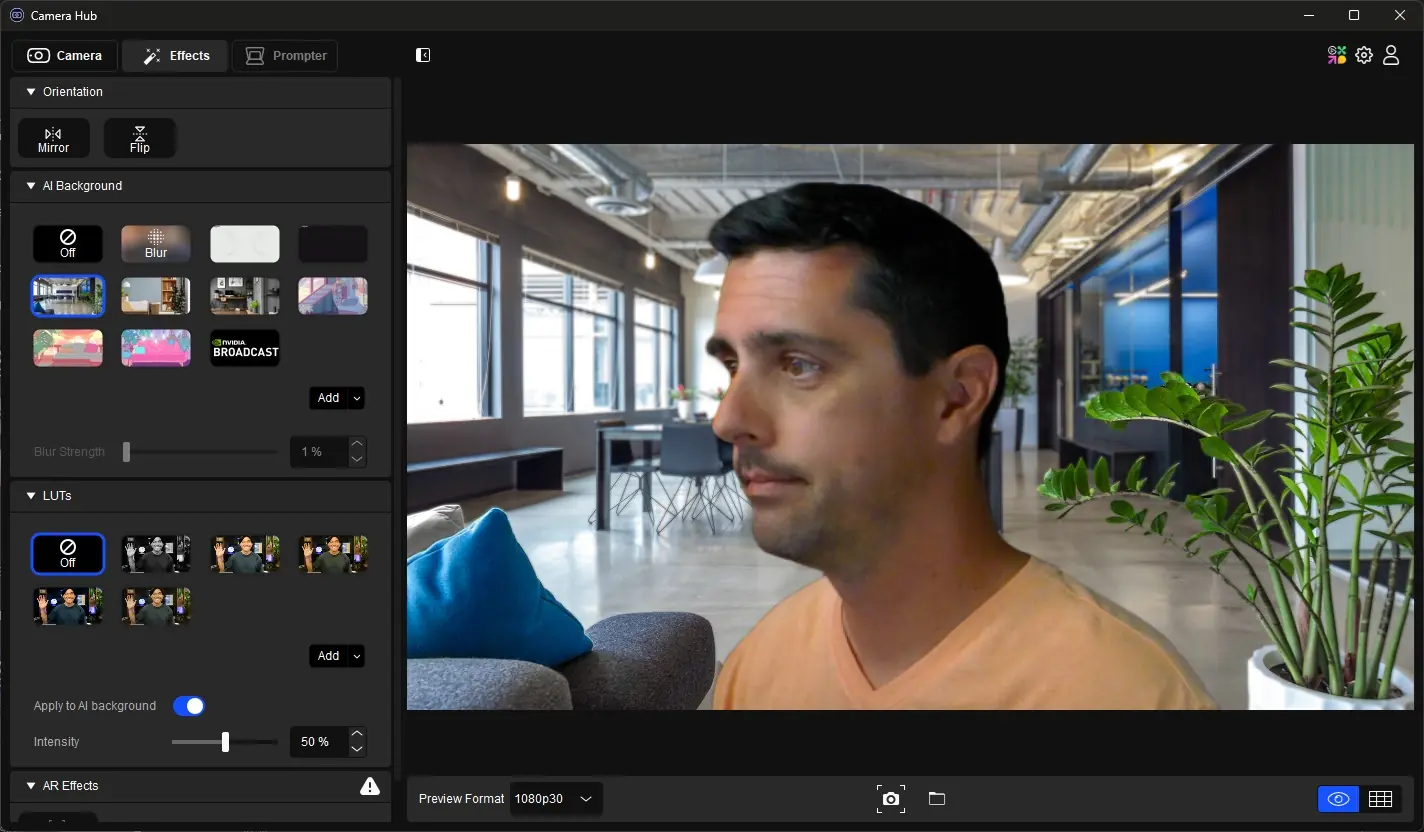
The AI Background section lets you easily blur your background to resemble the look of a custom lens on a DSLR for that ever-so-popular look that the FaceCam 4K may have trouble reproducing. You can also replace your background with a few of Elgato’s provided scenes, or you can even upload your own image for a custom environment.
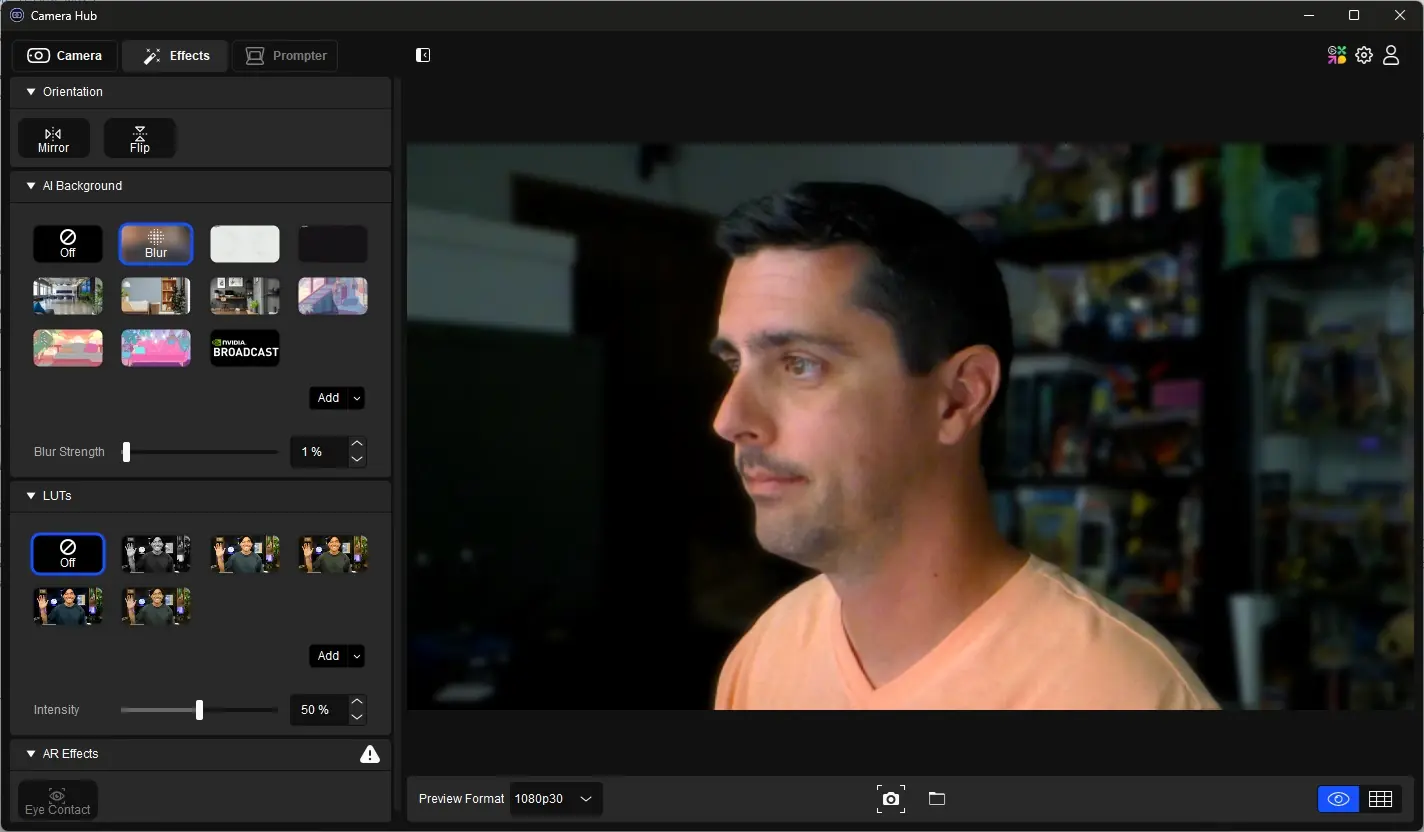
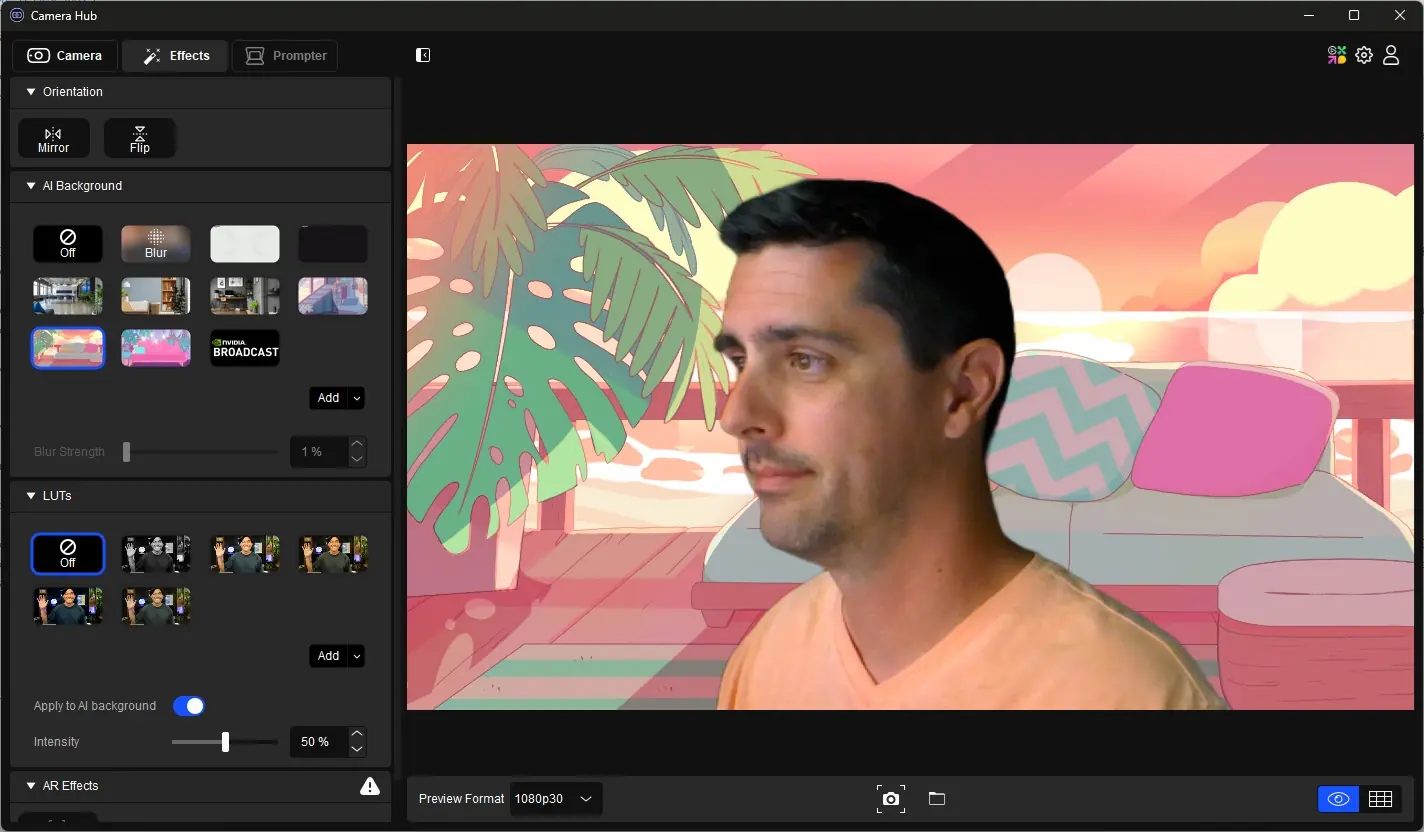
The LUTs section provides access to five optional “looks” that help set an overall color scheme to your image. You can also upload custom LUTs that are available via the community.
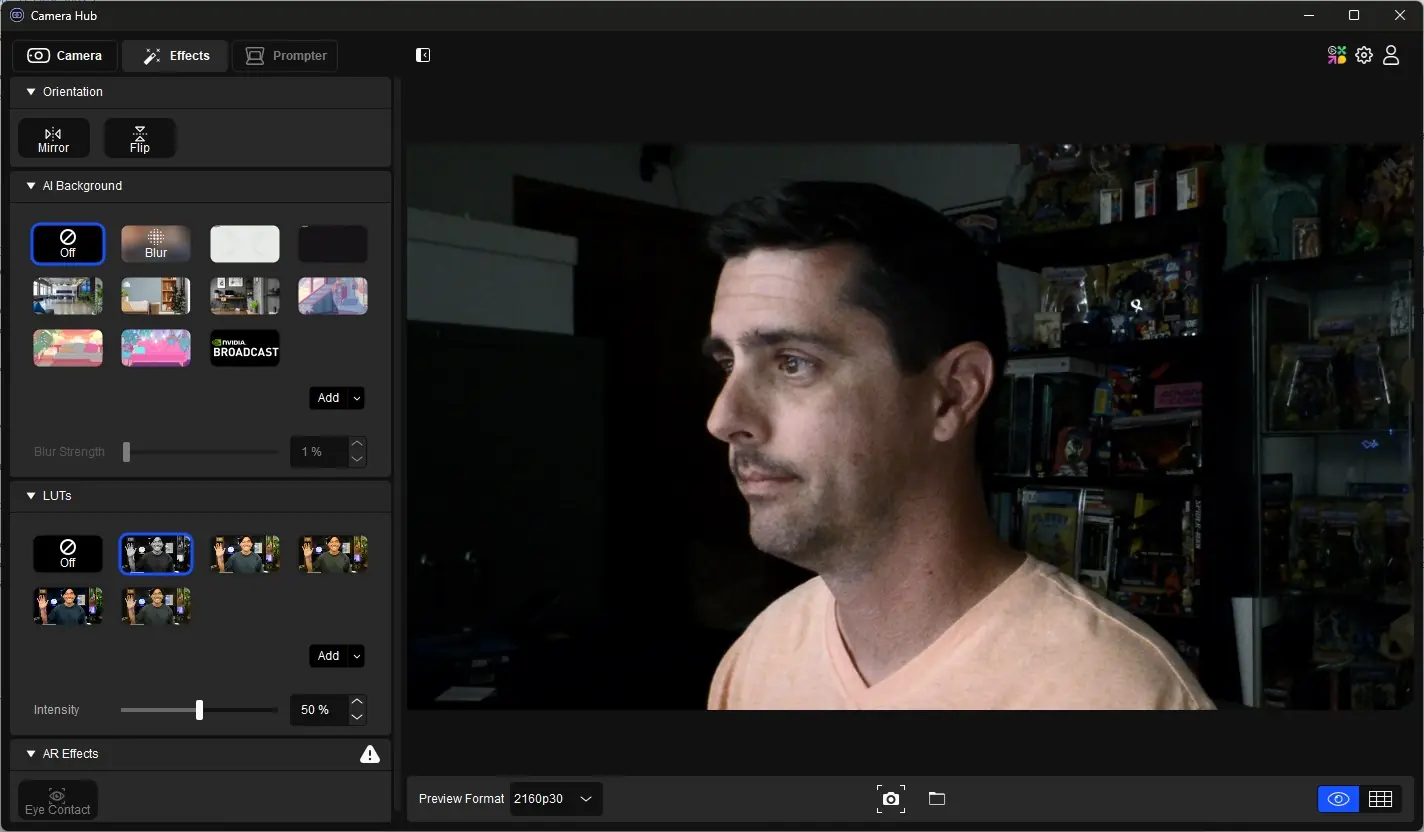

Finally, the AR Effects section lets you take advantage of NVIDIA’s SDKs to enable the Eye Contact option. This replaces your actual eyes with virtual representations of them that focus on the camera and allow you to look away without your audience realizing it.
Prompter
If you have an Elgato Prompter device, you can utilize this area of the software to configure and control its operation when paired up with an Elgato camera.
Elgato Facecam 4K Testing
In the images below you will find some comparison examples between the Elgato Facecam 4K and a Canon M200 mirrorless camera with a Canon EF-M 22mm lens. I have made adjustments to the Facecam 4K via Camera Hub to best represent the true colors of the scene.
This first image compares the Canon M200 on the left to the Elgato Facecam 4K on the right. As you can see, there is a lot more detail in the Canon image, even in this low light setting. The Facecam 4K gives a brighter image overall, but when working to darken the image manually, it was apparent that the Automatic setting was the best choice, even though it resulted in a more orange skin tone. you can also see a bit of difference in the background blur between these two images. The Canon’s 22mm lens offers a great example of that blurry background, while the 21mm lens of the Facecam 4K still provided quite a bit of clarity to the background. That said, the Blur option in Camera Hub can really improve this look if you so choose.

The second image here adds a bit more light to the room, and while the Facecam 4K still doesn’t have quite the amount of sharpness to the image as the Canon, the overall face lighting is a bit better. The added light also reduced the orange skin tone of the low light image, and looks much more true to life, though I am a bit more red than usual, thanks to a full day of coaching youth soccer the day before.

This last image does a good job showing off the whole image (though zoomed in a bit on the larger Facecam 4K) and just how different the backgrounds are blurred between the two cameras, as well as the brighter facial appearance despite the lack of stronger lighting from the front.