Installation
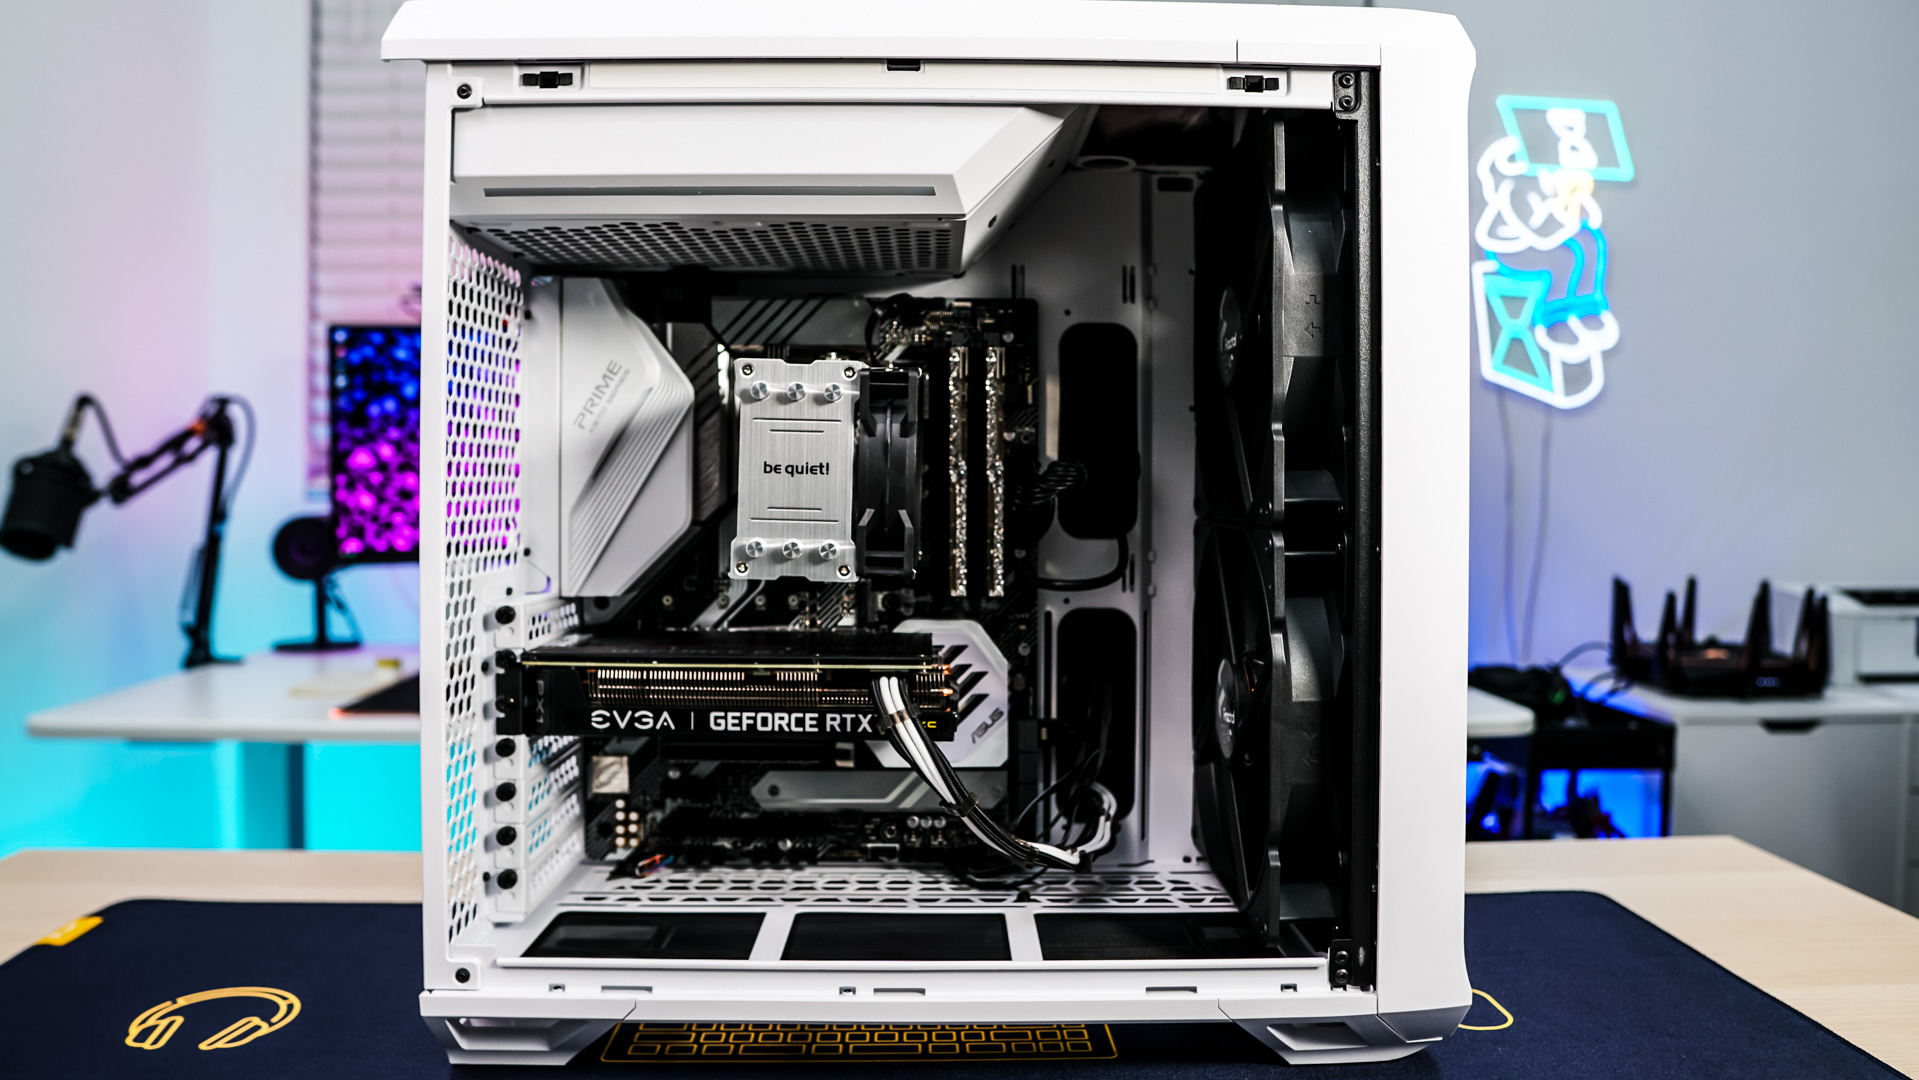
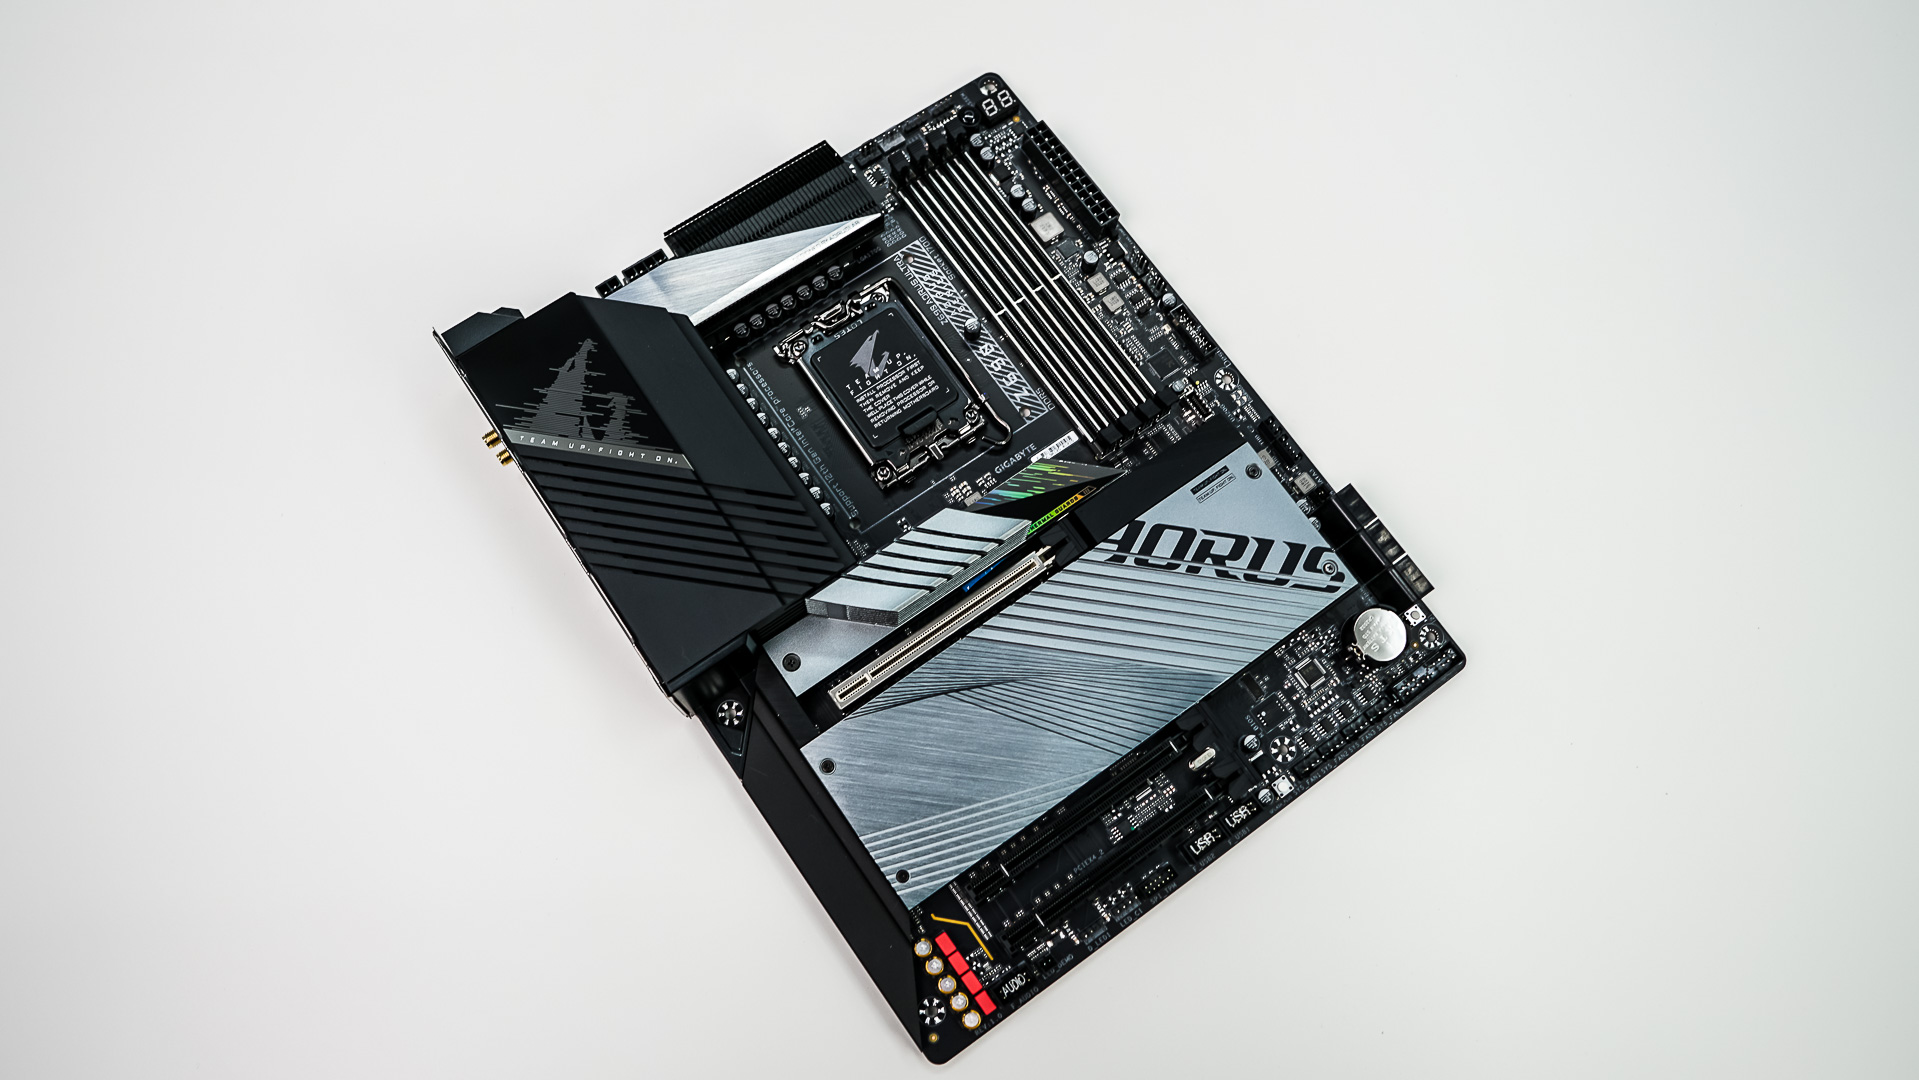
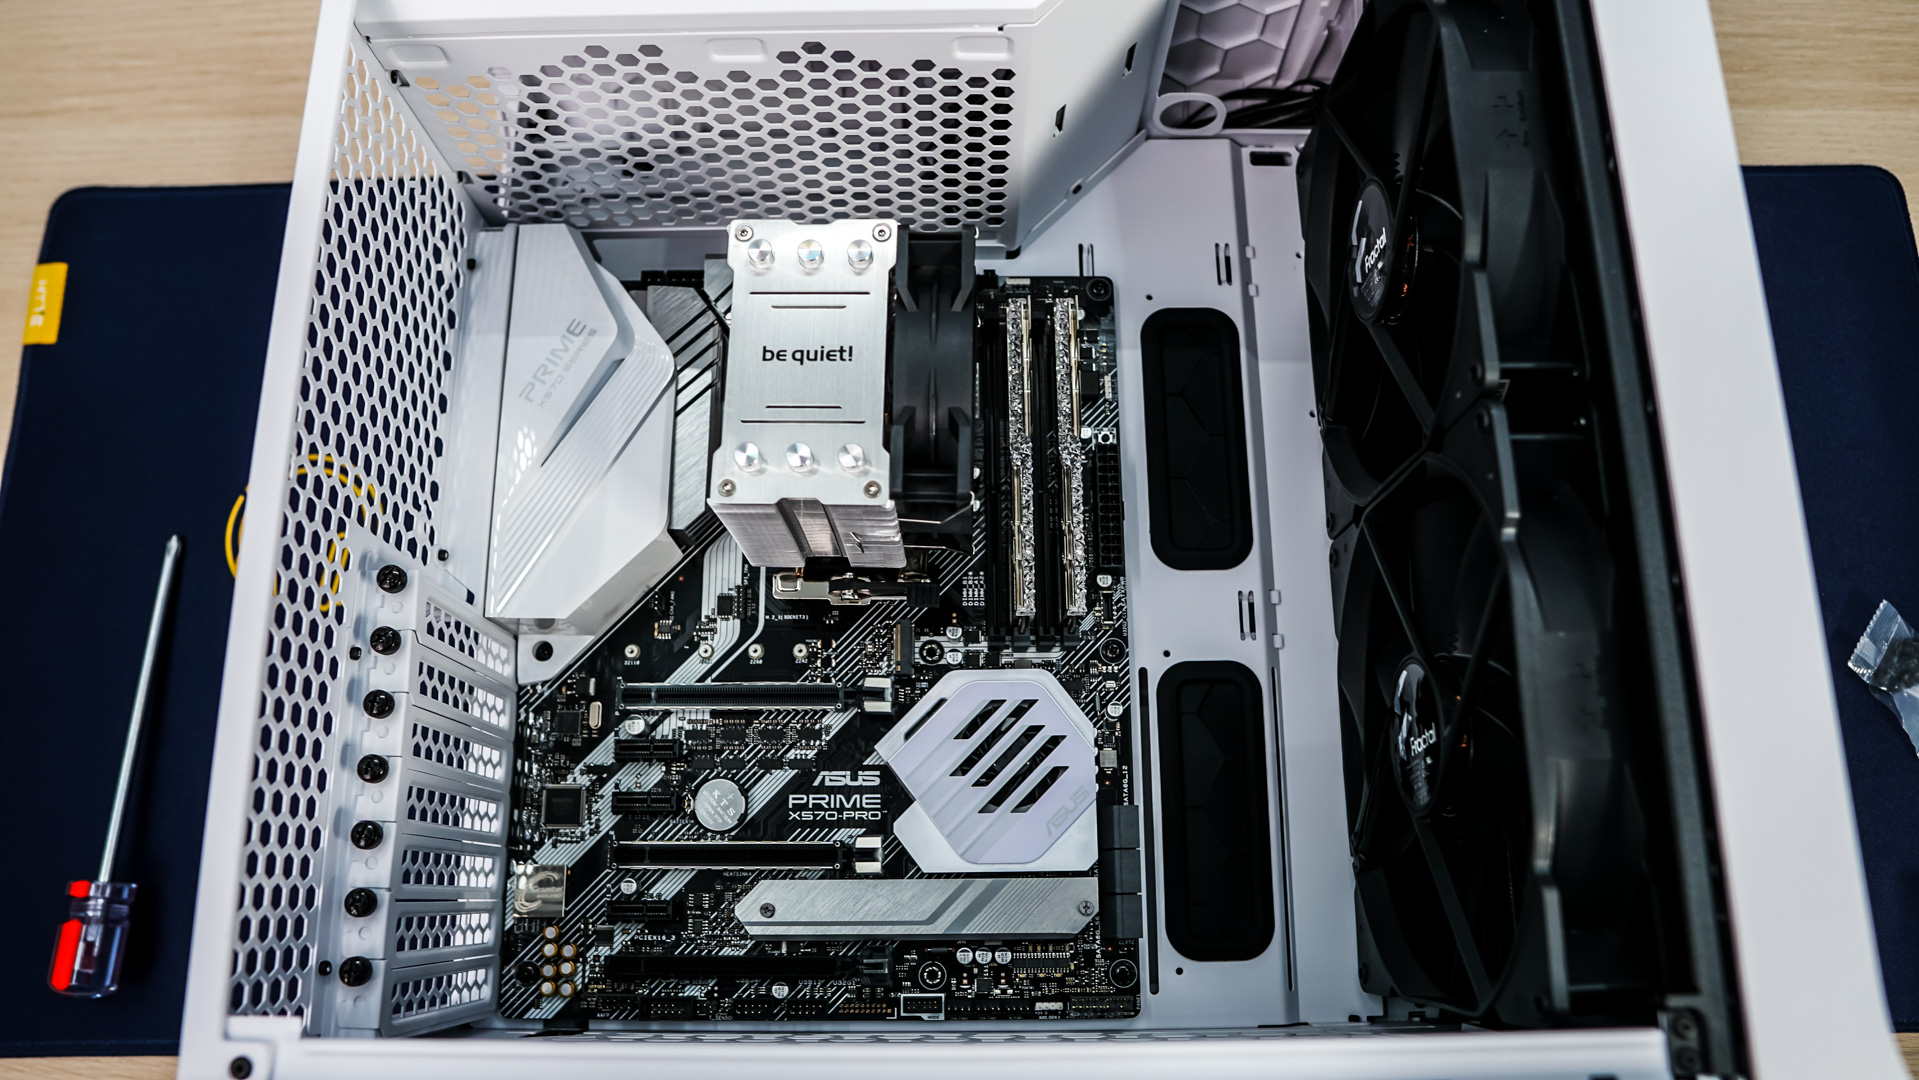
Installation is pretty straight forward with the Fractal Design Torrent. We will be installing our motherboard first, which goes in without any issues.
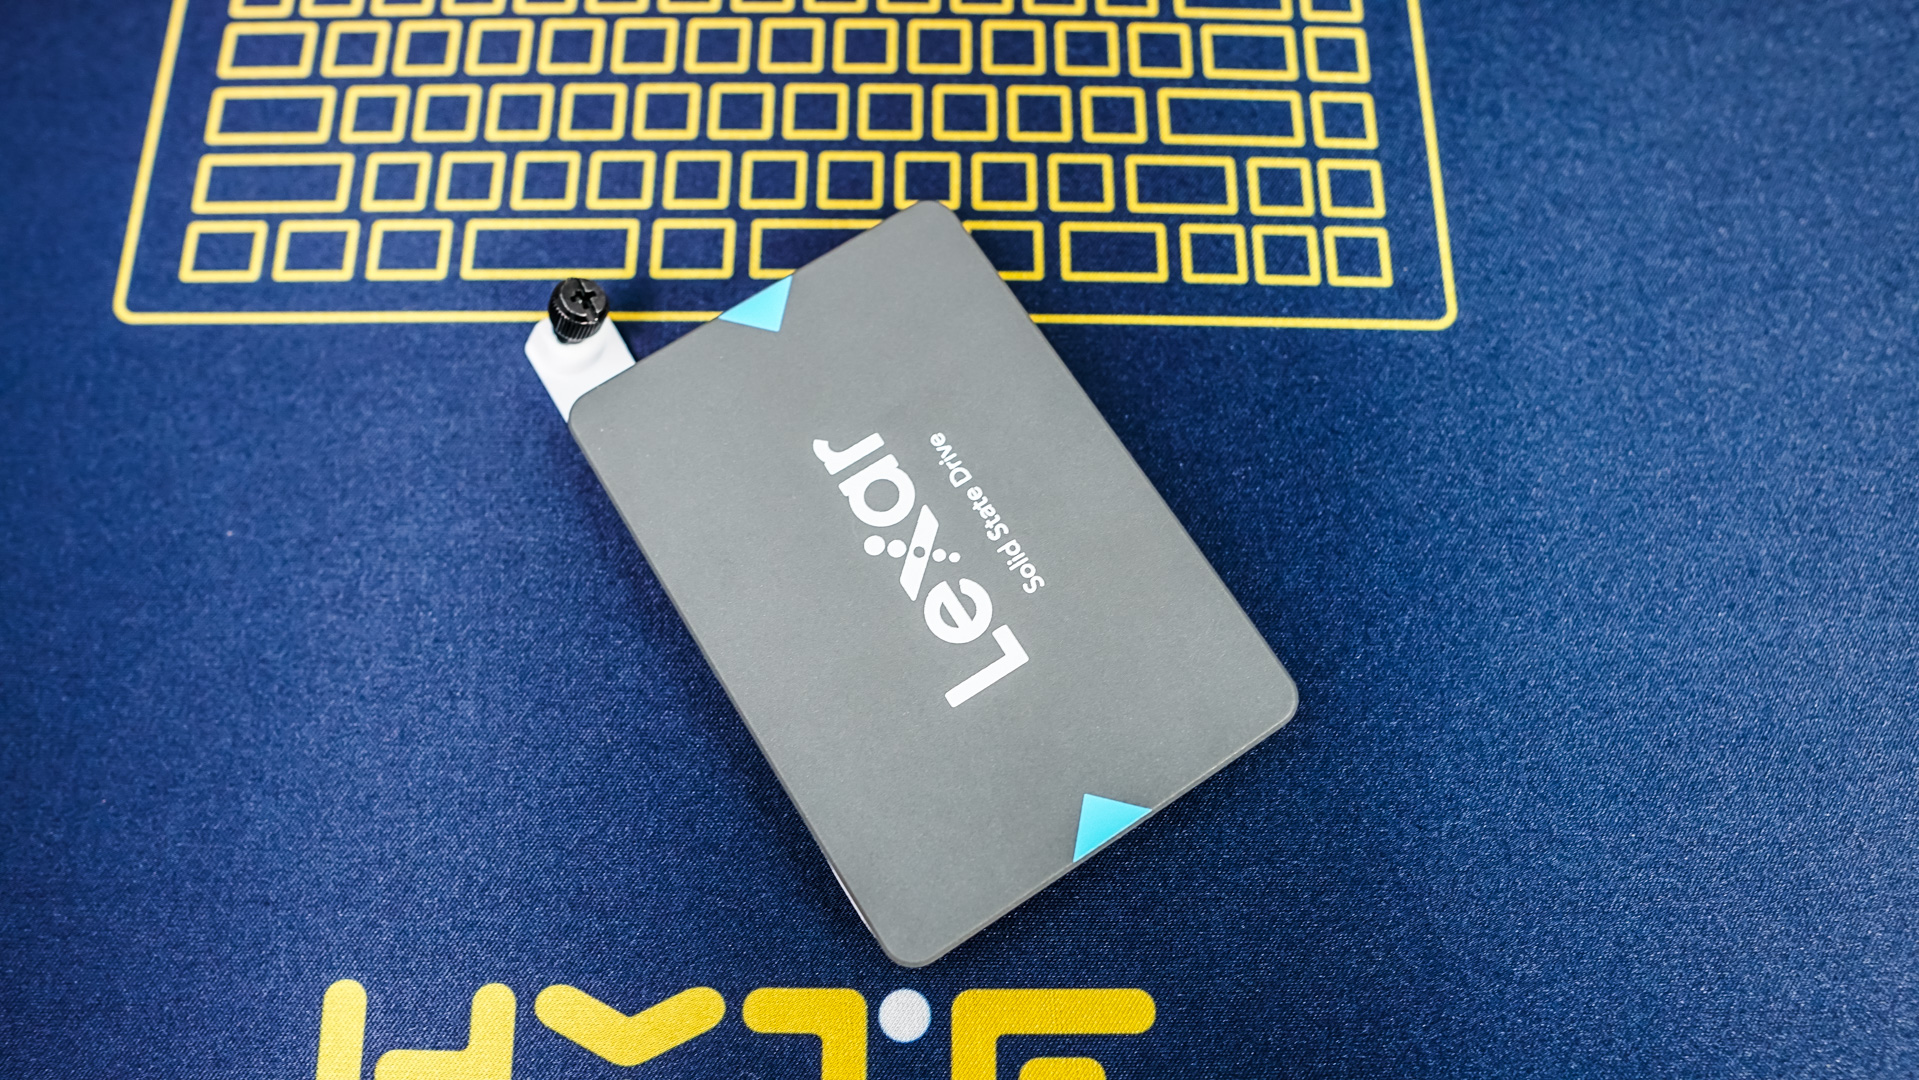
We are only going to be installing a single drive in this case, which is our 2.5-inch solid state drive. Removing one of the 2.5-inch trays we easily attach our drive with the supplied screws and reinstall the tray in the case. Make sure you install your drive with the connections facing up. If they are facing down you won’t have room to connect your data and power connections.

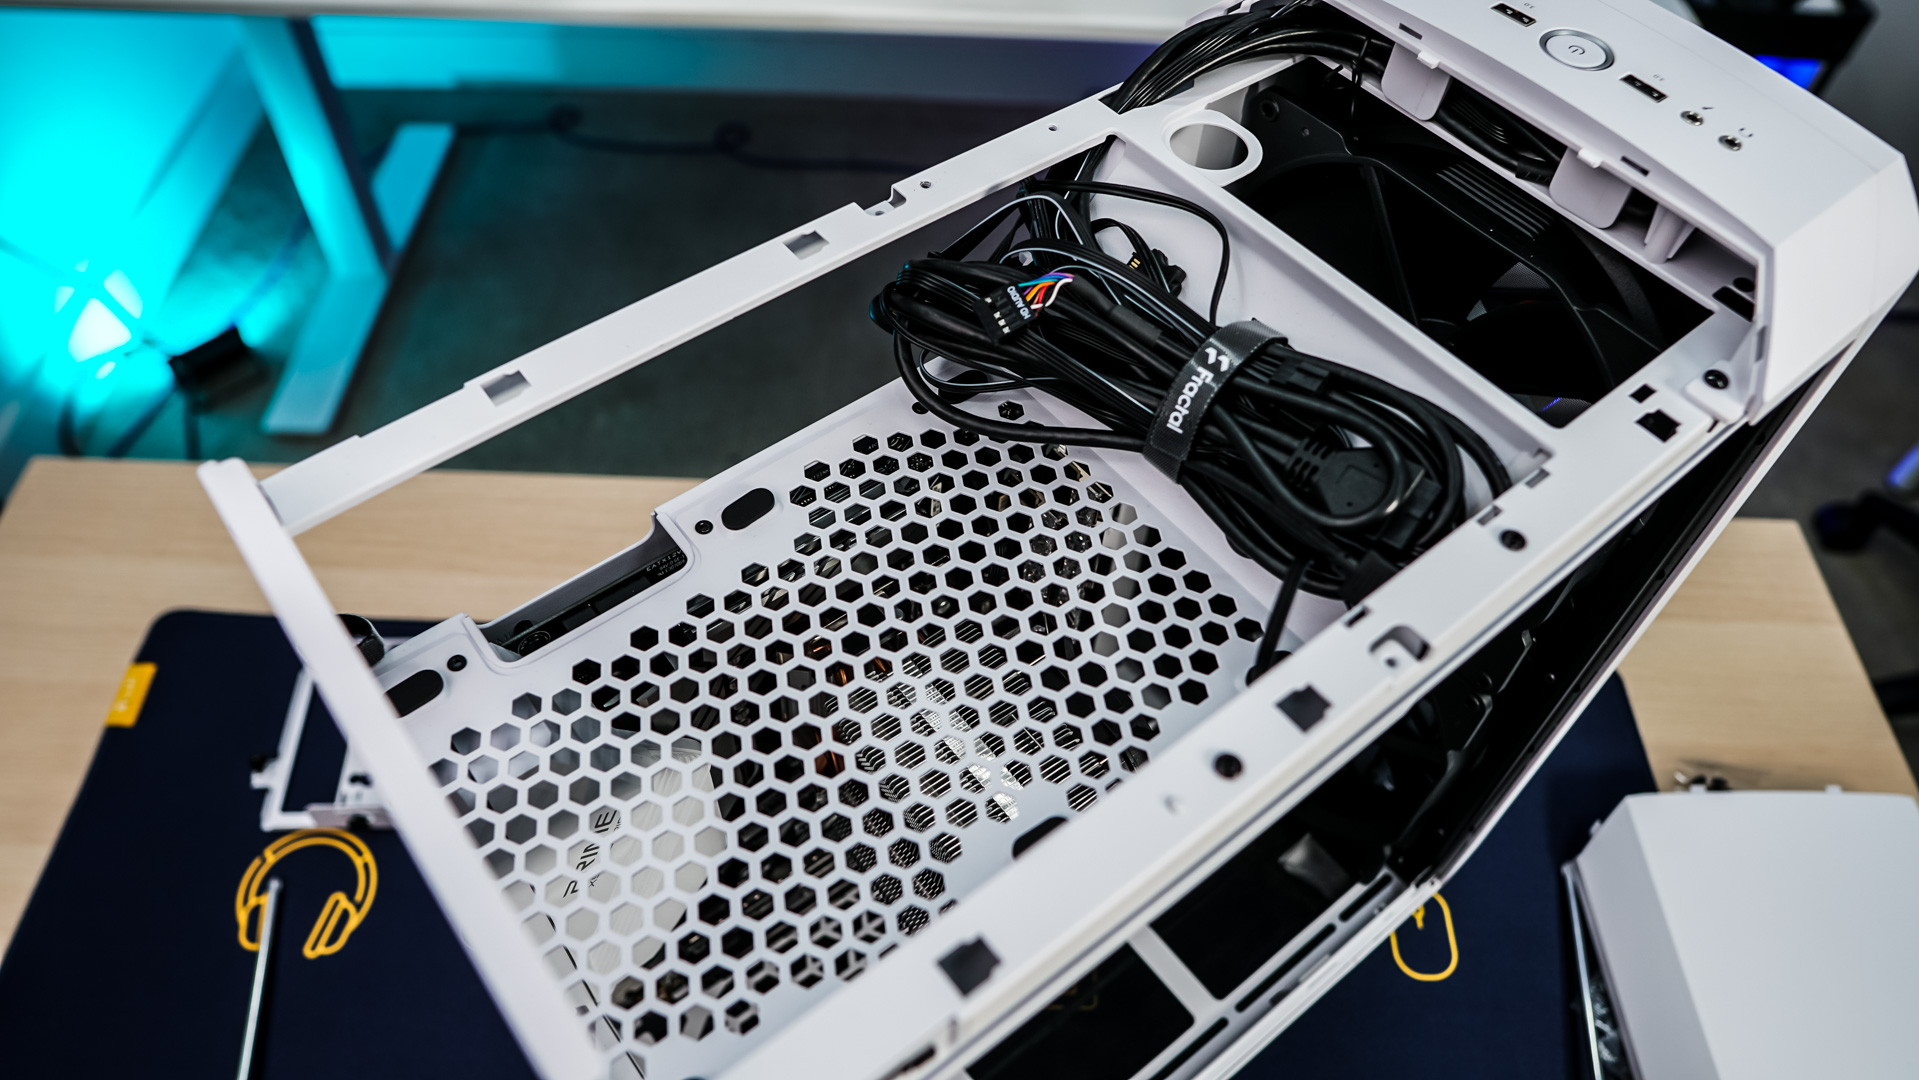
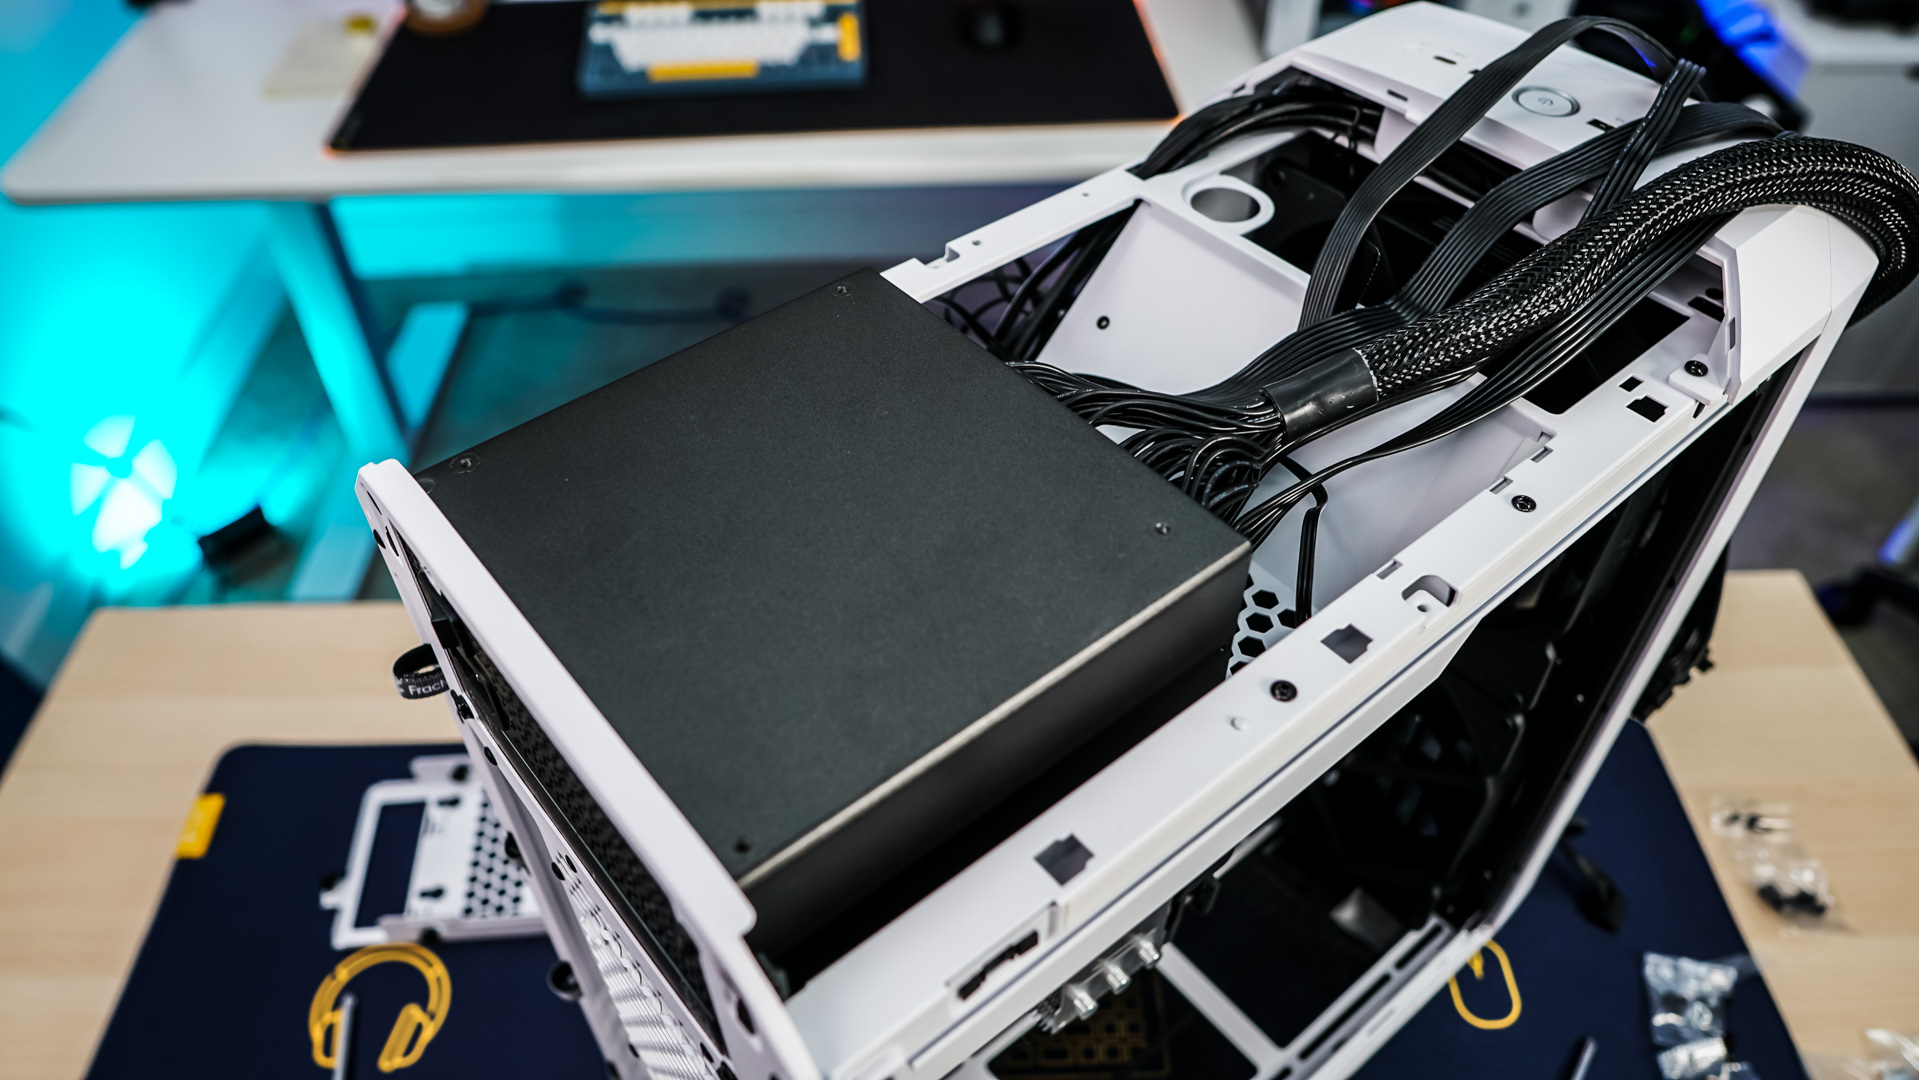
Moving on to power supply installation if you aren’t planning on using the 3.5-inch hard drive mount you can easily remove it. With it removed we can easily install our power supply. It goes in from the top and all of your cables as well as connections are easy to access.
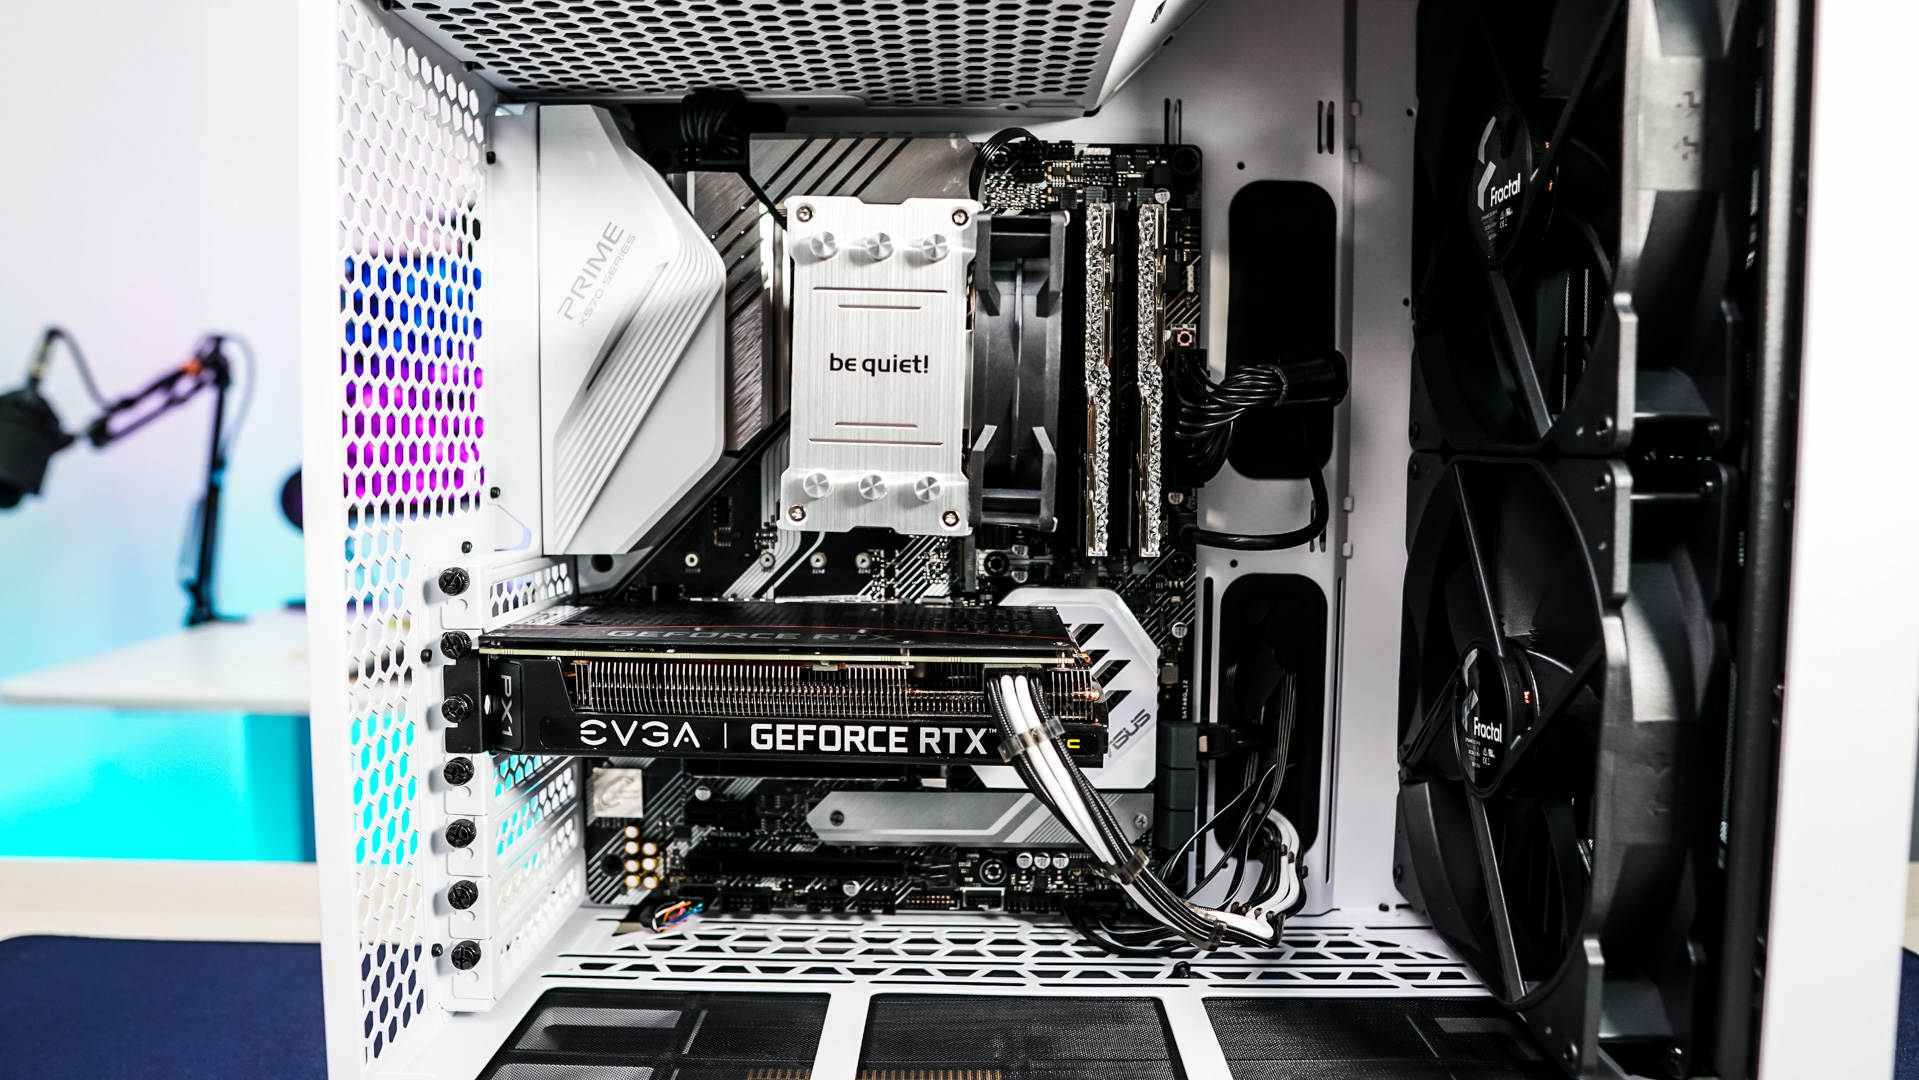
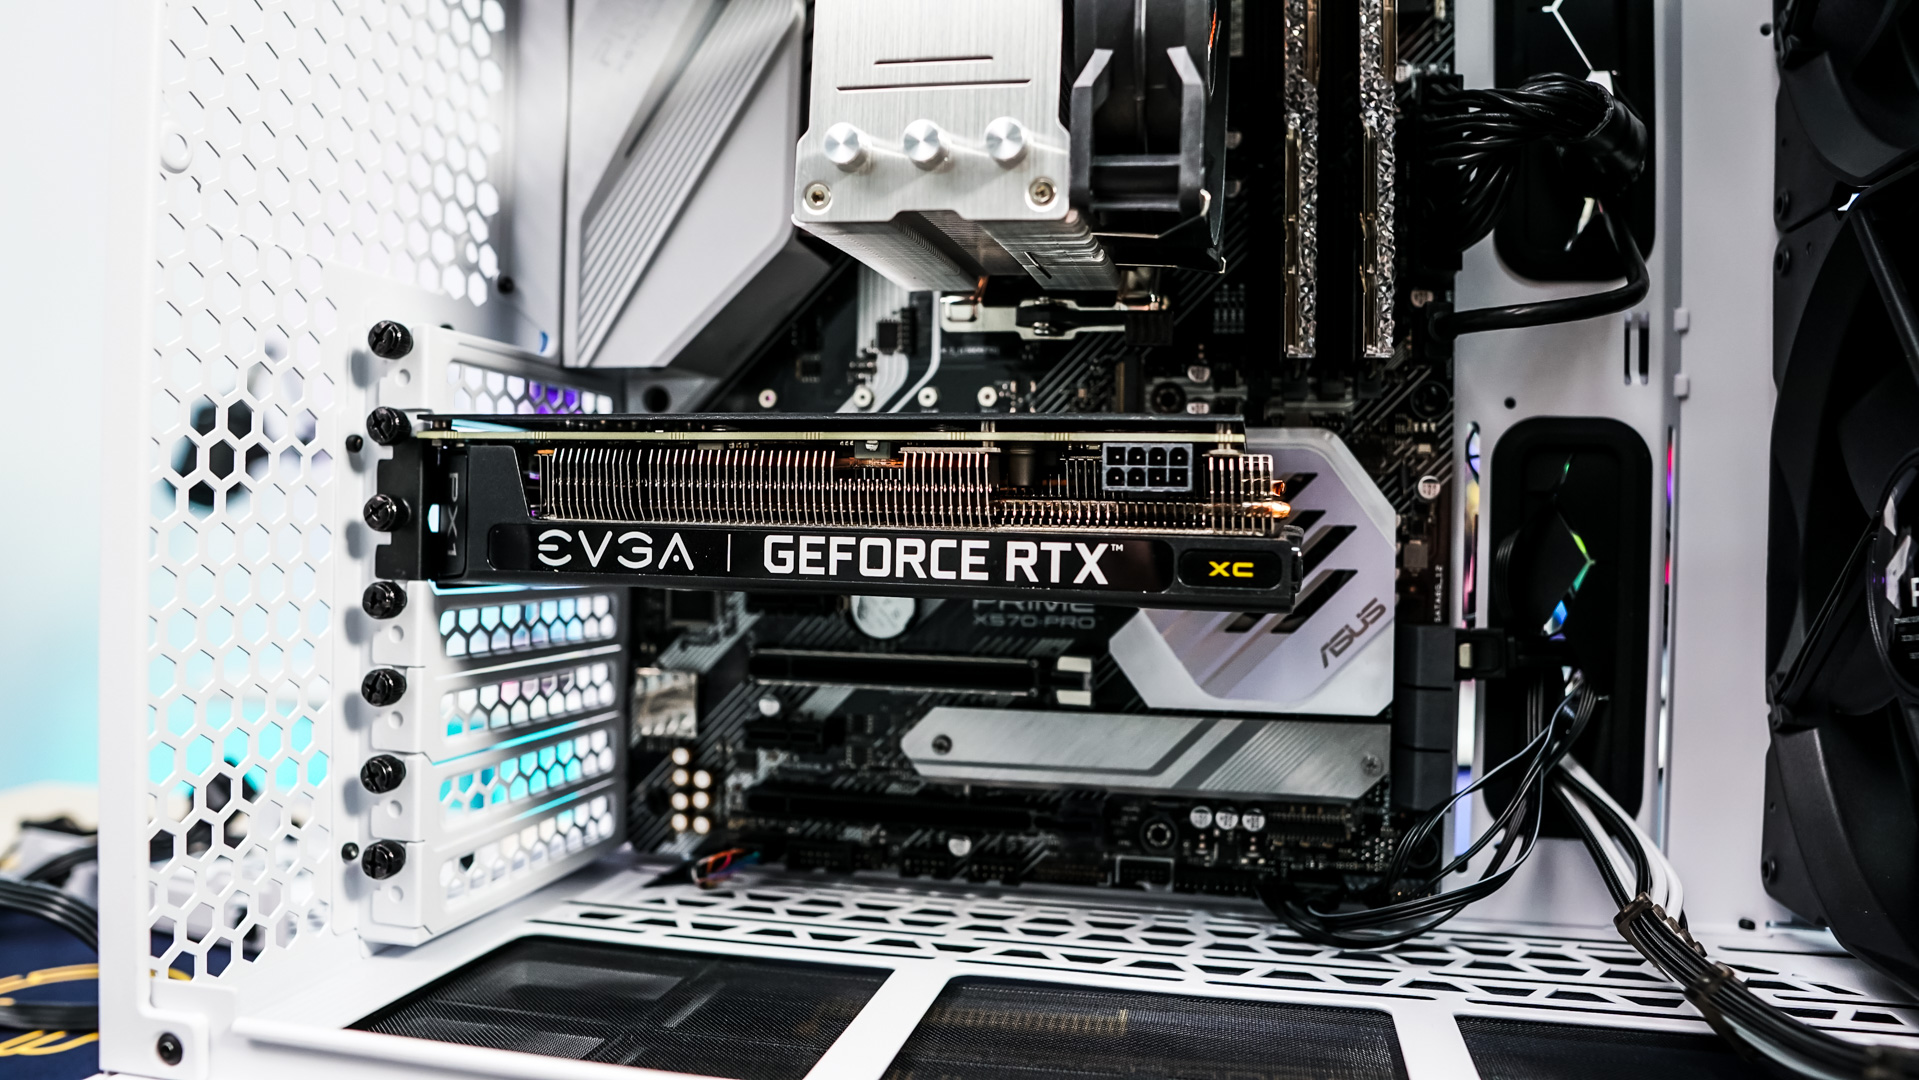
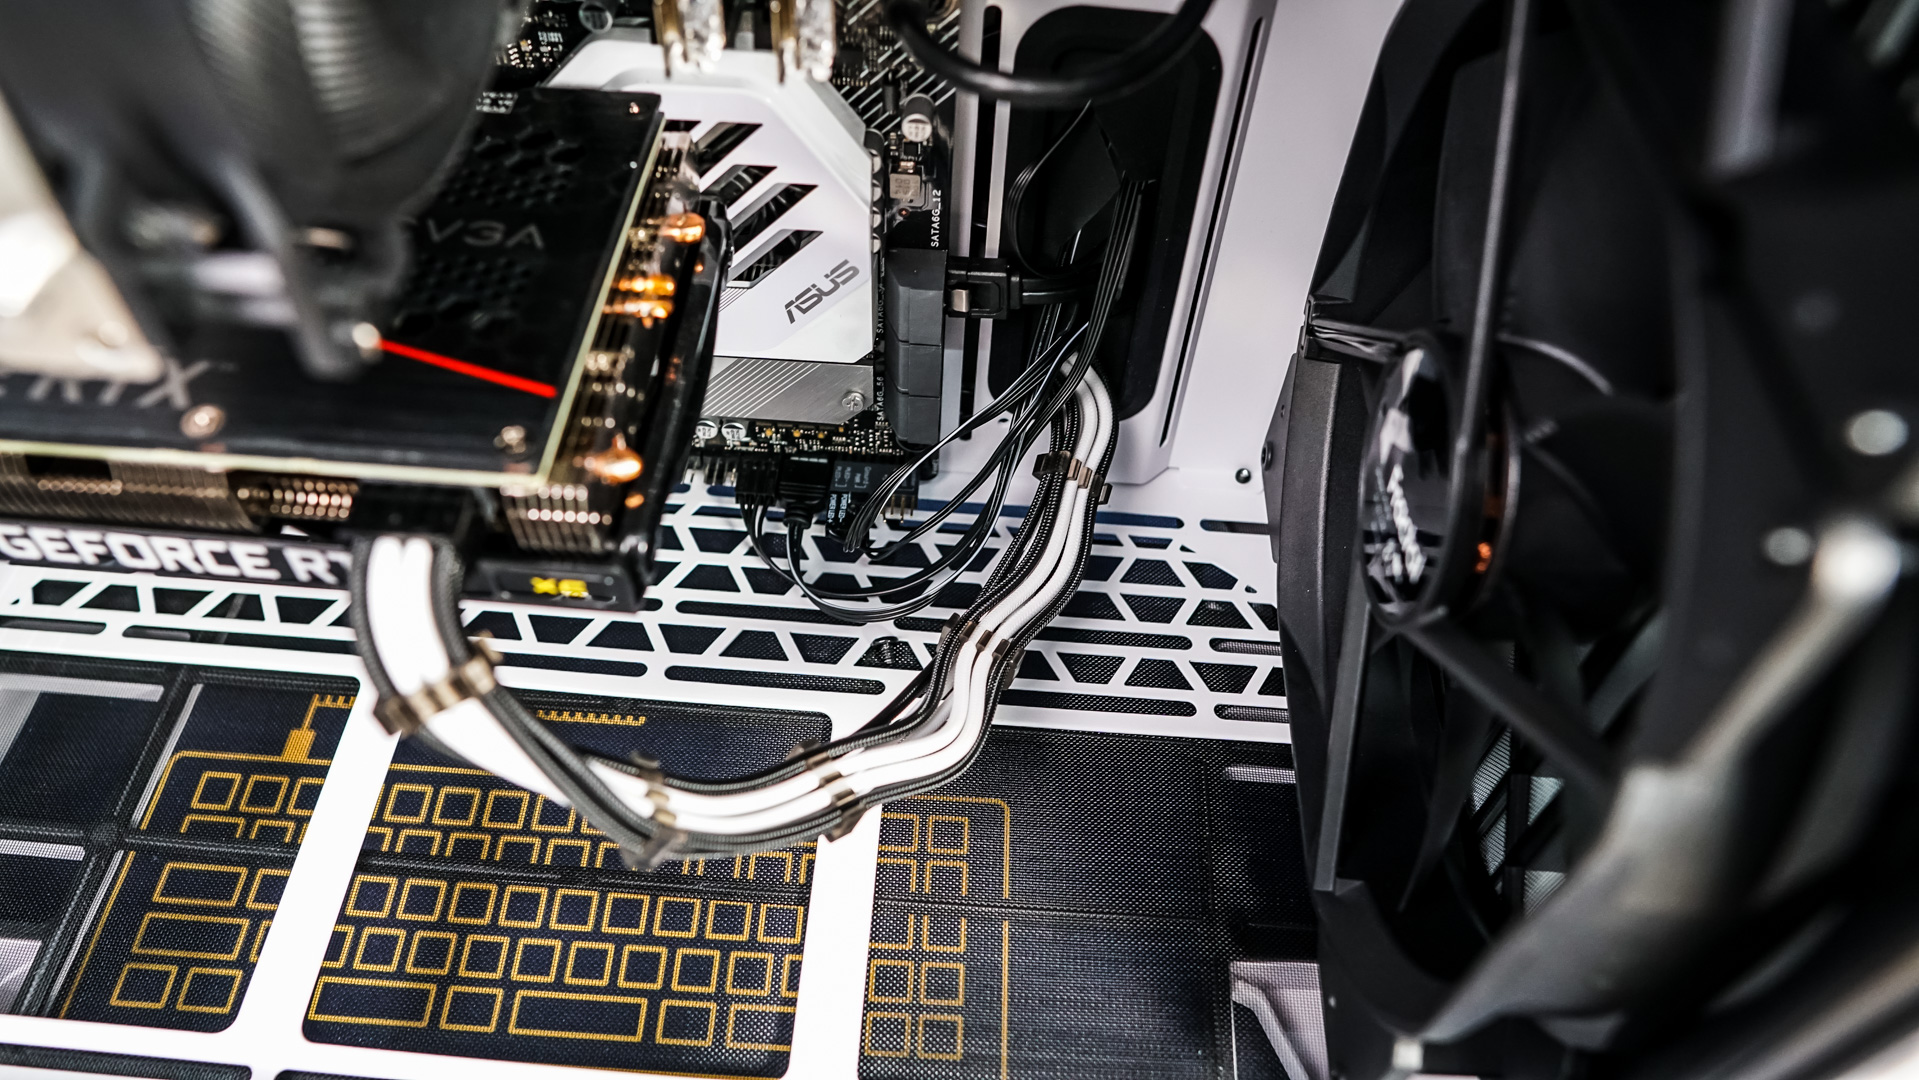
The last piece of hardware we need to install is our graphics card, which goes in no problem.
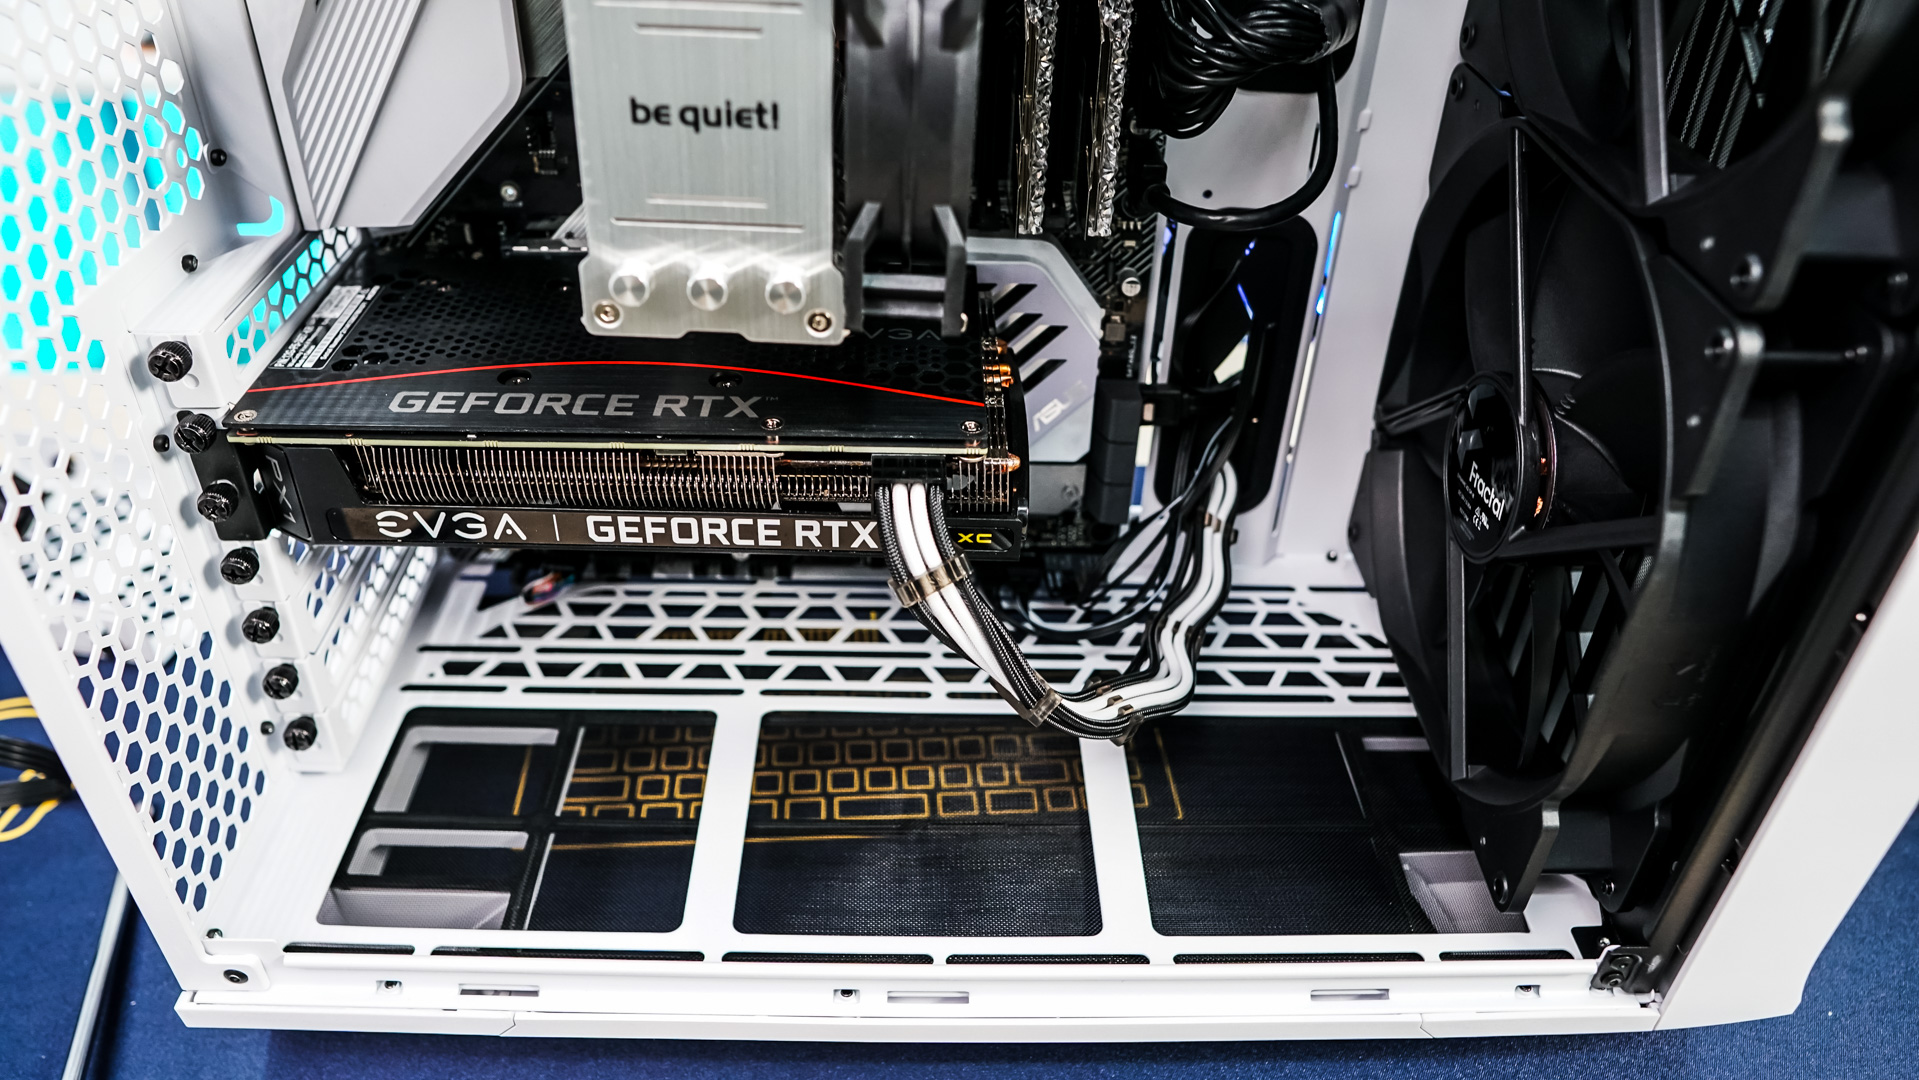
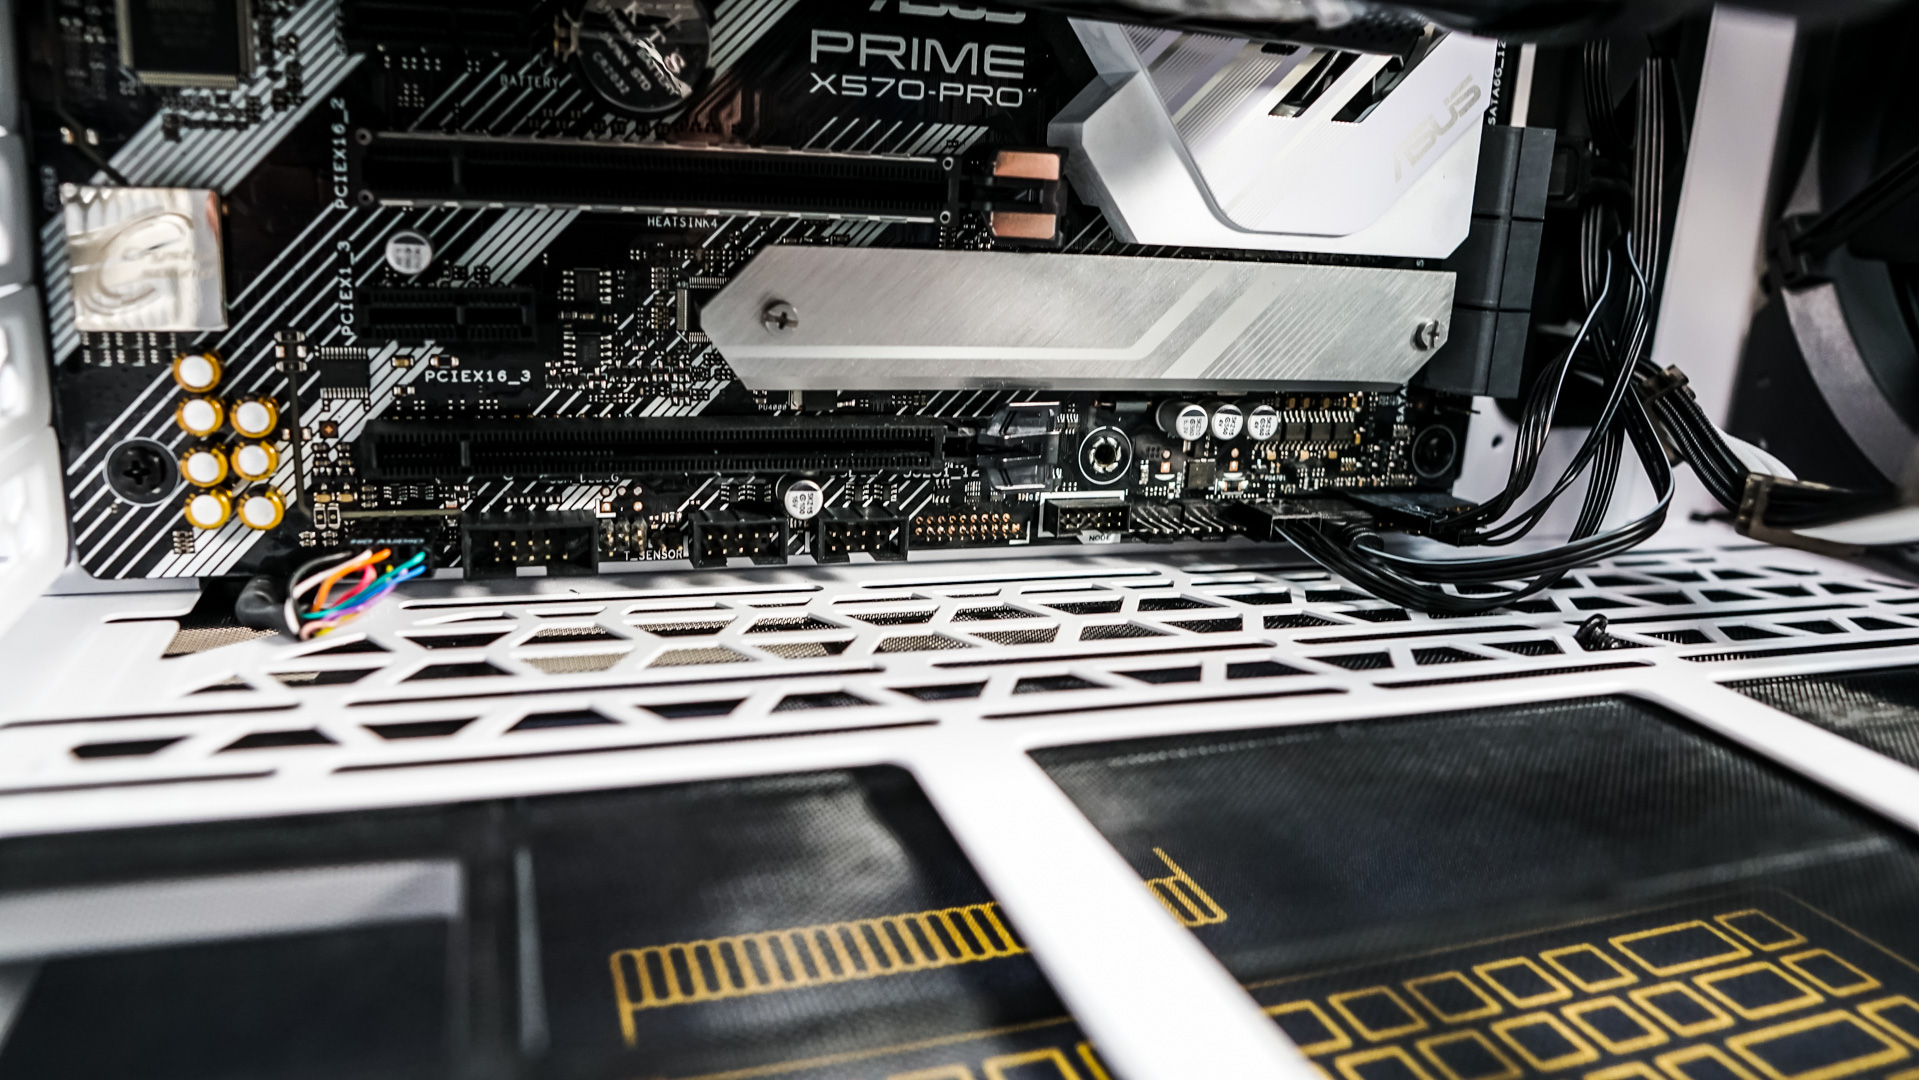
Now it is time to organize all of our cables. The cable routing channels and all of the velcro ties made things pretty easy. I do have to say though that not having a whole lot of space behind the motherboard tray did make things a little more difficult. Also not having any centrally located bottom routing holes means you have to route all of your cables to one of the main cable routing holes, which looks a bit odd, especially if you have a shorter graphics card like we do.
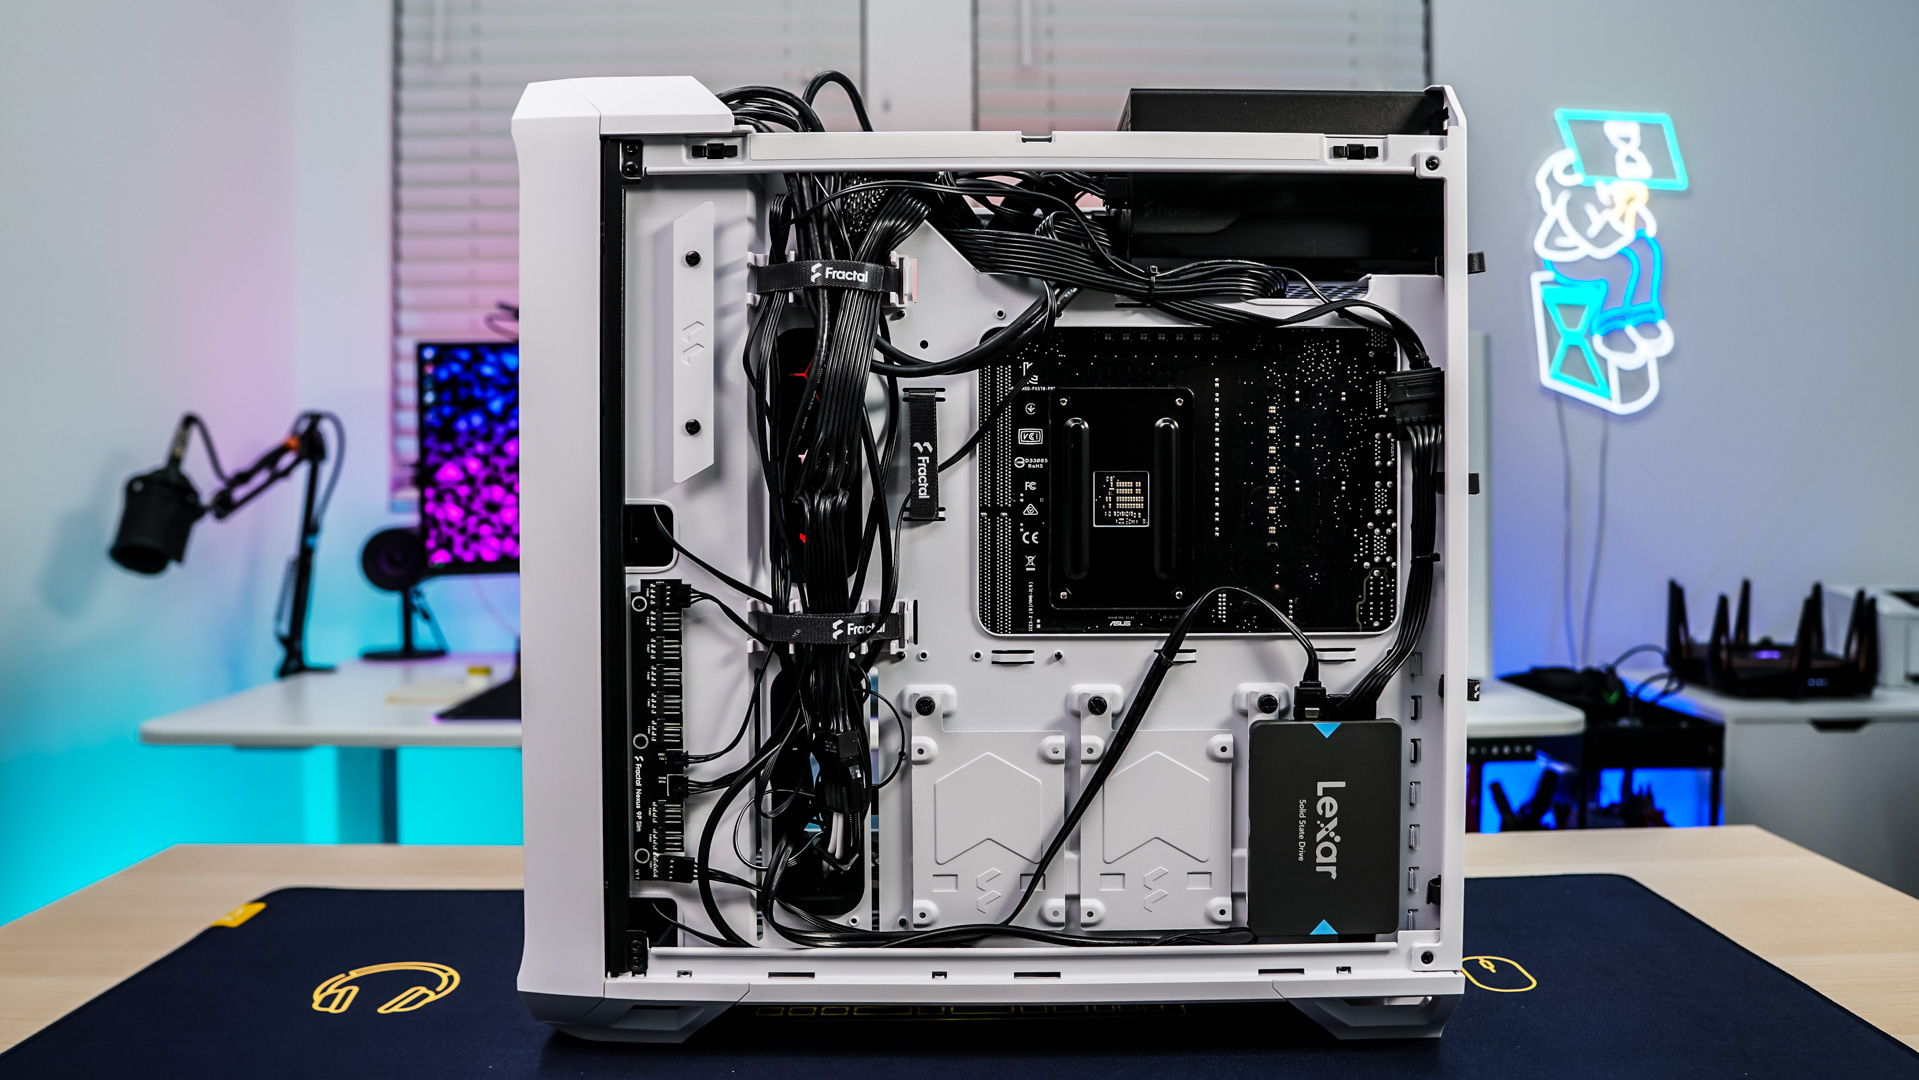

With everything installed we do have a very clean build.