Installation
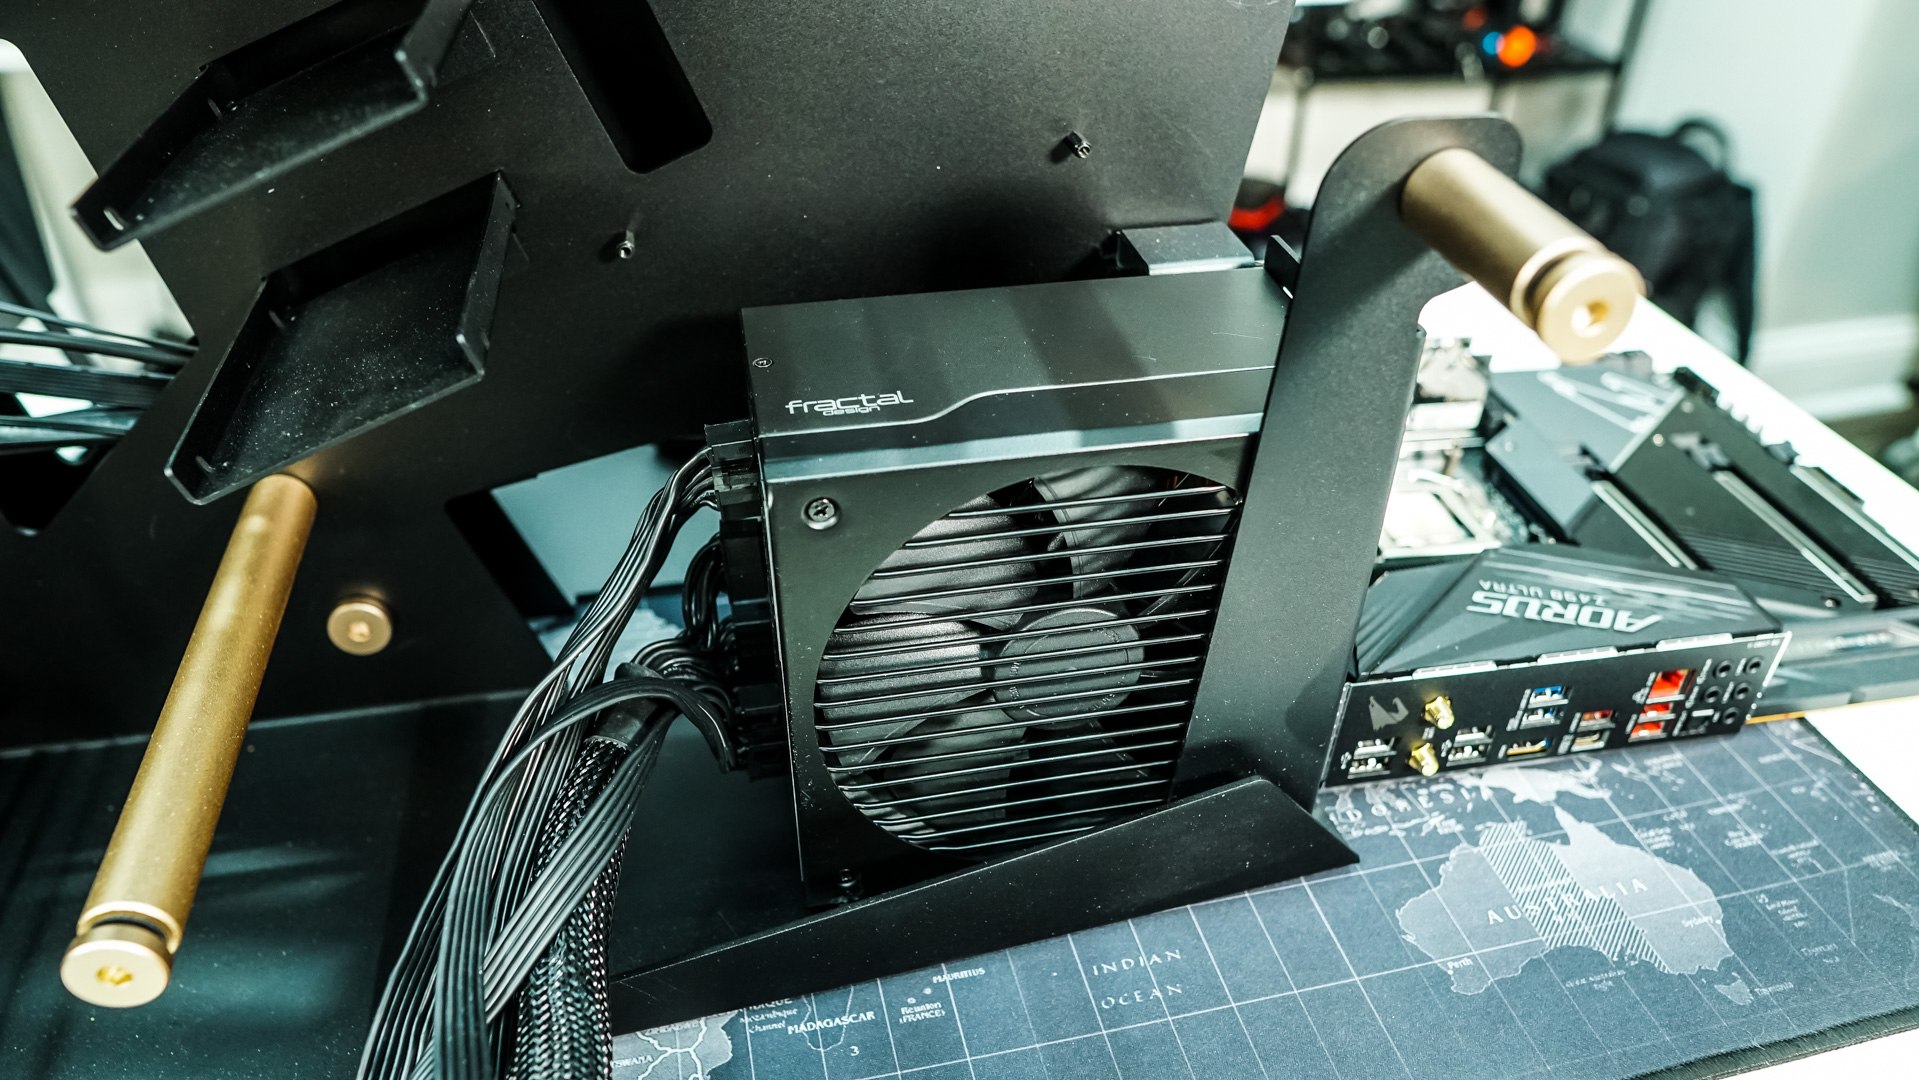
We will only be doing a single-system installation, but a dual-system would not be all that hard. The first thing you are going to want to do is install your power supply. We installed our ATX power supply quite easily as it just slides right into place and you secure it with four screws.
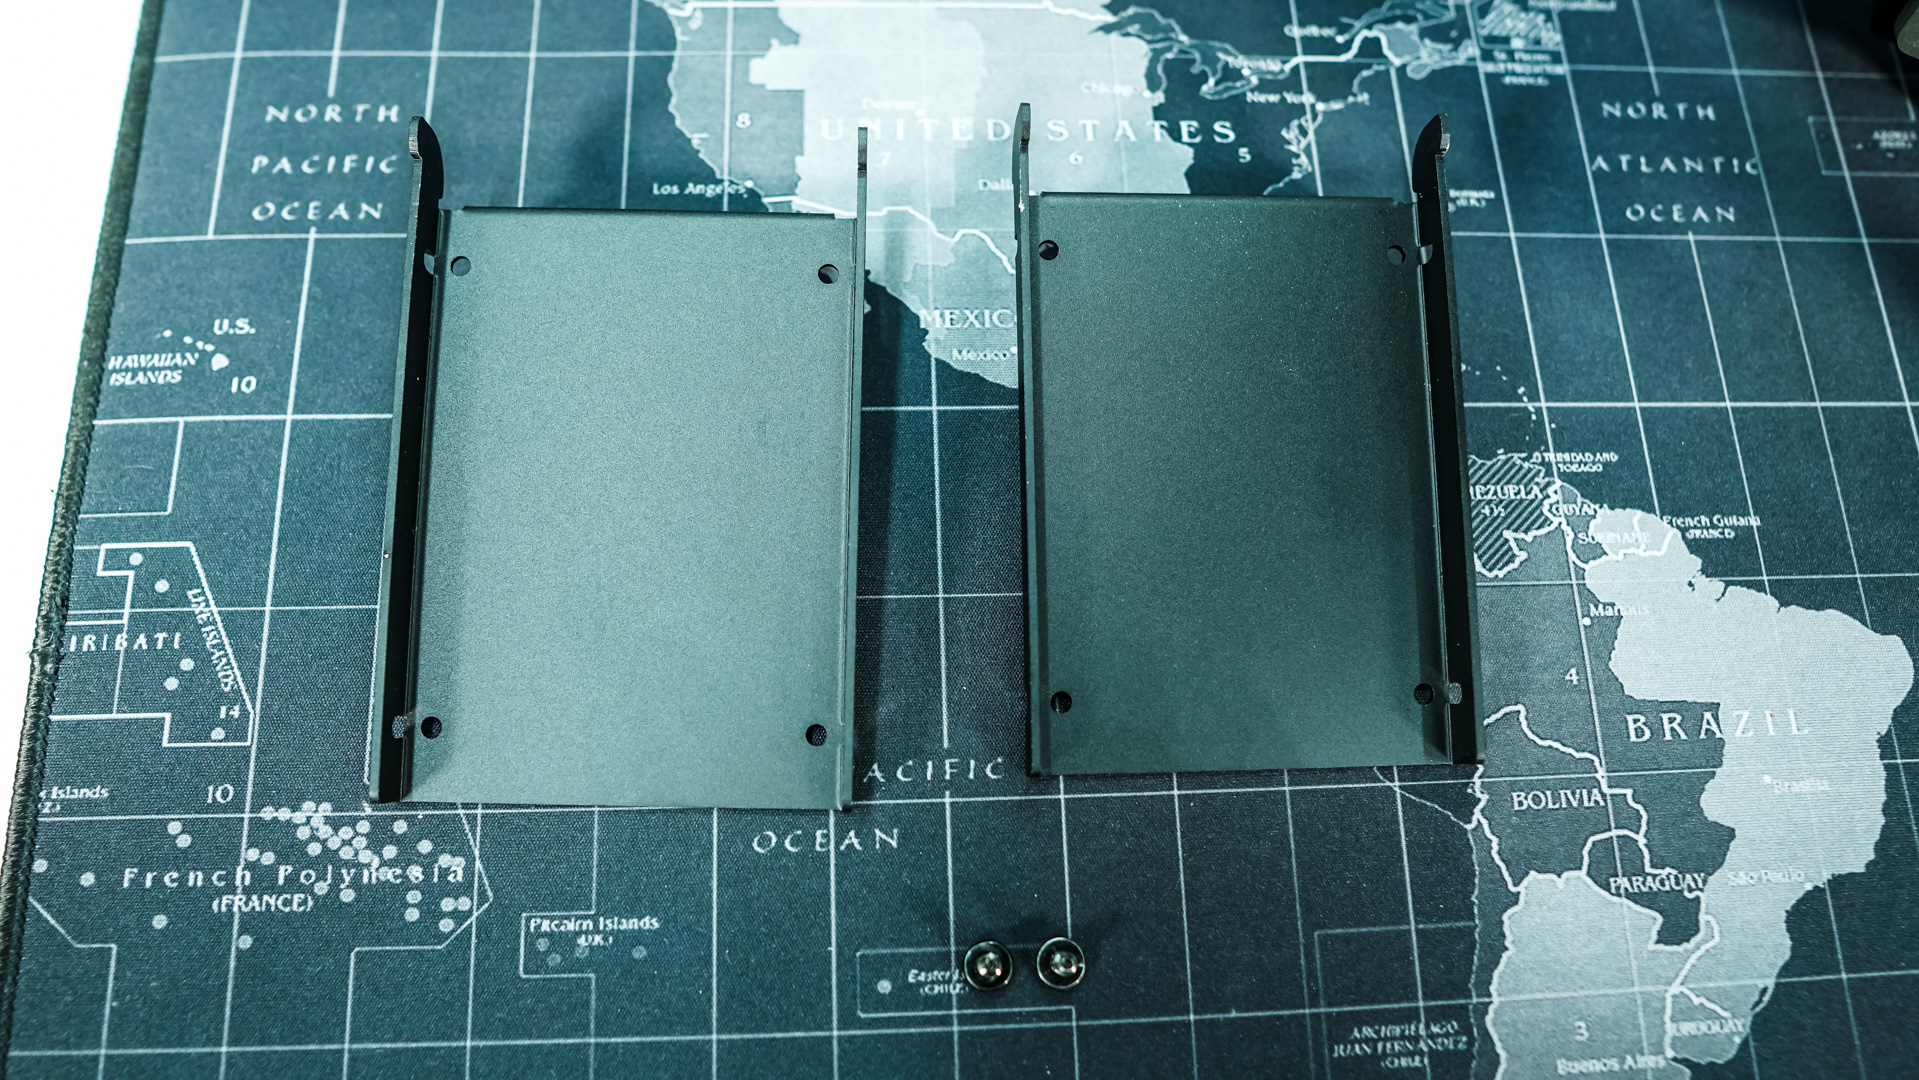
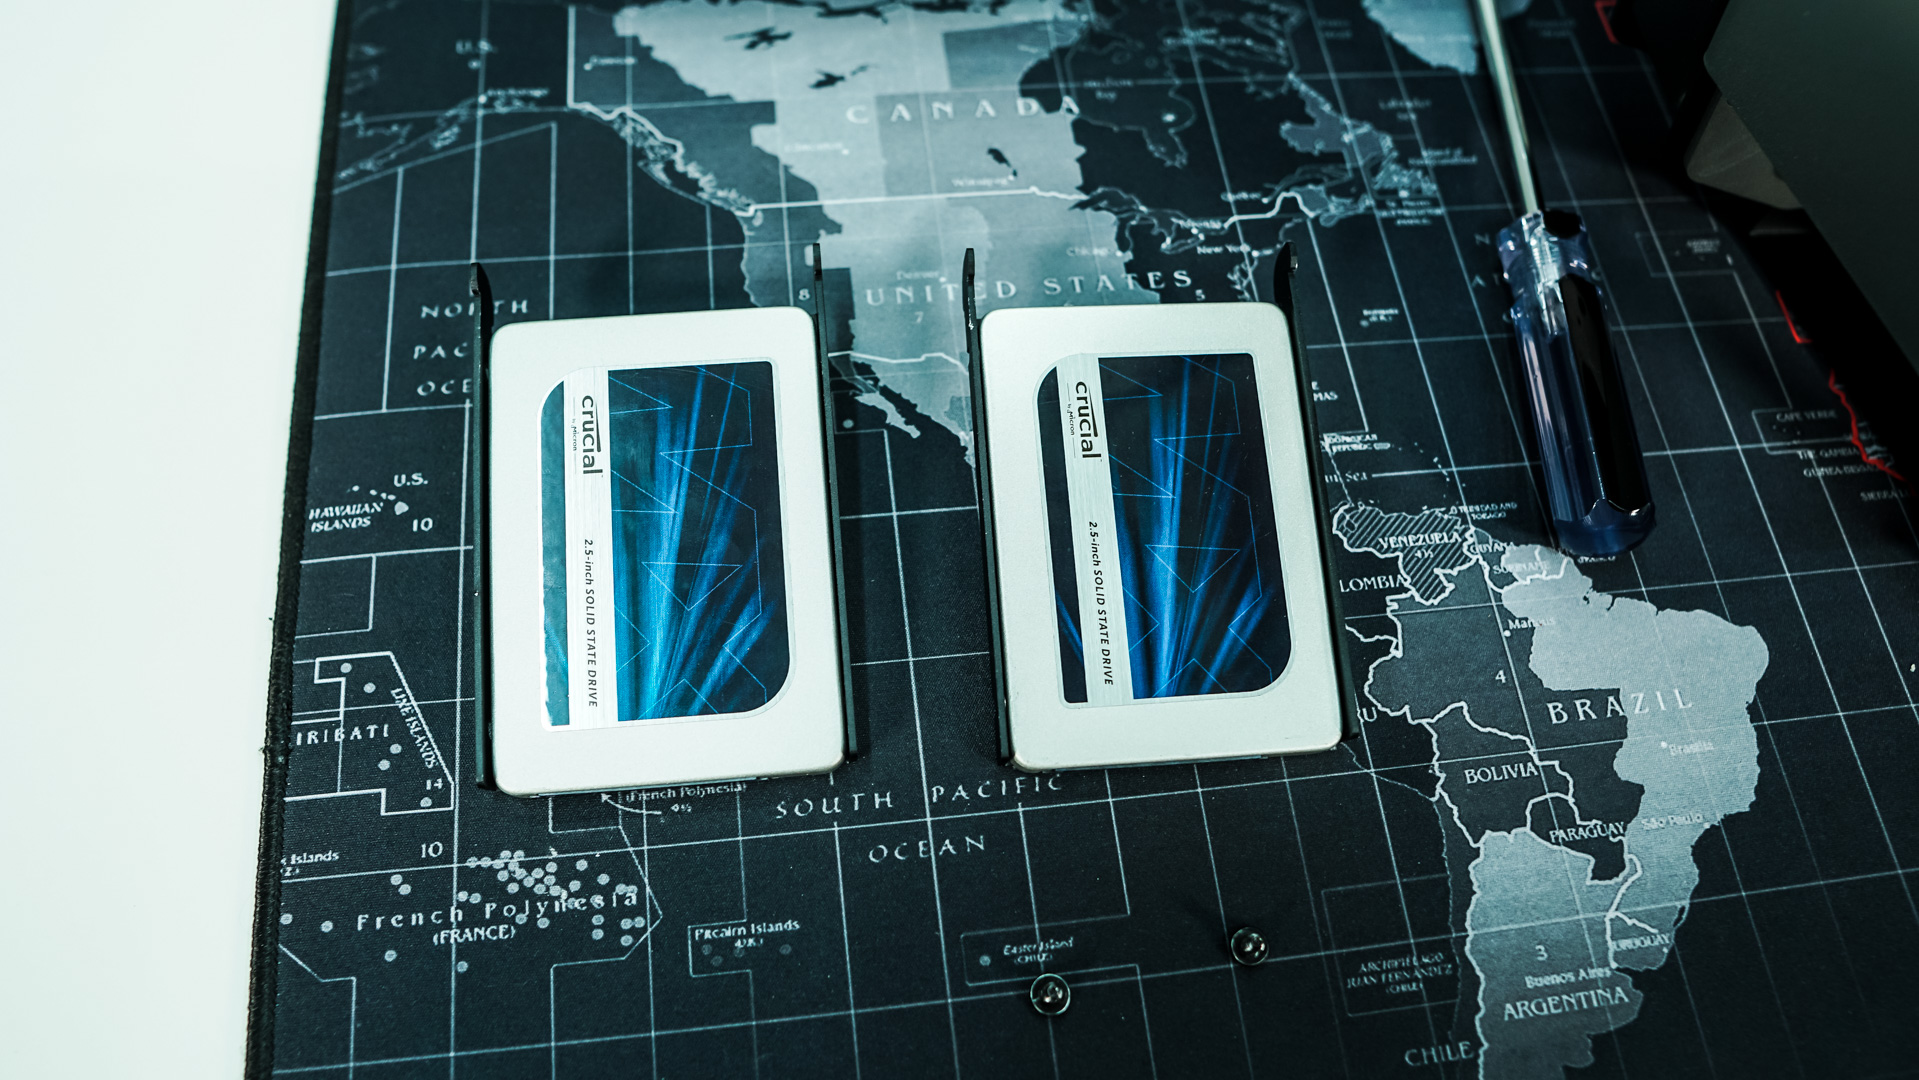
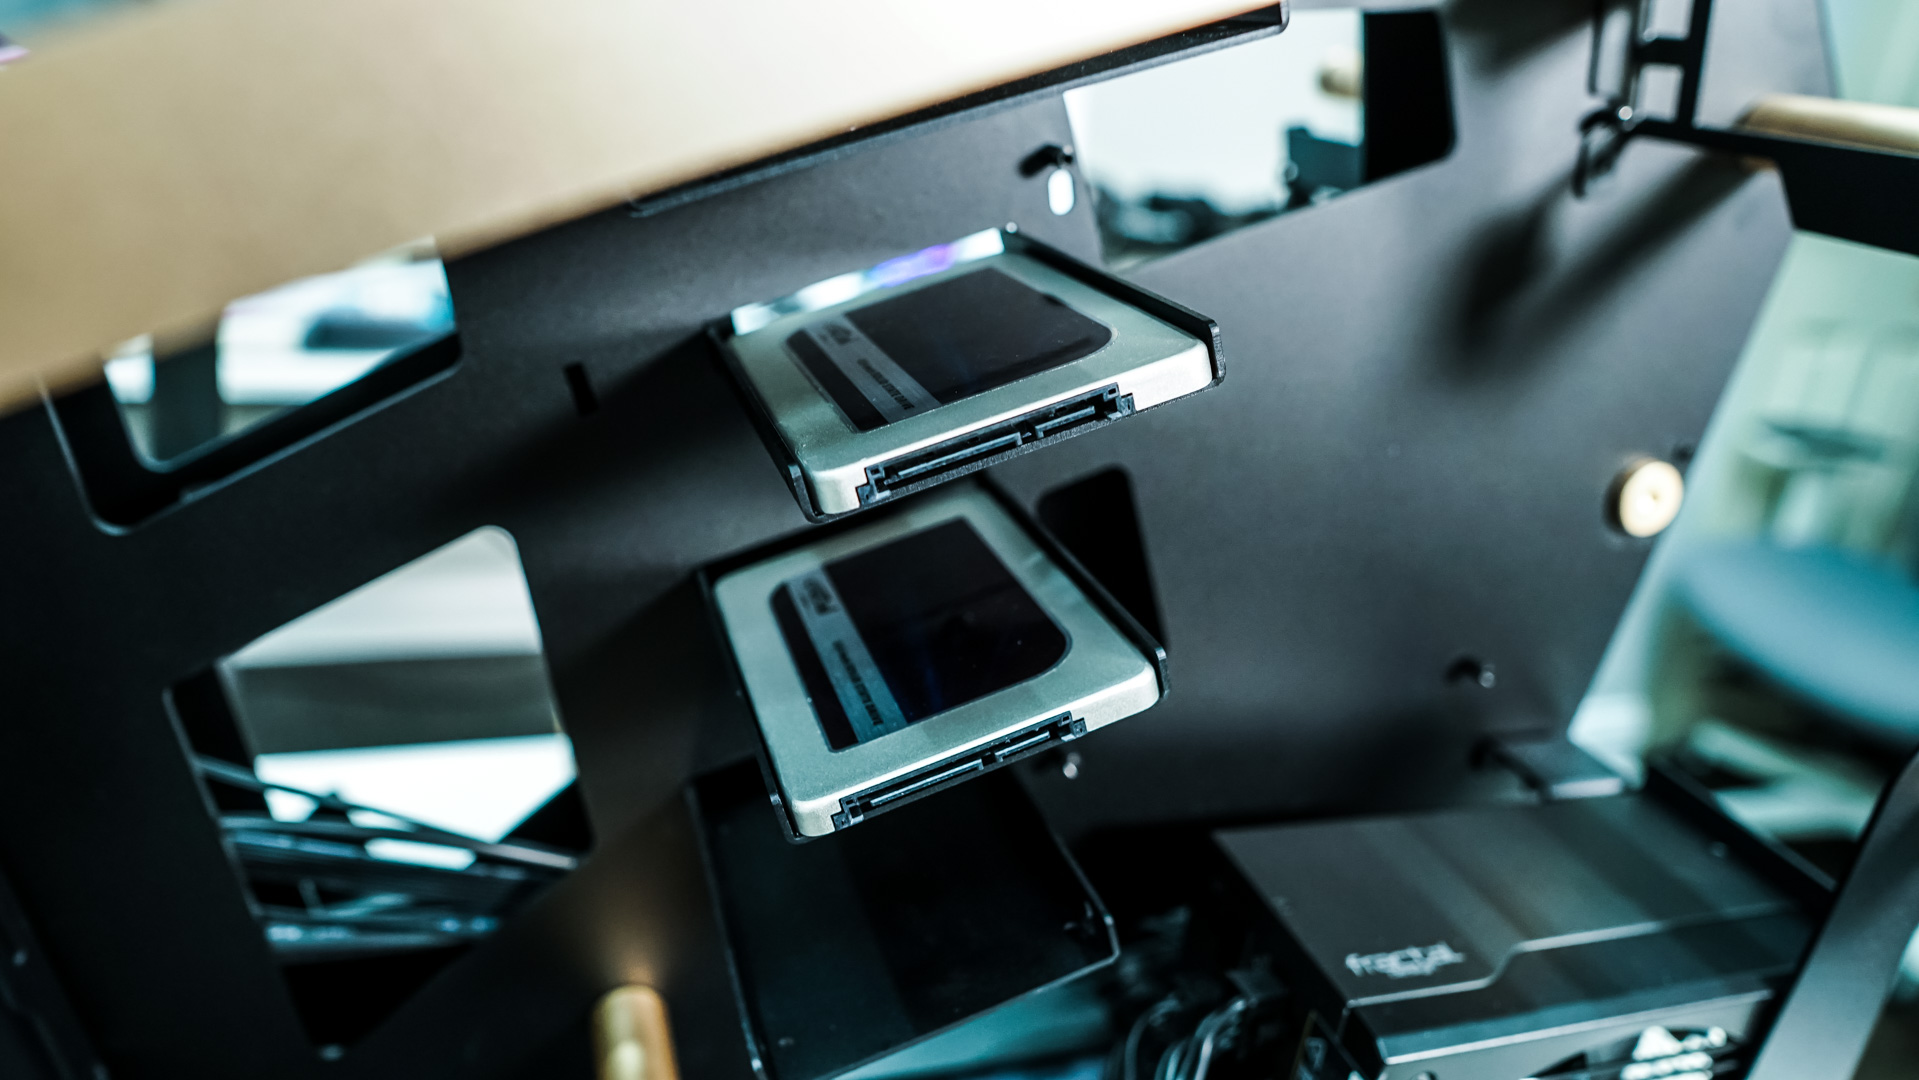
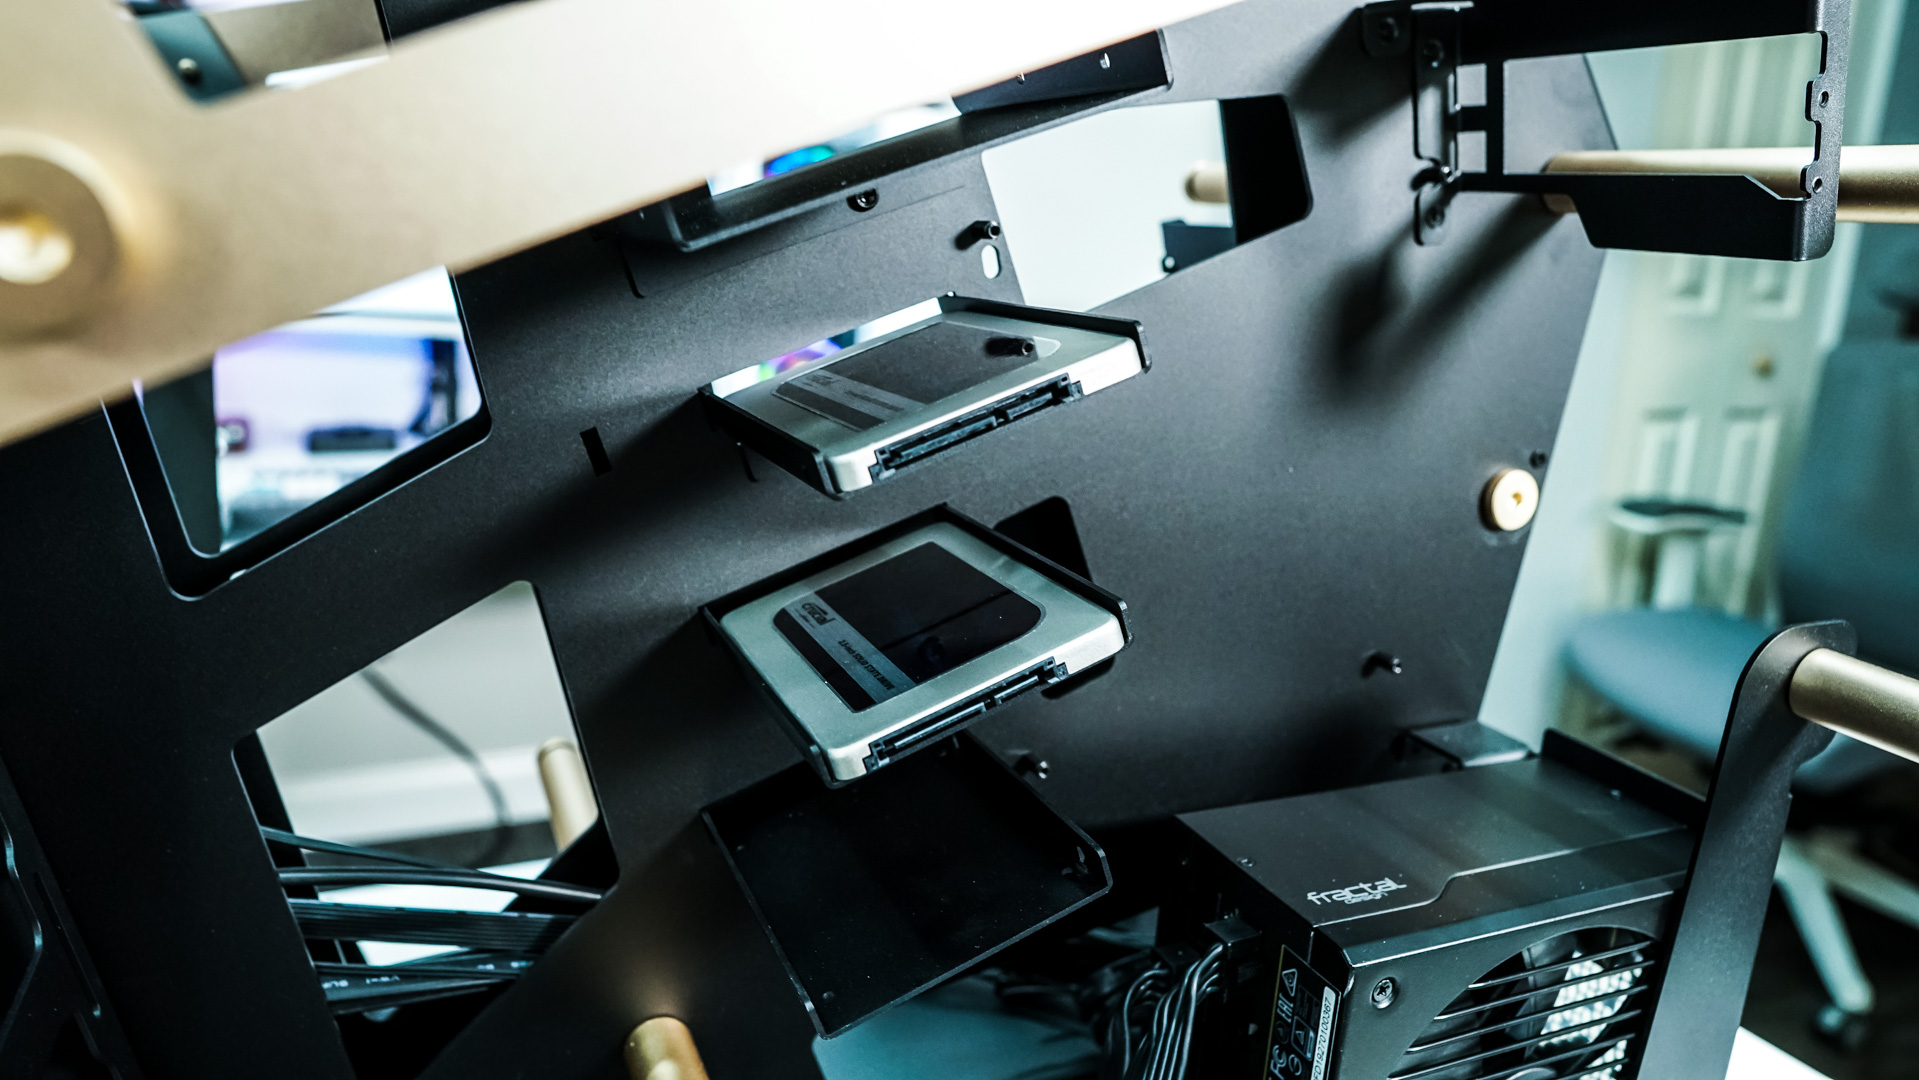
Storage is next, we will be installing two 2.5-inch solid state drives. The storage trays are removable which makes it easy to install your drives outside of the case.
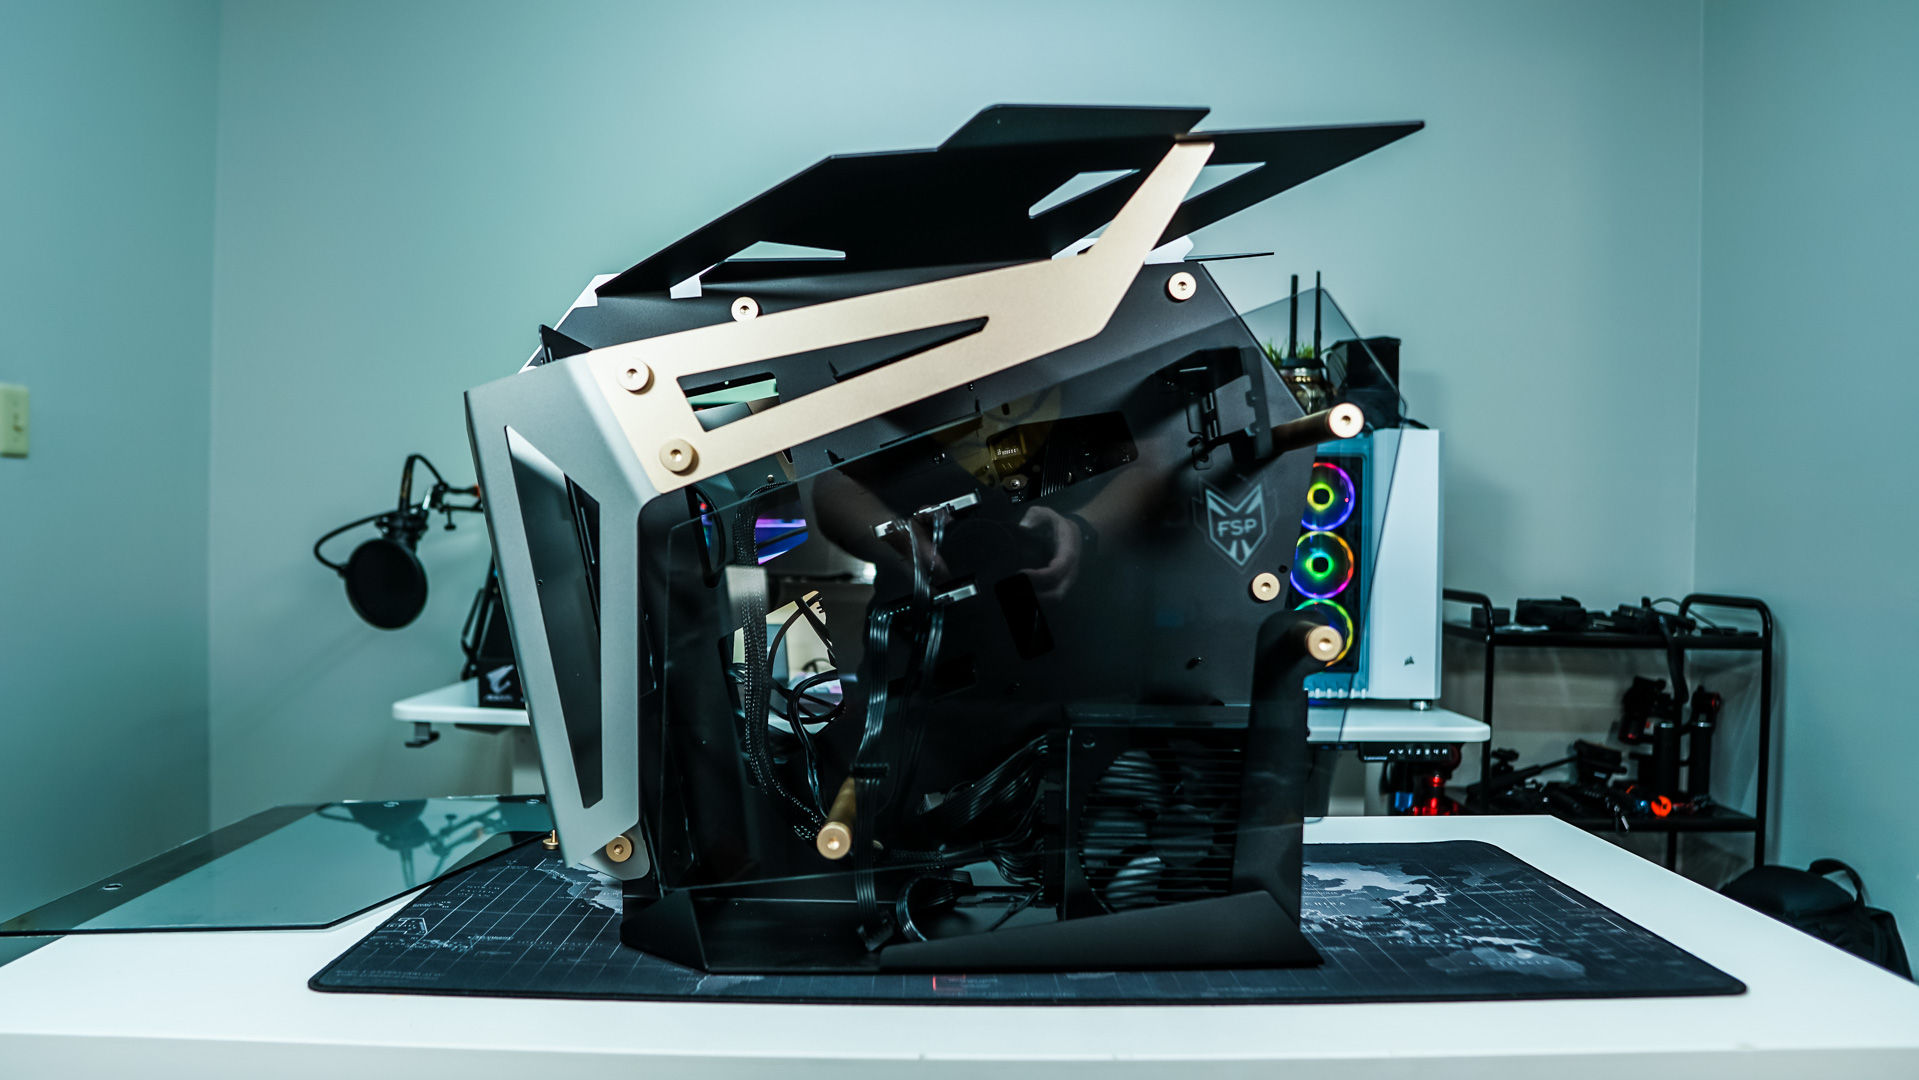
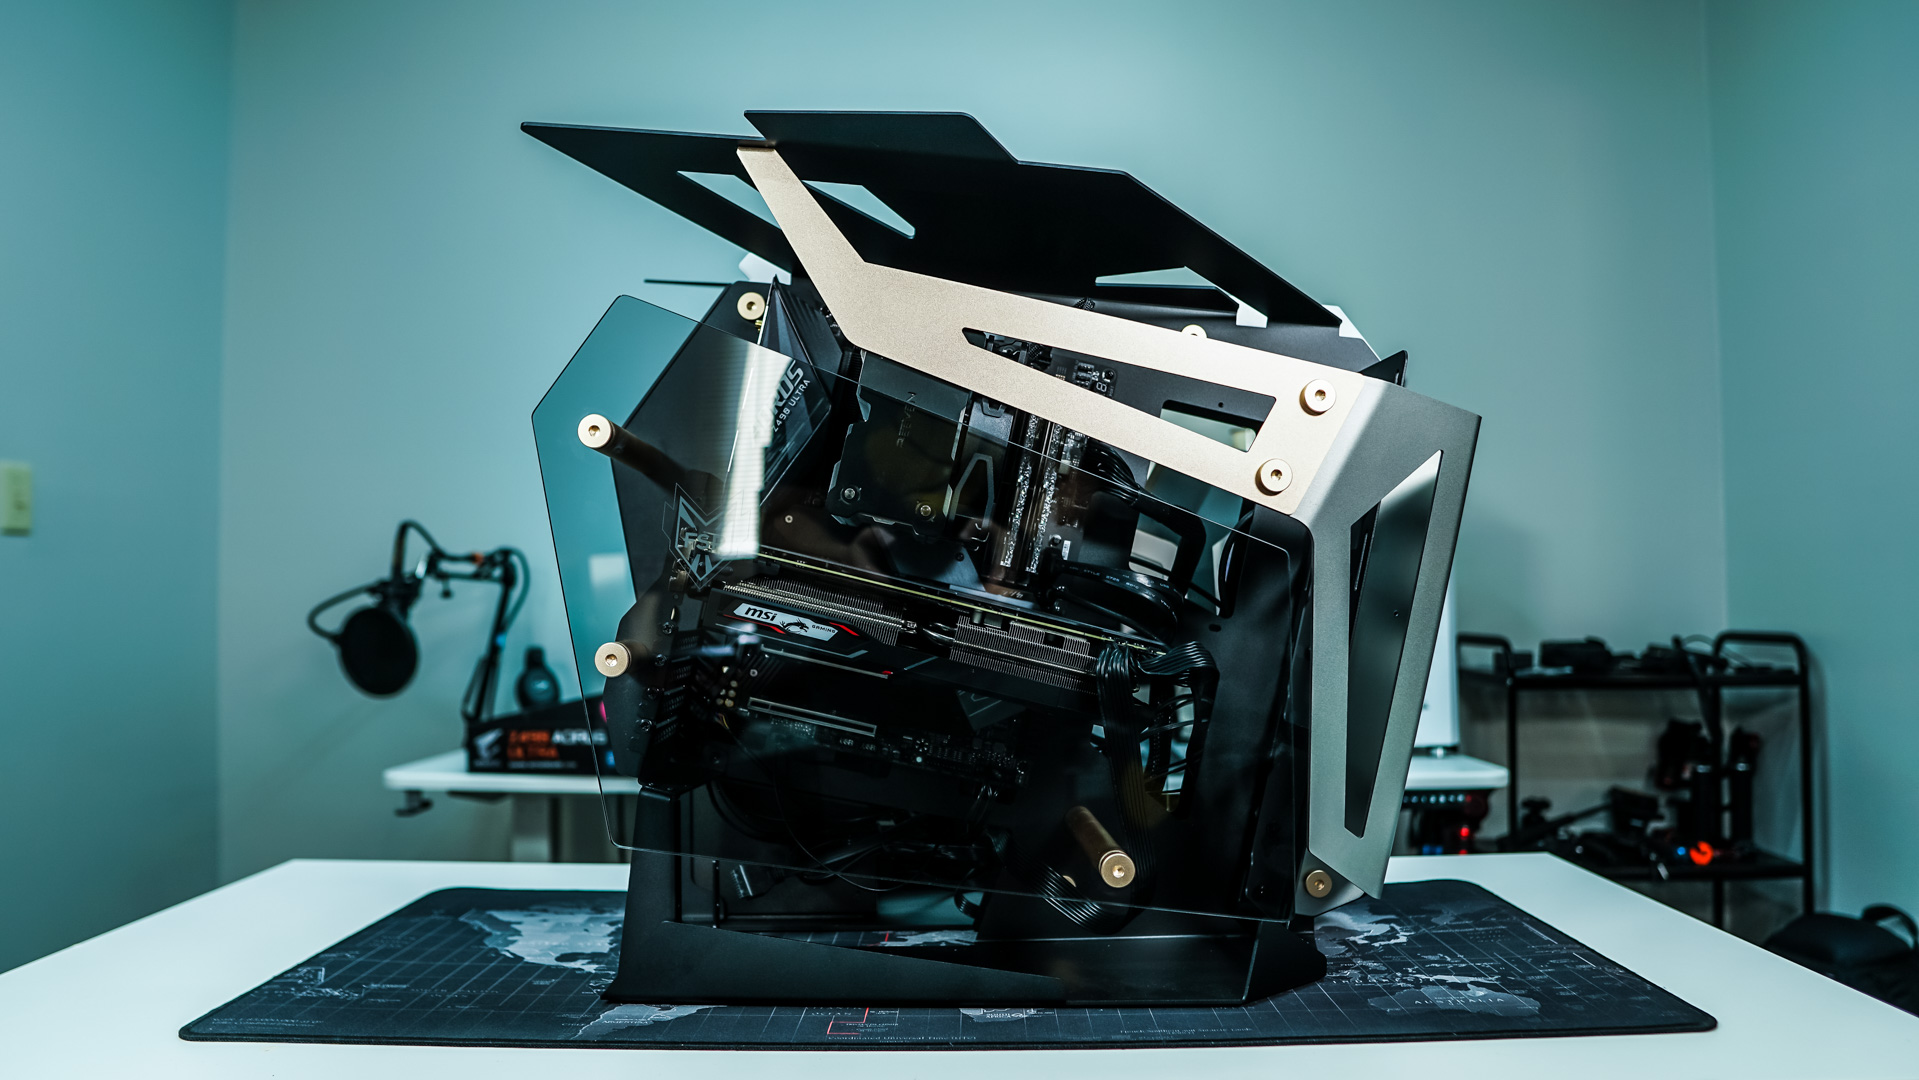
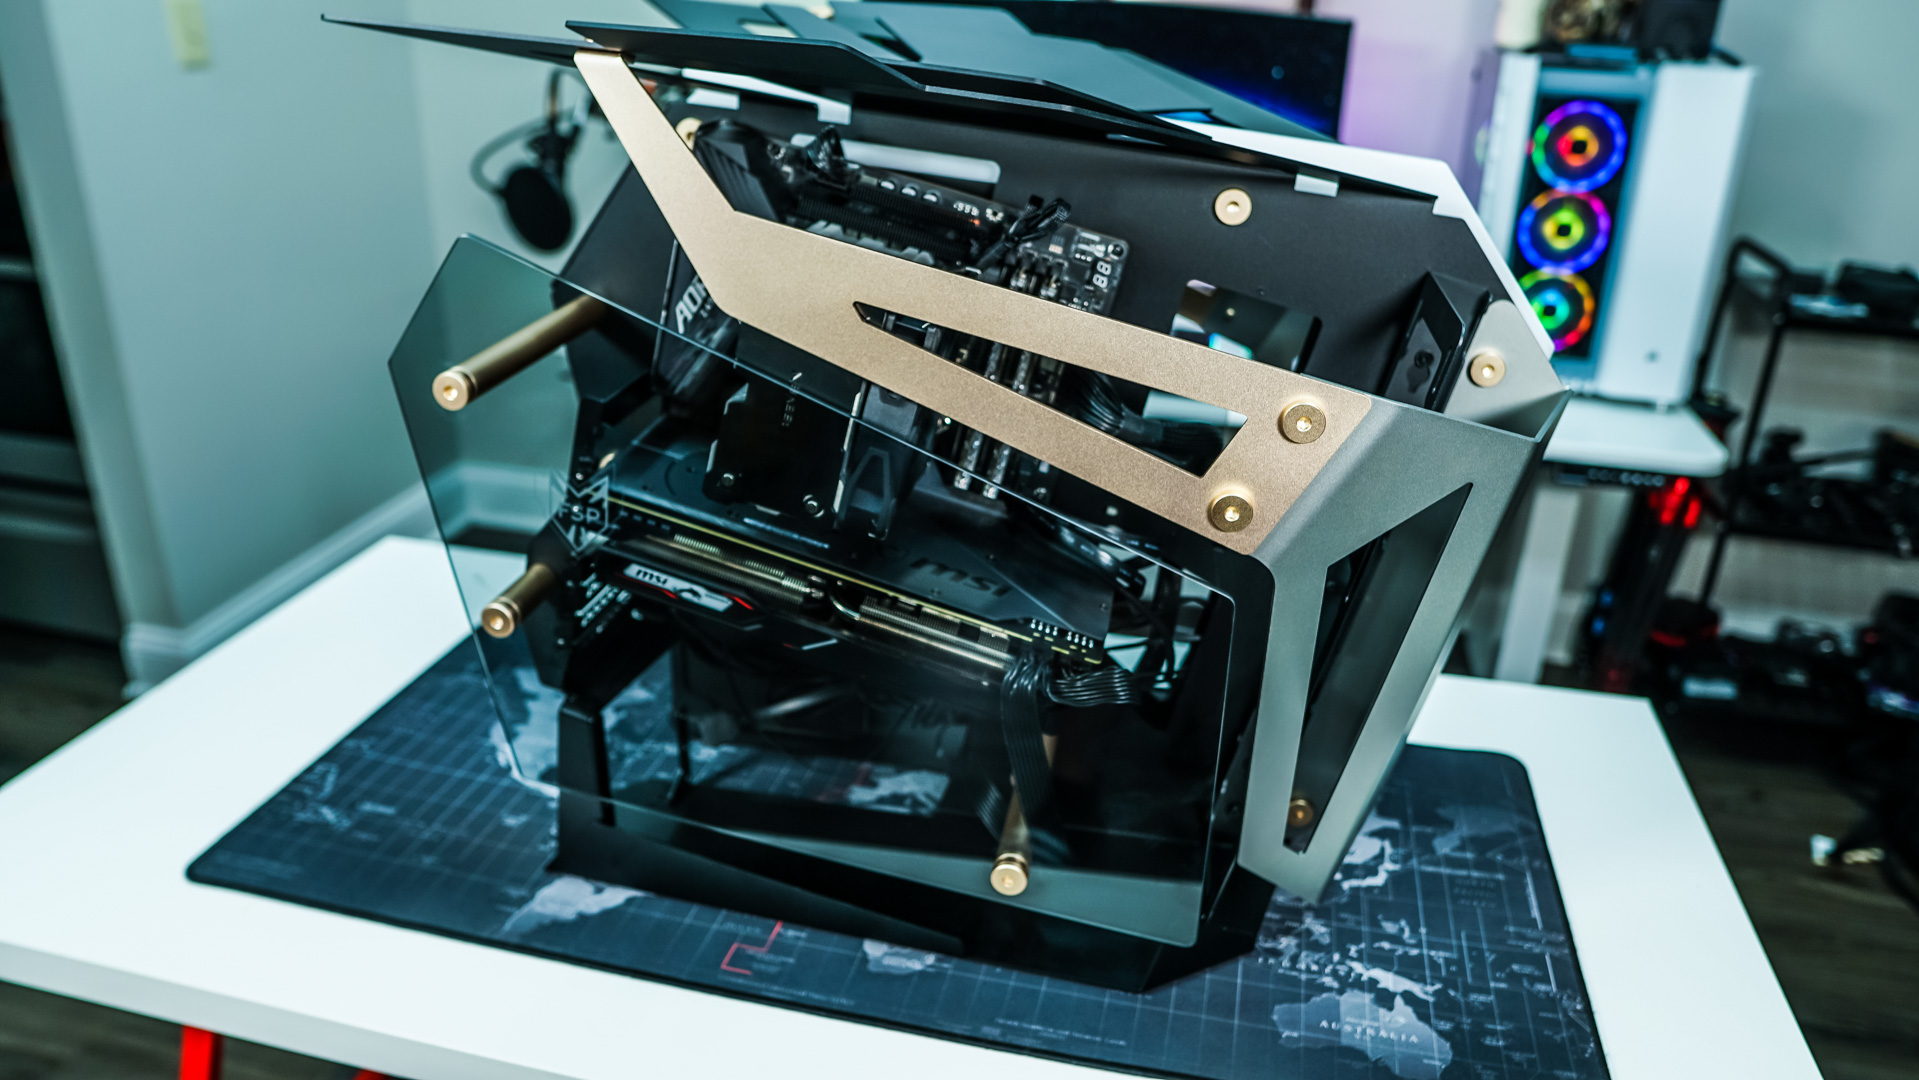
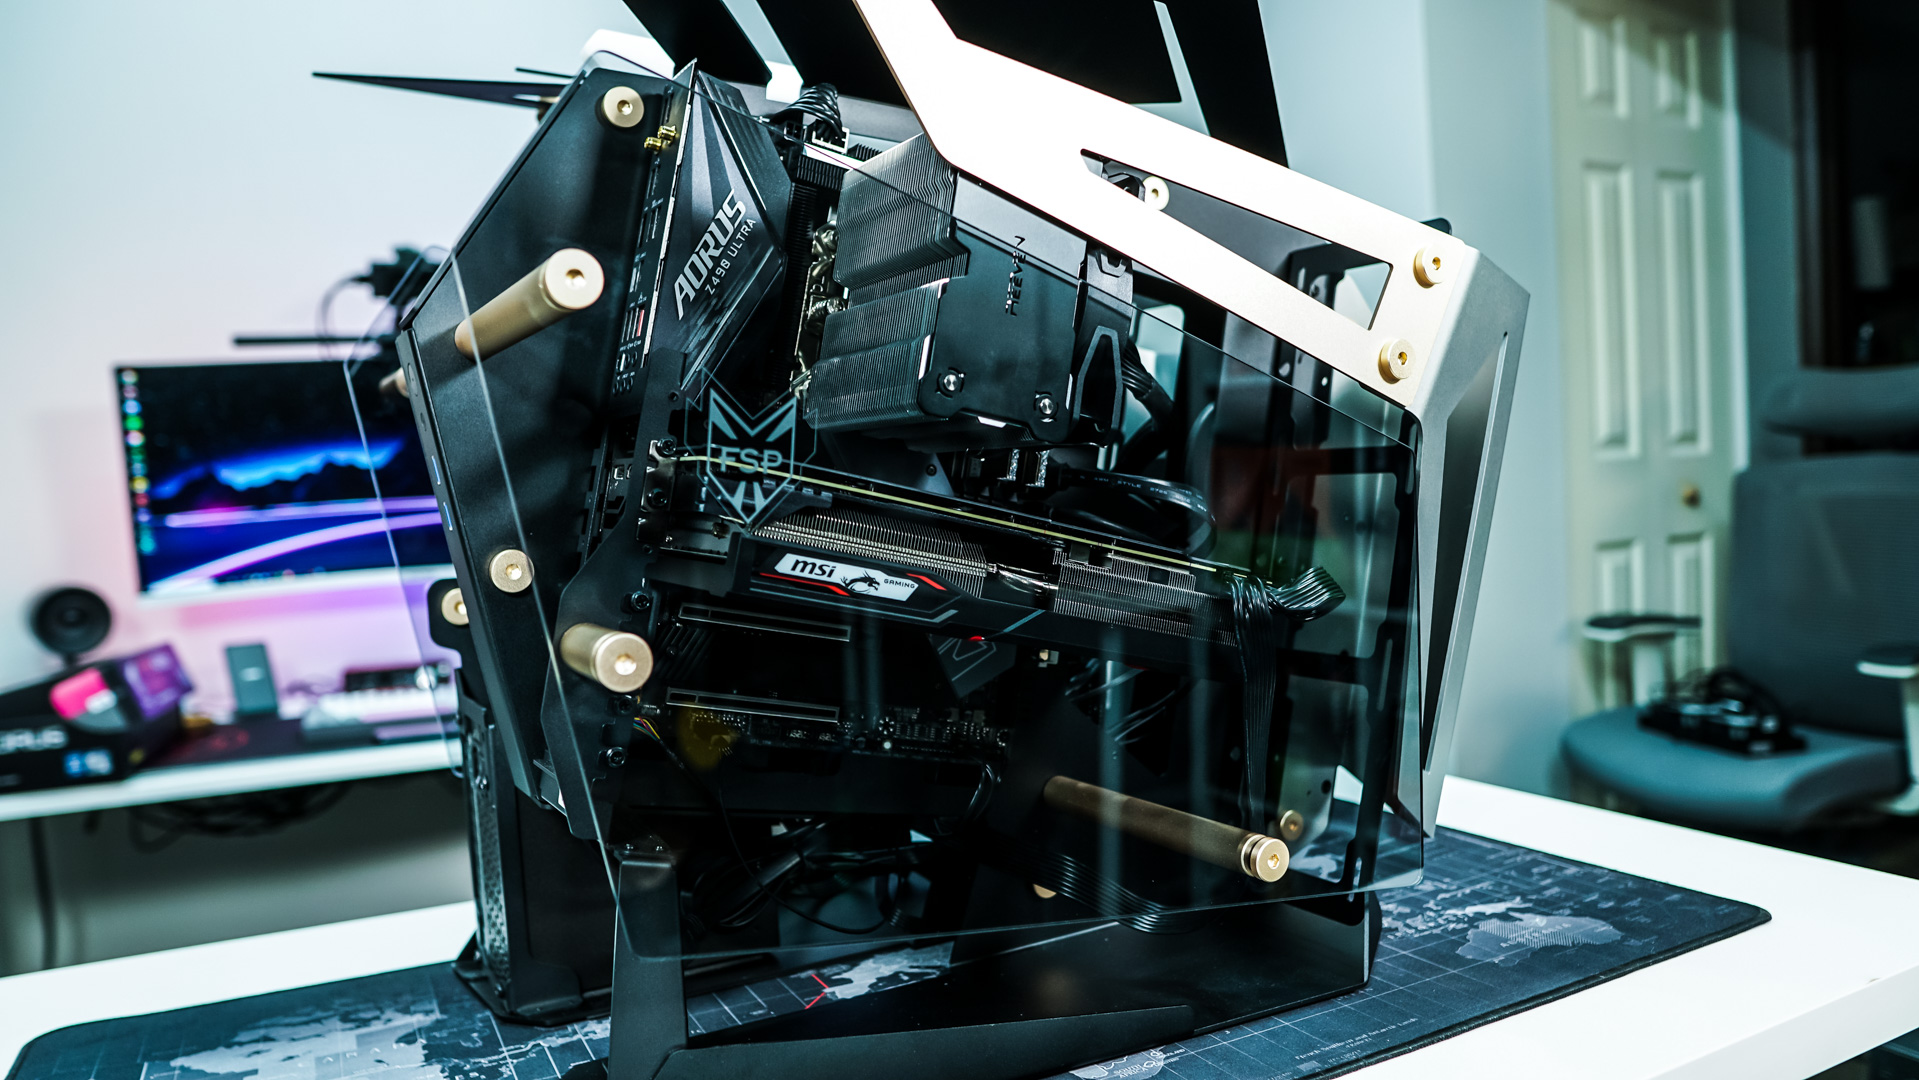
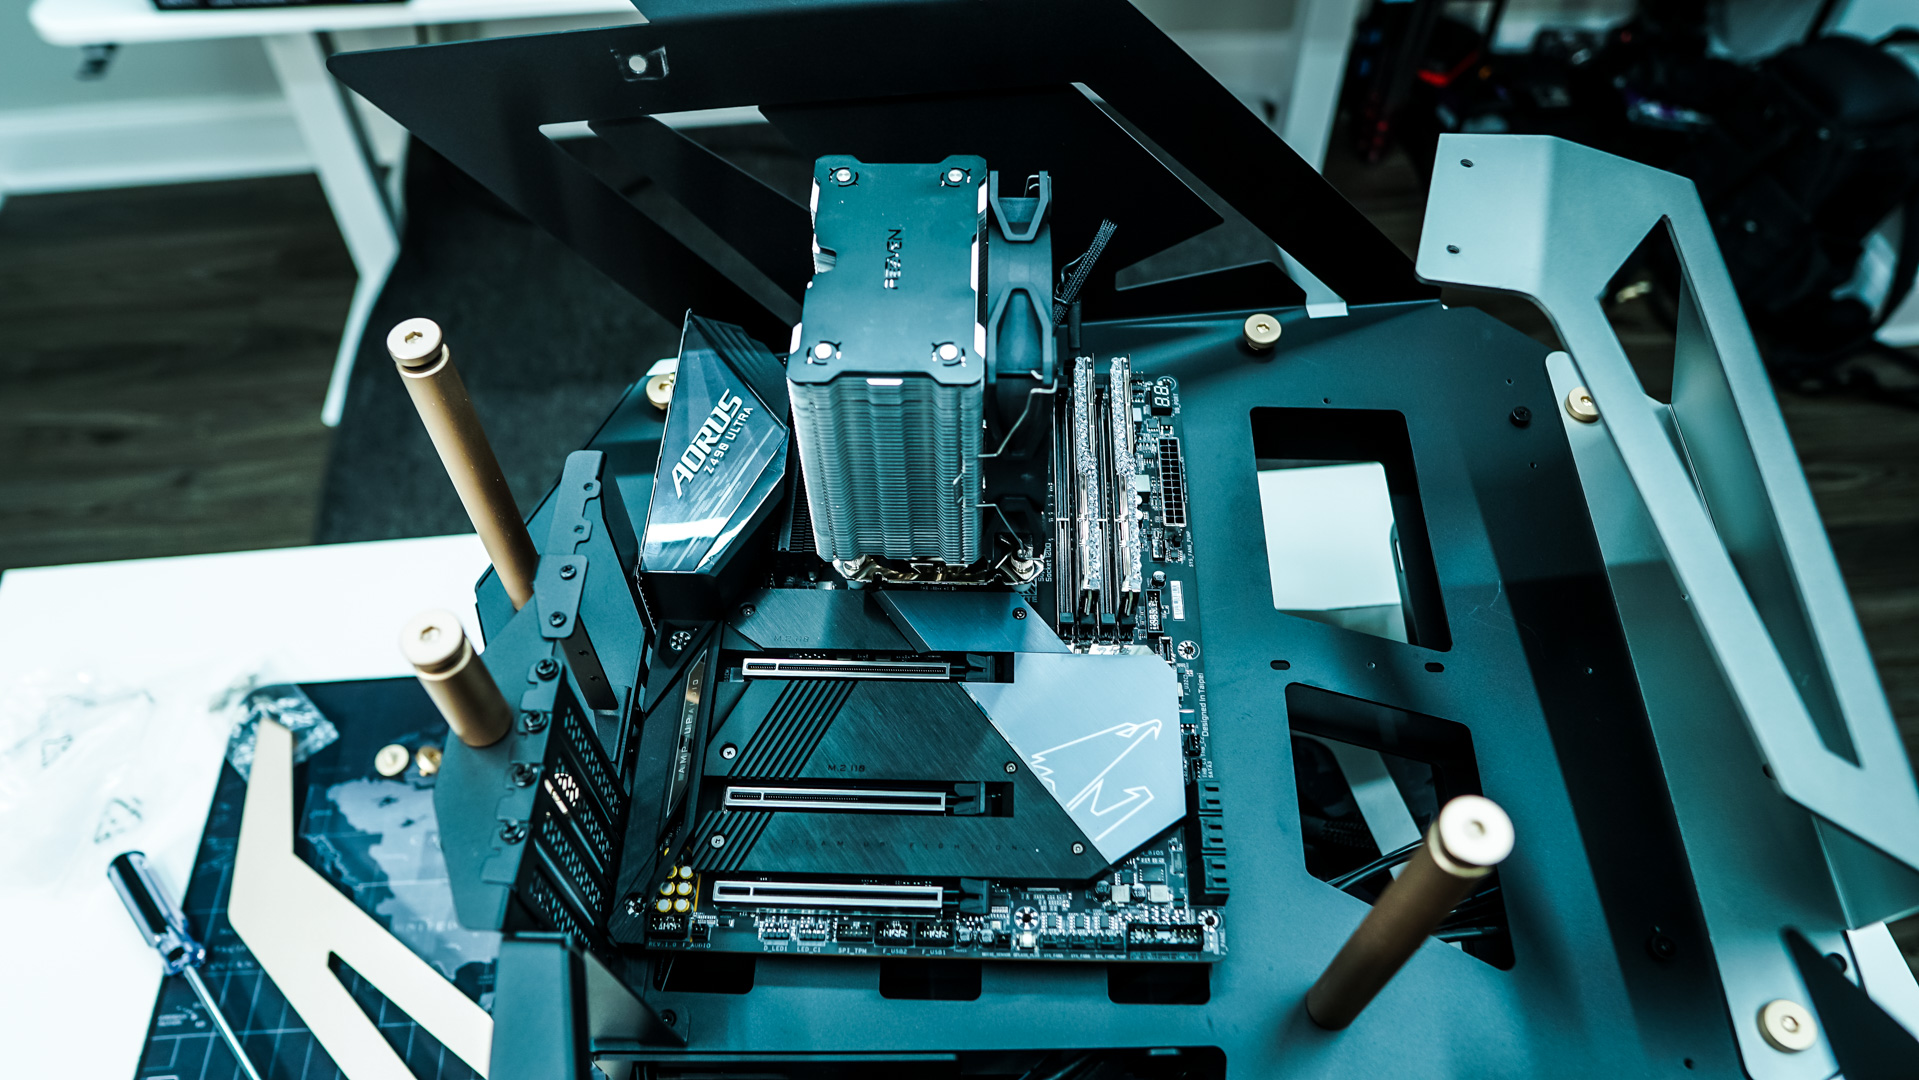
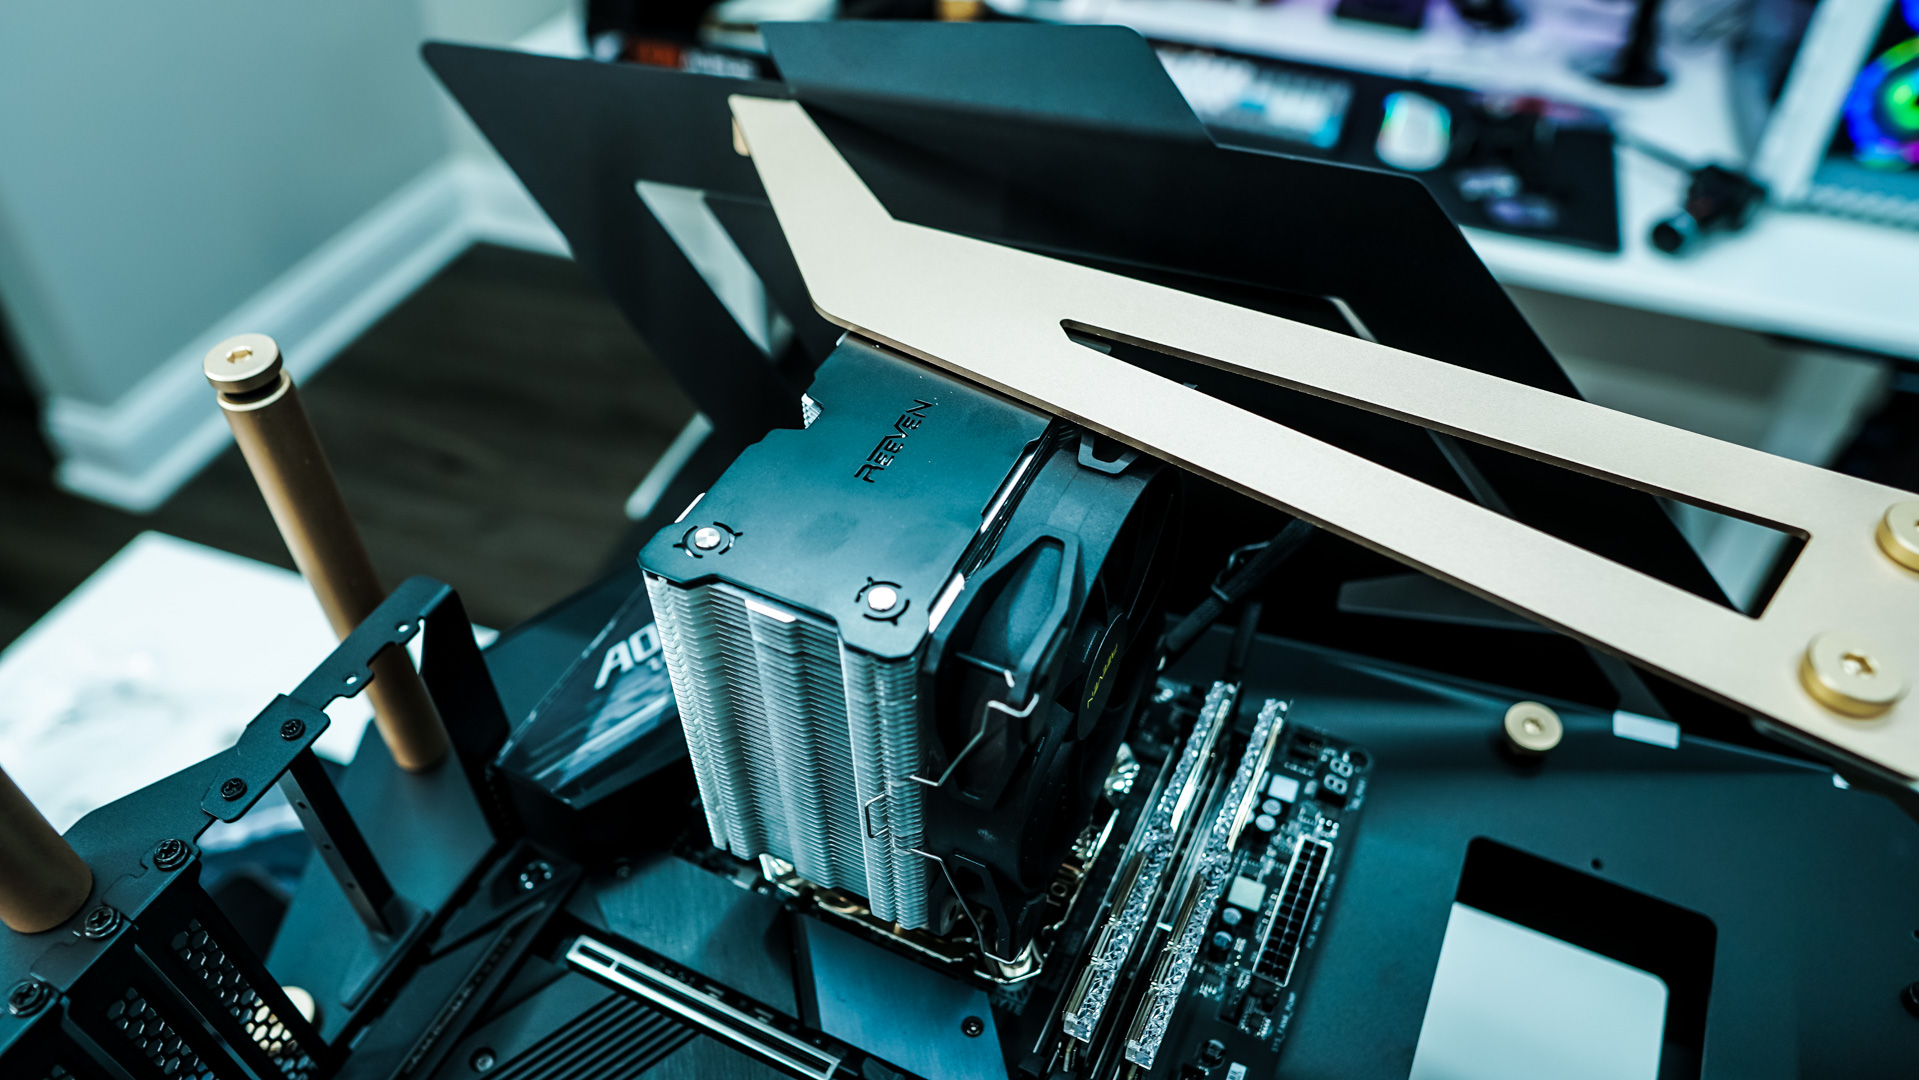
Now you can actually set the T-WINGS on its side, just make sure you don’t have the tempered glass side panels installed. When its on its side it will be easier to install either of your motherboards. If you have a CPU cooler that is anywhere from 150 – 155 mm tall you might want to remove the gold piece on the case to make it easier to get your motherboard installed. Our CPU cooler (Reeven Justice II) is actually 155 mm which is the max CPU cooler height supported in this case. Once our motherboard is installed we re-install the gold panel. It more or less sits flush on our CPU cooler.
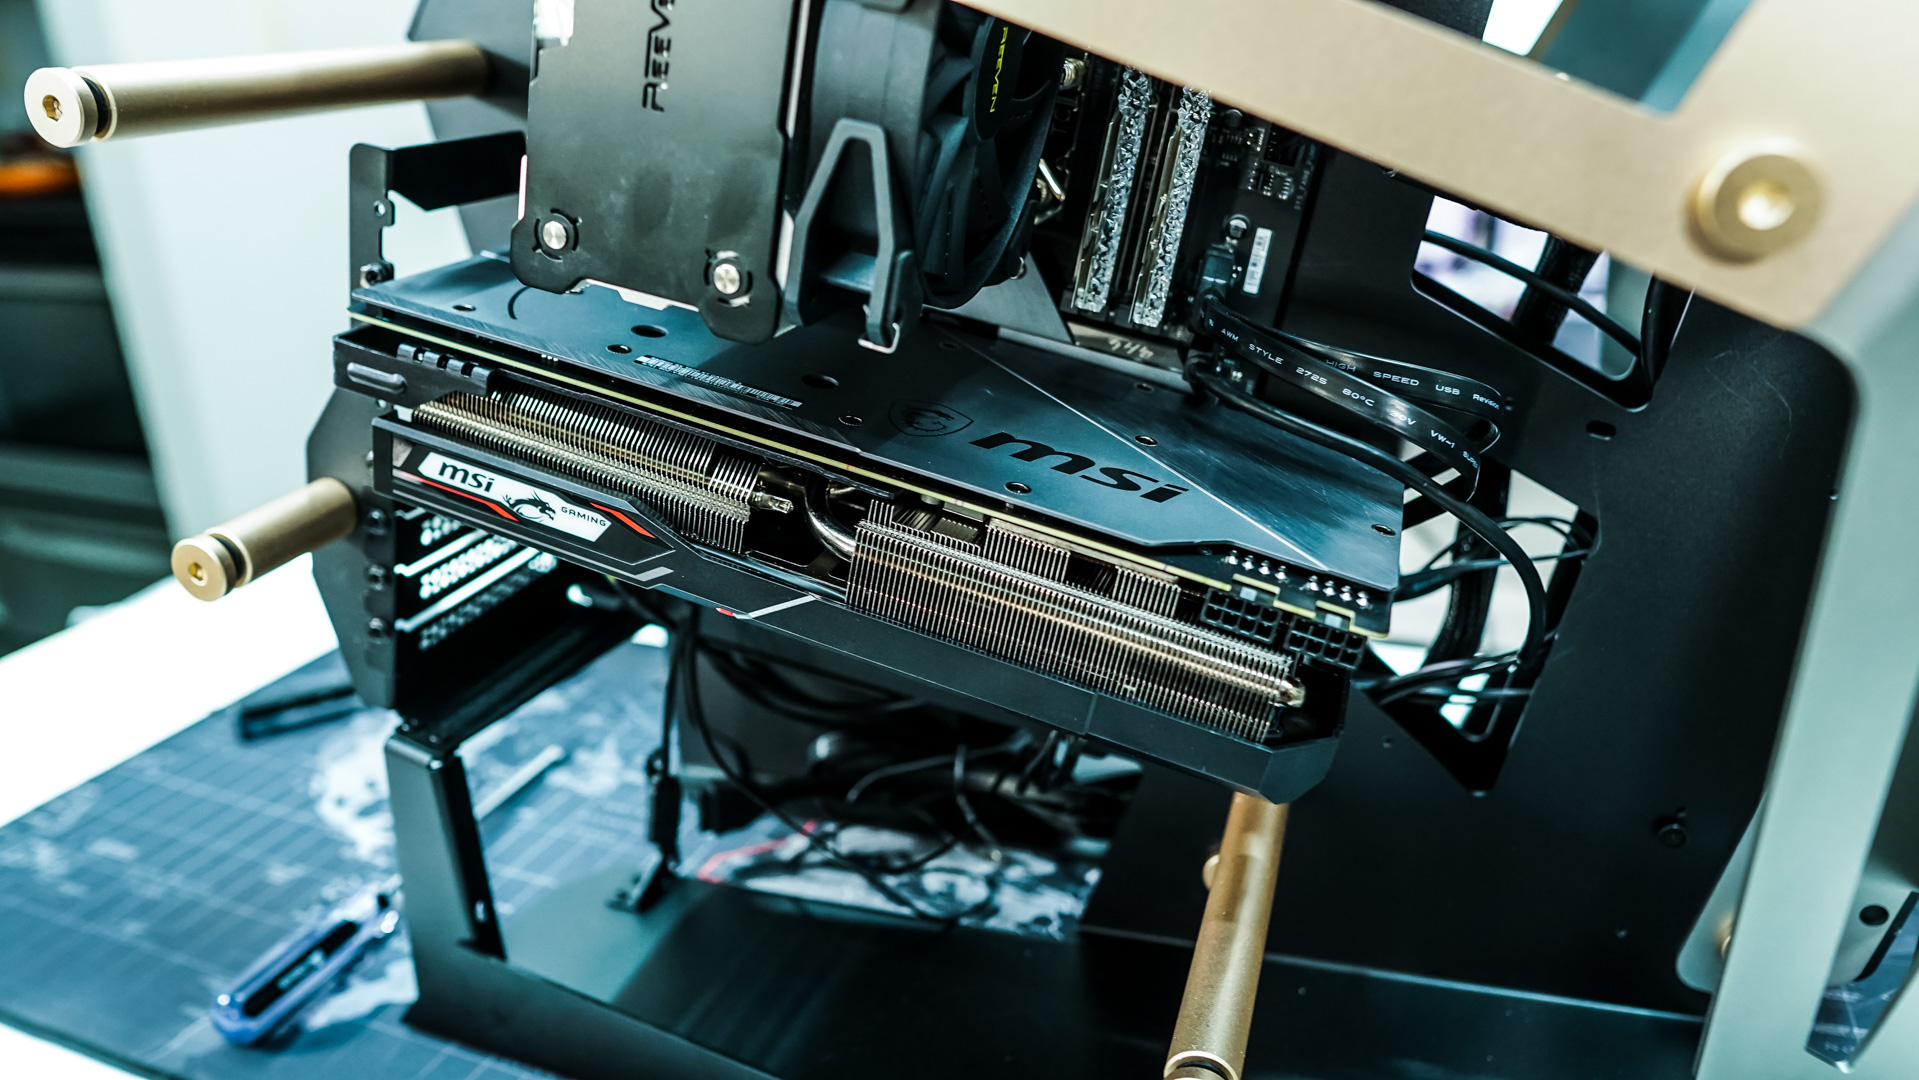
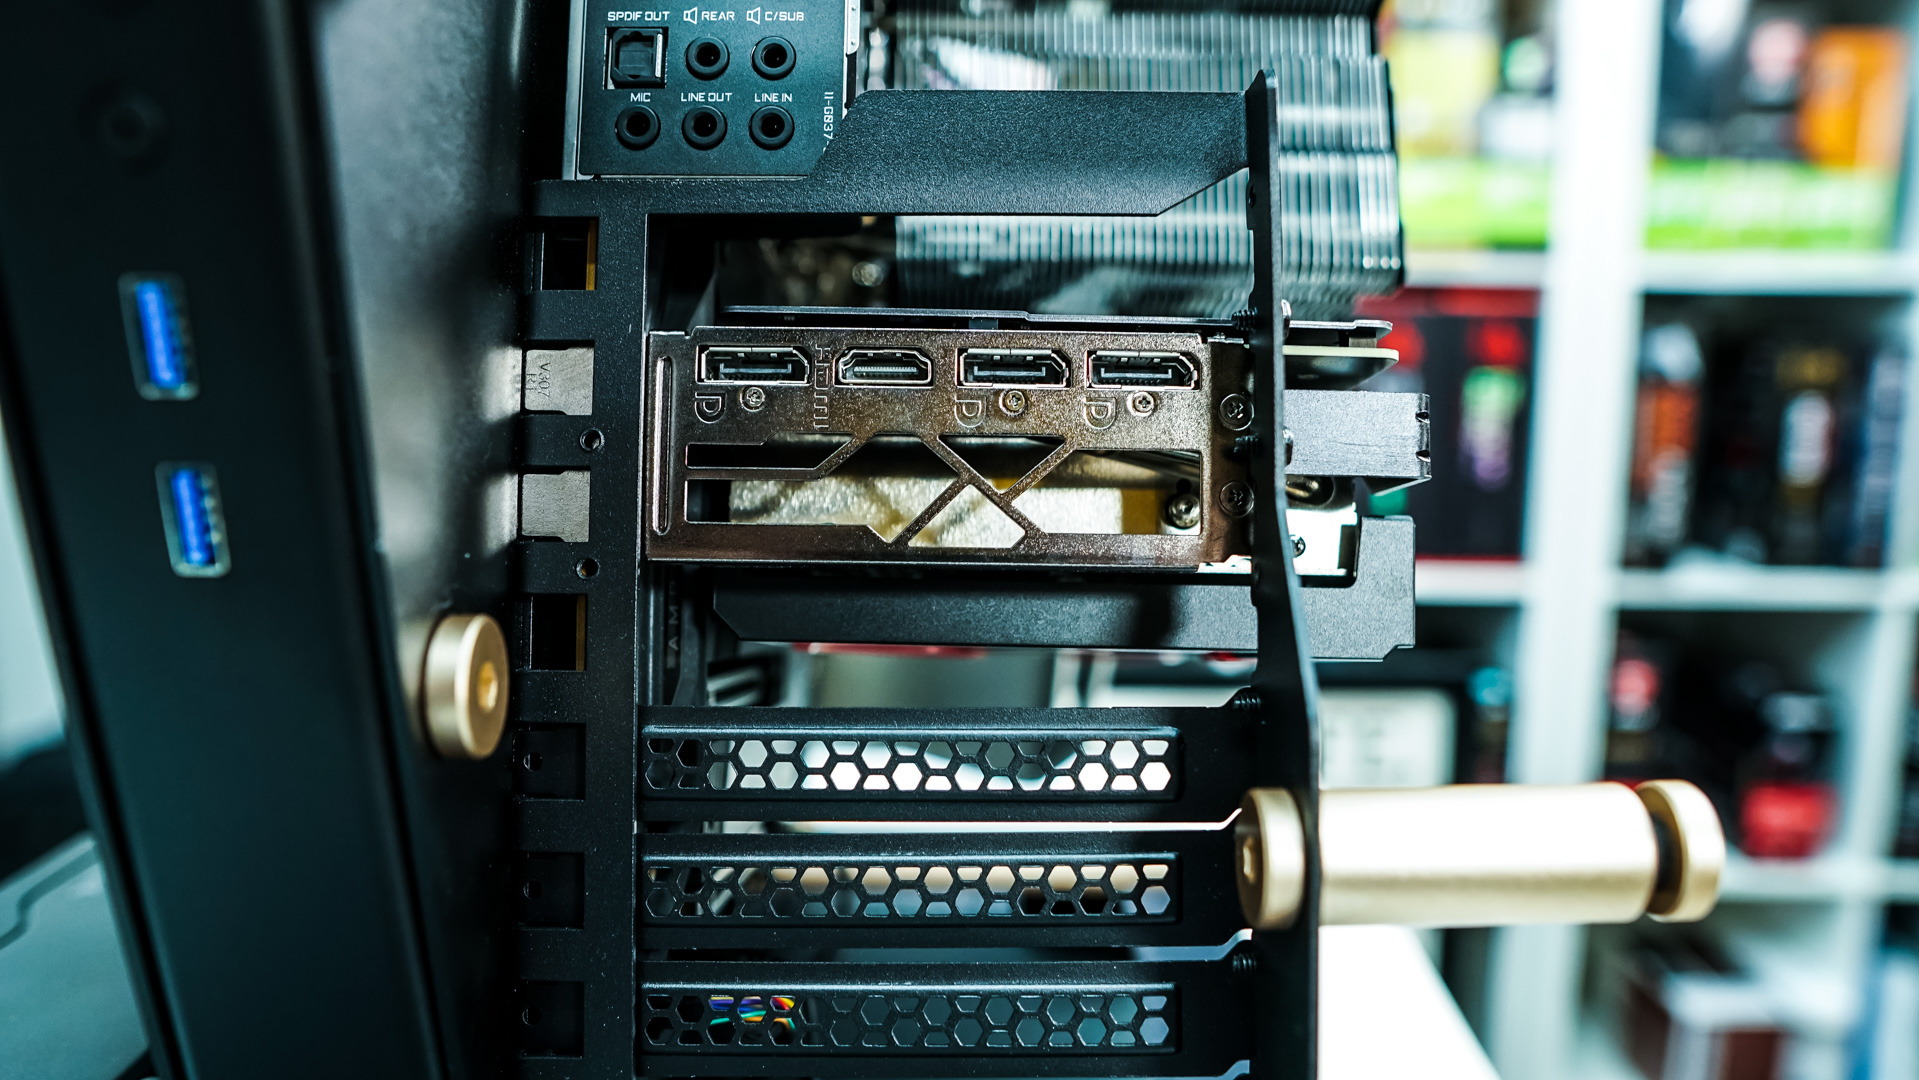
The last thing to install is our graphics card, which easily goes in. I still find it odd that FSP did not include more expansion slot covers.
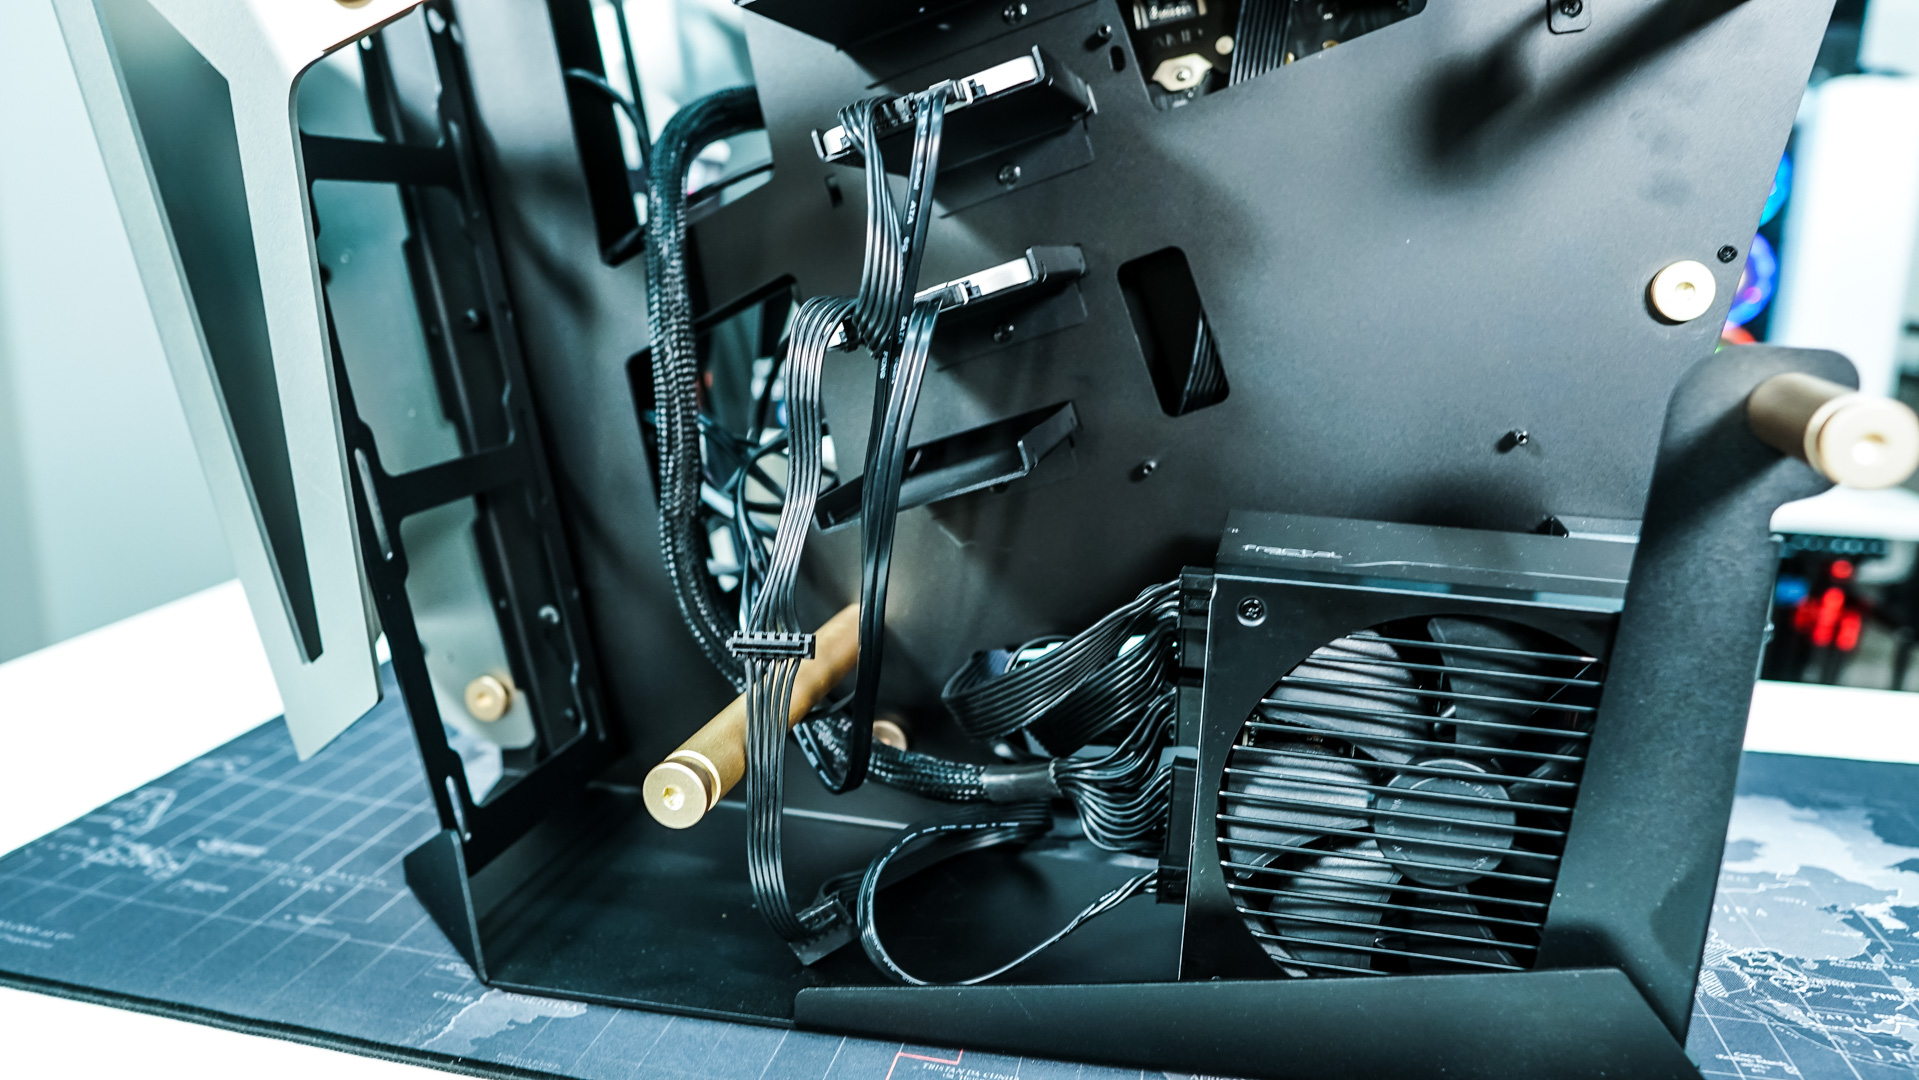
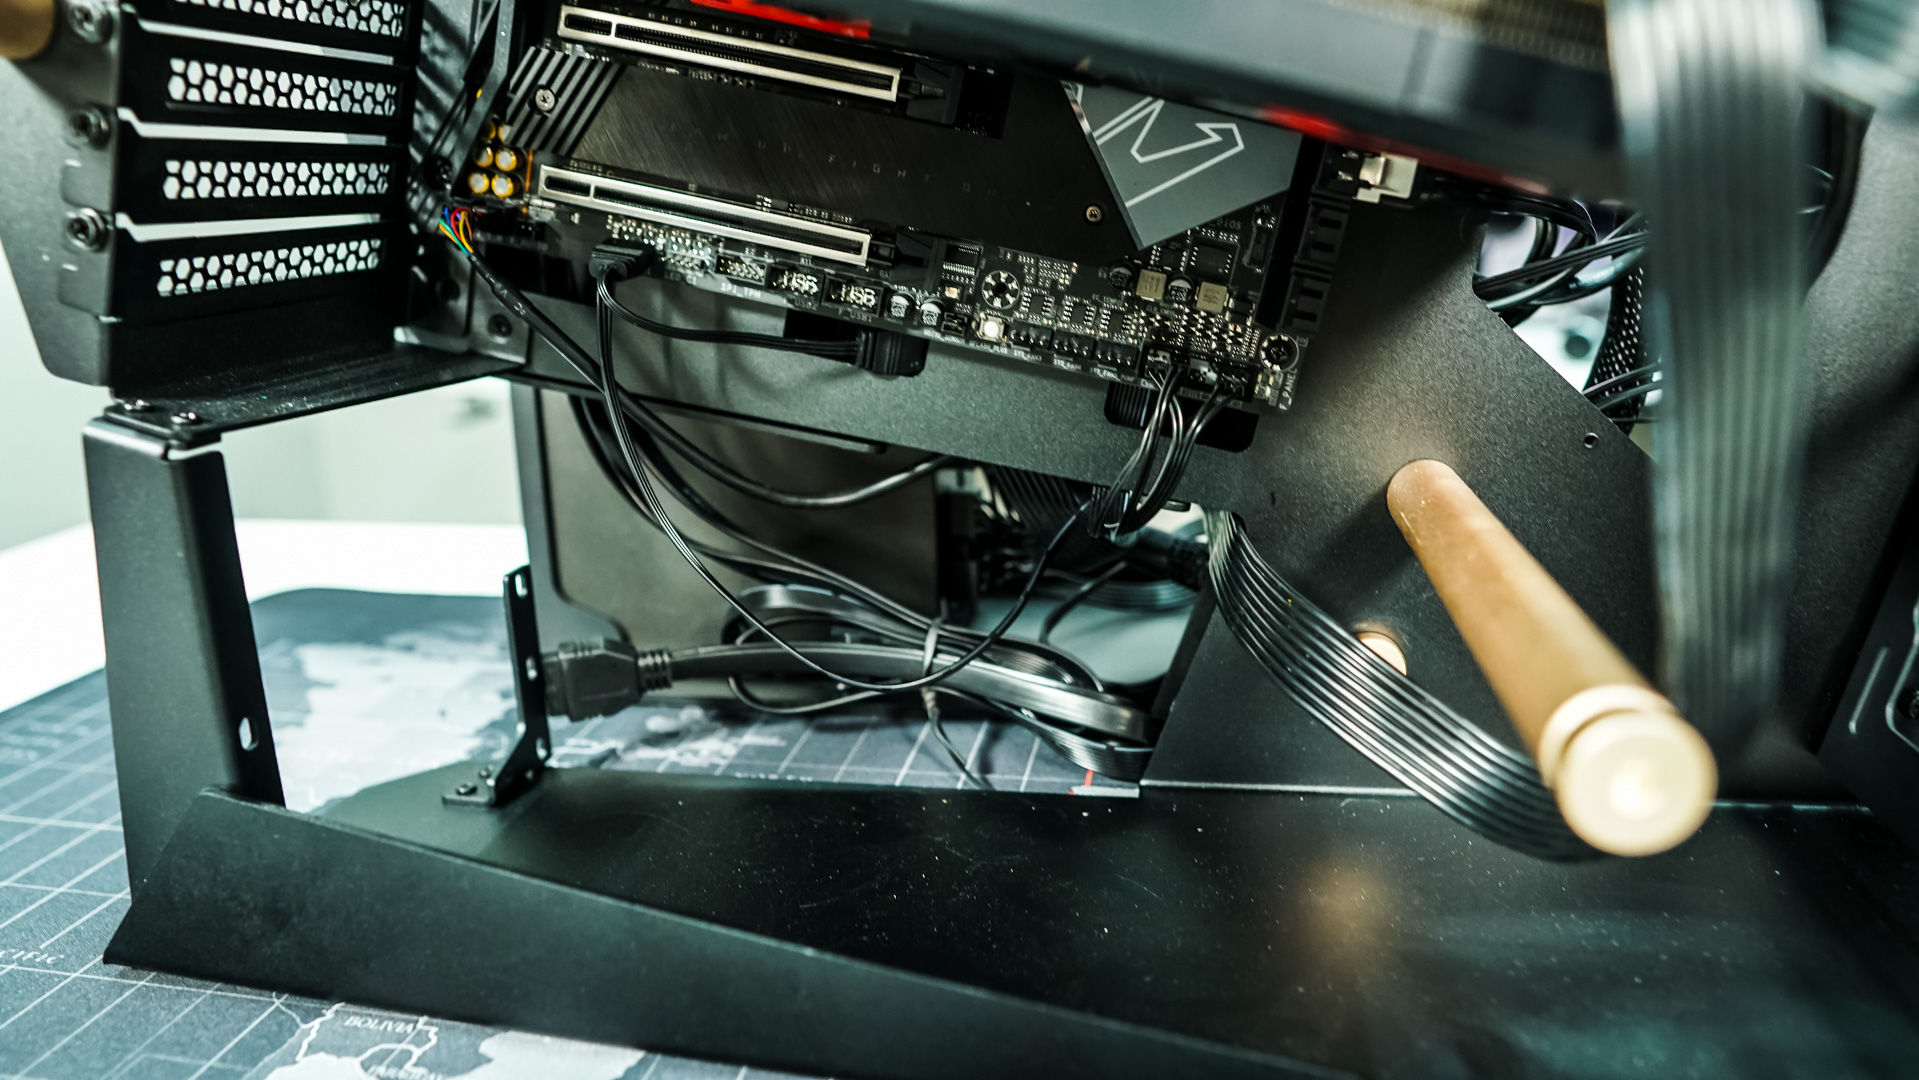
After all of our hardware is installed we need to run our cables. All of the cables route pretty easily and there is a section between the two halves of the case that allows you to hide your cables as well. FSP does include velcro cable ties as well as zip ties to keep things nice and neat.
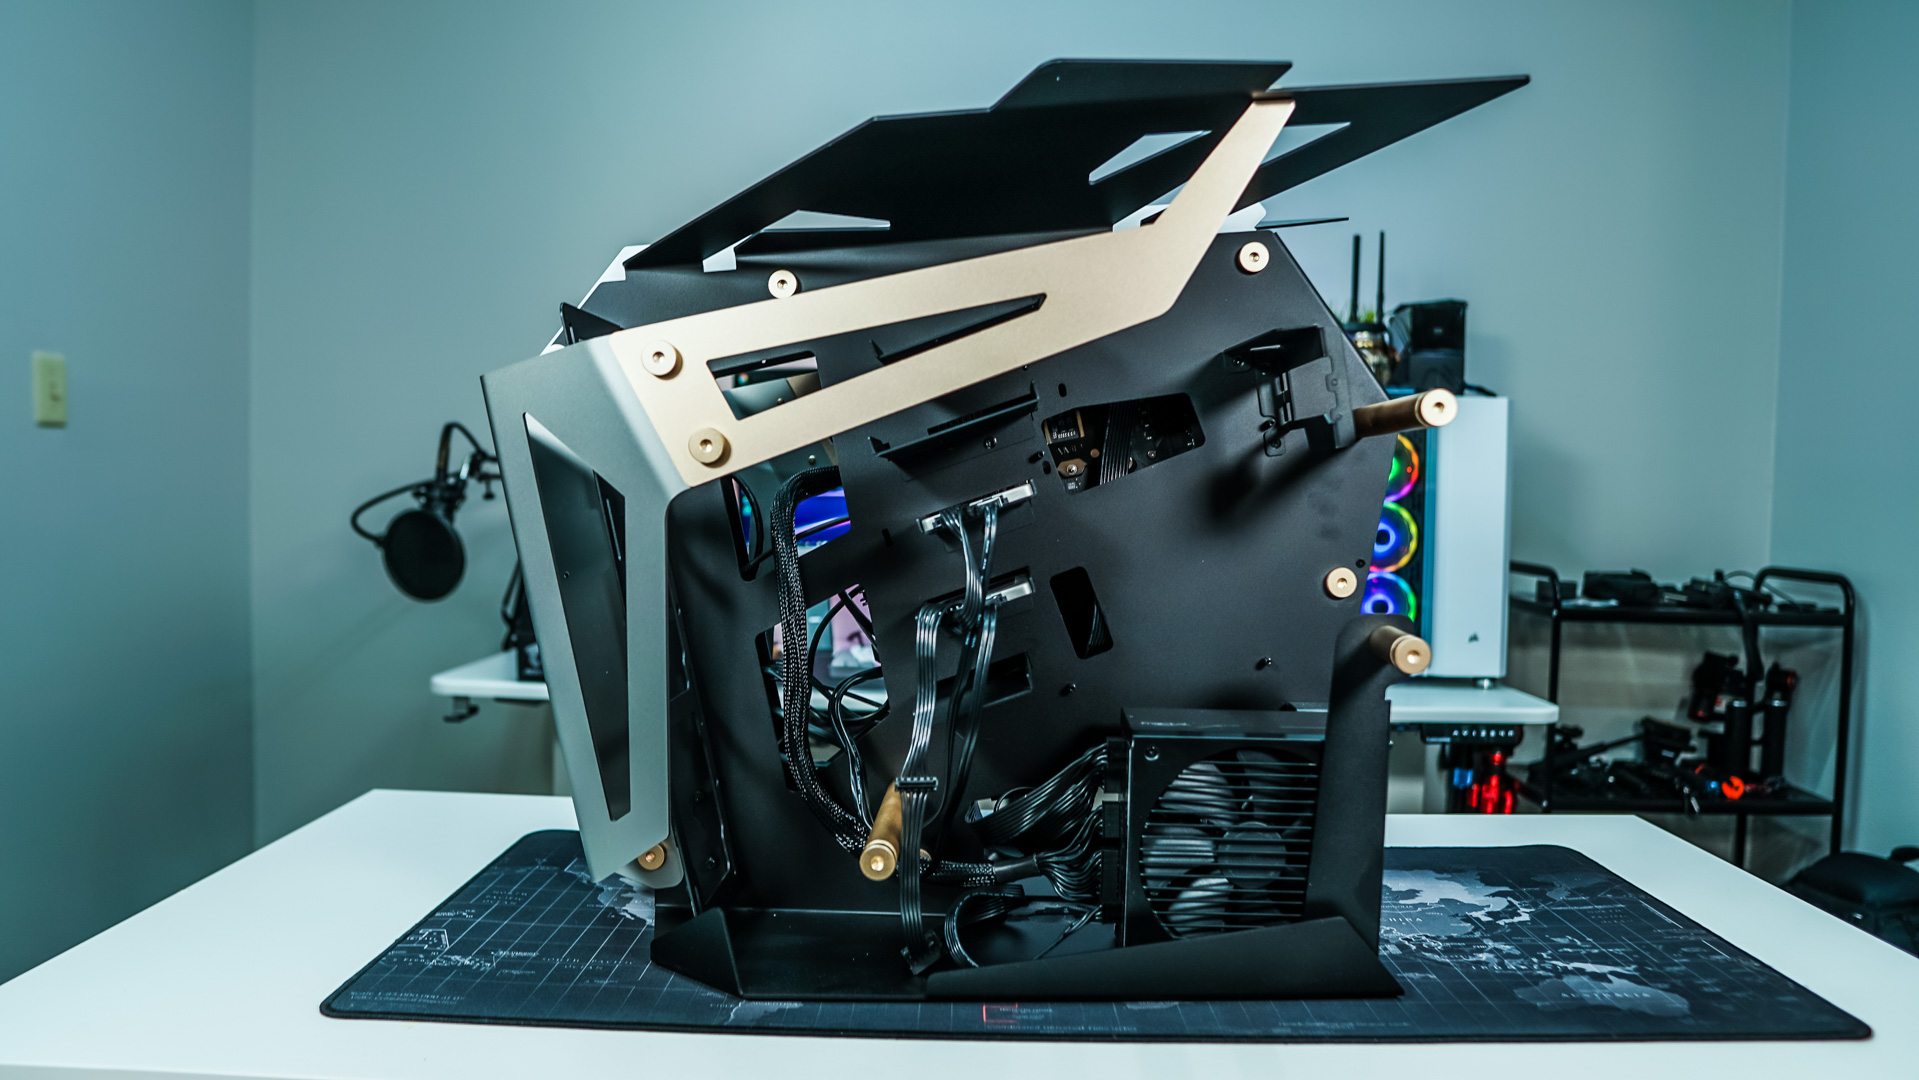
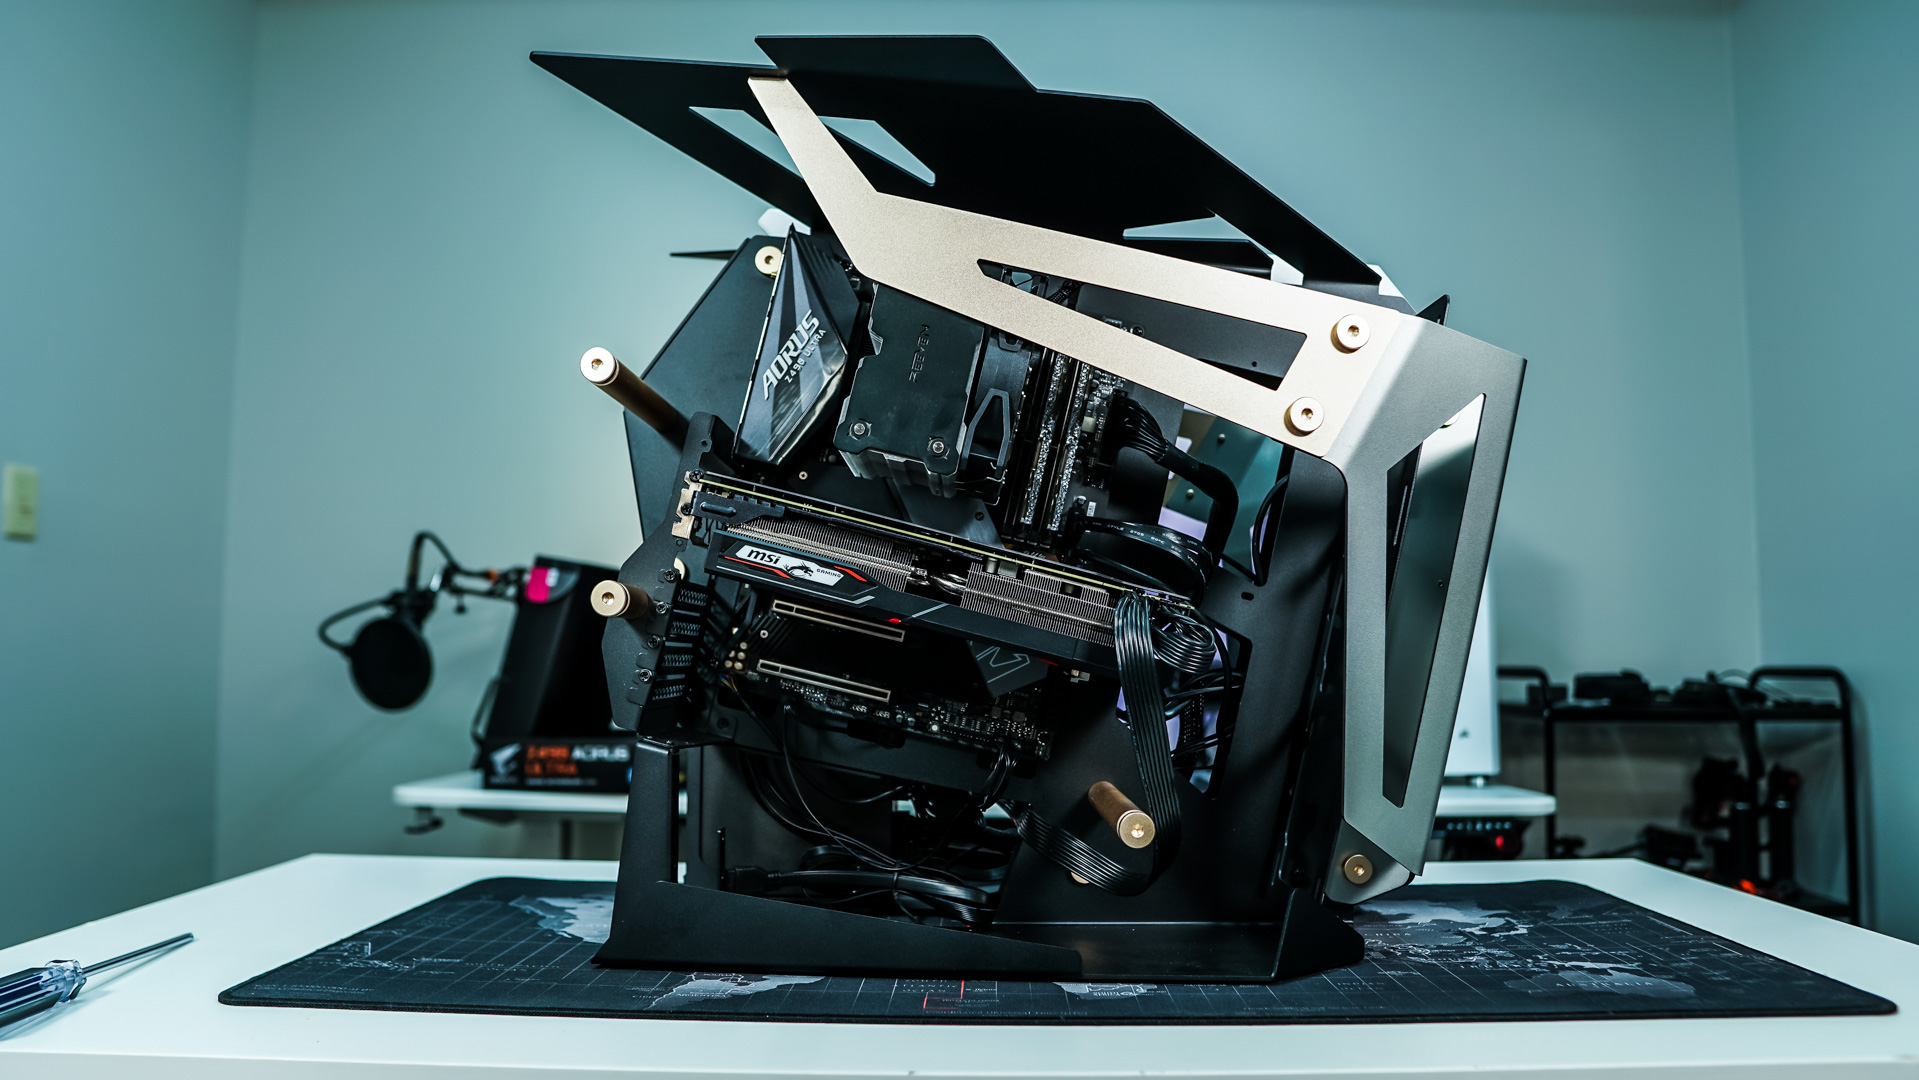
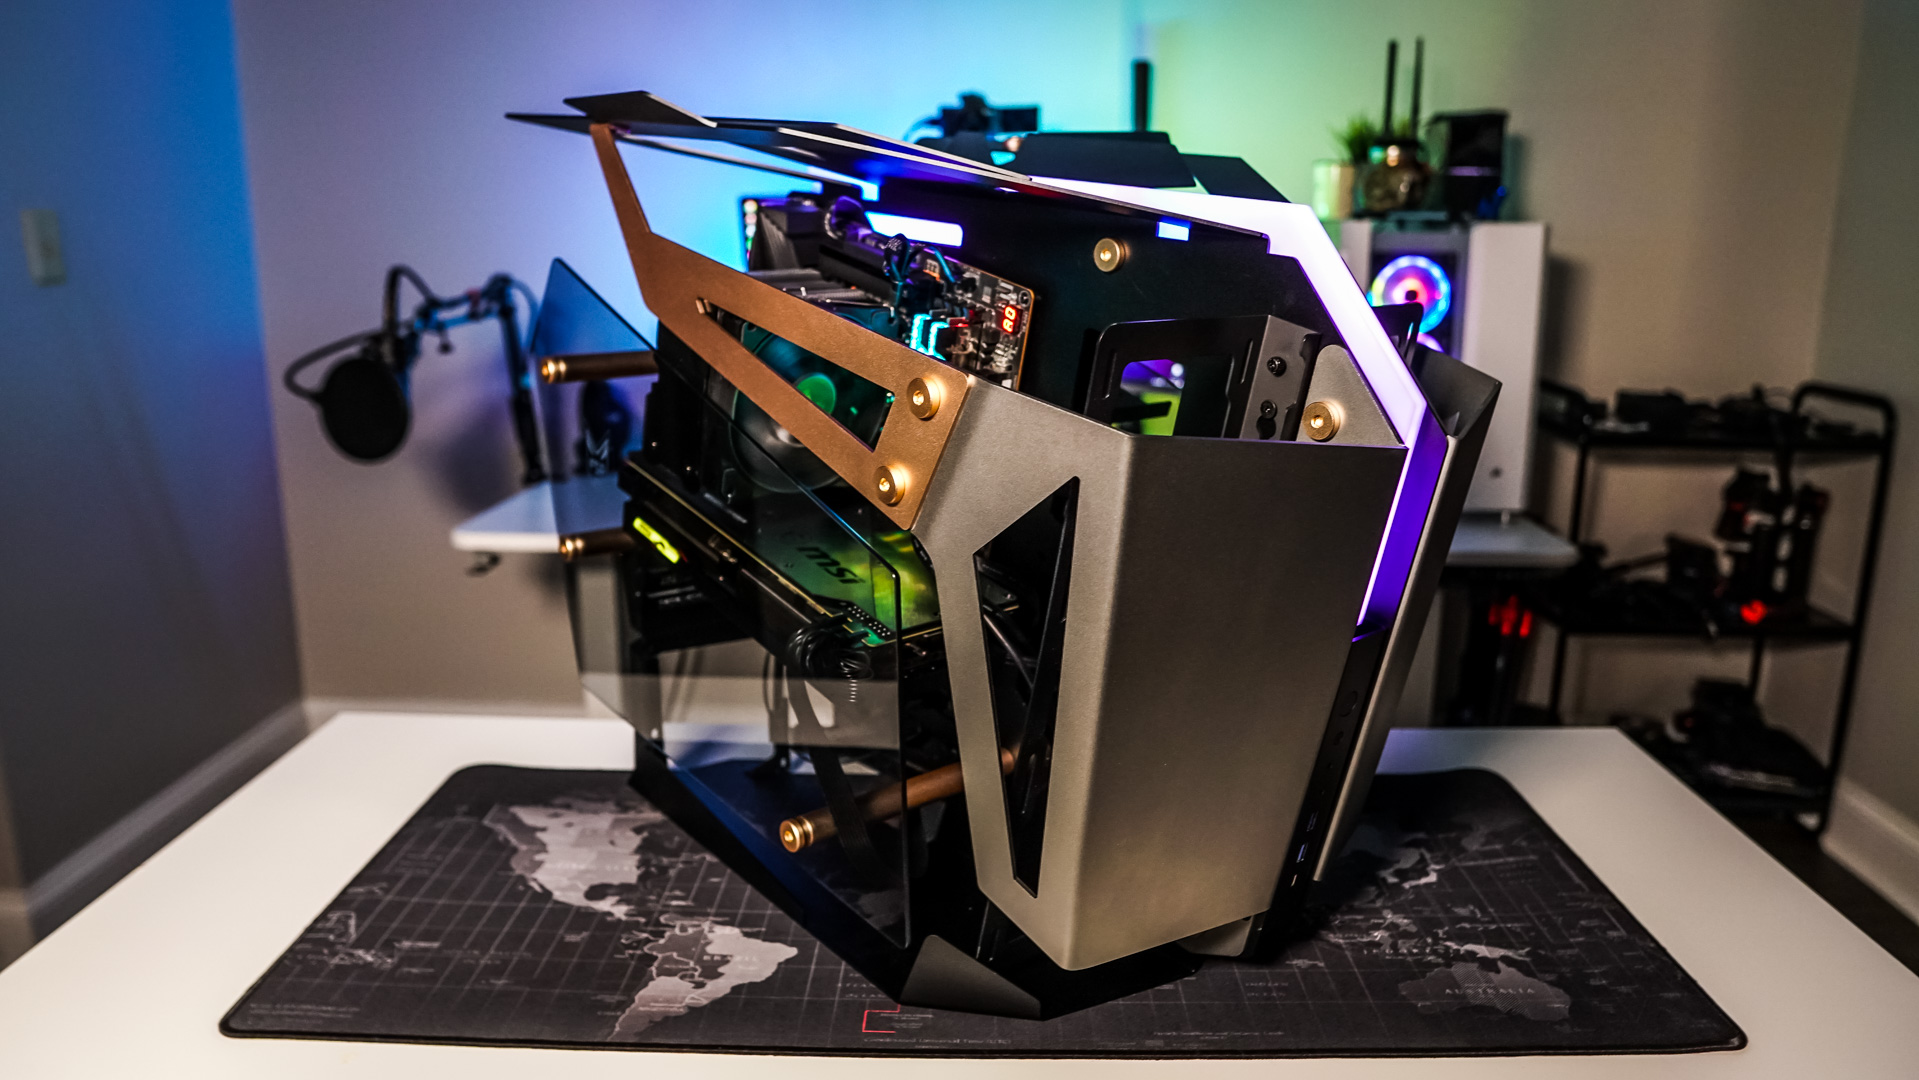
Once you have everything connected all you have to do now is install the two tempered glass panels. Again I like that FSP has opted to not pre-install these and the fact that they have film on each side to protect them. The case looks pretty awesome with all of our hardware installed.