Setup, Lighting & Software on the HYTE Keeb TKL
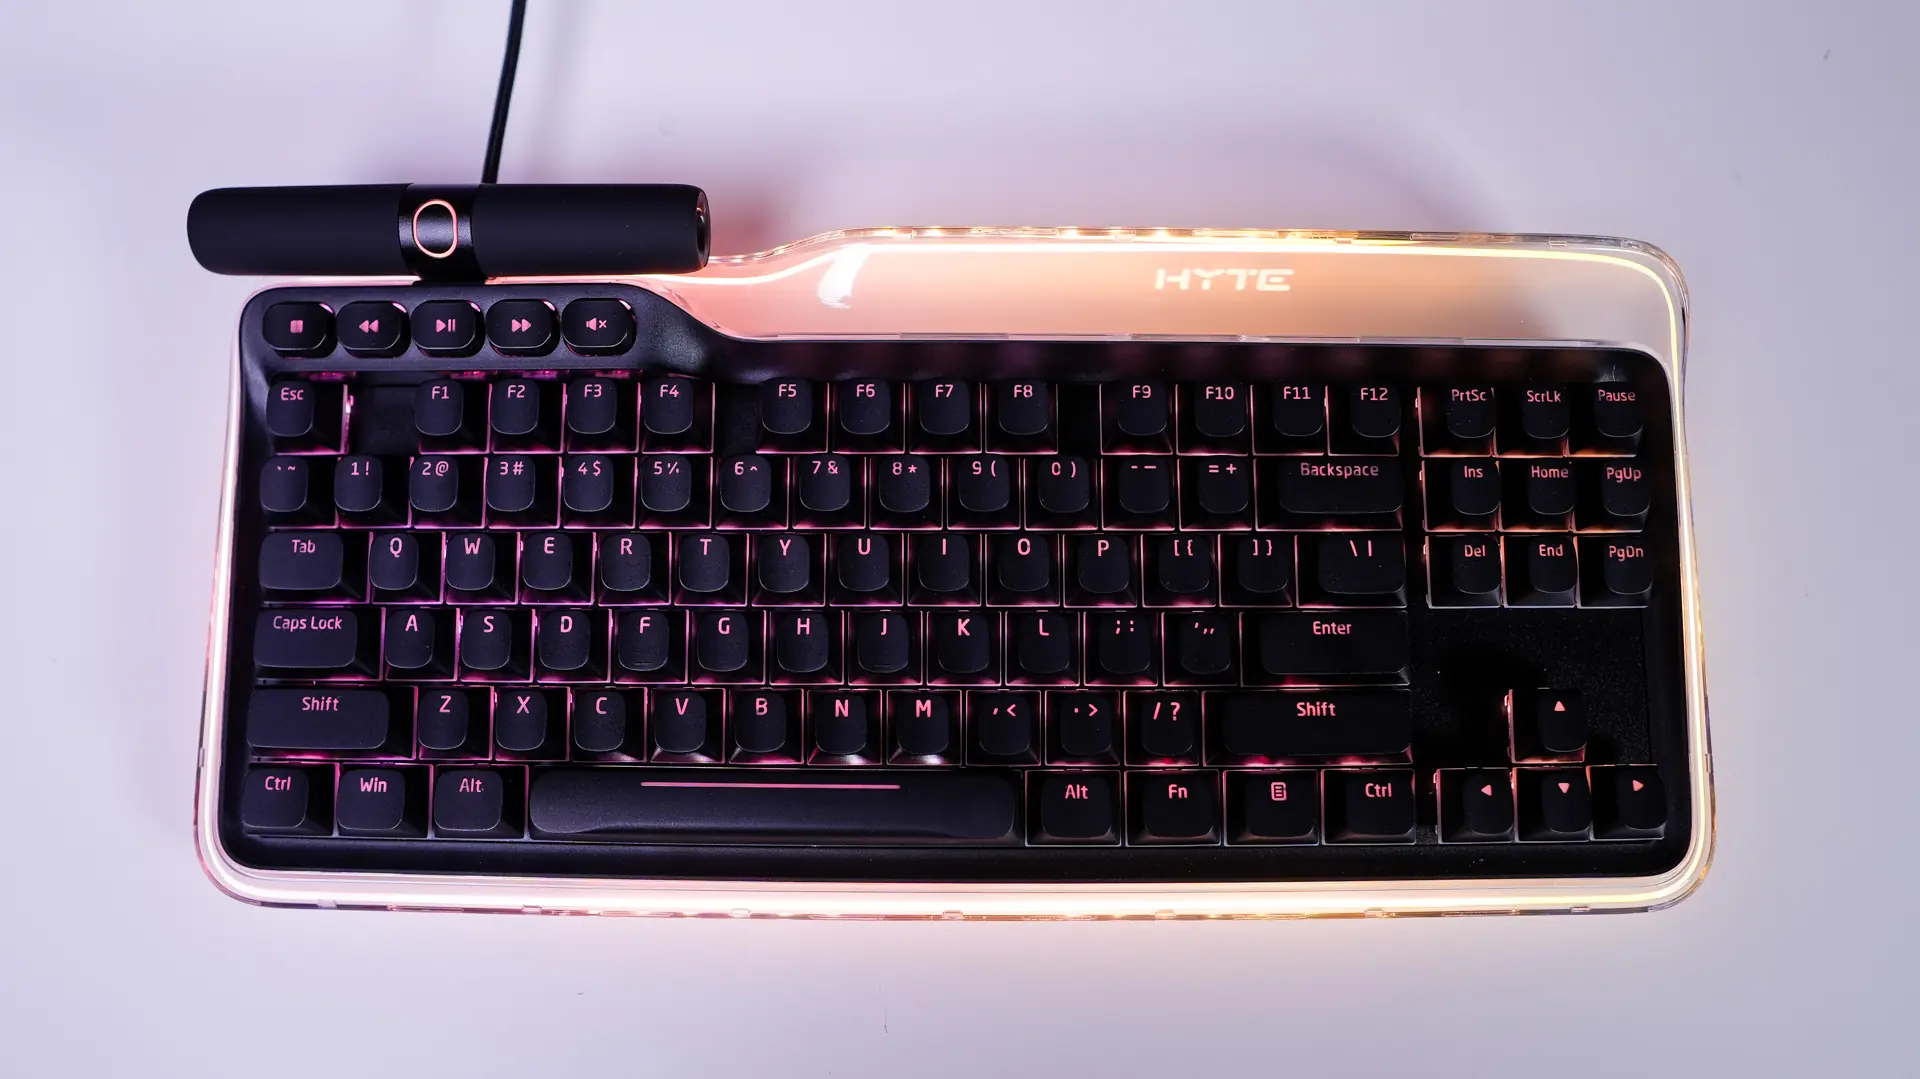
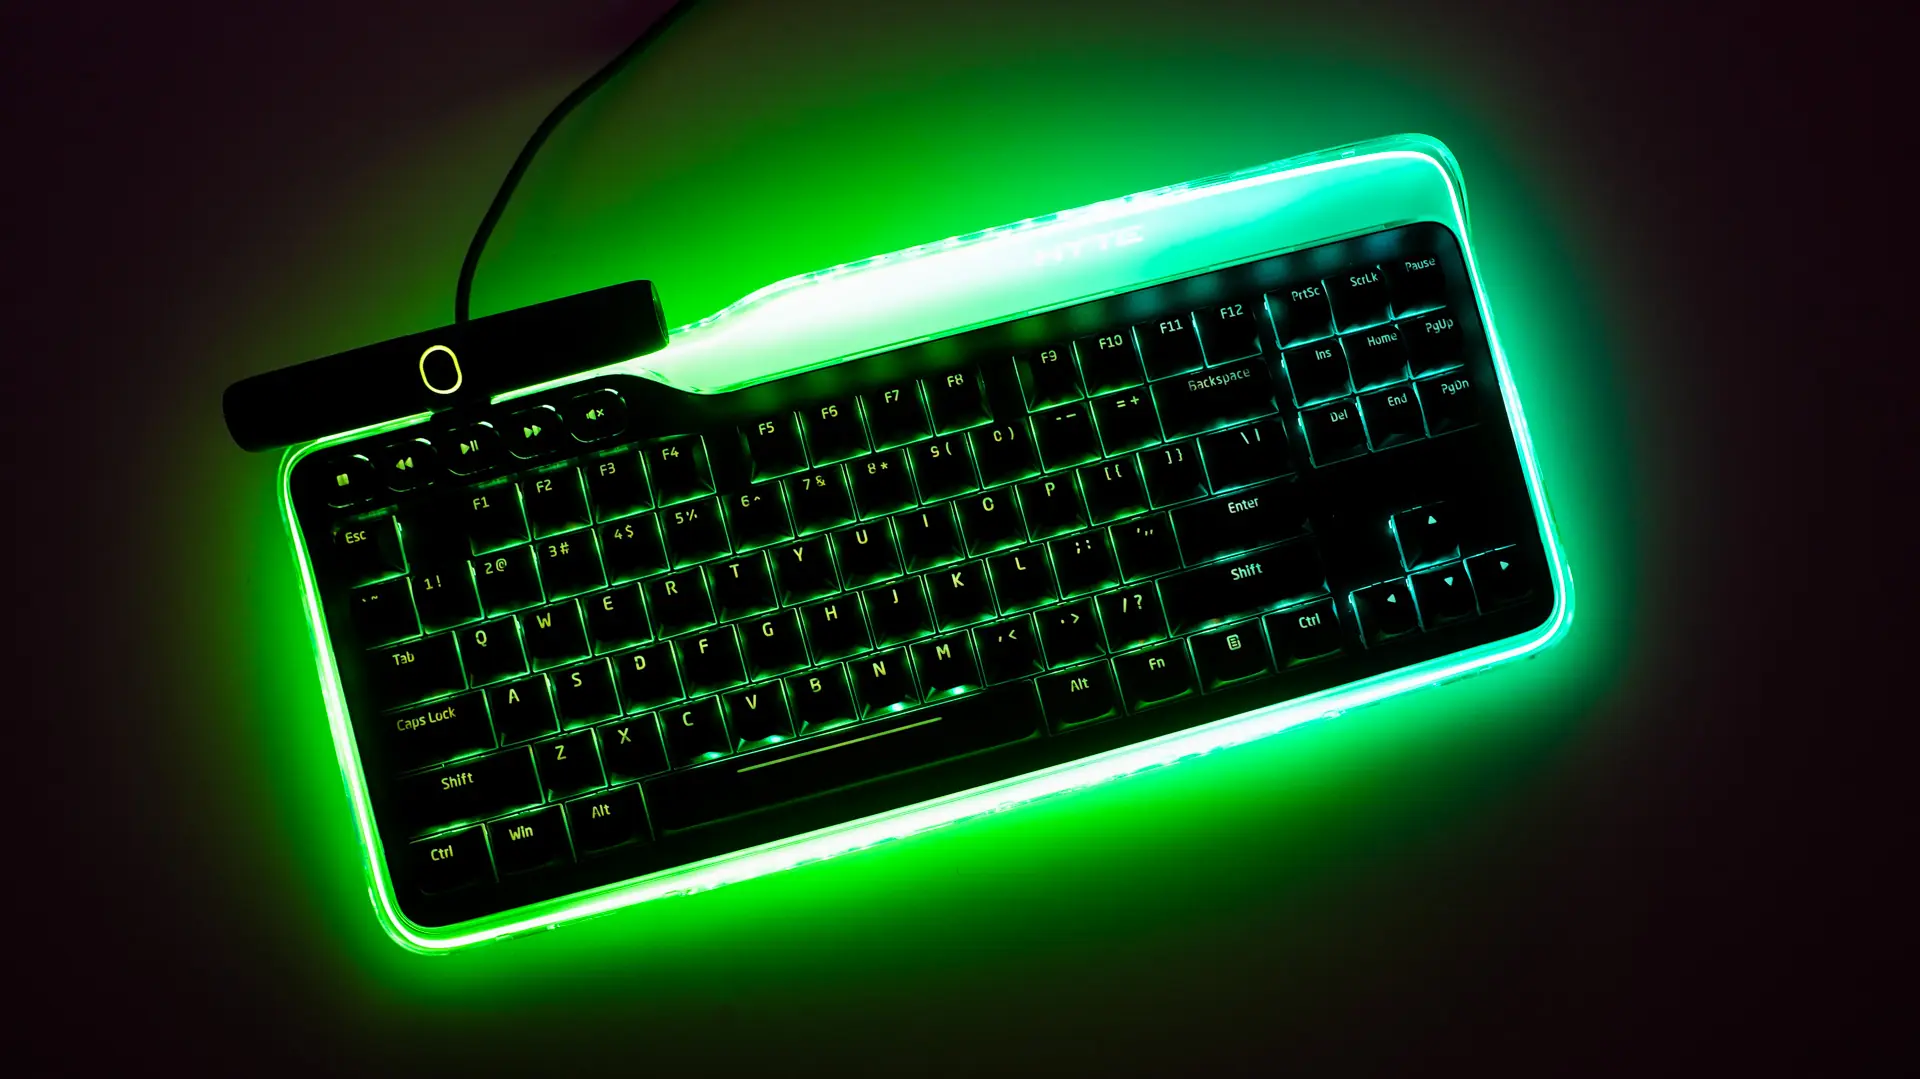
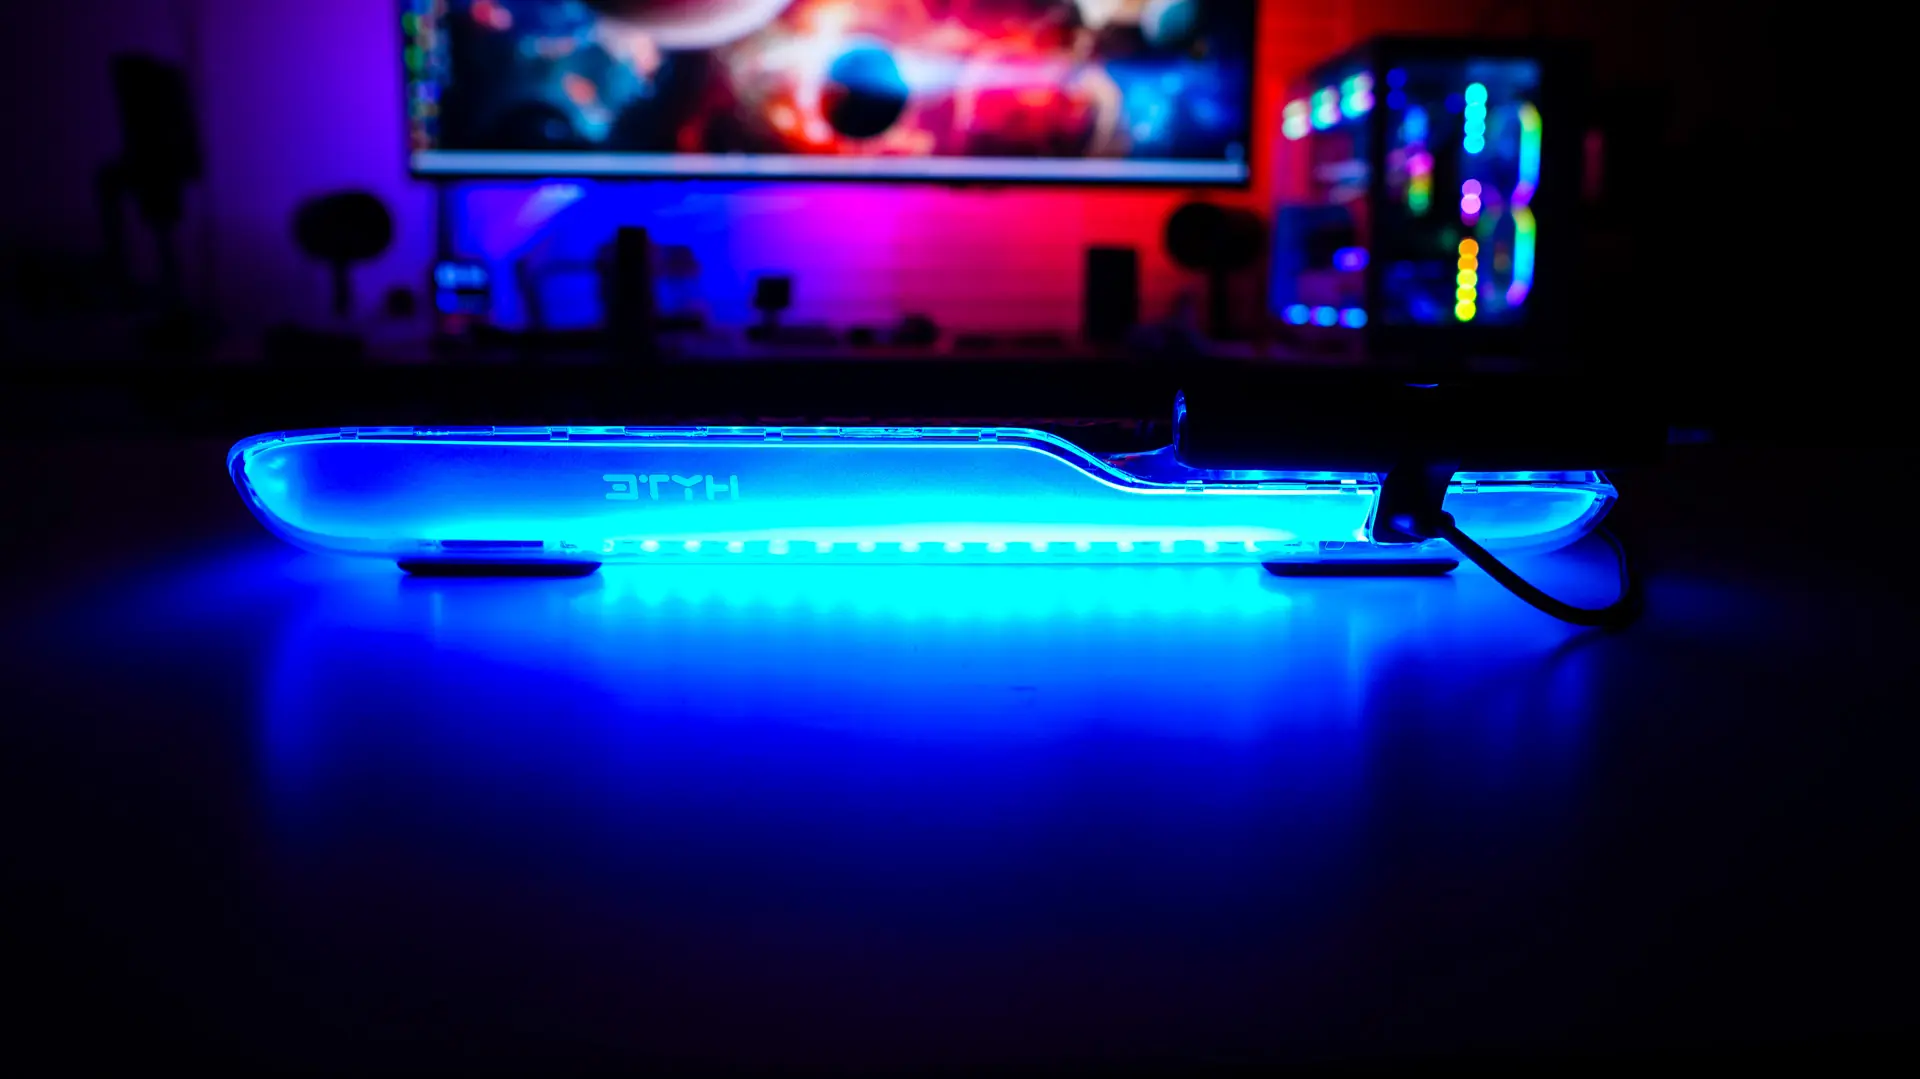
Getting the Keeb TKL setup is extremely easy, just plug in the included USB cable to the keyboard and then to your PC. It is nice that HYTE does include a USB-C to dual USB-A adapter in the case your PC does not have a Type-C connection or it is already in use. When the keyboard powers on you’ll notice it light up and boy I have to say it looks pretty amazing! Below are some shots of the keyboard with the lights on!


HYTE NEXUS Software
Now you can use the Keeb without any software, but if you want to customize anything you’ll need to download the HYTE Nexus software. The HYTE Nexus software is a sort of full system suite software, but we will just be concentrating on the sections for the Keeb. When you first open it up you’ll see a handful of different tiles.
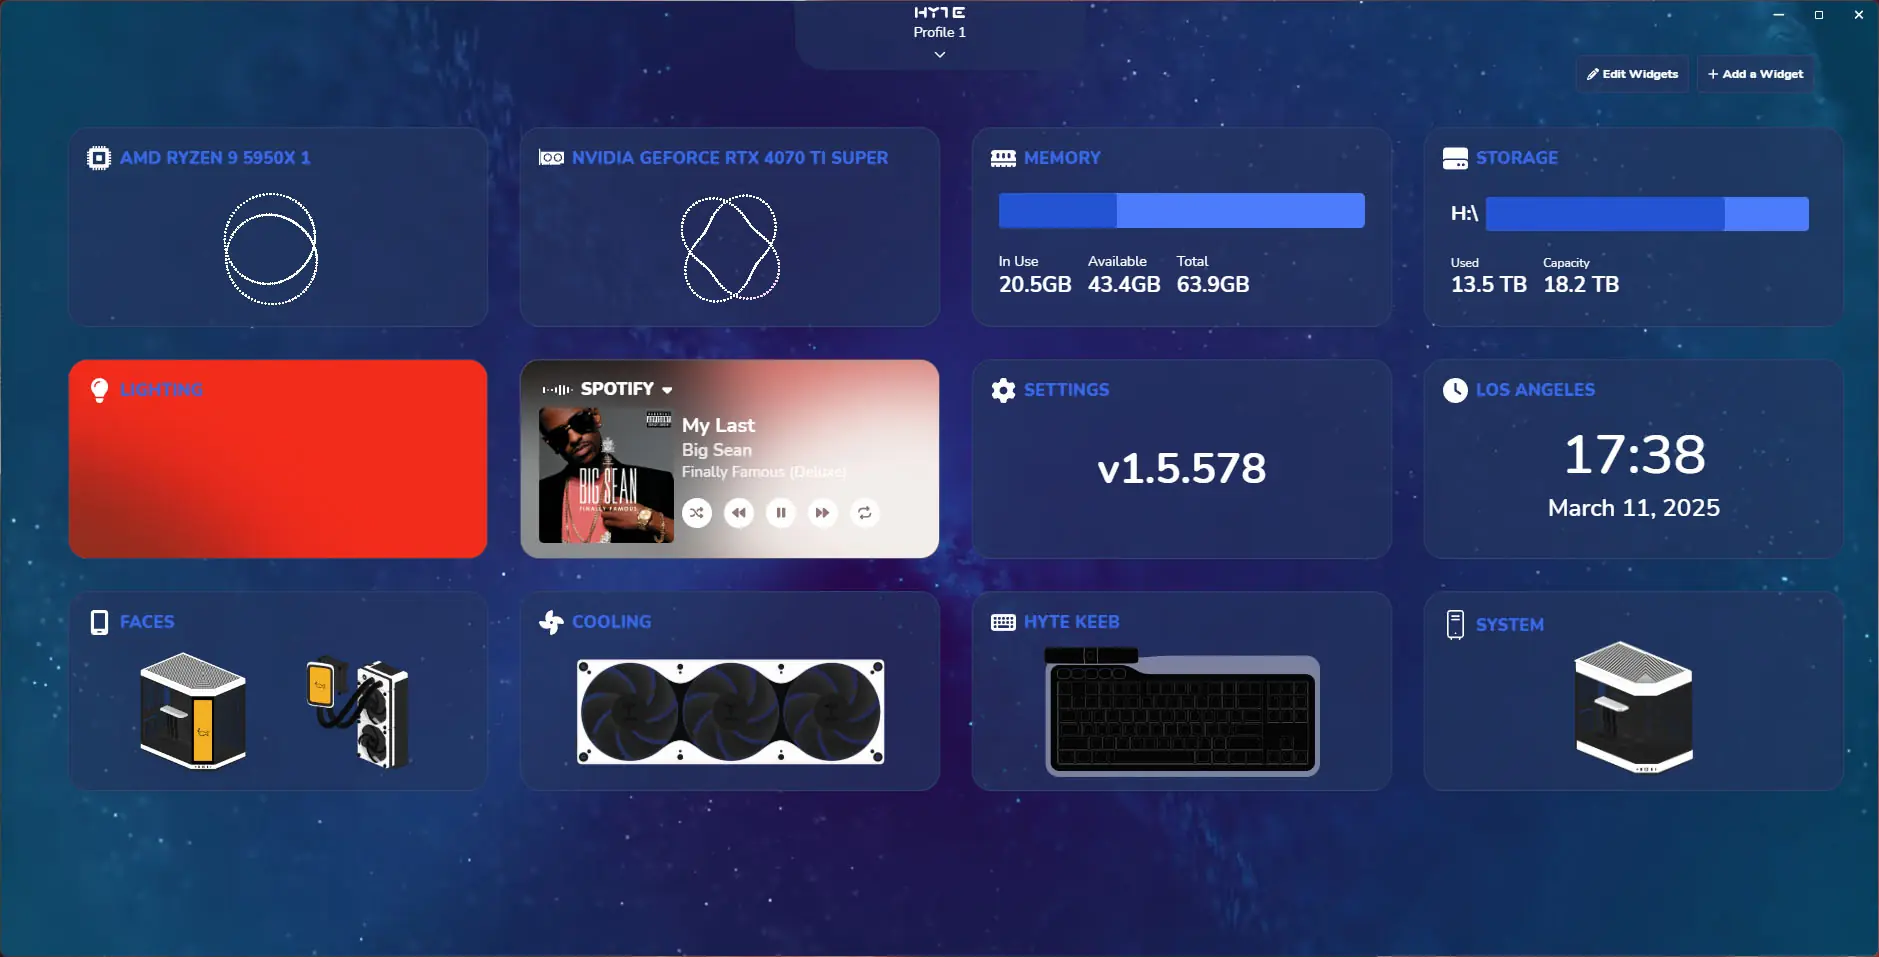
Find the one that says “HYTE Keeb” and click on it. Here you’ll be able to completely reprogram the keyboard. You can set each key as another key on the keyboard, a mouse action, Windows action, web browser action, to launch an app, and of course you have a full macro editor and library.
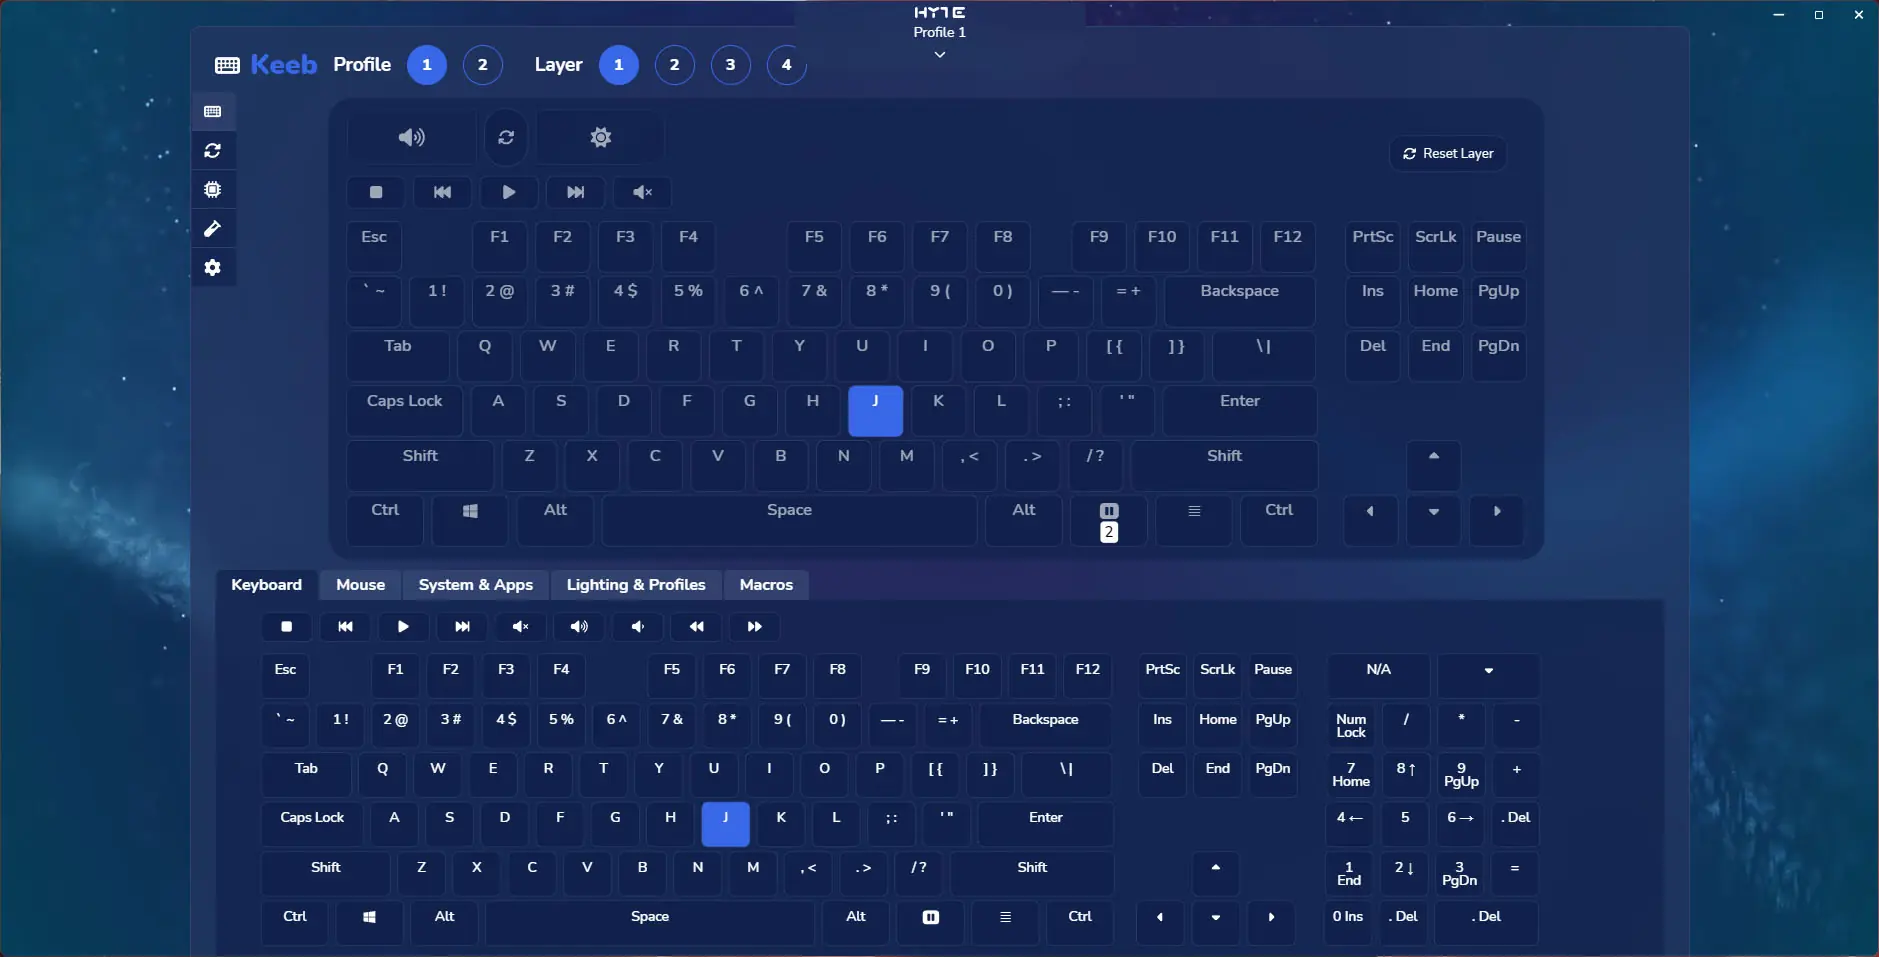
You can also reprogram the rollers and one thing that is nice to see is that you can adjust the sensitivity.

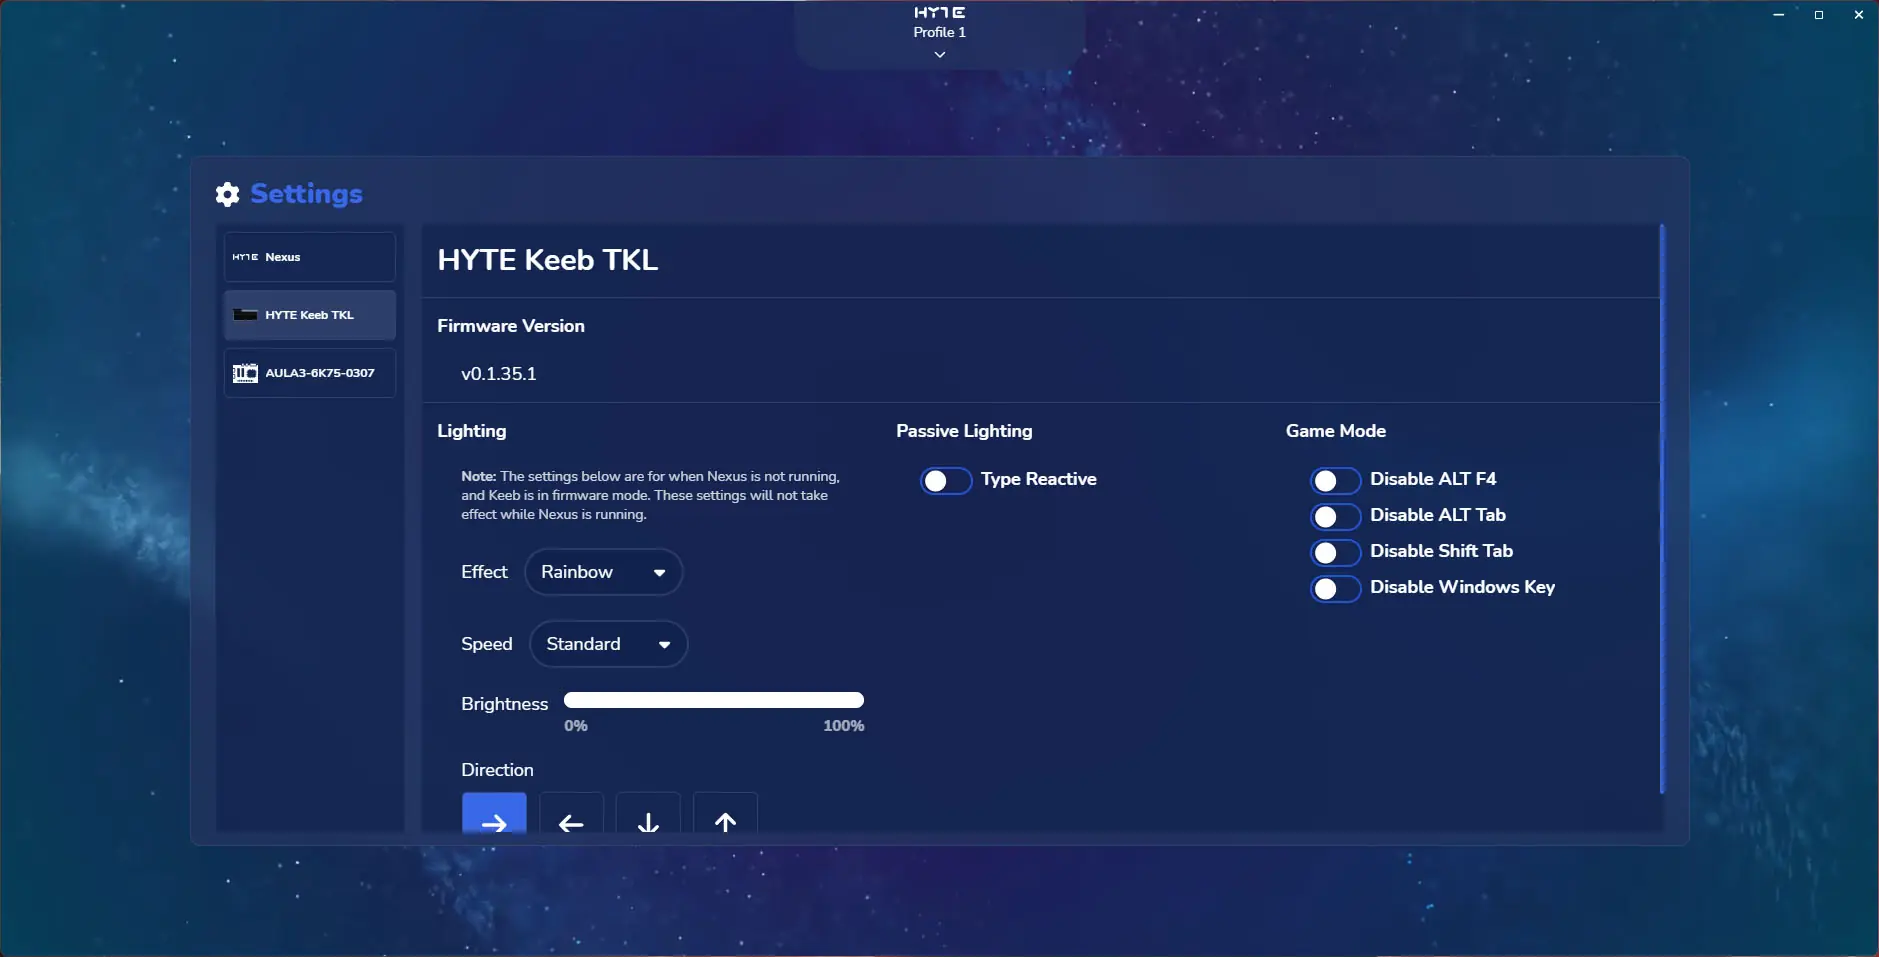
Finally going into the configuration you can see the version of the firmware you are running, set the lighting mode when you don’t have Nexus running, and set which keys are disabled in game mode.
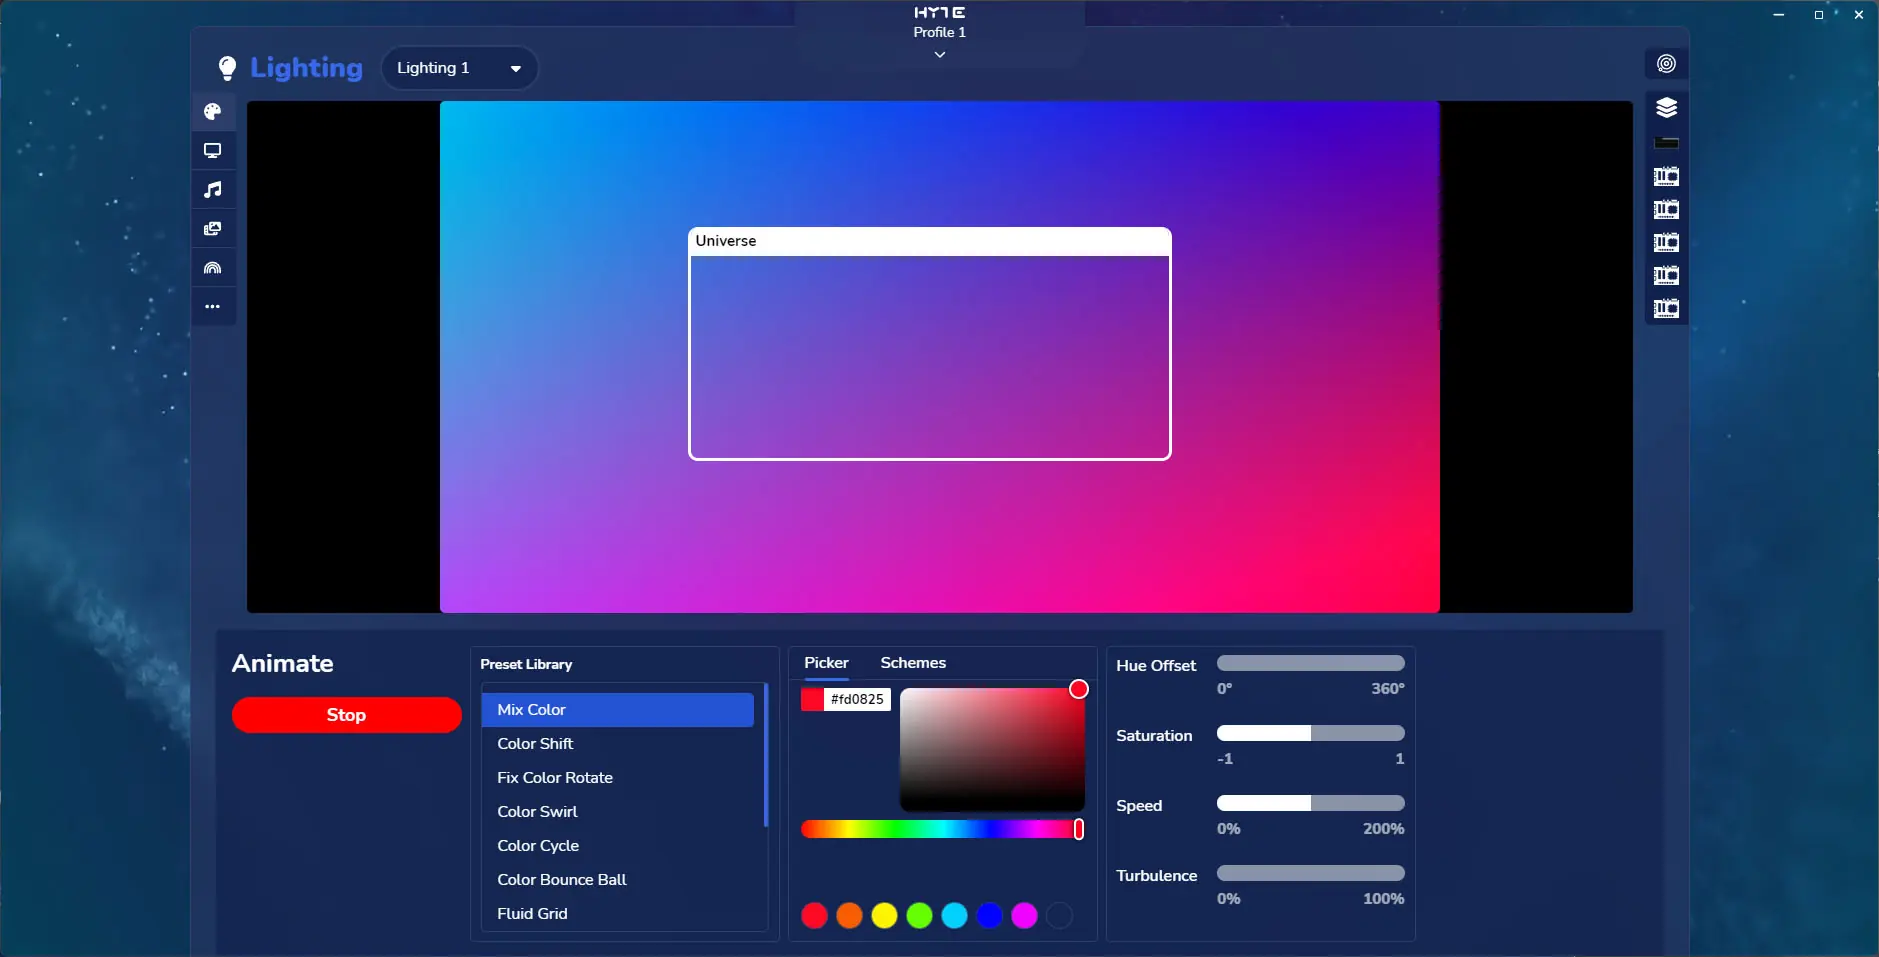
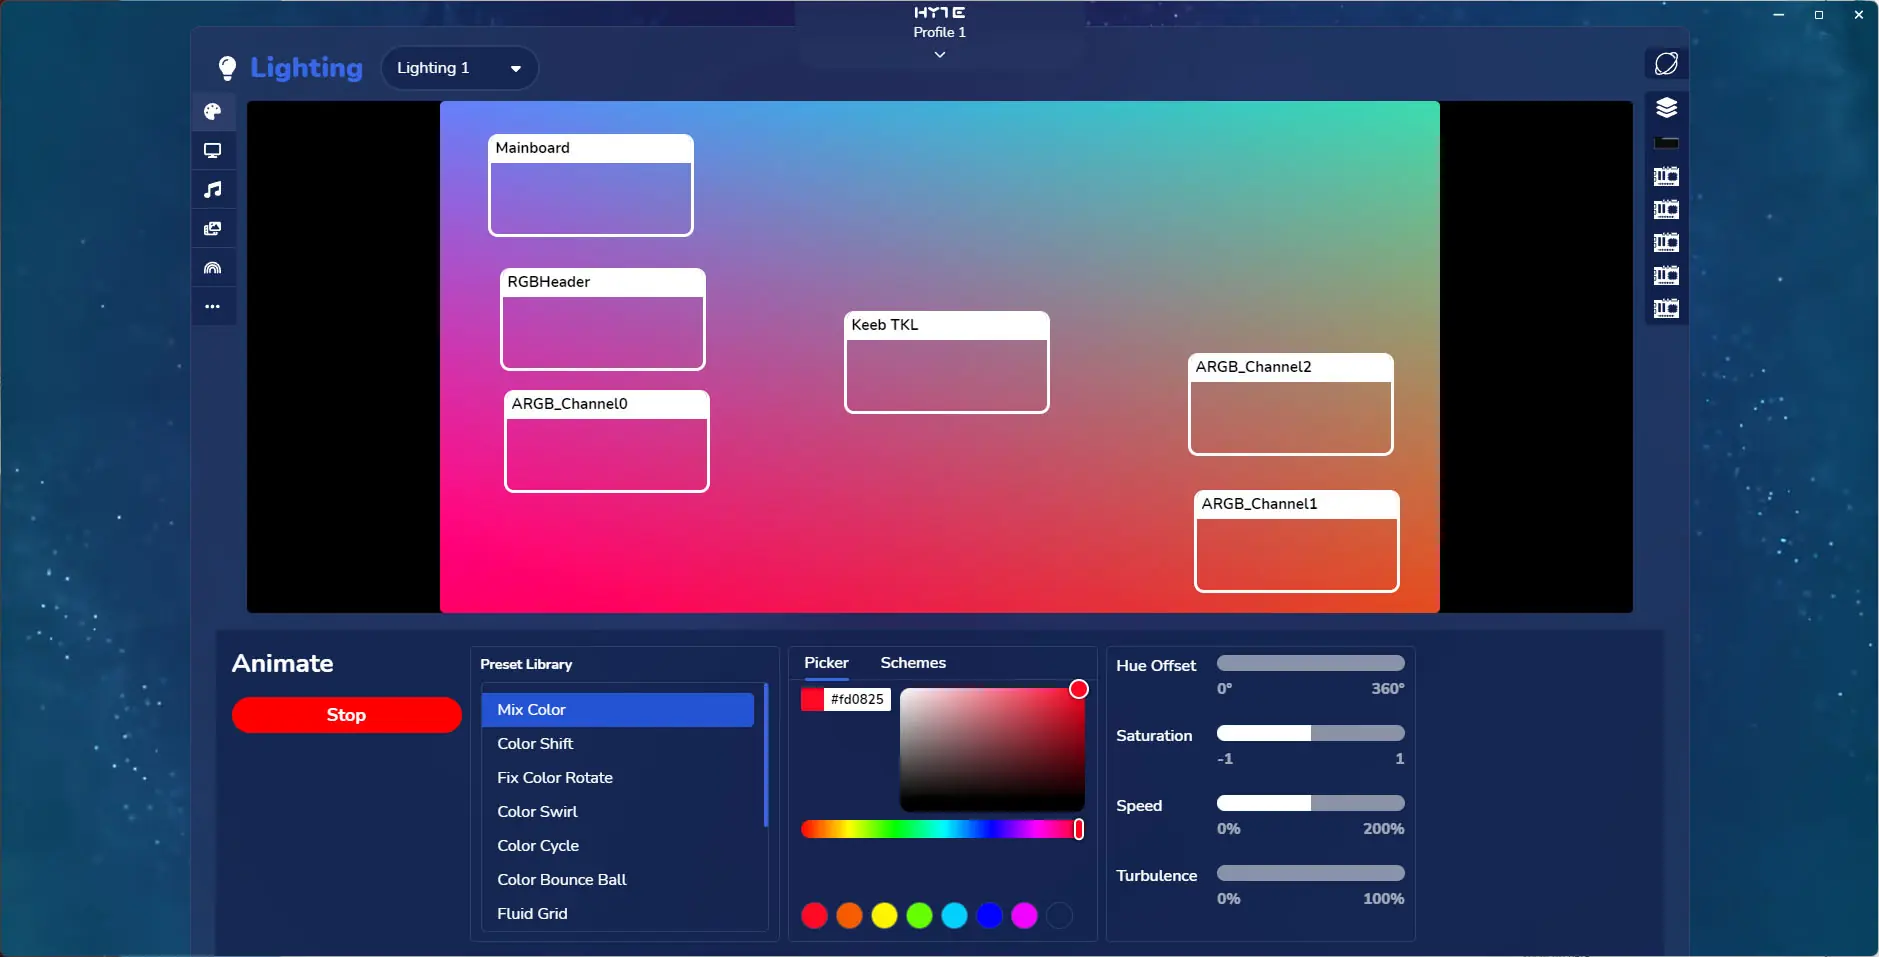
Hitting ESC you can get out of the Keeb settings and then you’ll want to find the Lighting tile. HYTE does lighting a bit different than most. First you have a large area where your specified effect is. Then you can either add all of your devices to this area as the “Universe” which you can adjust where it is, how large it is, etc. Or you can set Planet mode where each device gets its own box that you can move around the effect.