Setup & Software
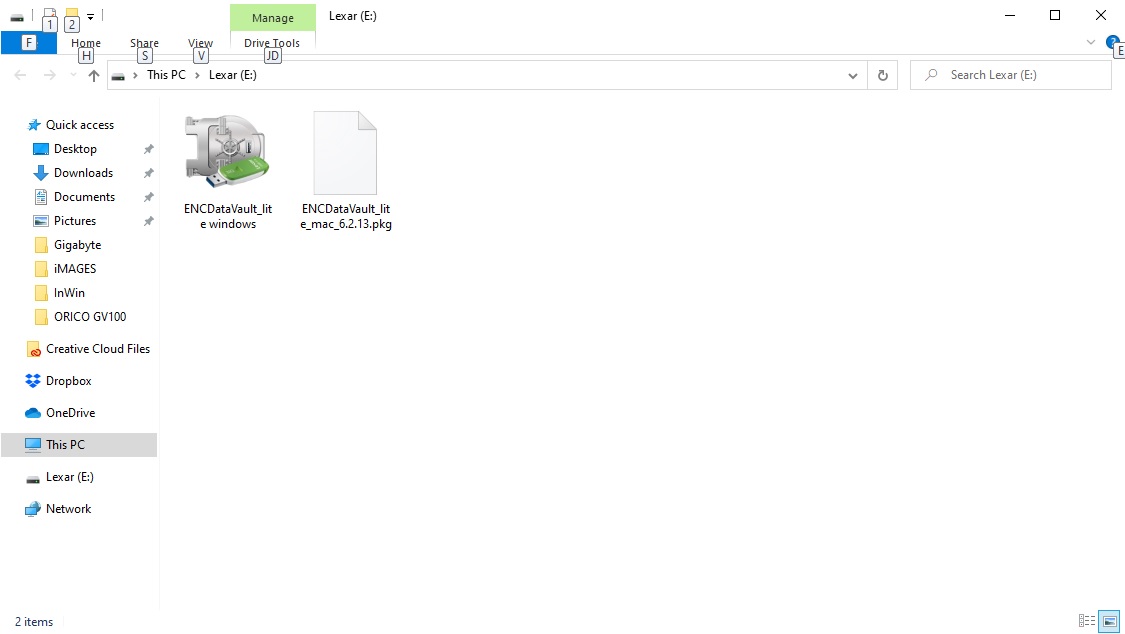
To get started with the Lexar SL100 Pro just plug it in to an open Type-C connection on your PC or laptop. It is nice that Lexar did include the Type-A cable for older systems. Once plugged in Windows will automatically recognize the drive and it should pop right up. To our surprise we do have some software on the drive, which we’ll get into in just a second.
For those wondering the 500GB version of the drive will give you 465GB of usable space.

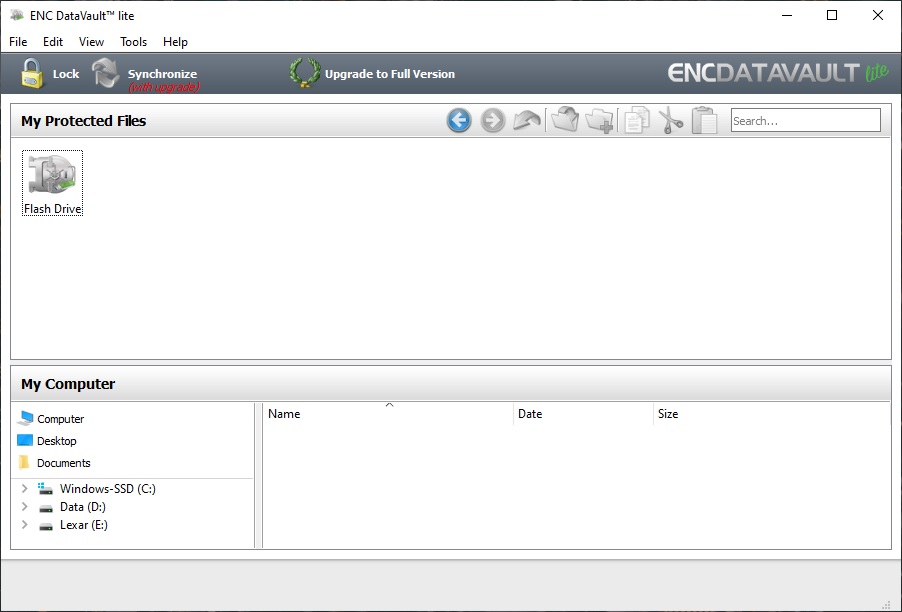
So the software that is included on the drive is called ENC DataVault (the lite version). Basically it will allow you create a private “Vault” on your drive. Once you install it and set your password you’ll see “Flash Drive” as your vault, which is the SL100 Pro.
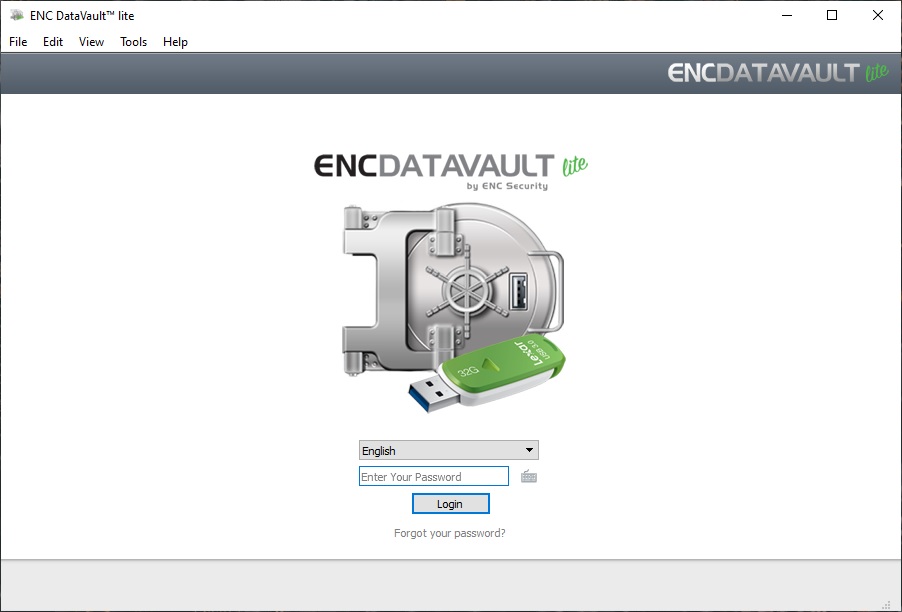
Each time you plug the drive in you open the app and you’ll be prompted for your password.
Once you enter your password you’ll gain access to your protected files. Adding files is quite easy too, there is a file browser at the bottom of the app and you can drag and drop files.
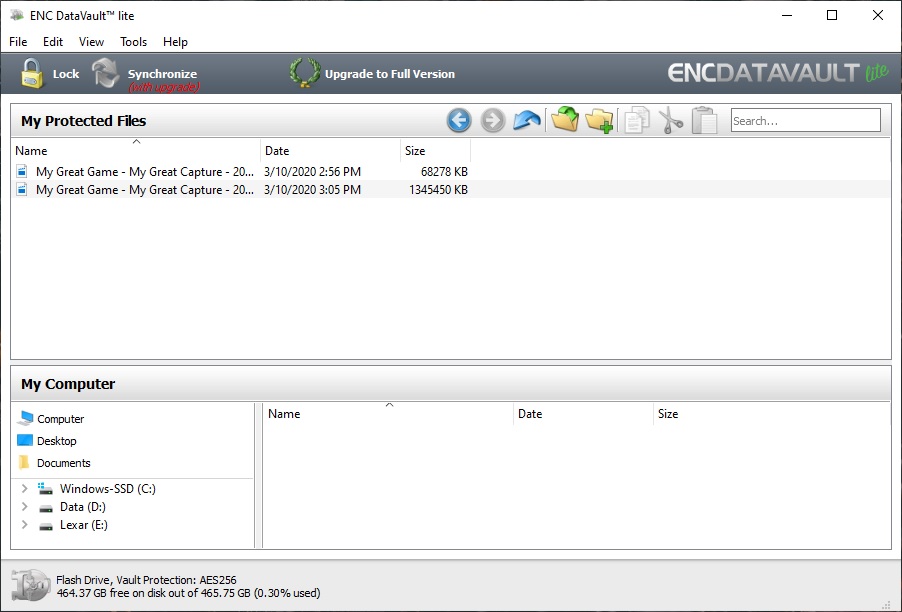
This is only the lite version of the software, so you only have the ability to drag and drop files. The synchronize feature is not available in this version of the software.