
Lian Li O11 Dynamic Mini V2 Flow Overview
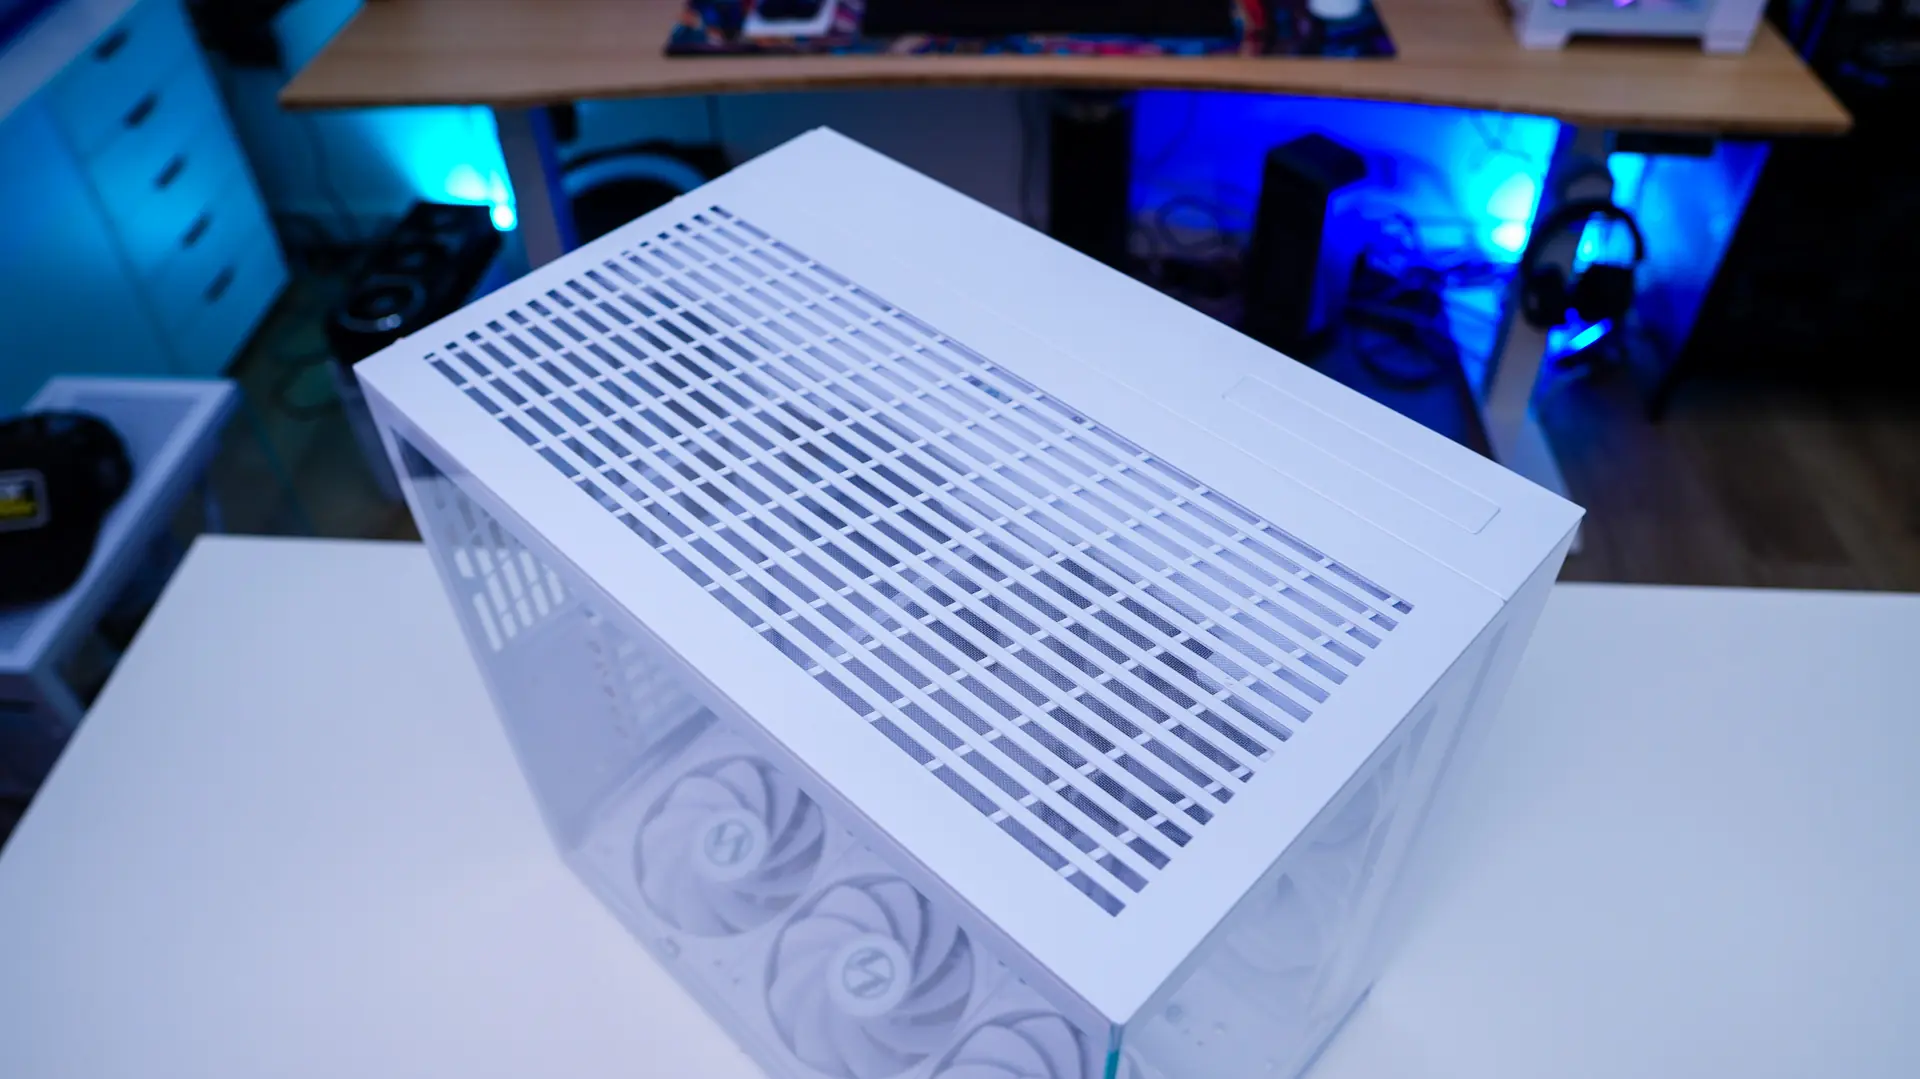
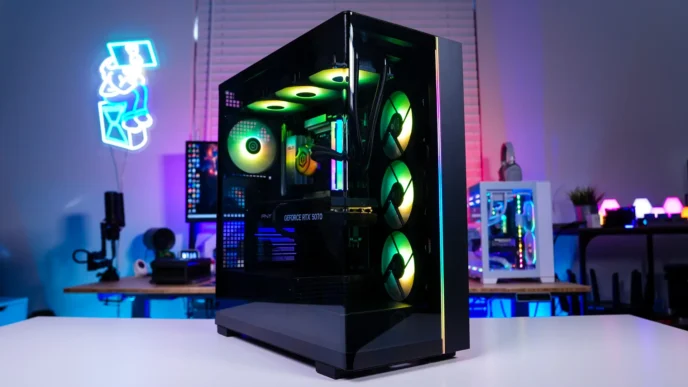
When it comes to the O11 Dynamic Mini V2 there are two different colorways, white and black. As you can see we have the white version. For the Flow version of the case your fans are going to match the color of the case so we have white fans here, but on the black version your fans are going to be black.

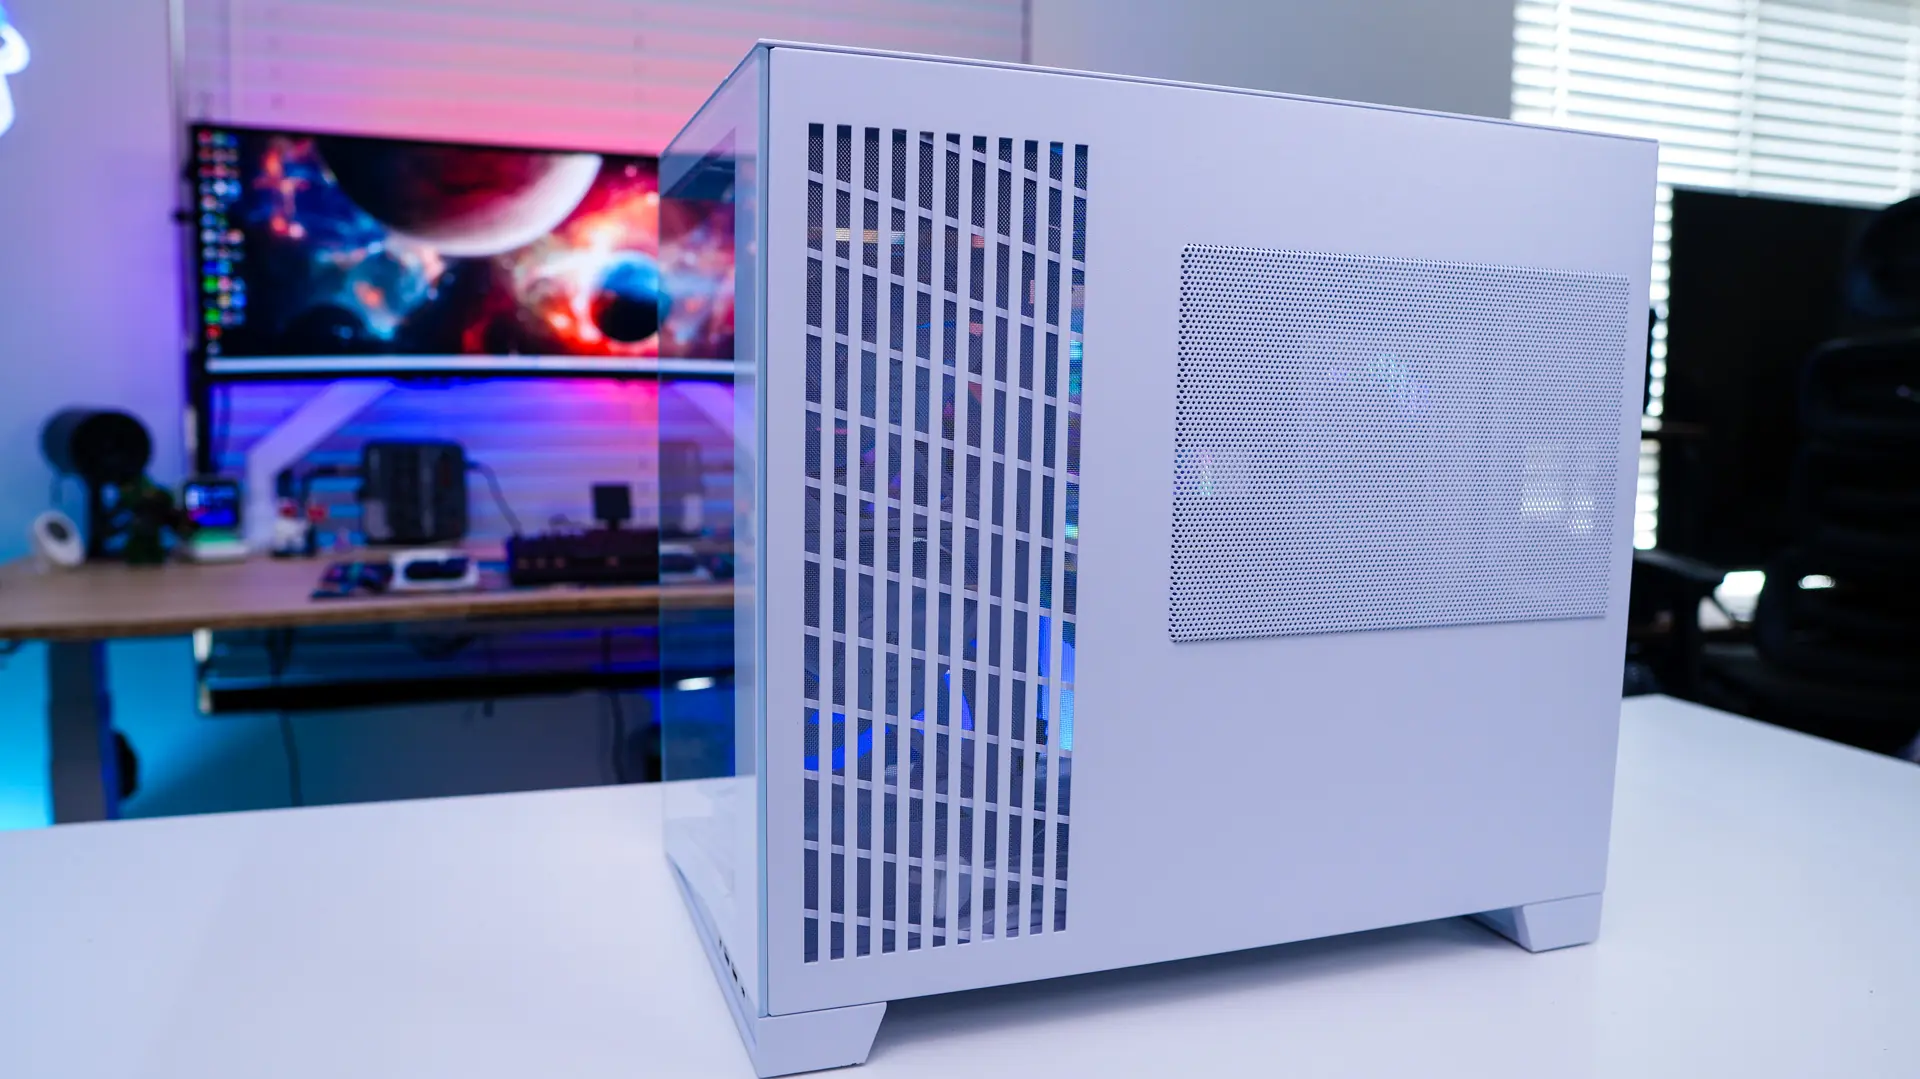
When it comes to size the O11 Dynamic Mini V2 is only going to be slightly wider and deeper than the original. The official dimensions are 423.6mm x 273.3mm x 391.95mm (DxWxH). The biggest change is to the height of the case (380mm vs 391.95mm). This change is to better suite full-size ATX motherboards and it will give you better viewing angles into the case itself.
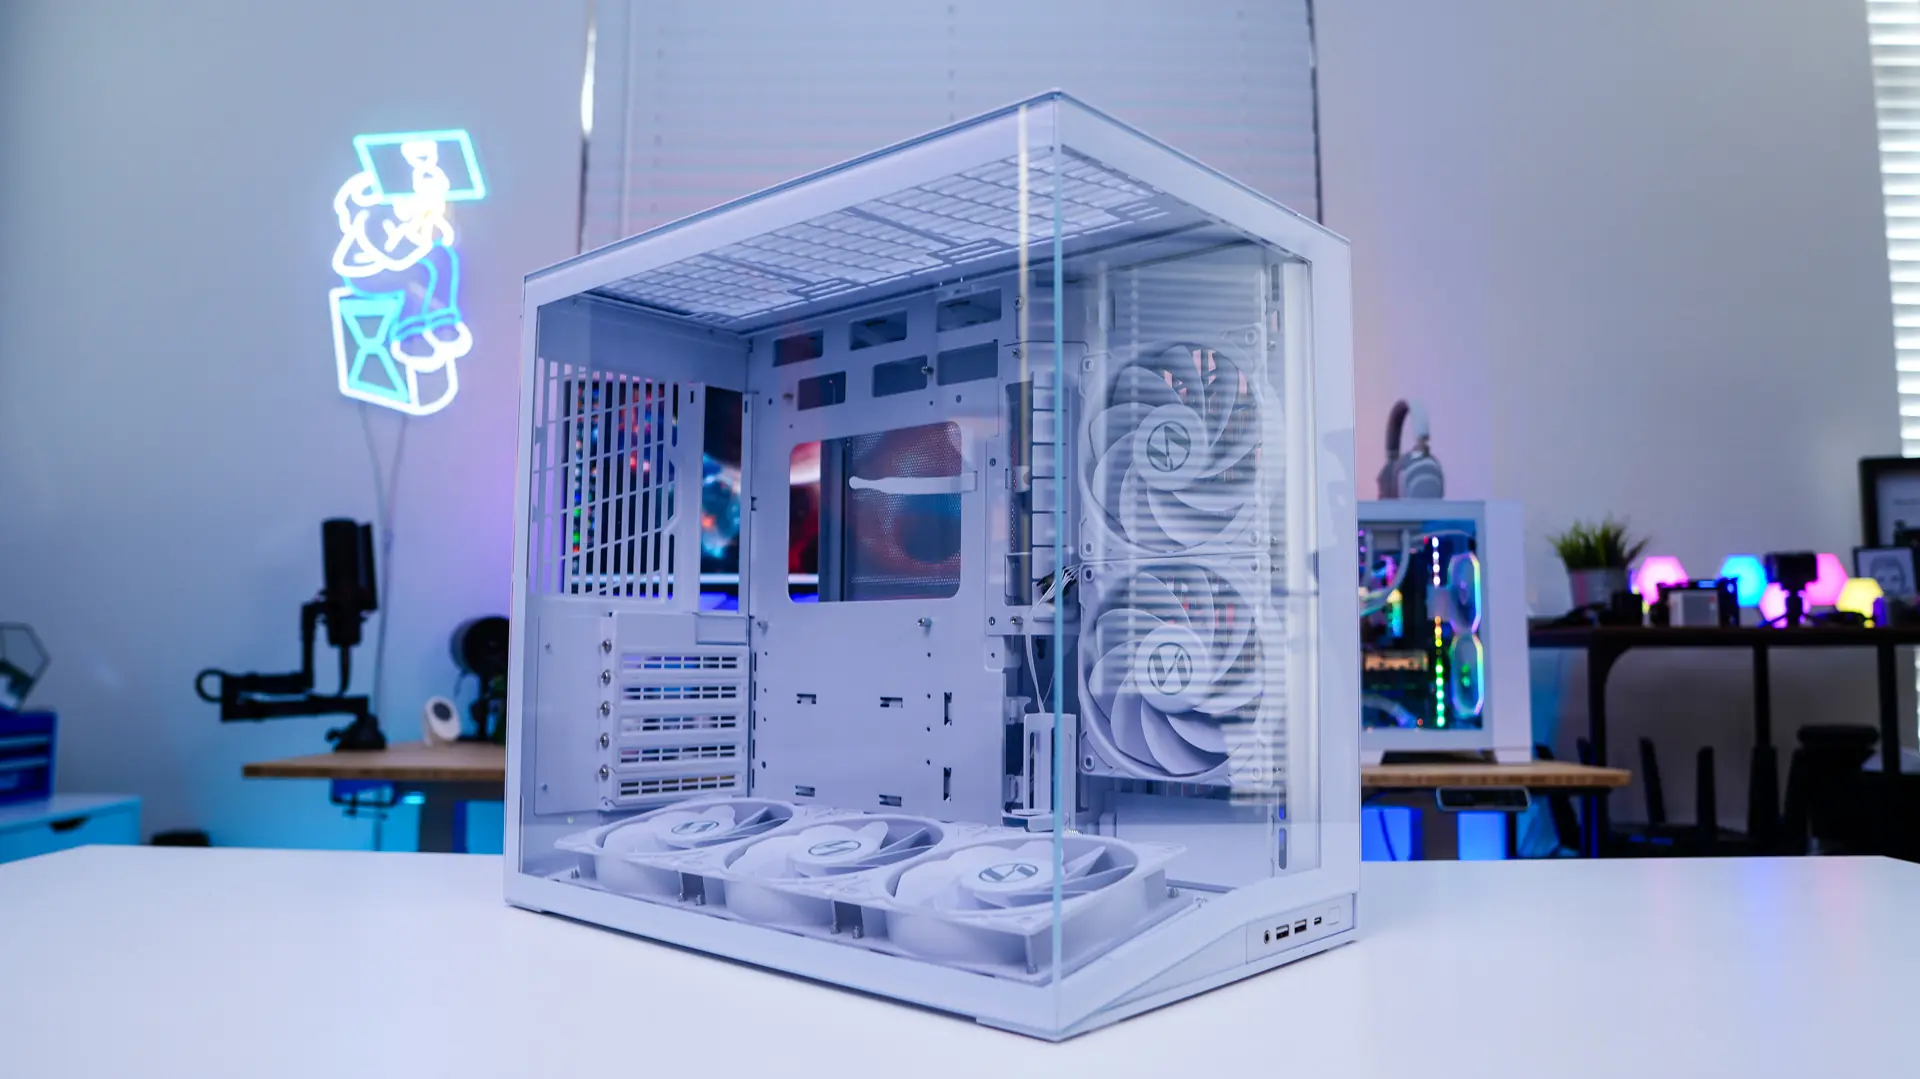
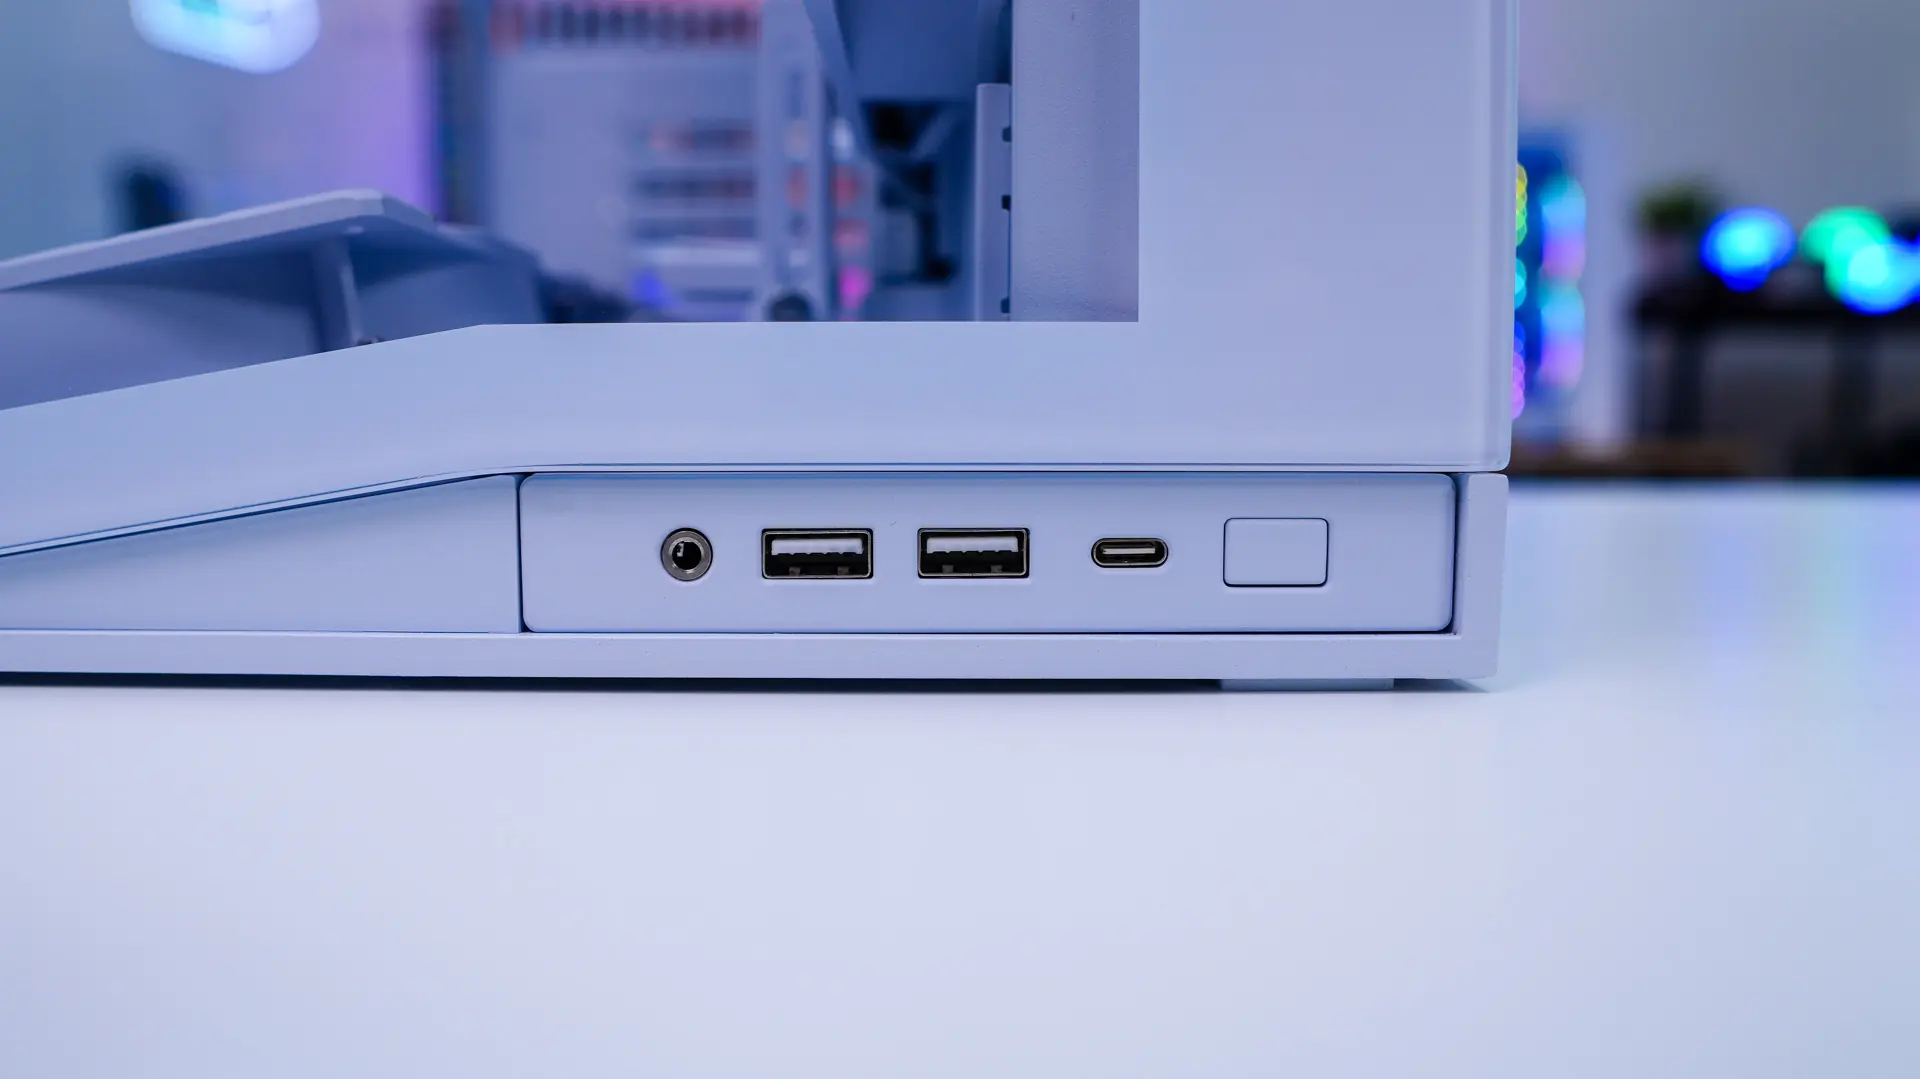
Starting at the front of the case we have a tempered glass side panel, which is going to give you a straight look into your system. The panel itself is angled to match the new style of the case which we’ll get into. The I/O of the case has been moved to the bottom (it was on the top previously), which I feel is a better placement. The I/O is made up of a power button, a USB 3.2 Type-C port, two USB 3.0 Type-A ports, and a combination headphone and microphone jack.
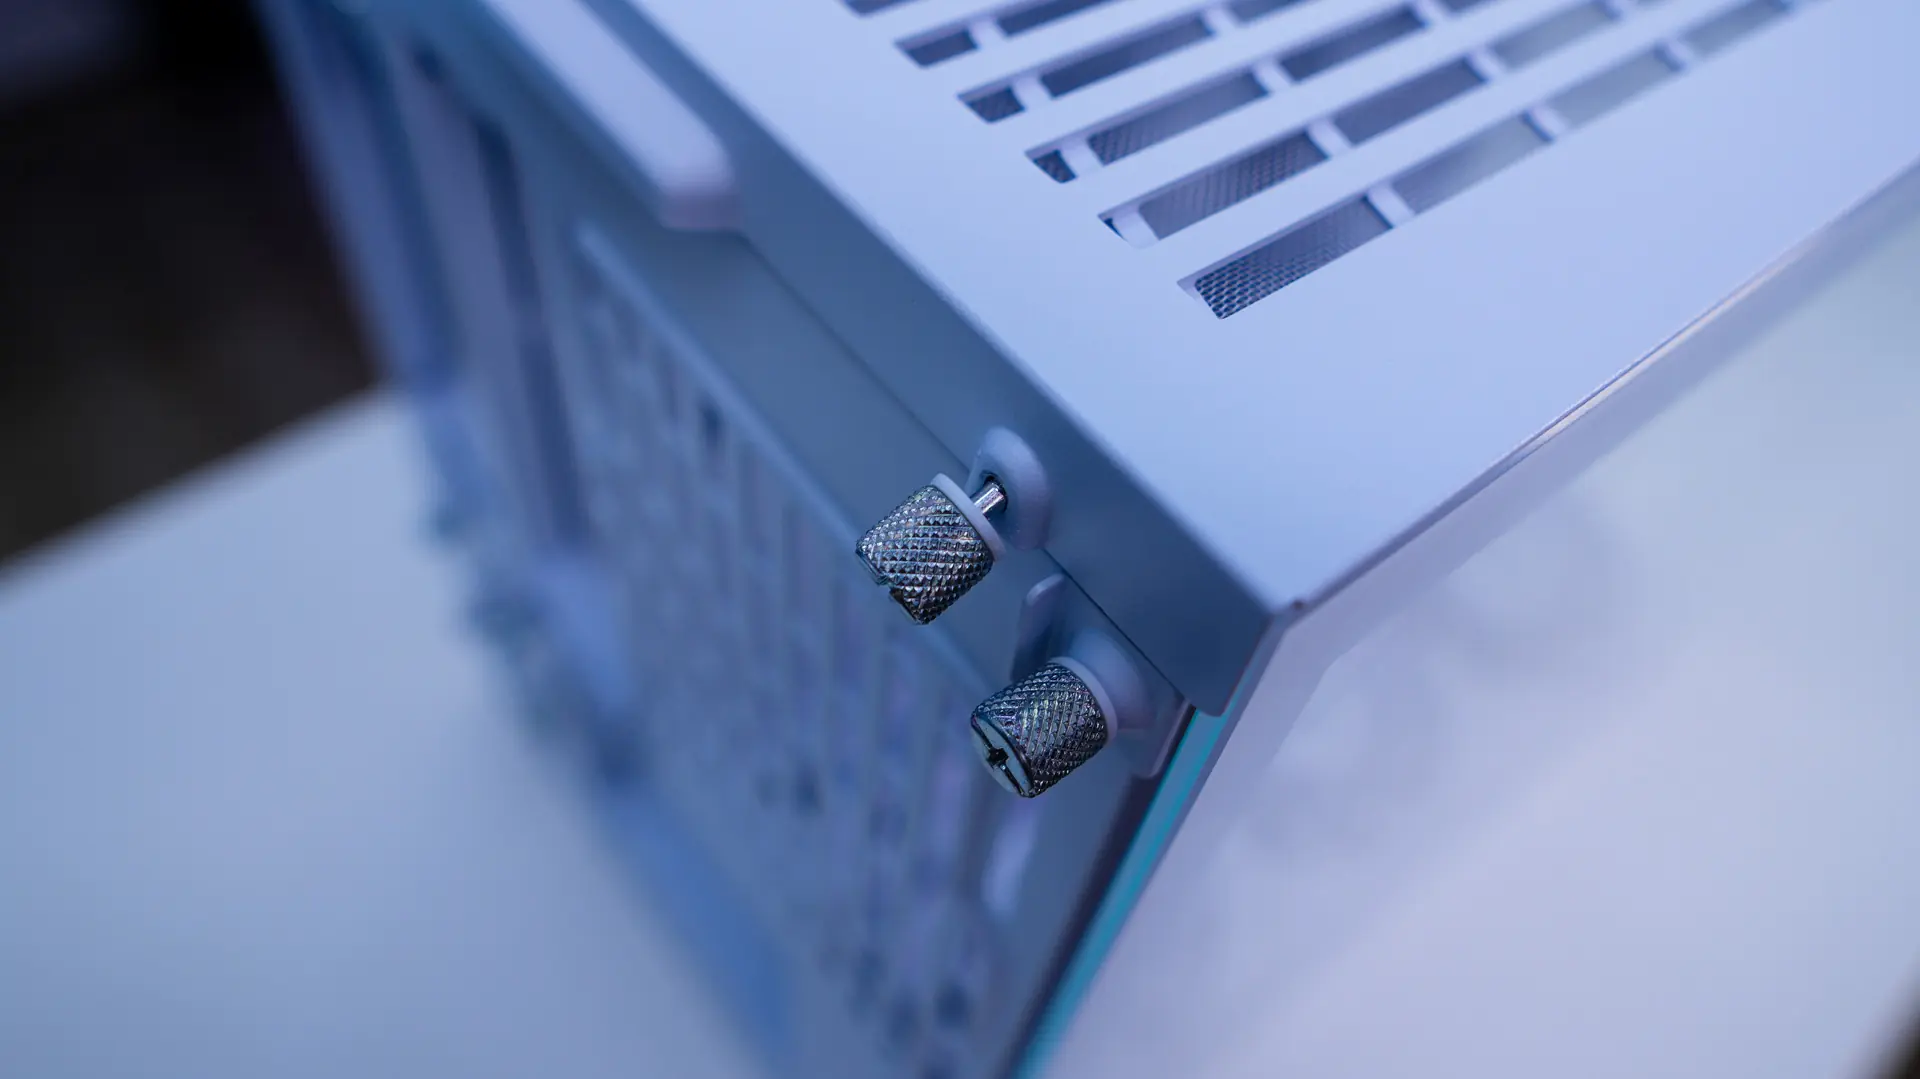
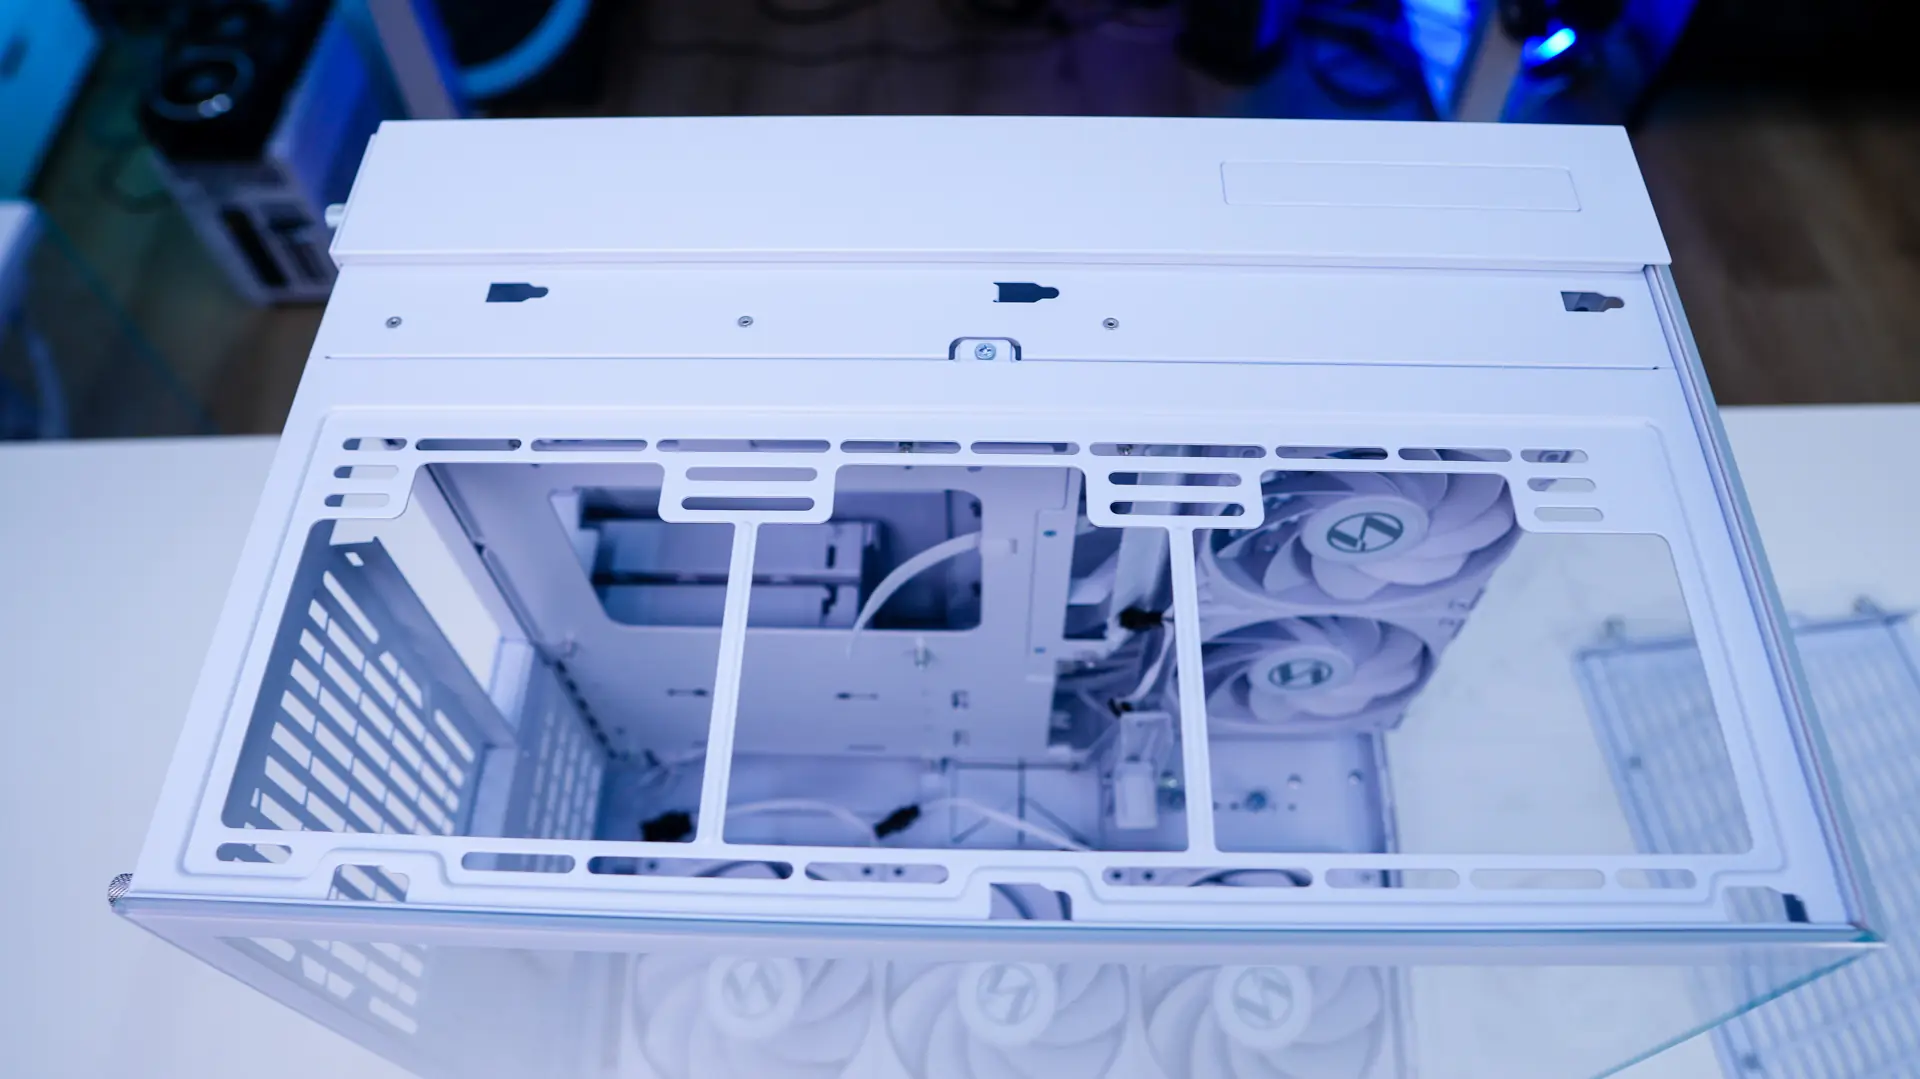
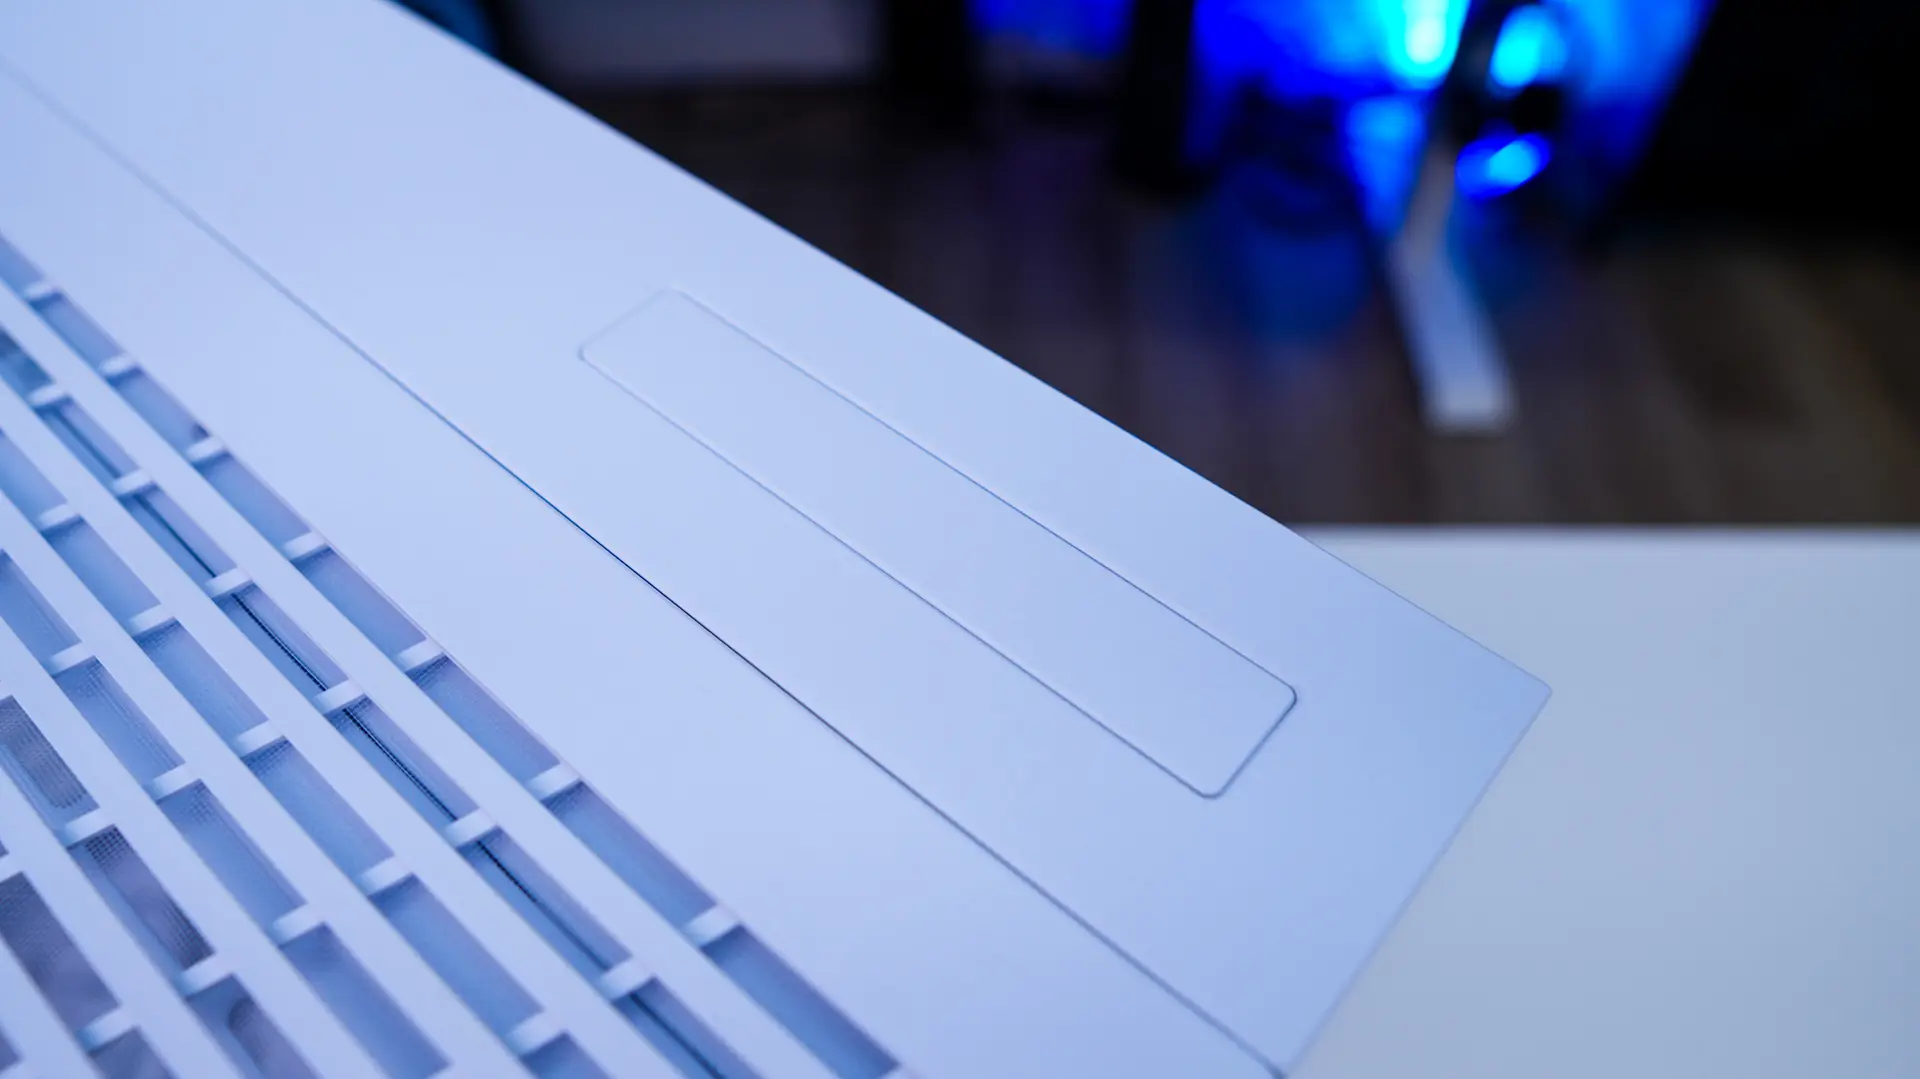
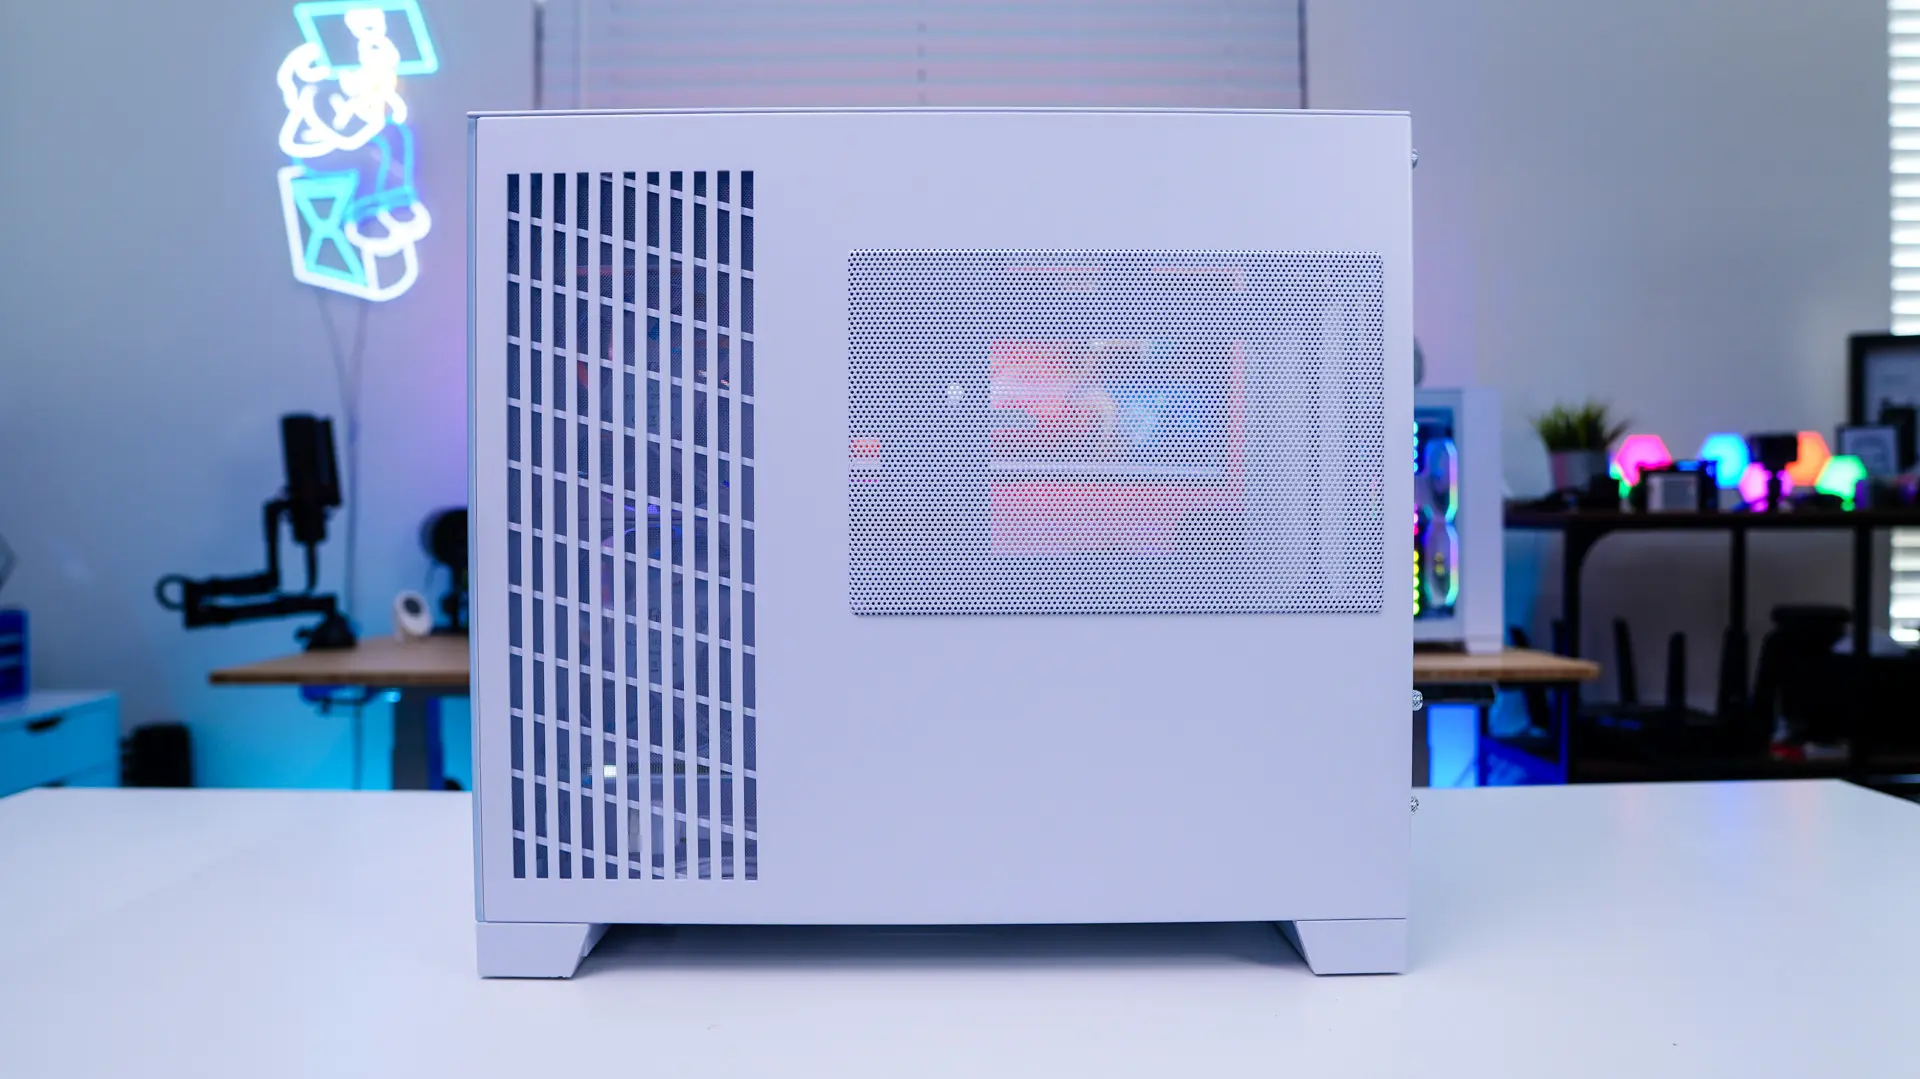
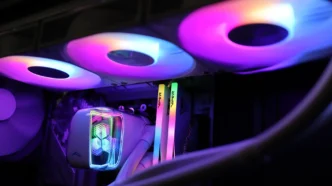
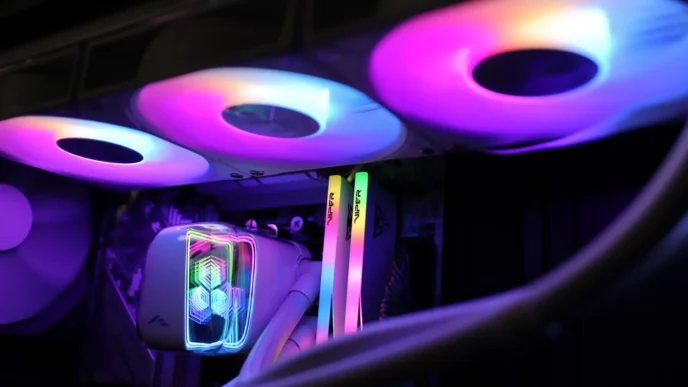
Moving up to the top of the case we do have a split design just like the original. Width-wise 90% of the top of the case is ventilated. This section of the case is easily removed by loosening two thumbscrews on the back of the case. With the top of the case removed we have a cooling mount. This mount supports two 140mm fans or three 120mm fans as well as radiators up to 360mm. There is a covered cut-out on the opposite side of the case. If you are not a fan of the I/O on the front of the case you can move it up here.
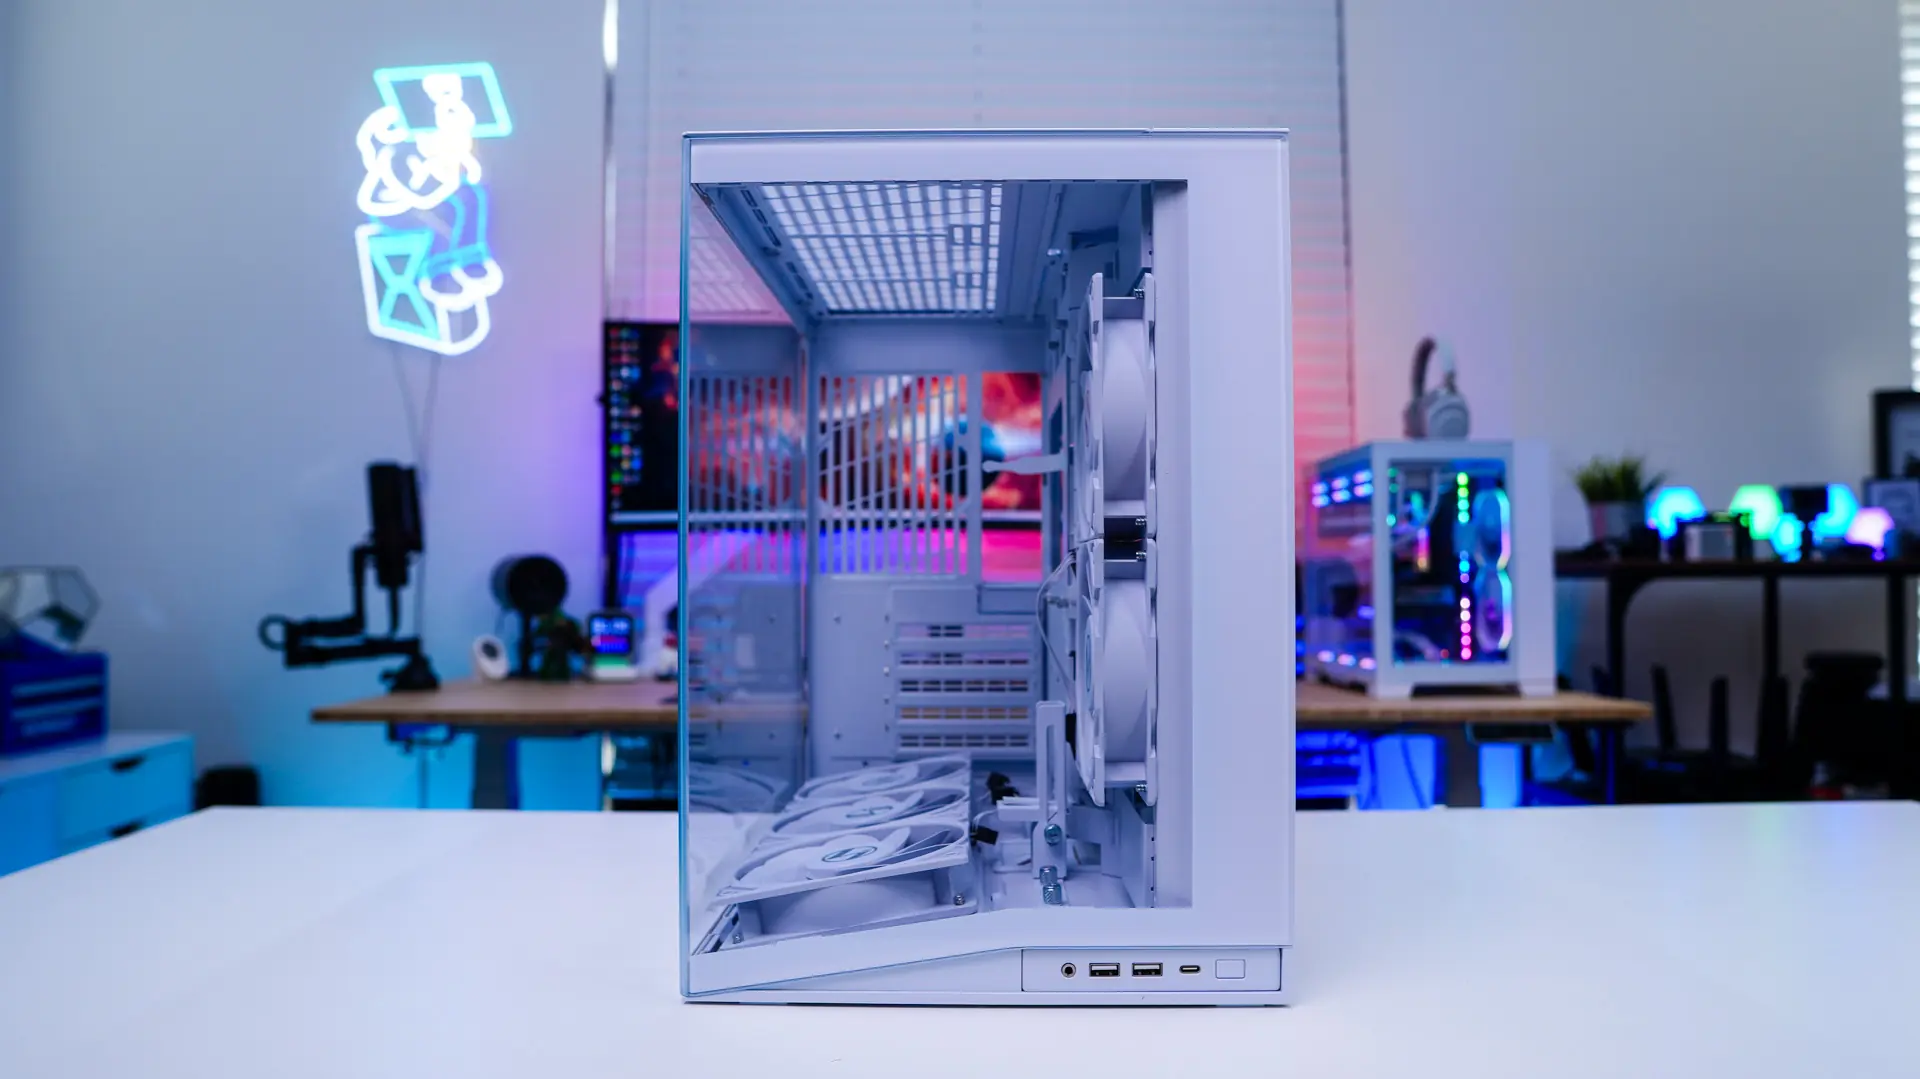
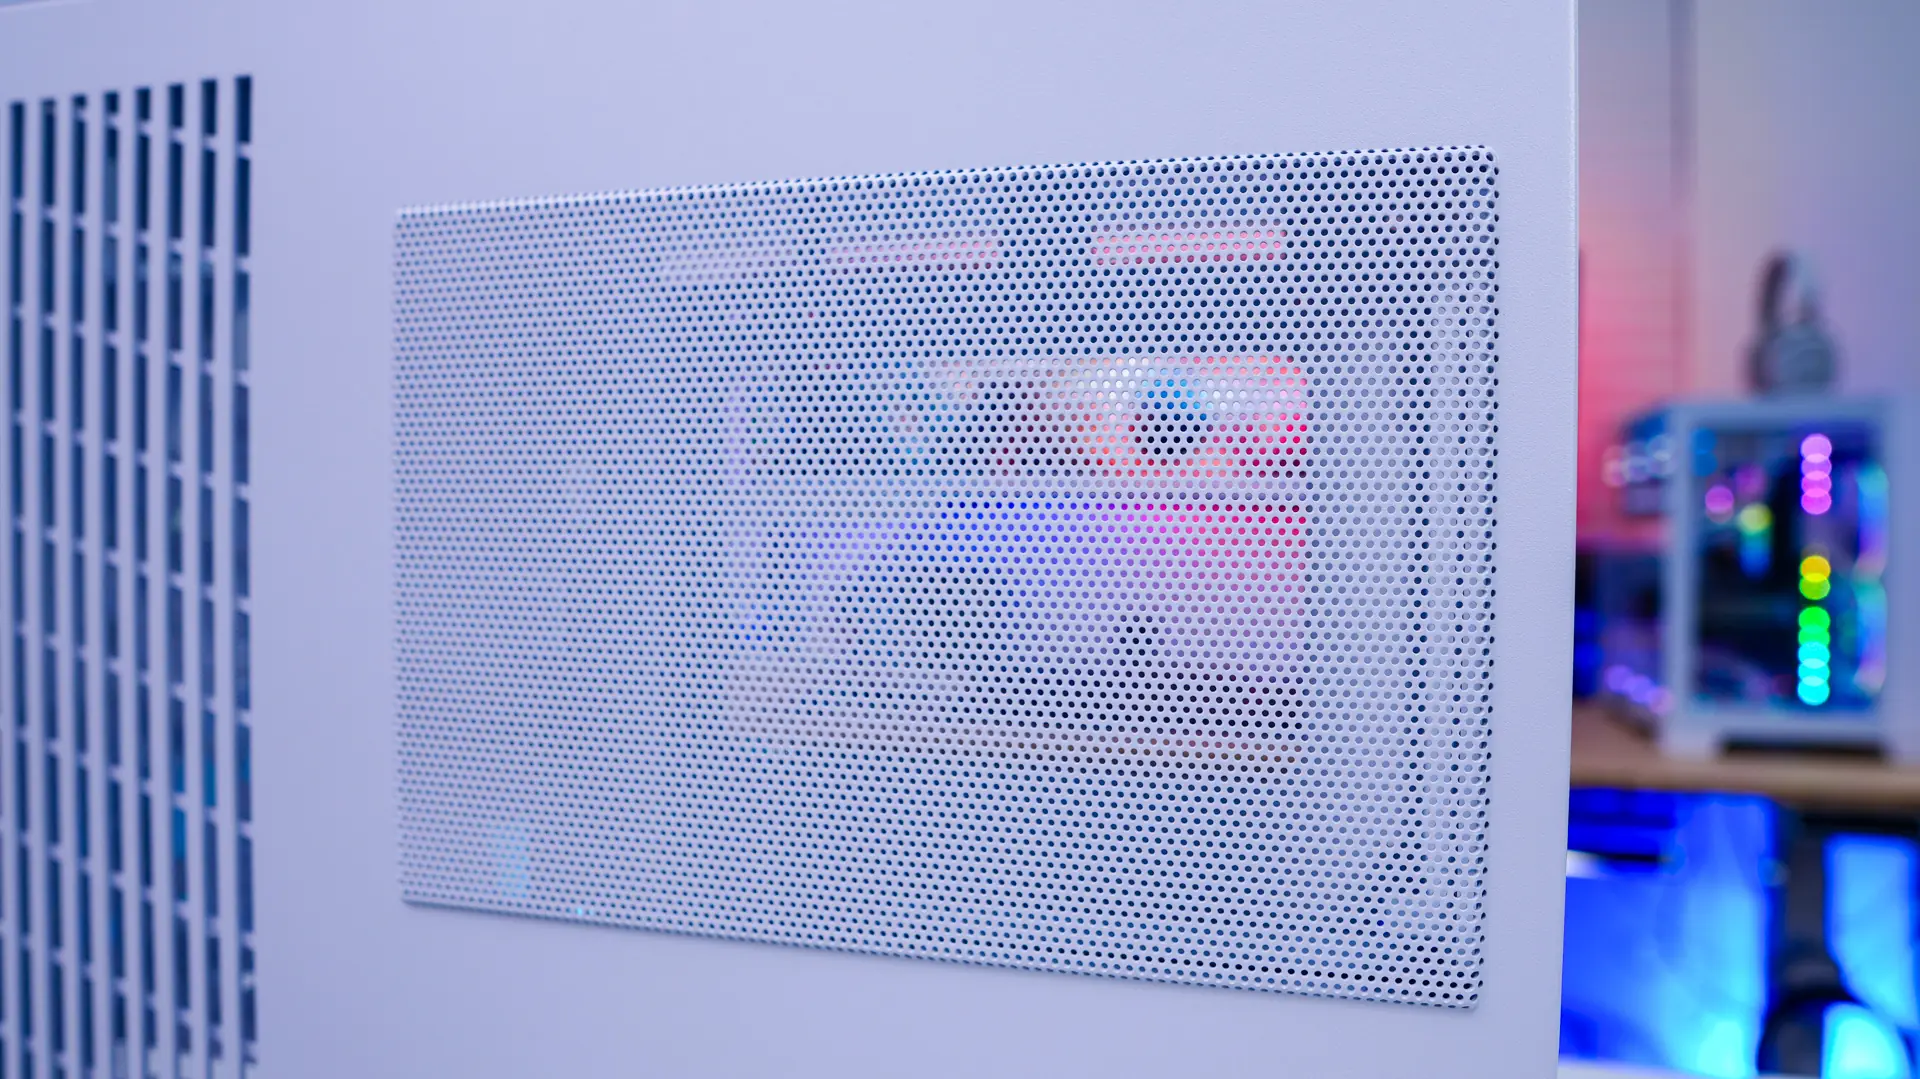
The main side panel of the case is of course a tempered glass panel. This is going to give you a perfect view into your system. The opposite side panel is a steel panel and has ventilation for your power supply as well as the side mount.
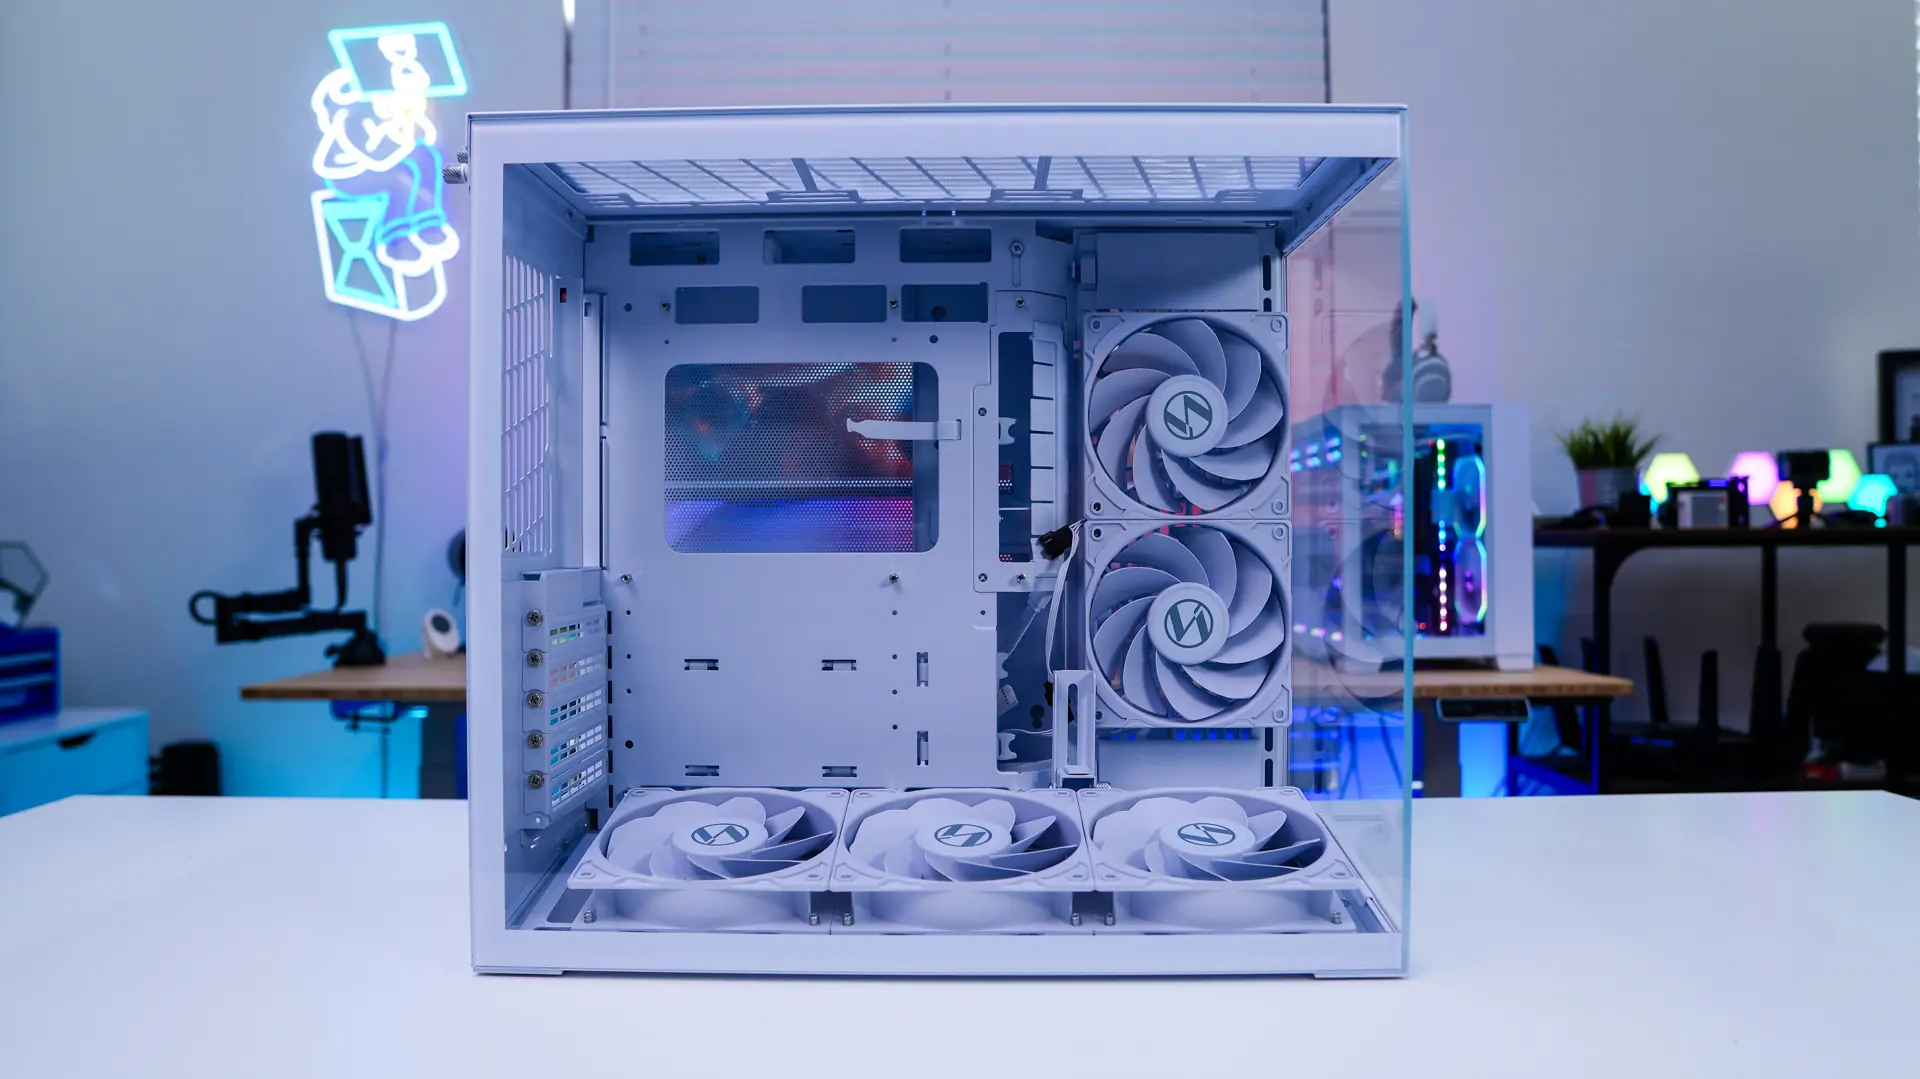
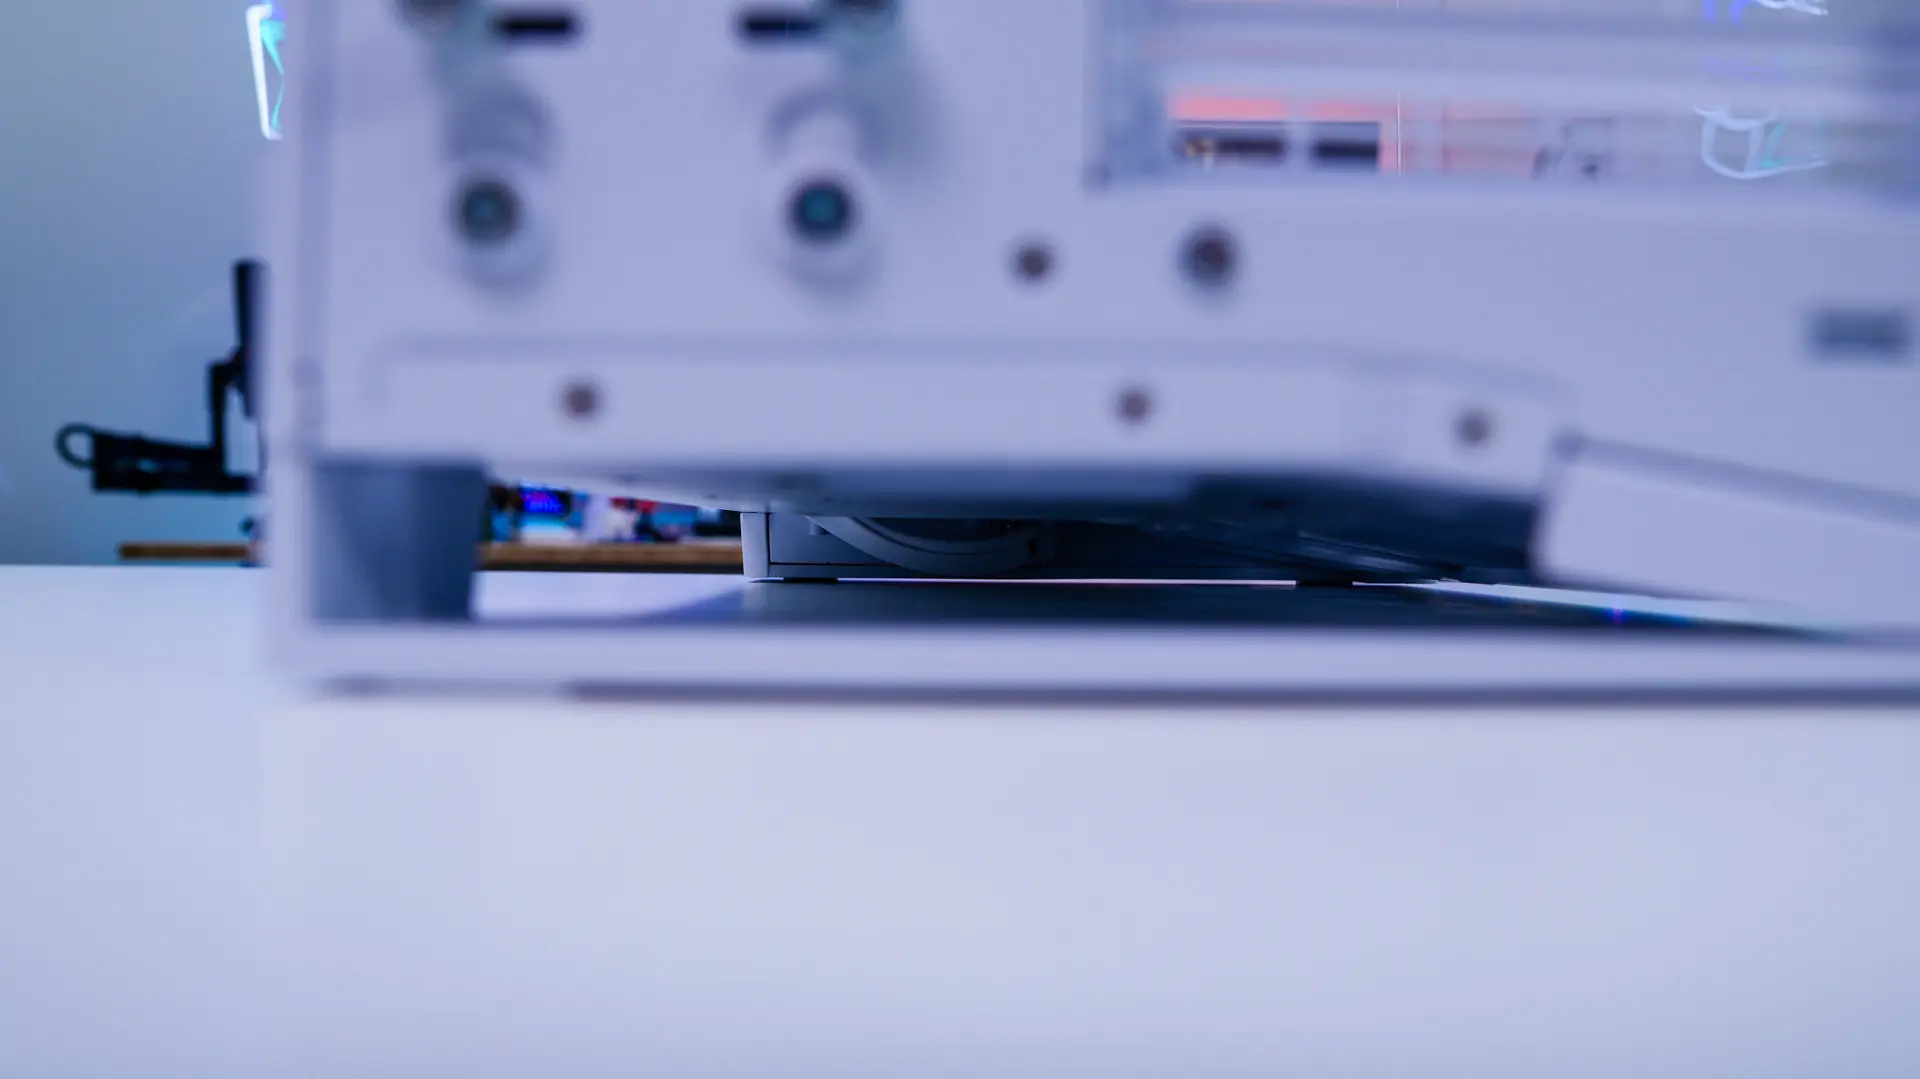
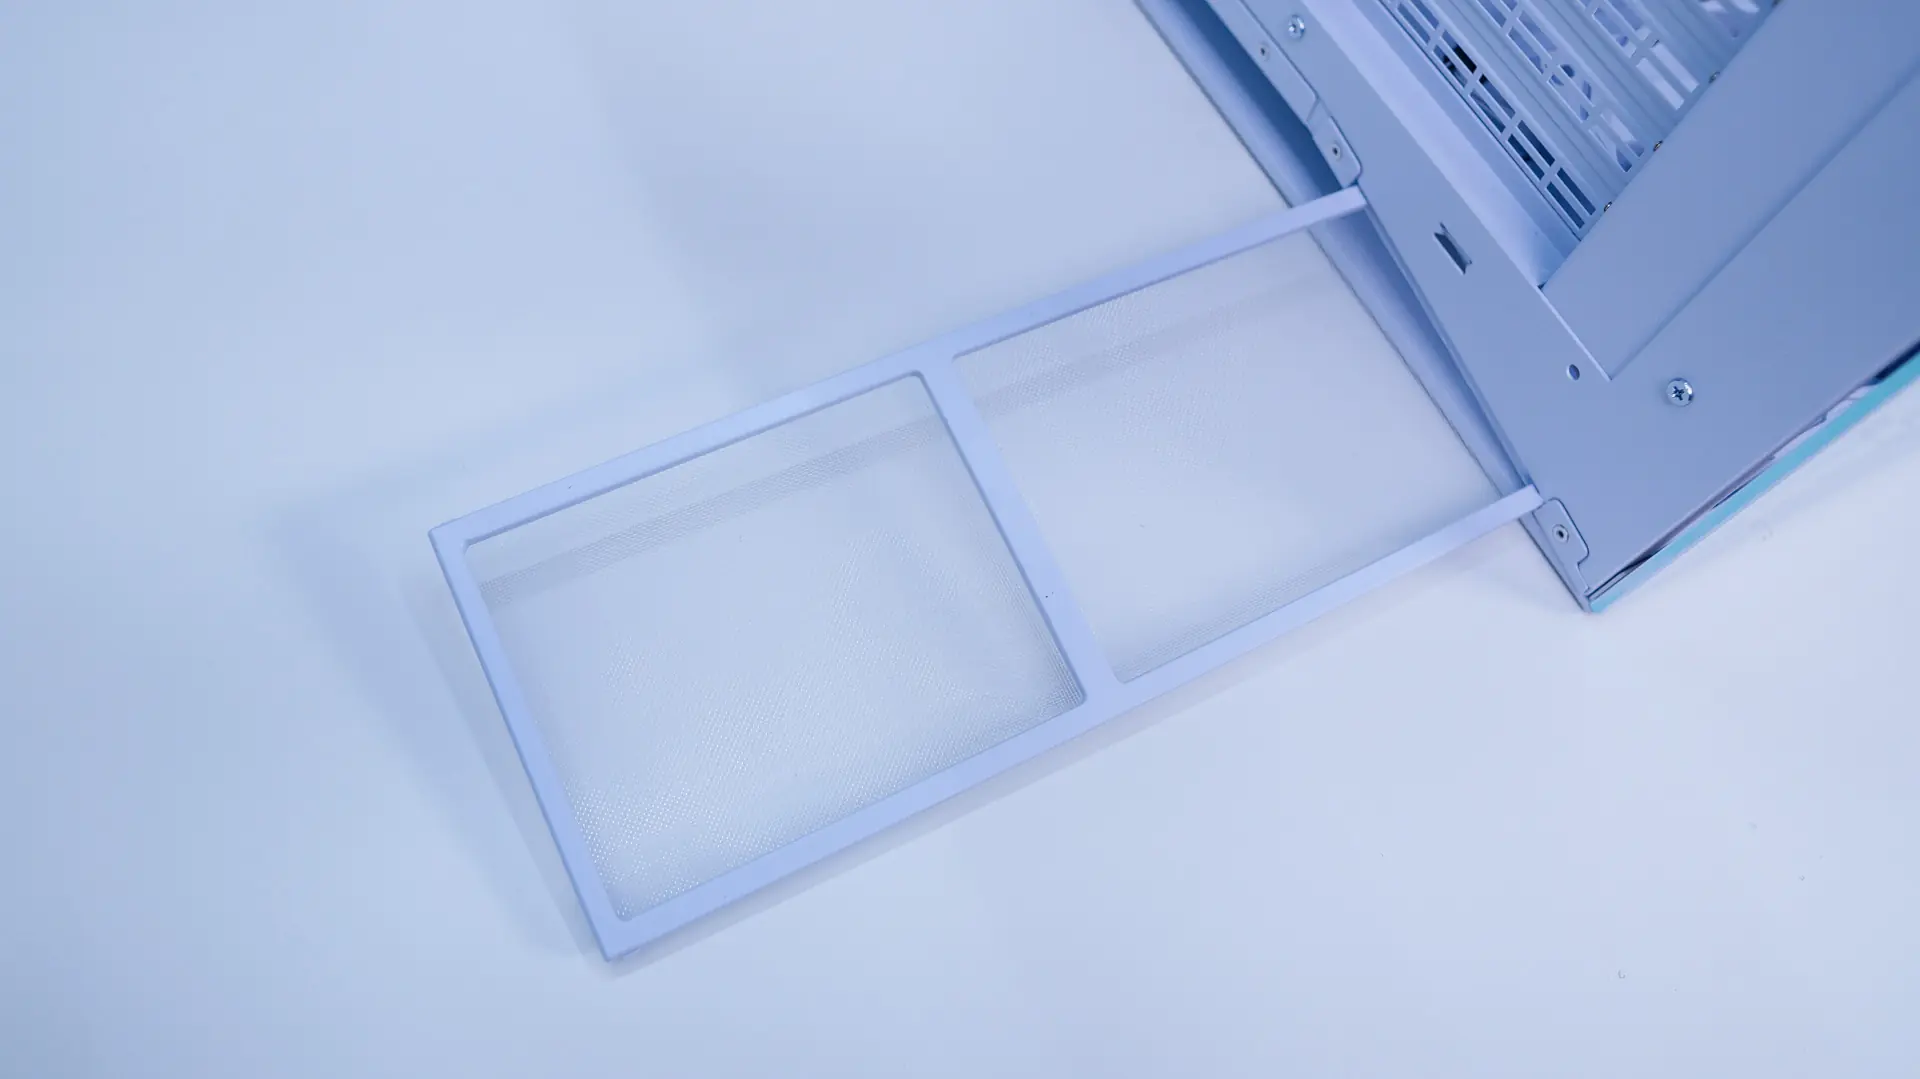
Moving around to the back of the case we get a better idea of the dual compartment design of the case. On one side we have our motherboard mount with 5 expansion slots. On the motherboard mount there is a small plastic cap towards the bottom of where the I/O would be. This can actually be moved to the top of the case if you need more room up top. 5 expansion slots is interesting as you’ll essentially lose the bottom most slot on most ATX motherboards. For most people this is not going to be a big deal. There is a fan mount here as well which supports 120mm fans. The opposite side will house your power supply and then we have a bunch of screws for the hard drive mounts (more on those in a bit). We can also see the opening below the case that allows for airflow to those bottom fans. This makes it so there are no feet on the case lifting it off the ground. There is a pull-out filter at the back that goes the entire length of the case.
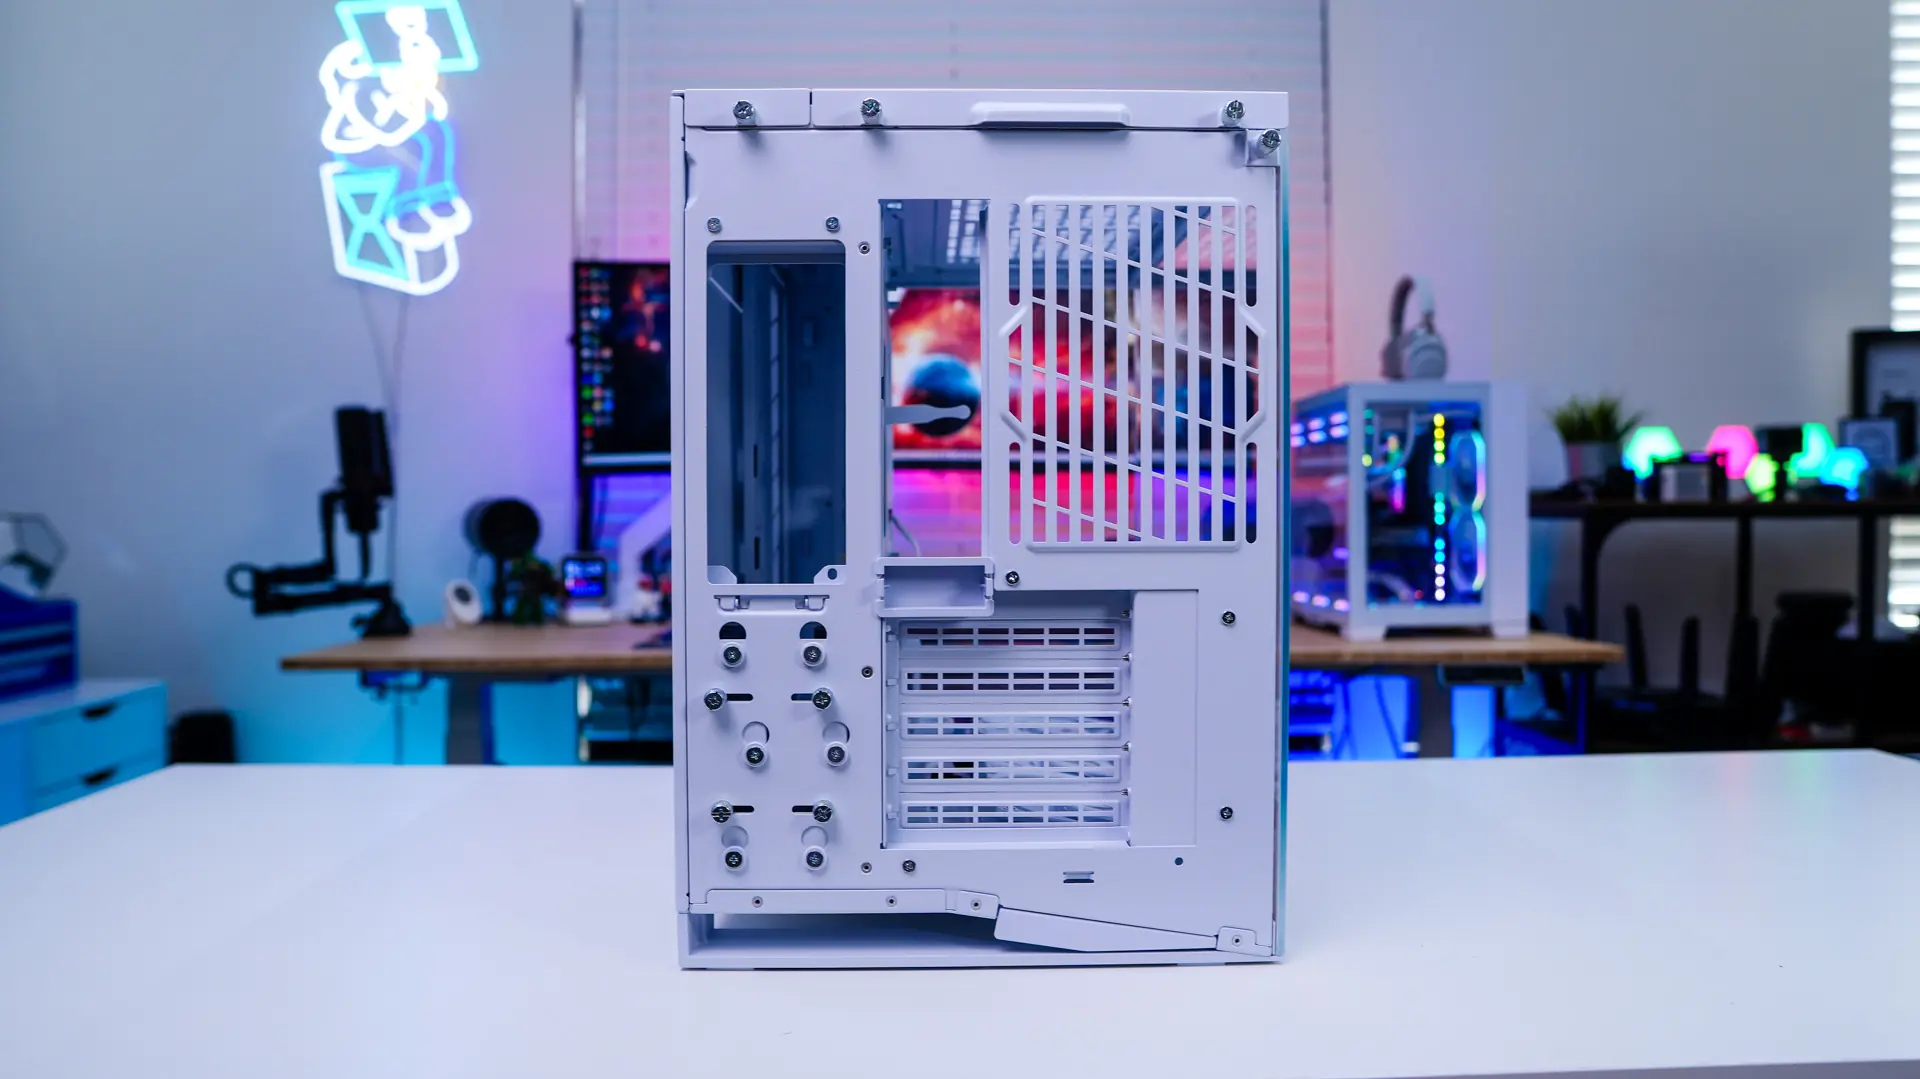
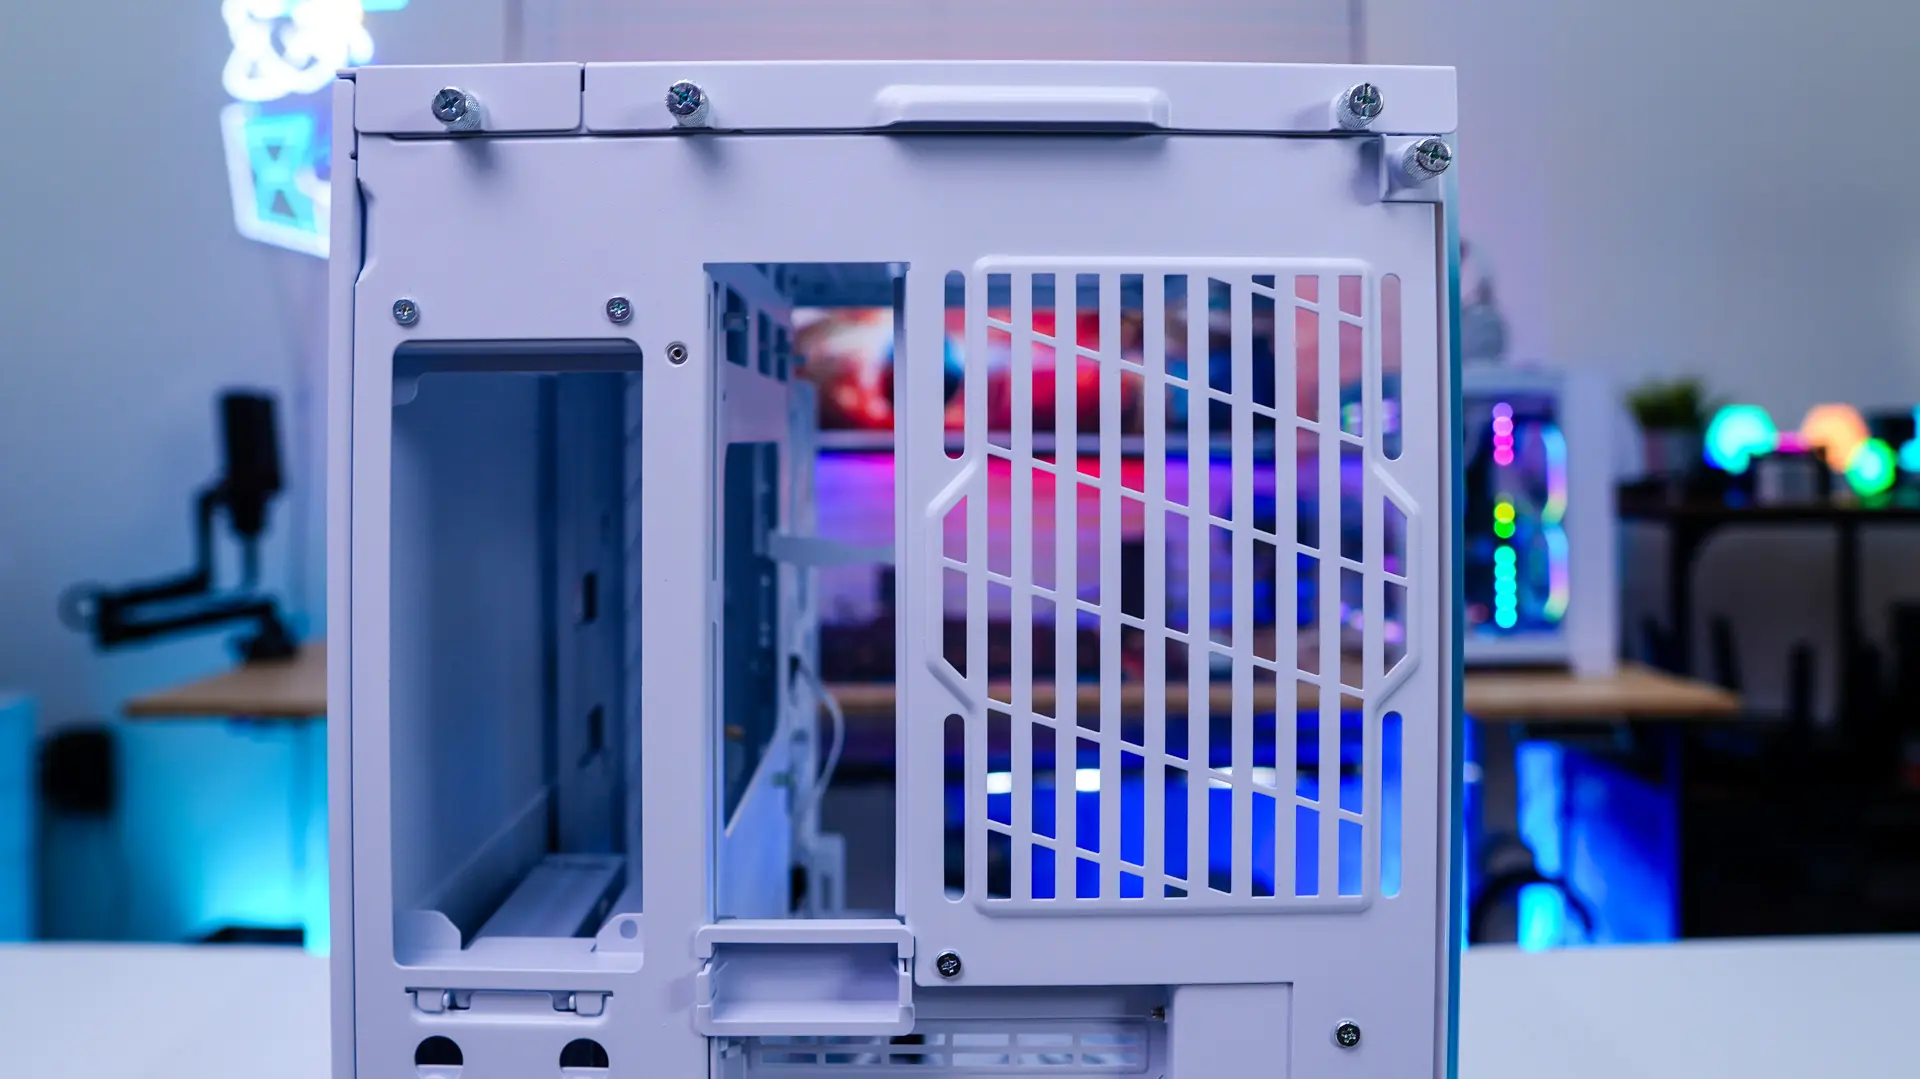


A minor problem is that they don’t sell any matching fans yet so you can’t fill out the back and top fan slots with matching fans.
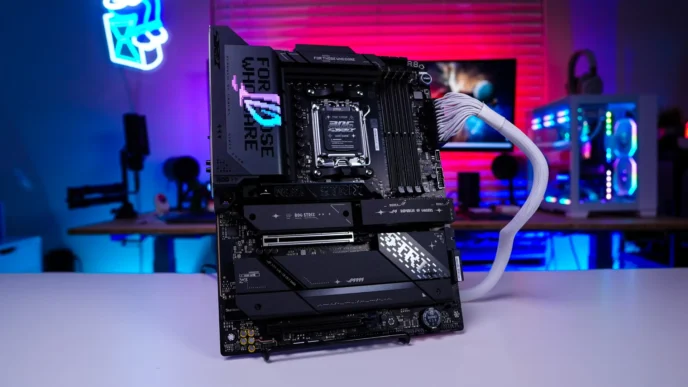
There also needs to be a clear understanding that the case does not support anything mounted in the traditional #1 slot (the one between the middle mounting screws) found on older motherboards. Many newer motherboard have dropped the #1 slot and use the space for m.2 mounts so the gpu goes in the #2 slot. But there are still some motherboards out there that have a #1 slot and that doesn’t work with this case.