

Installation in the MSI MAG Pano 100L PZ Case
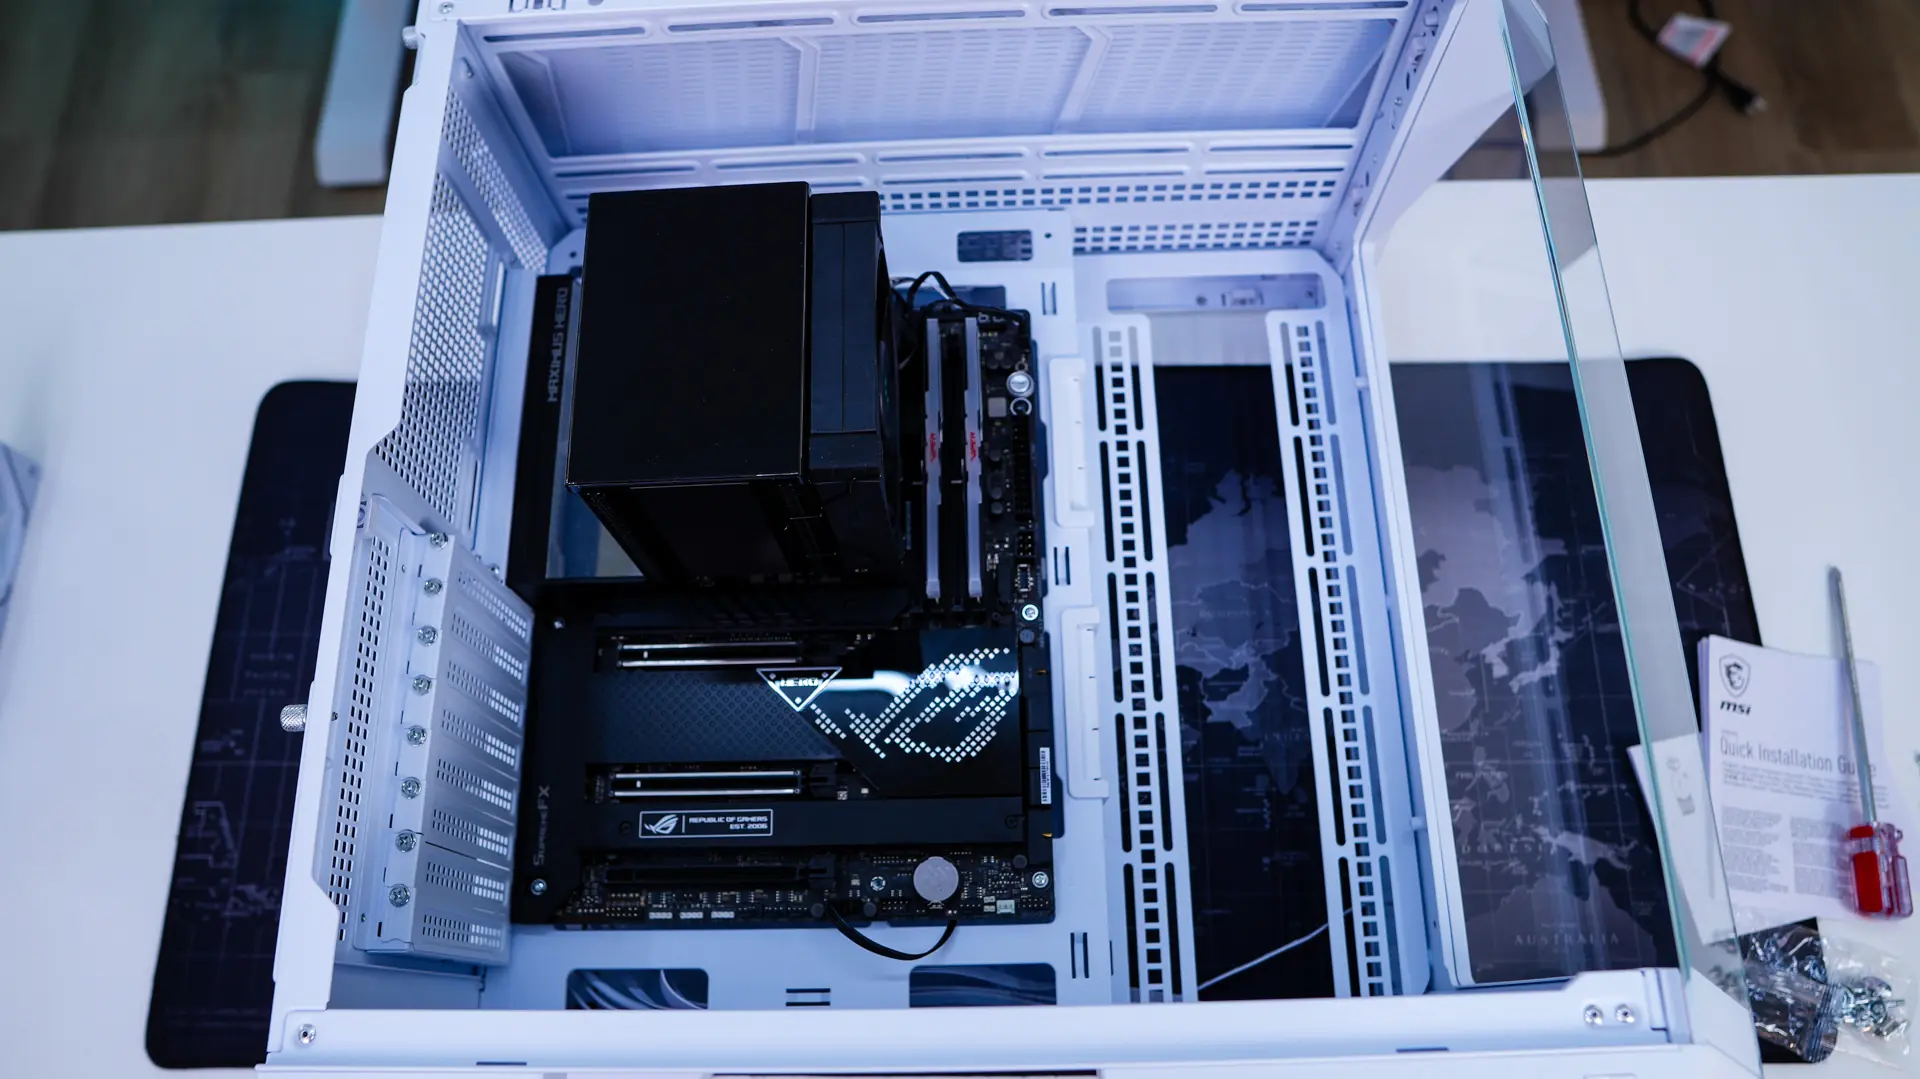
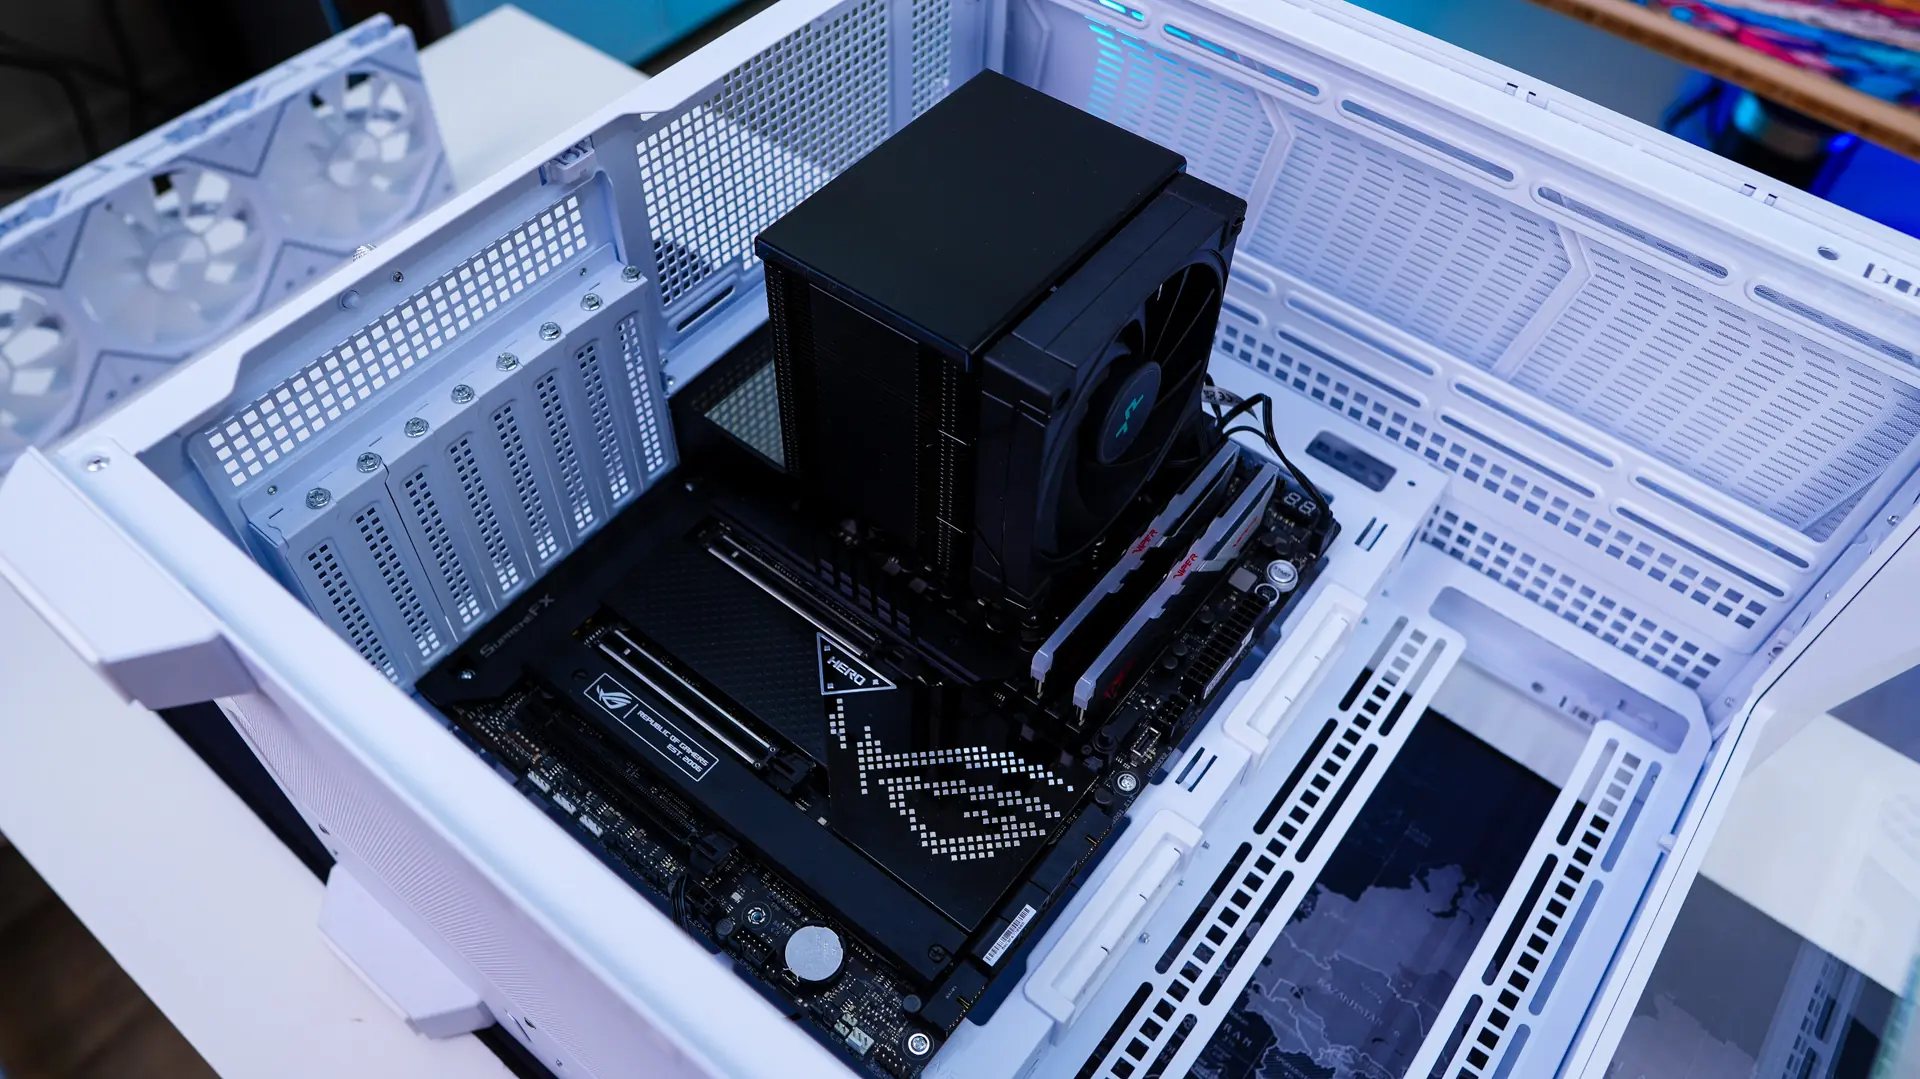
Installation in the MSI MAG Pano 100L PZ should be pretty straight-forward. First you are going to want to install your motherboard, which slots in no problem.
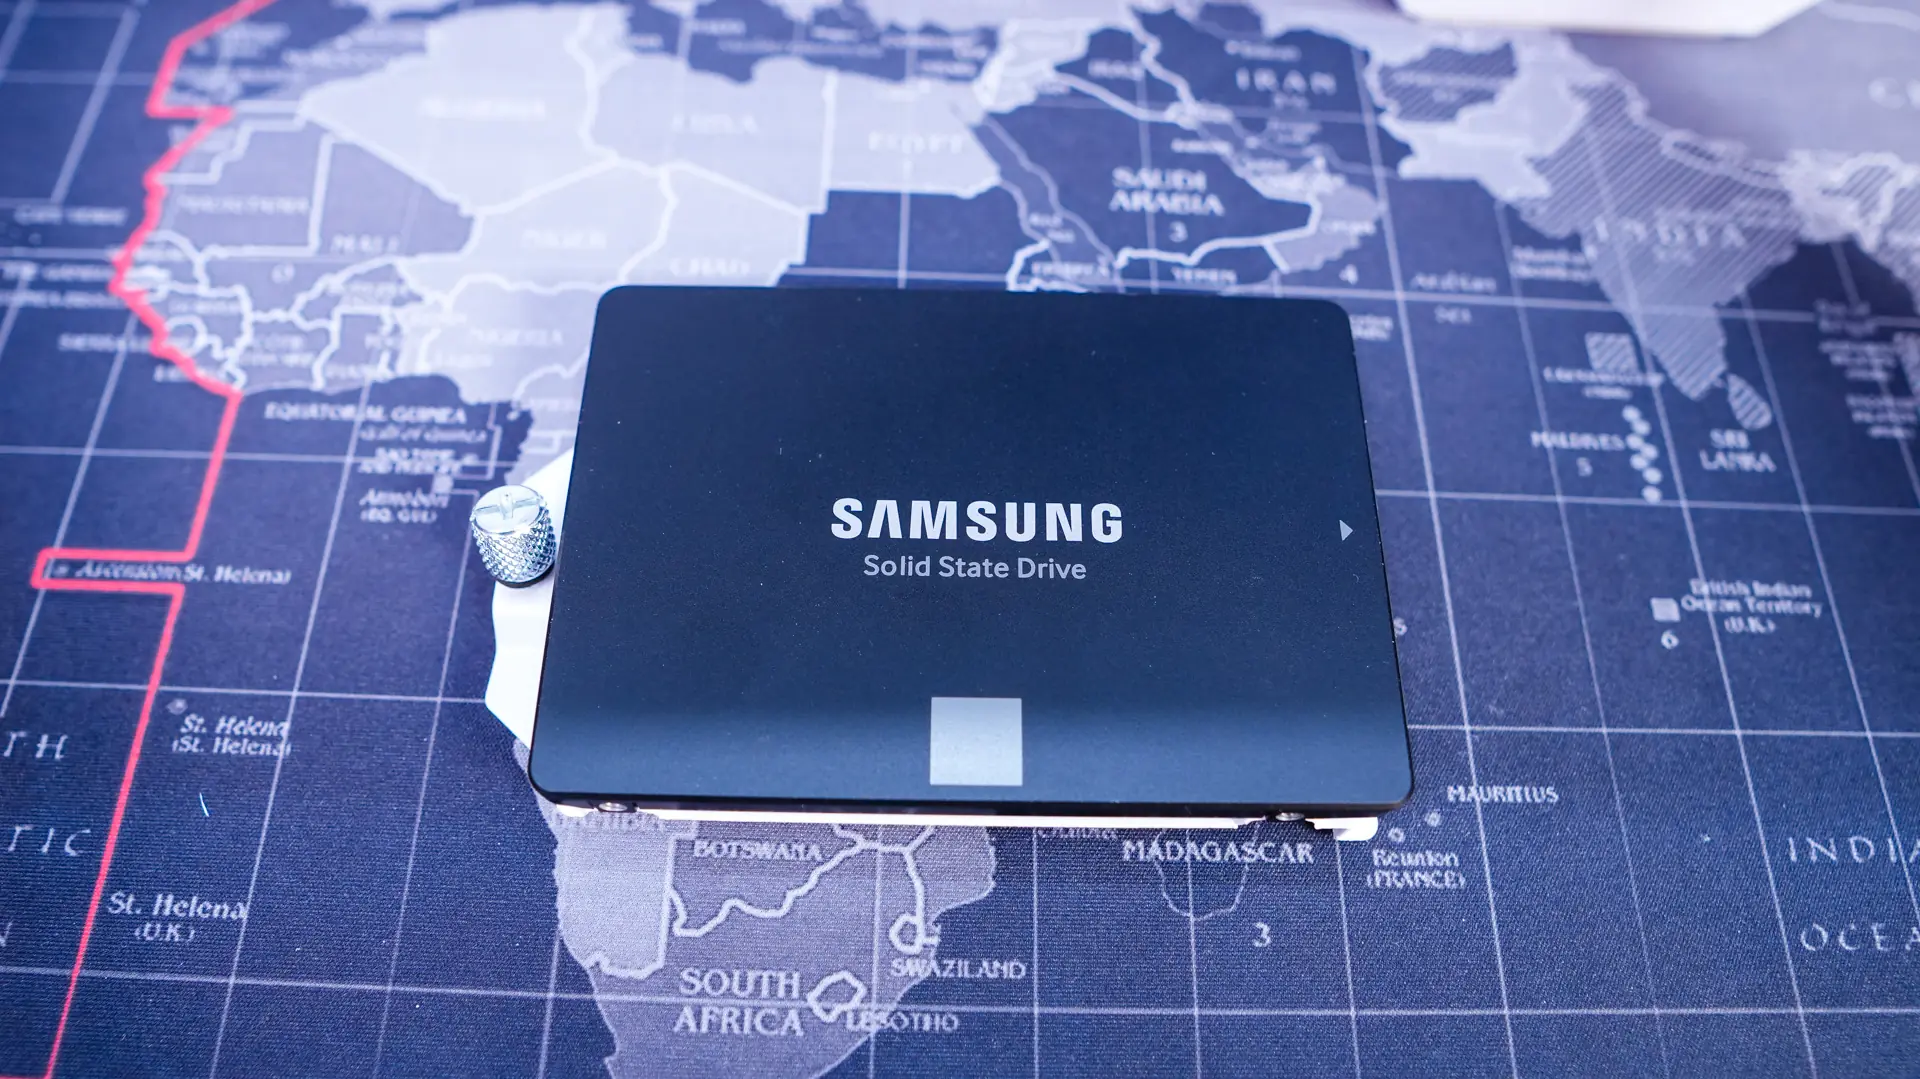
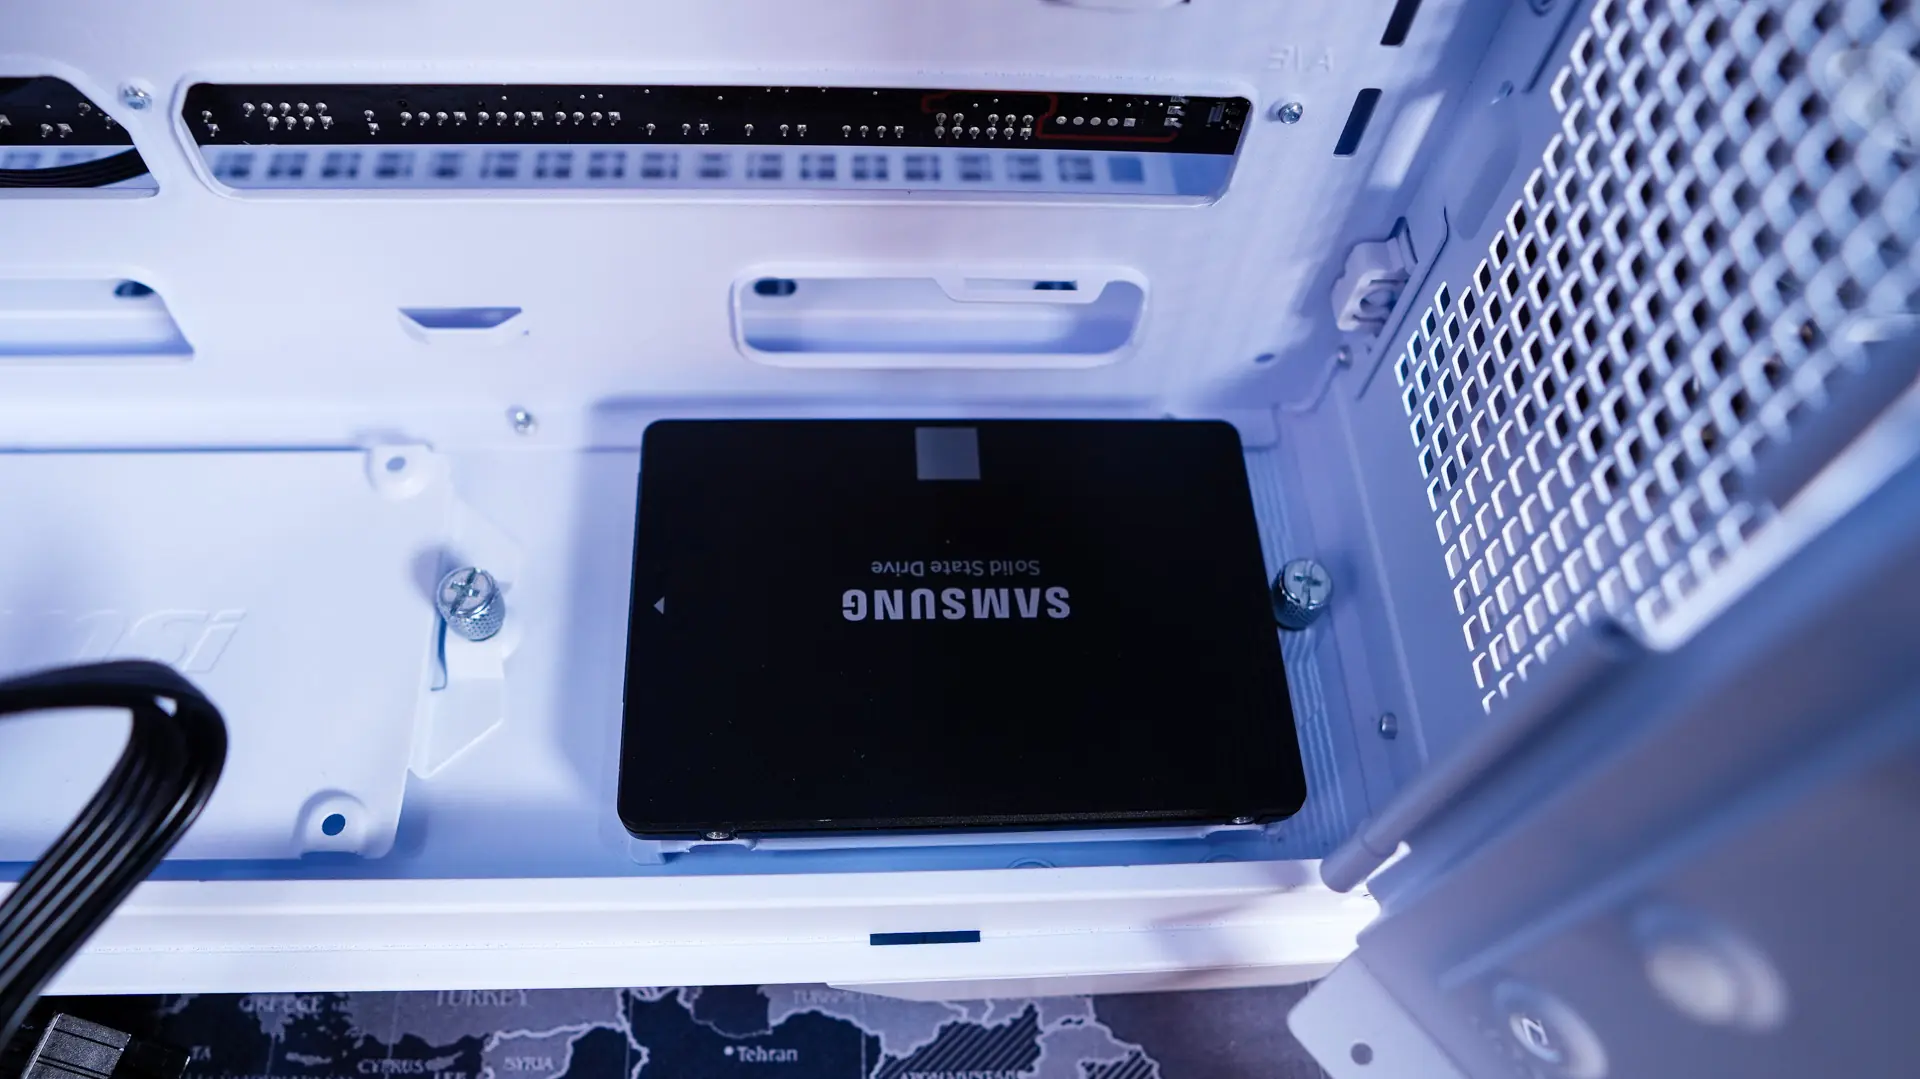
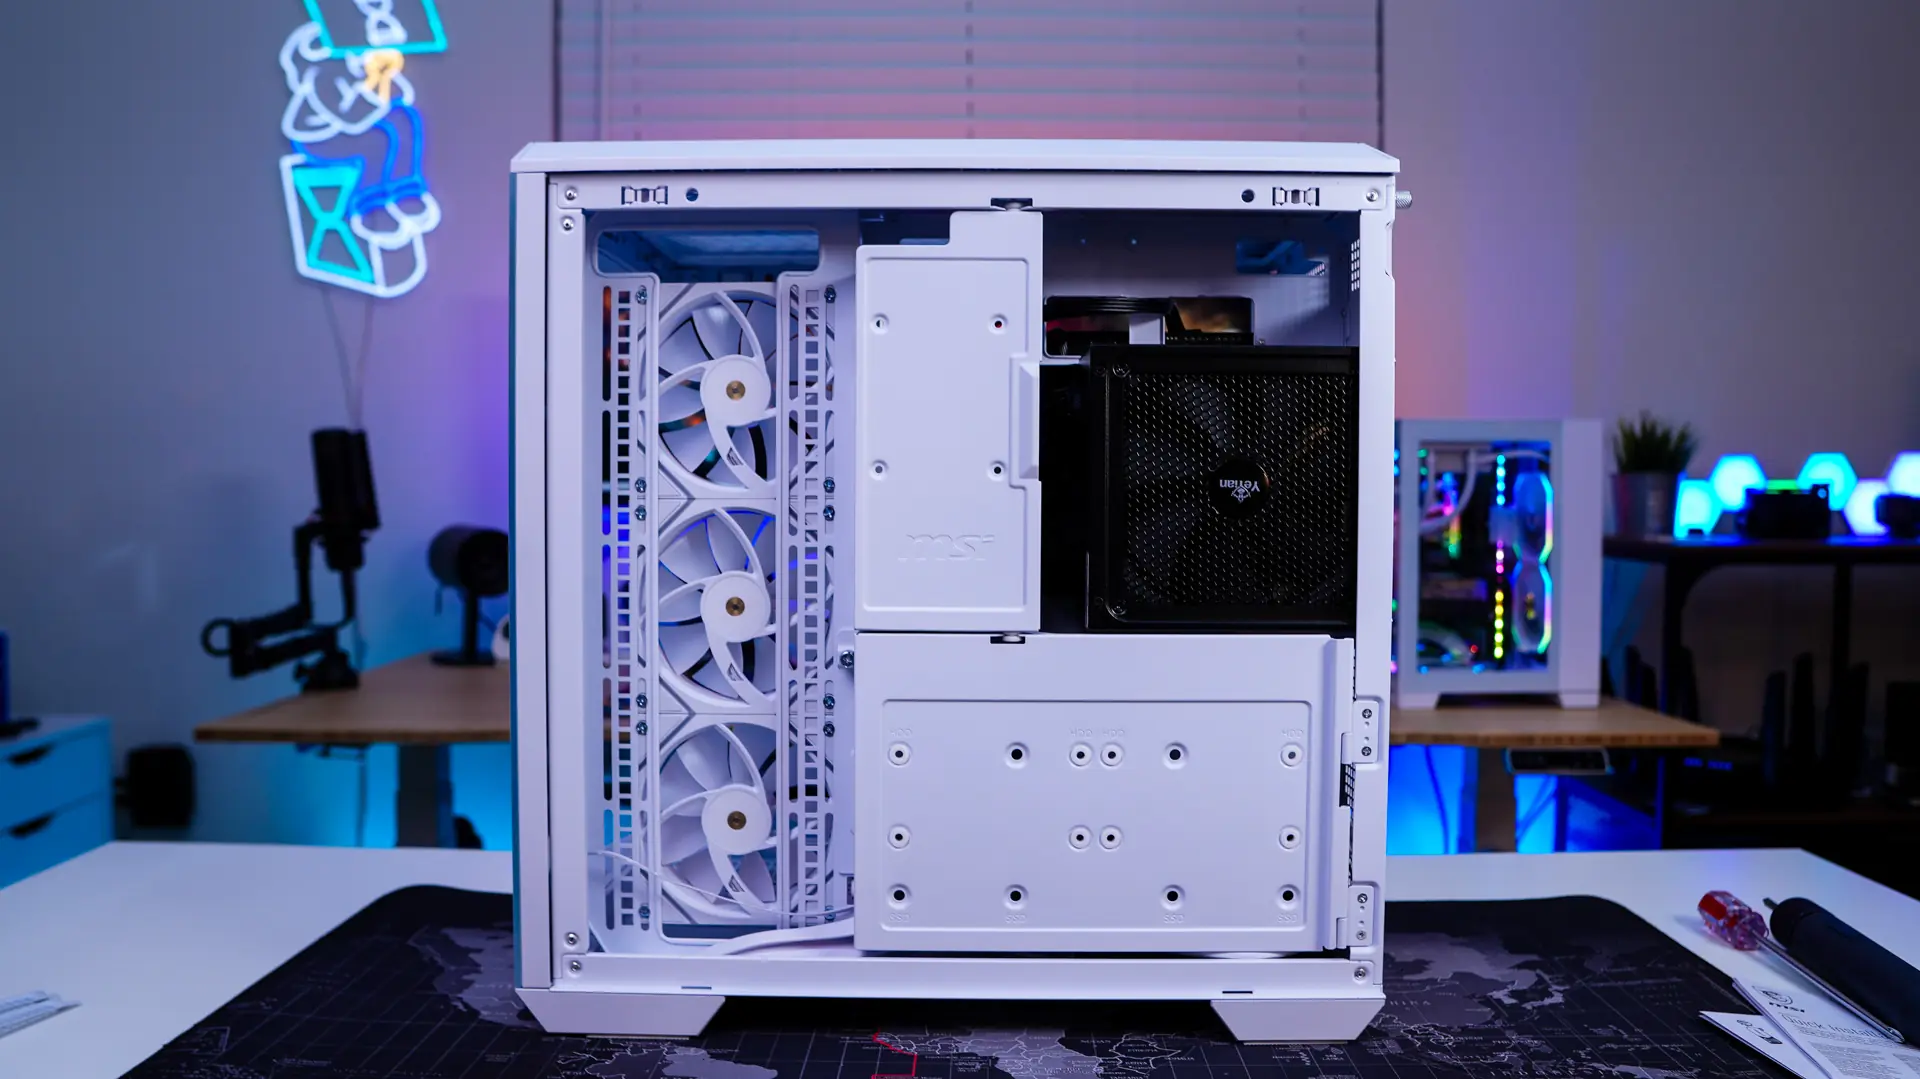
After that is our hard drive. I decided to install it in one of the bottom mounts so it is out of the way. These are removable so I can easily install my drive outside of the case and then slot it right back in.
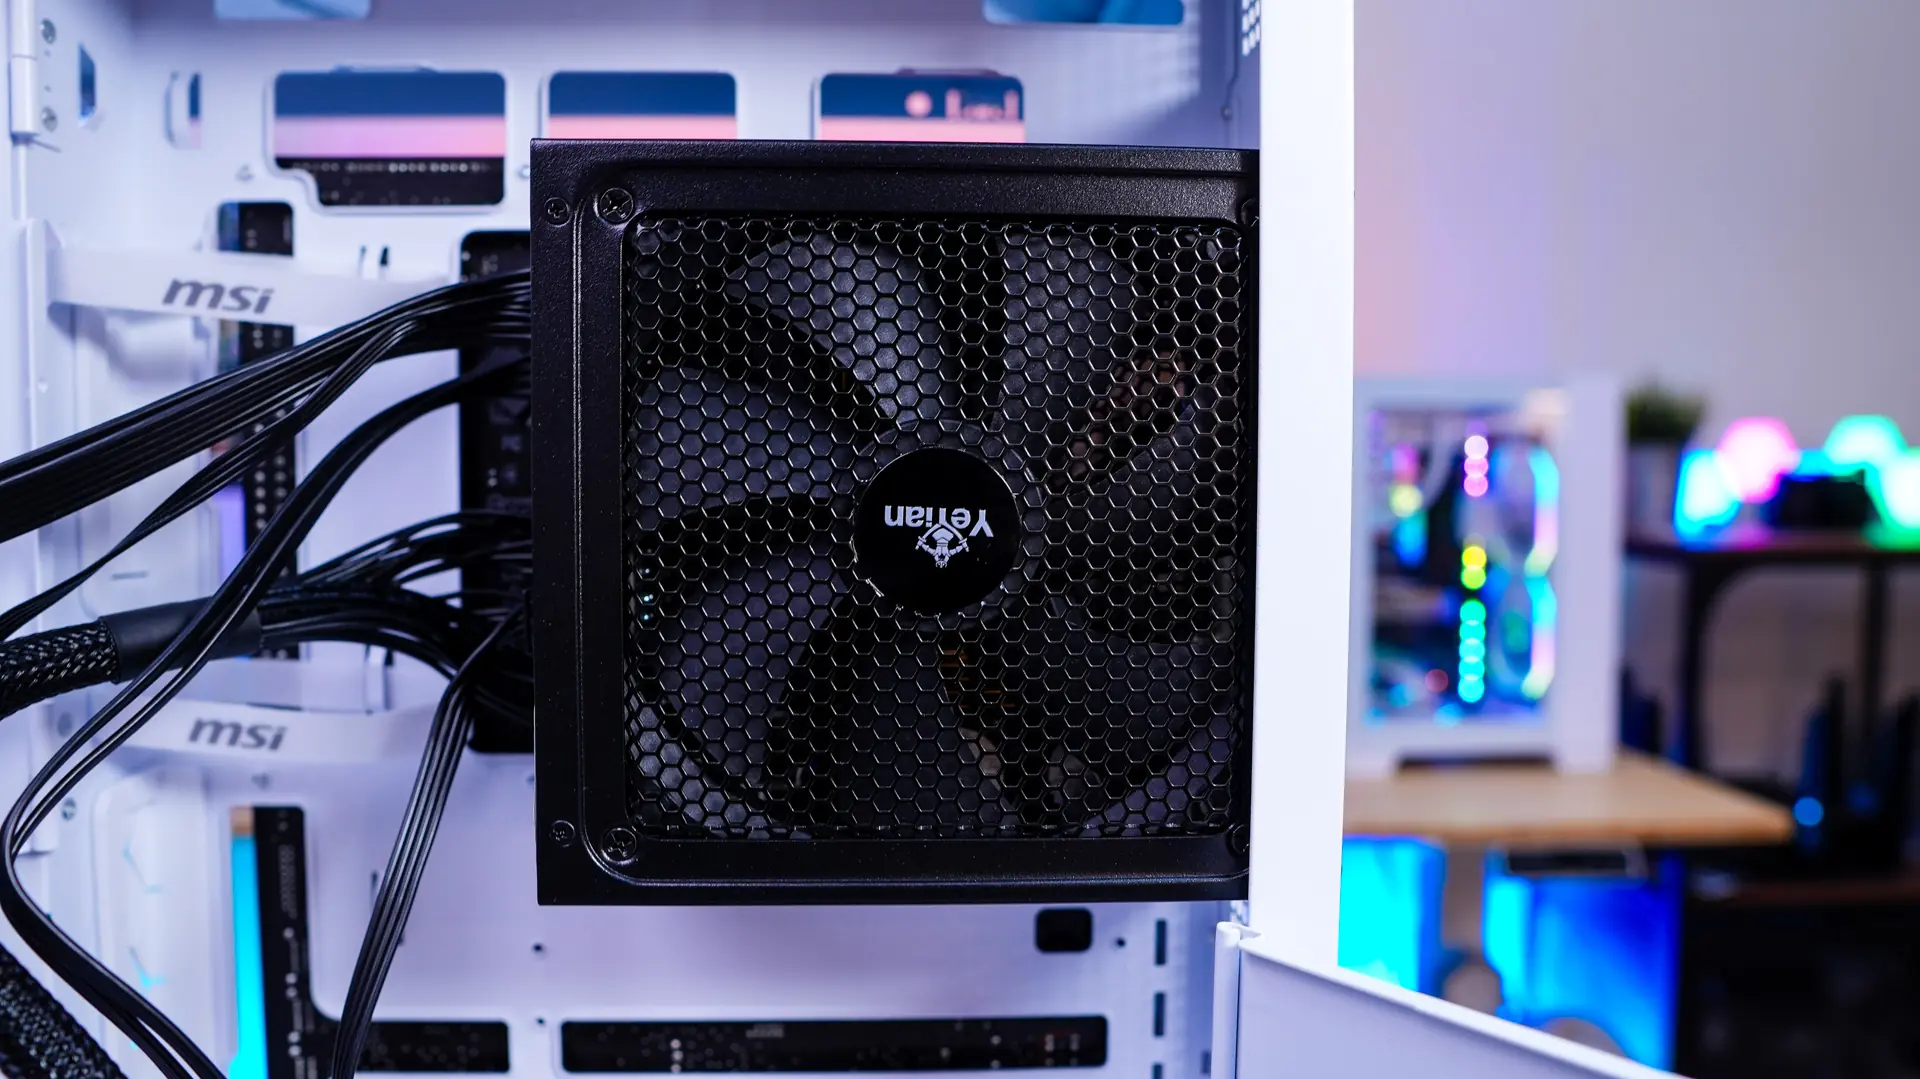
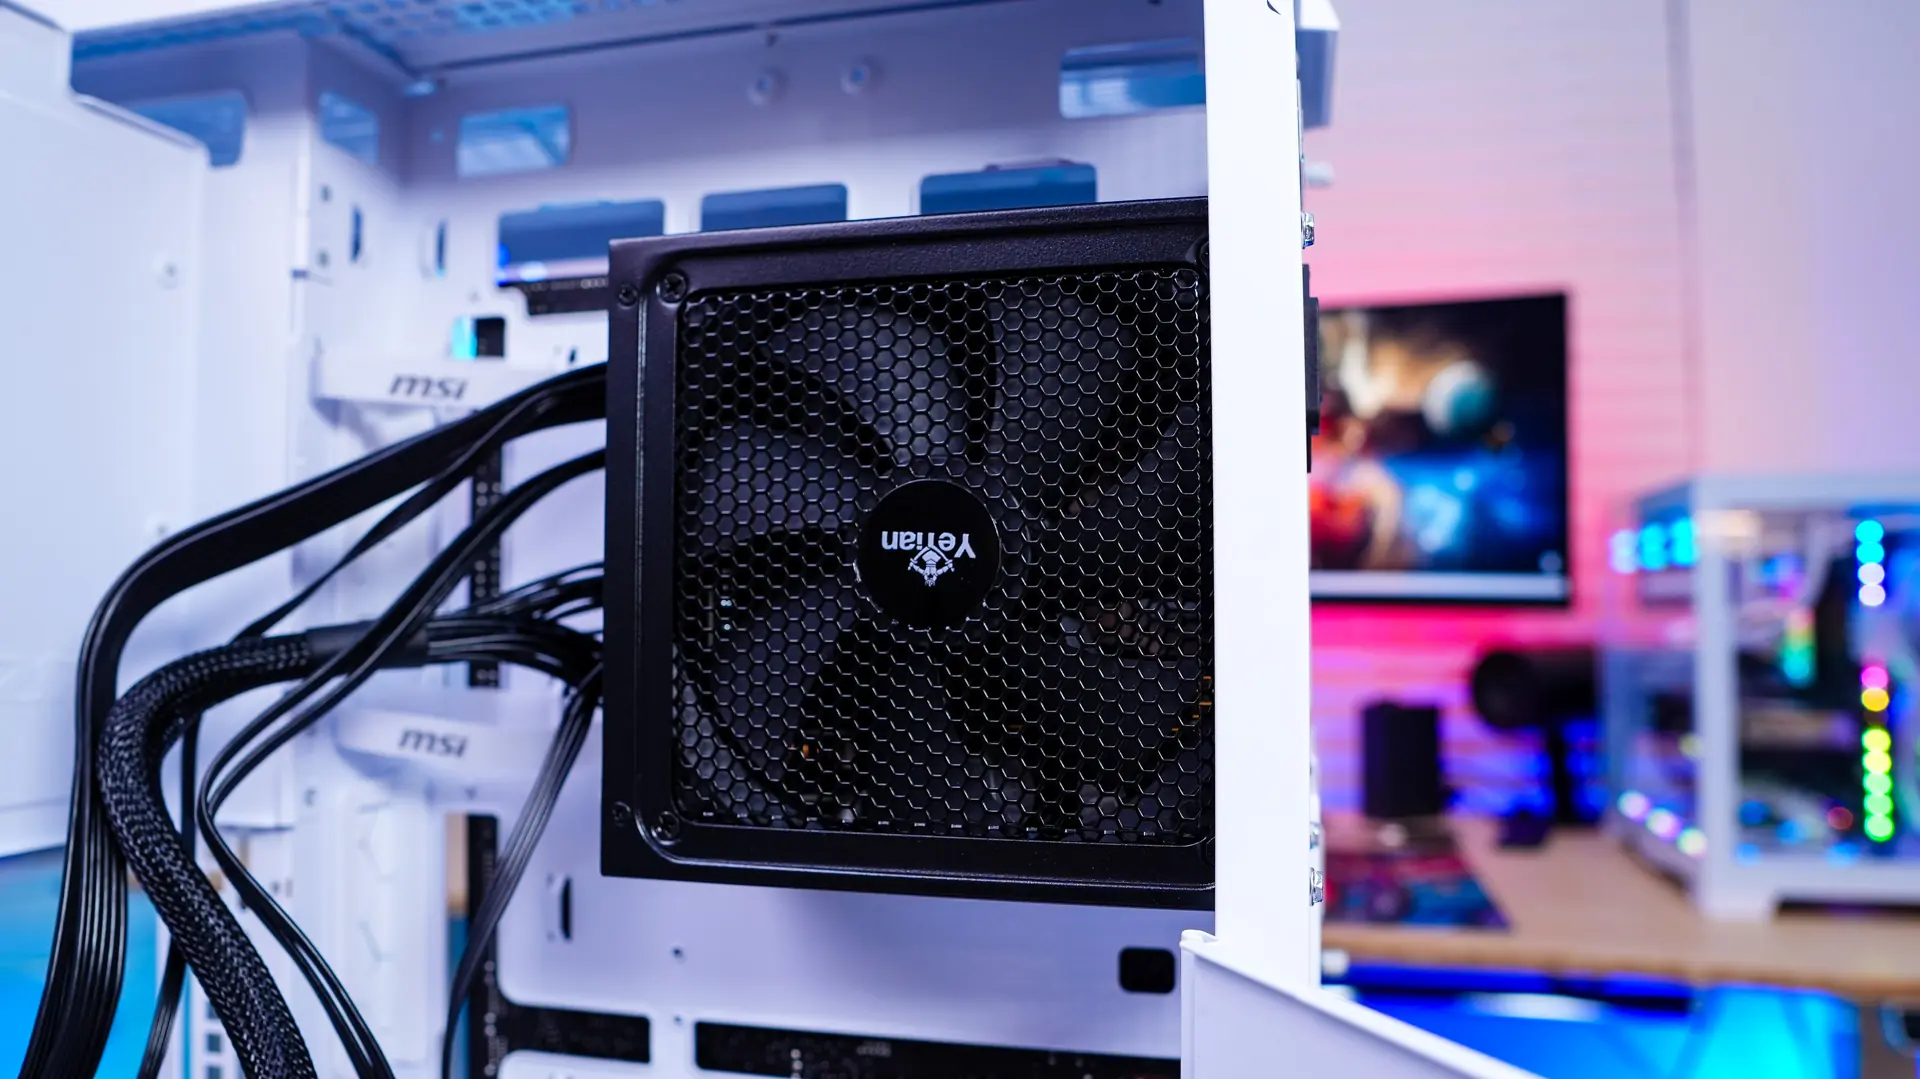
For our power supply it slots in very easily, you just want to make sure you have the fan facing towards you.
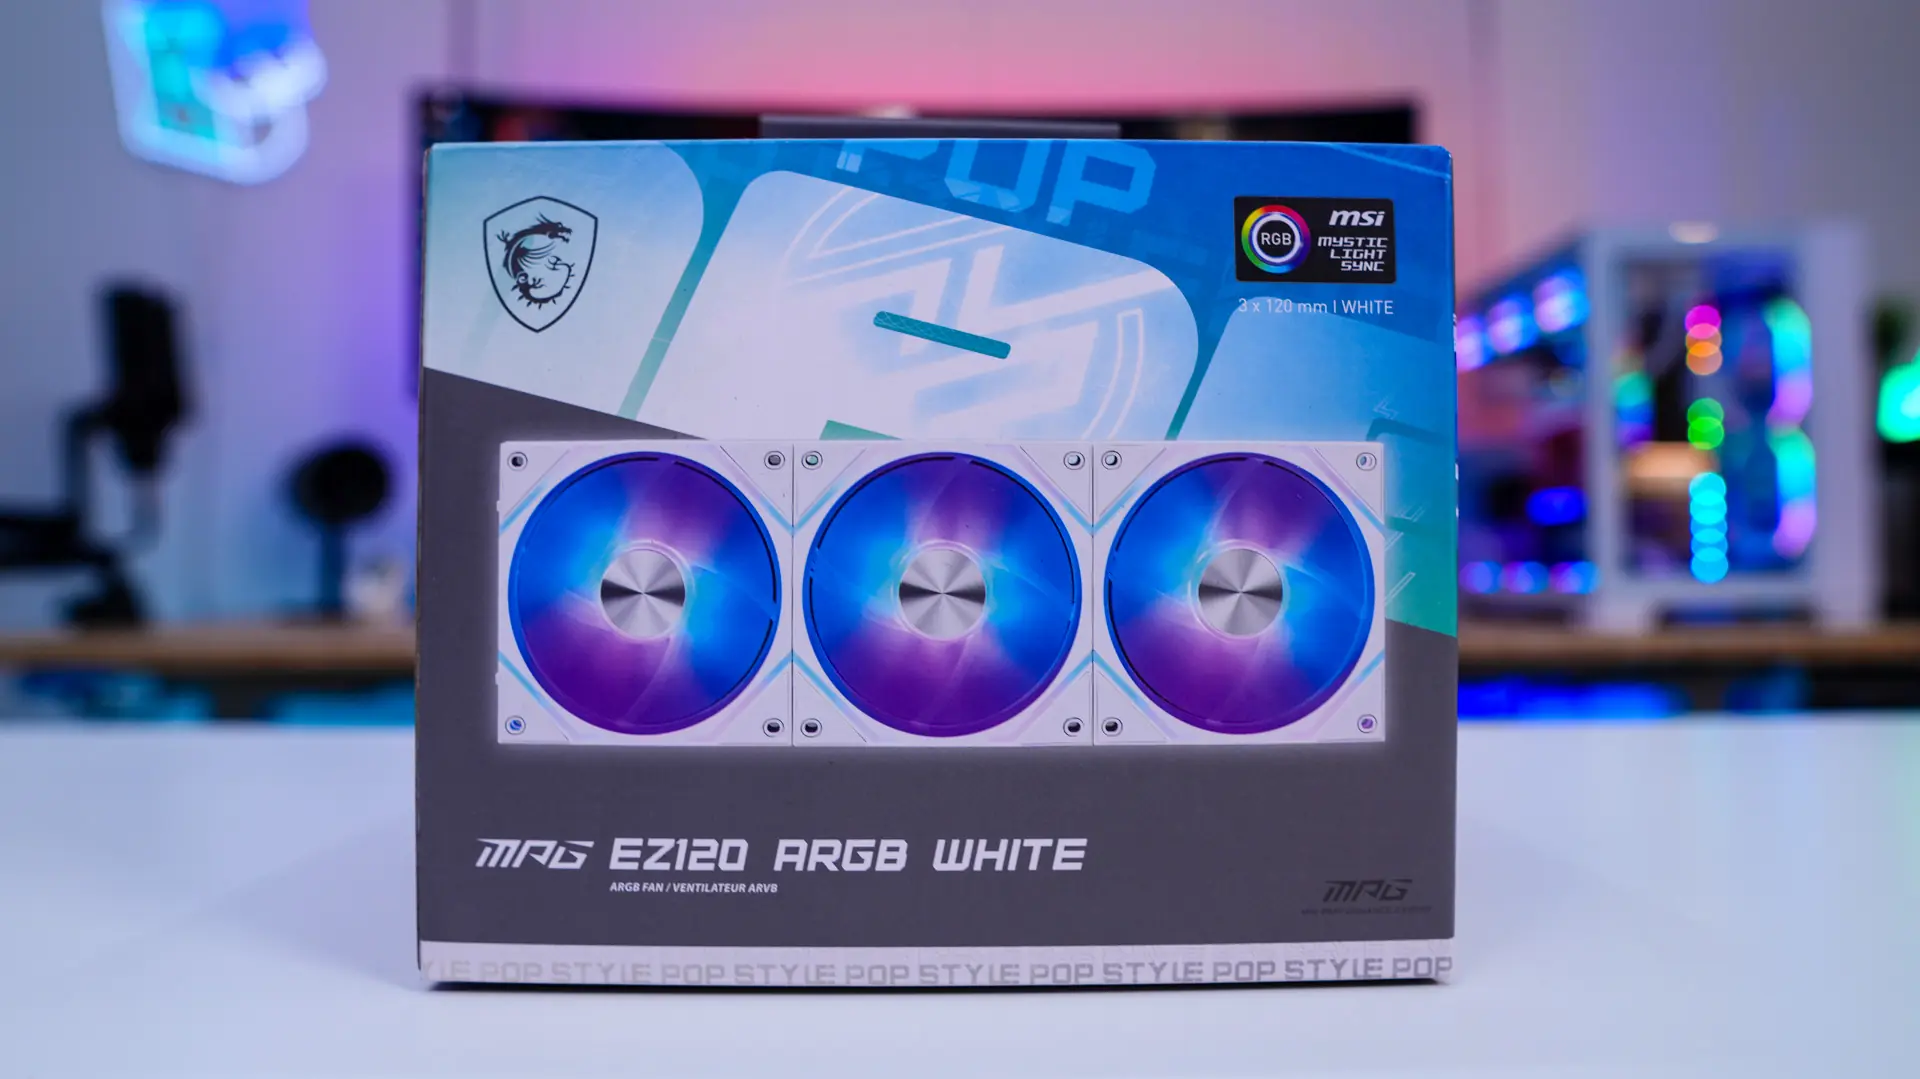
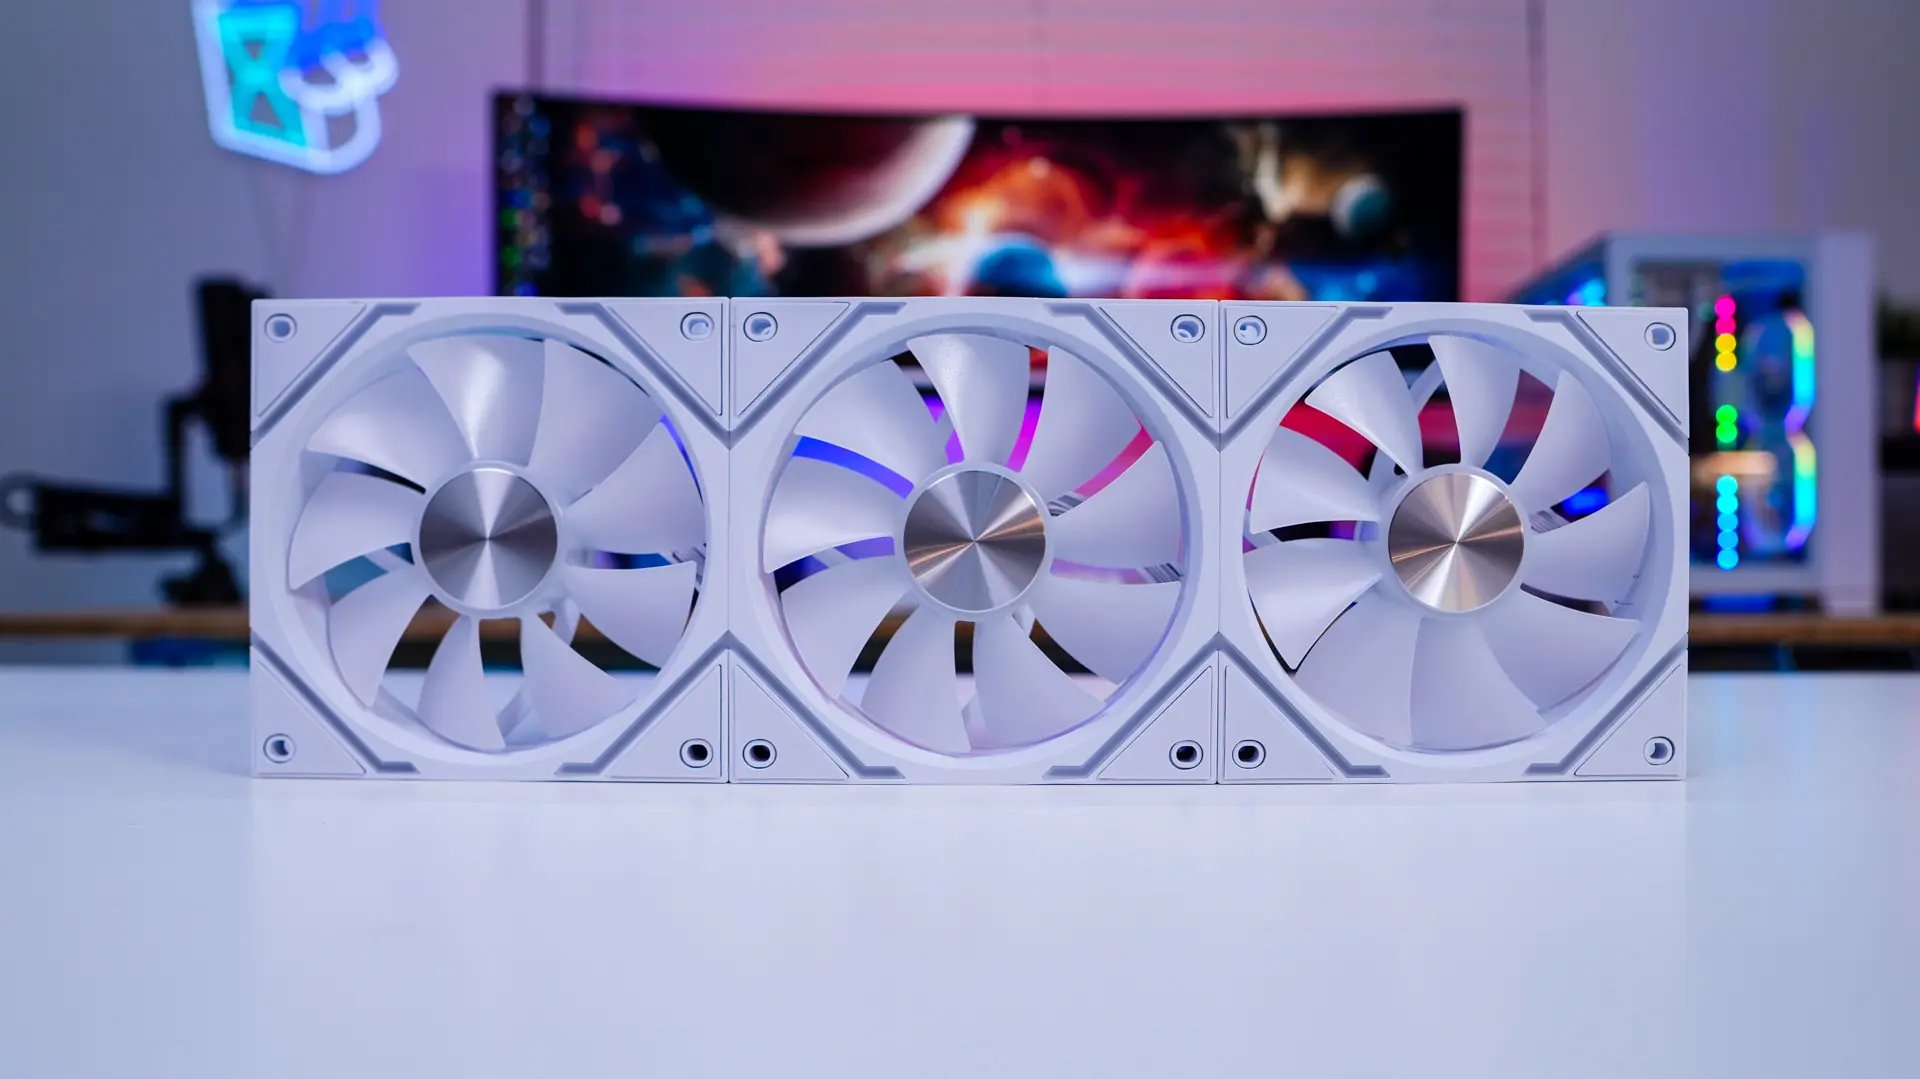
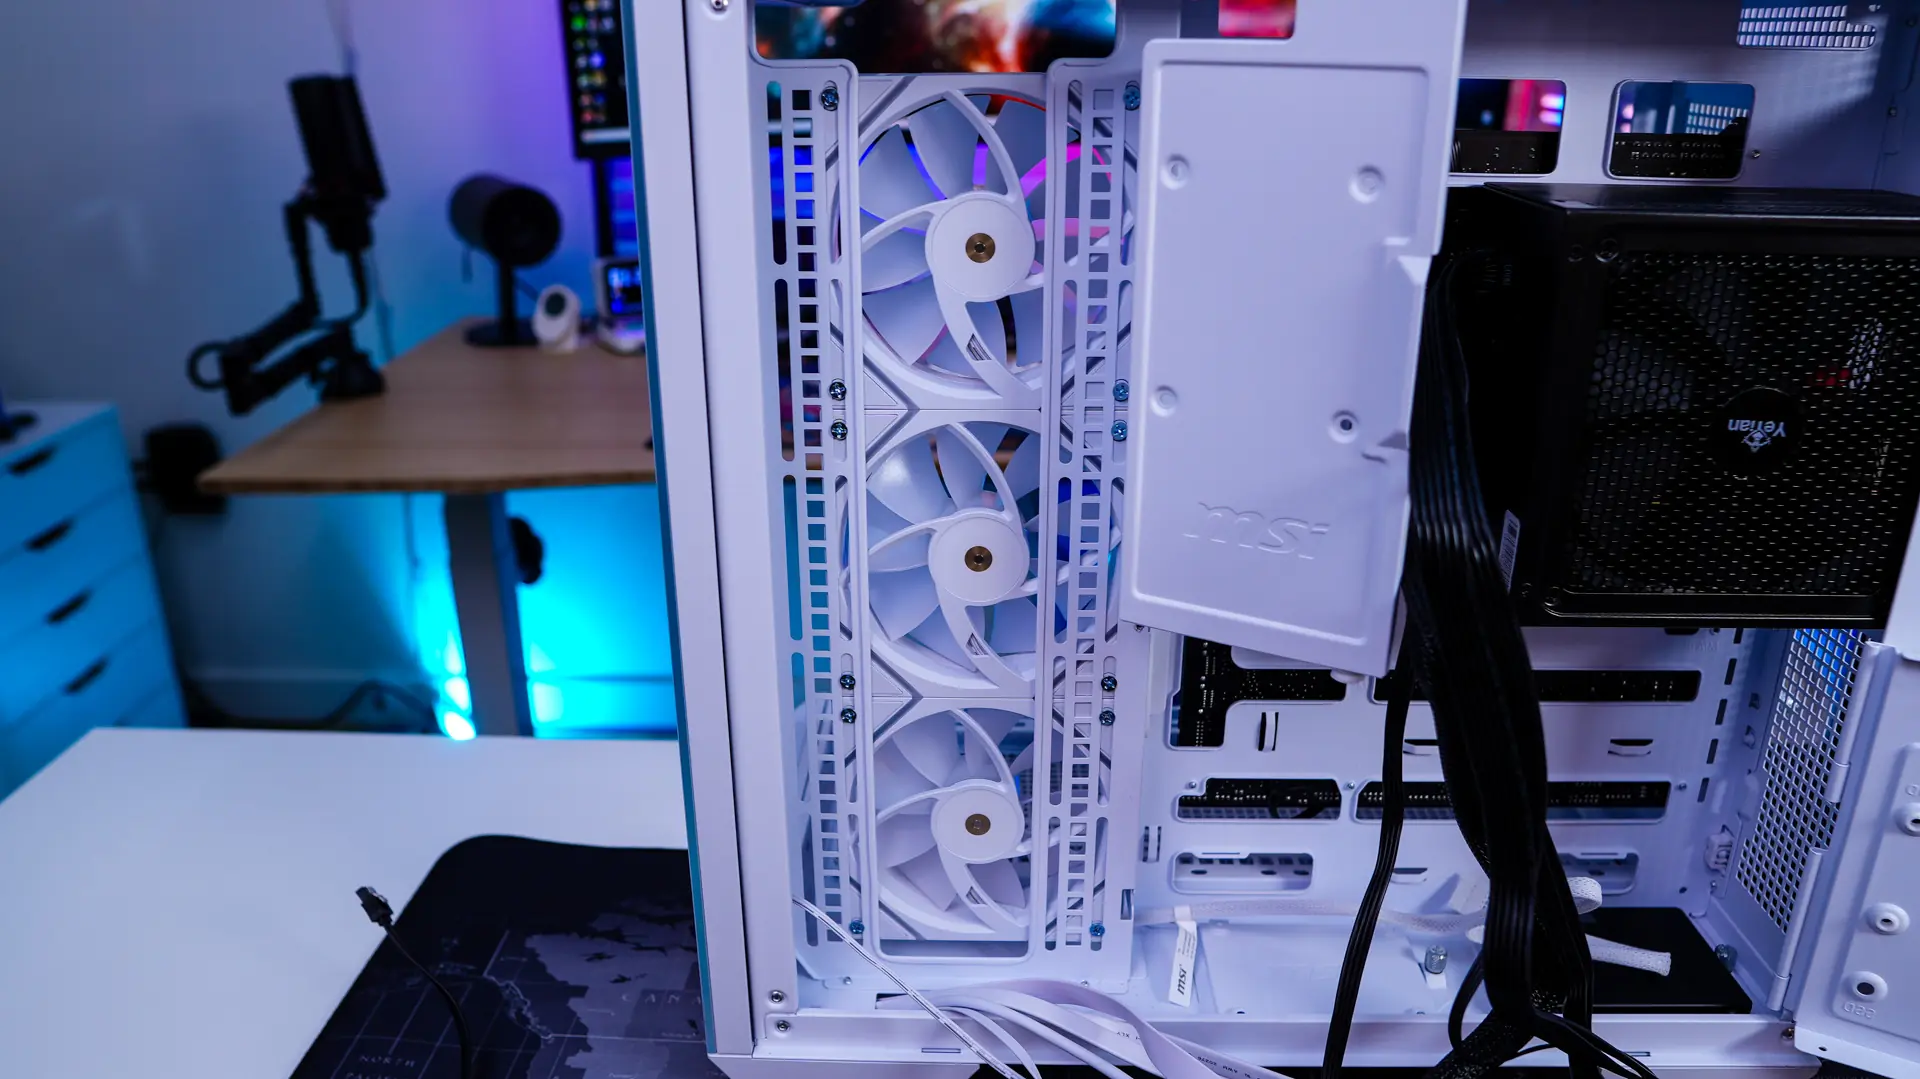
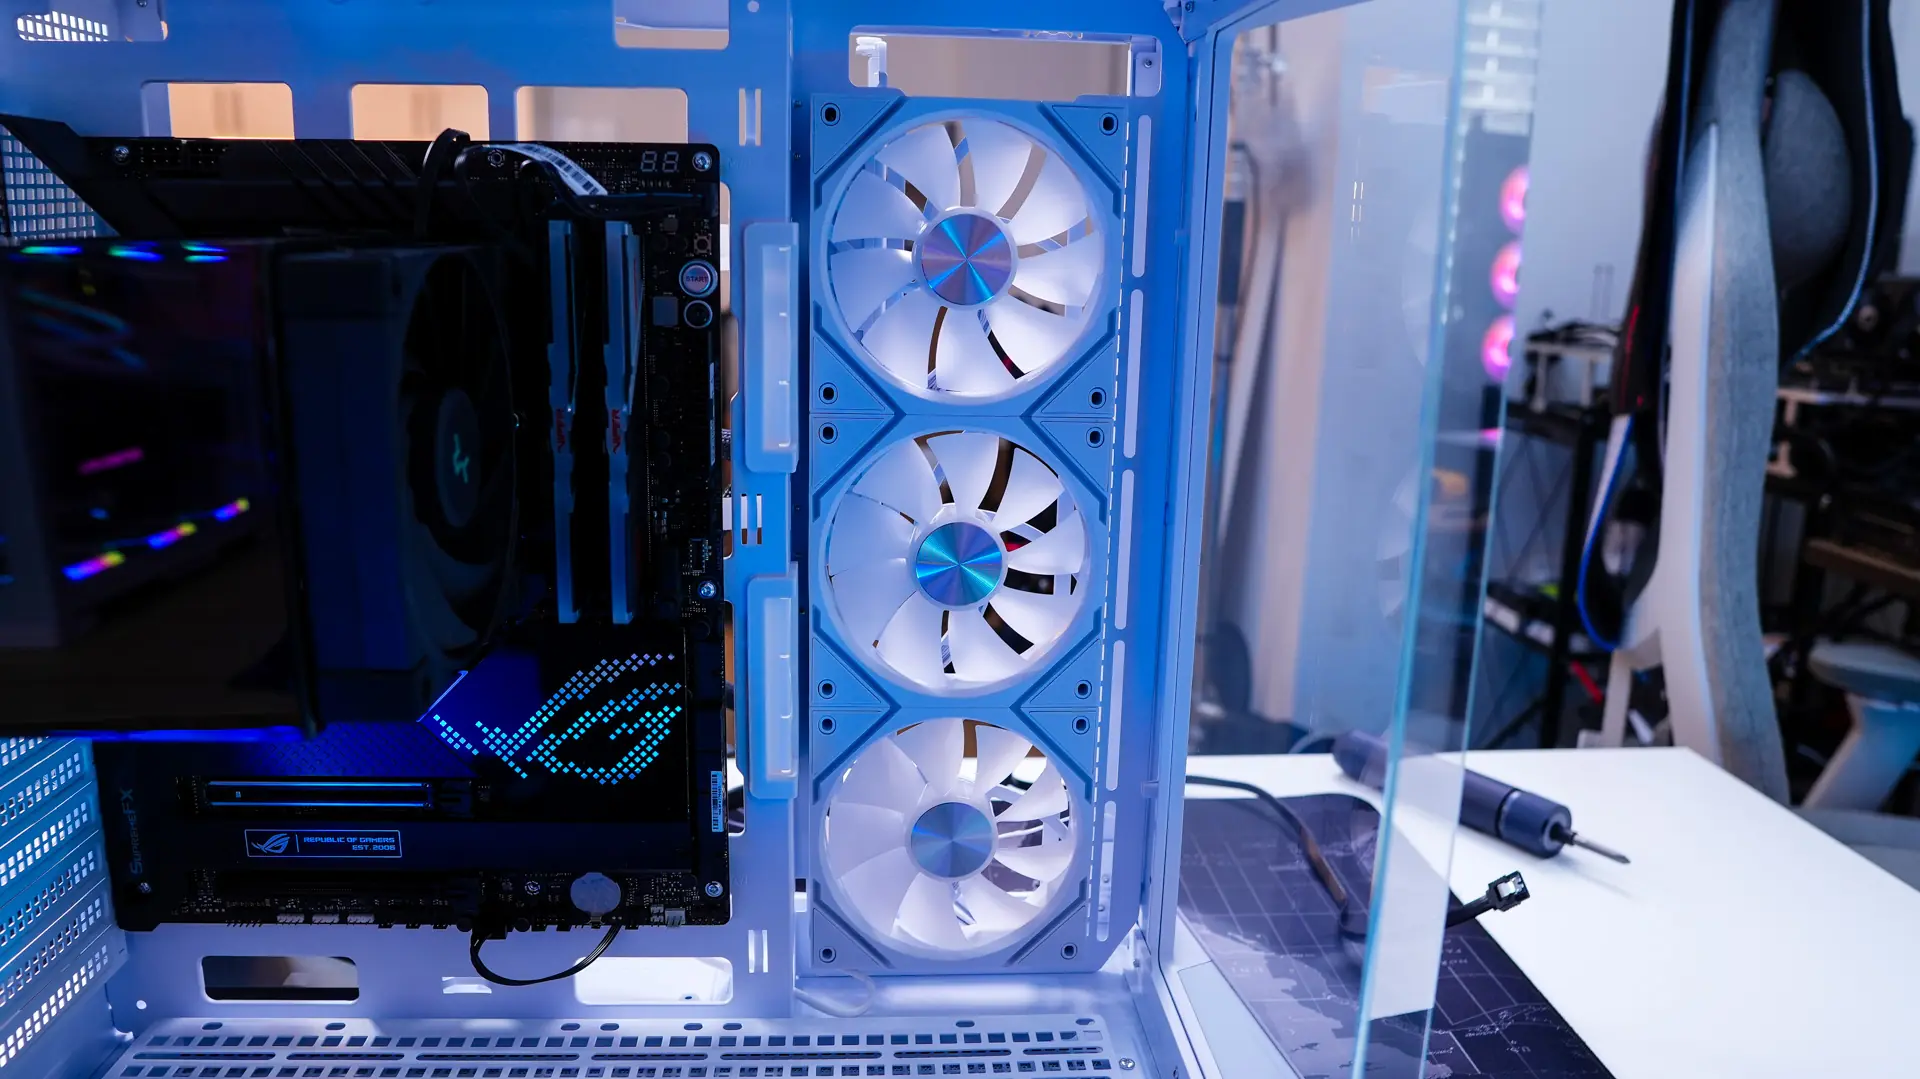
MSI did send over their MPG EZ120 ARGB fans with this case. These easily snap together with magnetic connections and a single cable coming off the end, which not only makes installation easy, but also makes for far less cable mess. I decided to install these in the side mount of the case.
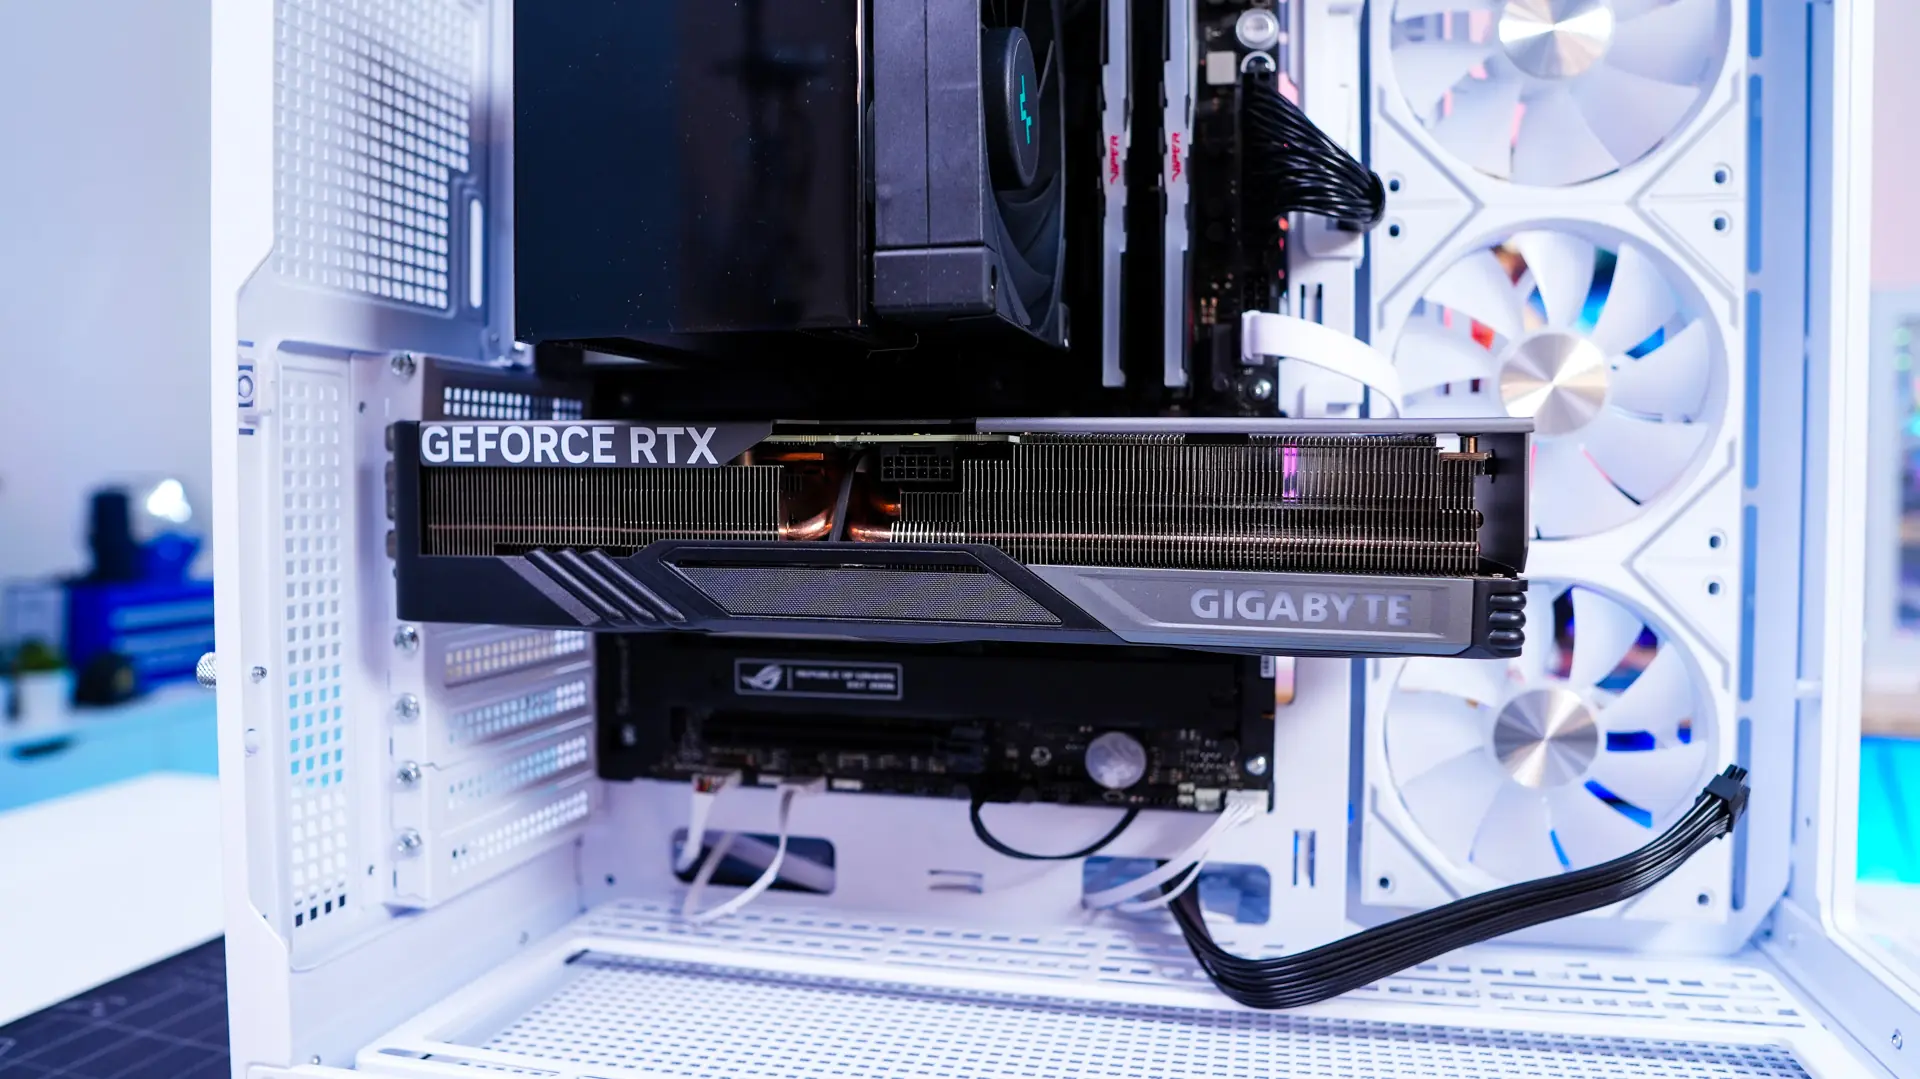
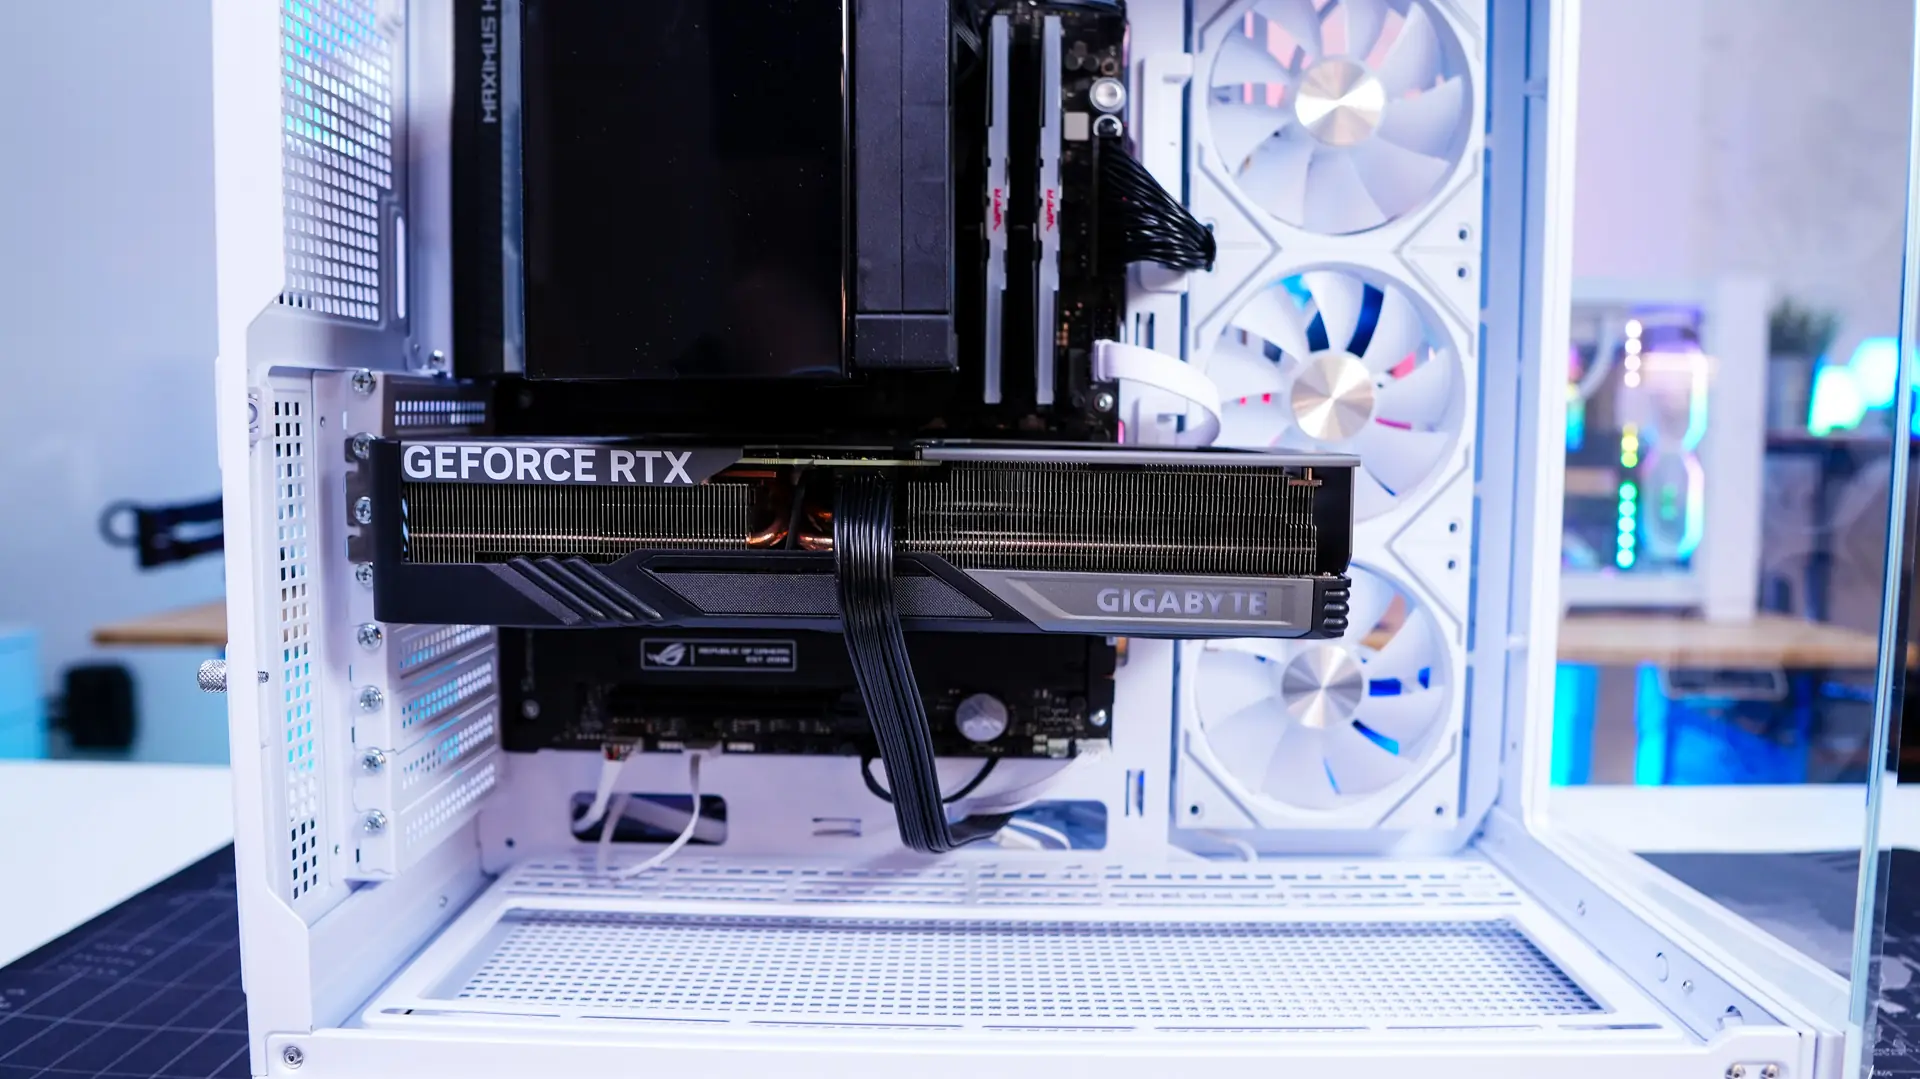
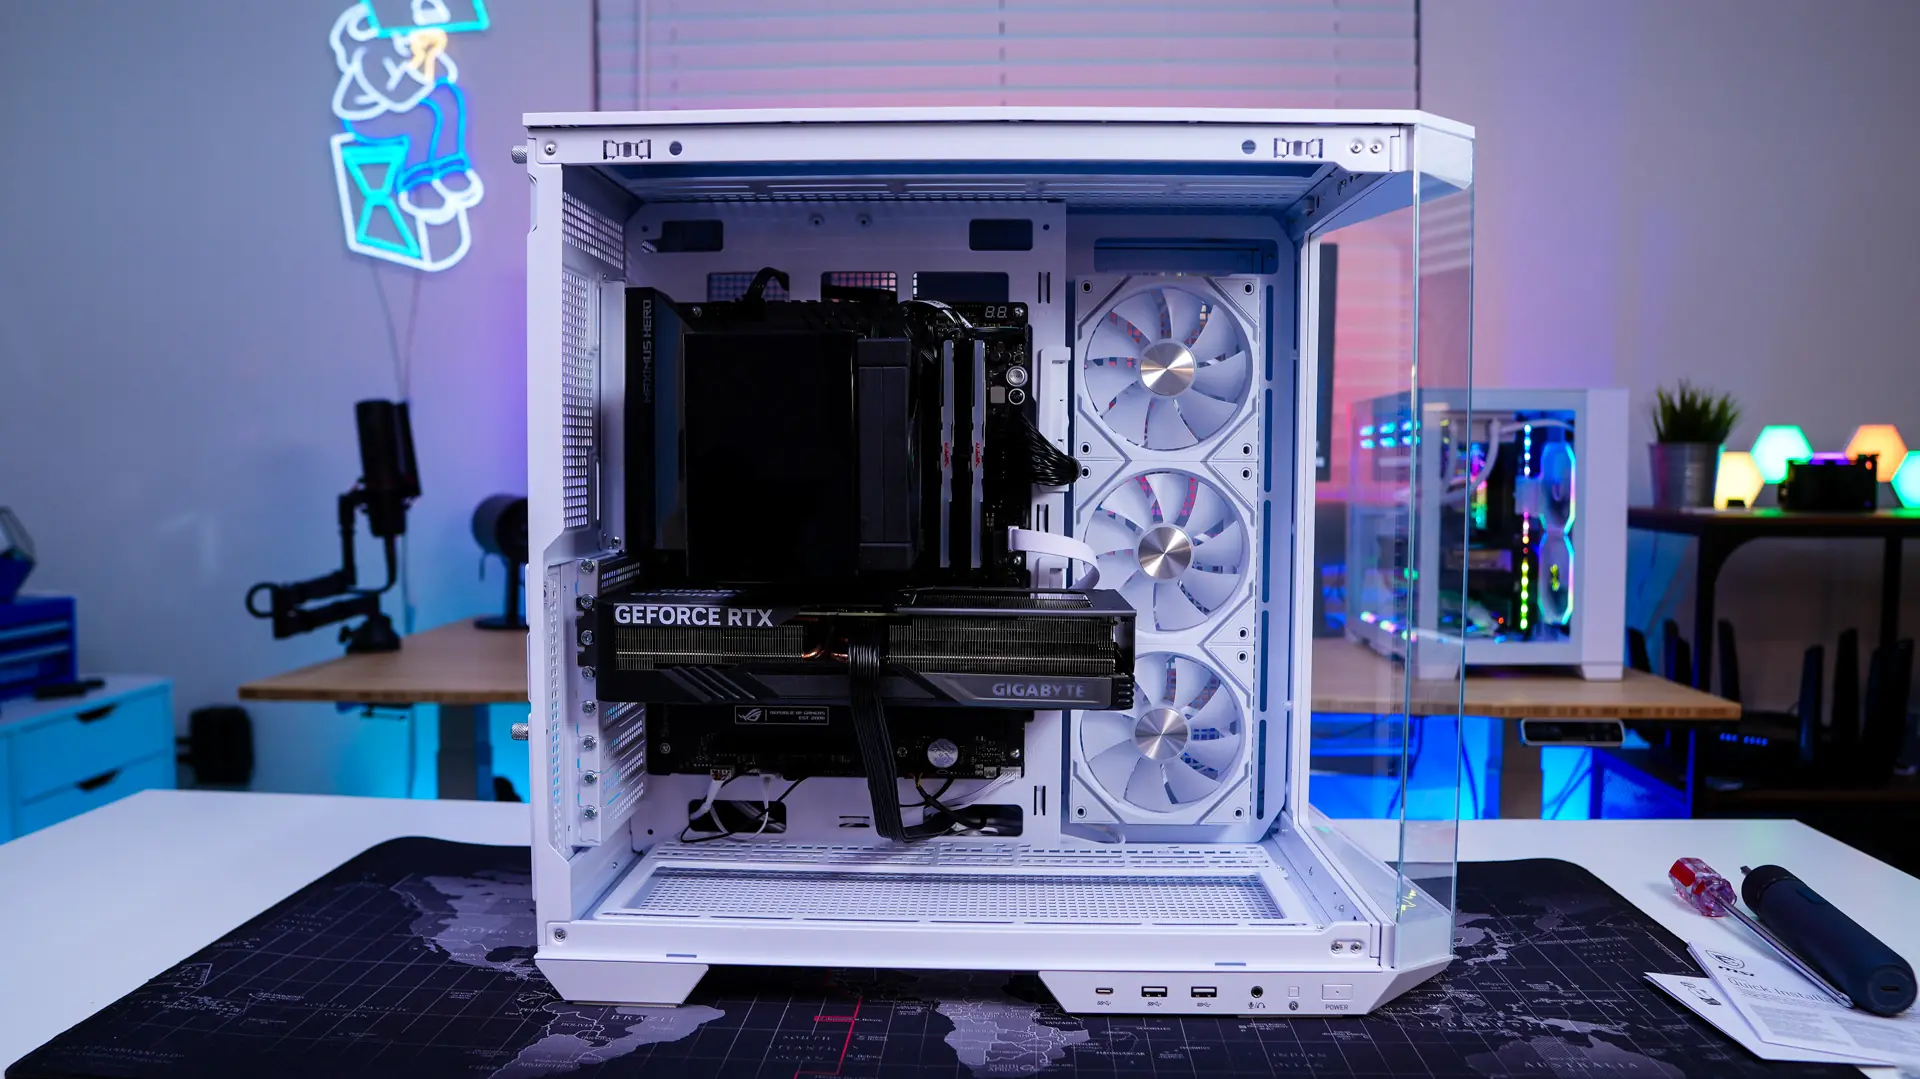
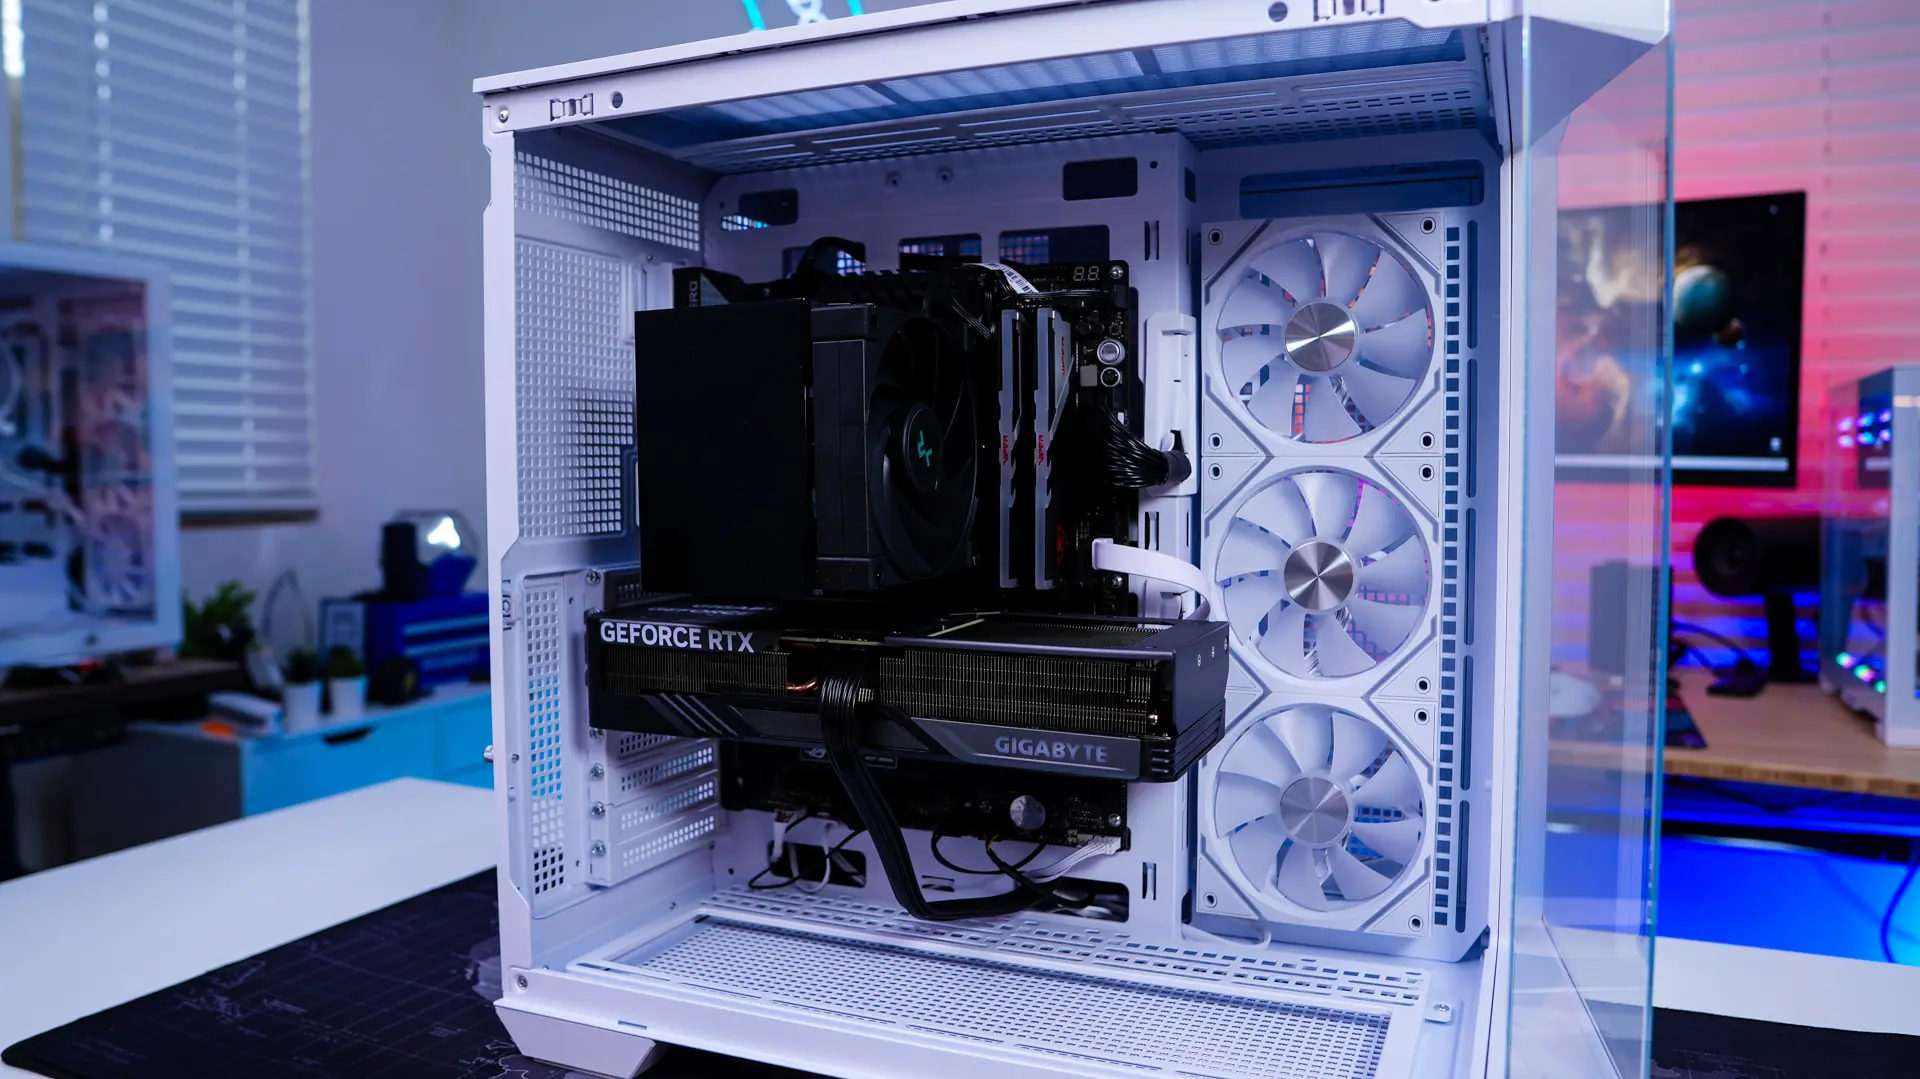
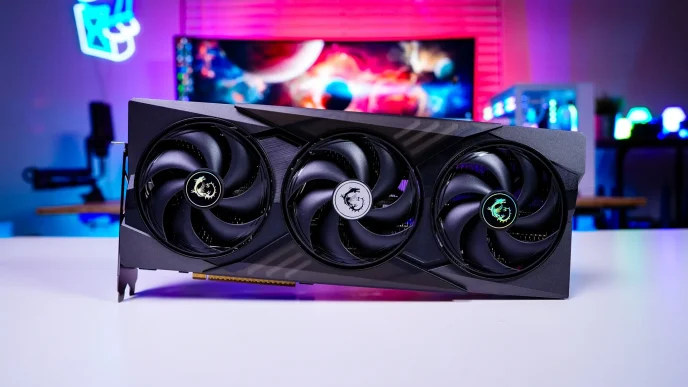
The last thing to install is our graphics card. Since this case supports graphics cards up to 380mm we had no problem getting our graphics card installed.
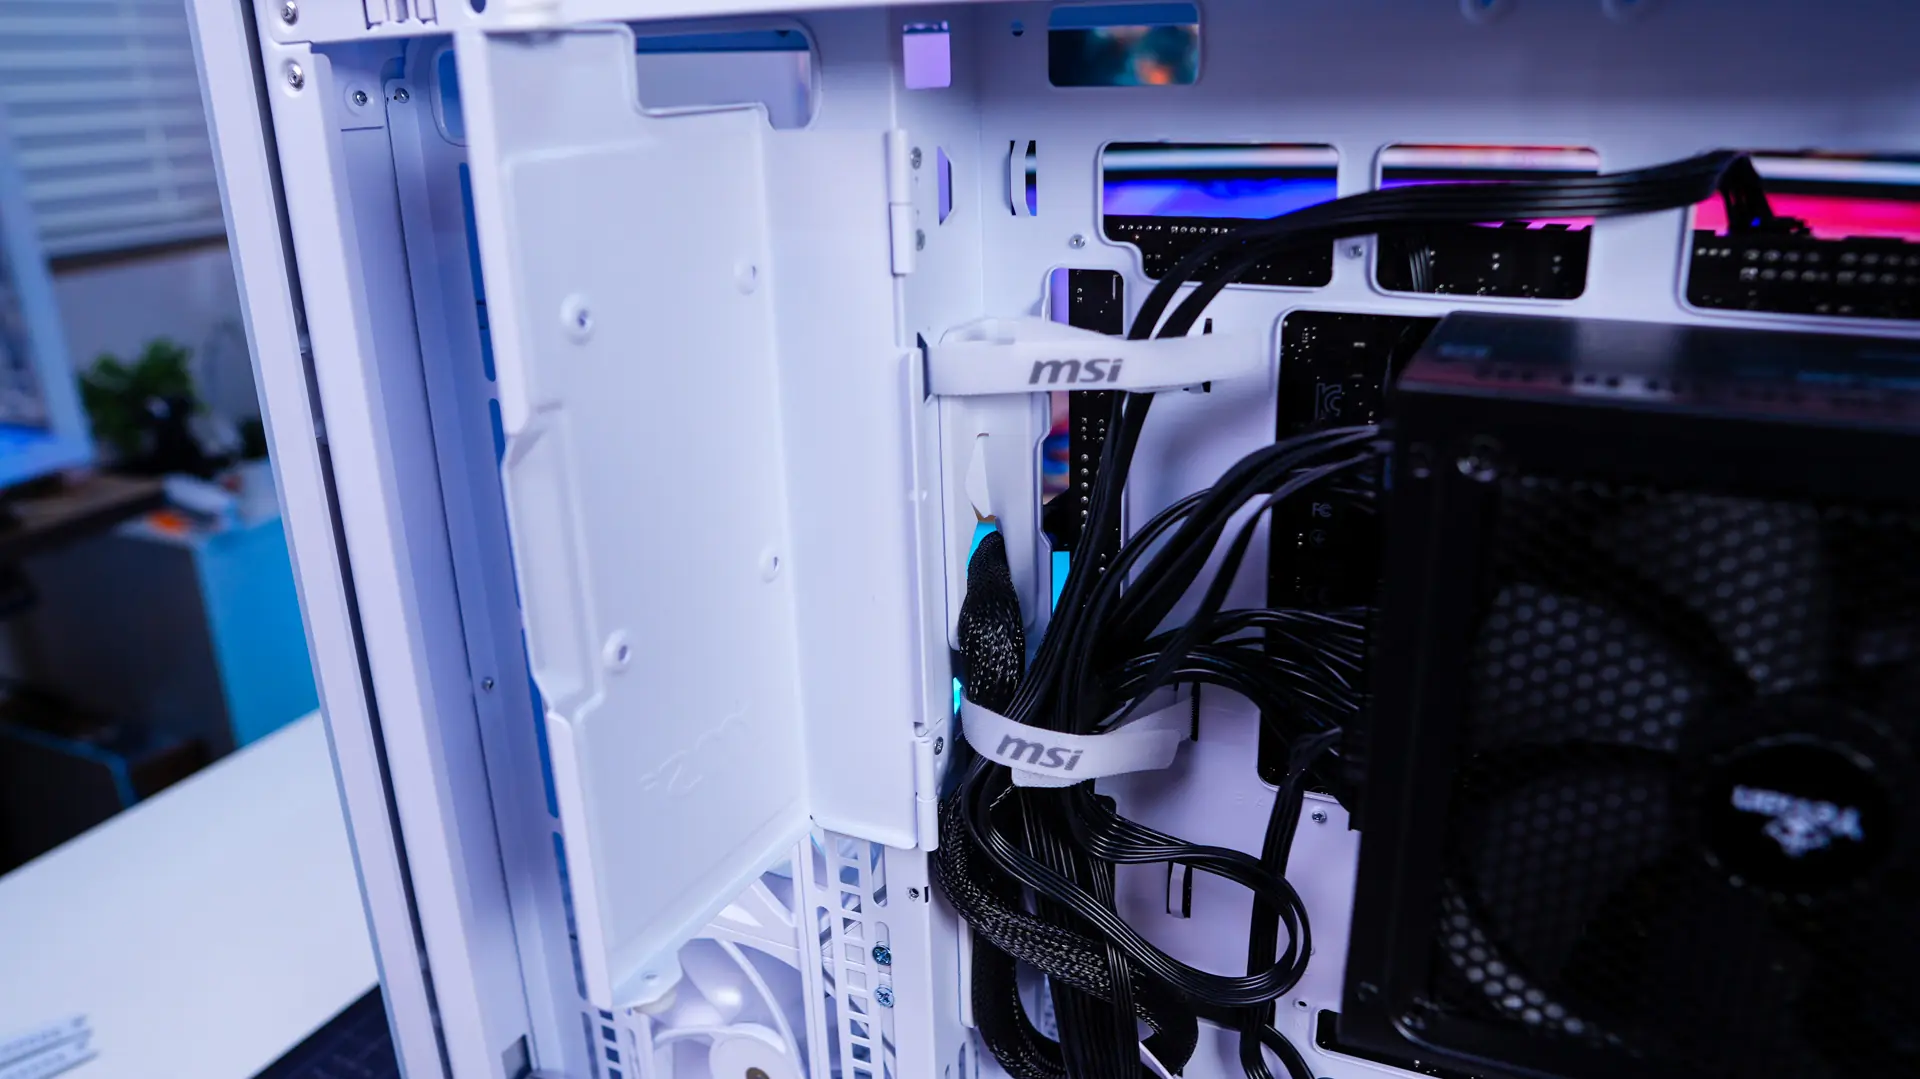
Now it is time to wire everything up. The cable routing cables definitely help keep things organized, but since you have the covers on the backside of the case you don’t necessarily need to organize things too much.
With everything closed up on the back moving over to the main side of the case you can see that we do have a very clean build.


This case is singlehandedly one of the best looking micro atx white cases of all time with its project zero support I could create the prettiest PC and it was my first PC build in my life