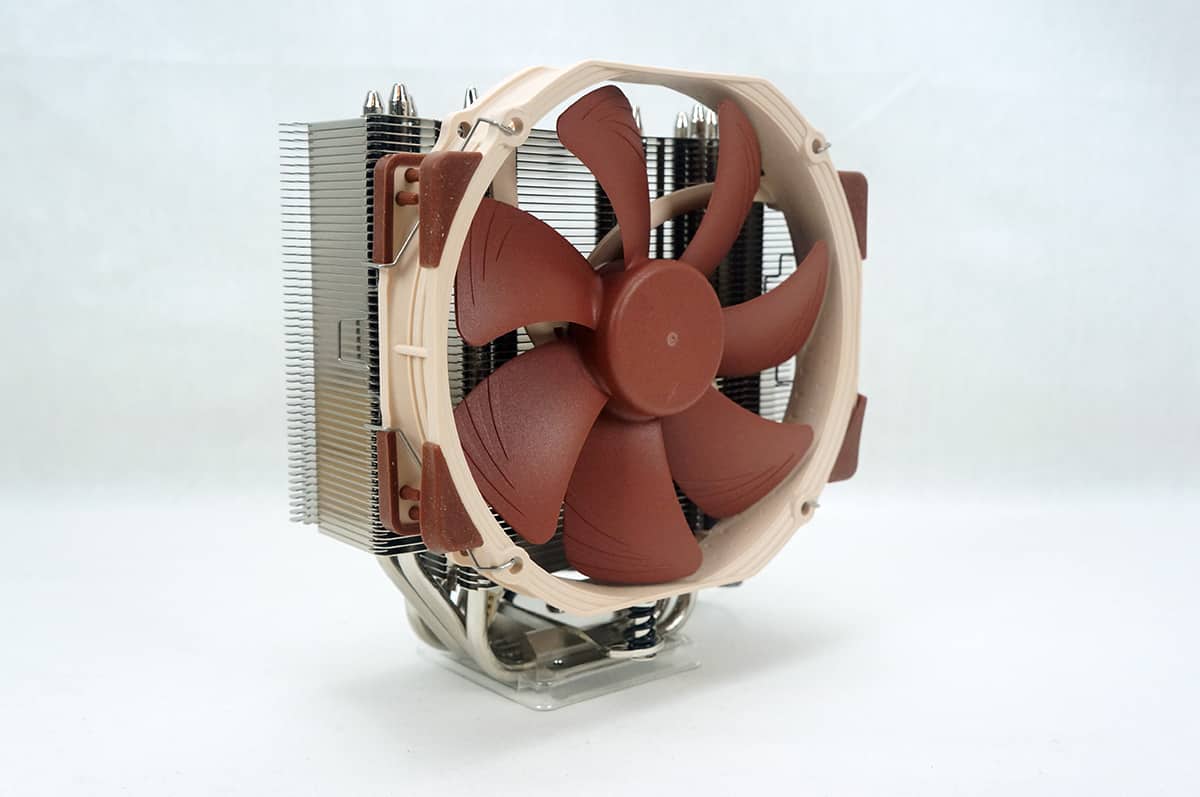
Installation
To start off installation you are going to want to clean your processor off if you are replacing your current CPU cooler with the NH-U14S. We will be installing this cooler on an LGA 2011 system. First thing is first go ahead and install your thermal paste. Noctua does include their own NT-H1 thermal compound. Once installed install the four included mounting screws to the LGA 2011 bracket. Then install the CPU cooler mounting bracket as shown in the third photo below.


Now you are ready to install the heatsink. Go ahead and remove the fan and line up the heatsink with the knobs on the CPU mounting bracket. Finally just screw it into place to secure it. As you can see there is more than enough room for clearance when it comes to your RAM modules.


Now just put your fan and you are good to go. Noctua was nice enough to send us a second NF-A15 PWM fan. To install it just take the included extra mounting wires and attach them to the fan. Then go ahead and just attach the fan to the other side. The NF-A15 PWM fan also comes with a Y-splitter so you can connect both fans to the CPU fan header on your motherboard. Even with both fans attached you can still see there is room for any size RAM modules.


Great cooler….oh wait….it won’t mount in an East/West direction on AMD processors..that eliminates an entire segment of the PC users…..lame…so nothing to see here…move along…
Not sure what you mean by East/West, but it mounts on AMD the same way as Intel, with the fans blowing out the back of the case.
this is on the Noctua website under FAQs…
“Can the cooler be installed turned by 90° on AMD sockets?
No.
The new SecuFirm2™ mounting system for AM2, AM2+ and AM3 uses the same
standardised hole spacing as the Intel system and thus allows for a much
easier installation, but the cooler cannot be installed turned by 90°.”
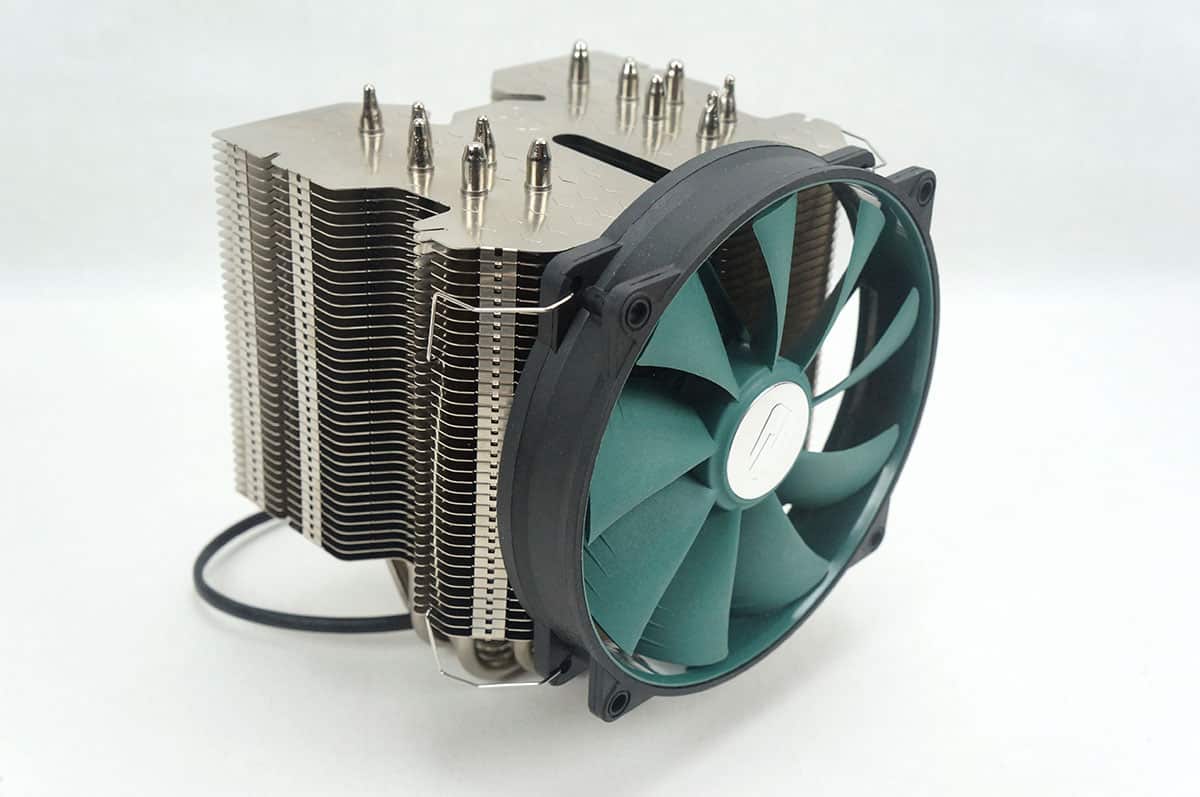
Reaaaaly wanted one of these for Christmas and was disappointed, so I got a Phanteks ph-tc14pe…
Paul, I think the AMD mounting does install the cooler with the East/West direction (with the cooler fan inline with the rear case fan). I agree the FAQ is kind of confusing and I think Noctua may have even put the wrong photo in to illustrate the AMD SecuFirm2 mounting. Anyway looking at the install directions and an AMD install video on Youtube by Ali Karar, I believe skinnypupp is correct.
I actually had a rep from Noctua USA Emailed me a while back and said no….bummer..obviously he was wrong…..it looks and performs sweet…sigh…went ahead and got a Phanteks ph-tc14pe…as there is only a few degrees difference depending on the web site, so I will see how it works…sorry for coming off like a butt….
Way too much thermal paste, only a rice grain-sized amount!