Installation
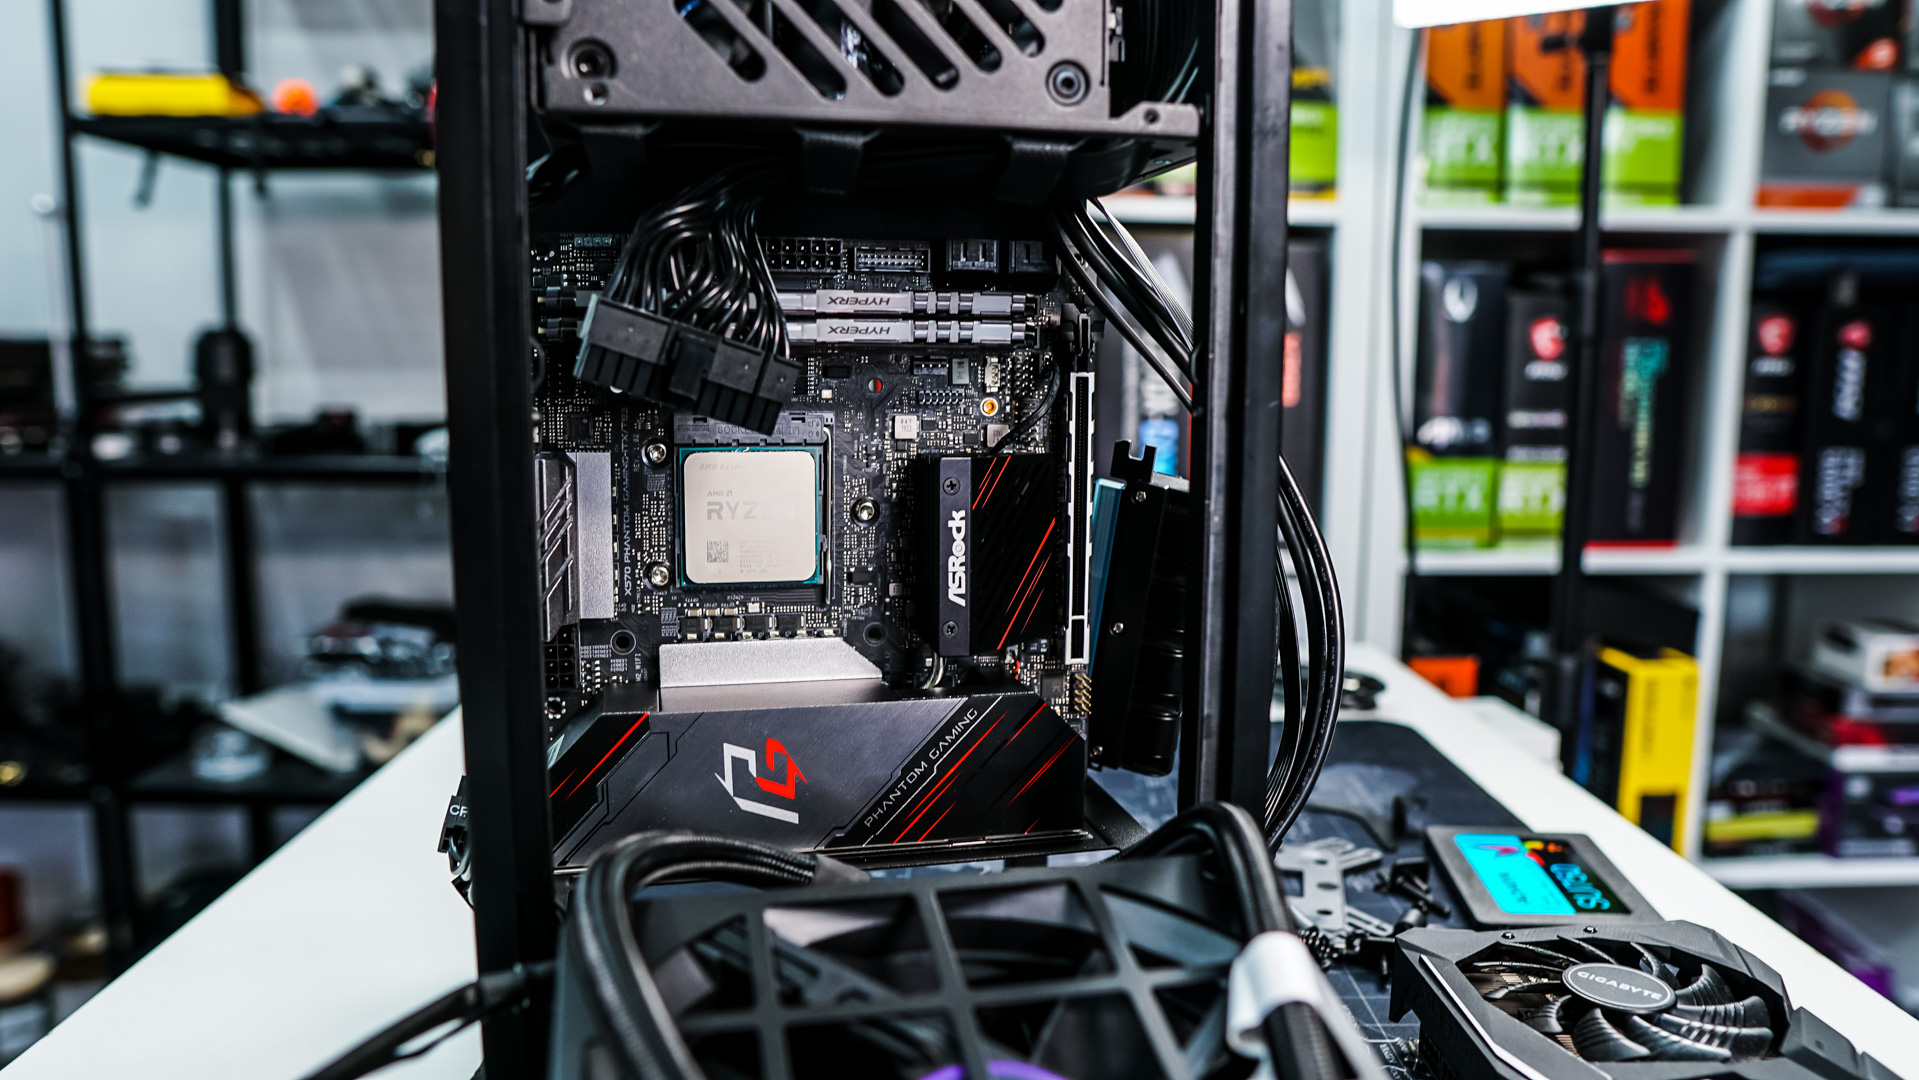
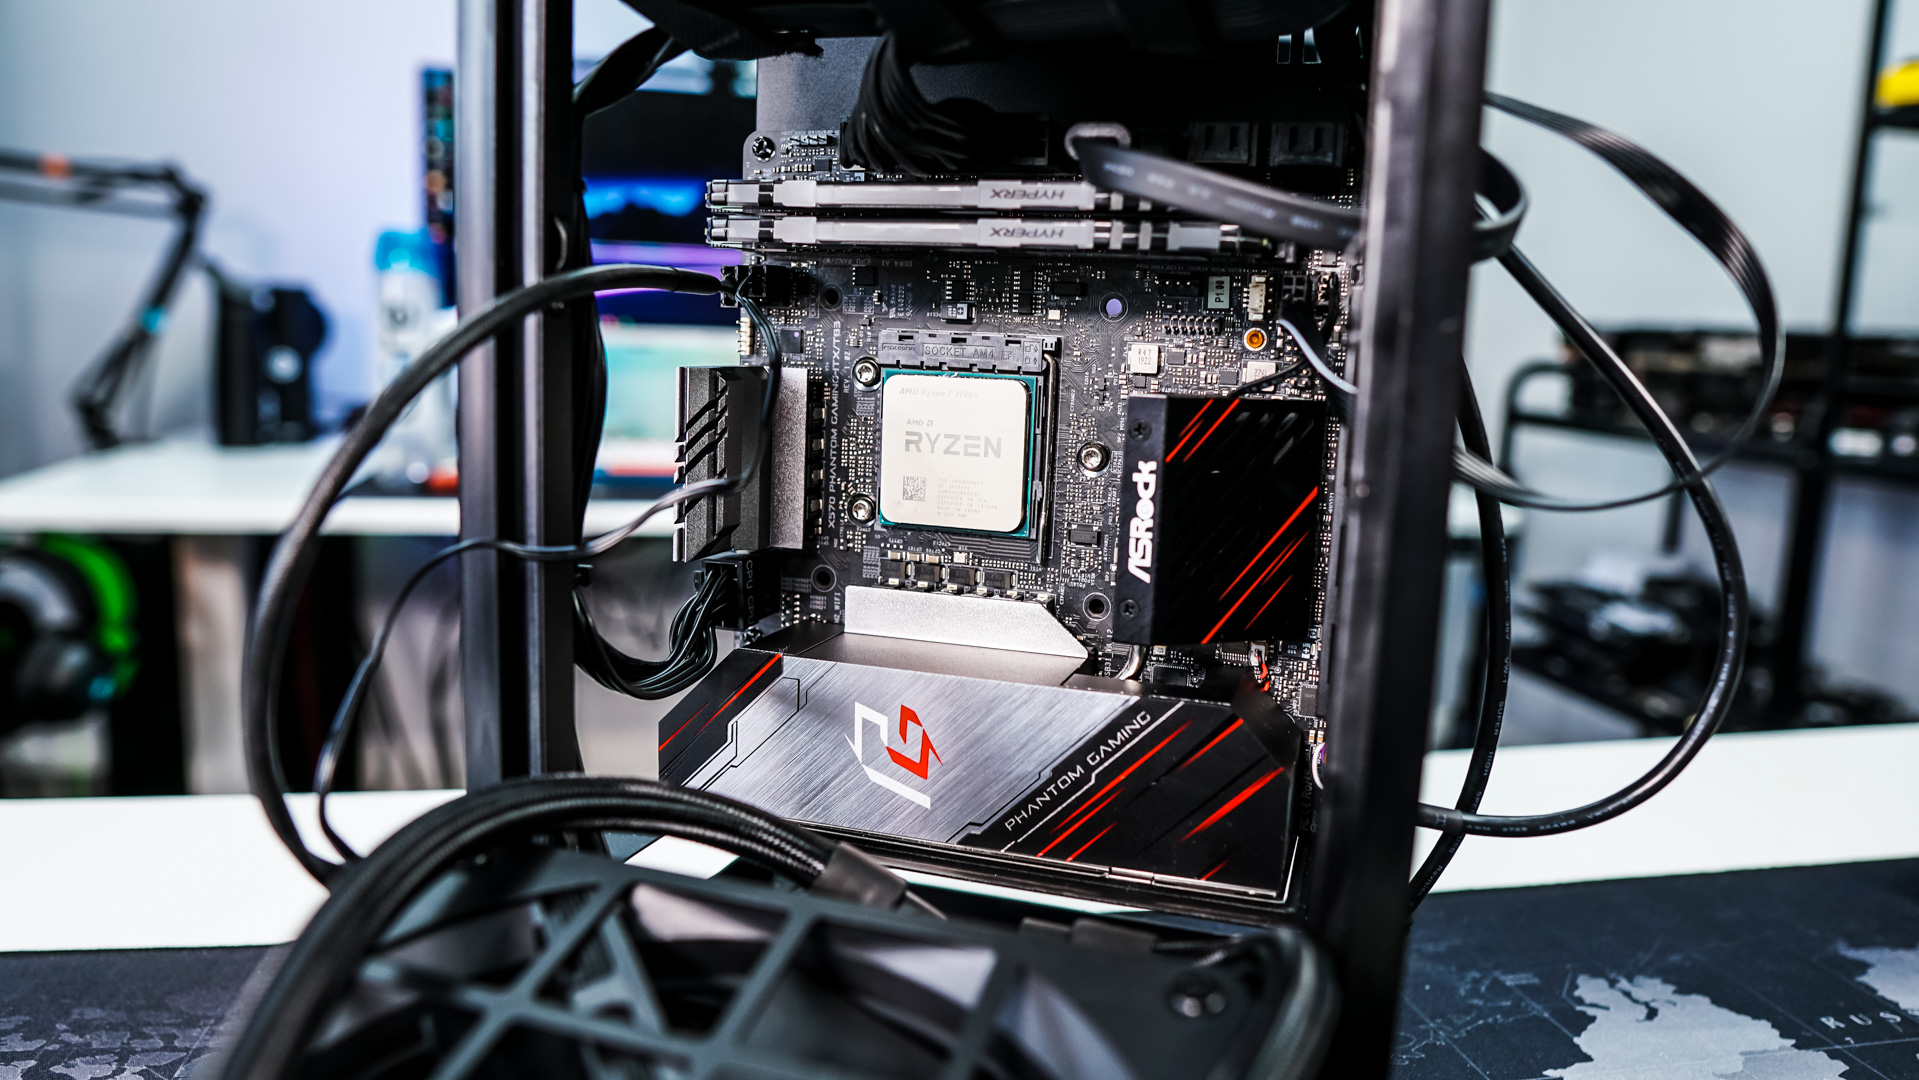
Obviously since this case is compact and different from your typical PC case installation is going to be a little bit different, but the whole process shouldn’t take you all that long. You are first going to want to slide out the AiO to make room for motherboard installation. Do not make the mistake I did by not installing the AiO backplate on the motherboard first, be sure you do this before you install your motherboard. Our ASRock X570 Phantom Gaming-ITX/TB3 went in pretty easily. Once you have your motherboard secured you are going to want to connect most of your cables, it is nice that NZXT had the power supply cables for the motherboard already run and organized for you.
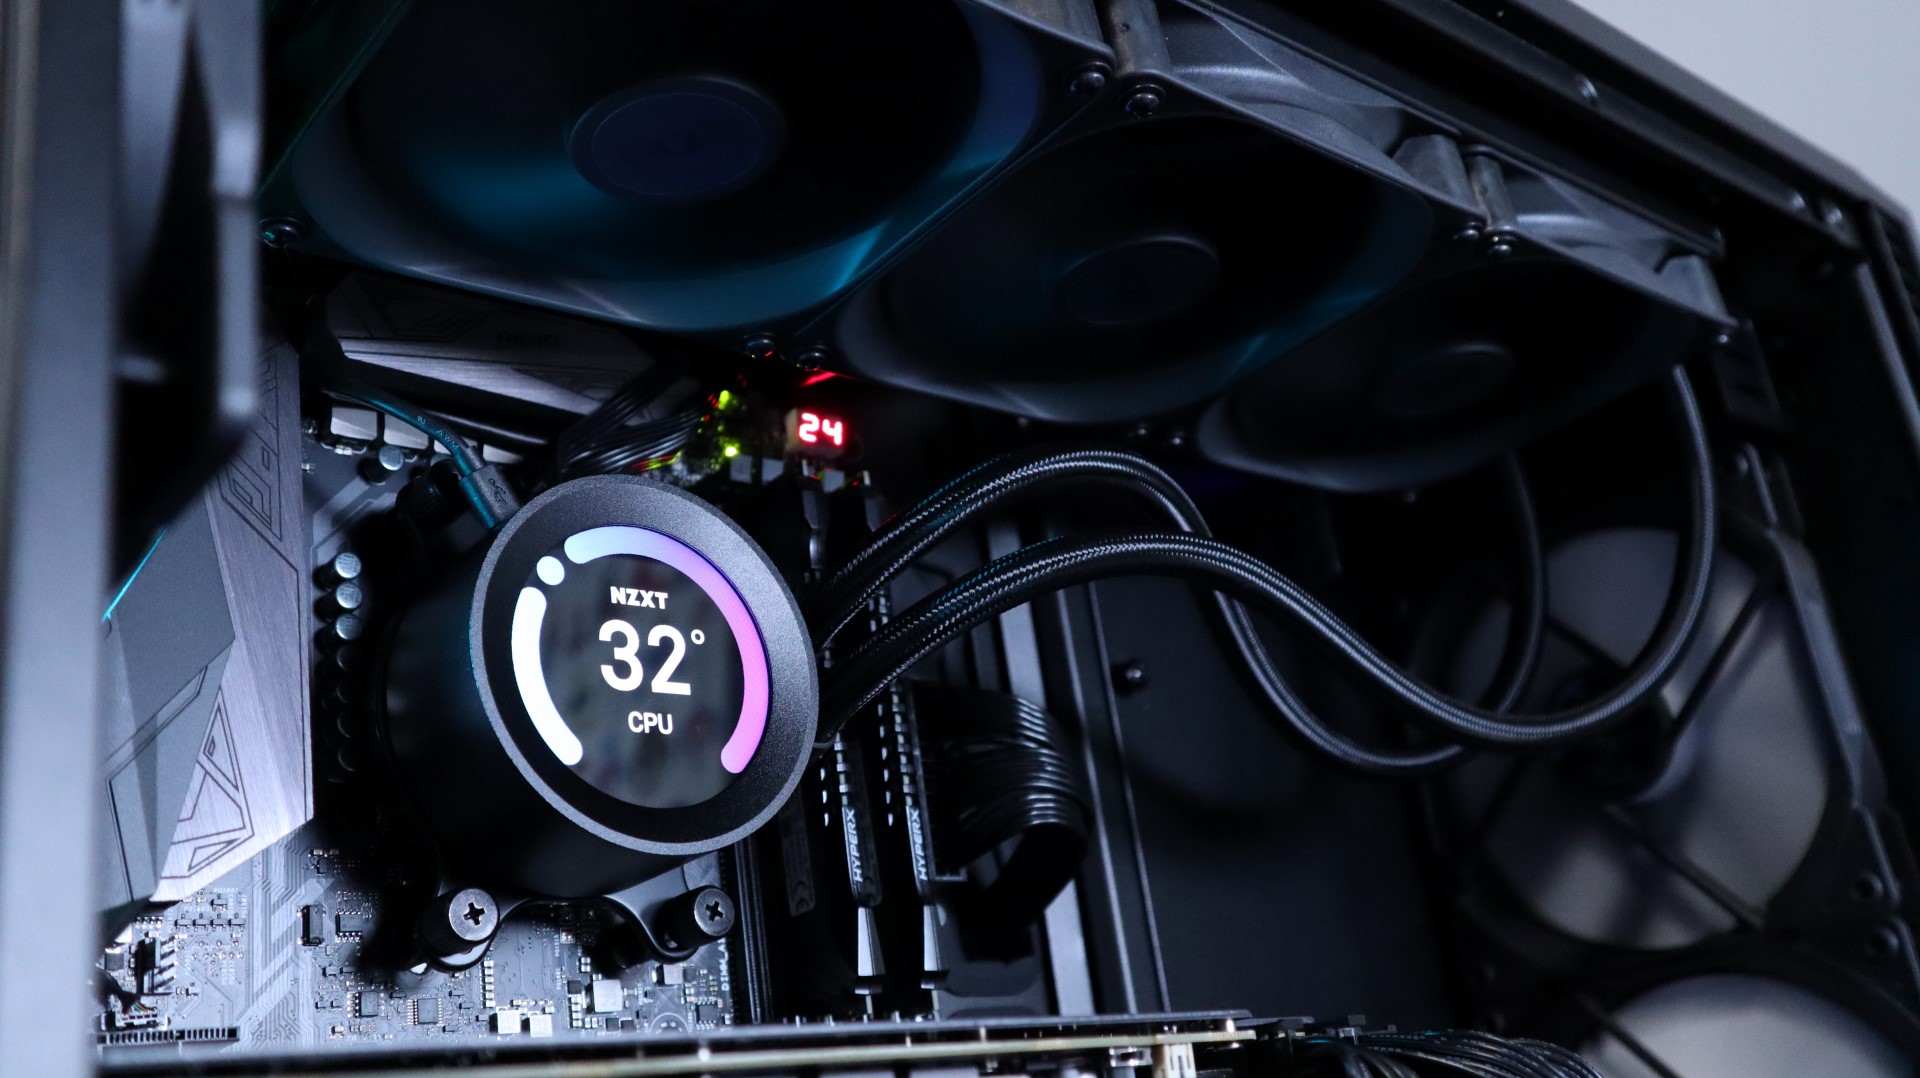
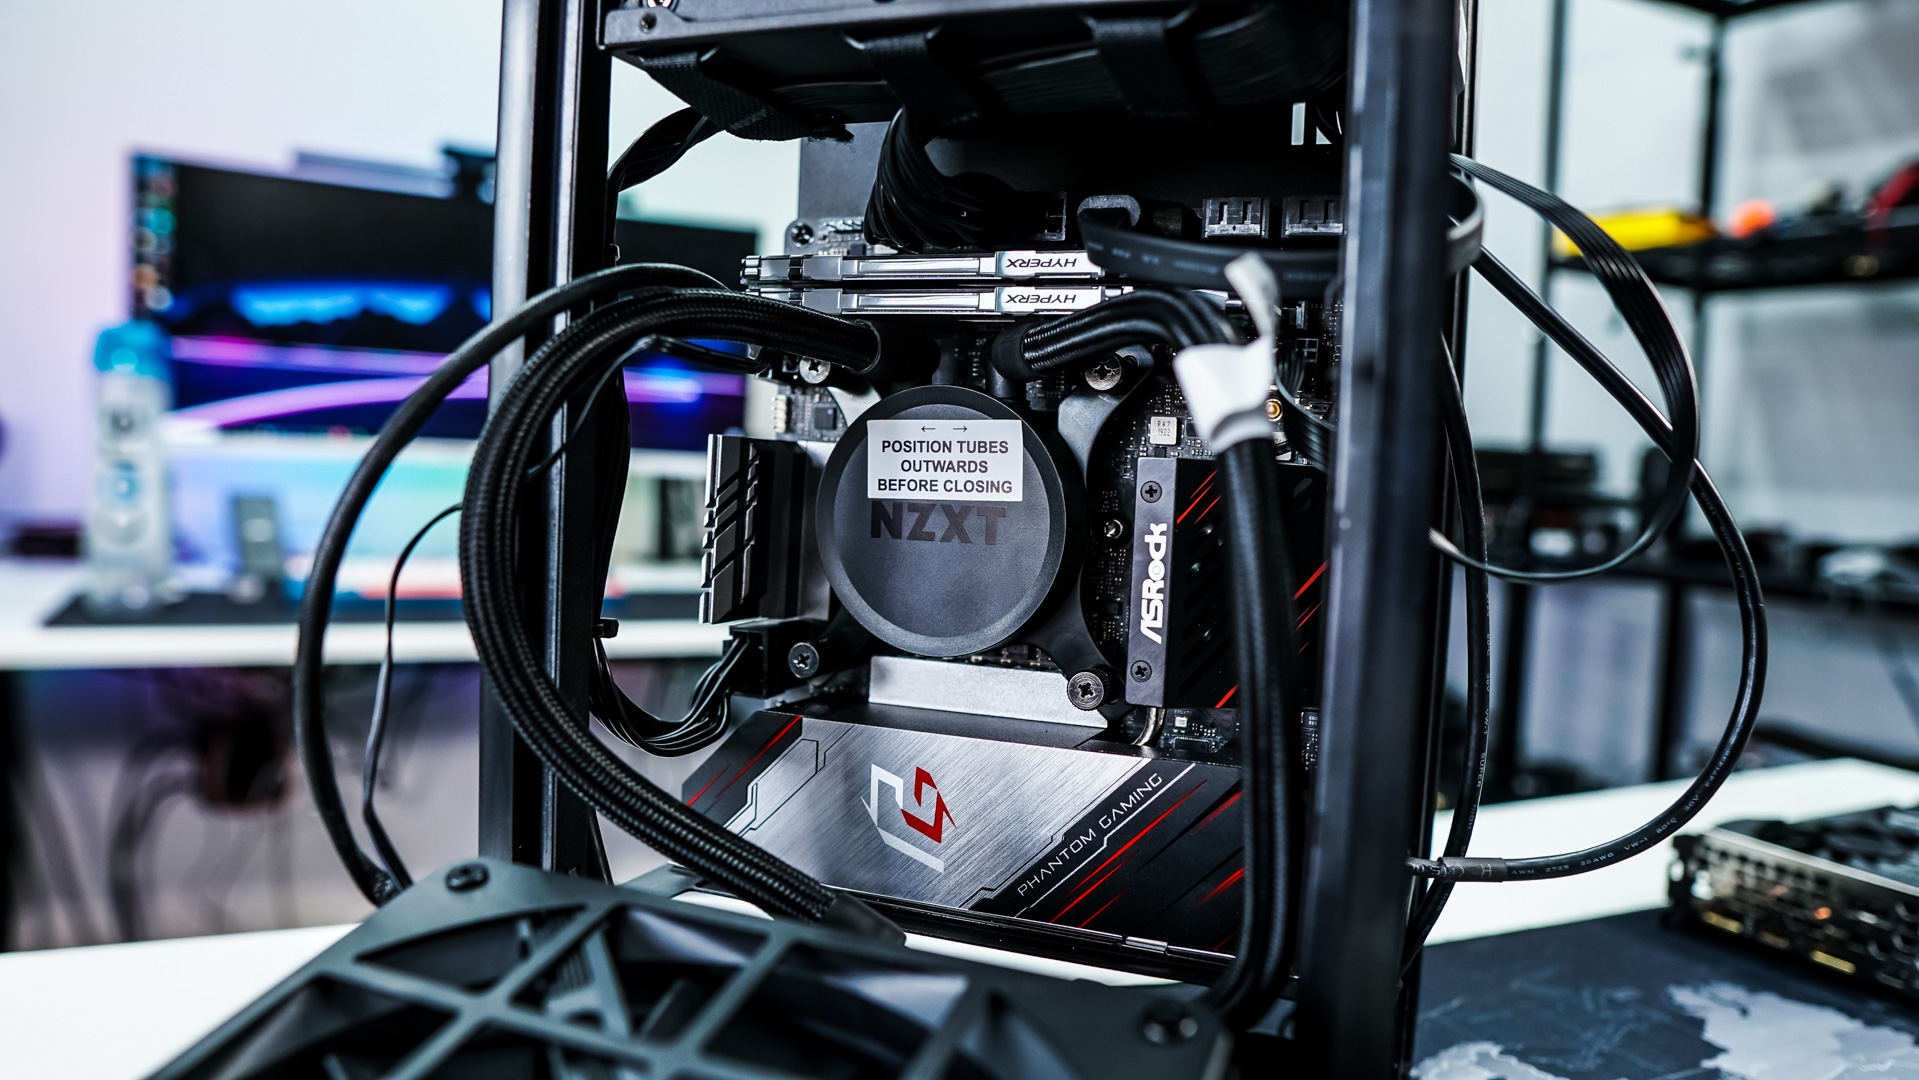
After you have your motherboard installed and all of your cables connected it is time to install the water block from the AiO. This is very easy as you can install it with the AiO out of the case. Even though the space is a little cramped it is actually very easy to install the block. Before you slide the AiO back in make sure you plug in its cables as well as the riser into your PCI-Express slot on your motherboard.
If you plan on installing a 2.5-inch hard drive they just slide into the hard drive cage at the top of the case, they are completely tool-less.

The last step is to install your graphics card. It goes in very easily to the other side of the riser cable and you just secure it like you would any other graphics card. For those wondering about space we had no problem getting a Gigabyte GeForce RTX 2060 Super Gaming OC 8G in there, which features Gigabyte’s WindForce 3X cooling solution.
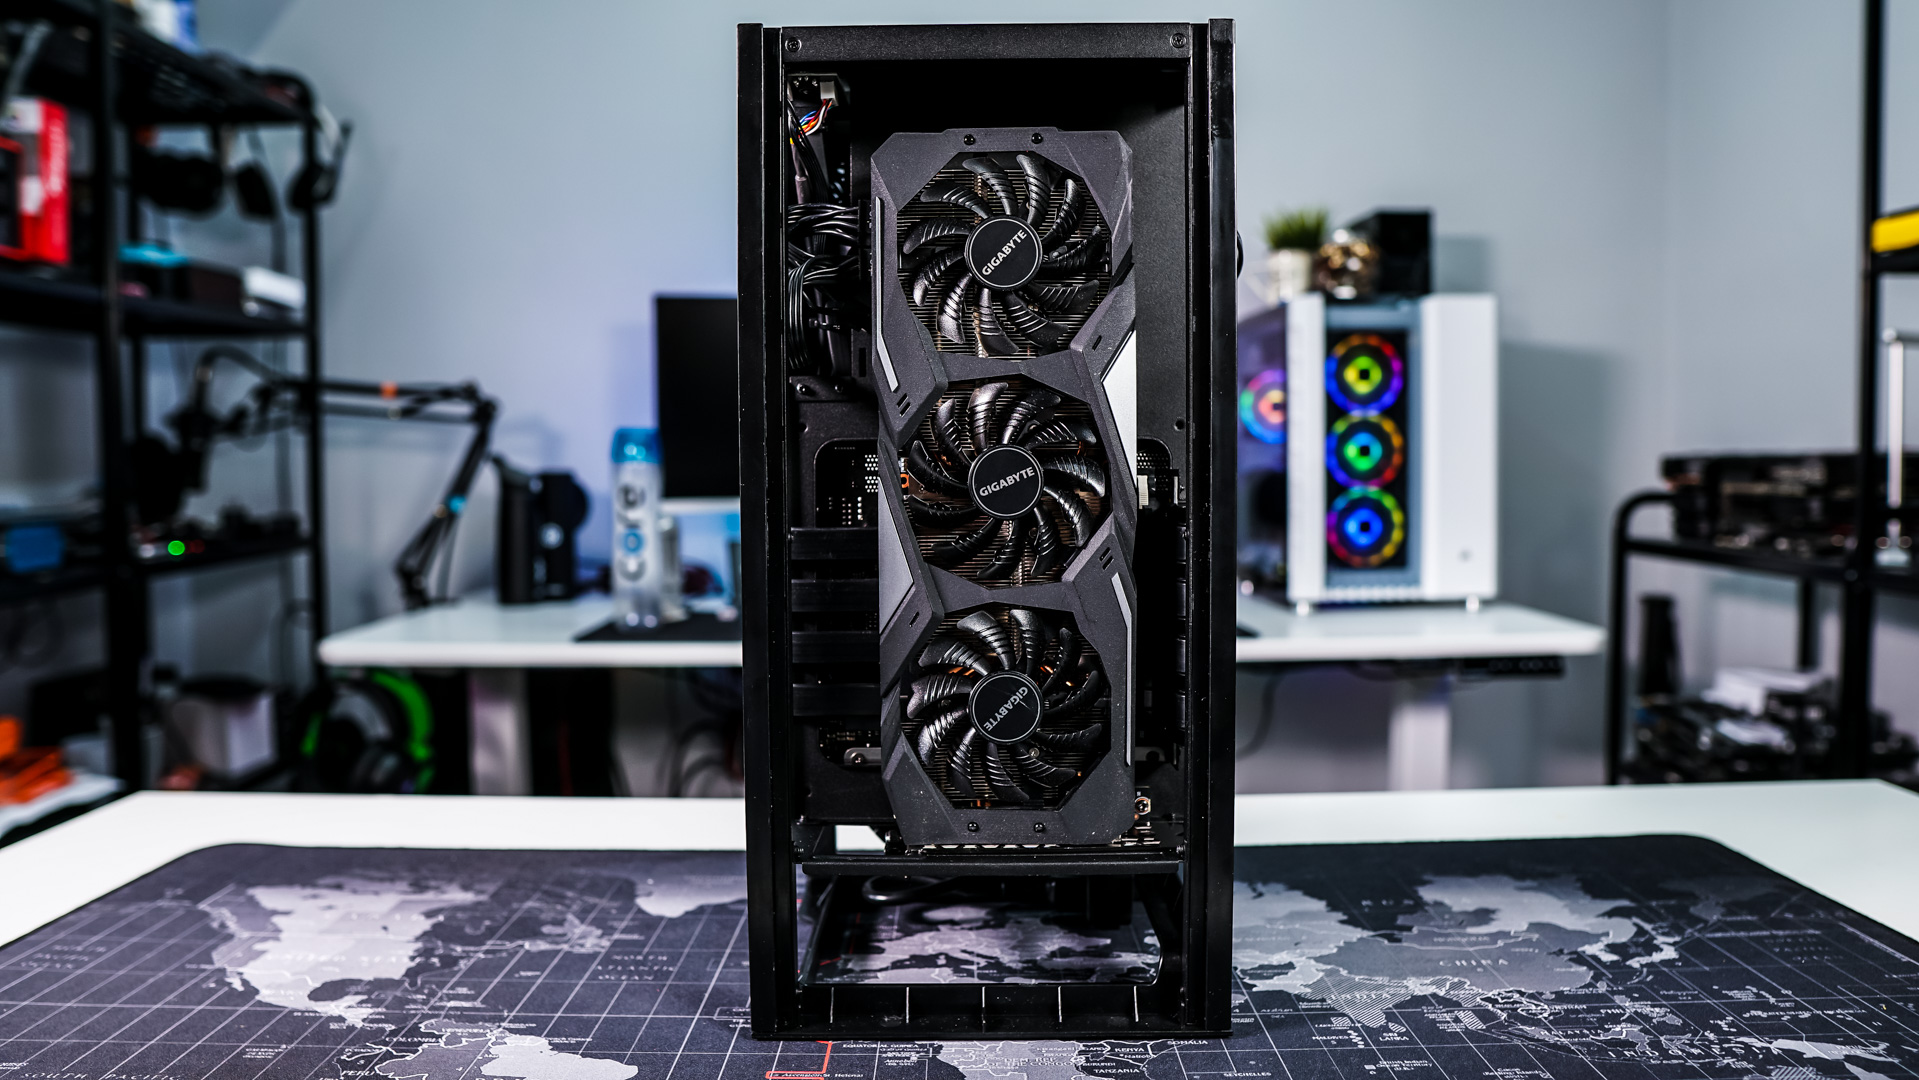
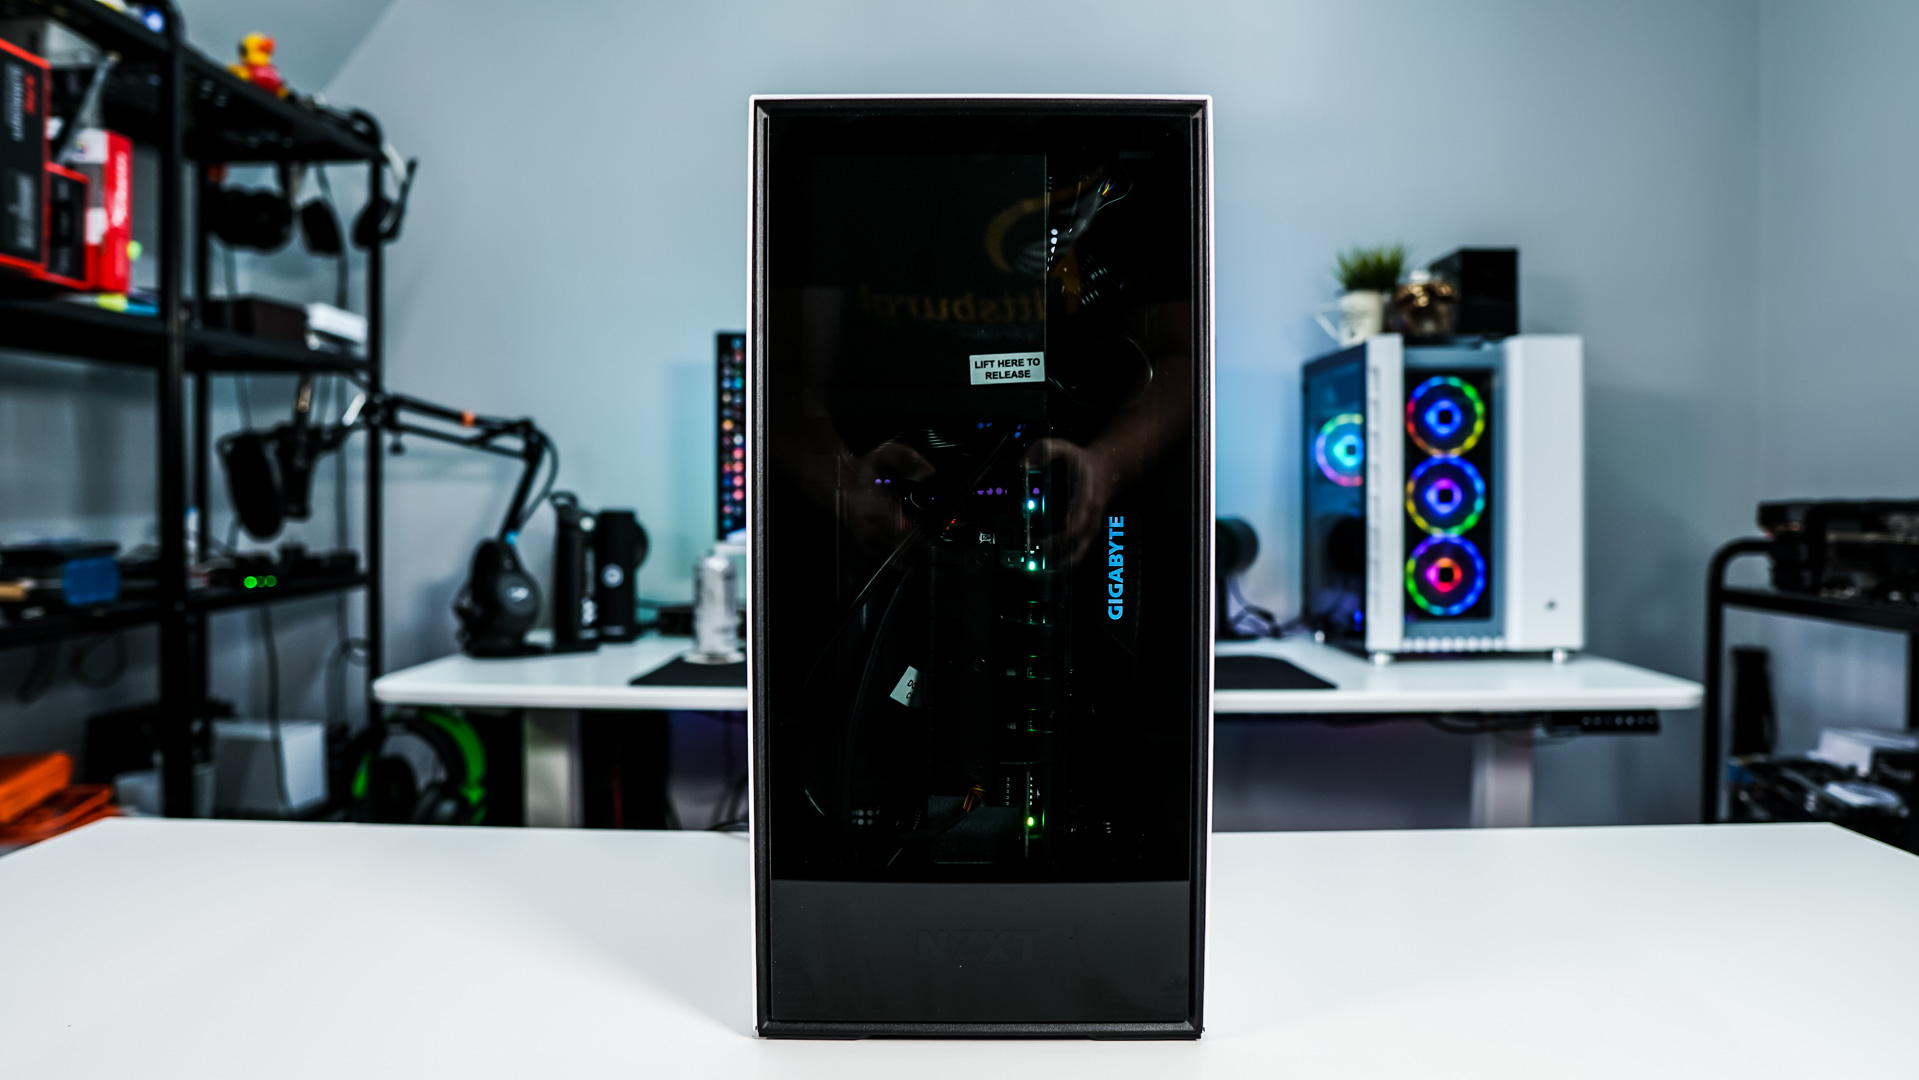
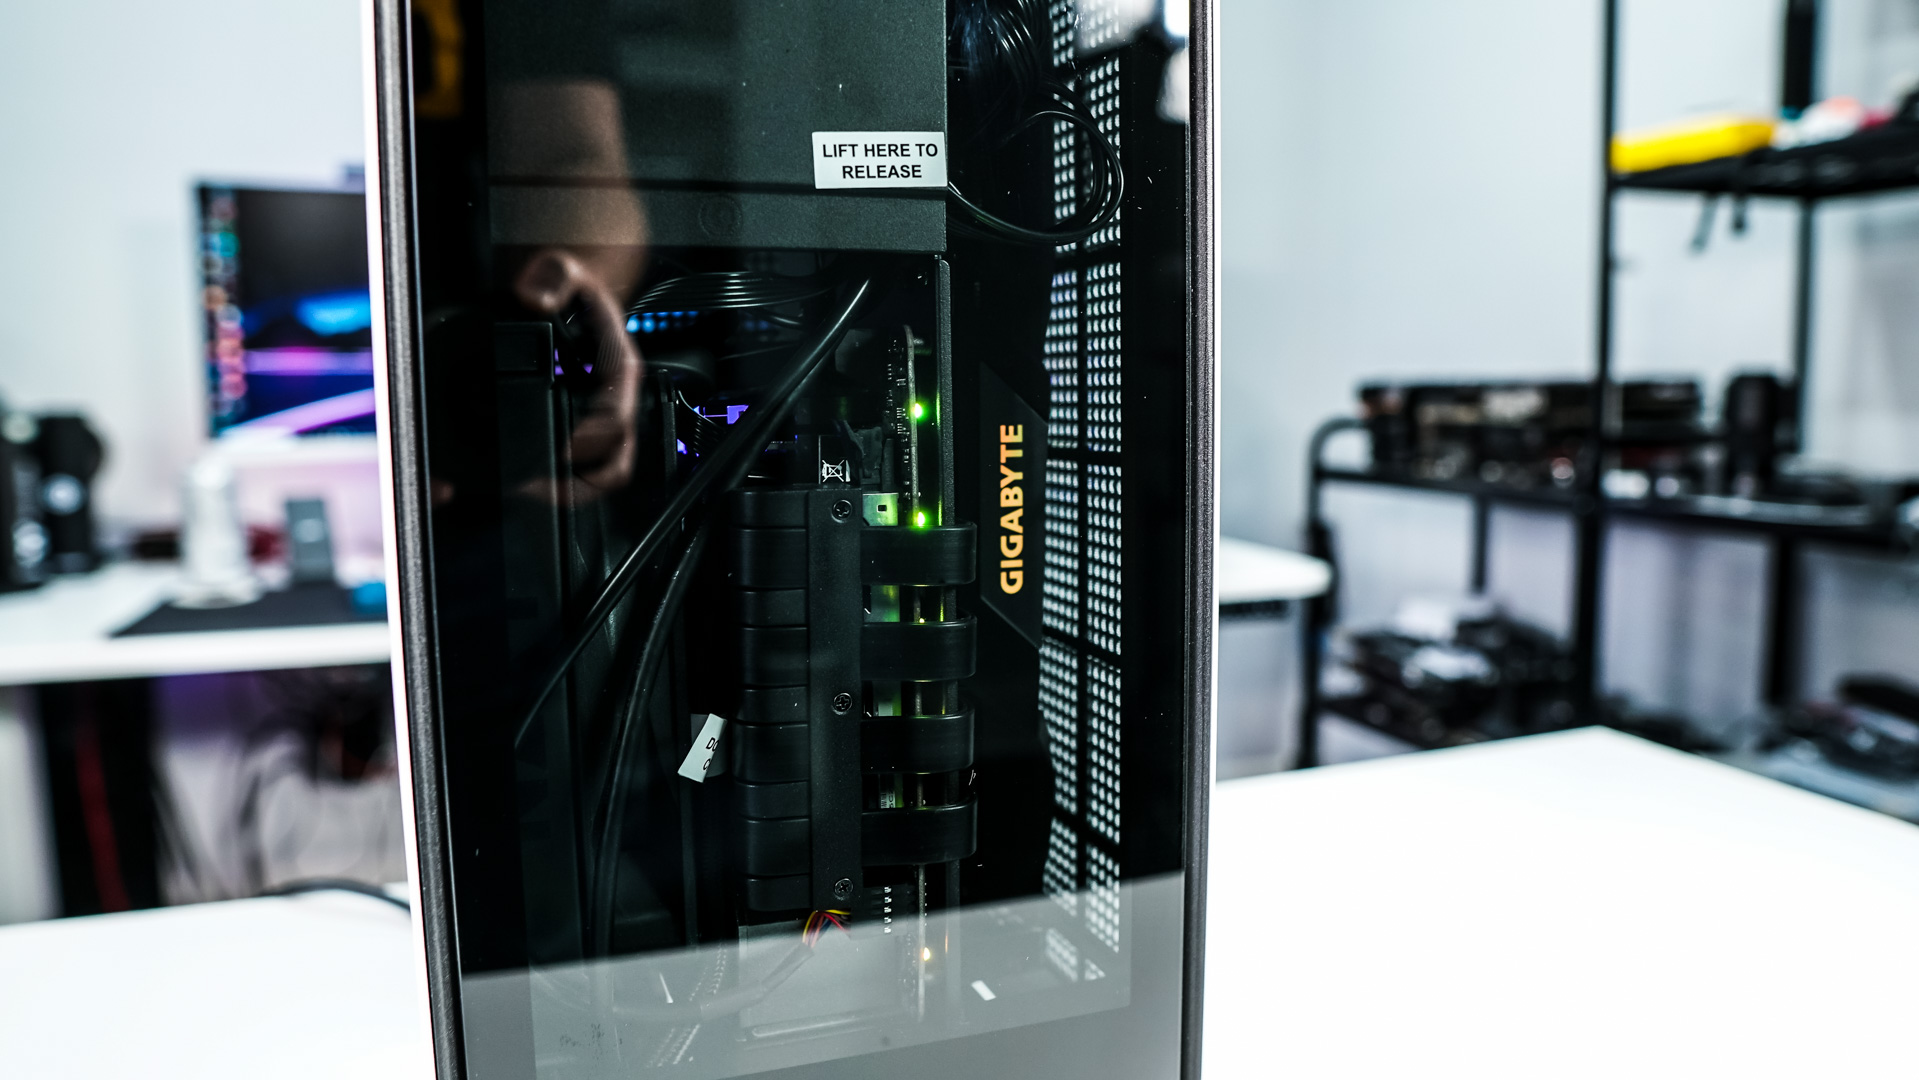
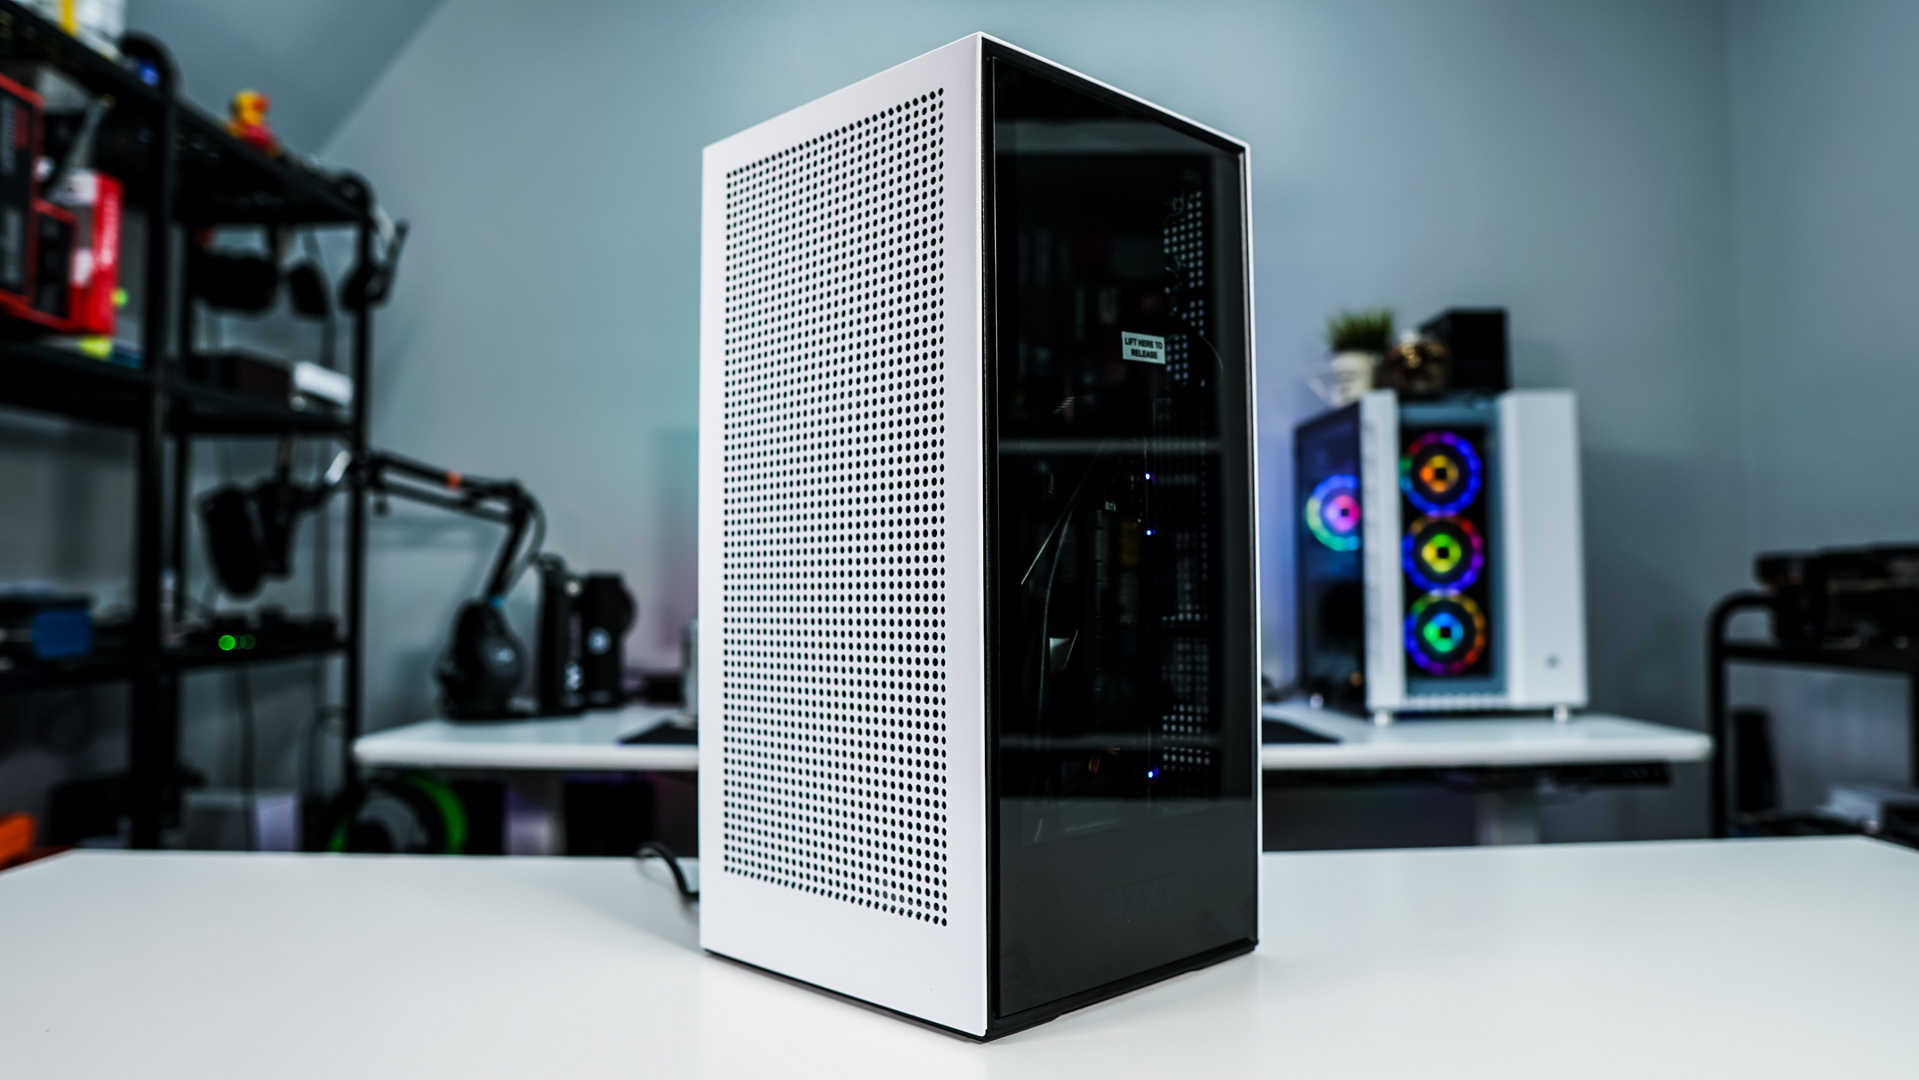
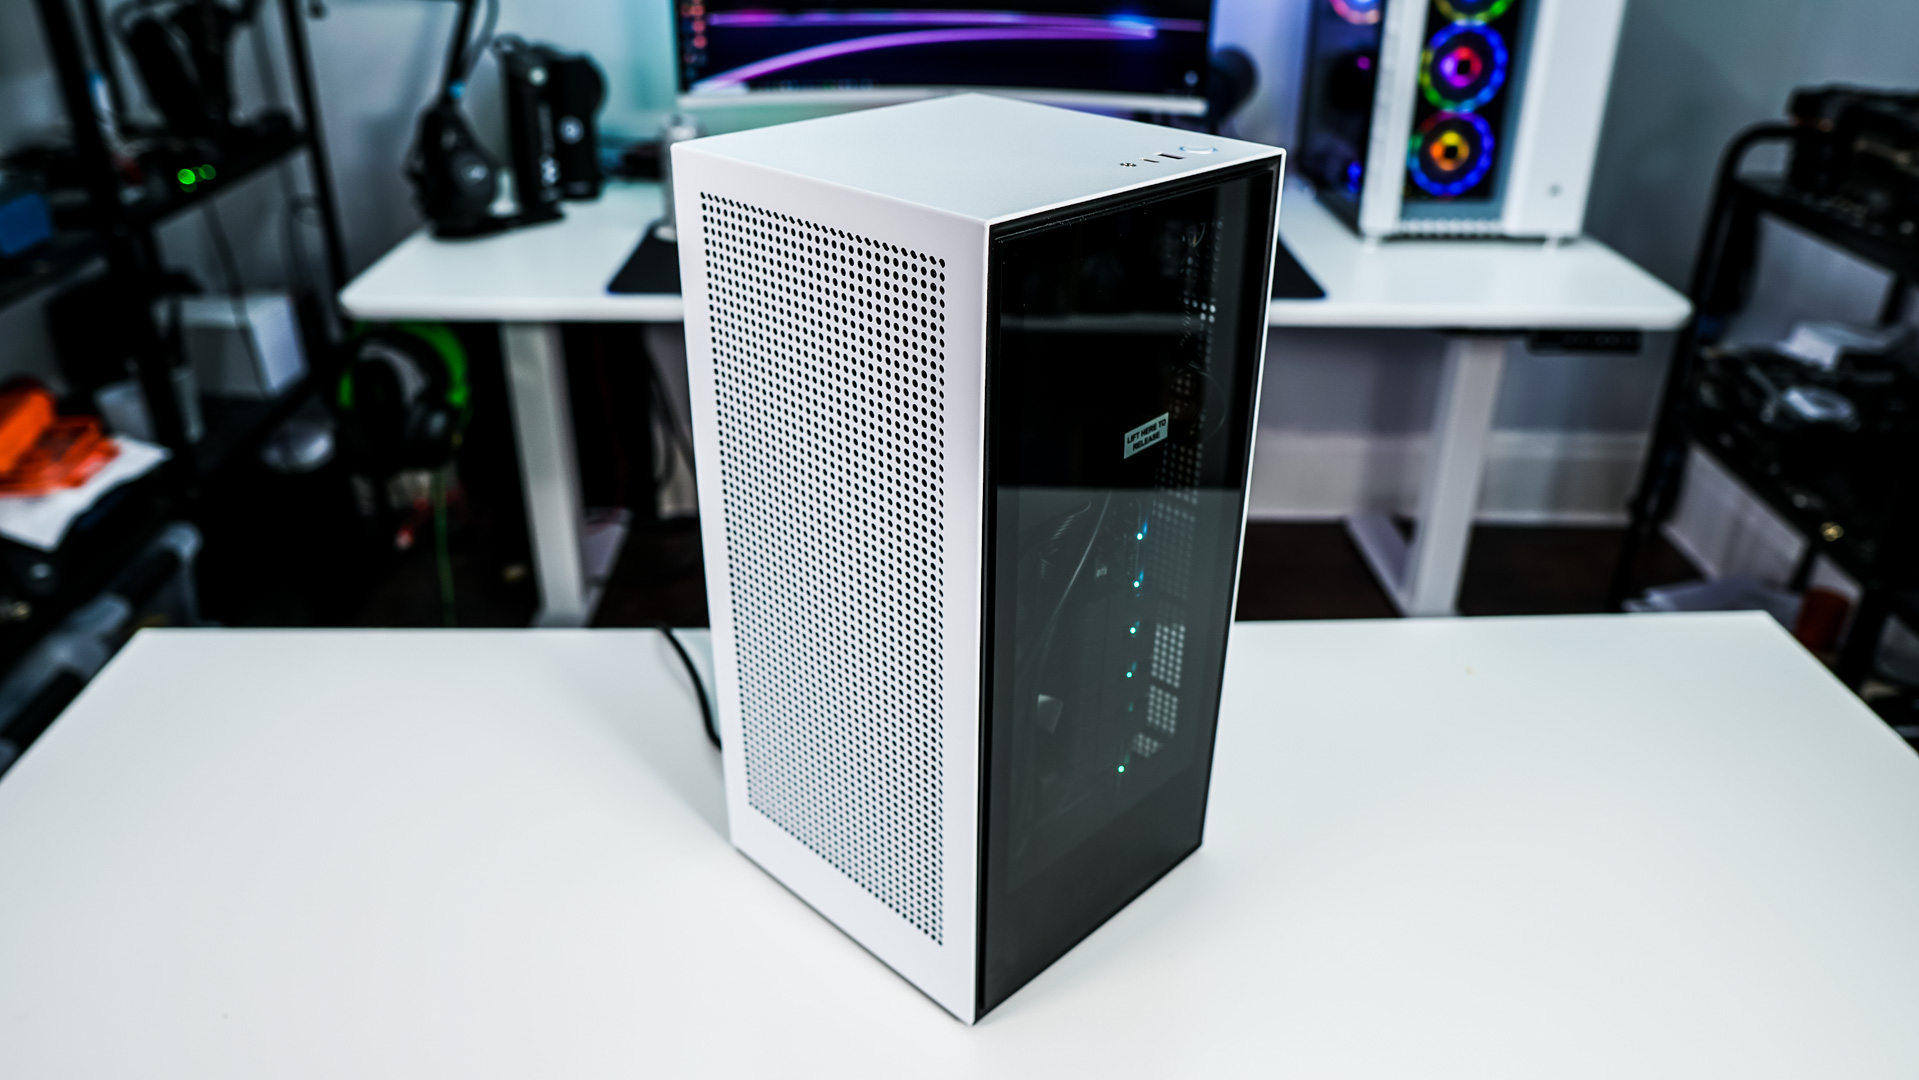
Before we close things up here are some shots of everything installed so you can see just how compact of a system we have.


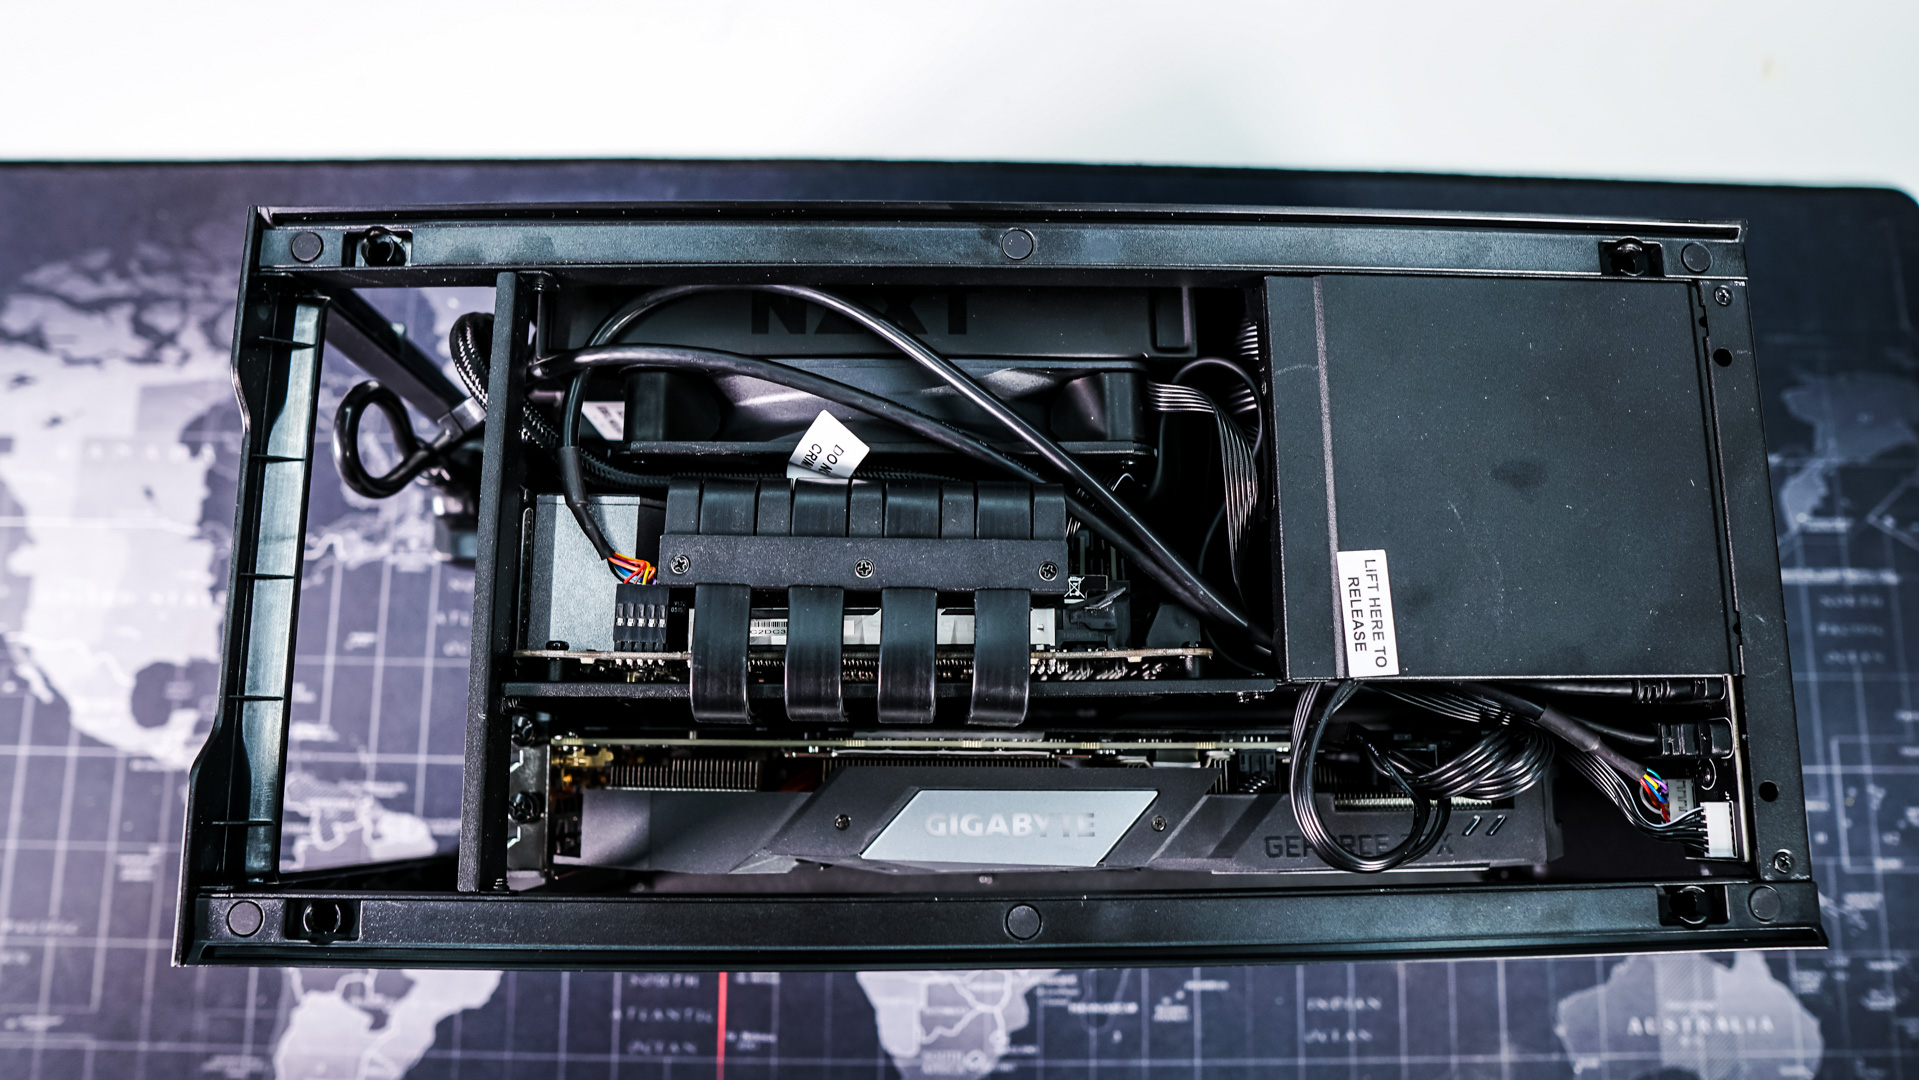

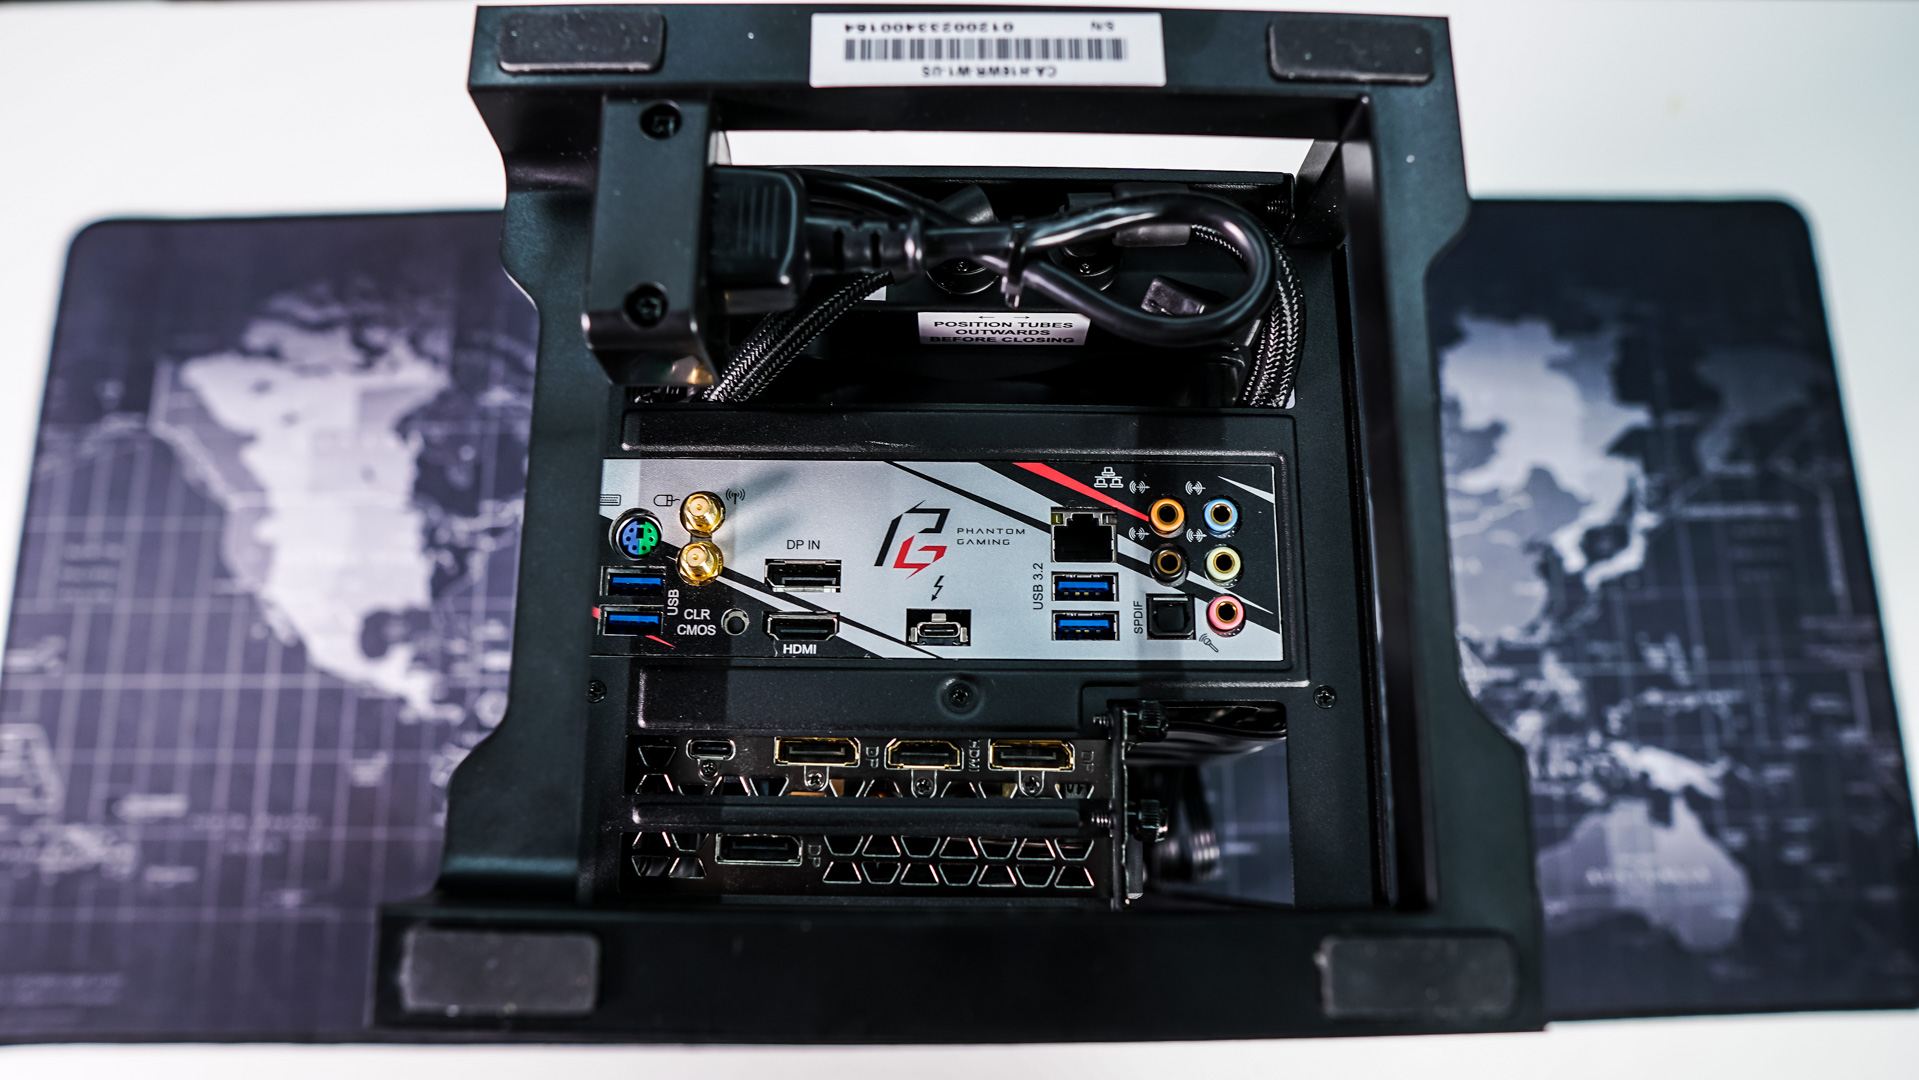
For those wondering all of your connections will be on the bottom of the case, so you might want to connect a few things before you get the H1 all setup on your desk.
Here are some final shots of the case with the panels back on and our system turned on. The tint on the tempered glass panel really makes it hard to see in the case, all we can really see is the Gigabyte logo from our graphics card and the RGB LEDs from our motherboard.