A Look Inside
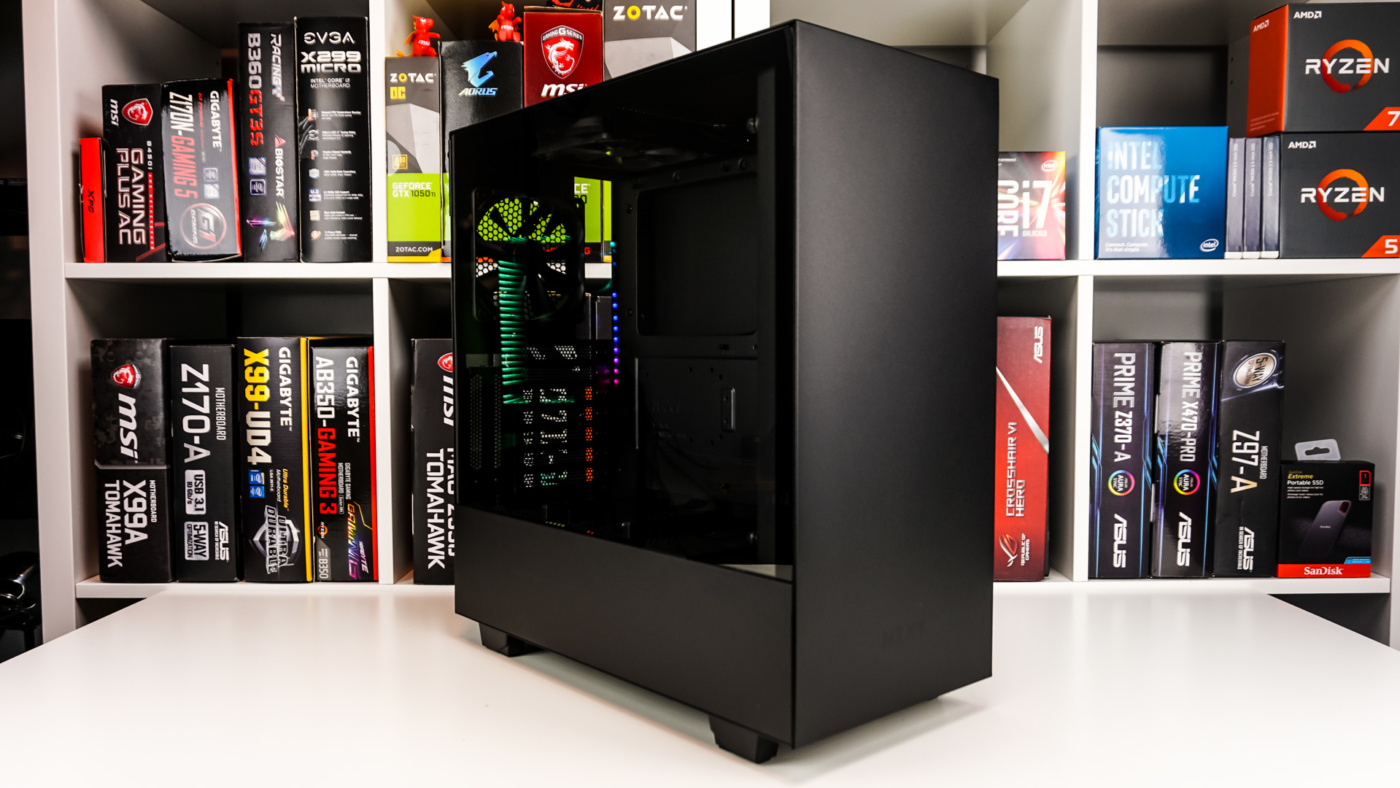
Getting inside the H500i is quite easy. Since the tempered glass side panel sits flush with the frame of the case there are no screws on the side of the panel like we’ve seen on many other cases. Instead there is a single screw on the end of the panel, which allows you to release it and easily pull it off the side of the case.
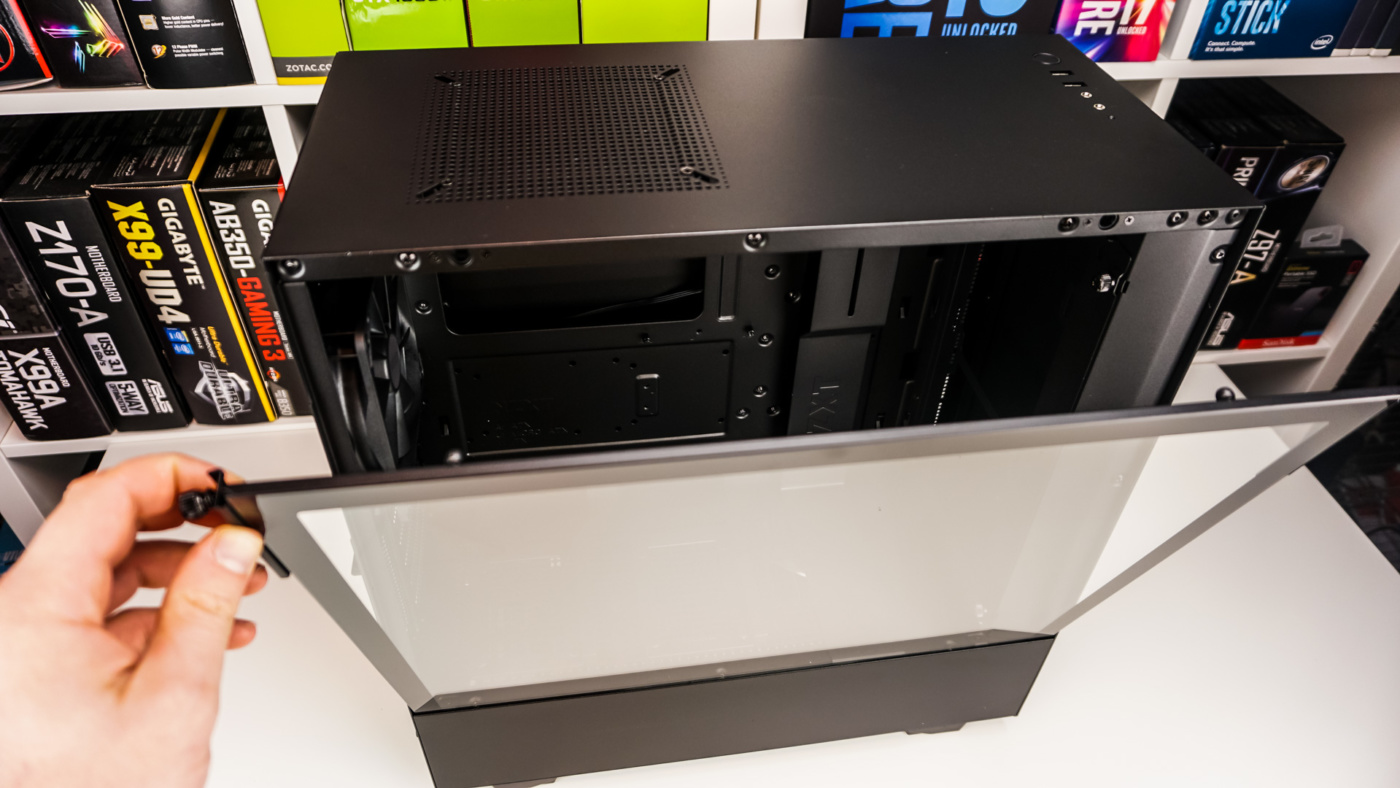
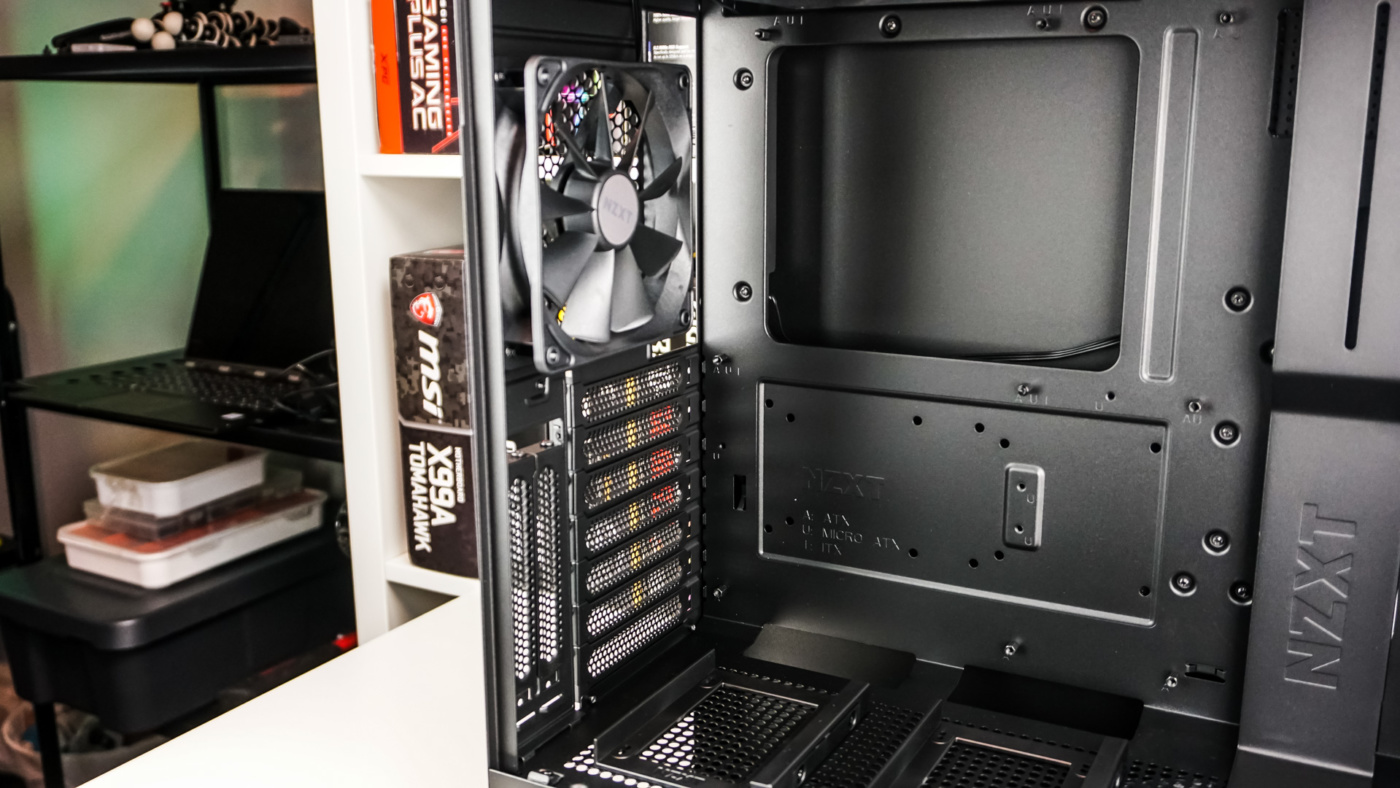
With the panel removed we can get a look at the main compartment of the H500i. As I mentioned this case is sectioned off with about 80% of the case for the main compartment and 20% for the bottom compartment. The main compartment does support ATX power motherboards.

Starting at the front we have a removable fan mount, which supports two 120 / 140 mm fans or watercooling radiators up to 280 mm. You’ll also see the NZXT “bar” as I call it, which sits in front of the large cable routing opening. Its main function it to keep the sleek look of your build by hiding cables for you.
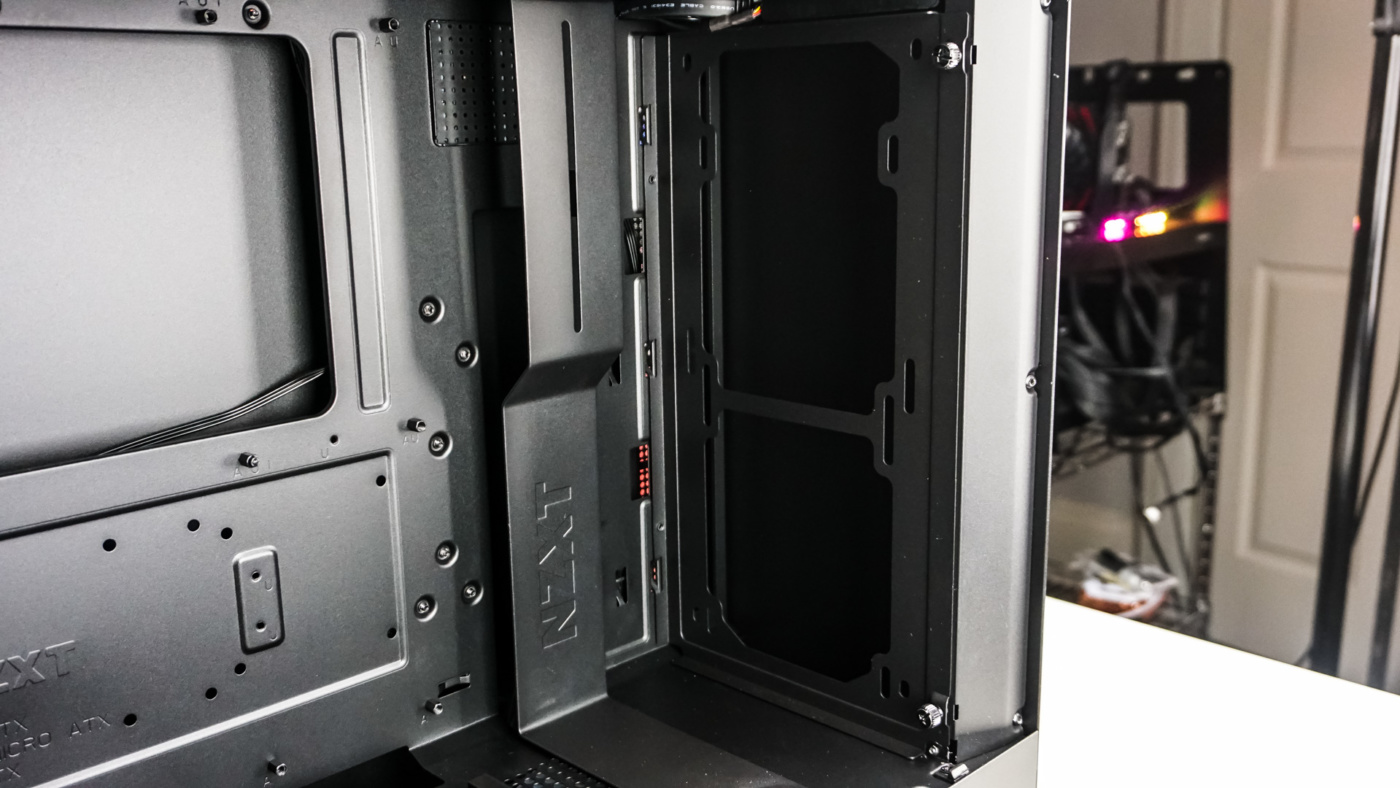
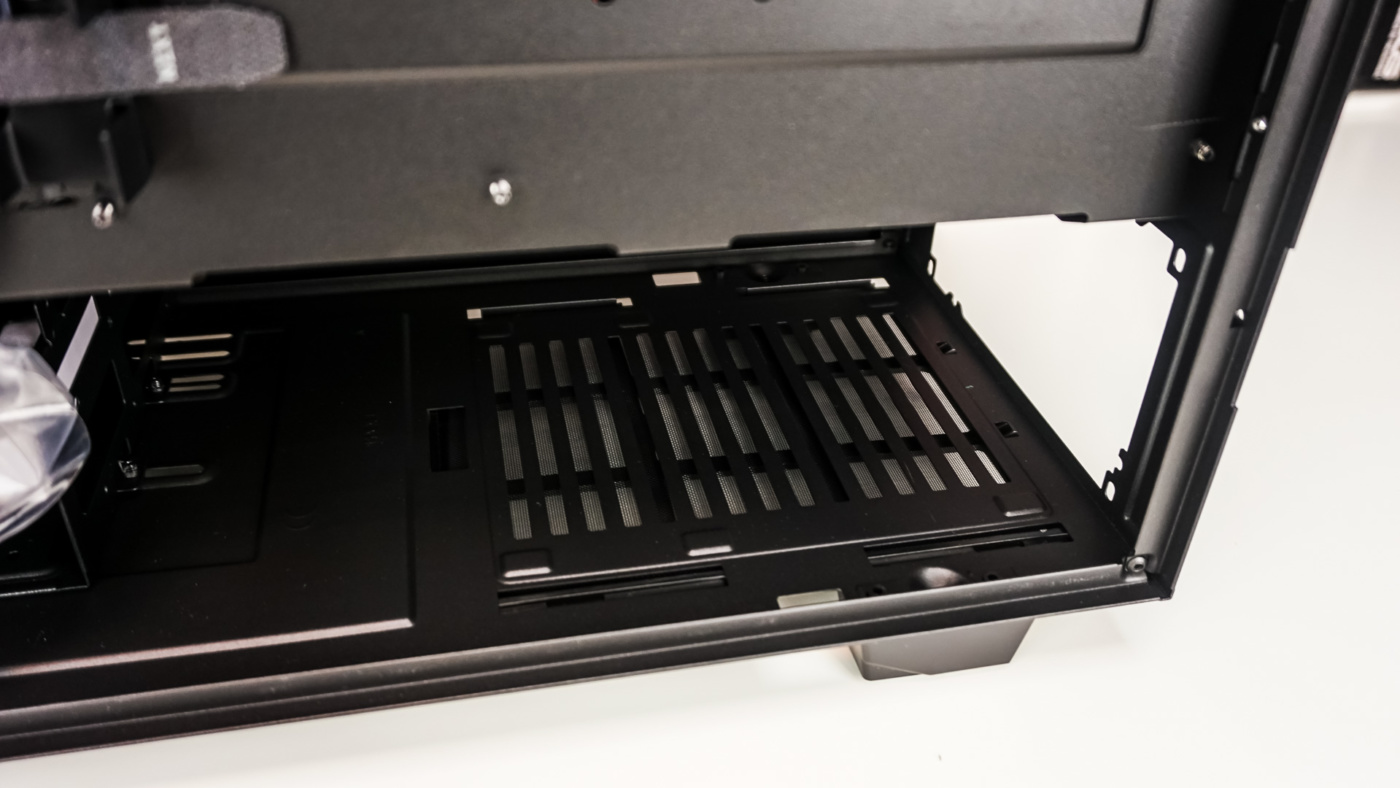
Sitting on the power supply cover there are two of NZXT’s 2.5-inch drive mounts, which can easily be removed or moved around. You can also see two large cable routing holes right below the motherboard tray.

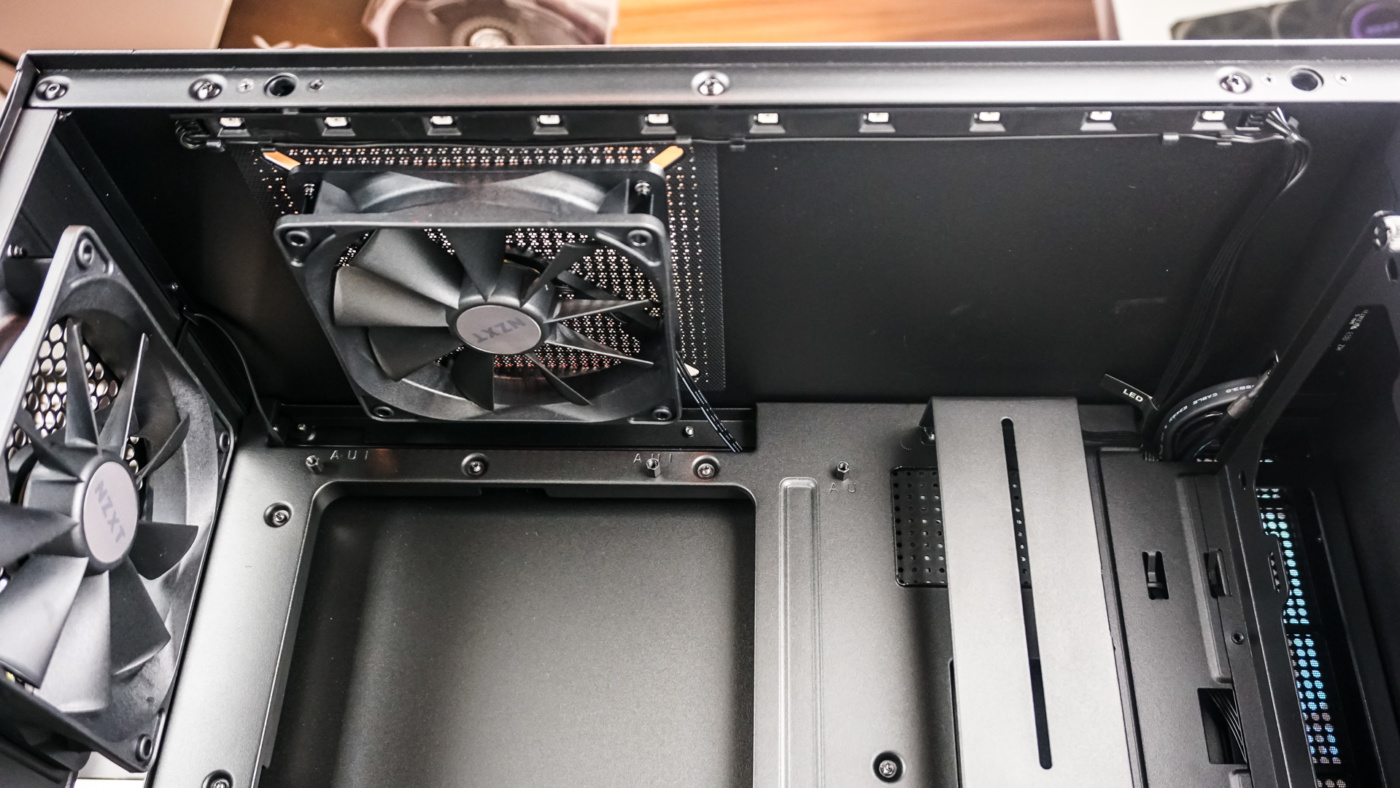
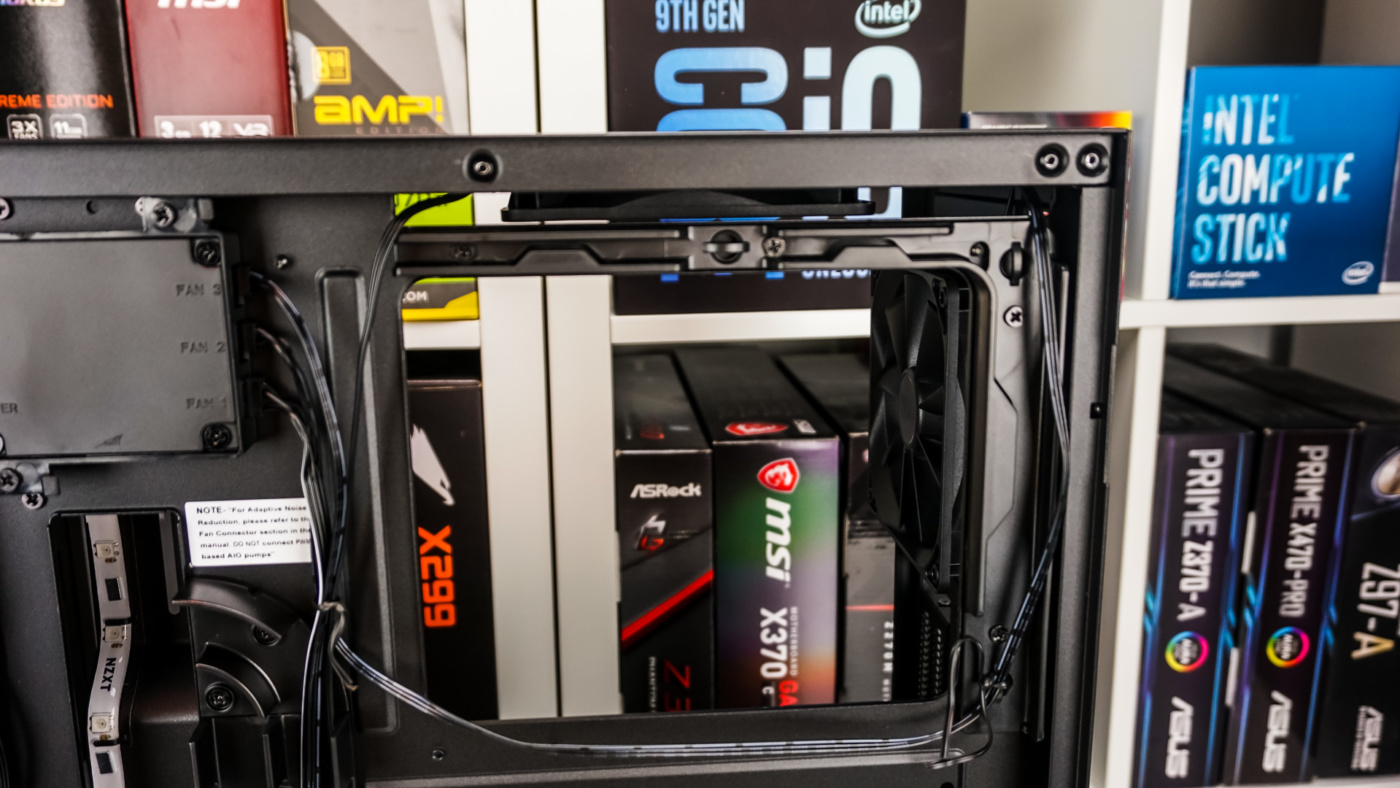
At the rear we can see the rear fan and large CPU cutout in the motherboard tray. We also spot that the motherboard standoffs have been pre-installed. At the top we have the second fan and we can see the first RGB LED strip, which features 10 RGB LEDs.
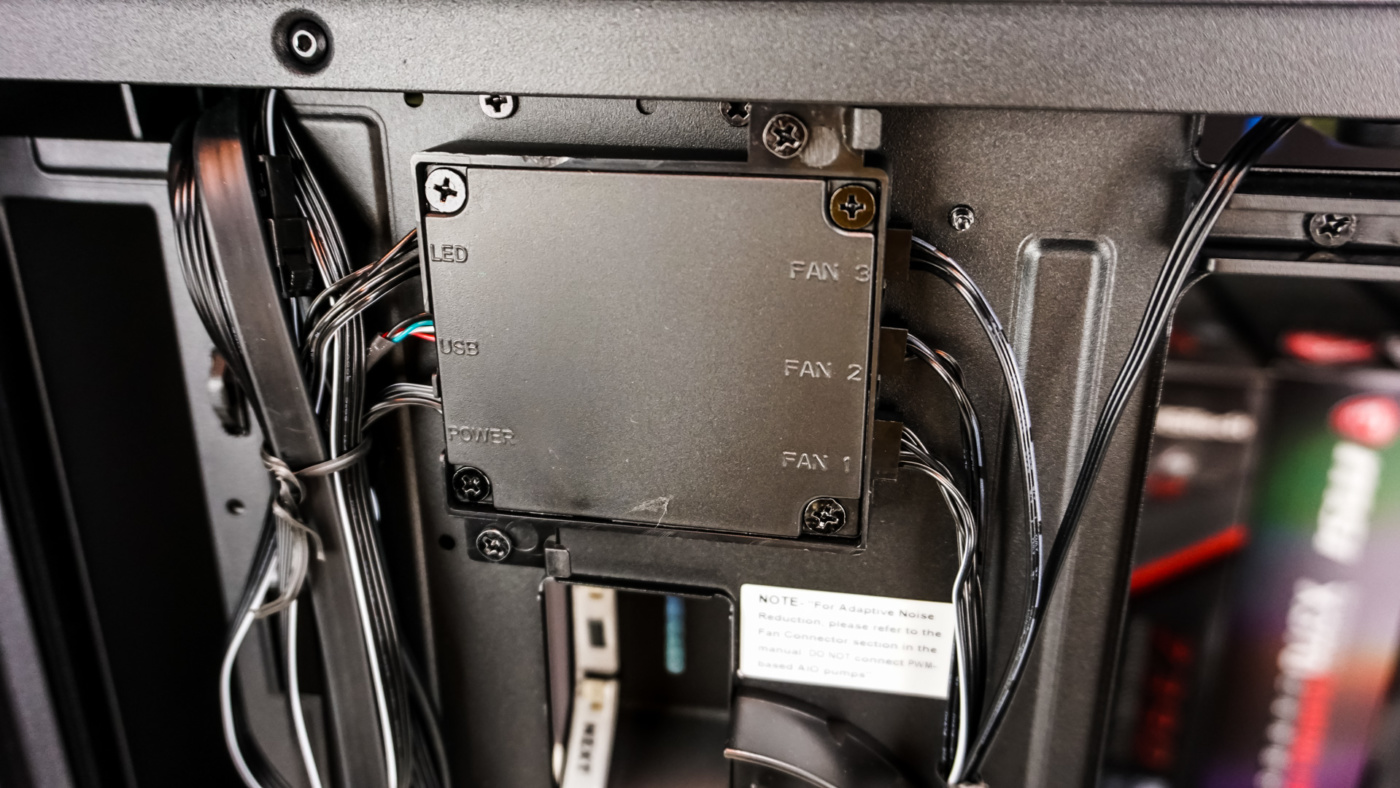
Removing the opposite side panel we can get a look at the rest of the case. The first thing that you’ll notice is a box mounted towards the top of the case. This is your “smart device” which allows you to control the RGB LED lighting and fans via CAM as well as use the “adaptive noise reduction”. The two included fans are connected to it and there is a third lead coming off it that supports 3 more fans.
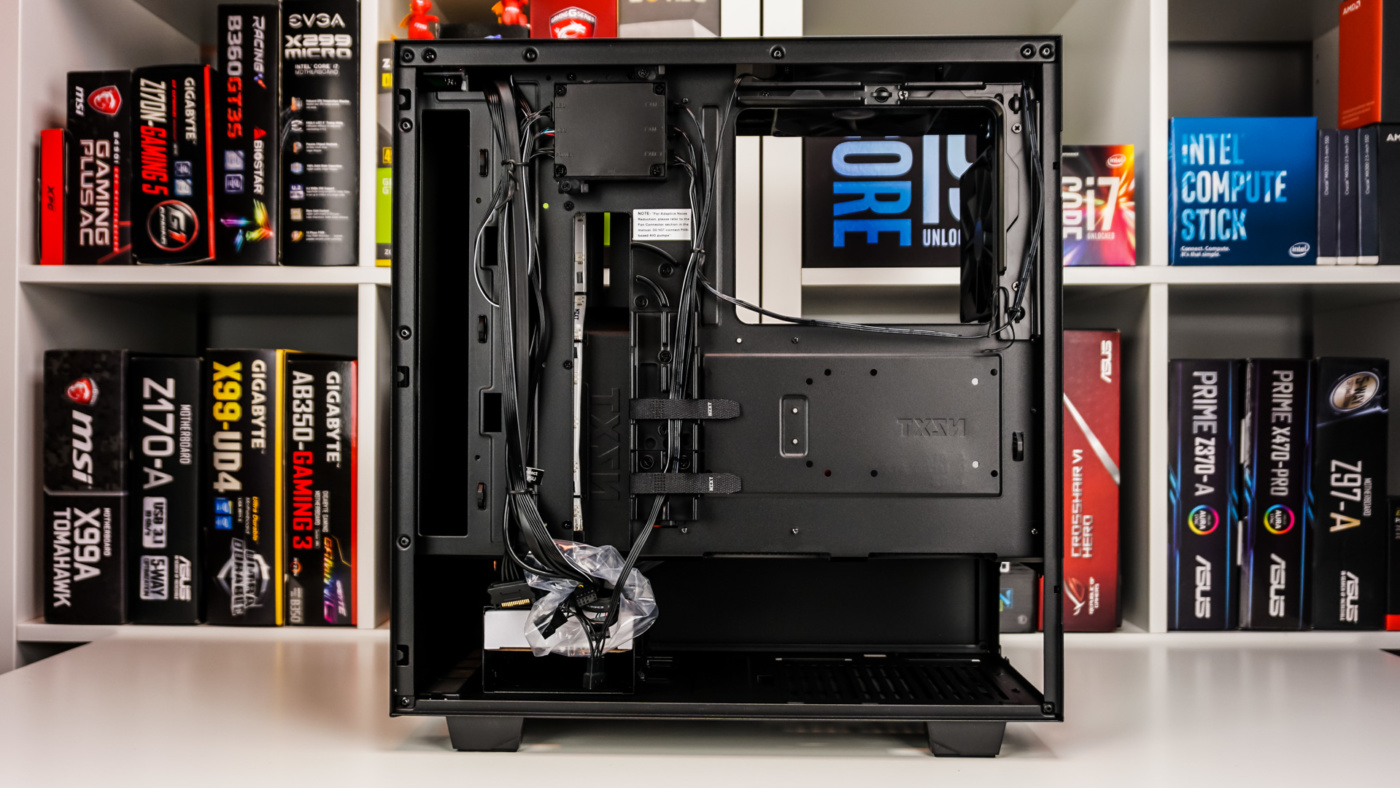
There are cable routing channels right at the center of the case and at the top above the cut-out in the motherboard tray. These should make routing your cables much easier. We can also spot the second RGB strip, which sits behind the NZXT “bar”.

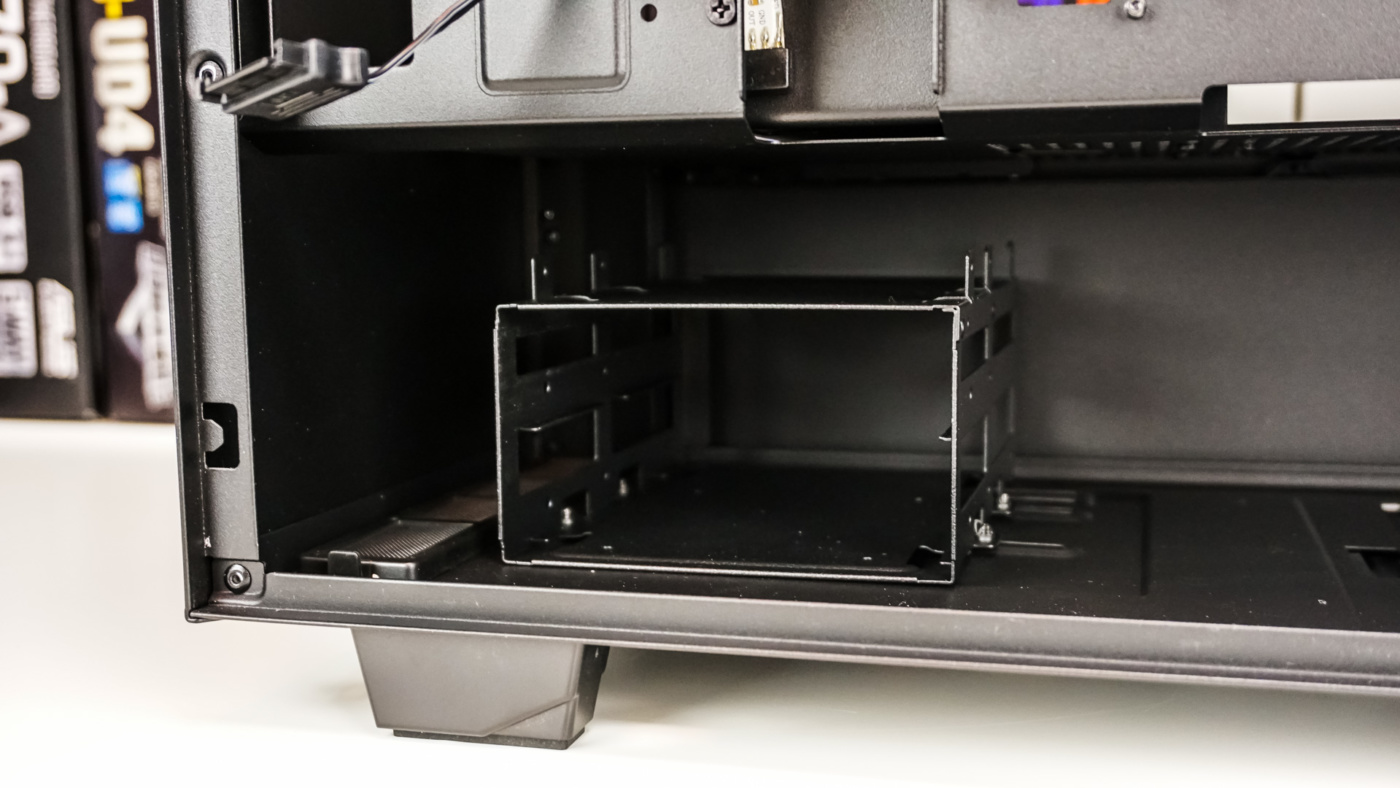
At the bottom of the case is your power supply mount and hard drive cage. This cage supports three 3.5-inch drives, so in total you can fit 5 hard drives in this case. The hard drive cage does not have trays or anything like that so you’ll need to remove it completely to install your drives.