Installation
NZXT includes mounting hardware, zip ties, as well as instructions inside the case so you should have no problem at all getting your system together. All of the bags of screws are labeled too, which is nice.

To start off we are going to be installing out motherboard. As a reminder this case supports mini-ITX, micro-ATX, and ATX motherboards. NZXT has already installed the standoffs, so you just need to place your motherboard in the case and secure it with screws. For an ATX motherboard it is a little bit of a tight fit, you’ll likely need to remove the 2.5-inch drive mounts to get your motherboard inside.


Power supply installation is next. It easily slides in from the back of the case and you secure it on the rear with four screws.


For our hard drives we will be installing both 2.5-inch and 3.5-inch hard drives. Let’s start with our 3.5-inch drive. You’ll need to completely remove the hard drive cage from the bottom of the case. Once removed you can install your drive with screws. Then go ahead and reinstall the cage in your system by way of 4 screws on the bottom of the case. Again, trays would have made this a lot easier, but this was probably a way for NZXT to save some money.


The 2.5-inch trays are removable, just press on the thicker side, which releases the lock and they can come right out of the case. You then can install your 2.5-inch drives, which are secured with 4 screws on the back of the tray. Once you have your drive in the tray you can easily reinstall it in the case. One thing that is nice is that you can configure the drive how you want really as it locks into the holes on the power supply cover.


The last thing we have to install is our graphics card. You’ll need to remove the vertical GPU cover to get at your expansion slots. It is easily removed with a single thumbscrew. Our graphics card went in no problem and the case has more than enough room for long graphics cards.


Ok now it is time to organize things and connect our remaining cables. NZXT provides the cable routing channels as welll as cable tie-downs so organizing your cables should not be much of an issue.

Things are a little tight at the bottom of our motherboard. If you are connecting a lot of things here, especially USB 3.0 headers you might have some annoying cables sticking out a little bit.

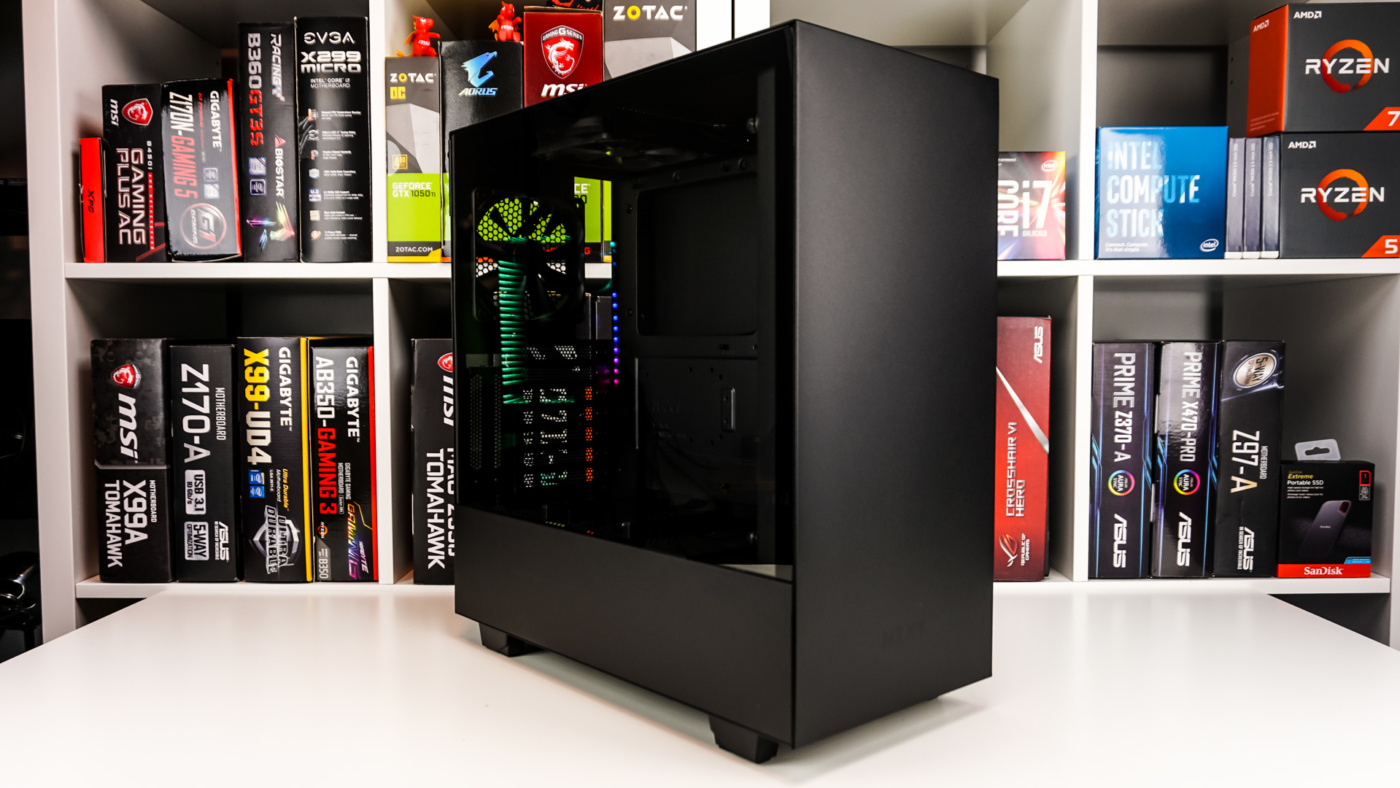
For the most part though we have a very clean build. Hardly any cables are showing and the NZXT “bar” really hides the rest of our cables.