Lights & NZXT CAM
Once you have your system up and running you are going to want to install NZXT’s CAM software. This will give you control over the fans as well as the lighting.
NZXT’s CAM is actually a pretty good piece of software for monitoring your system, making changes, etc. Even if you don’t have a NZXT product you can make use of it.
Since we do have the H500i which has the smart device inside we can do some cool things. If you go down to the 5th icon on the side you can see the 3 fans on the smart device. Here you can set their mode (Silent, Performance, etc).
Clicking on the last icon on the left will bring up a the calibration section where it will run an idle and load test. After the test it will show you the different values if you plan to use a preset or the adaptive smart fan profile. You can then select which fan profile you would prefer.
Finally if we move up to the 3rd icon from the bottom it is the lighting settings. Here you can see the smart device listed and the two RGB strips. While there are two separate strips, they are controlled as a single strip. The software offers a bunch of different presets, smart modes, and more.
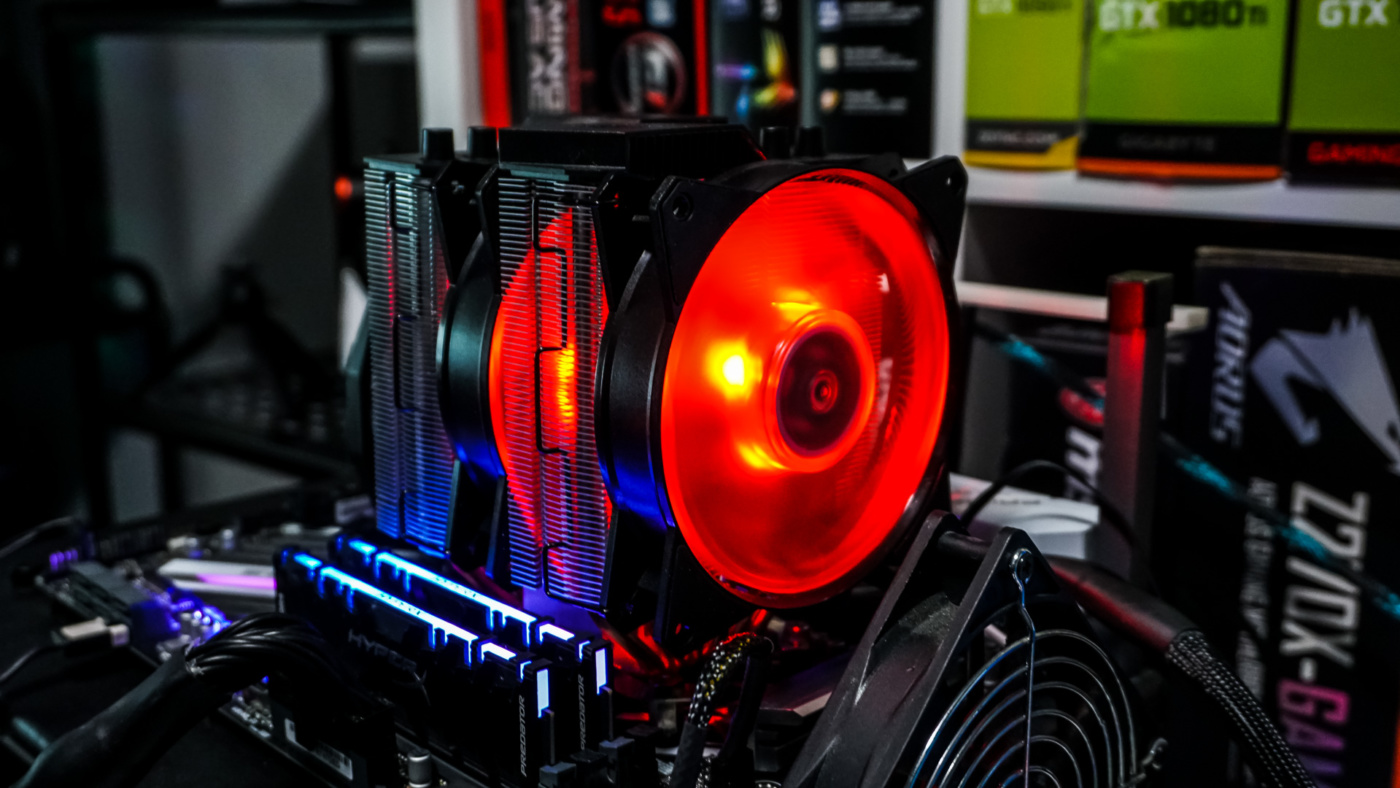
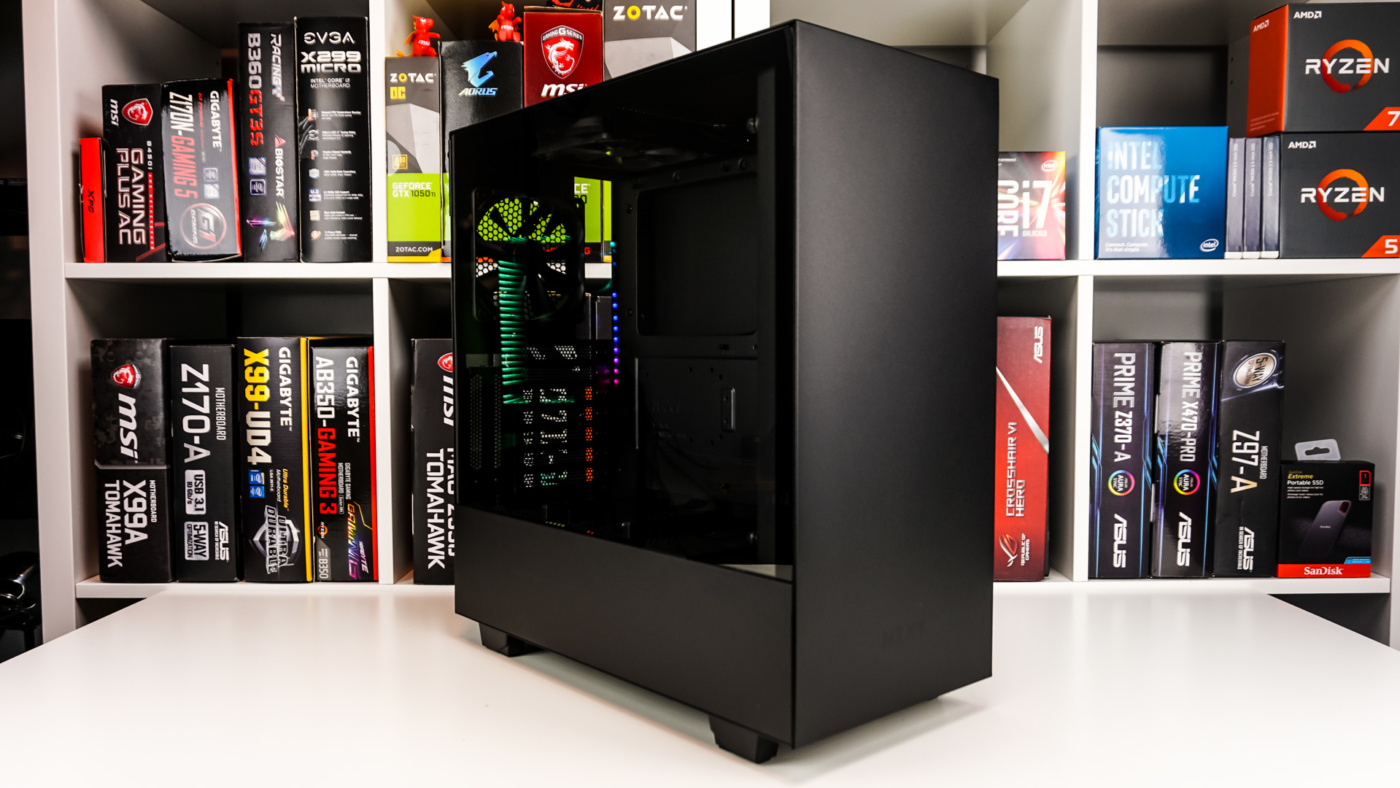
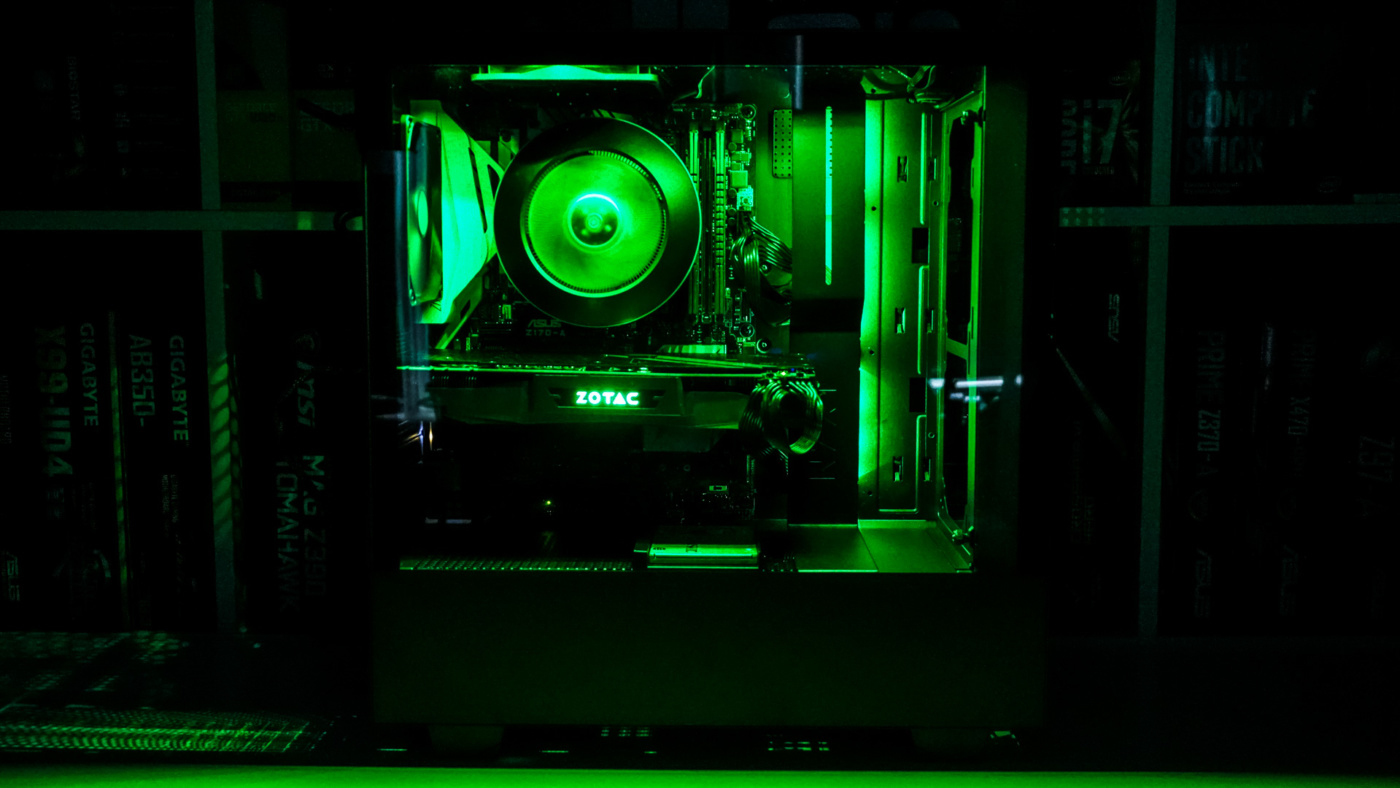
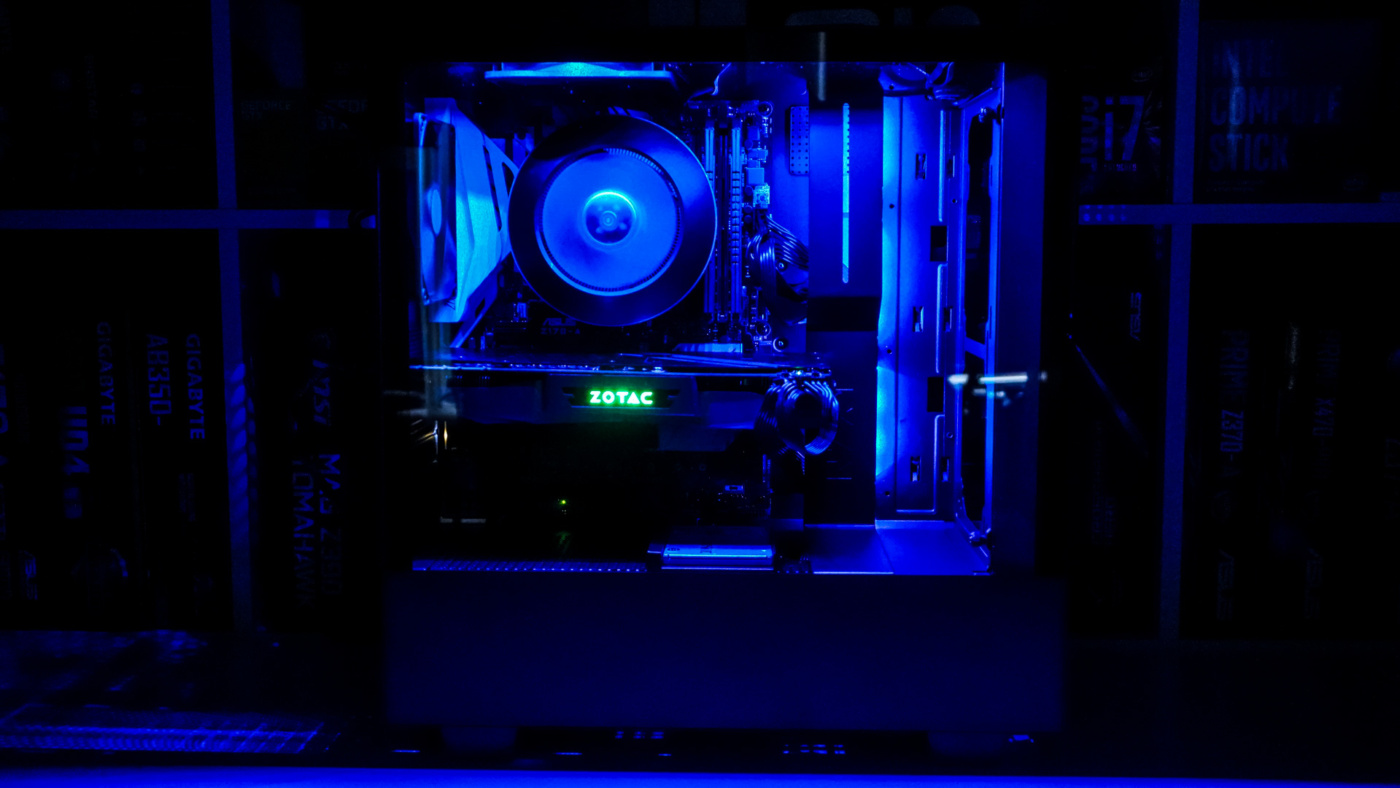
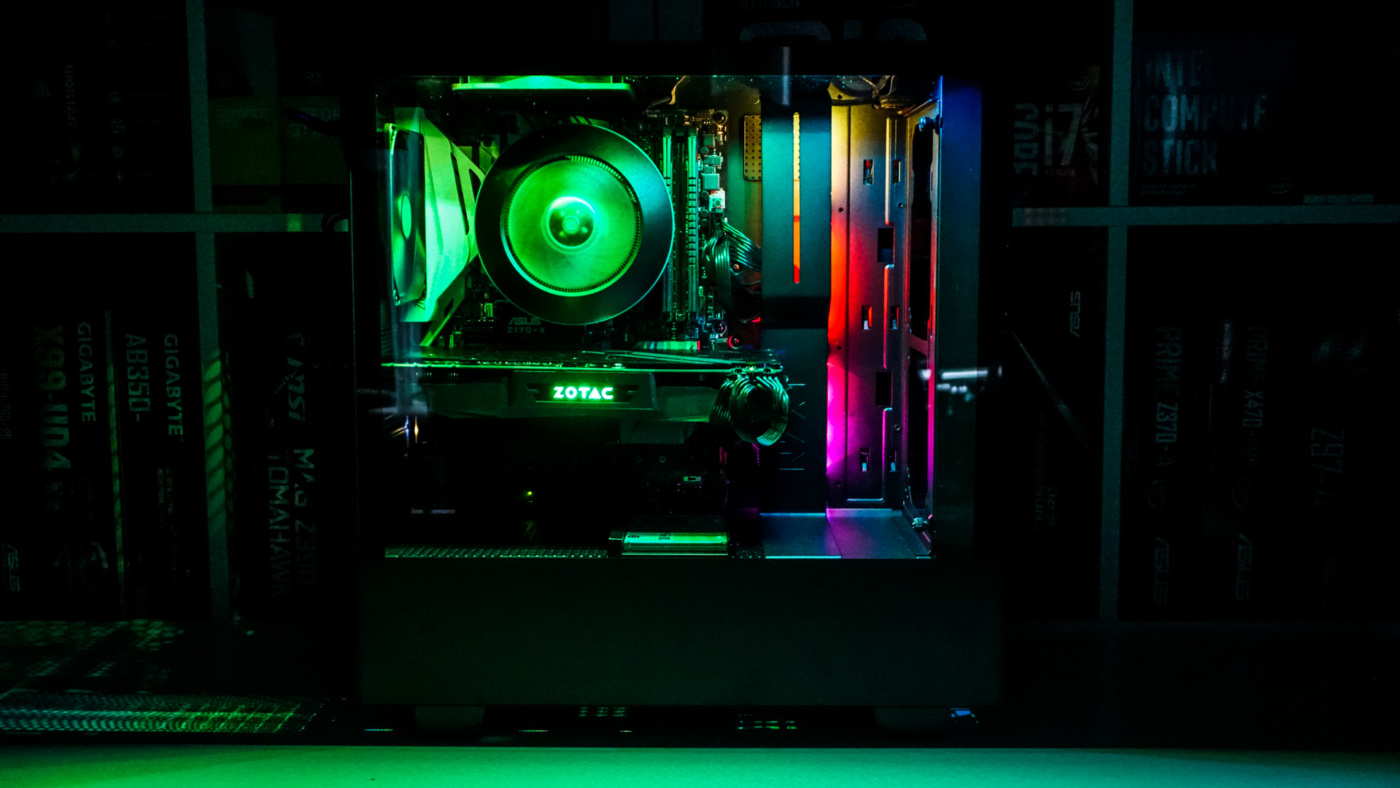
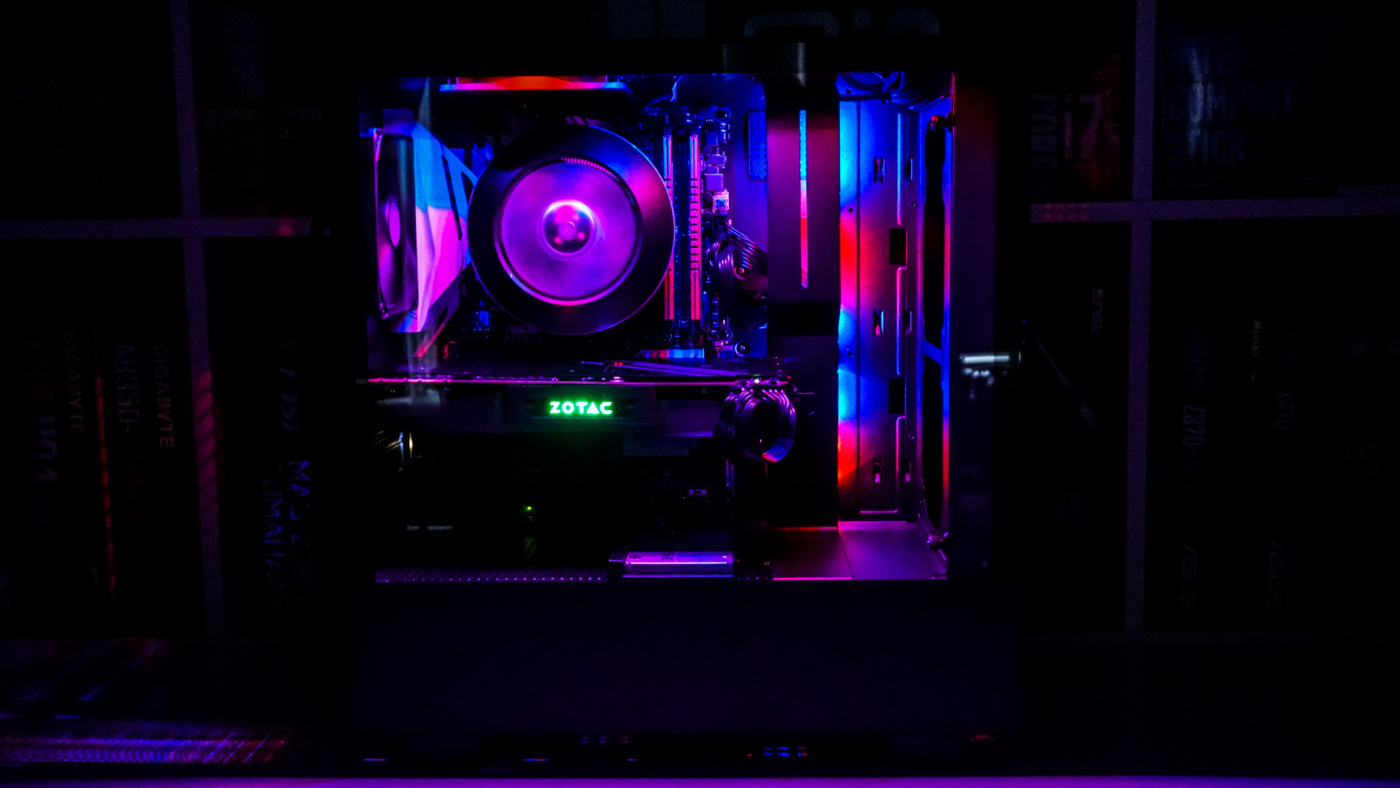
Here are a few shots of the case using fixed lighting in a few different colors. Note that our CPU cooler lighting is turned off, the lighting of the case just illuminates the cooler!
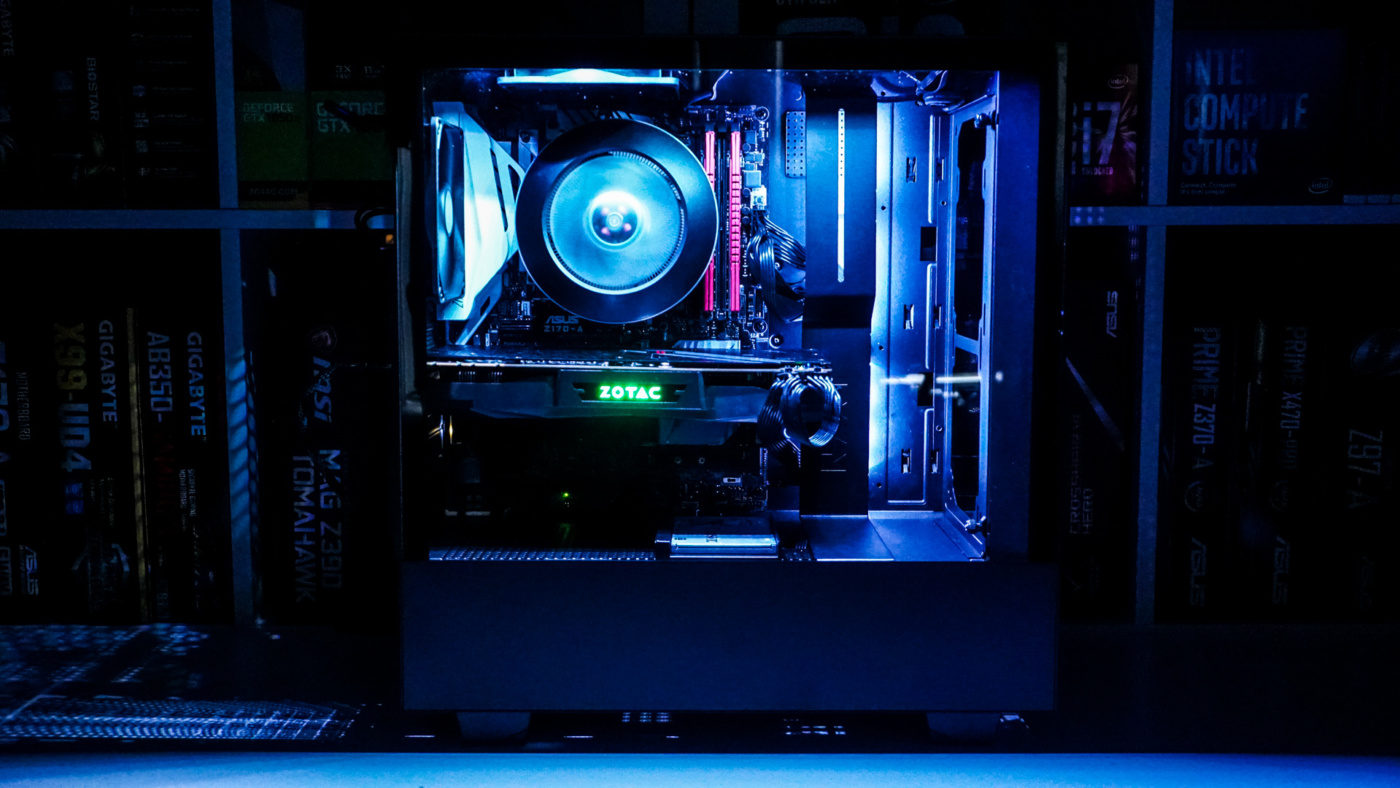
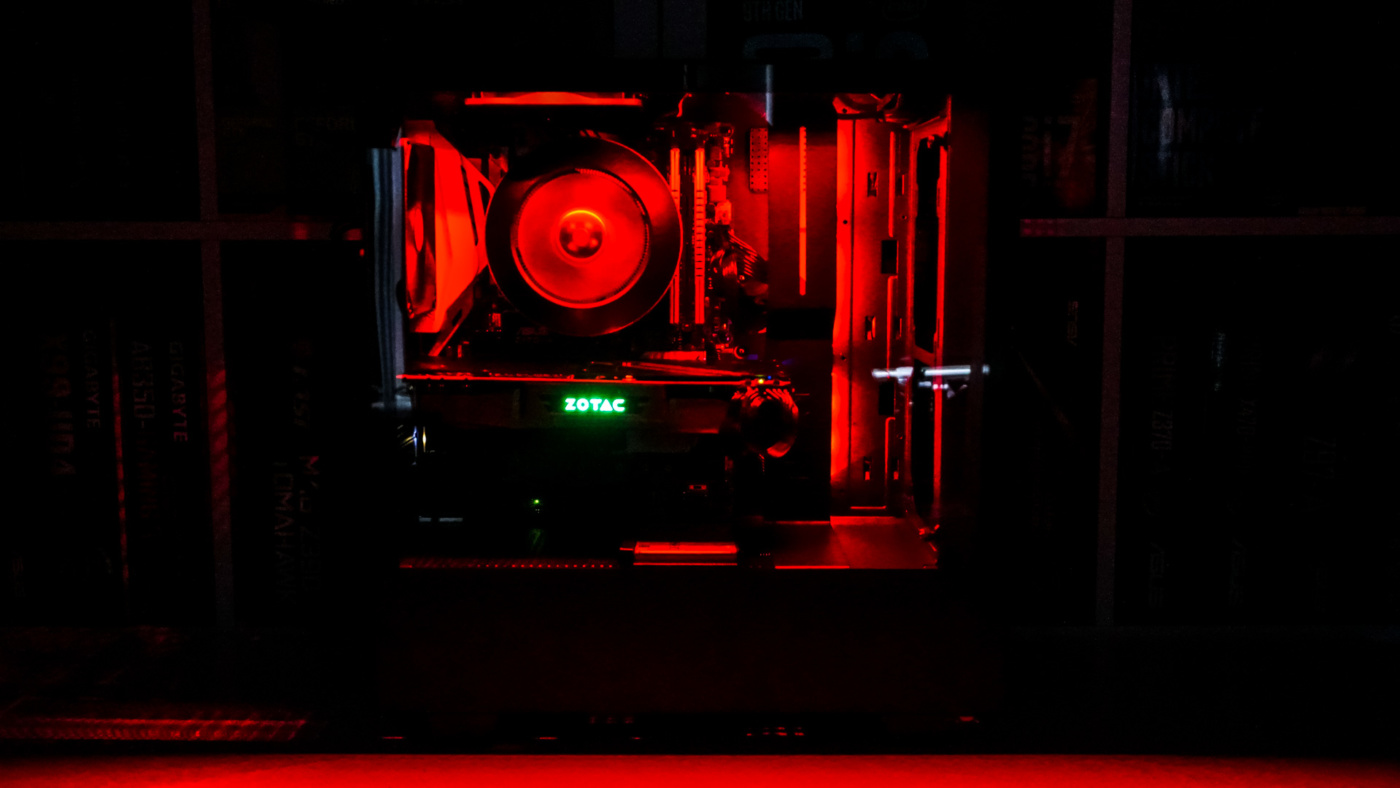
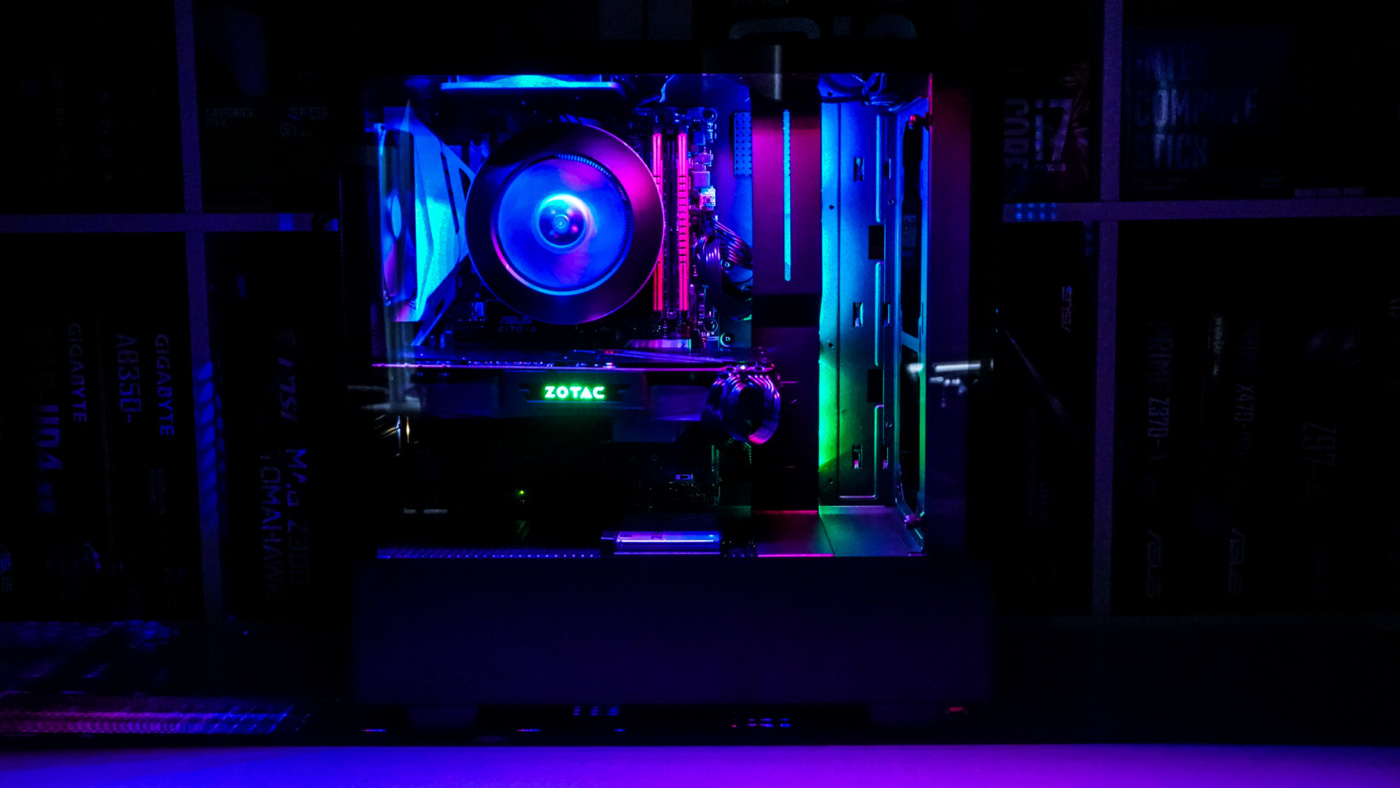
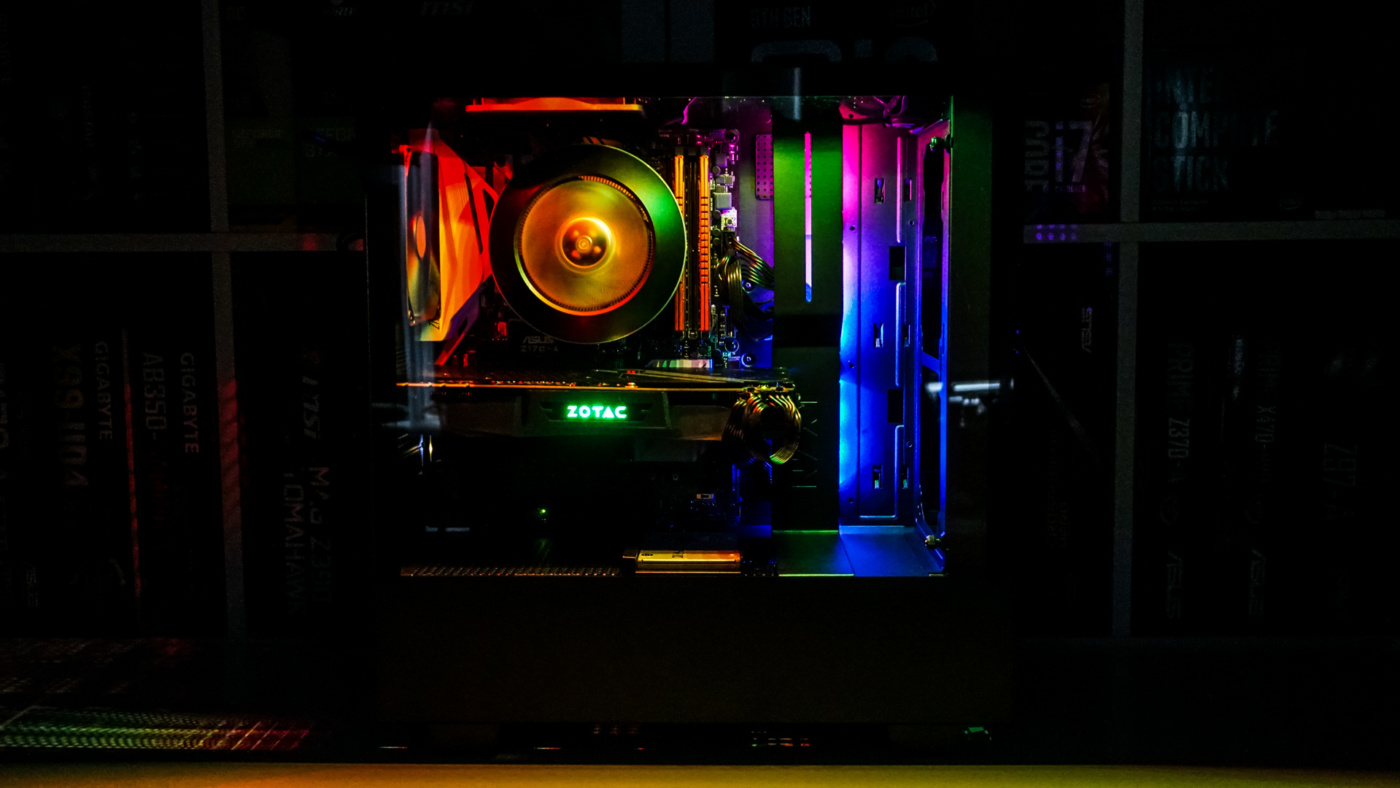
These RGB strips also support the very popular “Spectrum Wave” as well as a couple other multi-color effects.
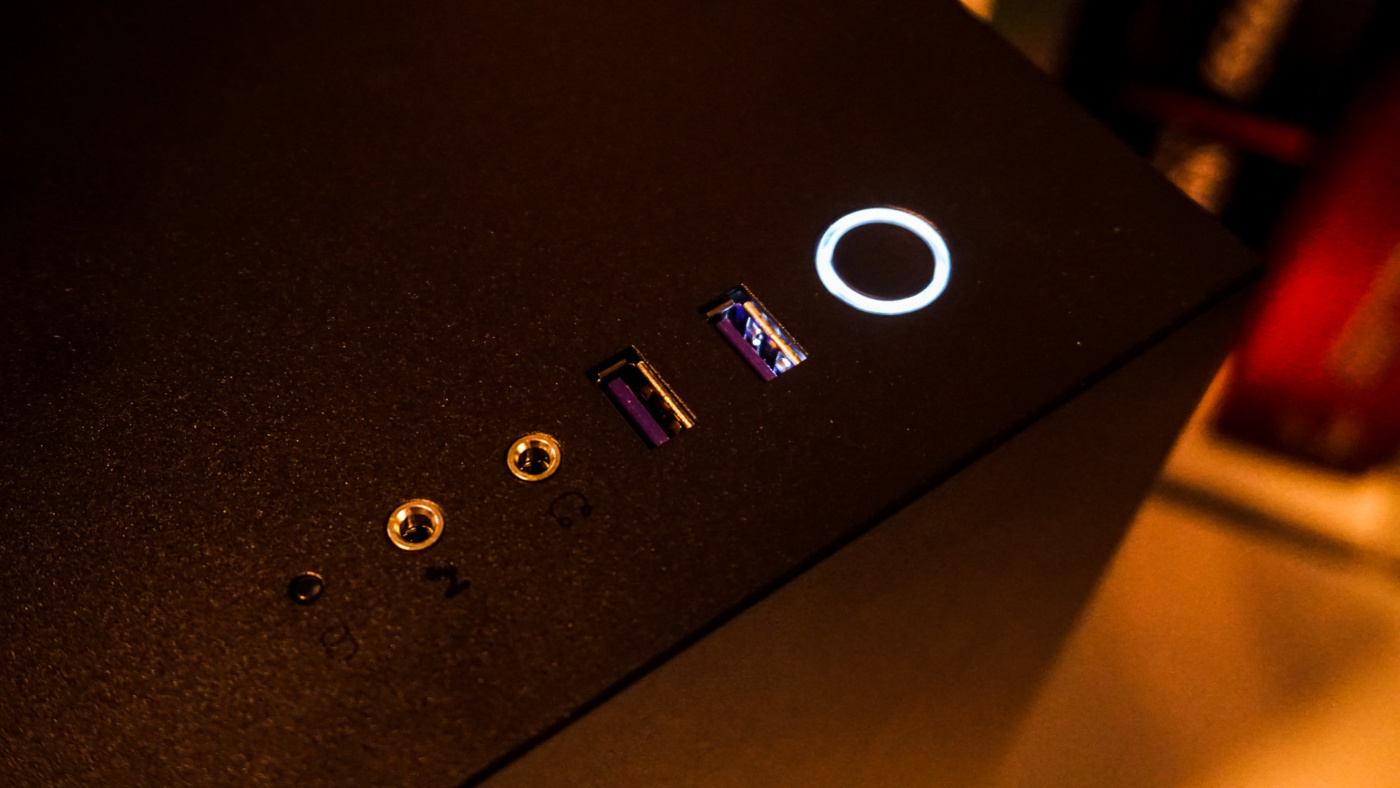
Besides the lighting from the RGB strips you also get lighting around the power button, although it does bleed into the USB ports a little.