Installation & Final Thoughts
Getting the internal USB hub installed is very easy. Just find a place for it and mount, connect the included USB header cable from the header on your motherboard and finally connect all of the header cables from your different devices. I decided to install the hub in my main system and it worked out quite well as my motherboard has metal armor on it and I was able to simply place the hub on the backside on my motherboard.
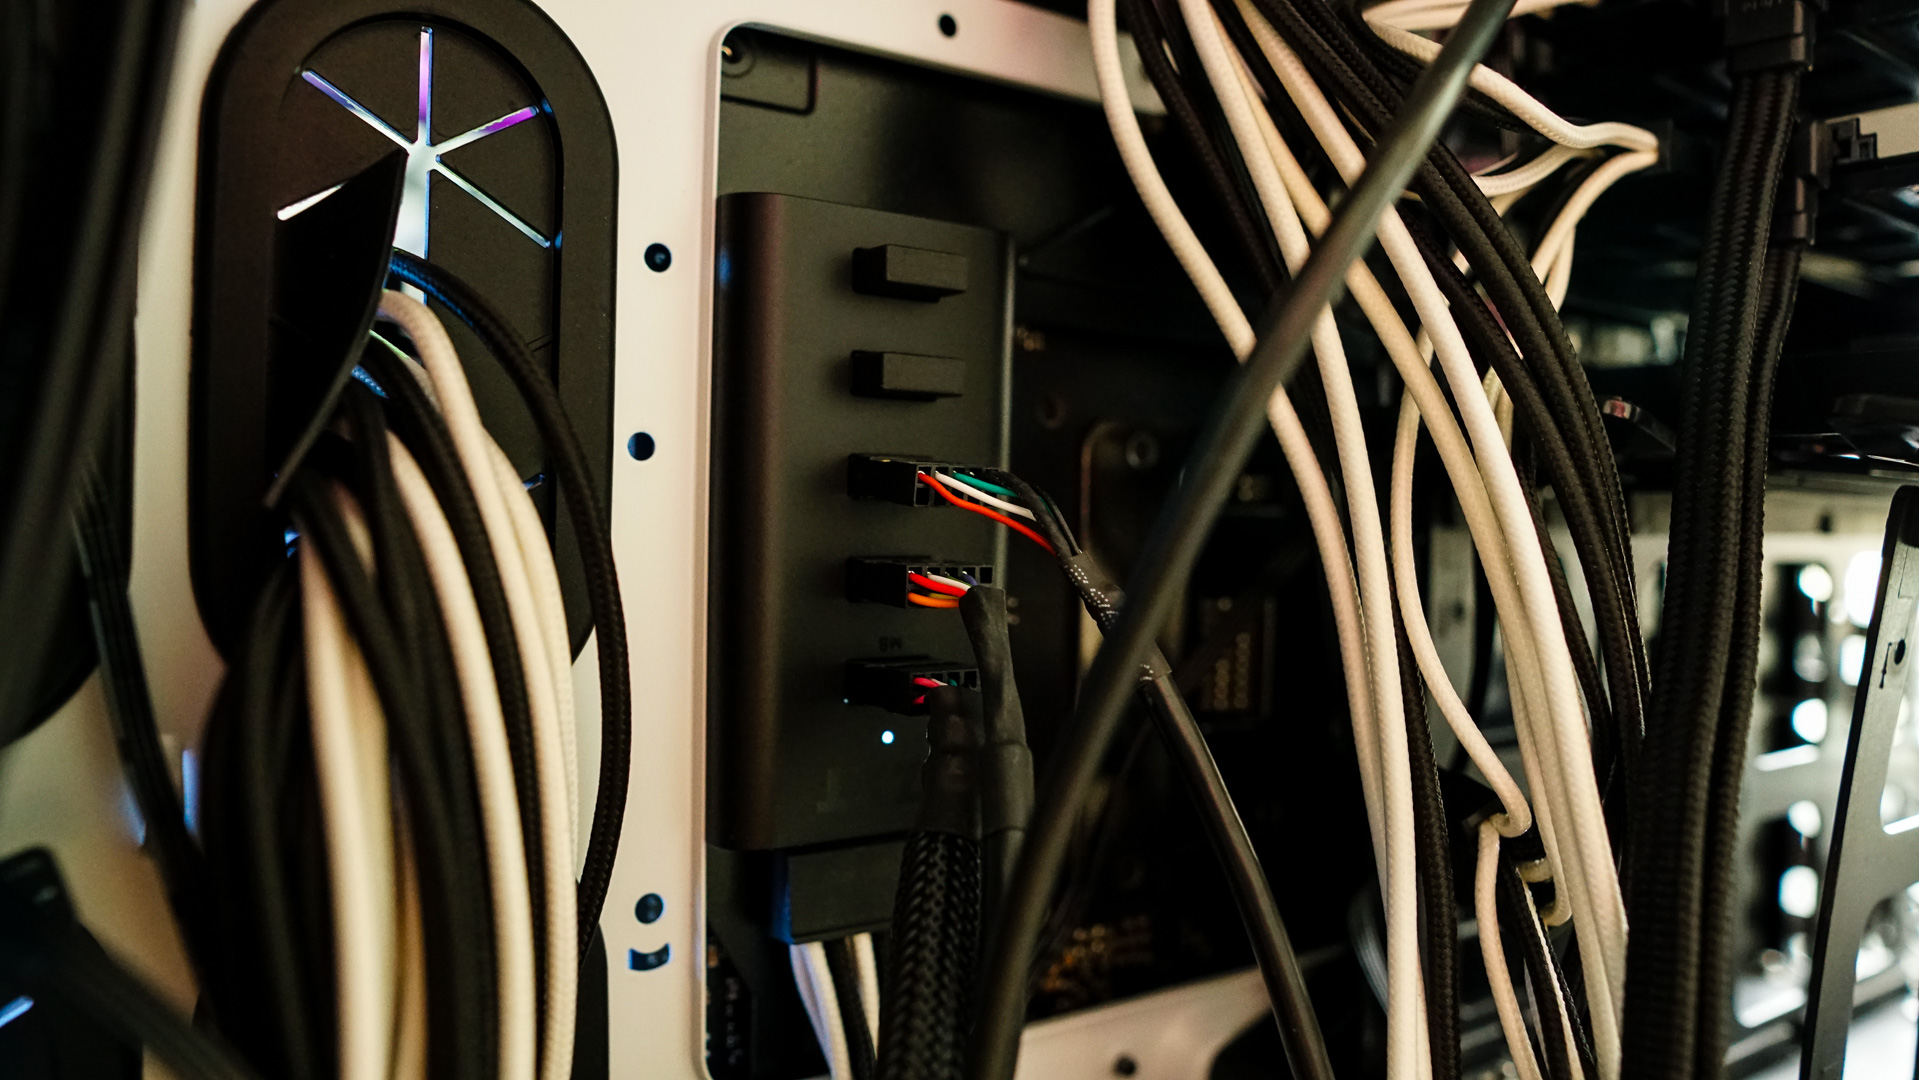
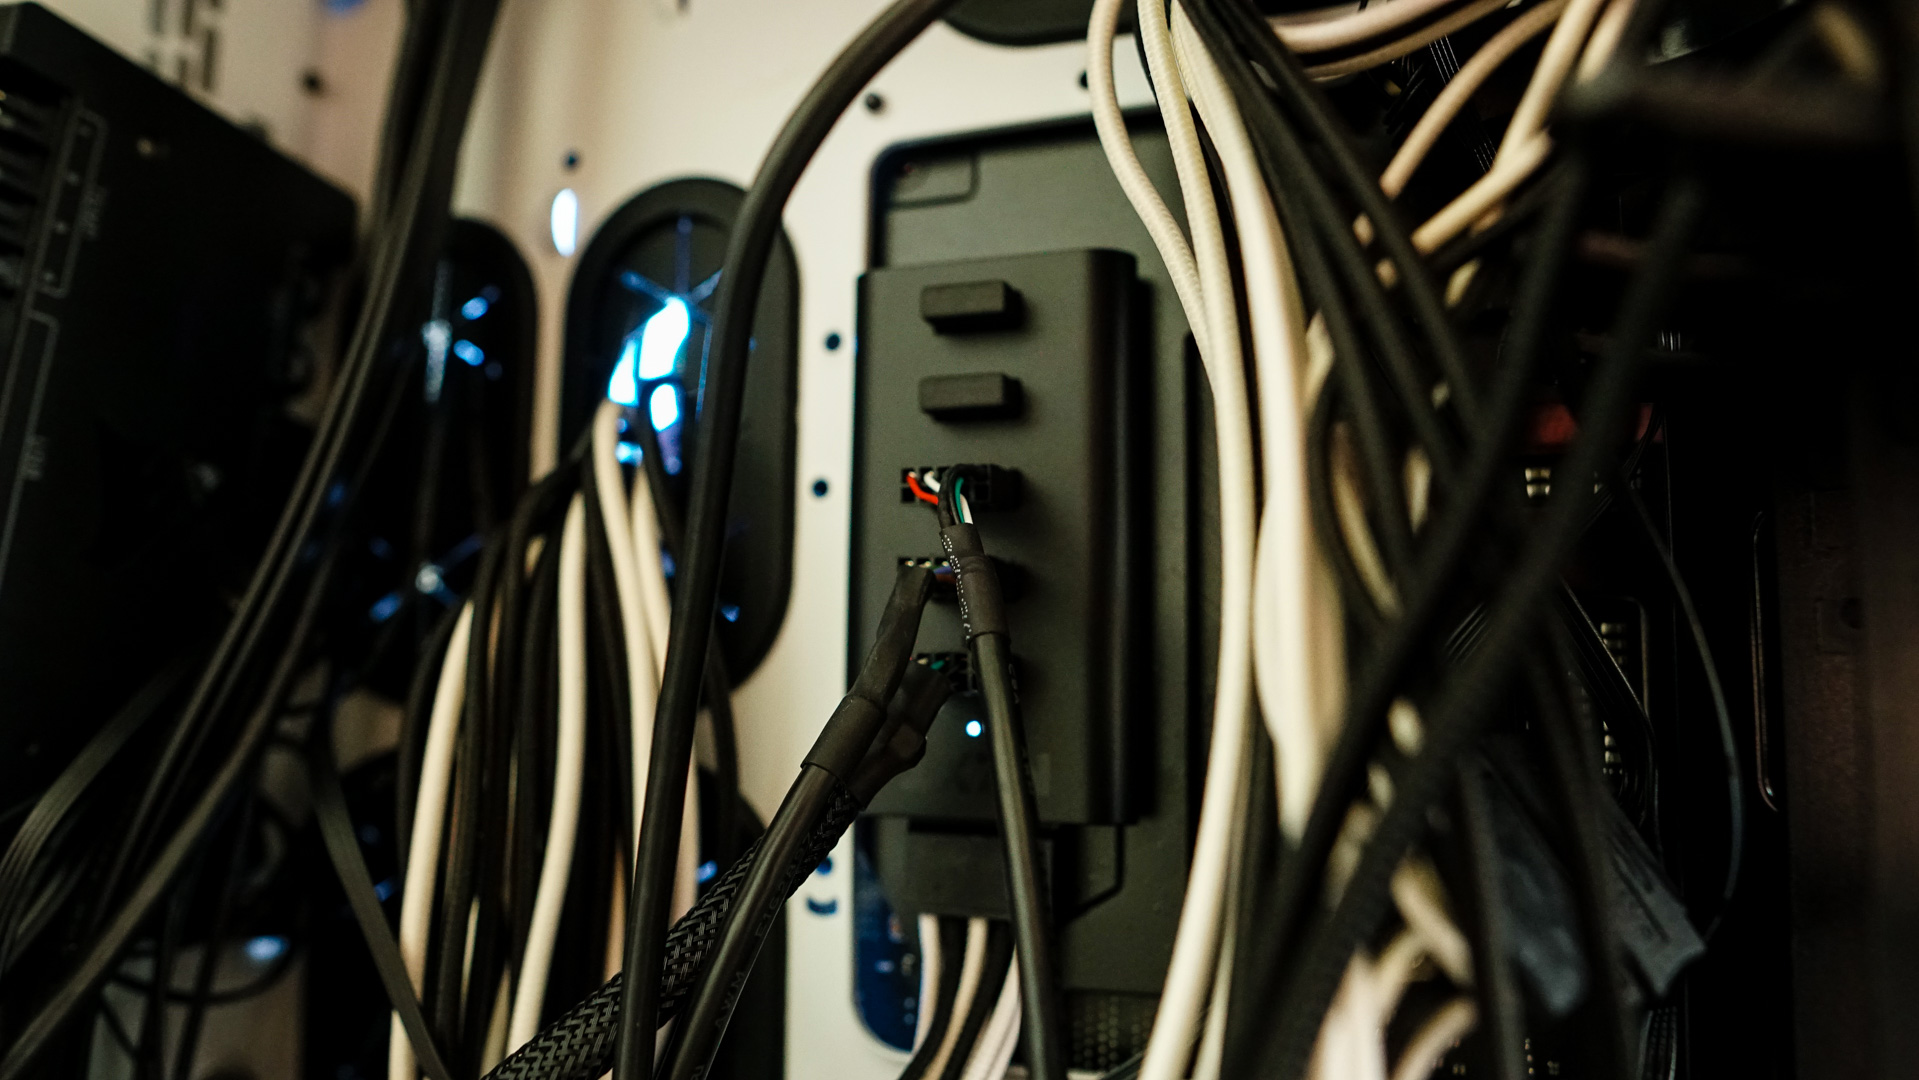
When you power your system on there is a small white LED on the hub that will light up to let you know it is working. That is it! You are good to go! You can’t ask for a more simple device that is actually useful to your PC build. For someone who runs an all-in-one liquid cooling system, RGB fans and fan controller, and still wants access to my front panel USB ports the NZXT Internal USB Hub is definitely essential.
With this latest iteration NZXT has made some nice improvements like adding a fourth header connection, switching the power over to SATA, and making the hub magnetic so it is easier to install in your case. The addition of the fourth header does eliminate the two USB-A ports that were on the hub. I actually used those, but many people would prefer that fourth header instead.
With a price of $22.99 at our favorite online retailer you really can’t go wrong picking up this hub for your next build. Overall ThinkComputers gives the NZXT Internal USB Hub (Gen 3) a 9 out of 10 score and our Recommended Award!


Pros:
– Easy to install (magnetic)
– Finally on SATA power
– Provides four USB headers
– Price
Cons:
– Some may not like the removal of the two USB-A ports