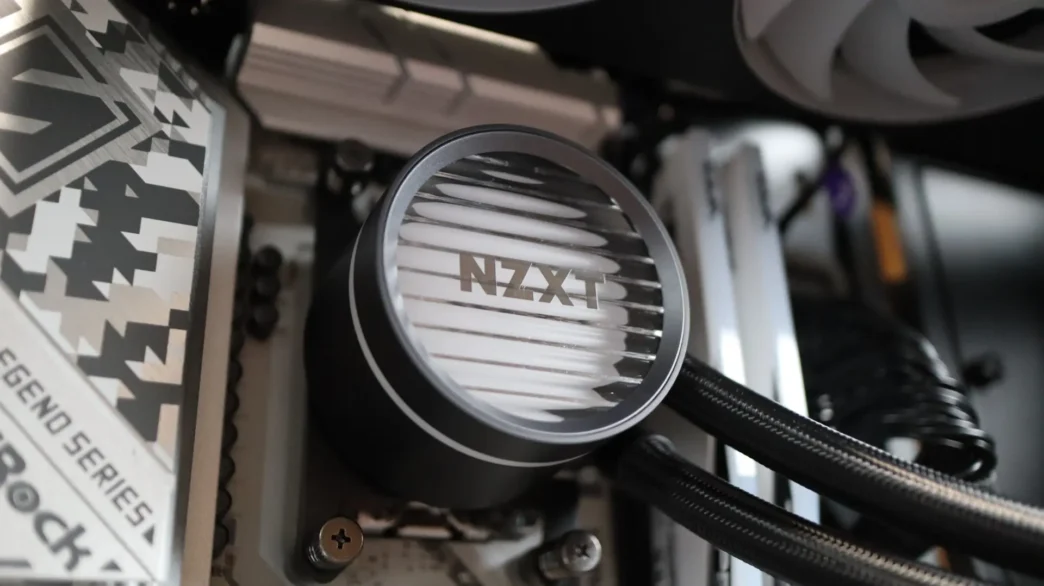
NZXT Kraken Core 360 RGB Installation
Like most AIOs, the installation of the be Kraken Core 360 RGB is a very straightforward process. As DIY PC building seems to be getting more popular each and every day, the option of AIO liquid coolers is sure to entice those wanting to have a more advanced build, and easy installation will go a long way towards not scaring off first-time builders. As I mentioned when I covered the included accessories, NZXT has included all of the necessary mounting hardware for modern AMD and Intel platforms, as well as a physical installation guide. We are seeing more companies move to digital versions of their product manuals, and while I appreciate their reduced waste, I still prefer a physical copy of installation instructions.
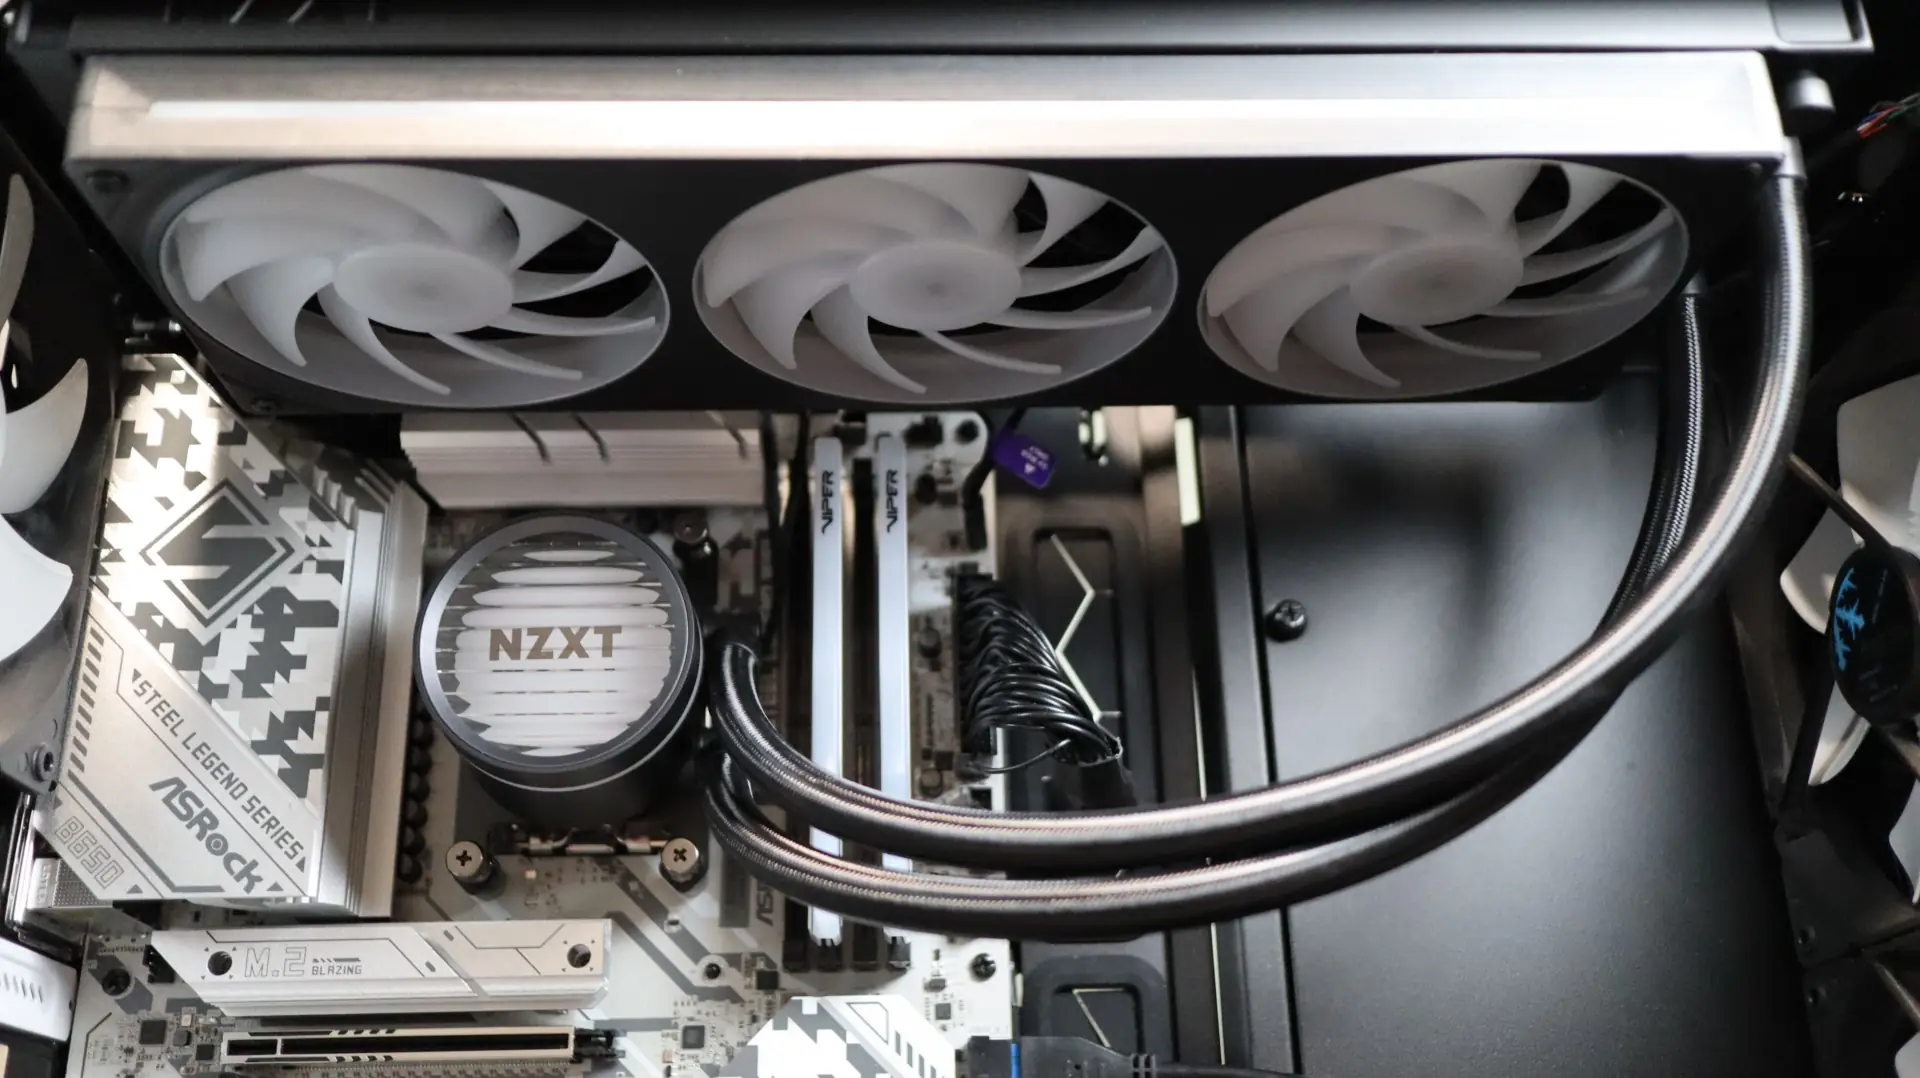
Our testing is performed with the fans in a push configuration, so the first step was to use four of the included screws to attach the F360 360mm fan to the radiator.
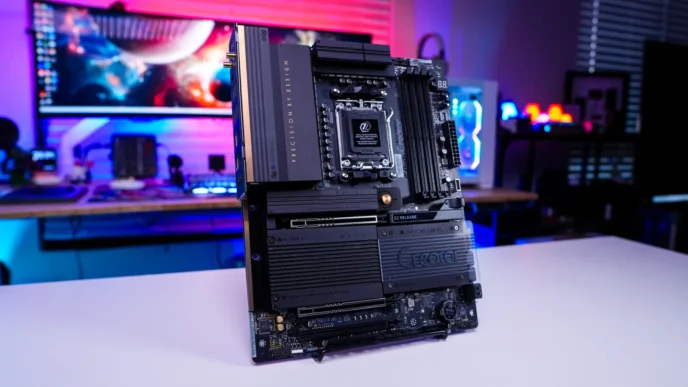
As previously mentioned, the Kraken Core 360 comes with Intel mounting hardware installed, so I first had to swap that out for the included AMD mounting hardware to support my Ryzen 7 7600X test system. This is as simple as sliding out the Intel bracket and sliding in the AMD replacement.
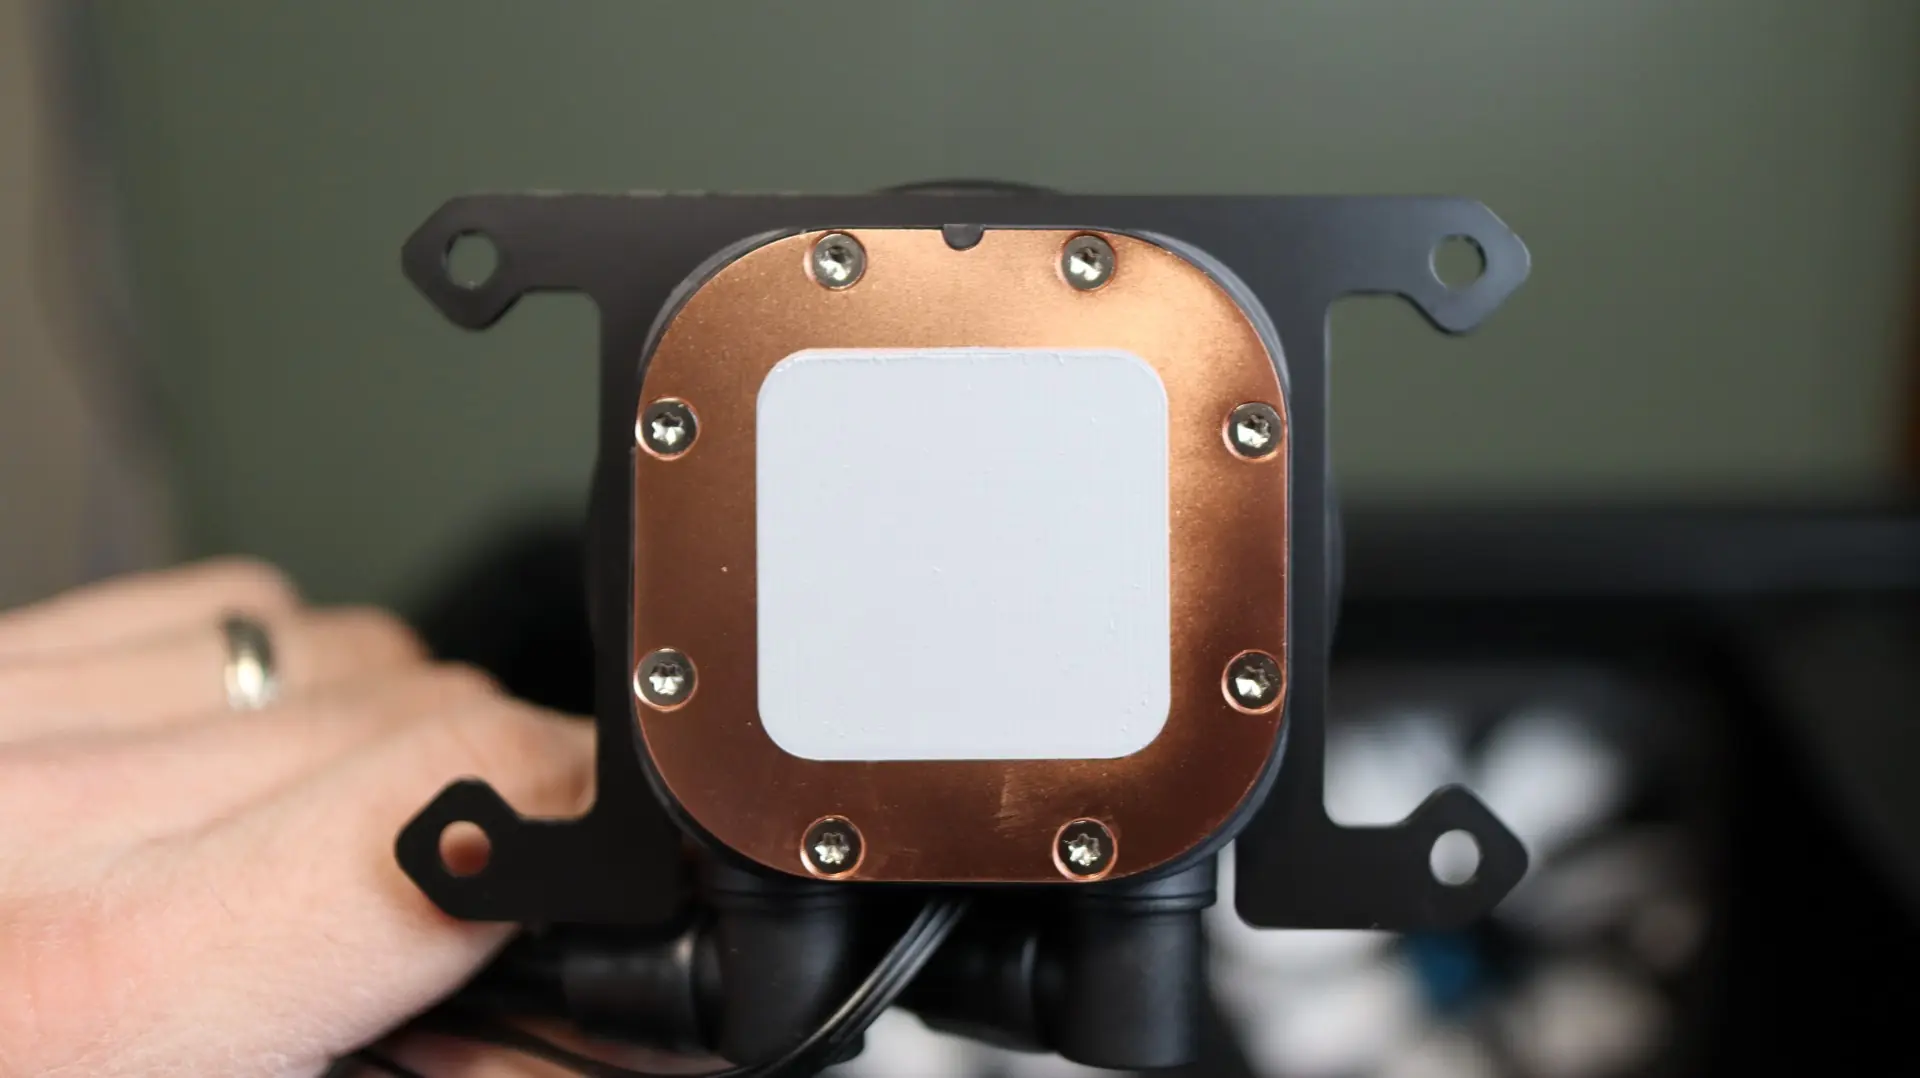
The Kraken Core 360 does not use the factory AMD mounting clips for securing the cooler to the motherboard, so I did have to remove the plastic mounting brackets in order to secure the cooler to the motherboard. Instead, replacement standoffs are attached to the board via the CPU backplate threads.
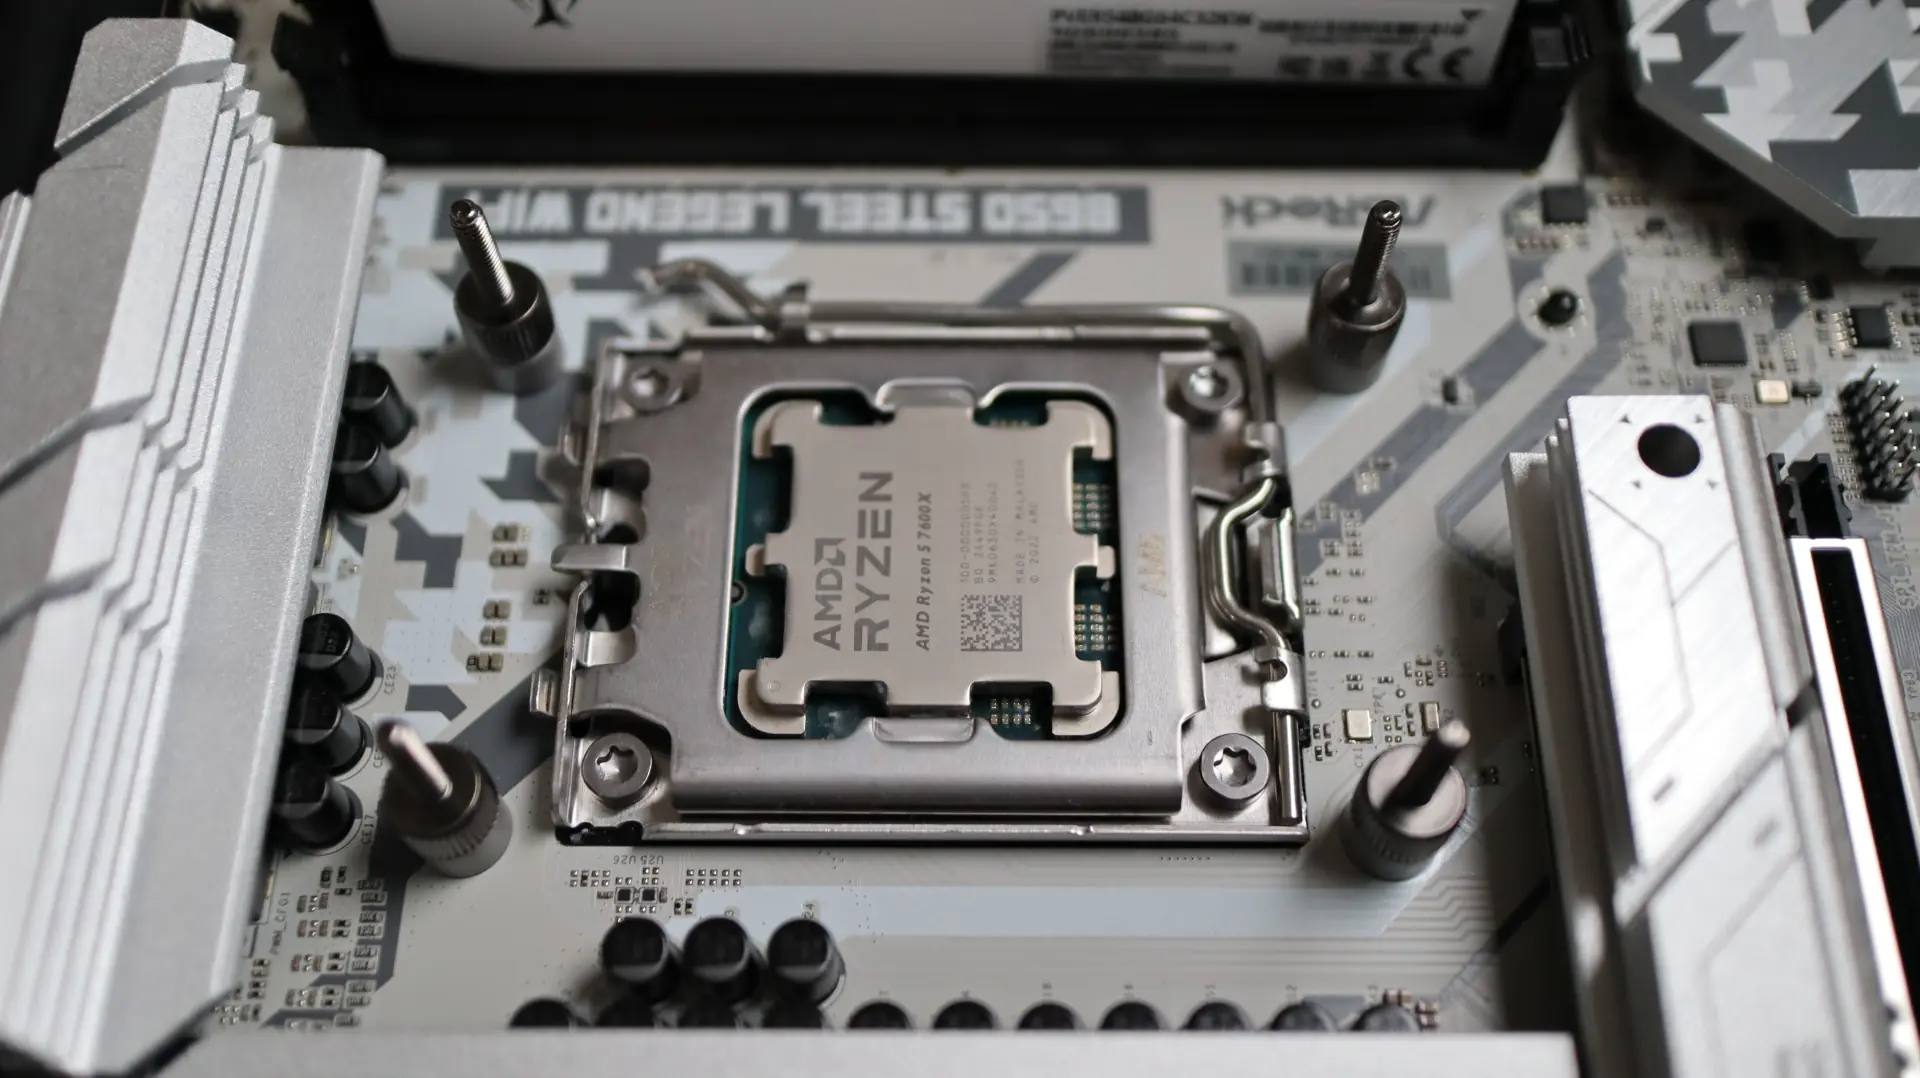
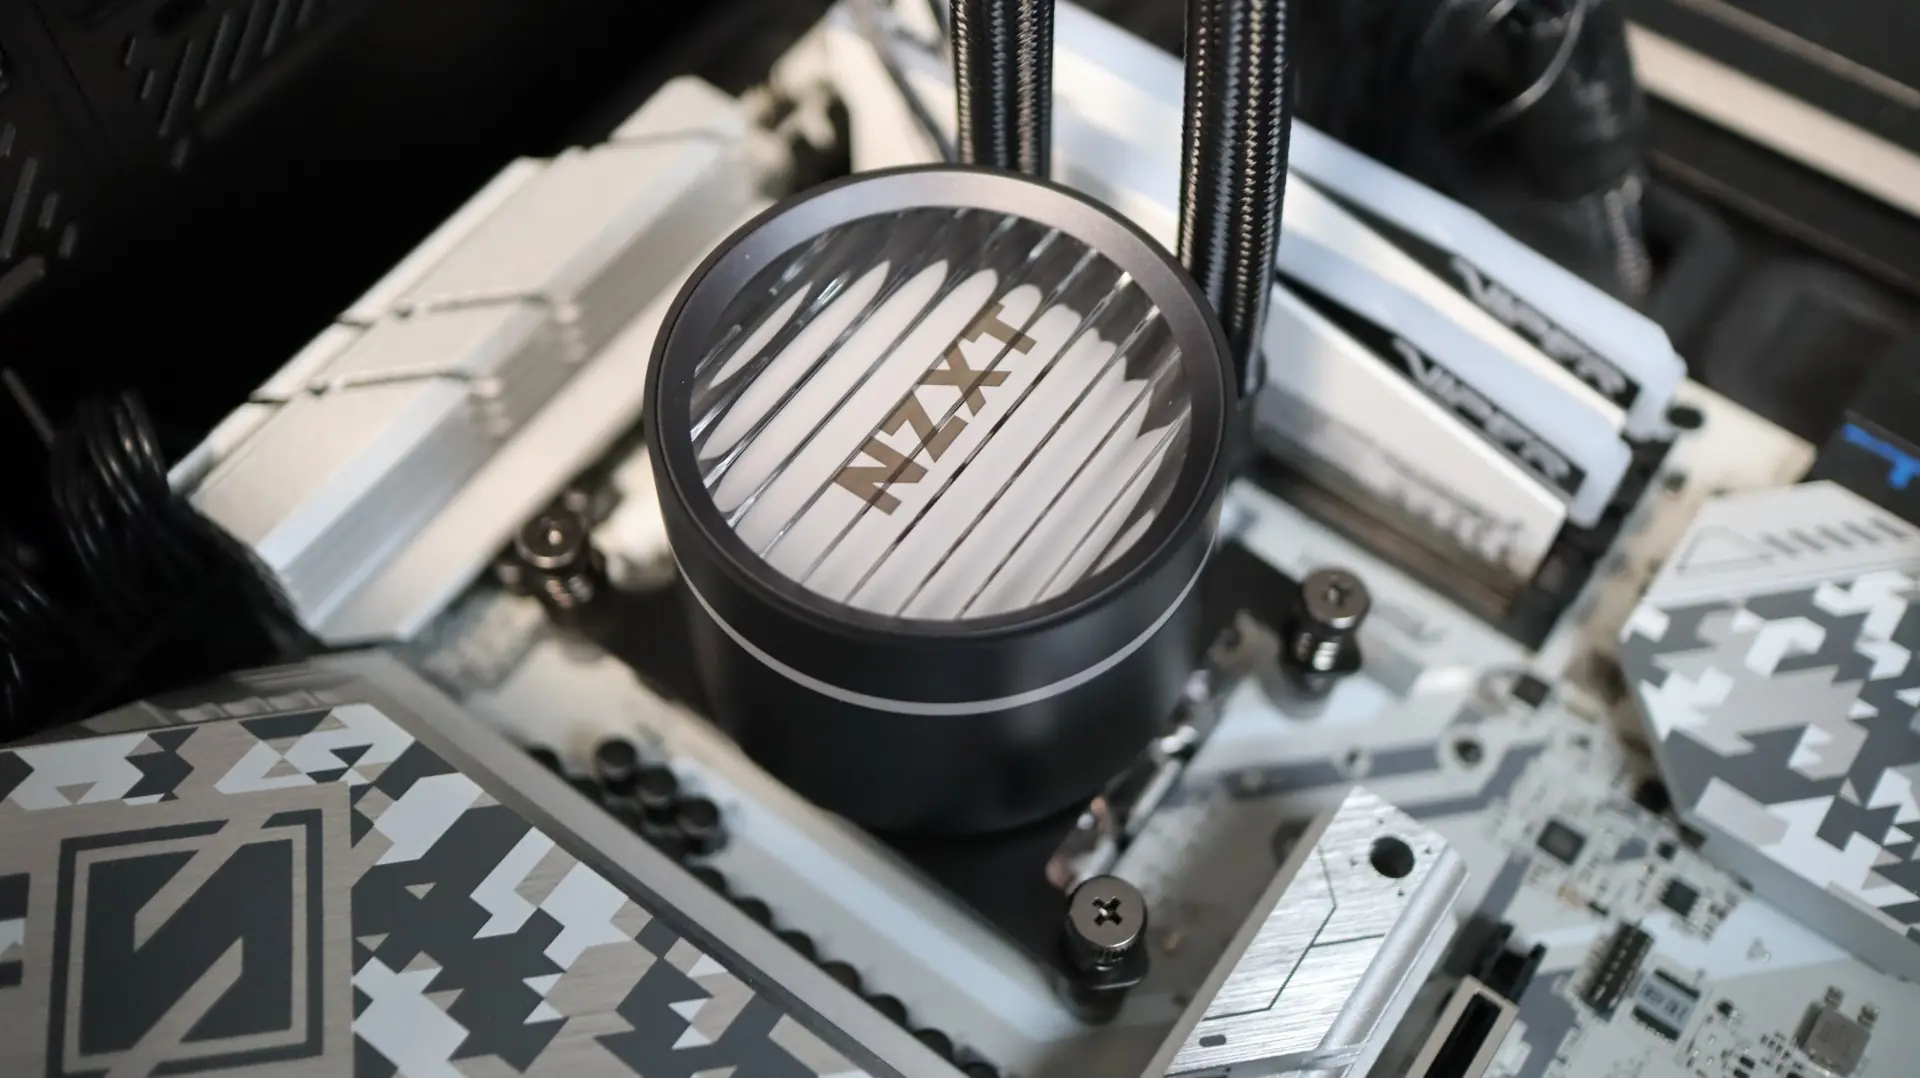
With these standoffs in place and the AMD bracket attached to the pump housing, the next step was to simply line up the holes in the bracket with the standoffs and place the block onto the CPU.
With the block in place, four thumbscrews were then tightened down onto the standoffs to keep everything in place.
Next up is attaching the radiator to the top of our case. Using the twelve included screws and washers, simply align them with the appropriate mounting points on your case, and tighten. I also made sure to thread the PWM and RGB cables from the fan through the cable grommets in my case in preparation of wiring everything up.
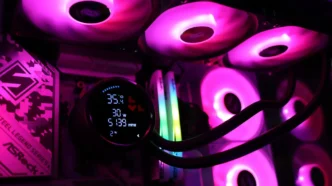
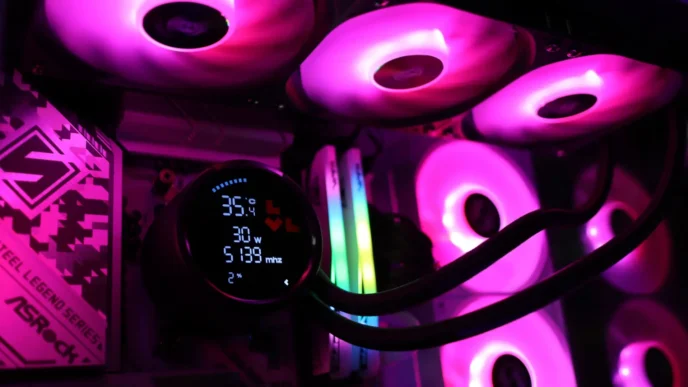
After connecting the pump’s 3-pin cable to my motherboard and chaining the RGB cables together and attaching them to the appropriate header, it was time to fire up the system and get to testing.