Installation
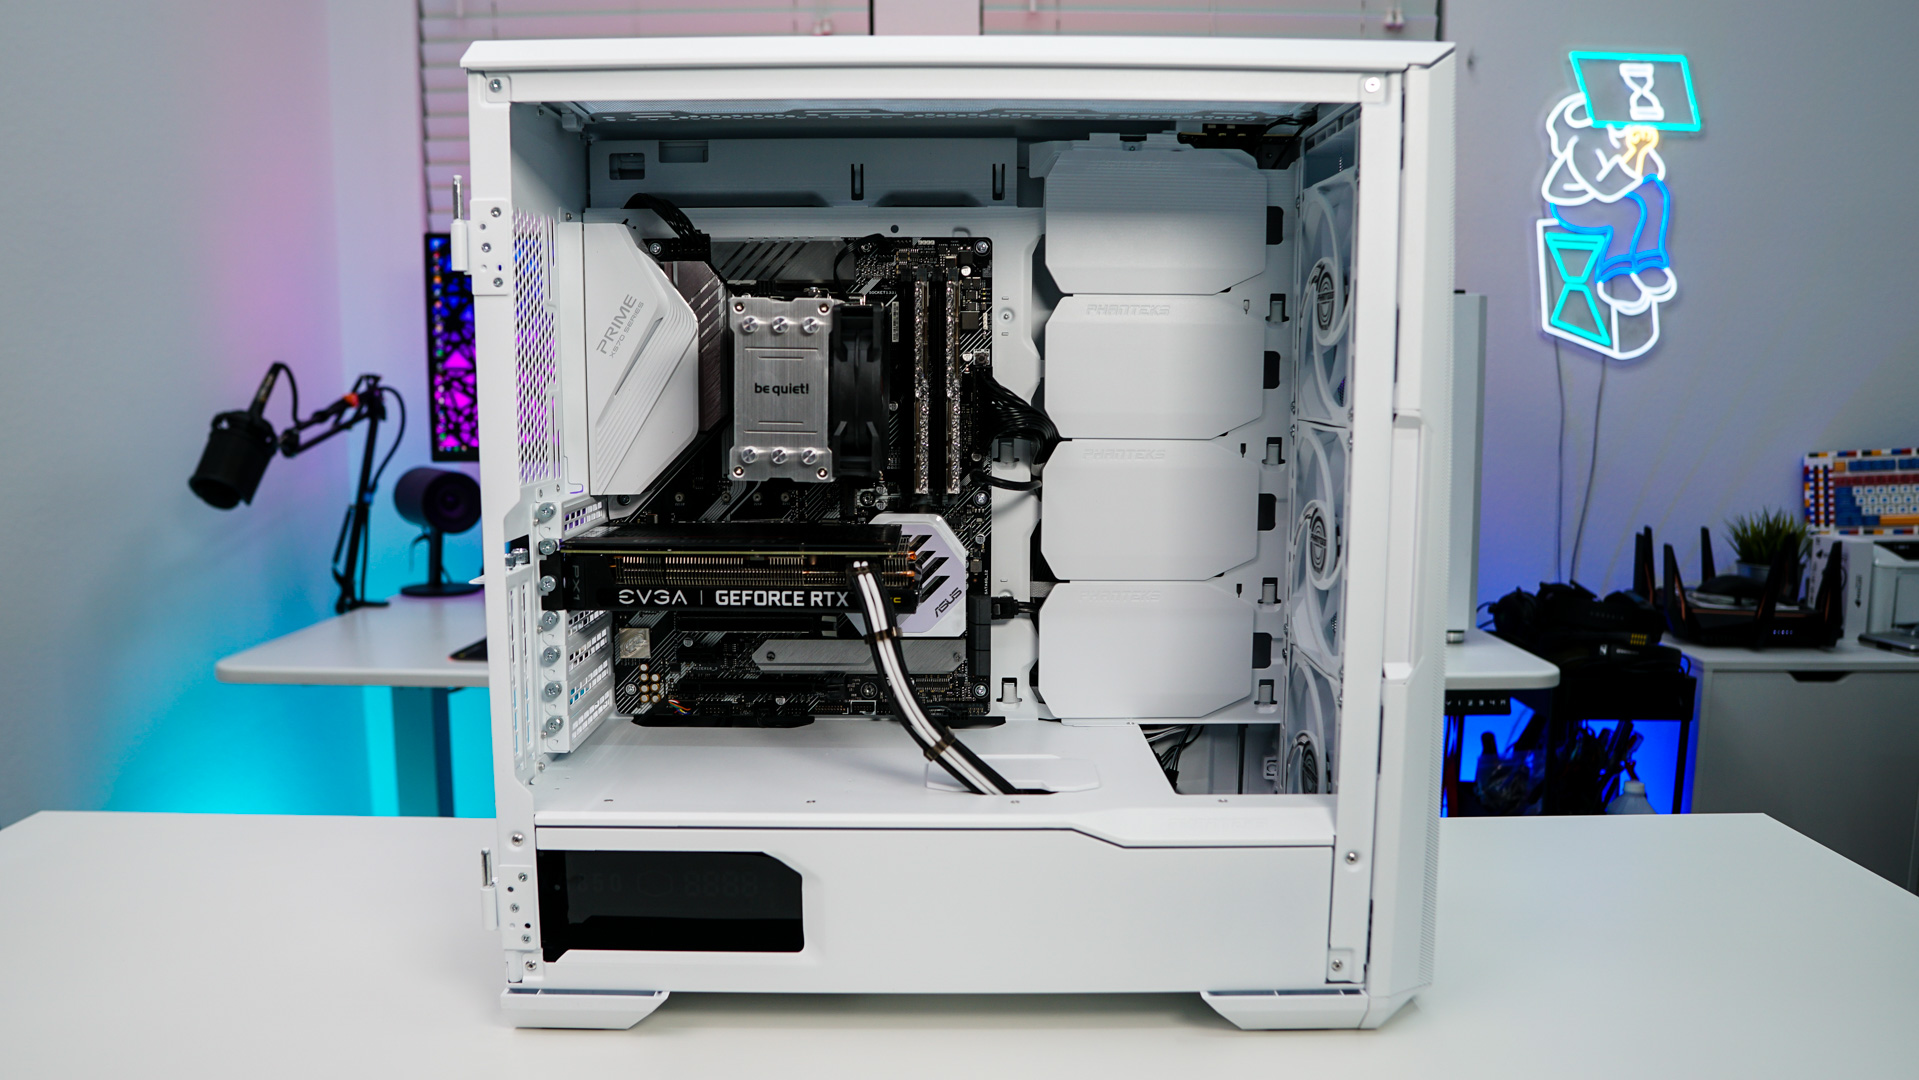
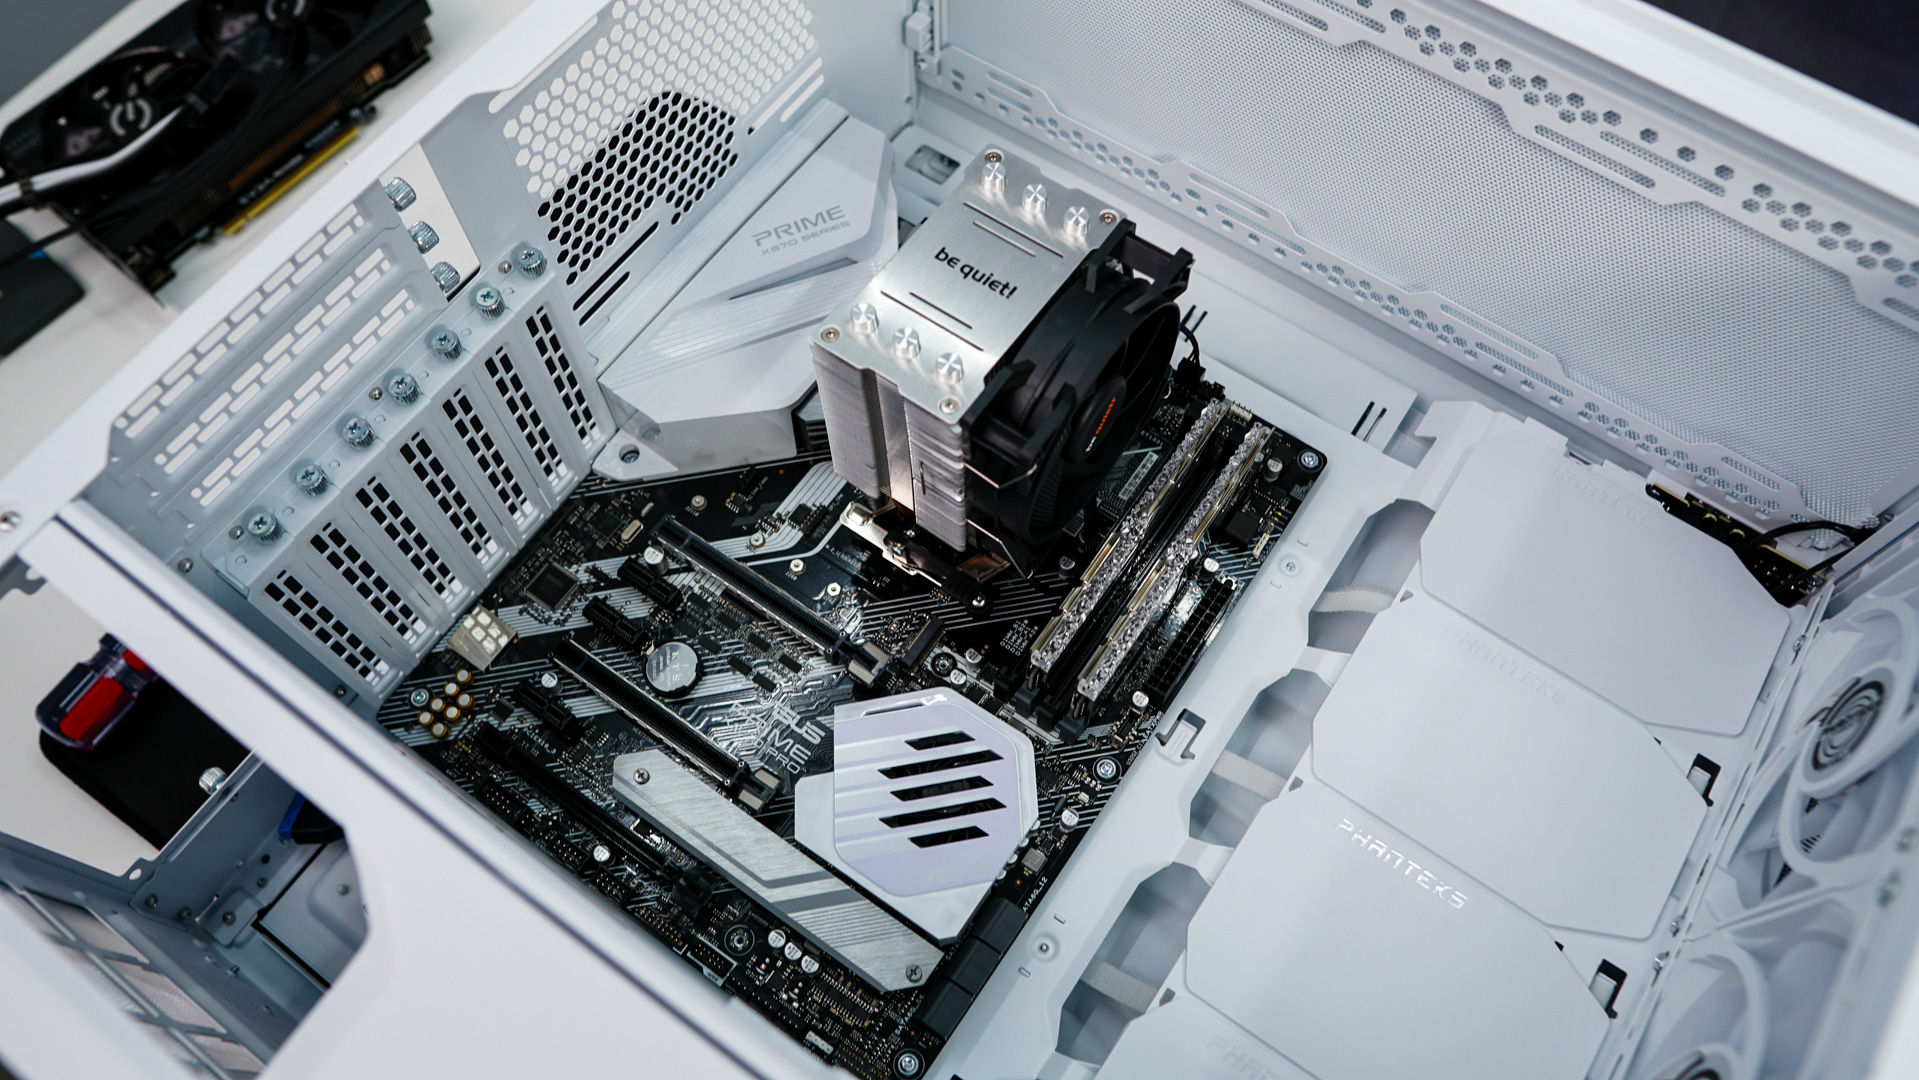
To start off installation we are going to be installing our motherboard. It goes in quite easily and there is more than enough room to work with.
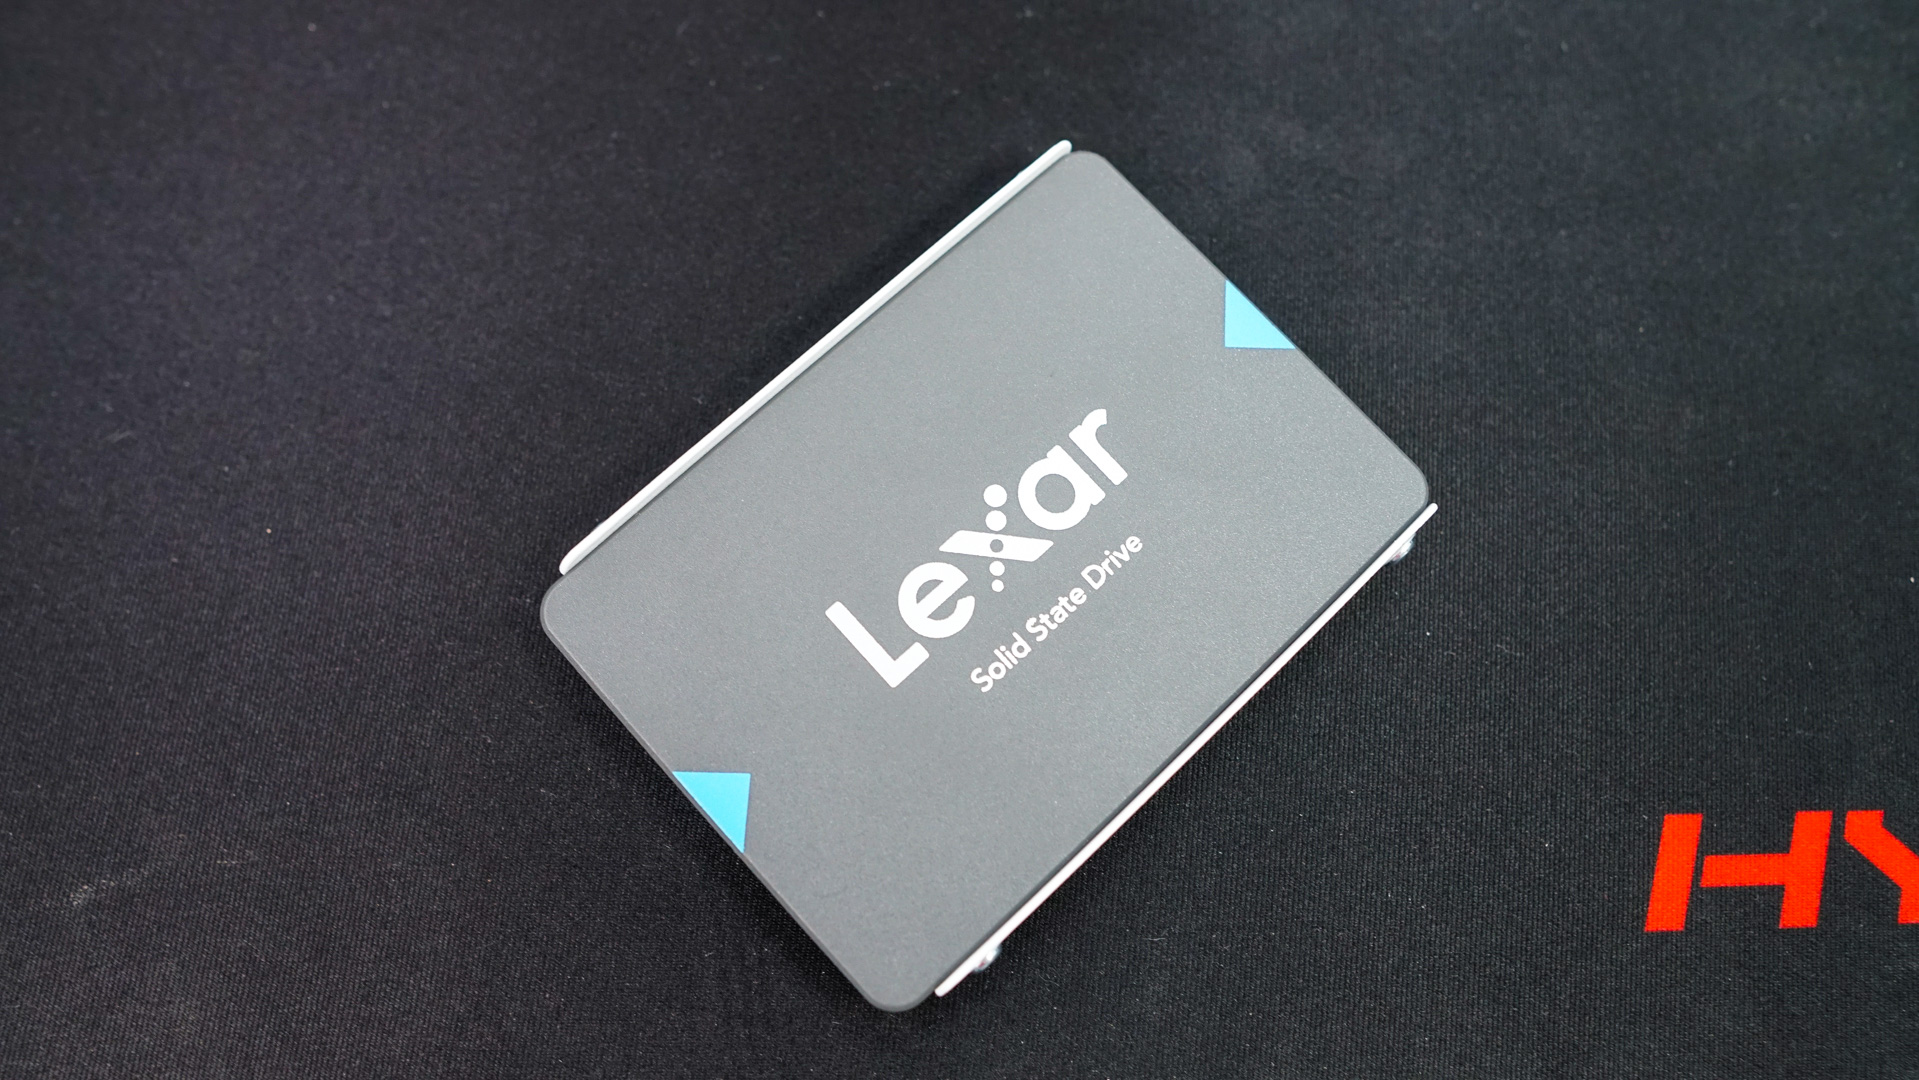
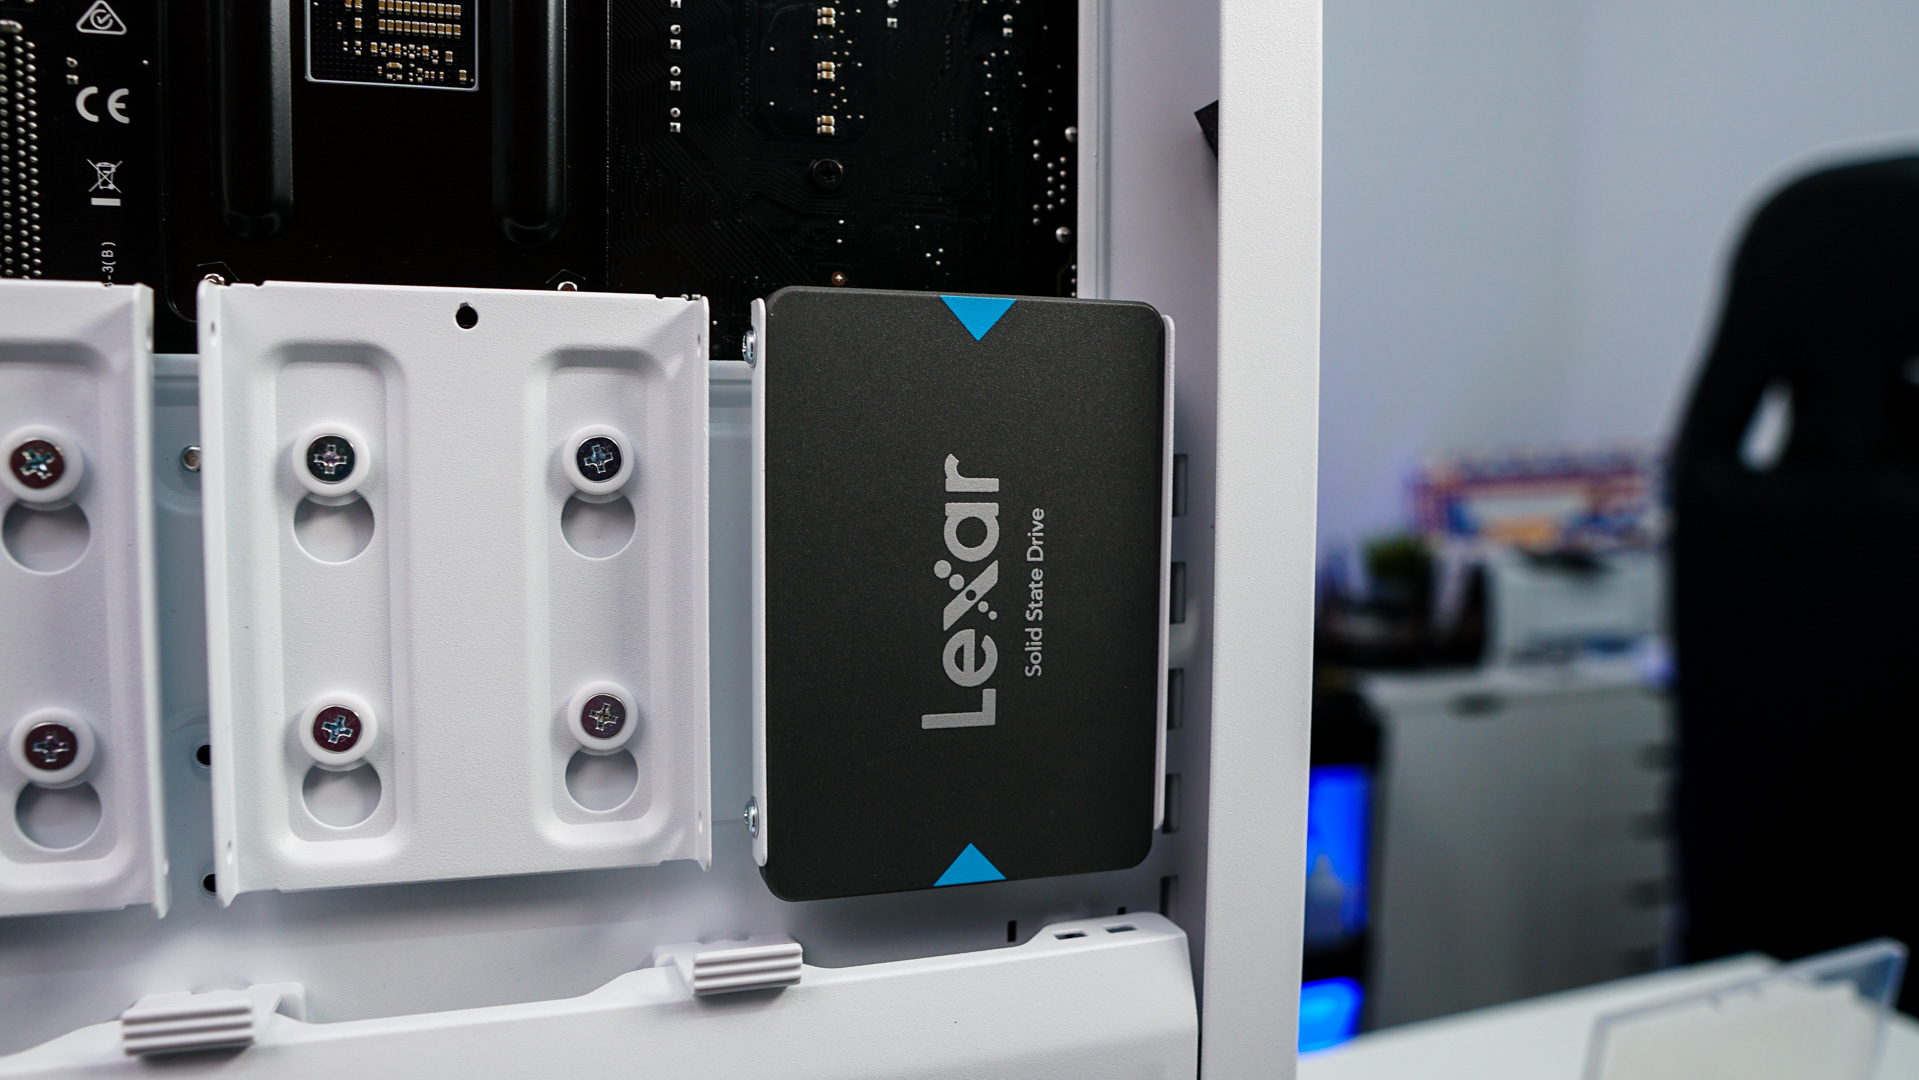
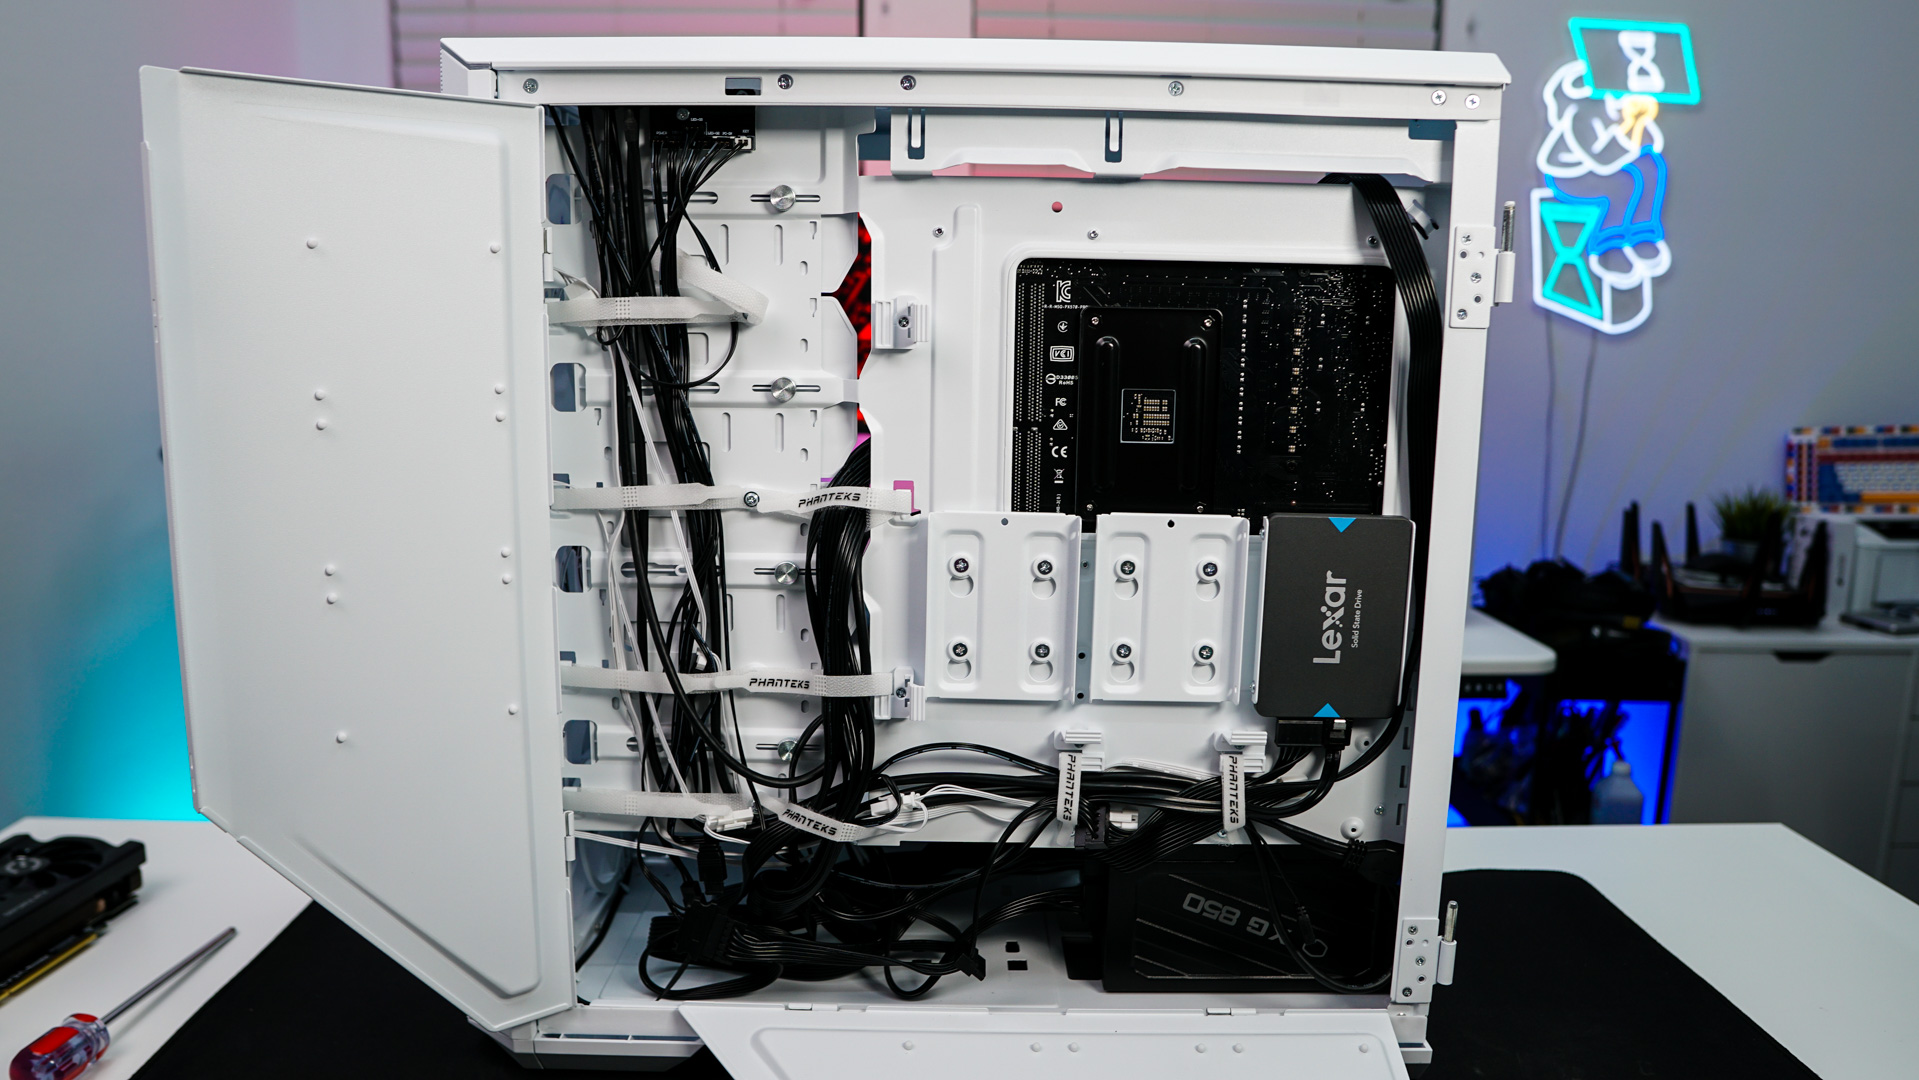
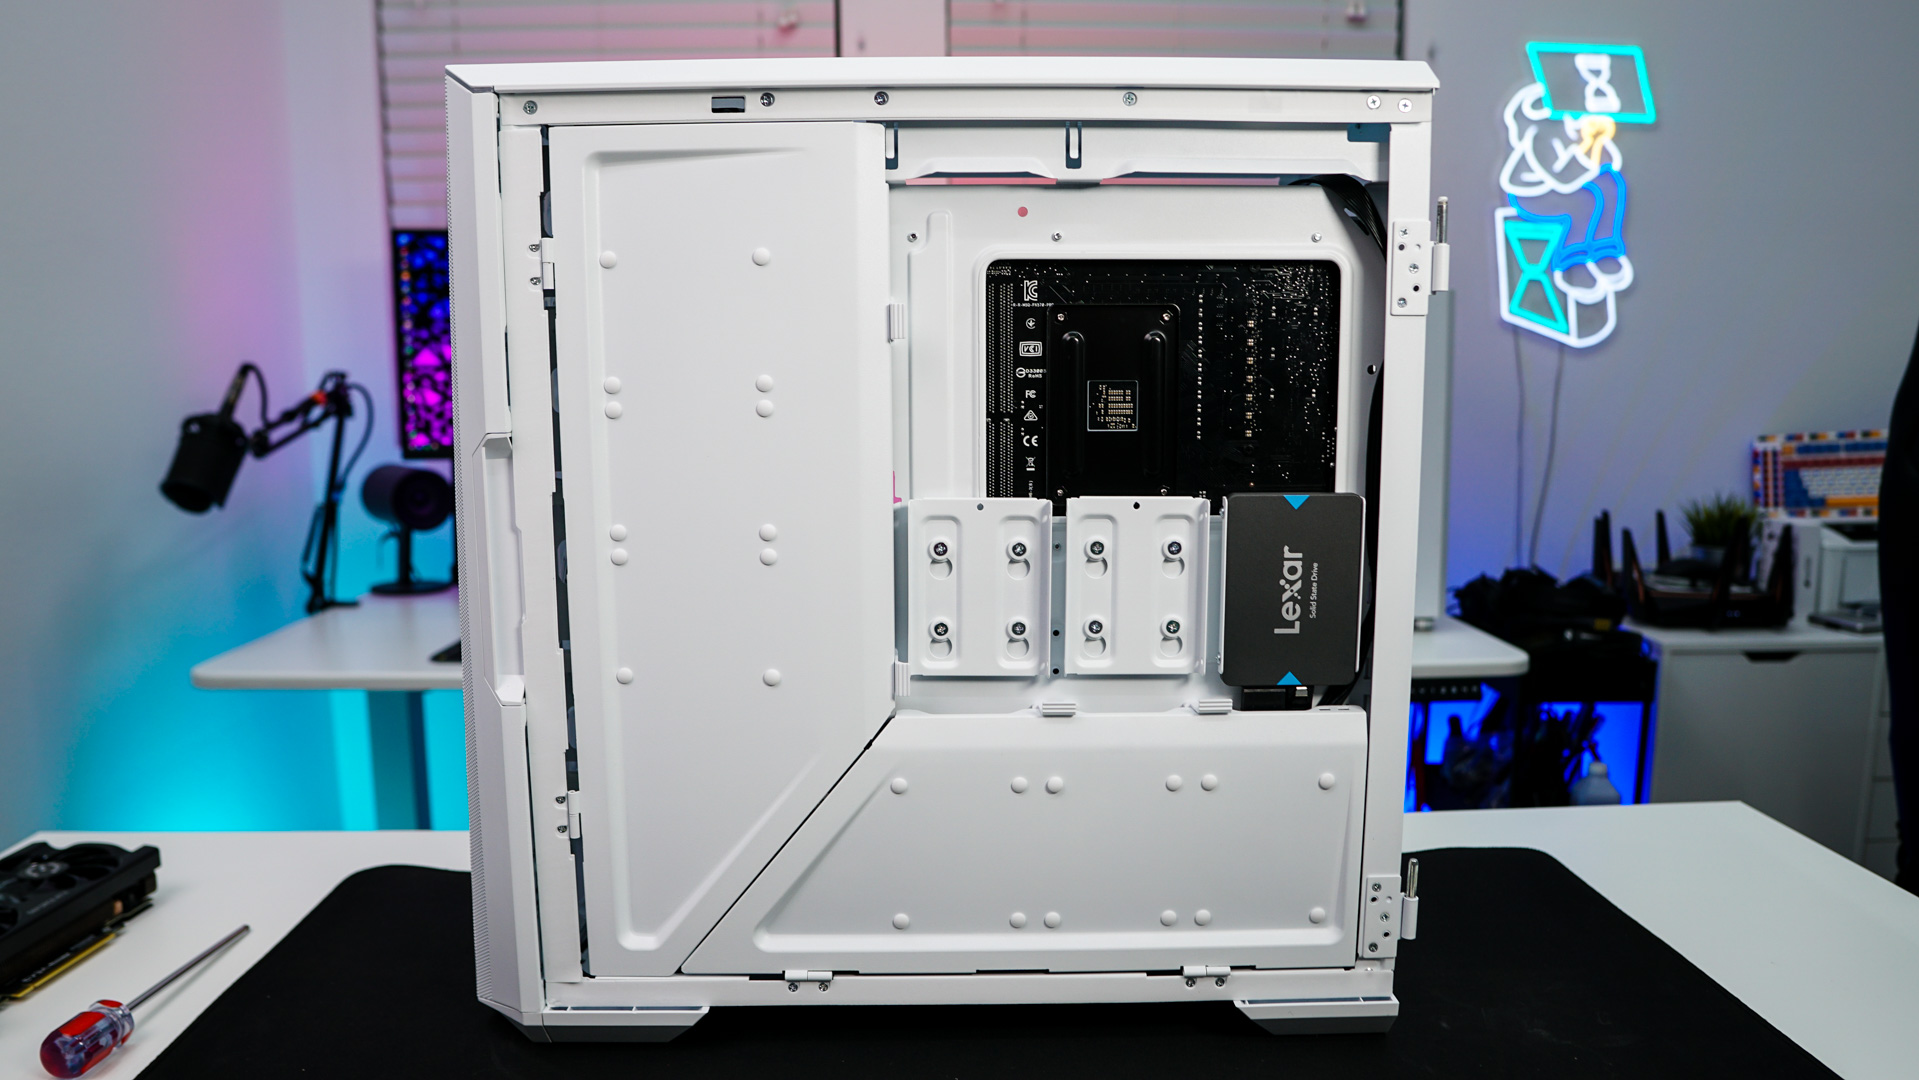
After that our hard drive was next. We opted to install it in one of the removable SSD mounts on the backside of the motherboard tray.
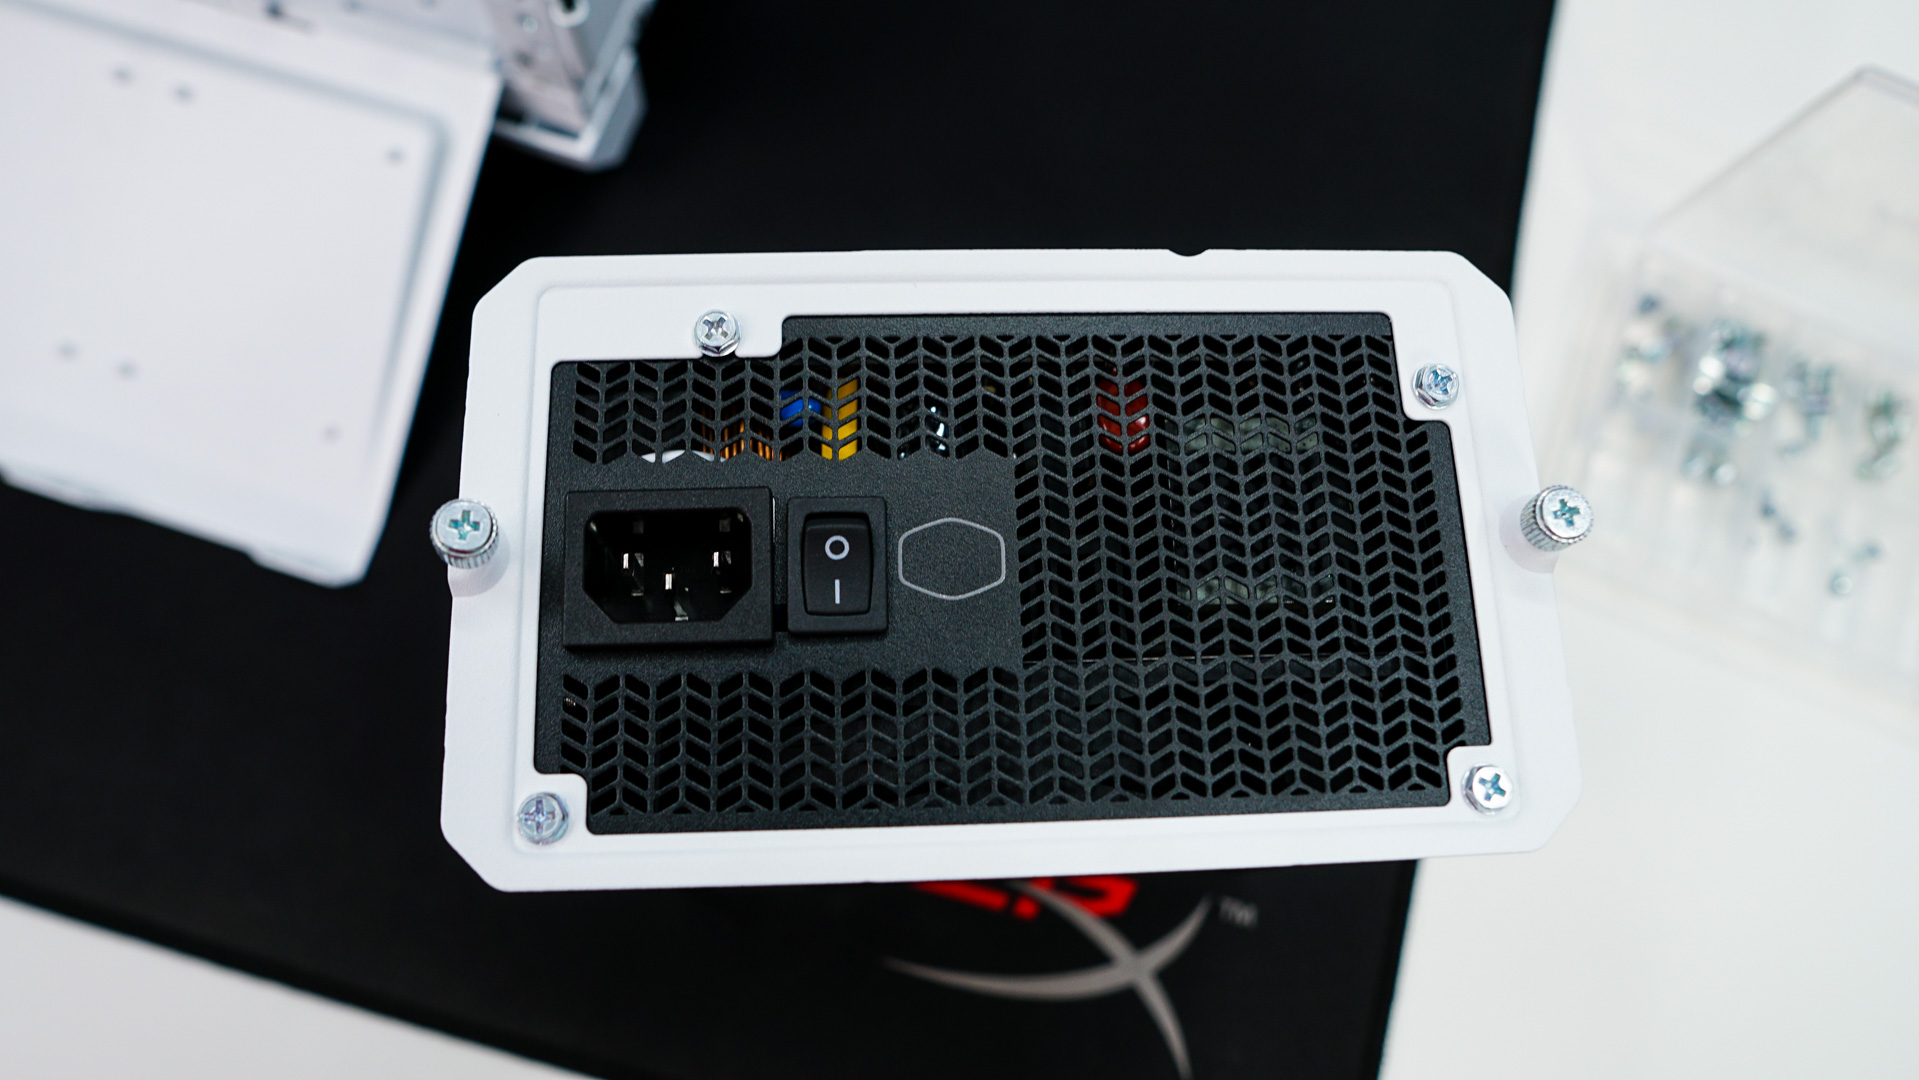
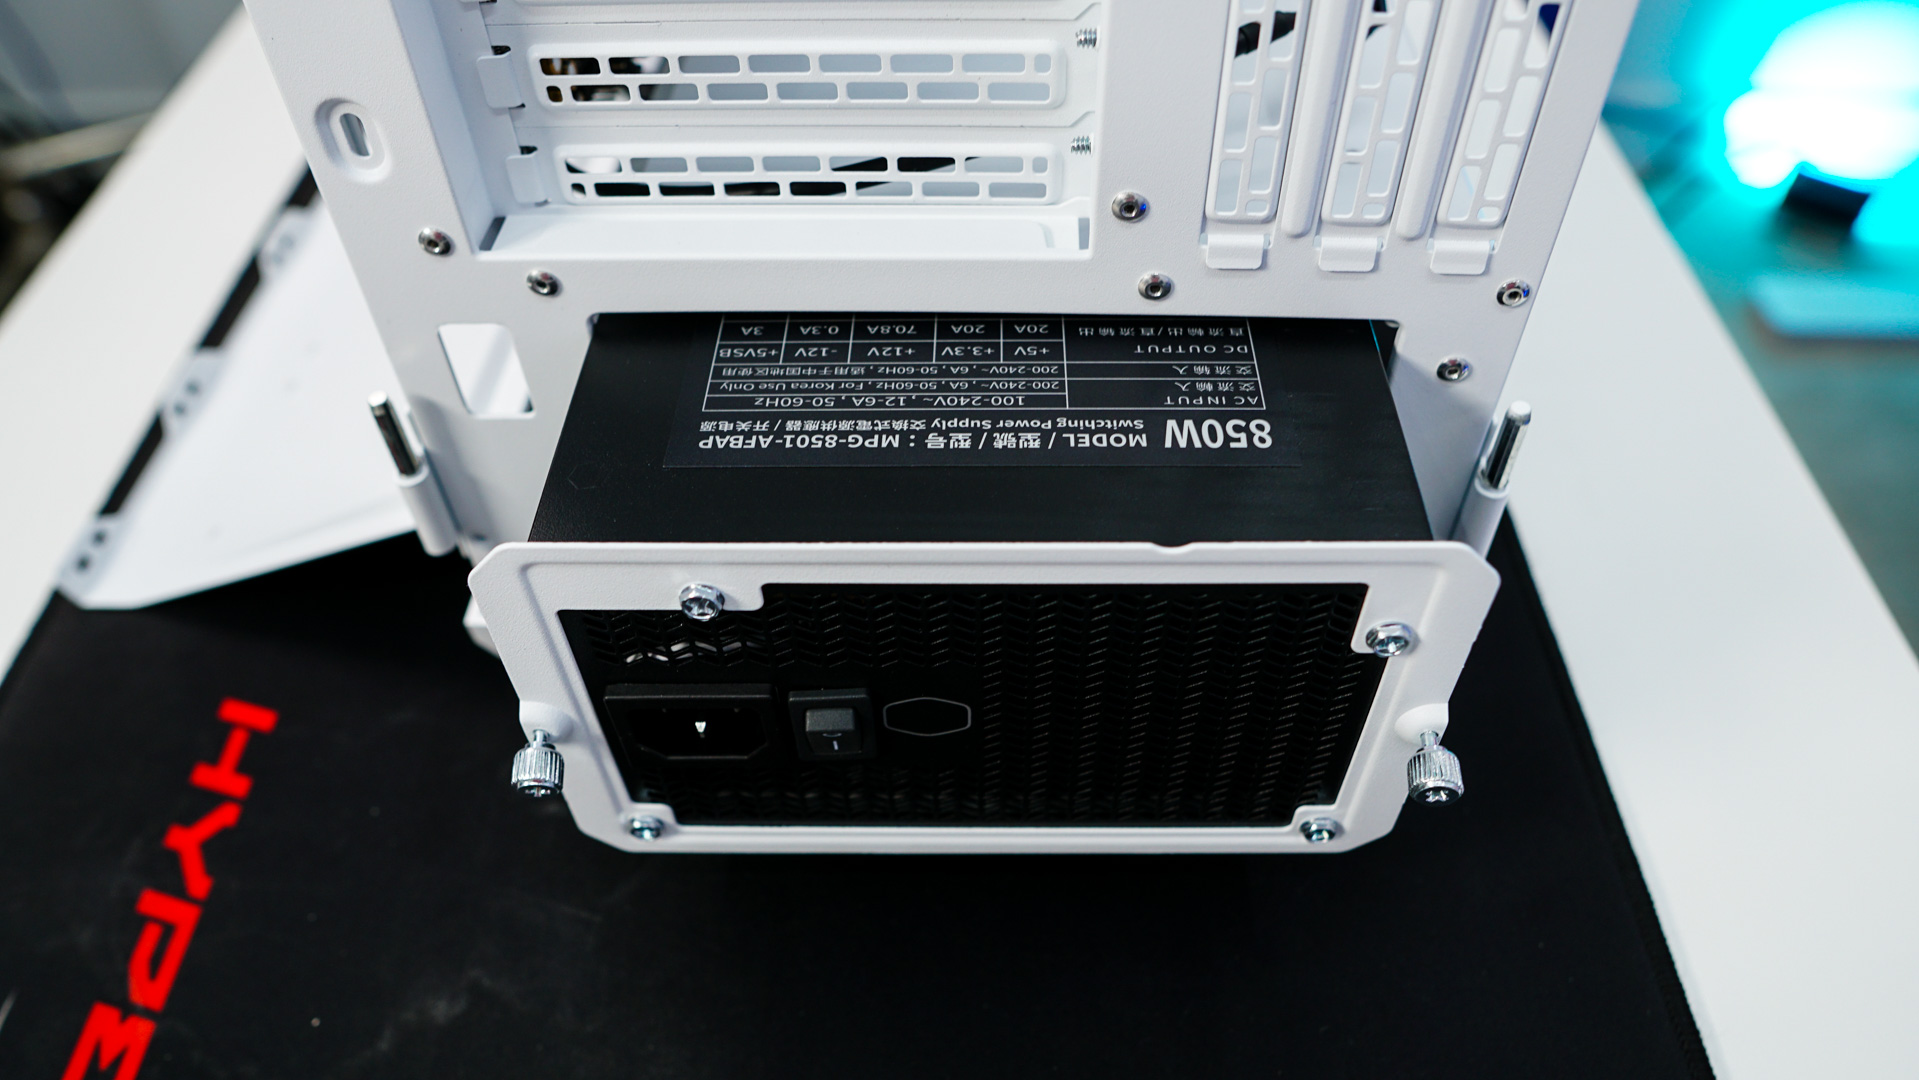
To install your power supply you’ll need to remove the power supply mounting bracket from the rear of the case and attach it to your power supply. Then simply slide your power supply in from the rear of the case.
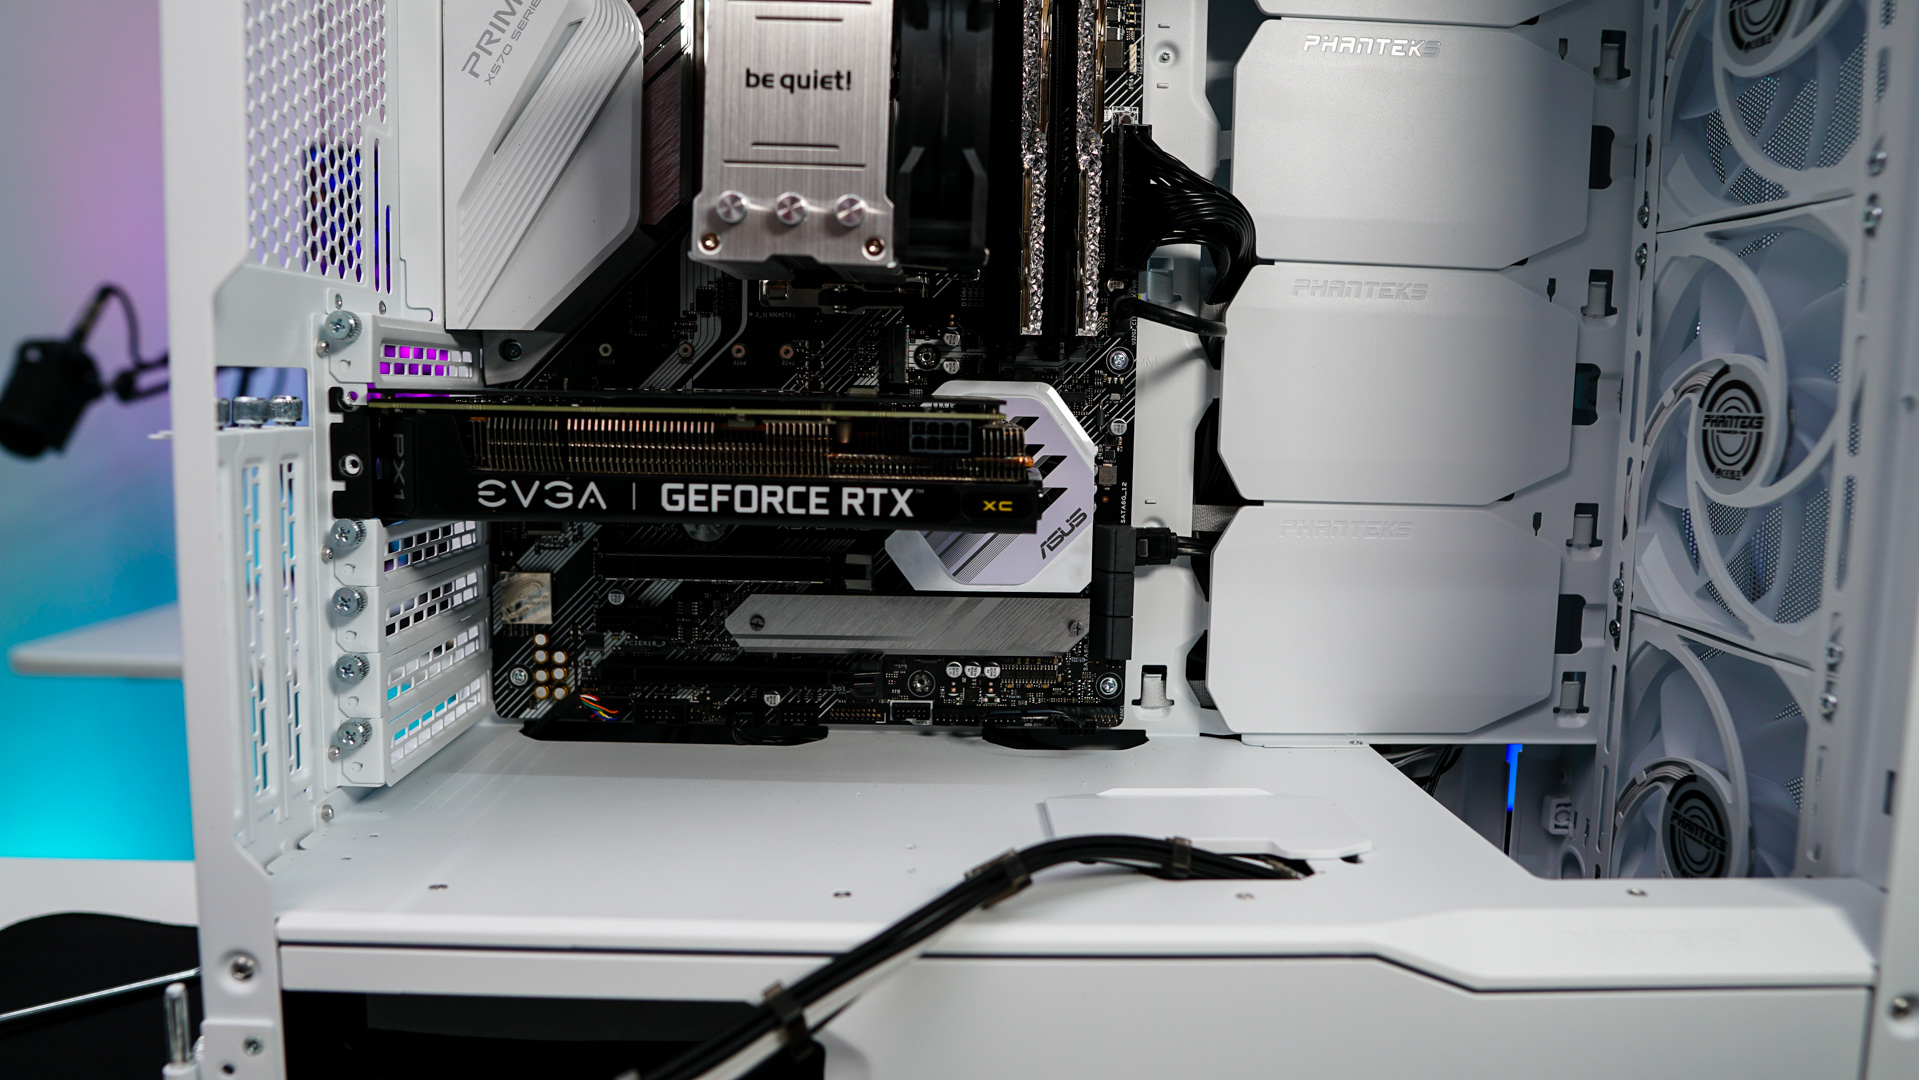
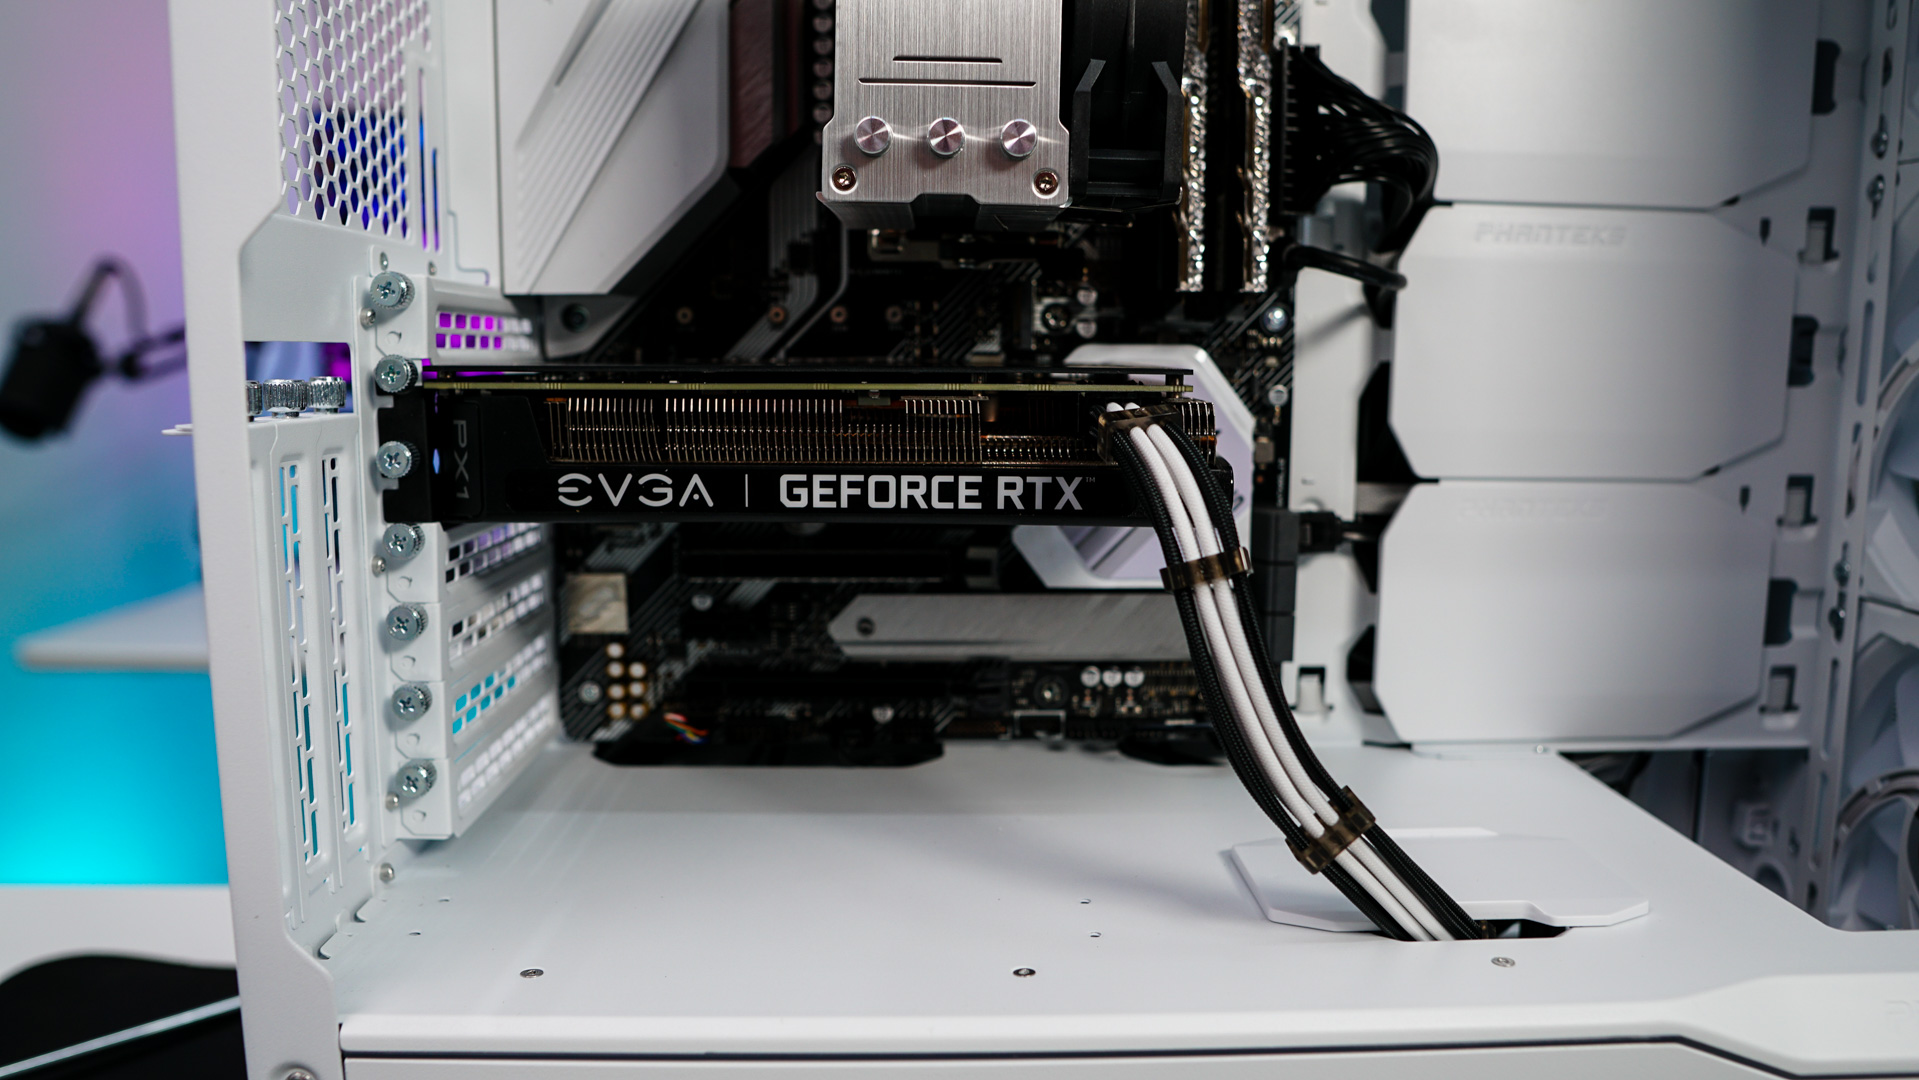
The last piece of hardware that we need to install is our graphics card. We were able to easily route our PCI-Express power cable down through the provided routing hole.
Now all we have to do is connect all of our cables and route everything. All of the included Velcro ties really make it easy to keep things nice and tidy on the backside of the case. After you are done routing everything you can close the two cable covers.
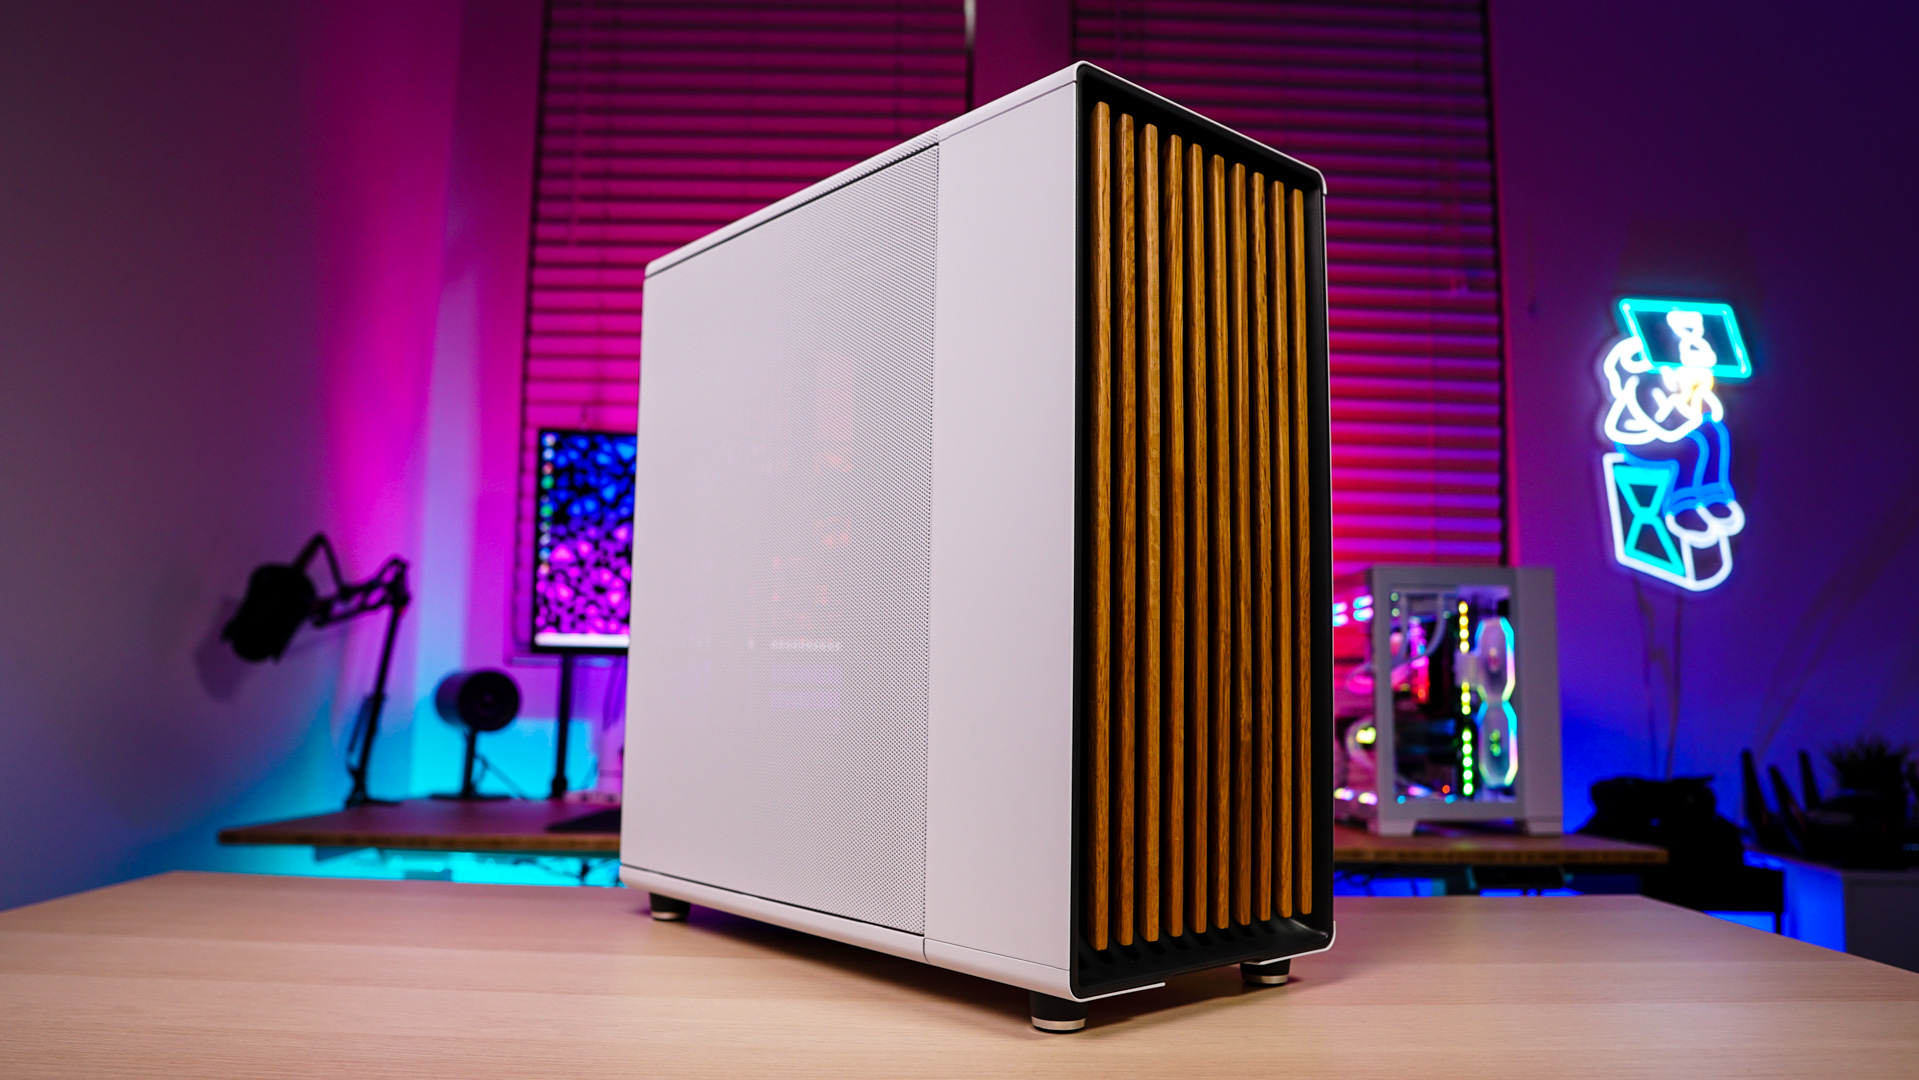
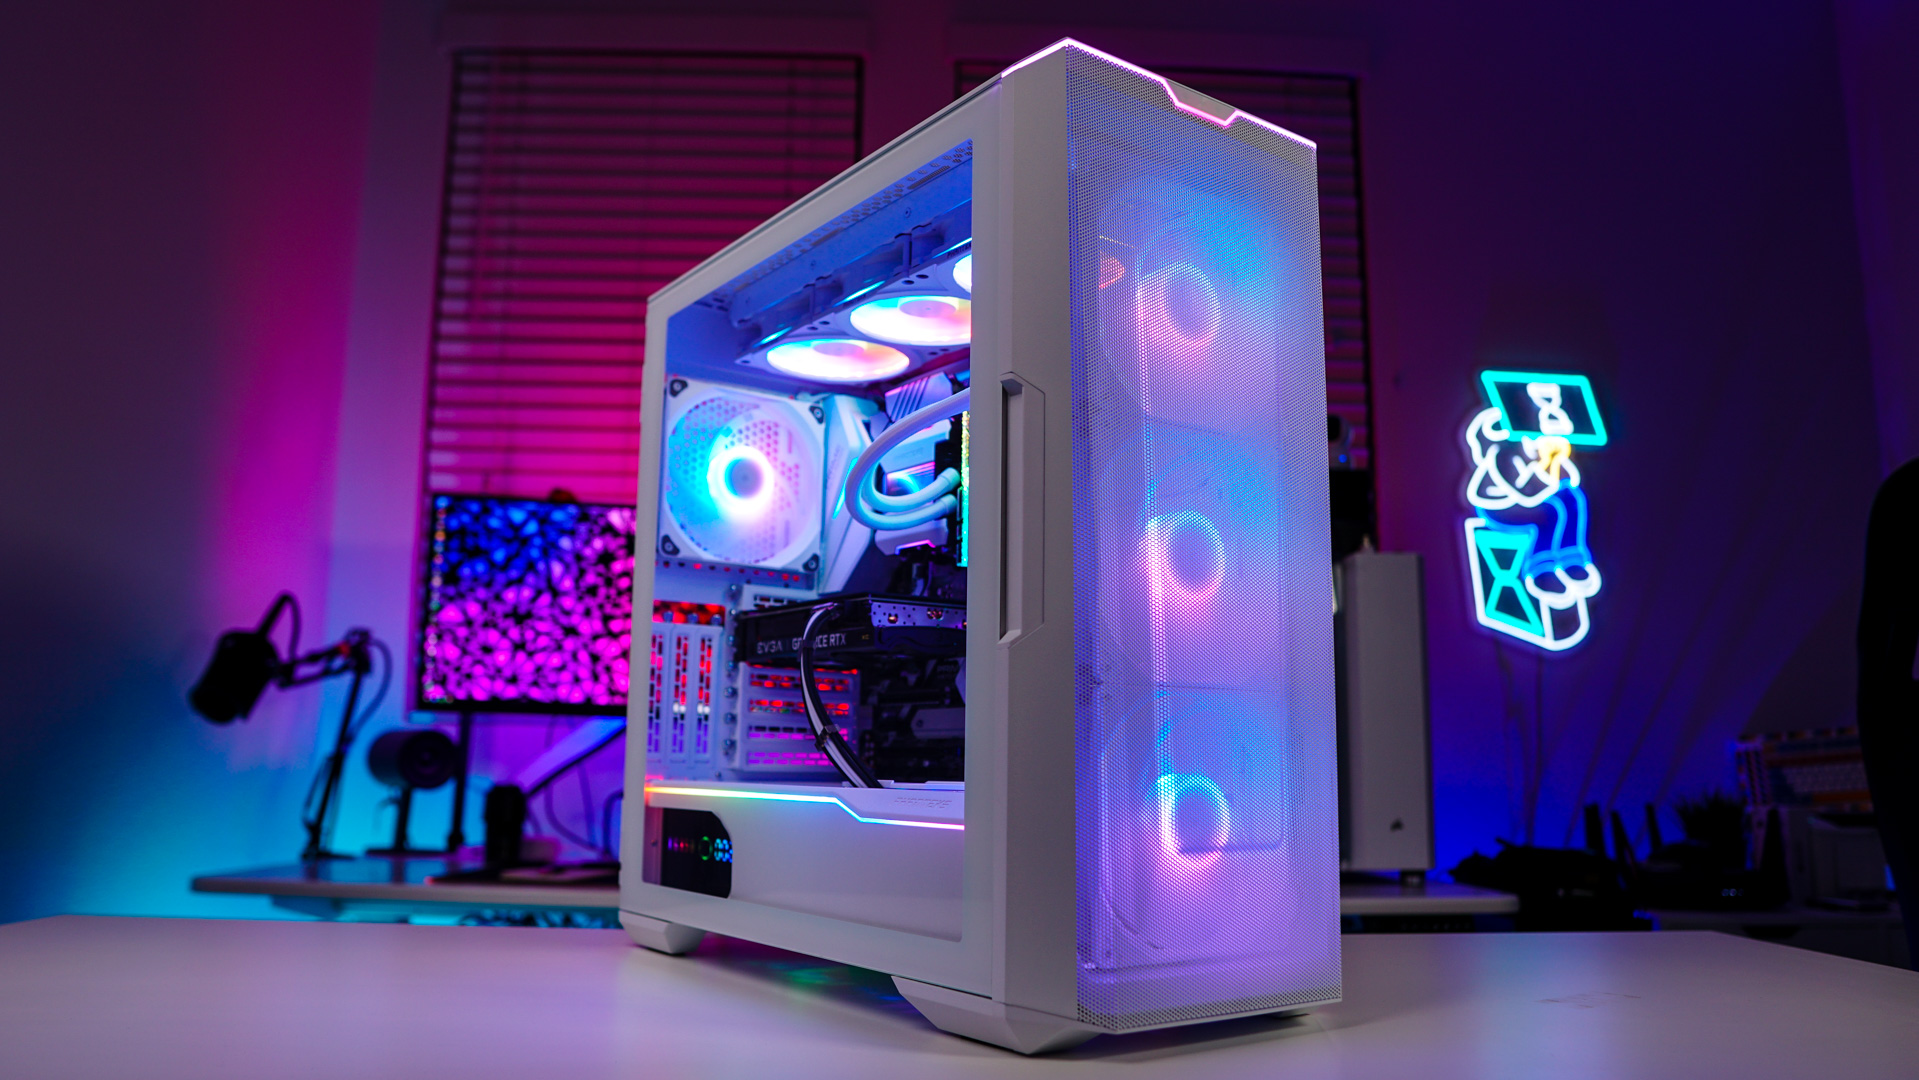
On the opposite side of the case we have an extremely clean final build!