
Installation
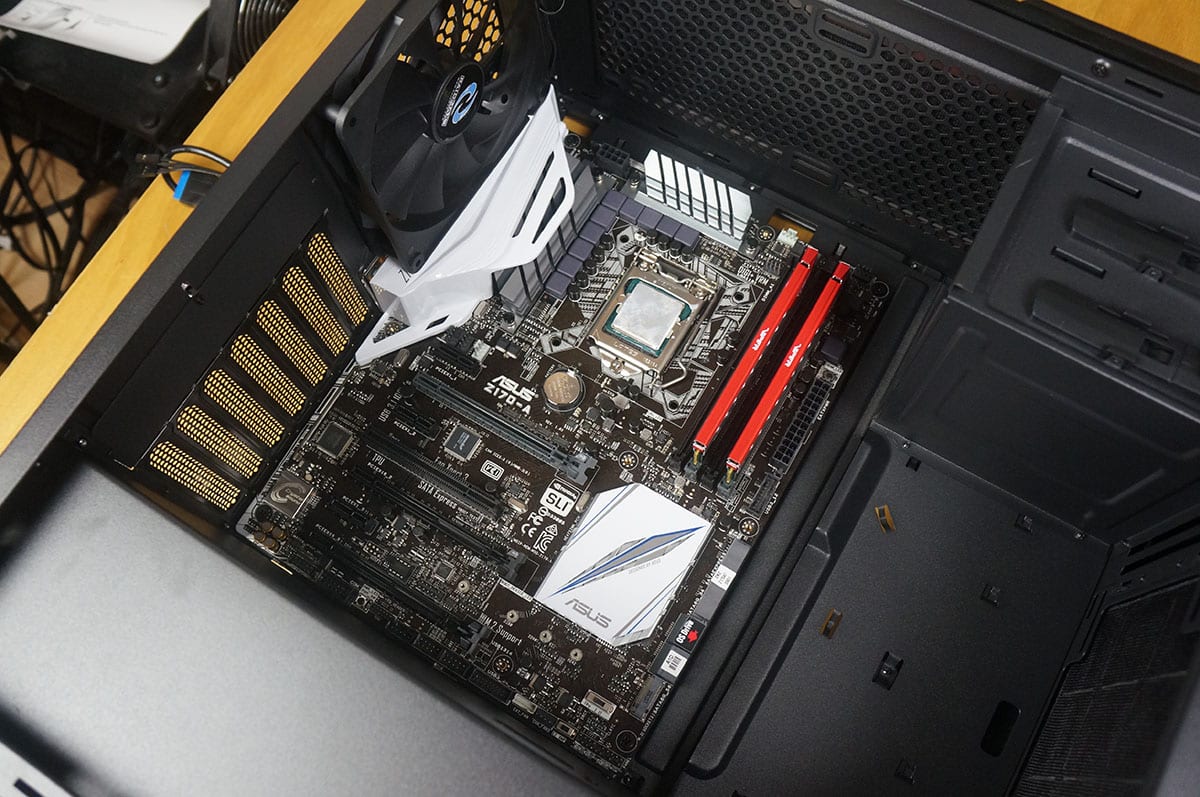
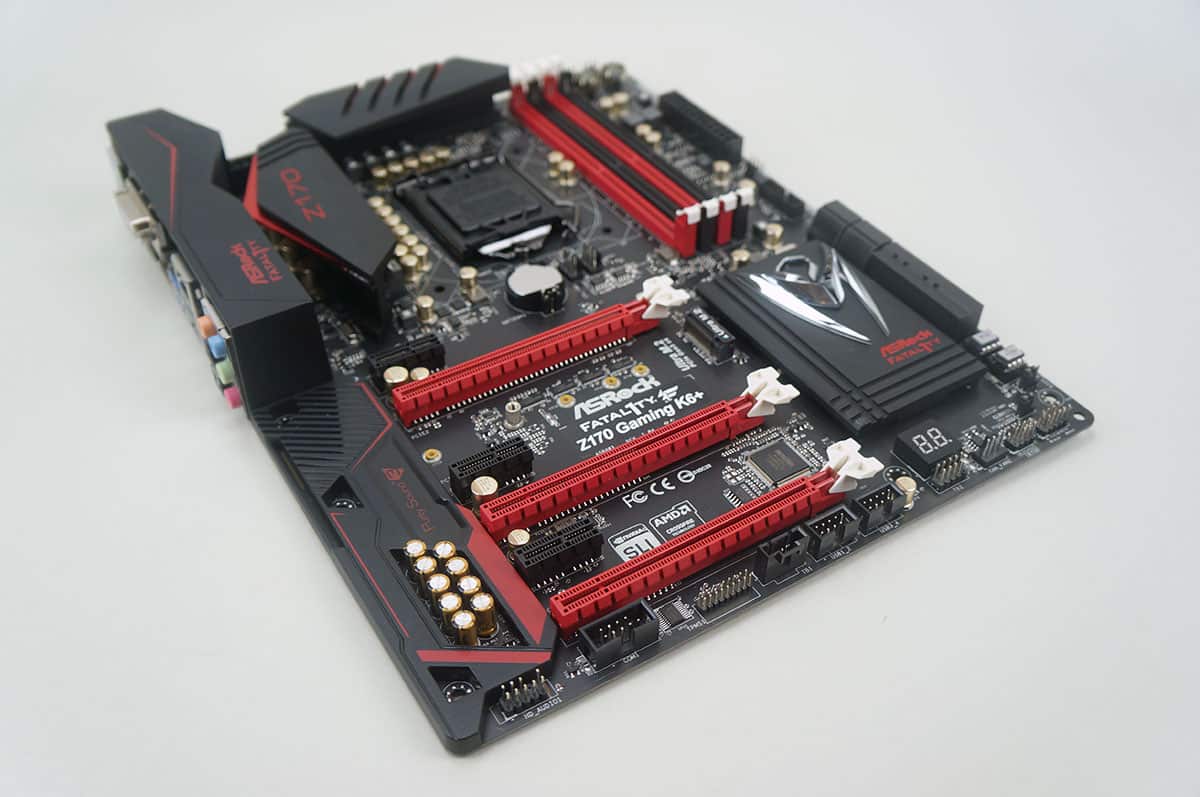
We will be installing our Z170 system in the Monster II. The first thing we are going to install is our motherboard. Now it is a little tight and I actually had some trouble as the I/O cover on our board was right up against the rear fan. Once I was able to get the board in there everything was fine though, if you do have a motherboard that has an I/O cover you might run into issues with that rear fan.
Hard drives are next. As I mentioned each of the hard drive mounts / trays are removable. So just take them out of the system and install your drives. Both 2.5-inch and 3.5-inch installation requires 4 screws.
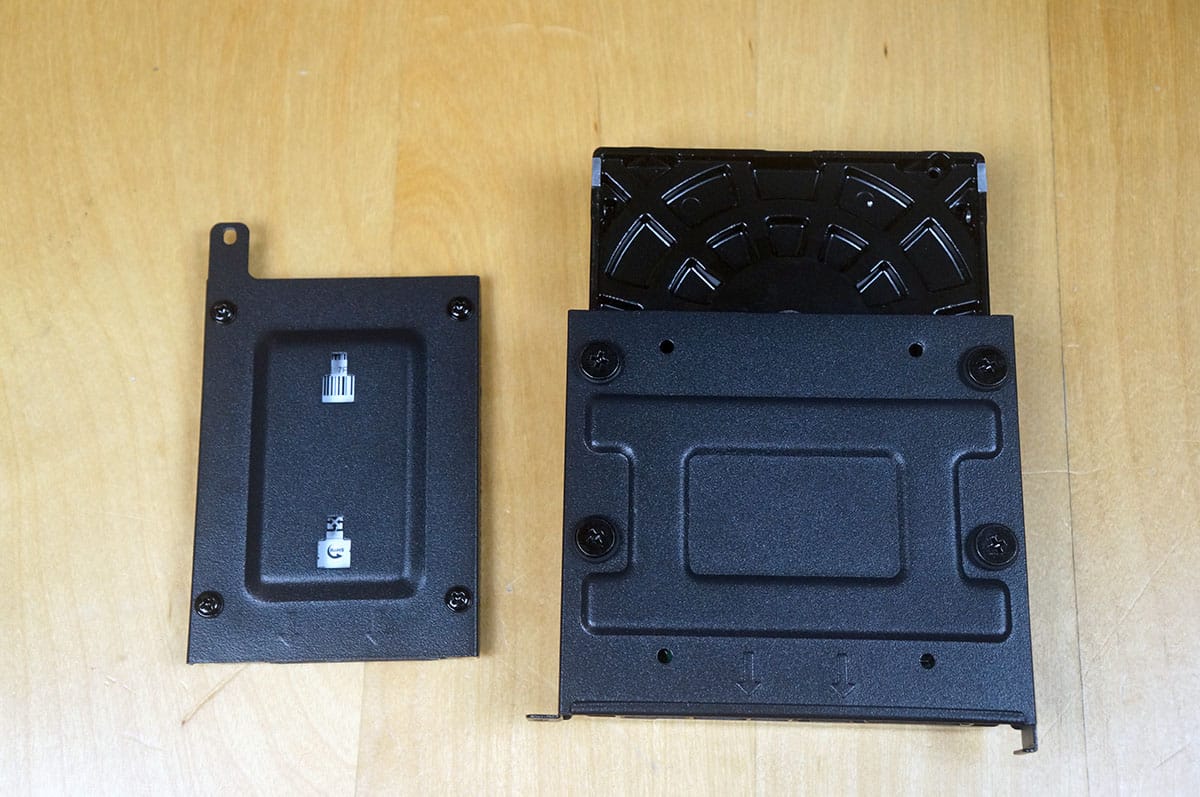
Now just reinstall the tray / mount and you are good to go.

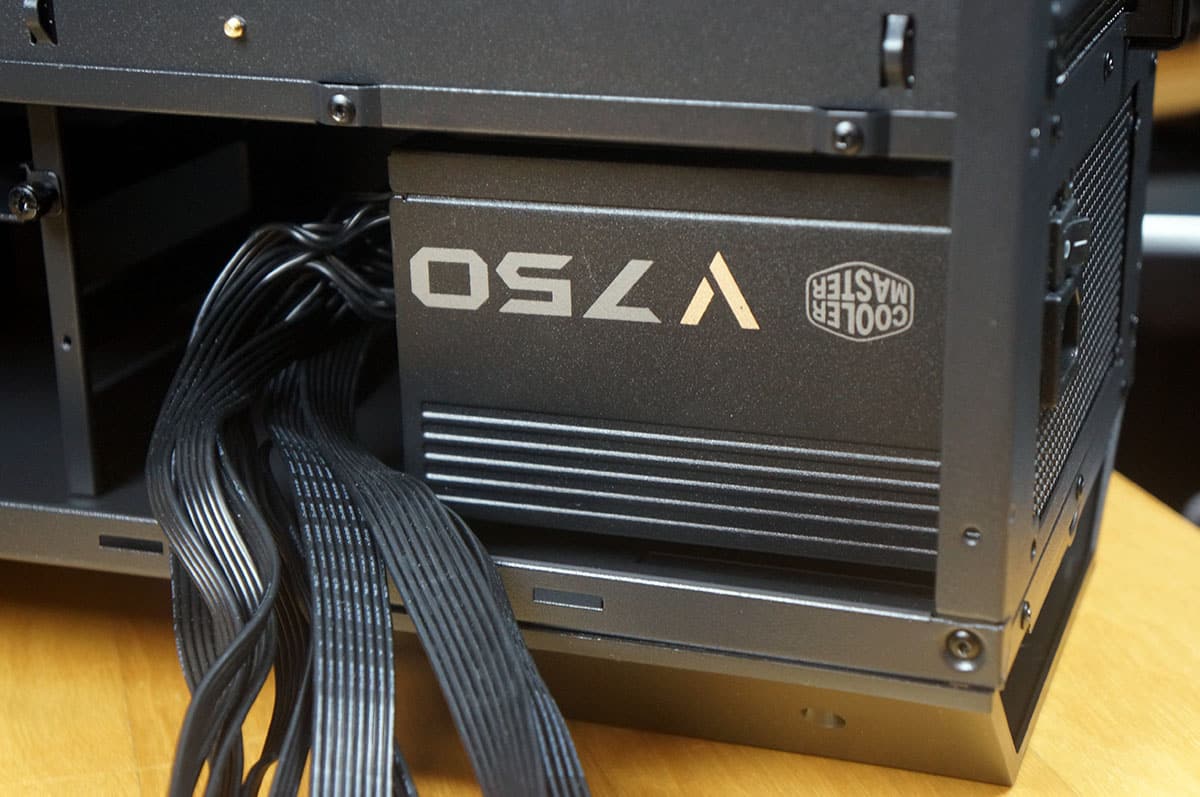
The power supply sides in from the back side of the case and easy mounts. Just secure it with four screws and you are good to go.
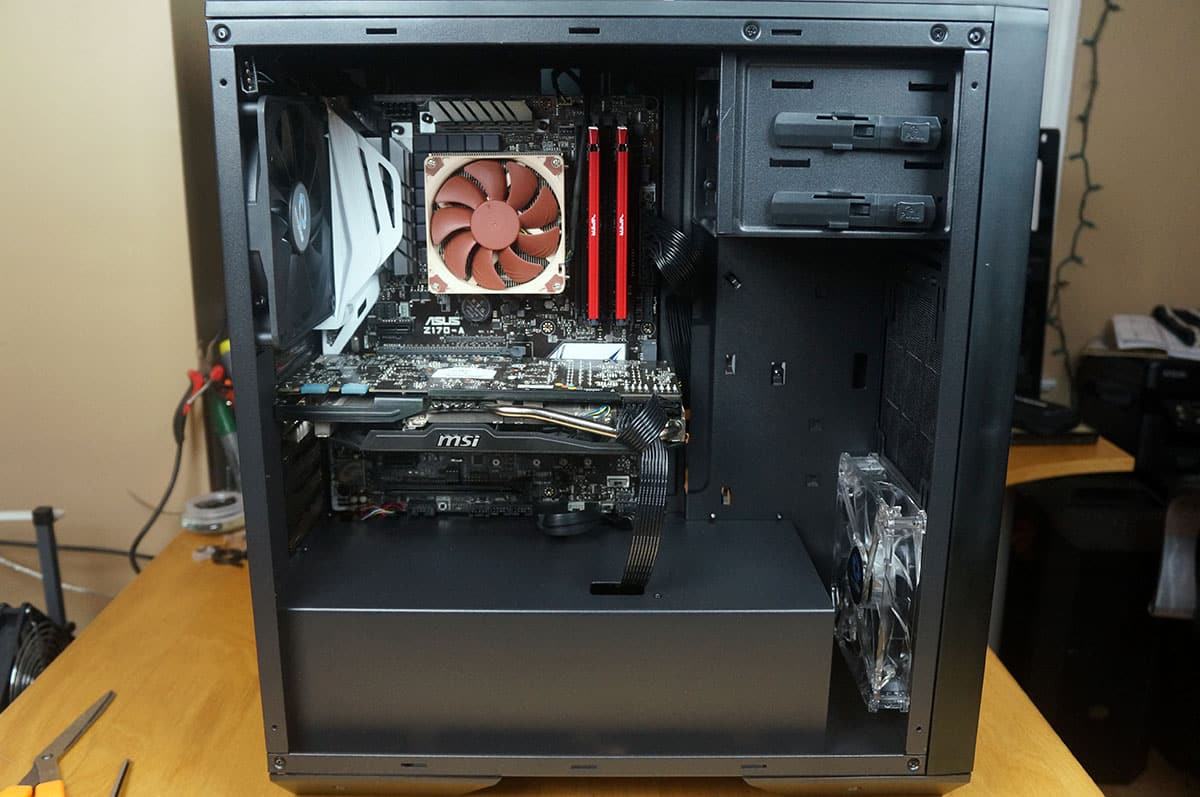
Now it is time to route all of our cables and connect everything. This worked out quite well and there are a ton of tie-downs for the included cable ties. One thing I was not the biggest fan of was that instead of 2 or 3 smaller cable routing holes the motherboard tray sort of ends and it’s like one big open section to route your cables. You can also see we were able to install our CPU cooler easily because of the large CPU cutout.
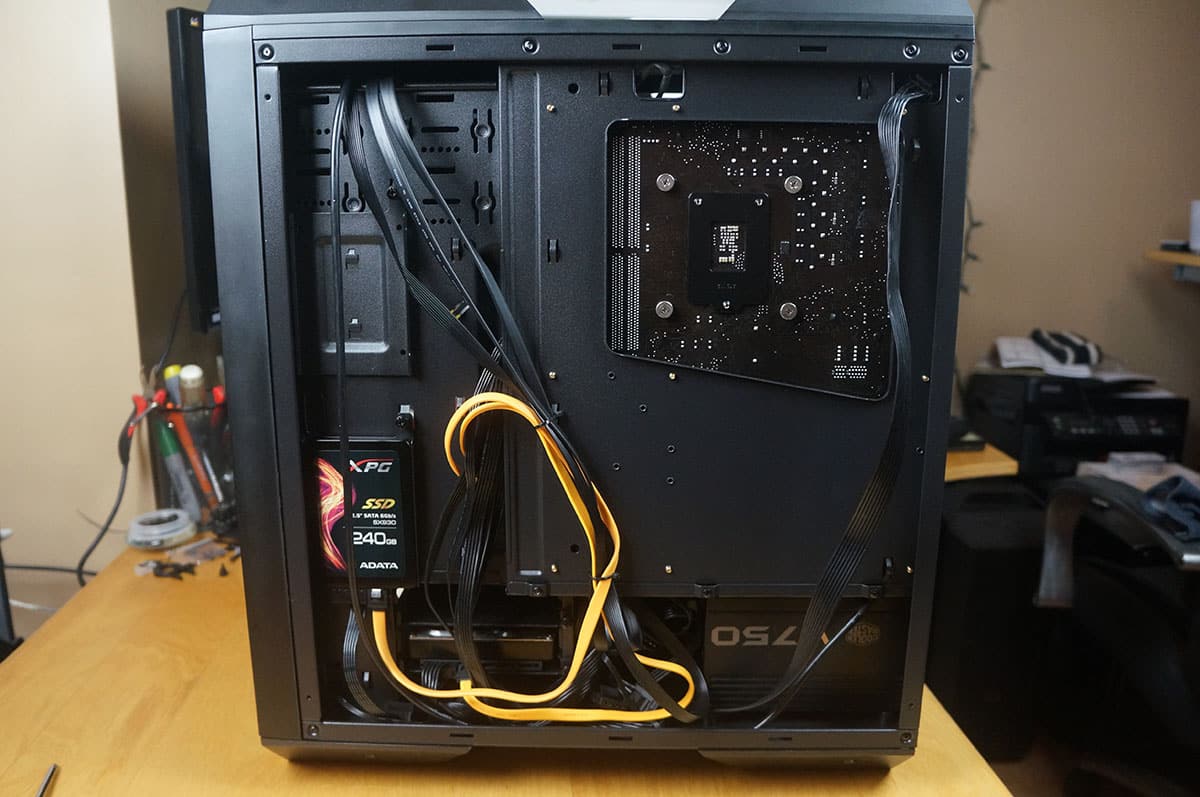
Moving over to the other side of the case we had not problem getting our graphics card installed. You actually have room for graphics cards up to 400 mm! The cable routing hole for the graphics card is perfectly placed for our PCI-Express power connectors. All in all we were able to build a very clean build.
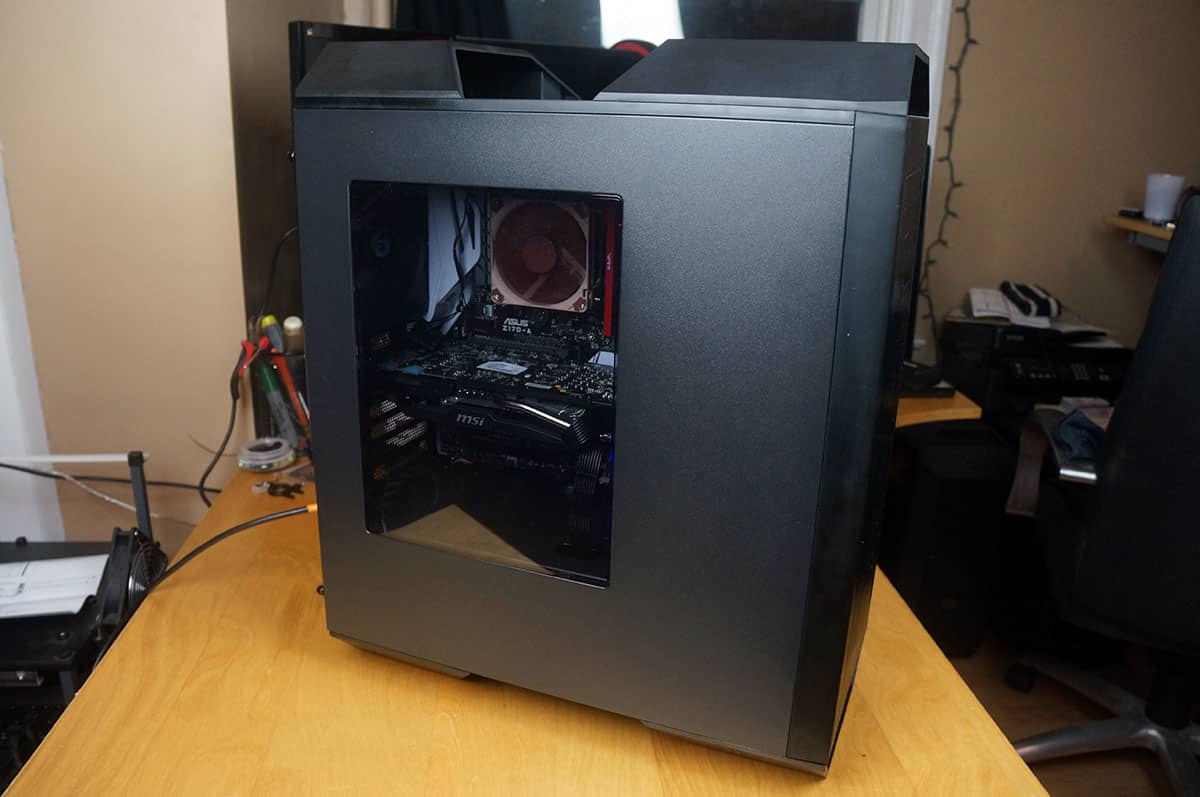
With the side panels back on the case you can see our motherboard, graphics card, and CPU cooler. I do wish the side panel window would have been a bit larger.
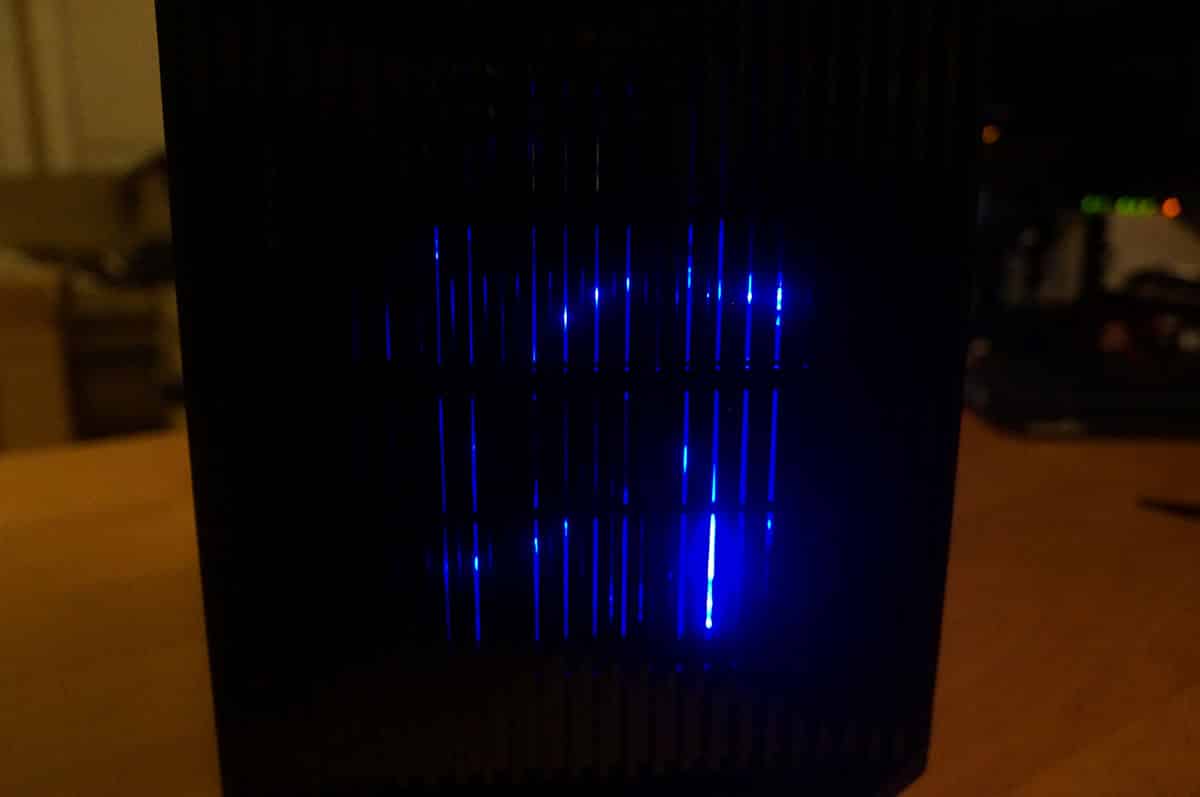
When you do power on your system the front fan will light up blue, it is blocked a bit by the design of the front of the case.


So I guess this chassis really isn’t going to be water cooling friendly, without having to get out a drill and a Dremel.
It’s disappointing to see that the only place they actually used screws to mount a piece of the chassis was the optical drive area; both the PSU shroud and the HDD bay is held in place with pop rivets.
The PSU shroud will have to be removed and cut back by at least an inch just to be able to fit even a thin radiator + fans.