Setup & Software
To get the Viper Ultimate ready to use you’ll first need to plug in the included USB cable to the charging dock. Then go ahead and plug in the USB receiver and finally plug in the dock to an open USB port on your PC. You will notice some RGB lighting at the bottom of the dock, which is a nice little addition.
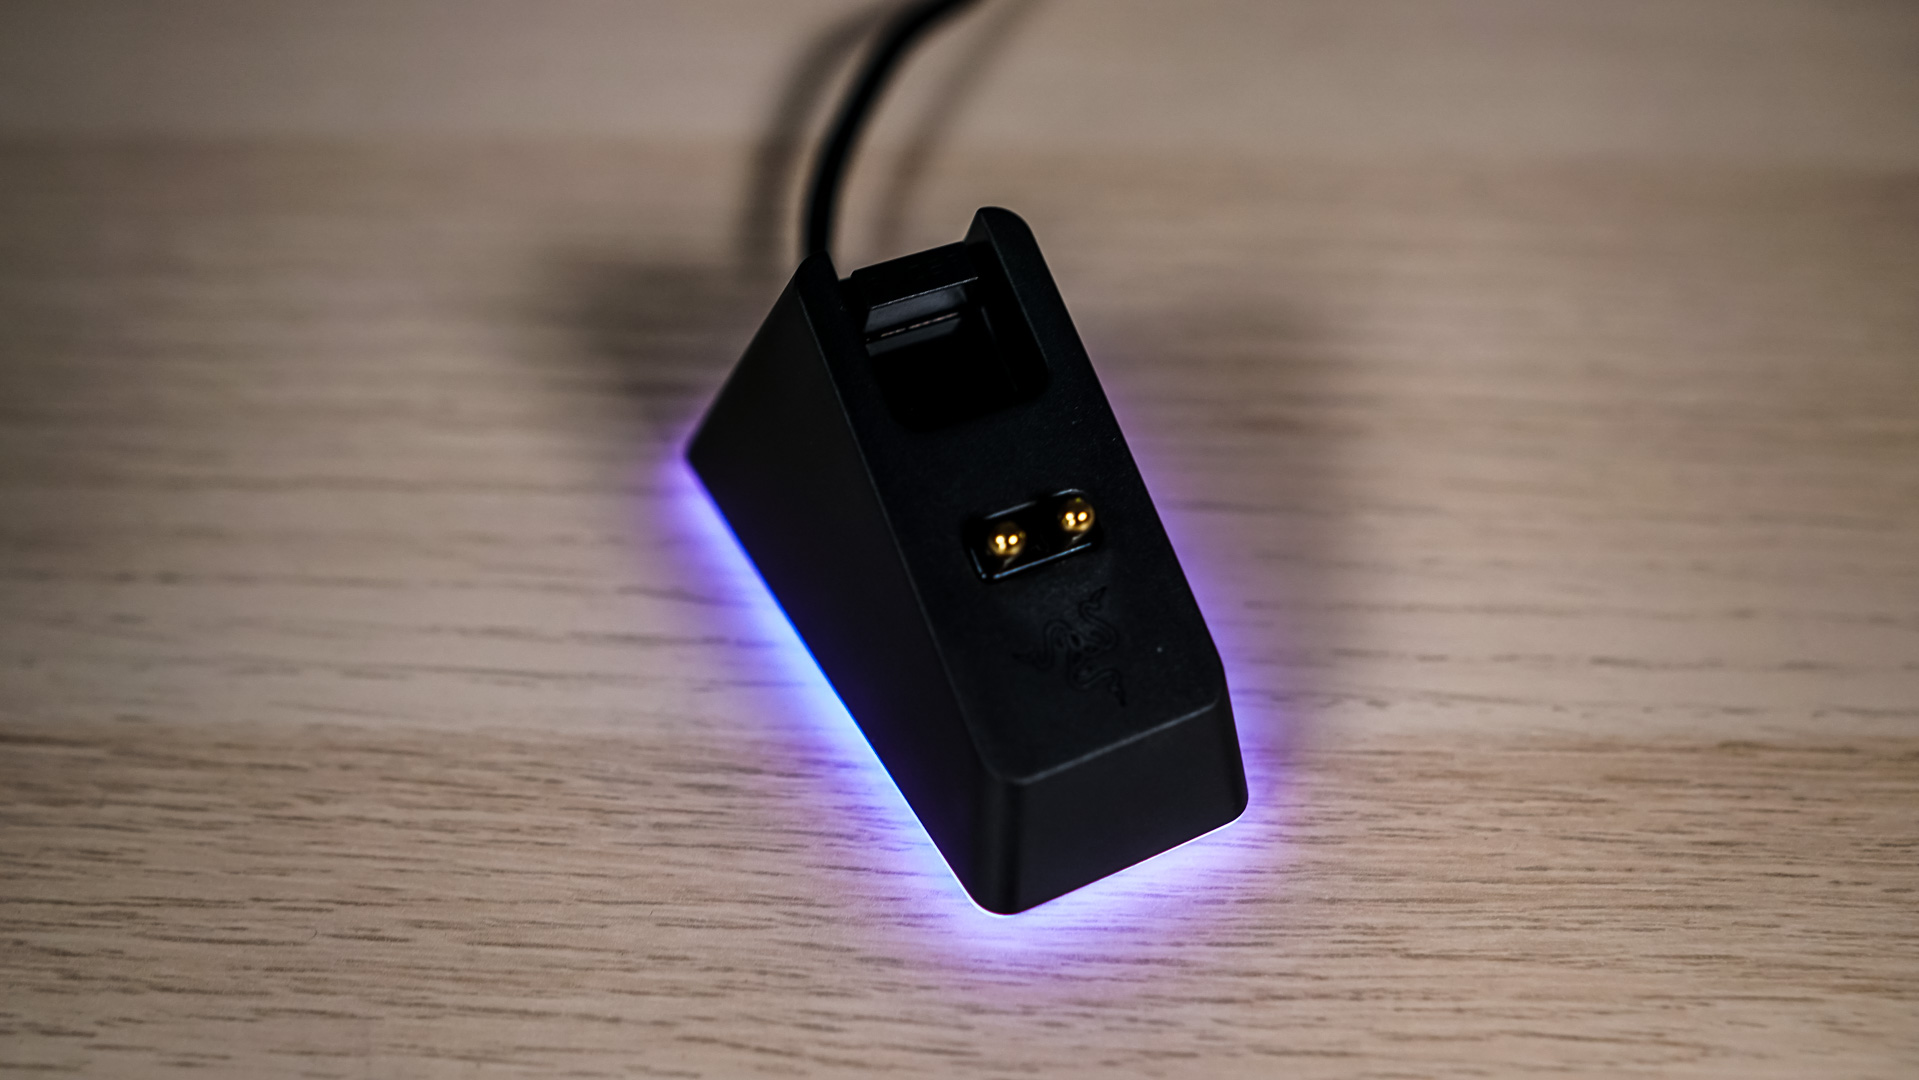
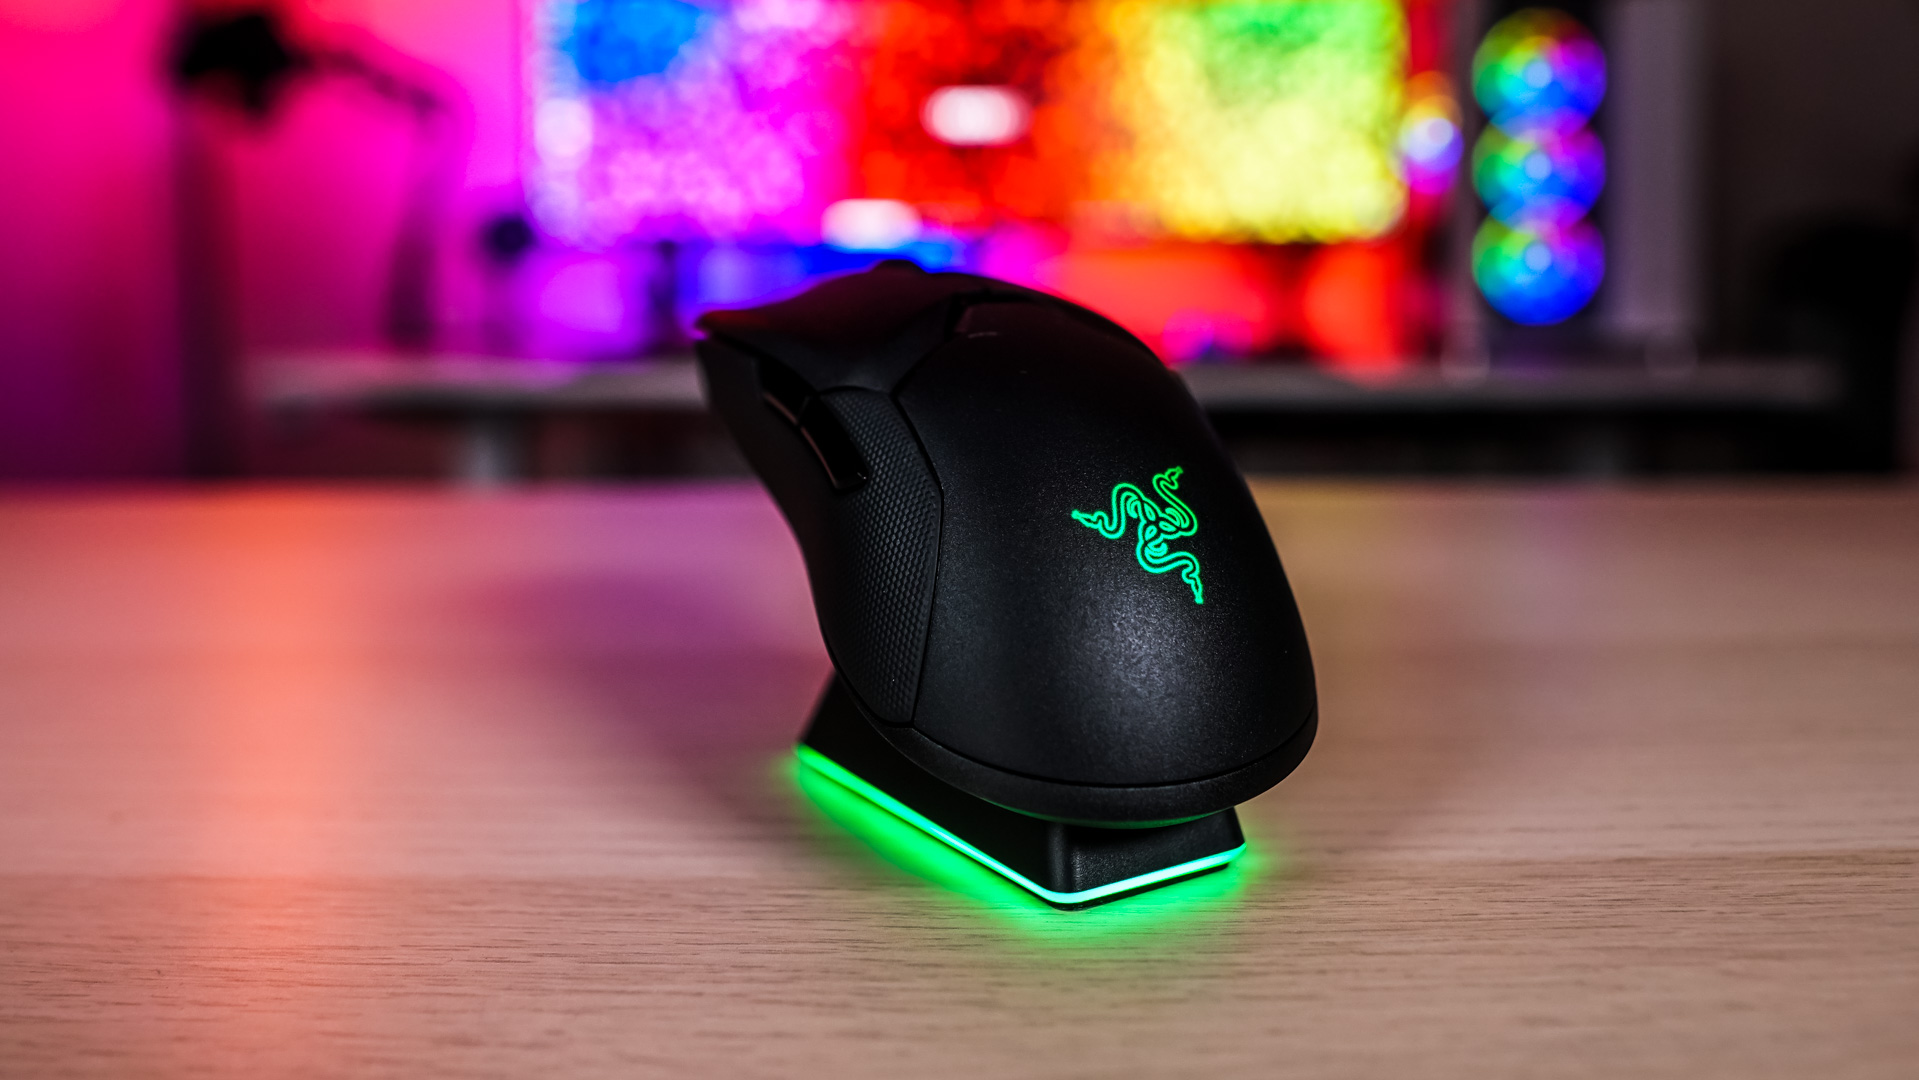
When you place your mouse on the dock the lighting will change to indicate how charged up the mouse is. It also places the mouse at an angle so you can sort of “display” the mouse which is pretty cool.
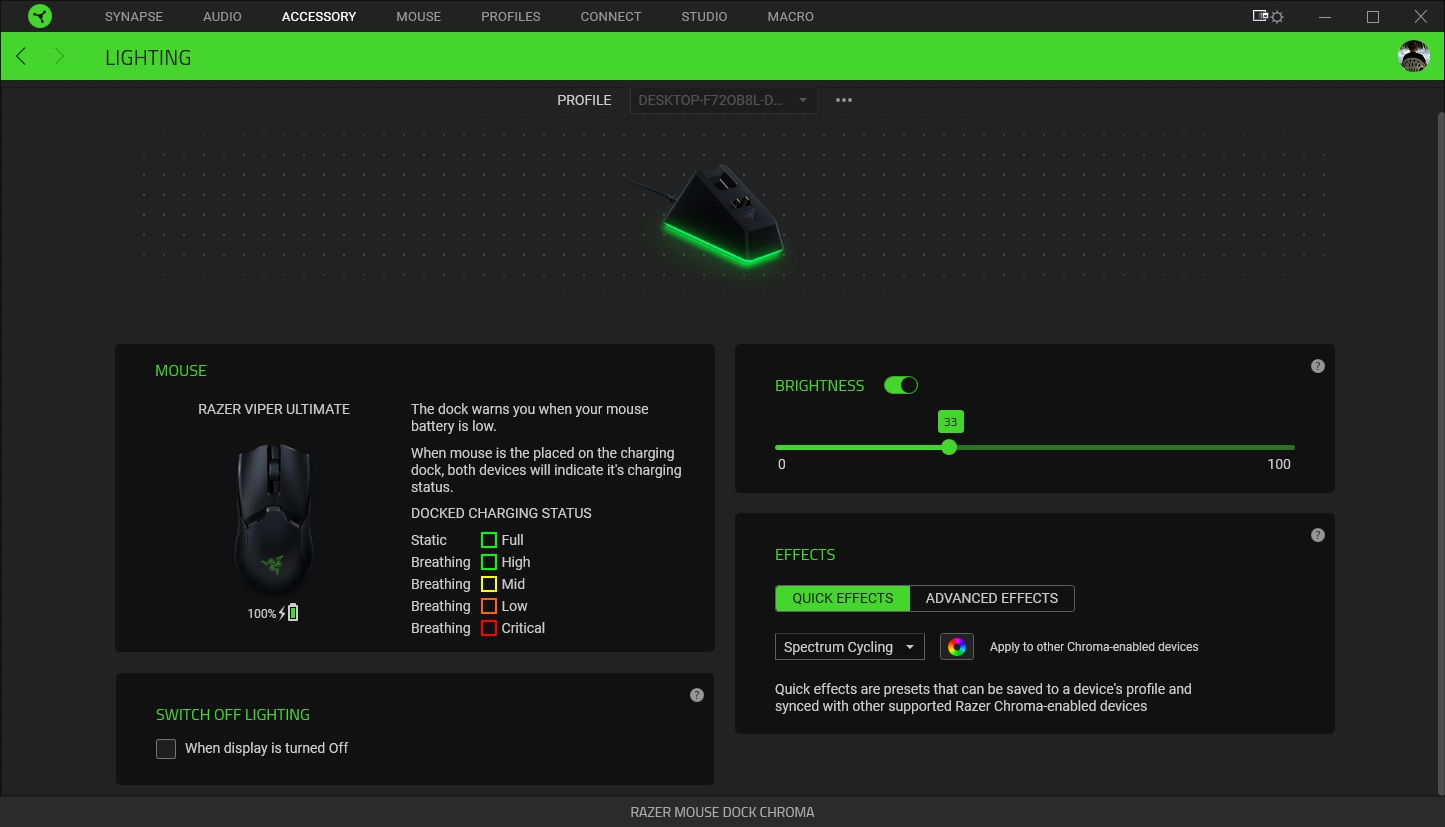
When you plug in the dock for the first time you’ll be asked to download Razer’s Synapse software. Once installed you’ll see two devices listed, the Razer Mouse Dock Chroma, and the Razer Viper Ultimate.
Clicking into the Razer Mouse Dock Chroma you’ll be able to see the docked charging status colors, enable or disable switching the lighting off when your monitor is turned off, set the brightness and set the Chroma effect.
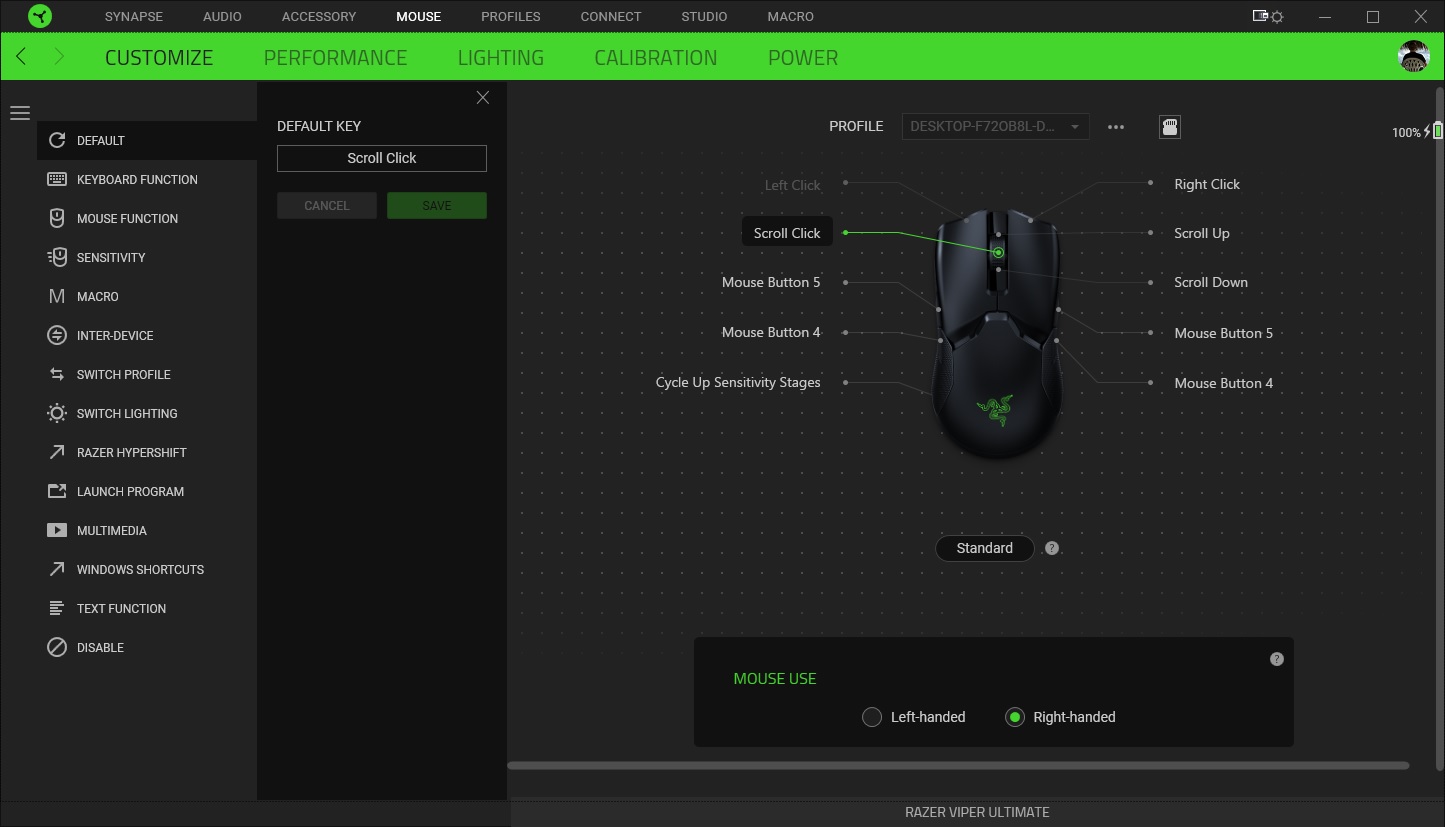
Switching over to the Razer Viper Ultimate the first tab is Customize. Here we can reprogram every button on the mouse. We can also set if the mouse is being used right-handed or left-handed. You can reprogram each button to pretty much anything and creating macros is very easy.

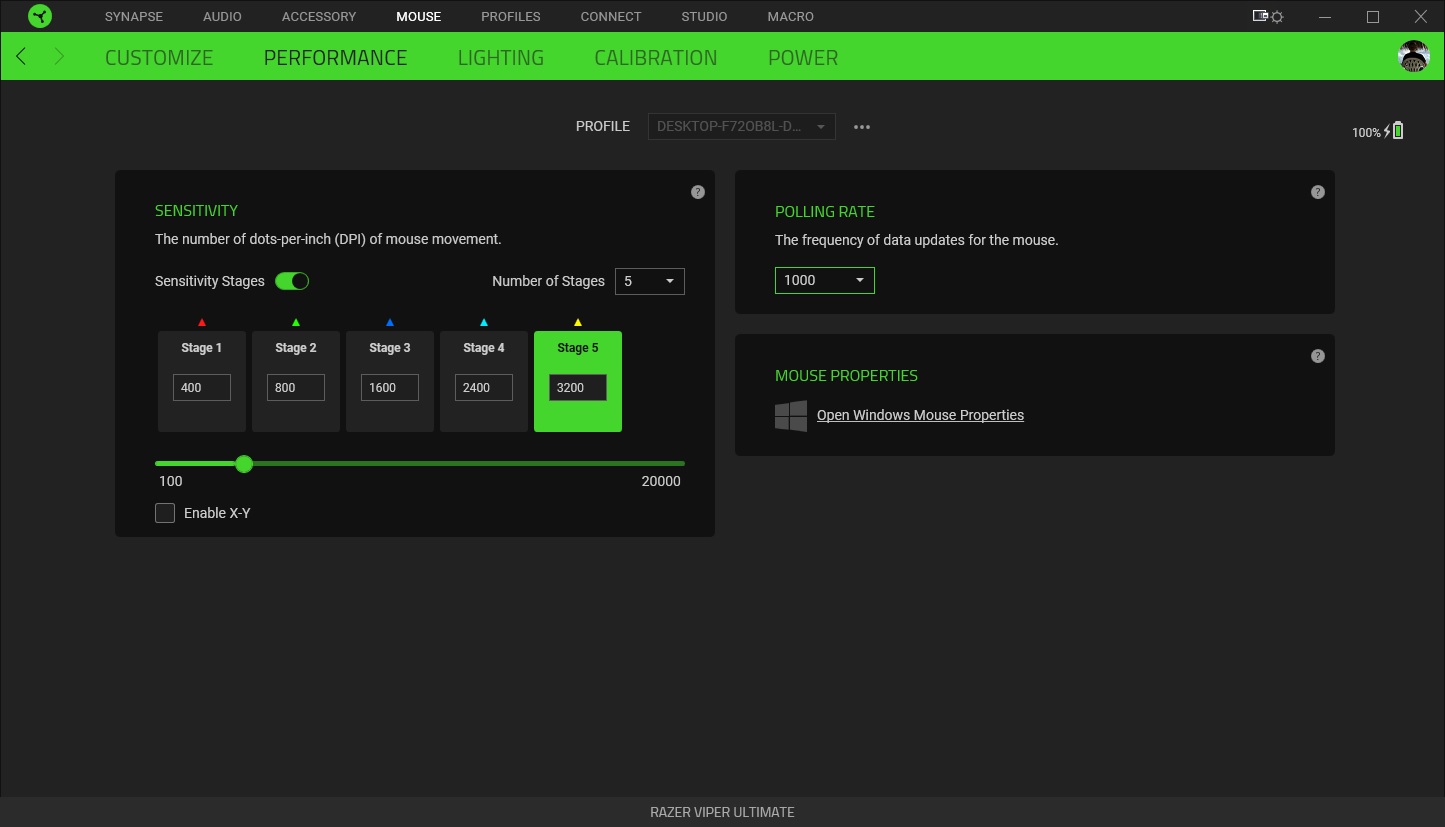
Under the Performance tab we can set the five different DPI levels, the polling rate, and there is a shortcut to Windows Mouse properties.
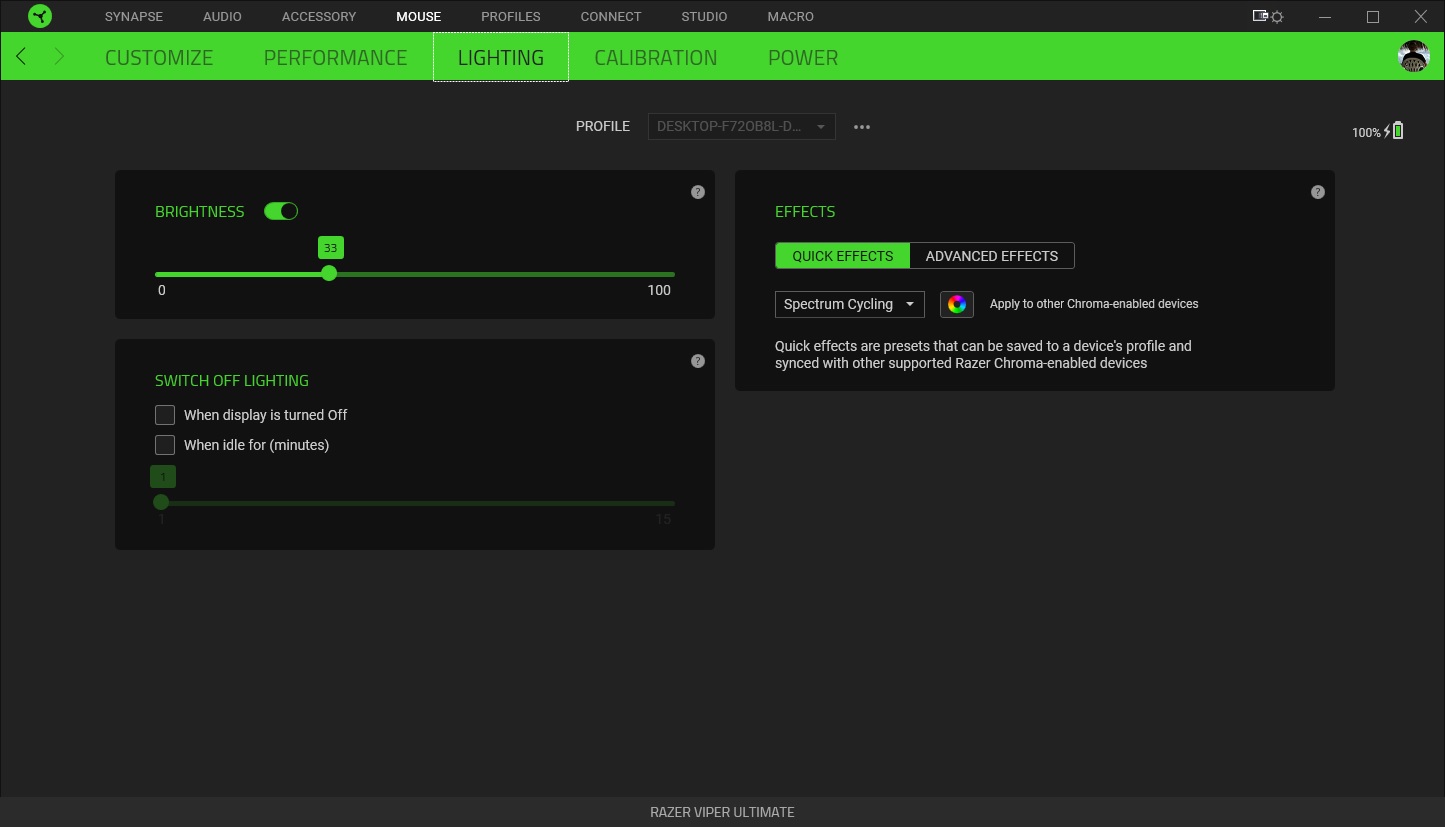
The next tab is Lighting. Here we can set the brightness level, when the lighting gets turned off, and set a lighting effect. The only lighting on the mouse is the Razer logo on the palm rest.
Under the Calibration tab you can either setup smart tracking or do a manual calibration.

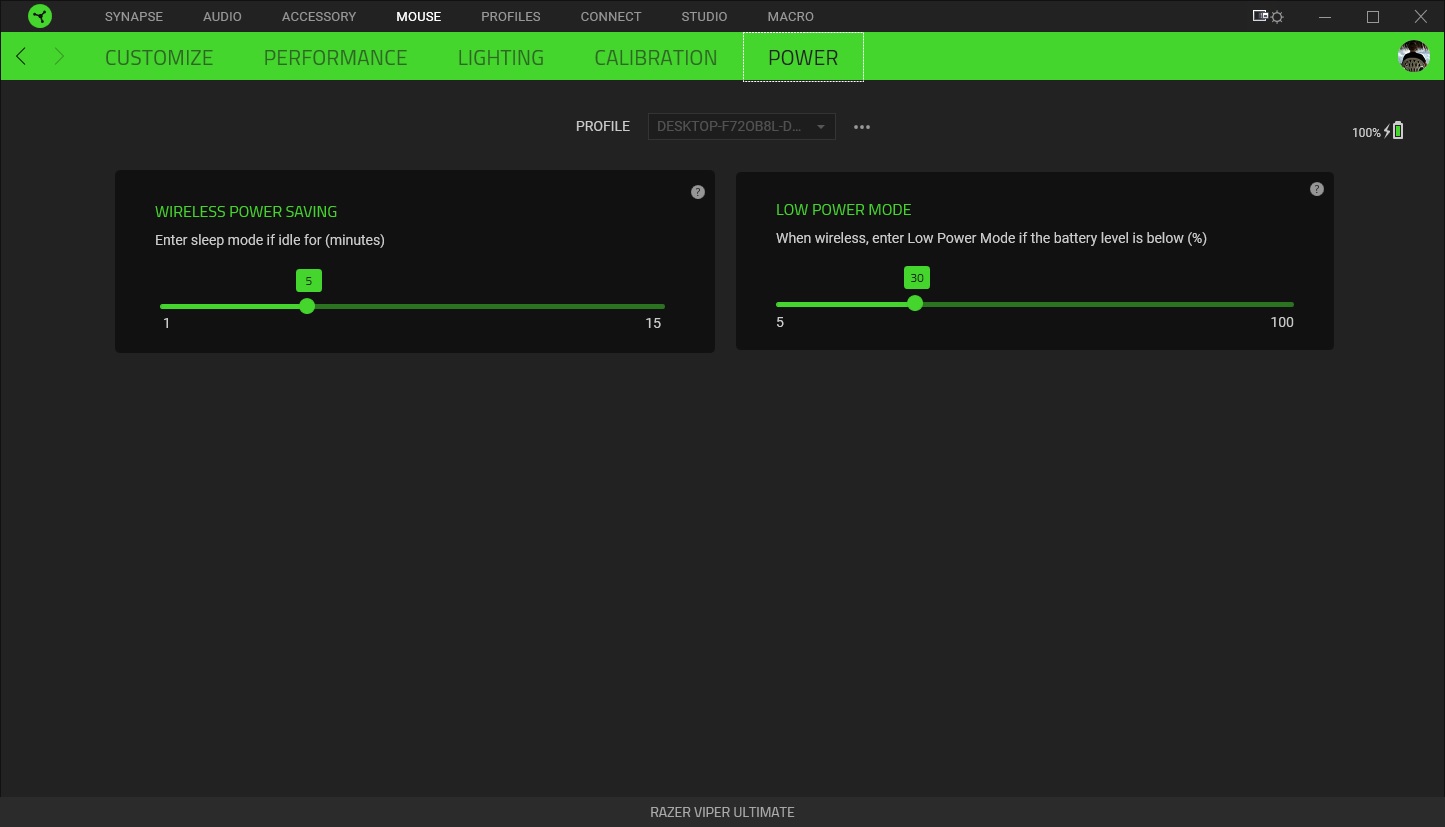
Finally under the power tab we can see when the mouse will enter sleep mode and when it will enter low power mode.