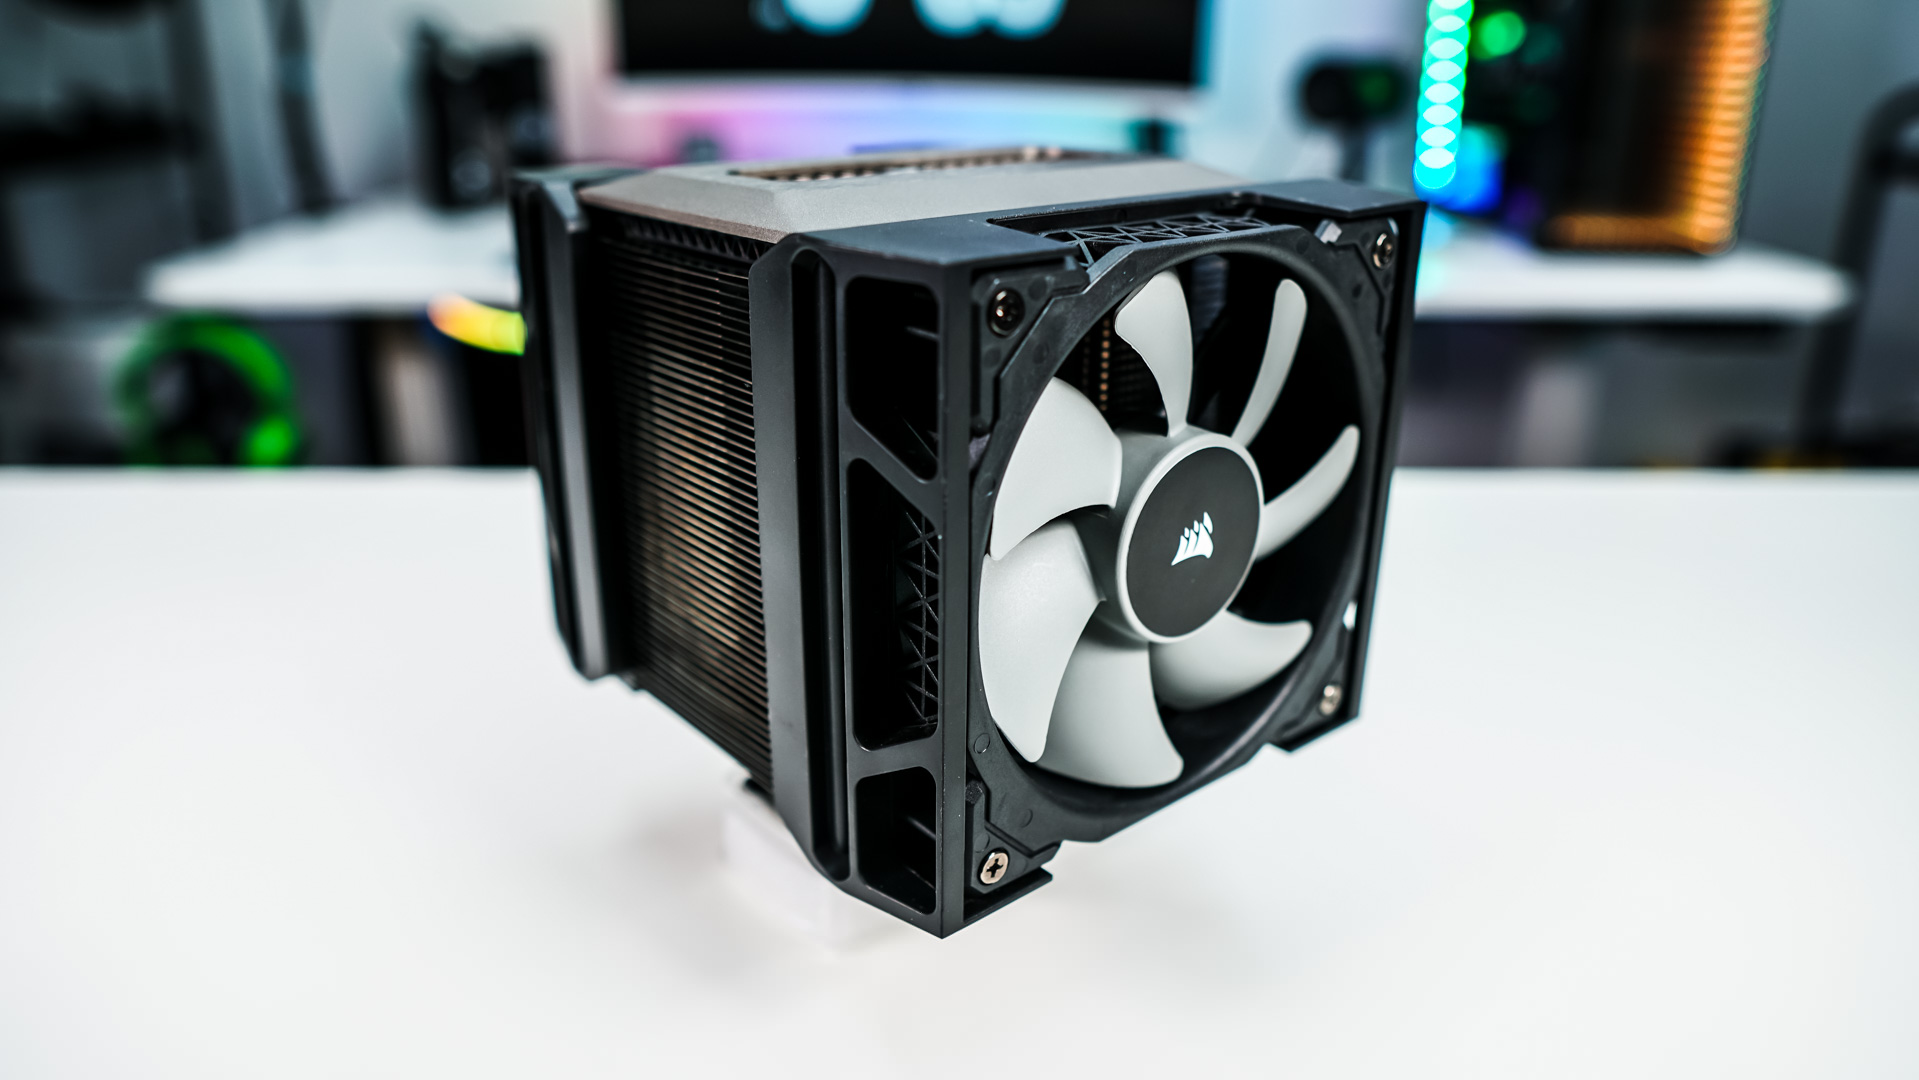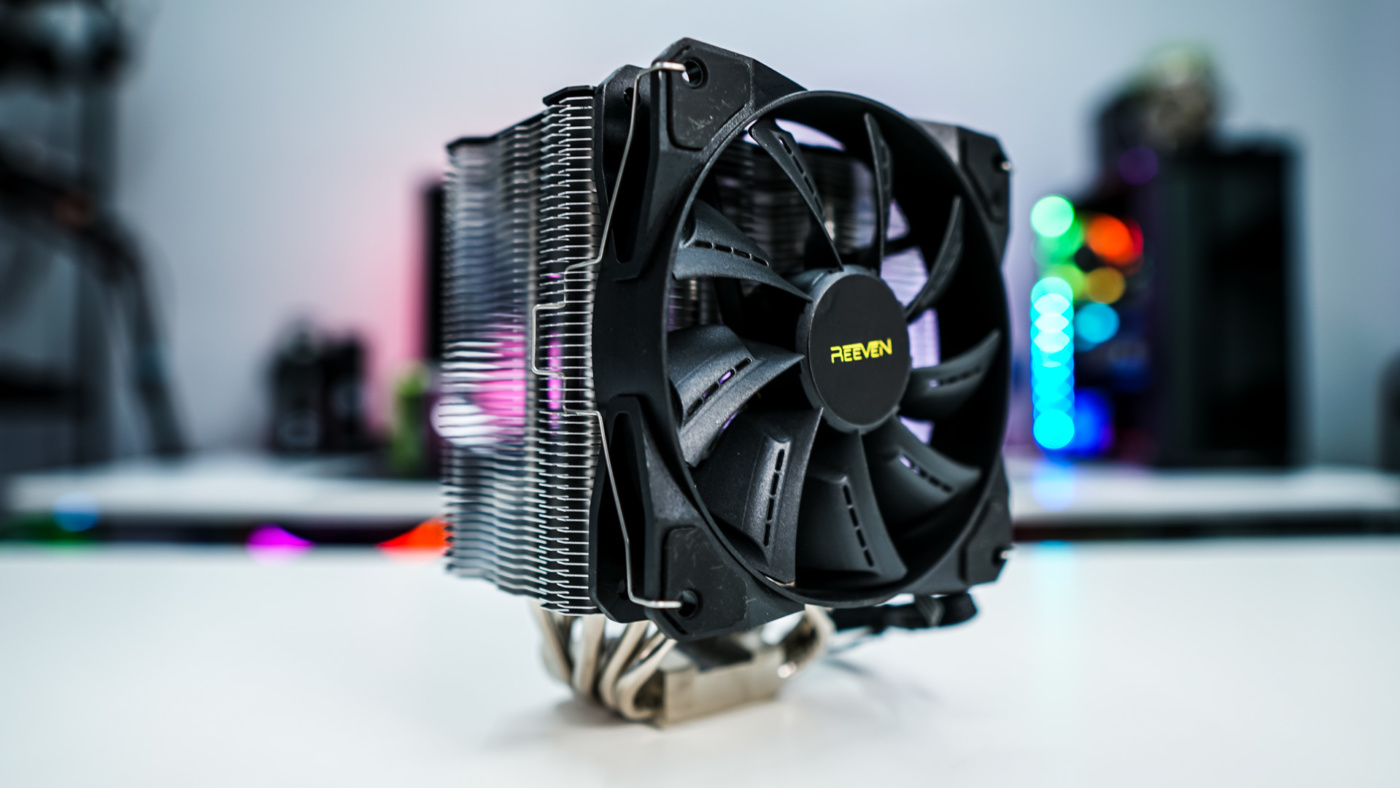
Installation
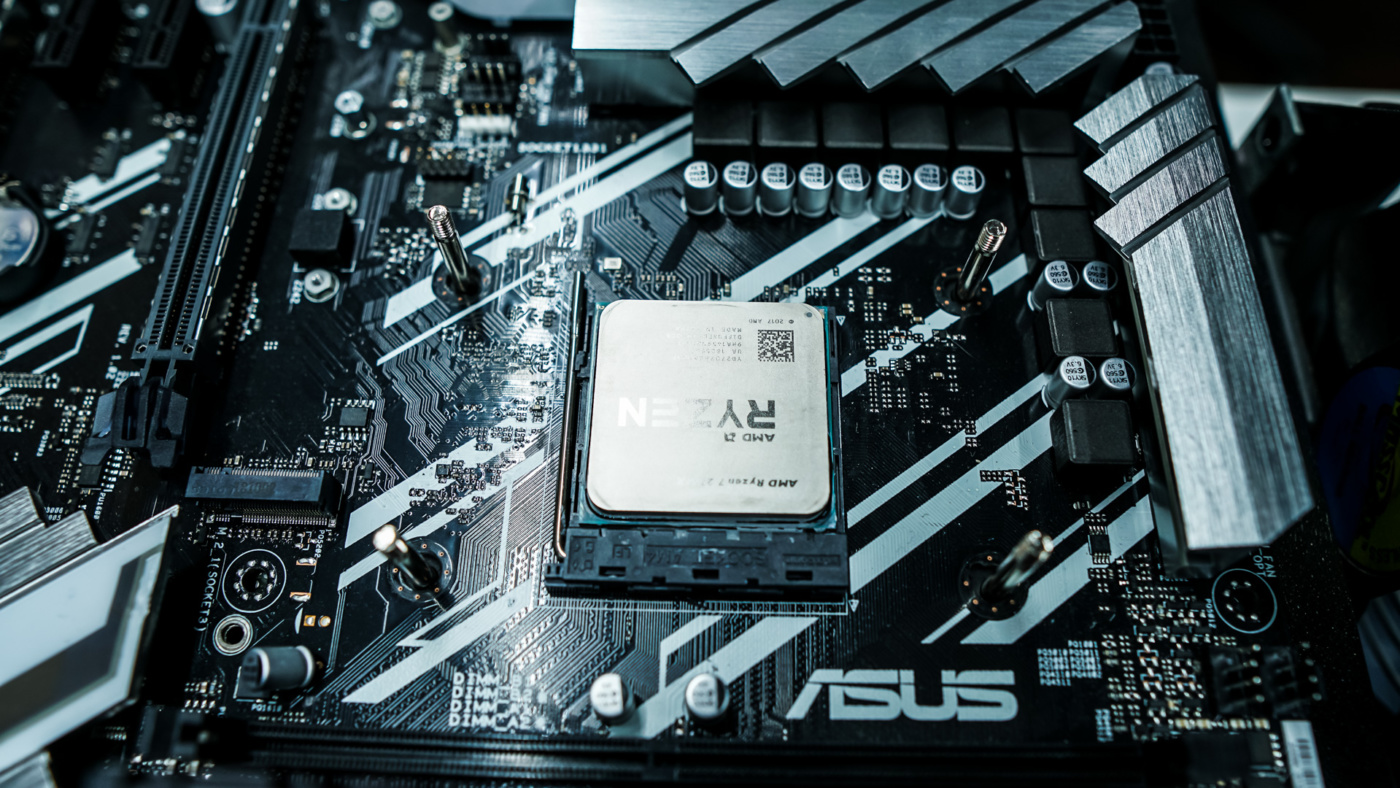
We will be installing the Reeven Justice II in our Ryzen test system so this installation guide will be for the AM4 socket. The first thing you are going to want to do is remove the AM4 mounting bracket completely.
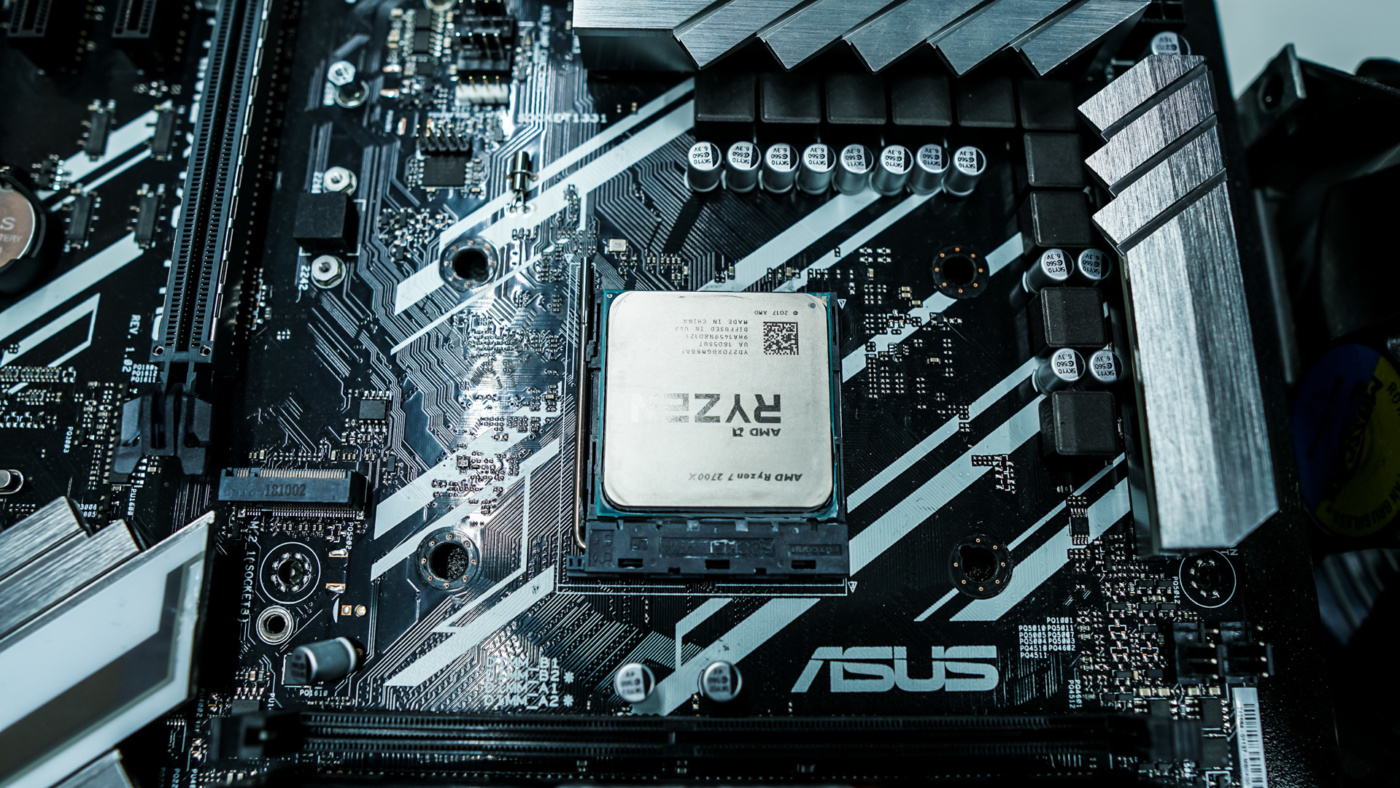
After you have it removed you are going to want to find the backplate. The backplate has holes for AM3/AM4 and Intel sockets. Be sure to follow the installation guide to see what holes to use for the backplate bolts. Put the backplate bolts through the back of the backplate and install the silicon washers on the other side. If you’ve done everything correctly your backplate should look like the second picture below.

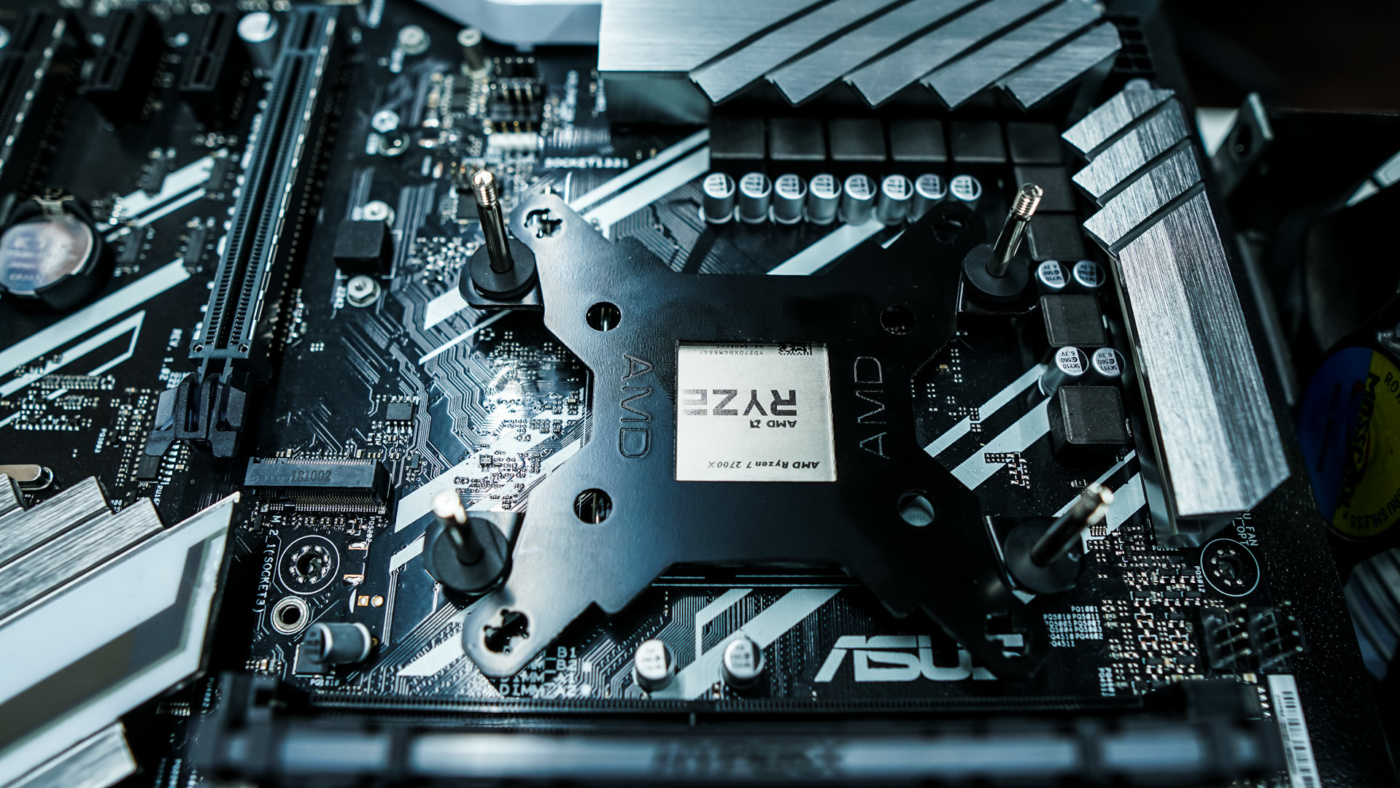
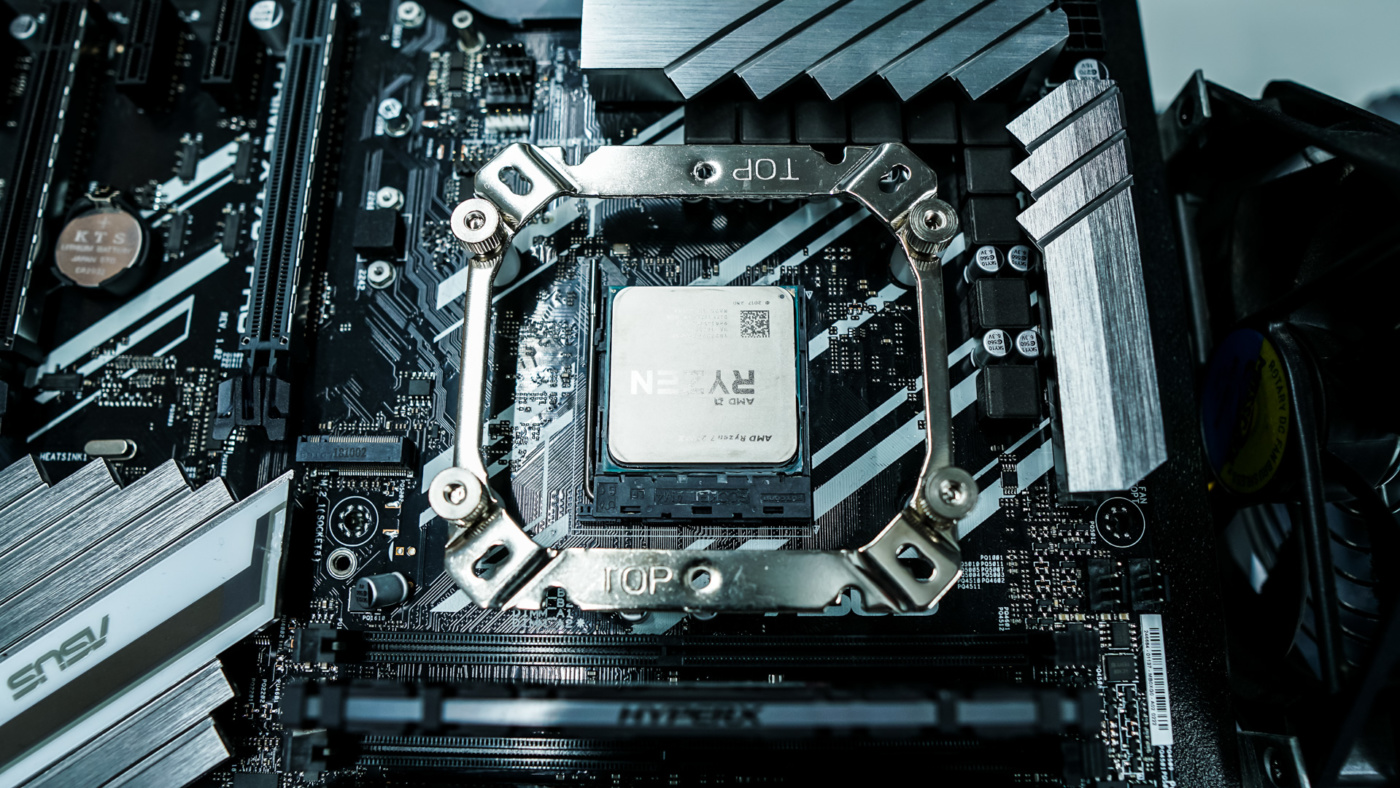
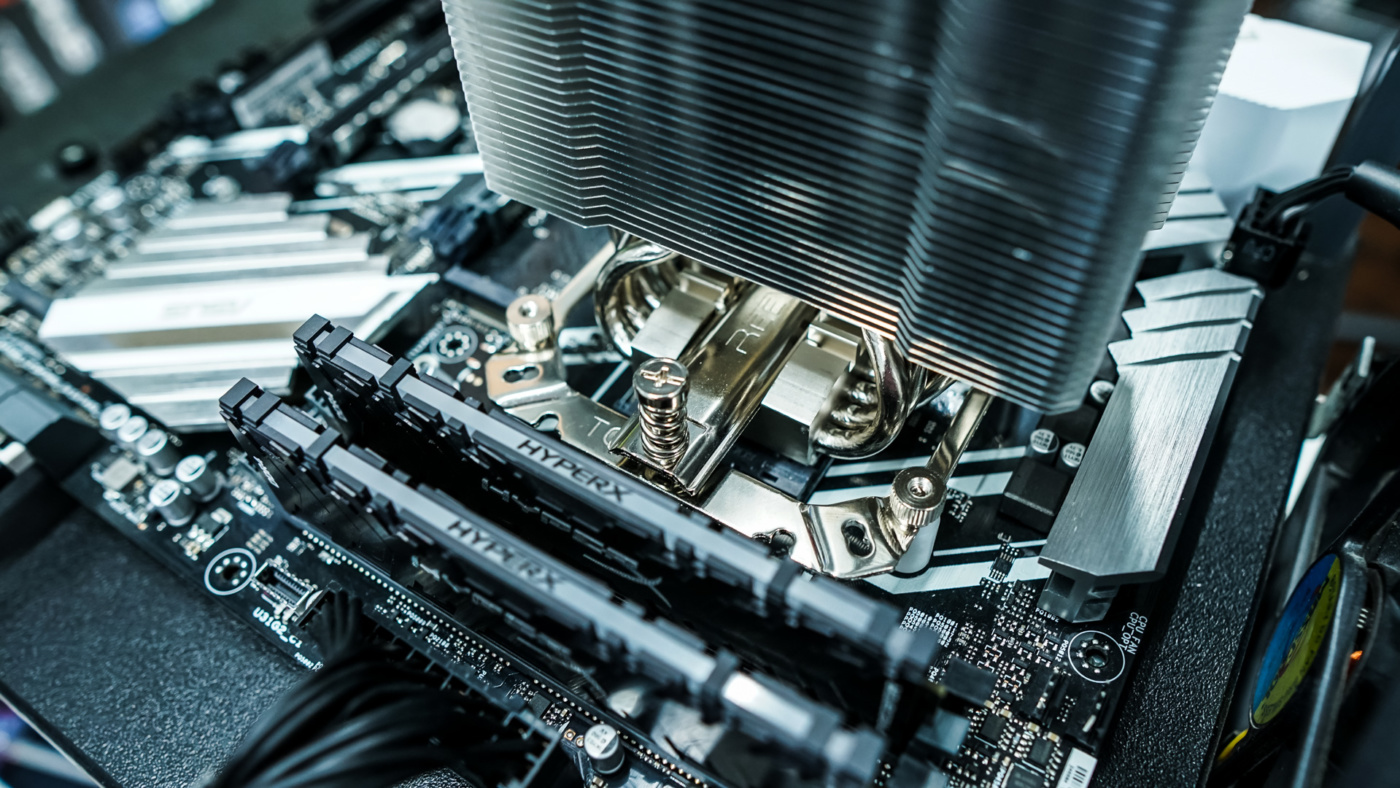
Now take the backplate and place it behind your motherboard very carefully threading the bolts through the holes around your CPU socket. Next take the spacers and install them on top of the bolts. Then take the mounting bracket and secure it to the bolts using the four included nuts. The mounting bracket actually says “TOP” so you know you have it installed correctly.
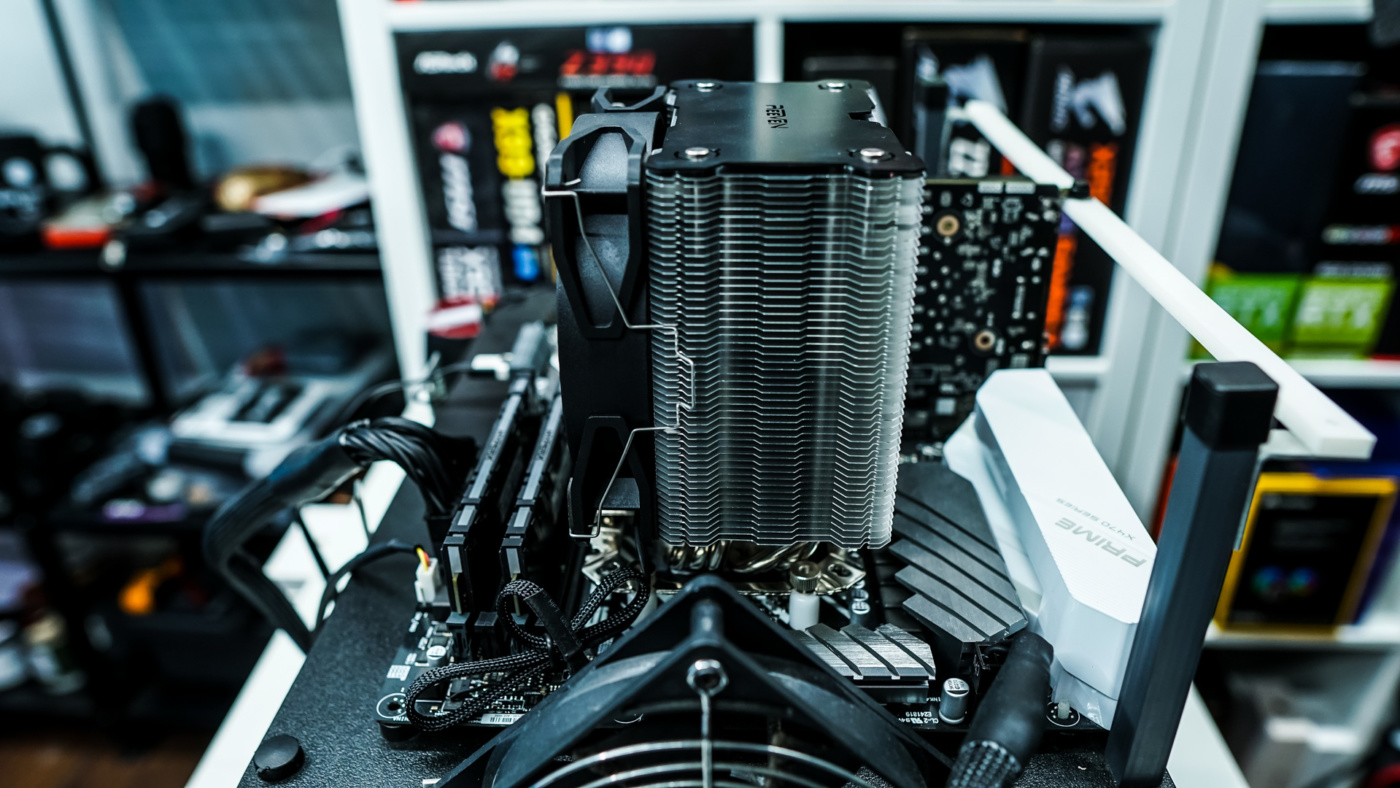
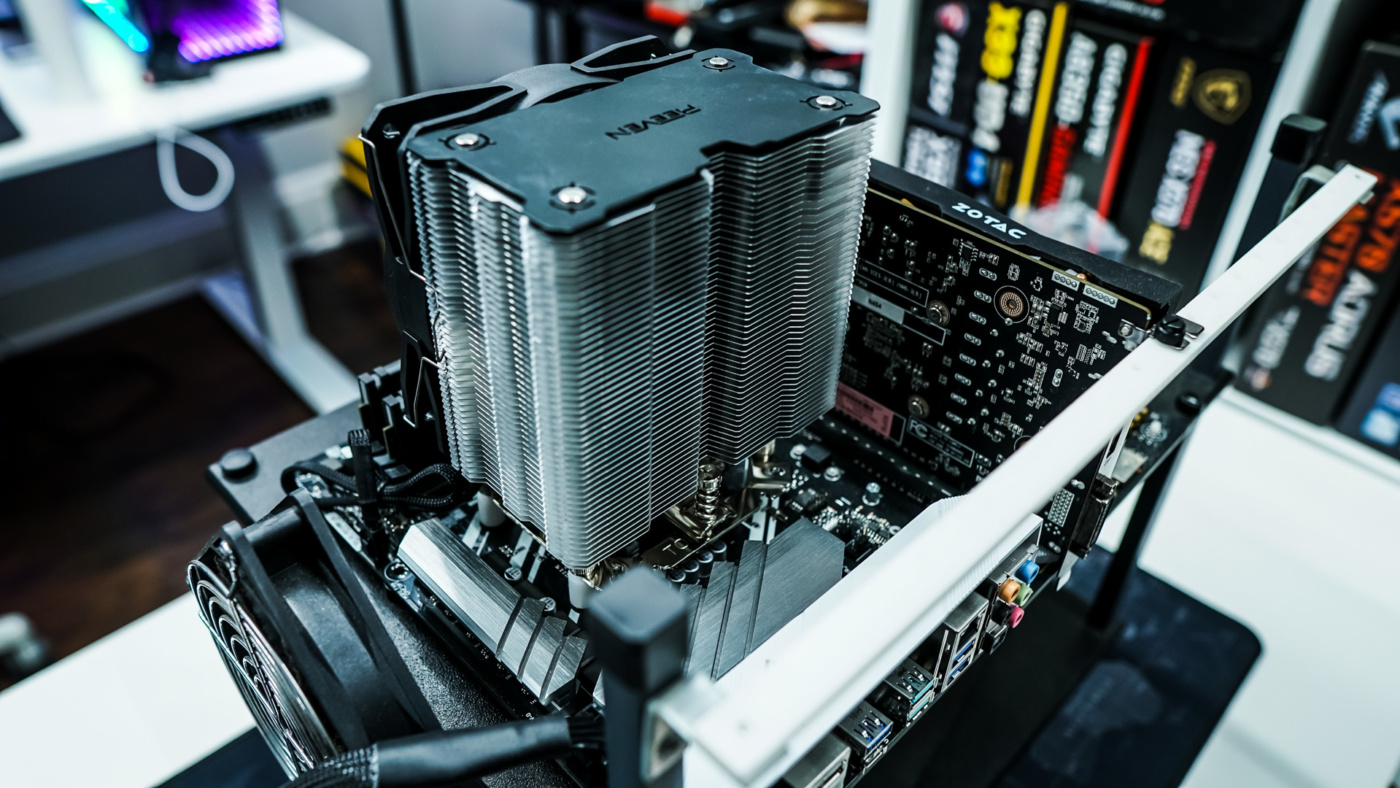
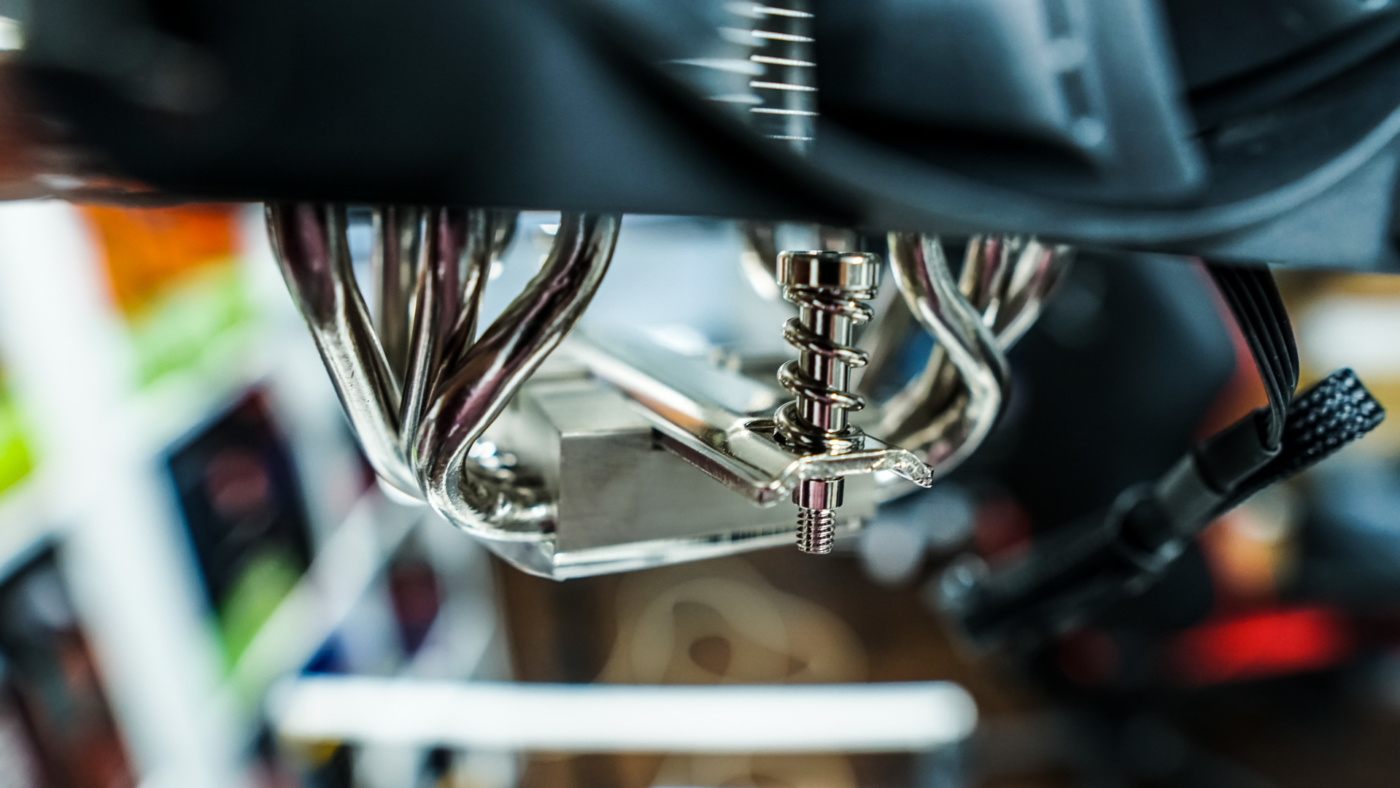
Now go ahead and take the heatsink tower and carefully place the mounting bar on the bottom in the small groove. Then apply the included thermal paste and place the tower on top of your CPU lining up the screws on the mounting bar with the holes on the mounting bracket. Then simply secure the cooler with the screws.
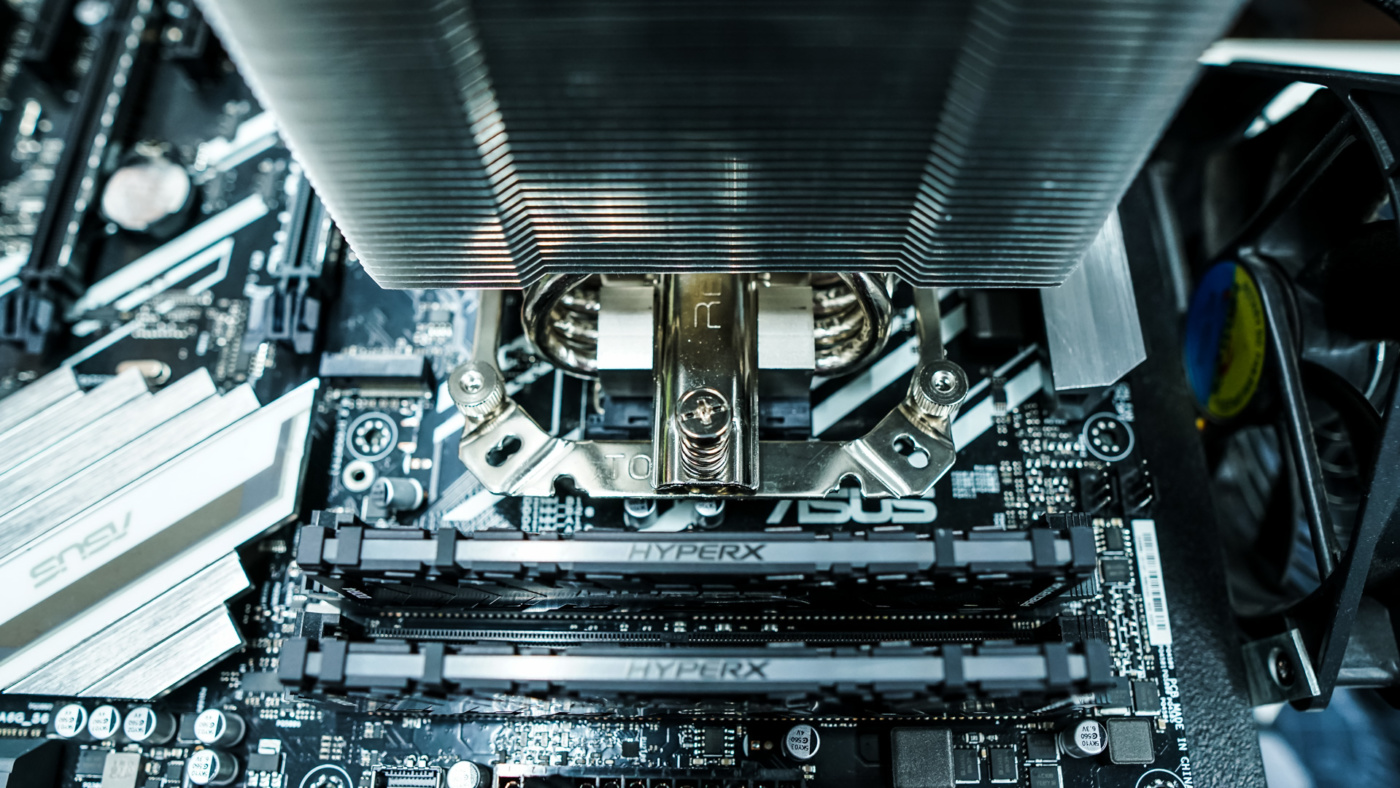
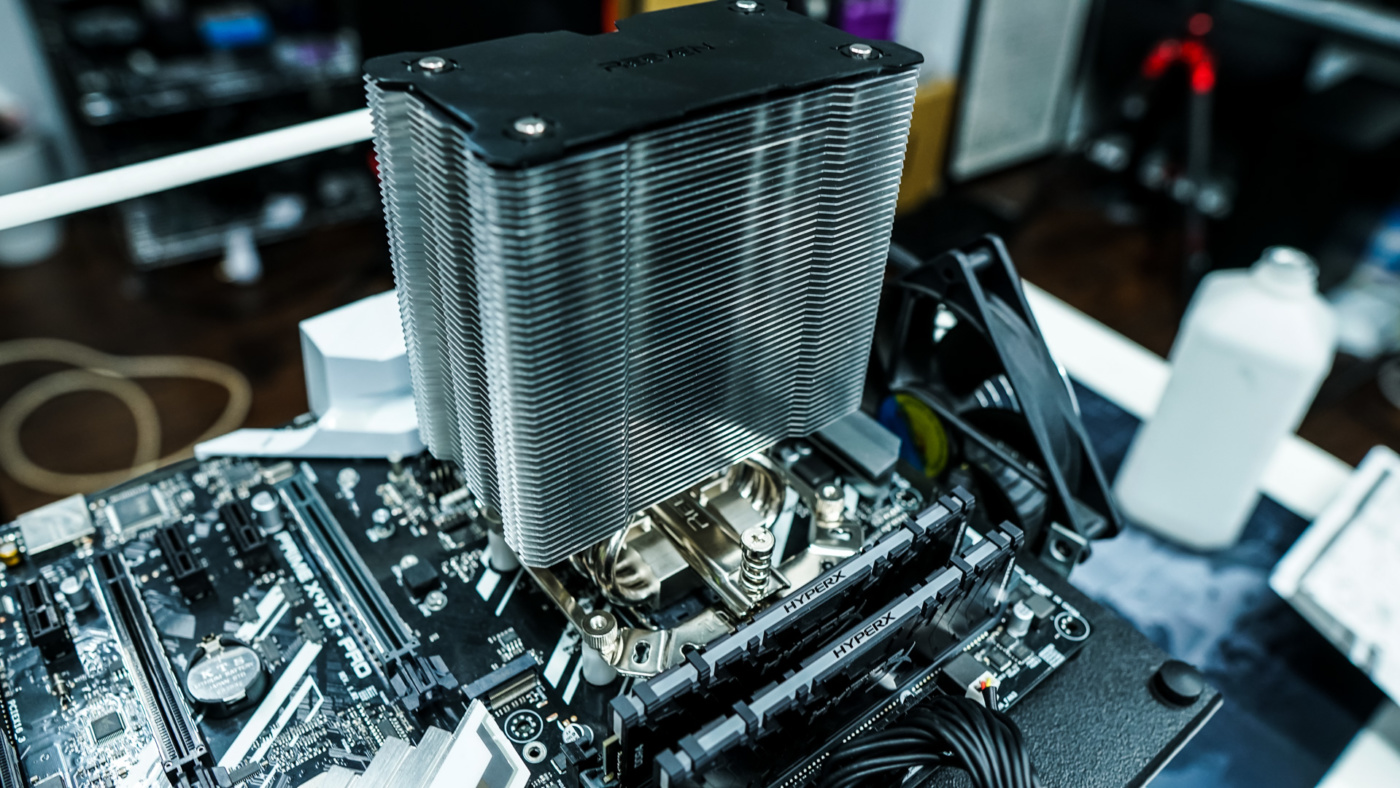
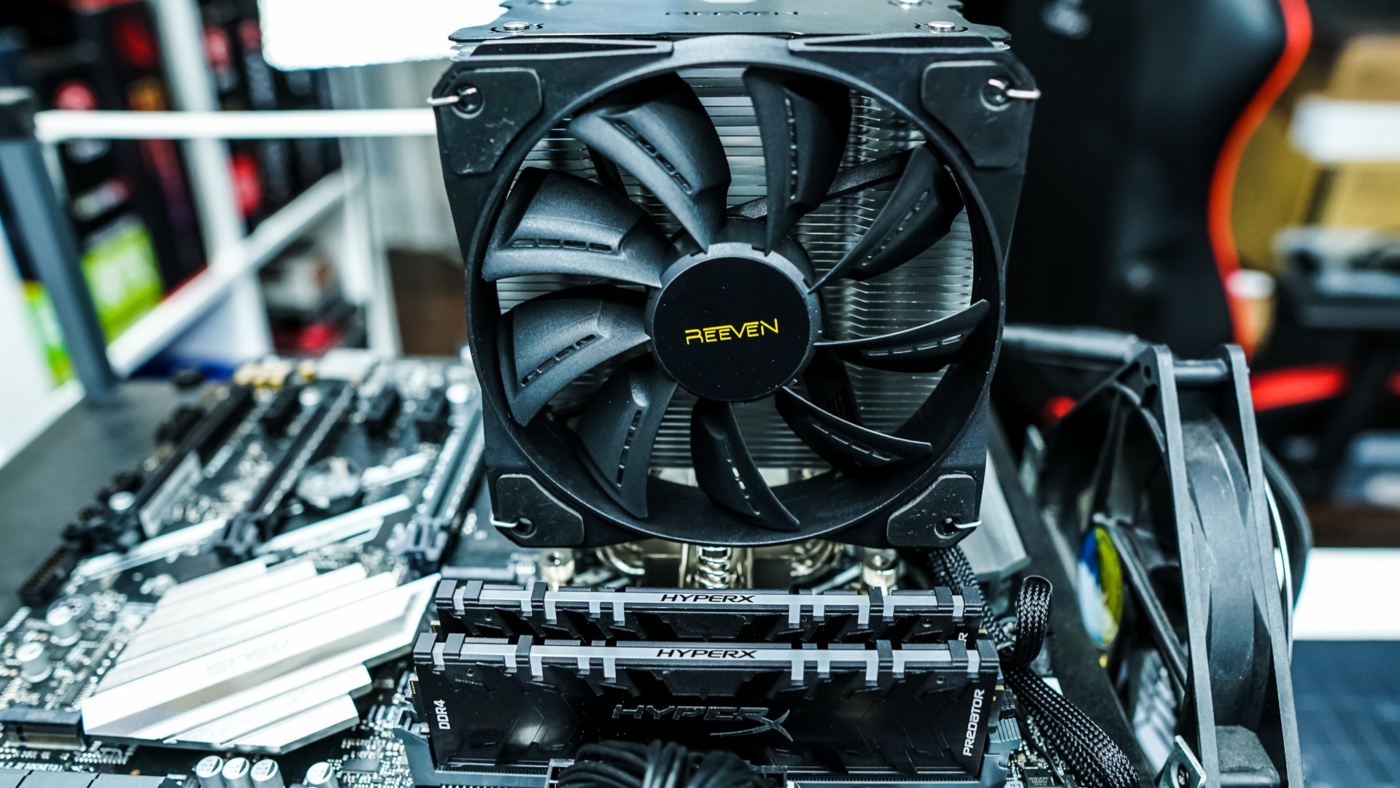
The last thing to do is install the fan, which uses clips and is quite easy to install. Even with the fan installed you can see there are no clearance issues at all as the fan doesn’t cover any of our RAM slots.