Installation
While the Sabrent website says that the heatsink comes preinstalled that is not the case. Installing the heatsink is not a big deal, but it is an extra step. It is worth noting that Sabrent does offer both heatsink and non-heatsink version of the drive, so if you bought the heatsink version you definitely want to use the heatsink.
To start installation take the tray part of the heatsink and install one of the included pieces of thermal tape.

Then go ahead and remove the backing from the thermal tape and place the drive inside of the tray facing up. At this point it would be a good idea to fit the drive in the M.2 slot you plan to use to make sure to that it will fit and that you have it installed in the tray correctly. You wouldn’t want to put the whole thing together to just have to take it apart and readjust it.


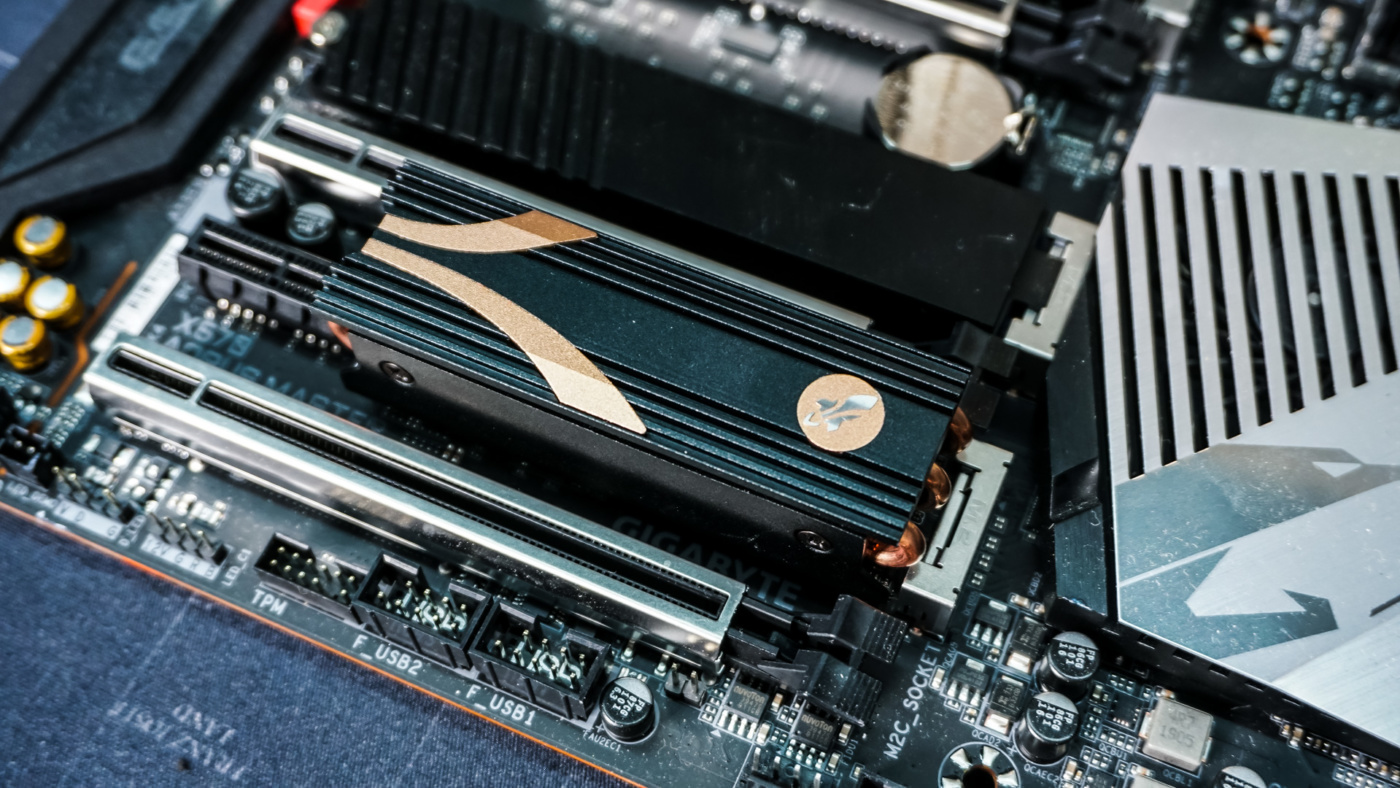
Now just take the main heatsink and remove the backing on the thermal tape that is already install on the bottom of it. Carefully place it in the tray on top of the drive, lining up the screw holes on each side. From there take the included screws and install them in the holes on each side. Once completed you’ll have a “solid” single-piece M.2 drive.


Finally use the last included screw to secure the drive in your motherboard.