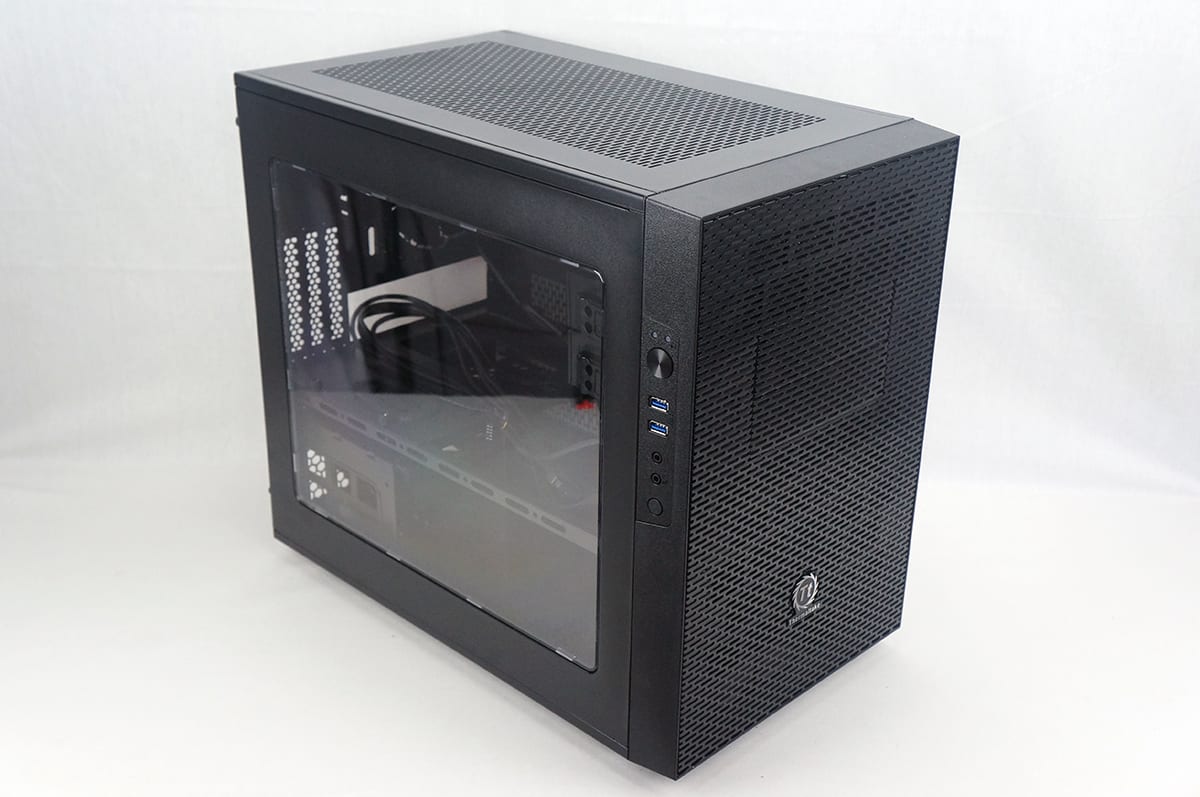
A Look Inside
Getting inside the case is quite easy, just remove the side panel. On thing that is really cool about this case is that both side panels are interchangeable. Taking a look inside you can see there is quite a lot of room to work with for a mini-ITX case.

At the front of the case you have the two 5.25-inch drive bays. These use a simple tool-less mounting system that has worked quite well in the past. These two bays can be removed to make room for more fans or water cooling components.
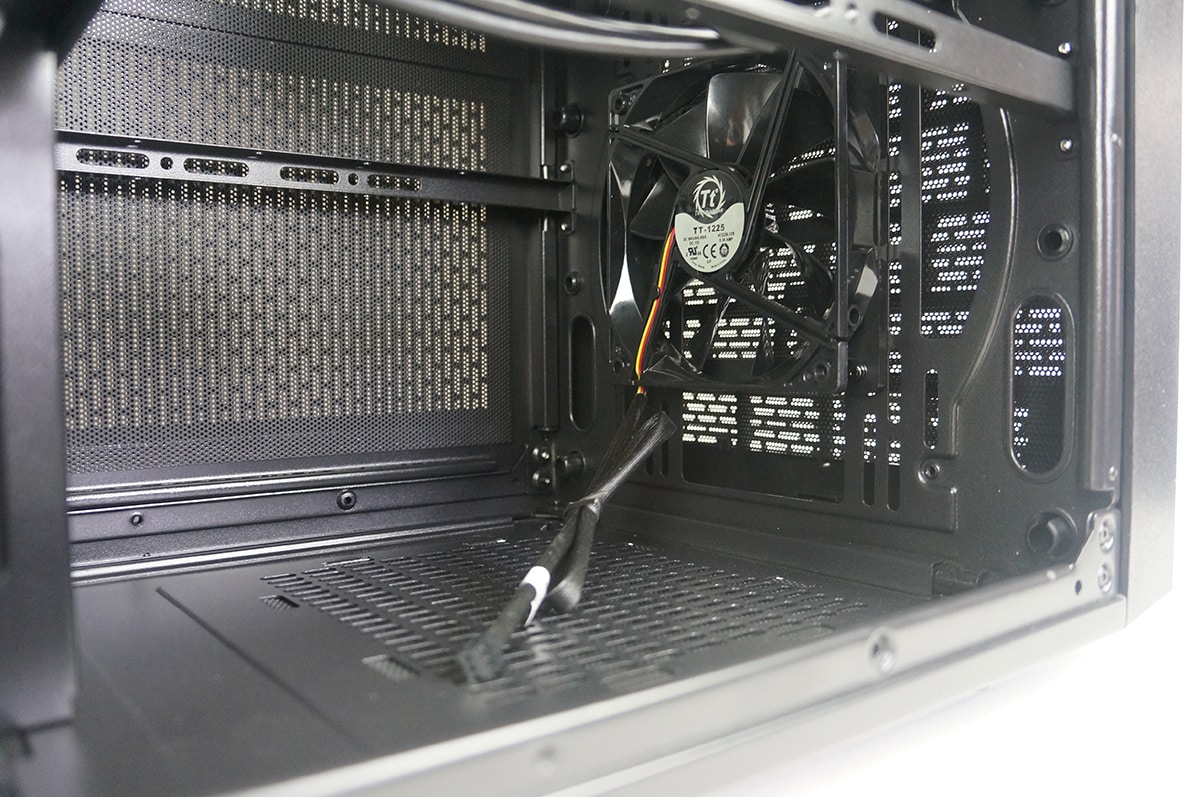
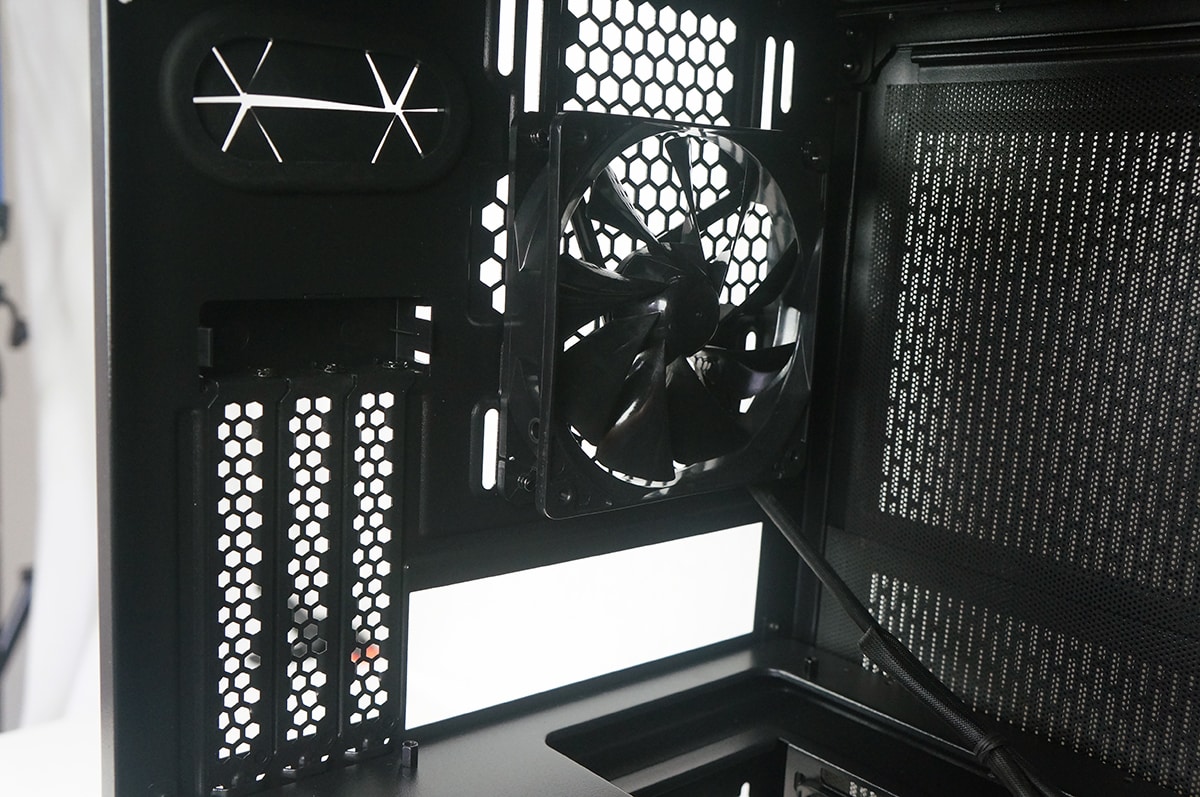
Moving down to the bottom of the case there is a large open space that can be used to organize your cables, install water cooling components and more. You can see the included 120 mm intake fan towards the bottom of the case.
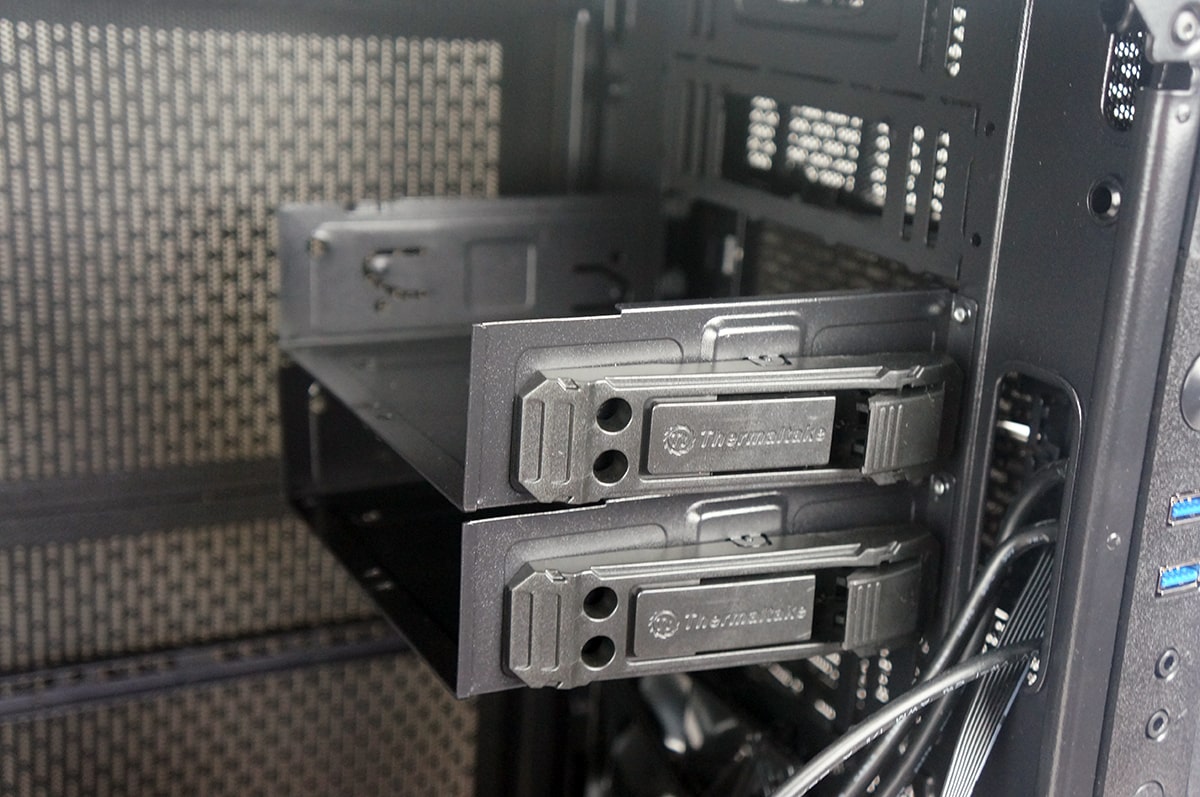
On the opposite side of the case is the hard drive cage. This cage has three removable trays that support both 2.5-inch and 3.5-inch hard drives. To the right is where your power supply will be installed, this case supports full-size power supplies.
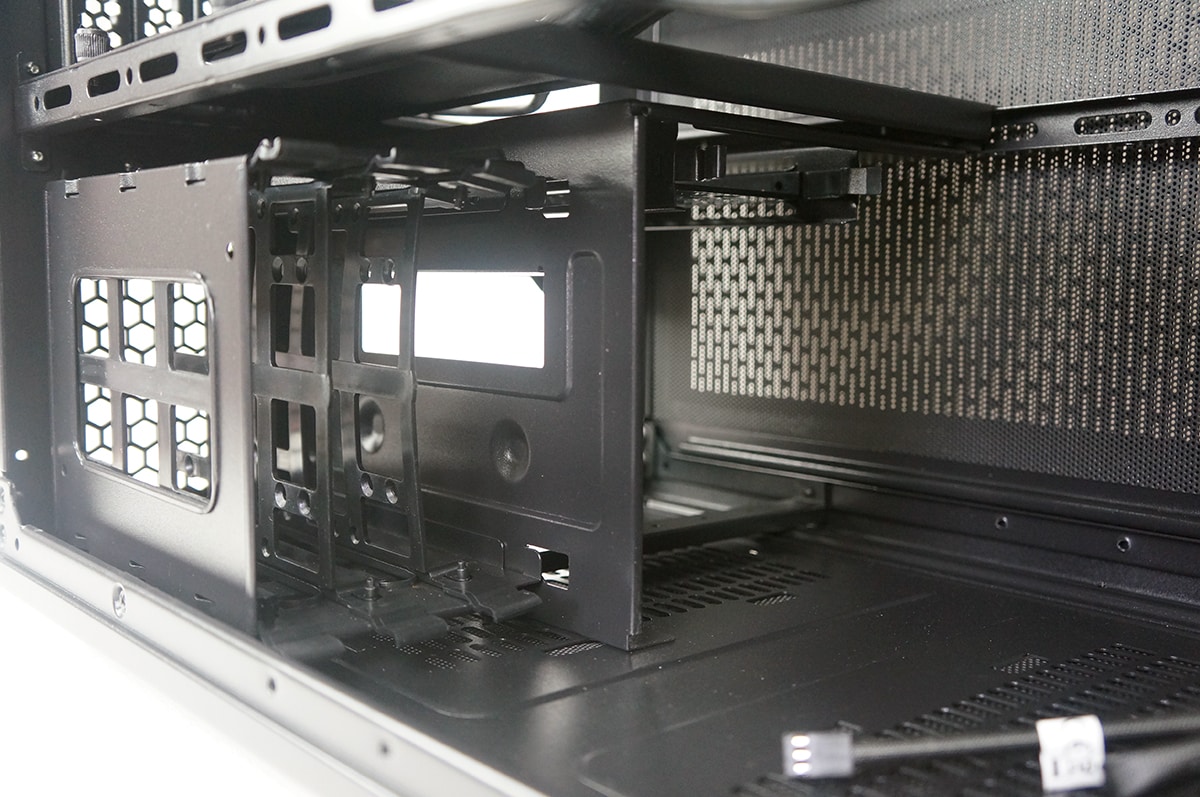
The motherboard tray sits at the center of the case and as I mentioned on our overview video it is removable for easier installation of your motherboard. There is a large cable routing hole towards the bottom right. There is a very large CPU cutout in the motherboard tray and it reveals a 4th hard drive tray that will support 2.5-inch hard drives.
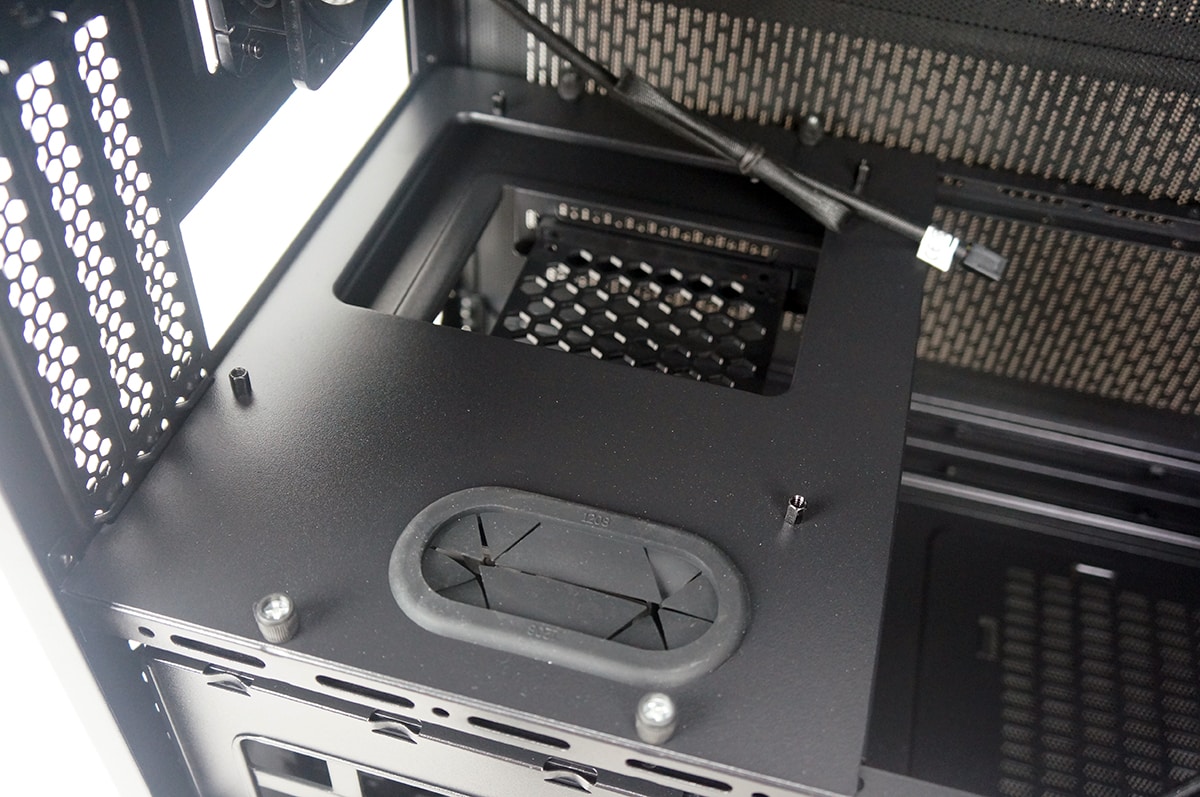
Unlike most mini-ITX cases this one has three expansion slots. This means you can actually install a 3-slot graphics card if you really wanted to. The back part of the case also has a large cable routing hole and you can see the included 120 mm exhaust fan.


It’s ridiculous. With those large dimensions I could make a full ATX build.
Non-sense ITX chassis from Thermaltake, sorry to say.
Whats up with that empty space between the RAM and the front of the case? I really do believe that can be chopped down. IMO the Obsidian 250D is the most well done mitx case right now. The cost/benefit ratio is outstanding.