Installation in the Thermaltake TR100 Mini Tower Chassis
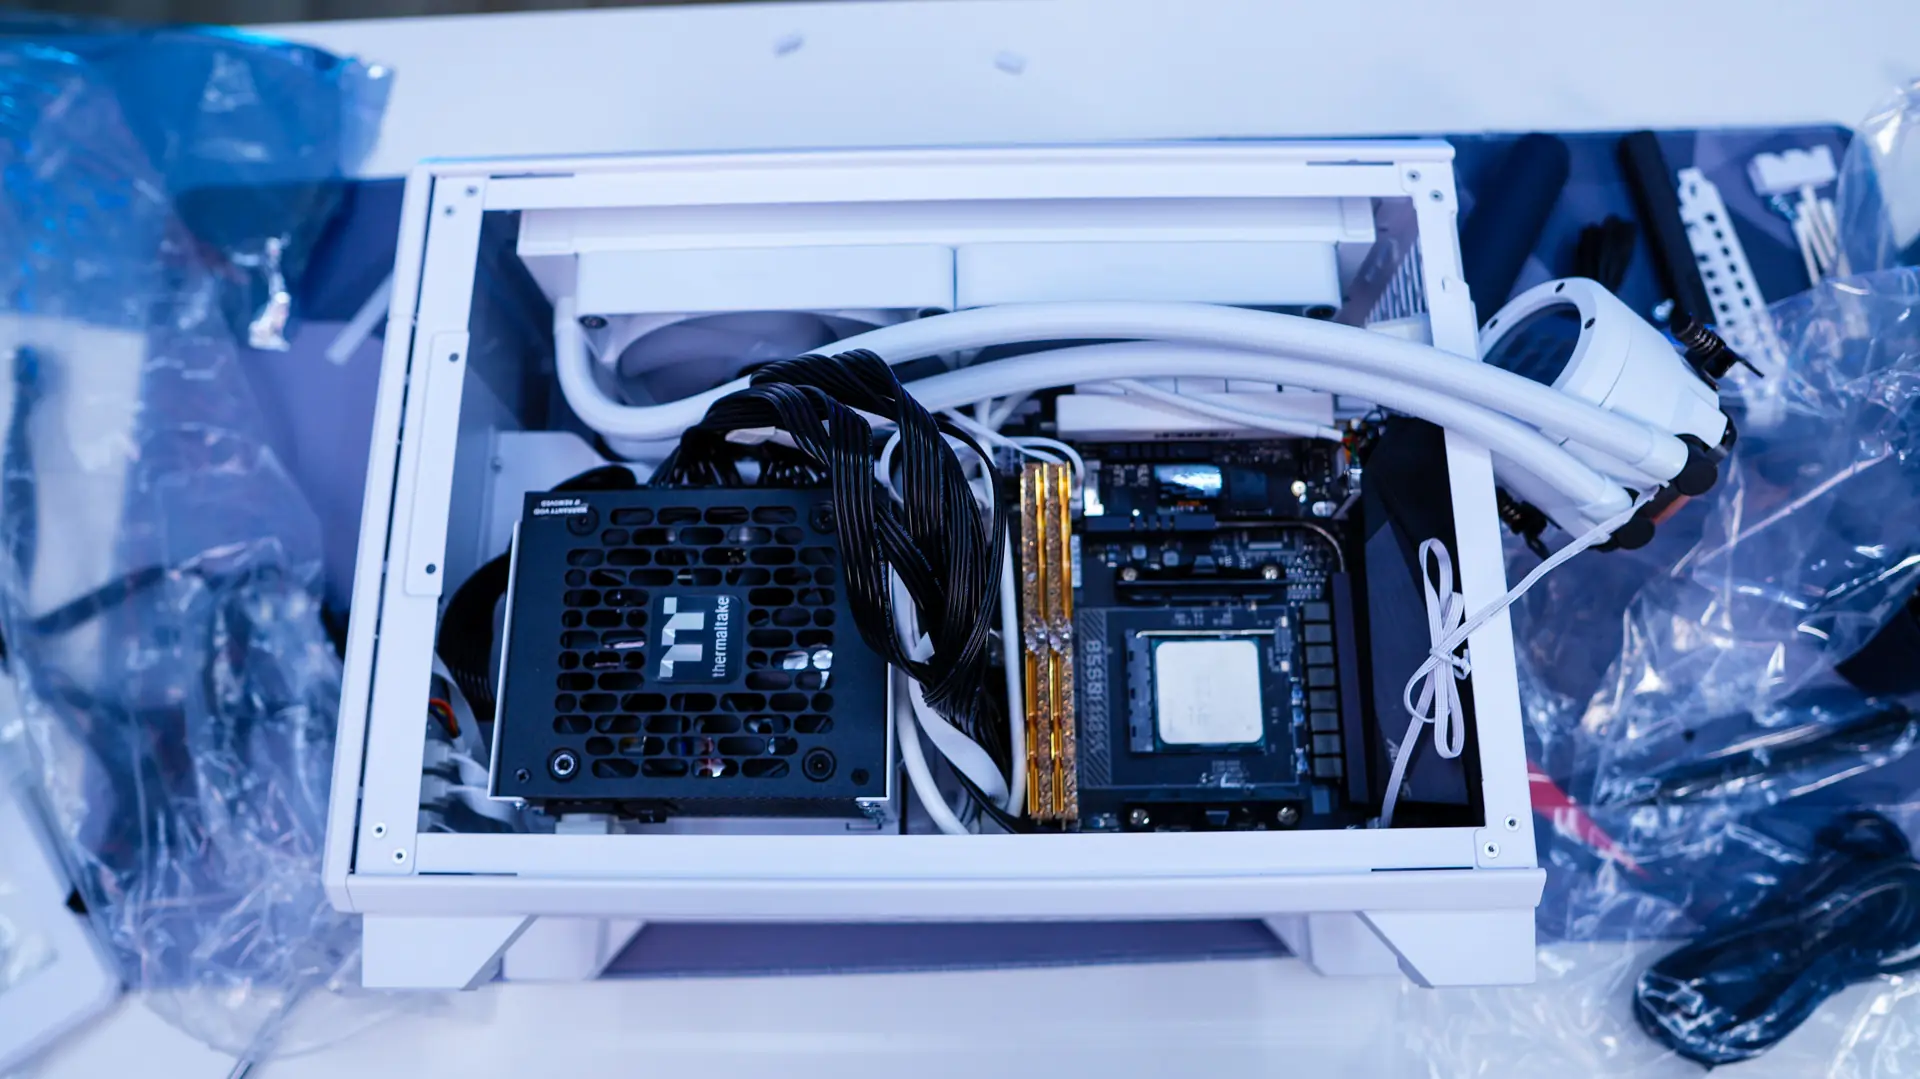
We will be starting out installation with our Mini-ITX motherboard, which goes in no problem. Even just installing the motherboard it is very apparent there is more space in this case than other similar cases.

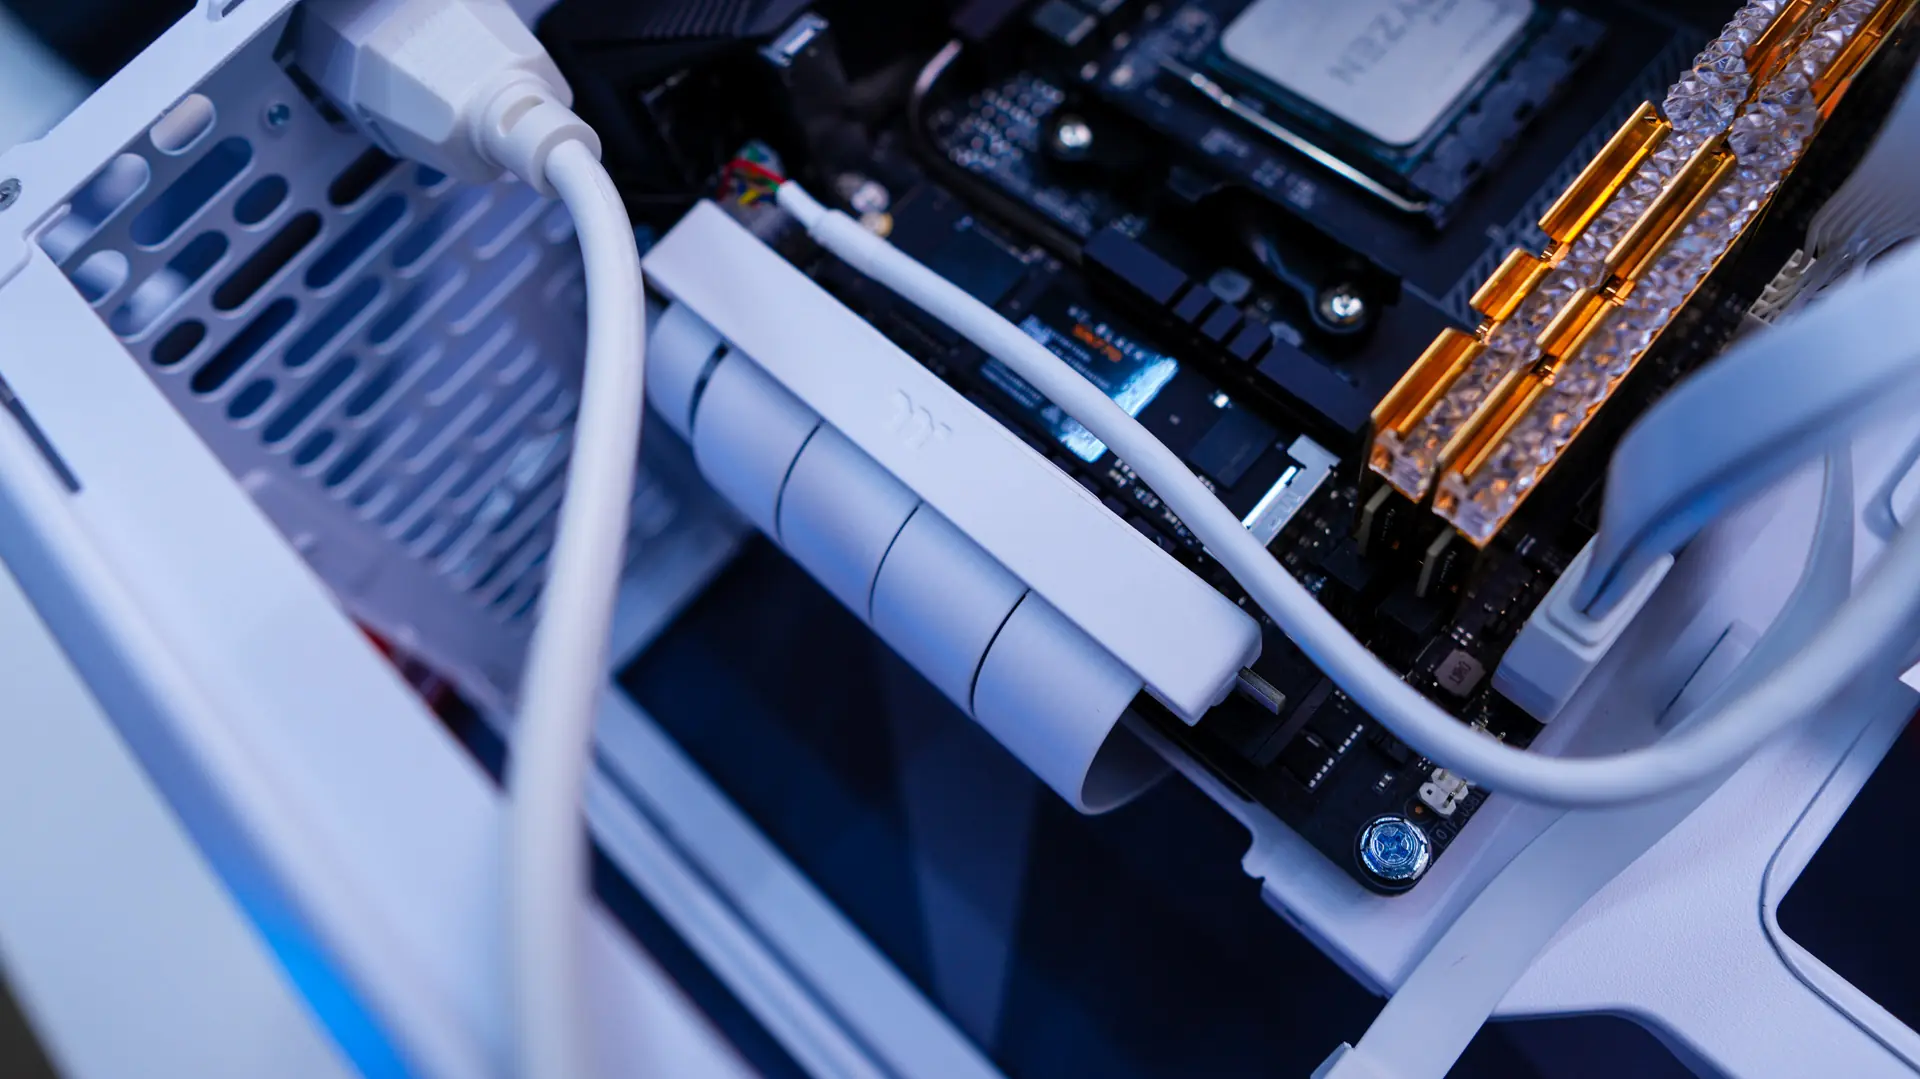
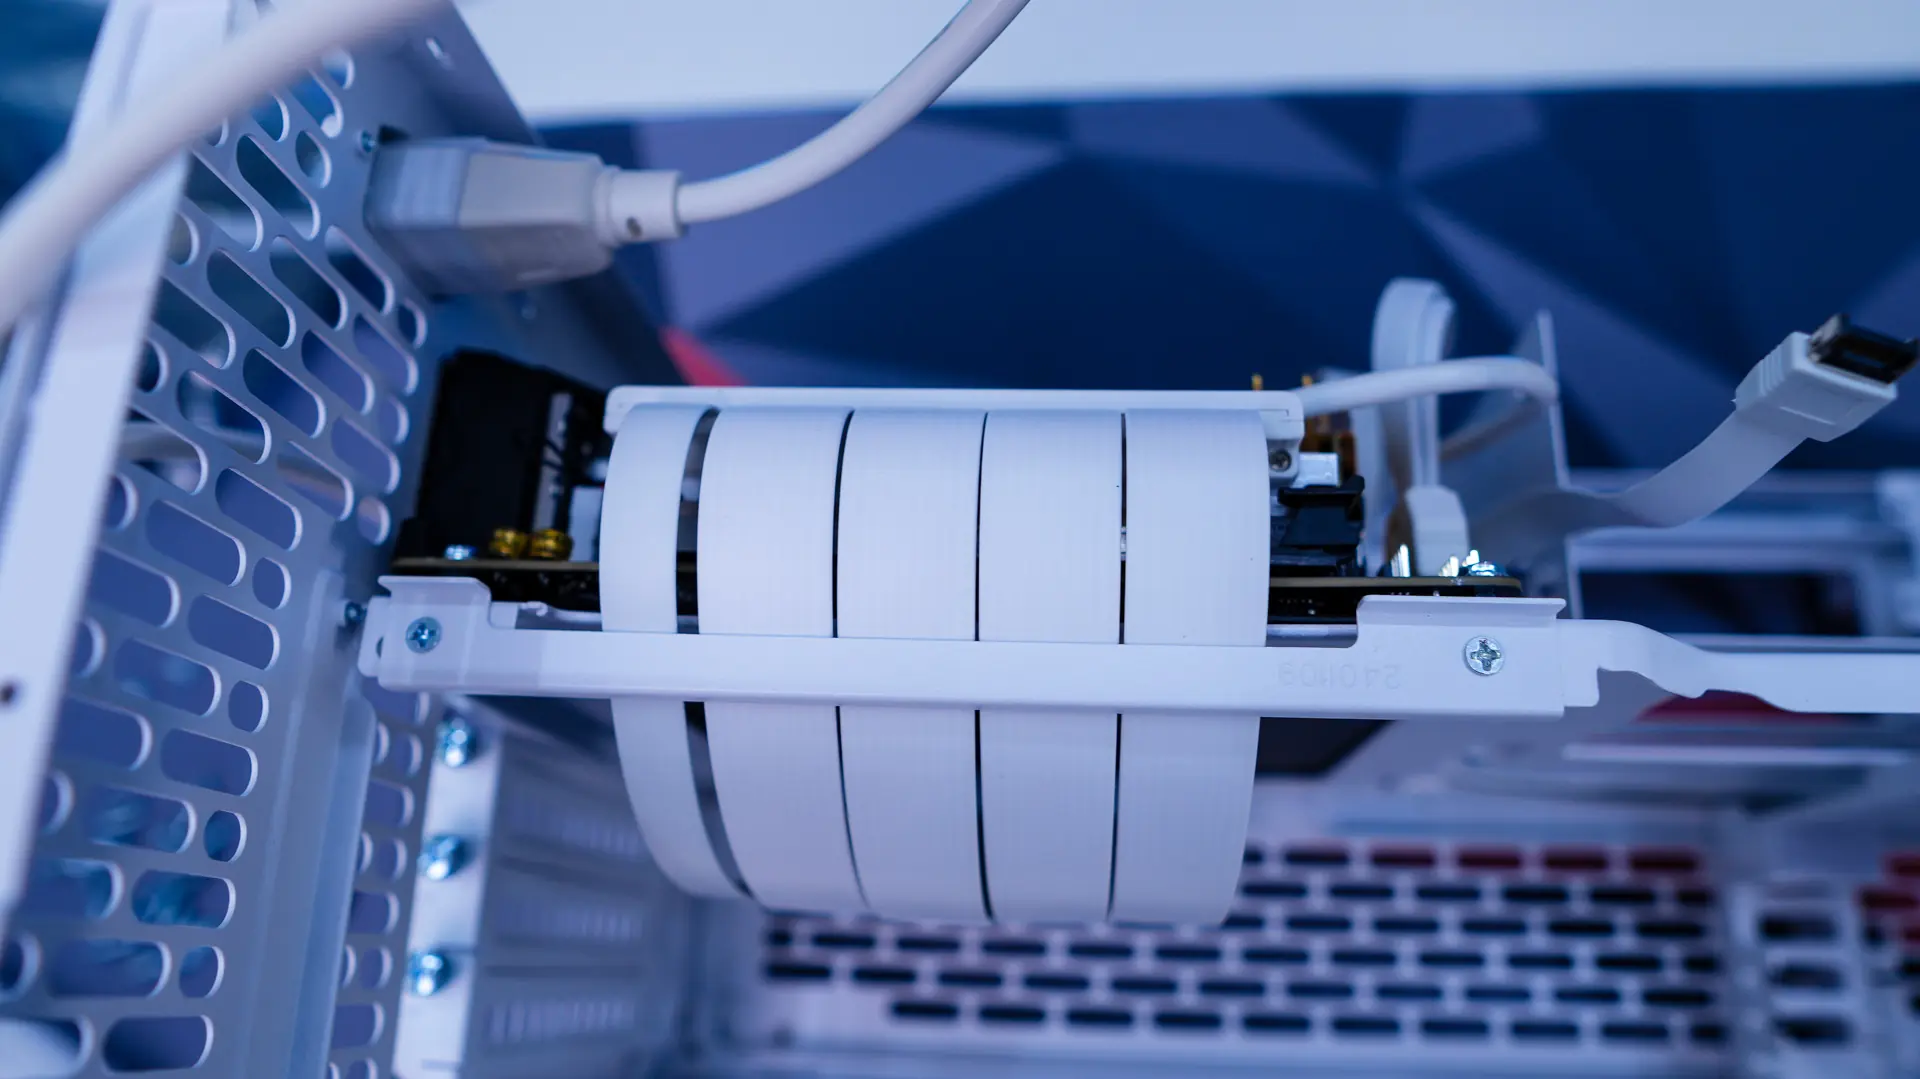
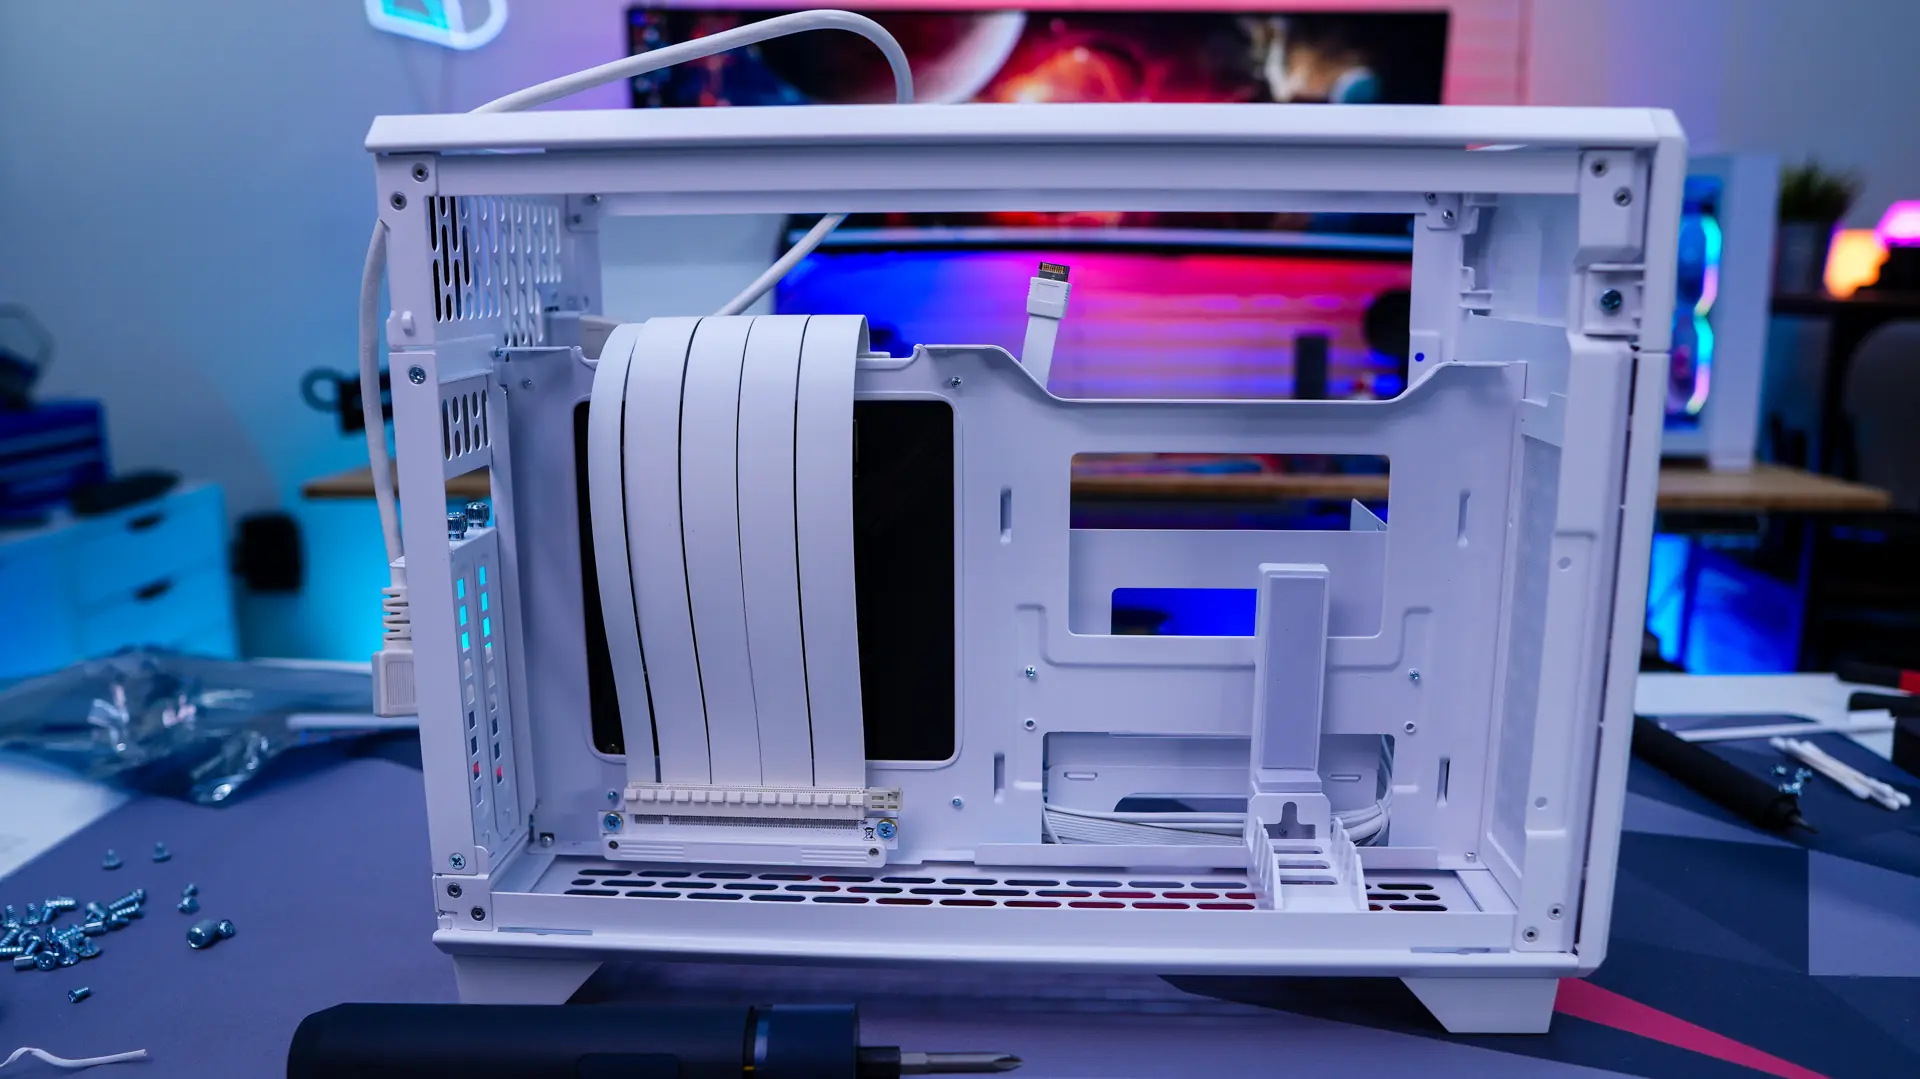
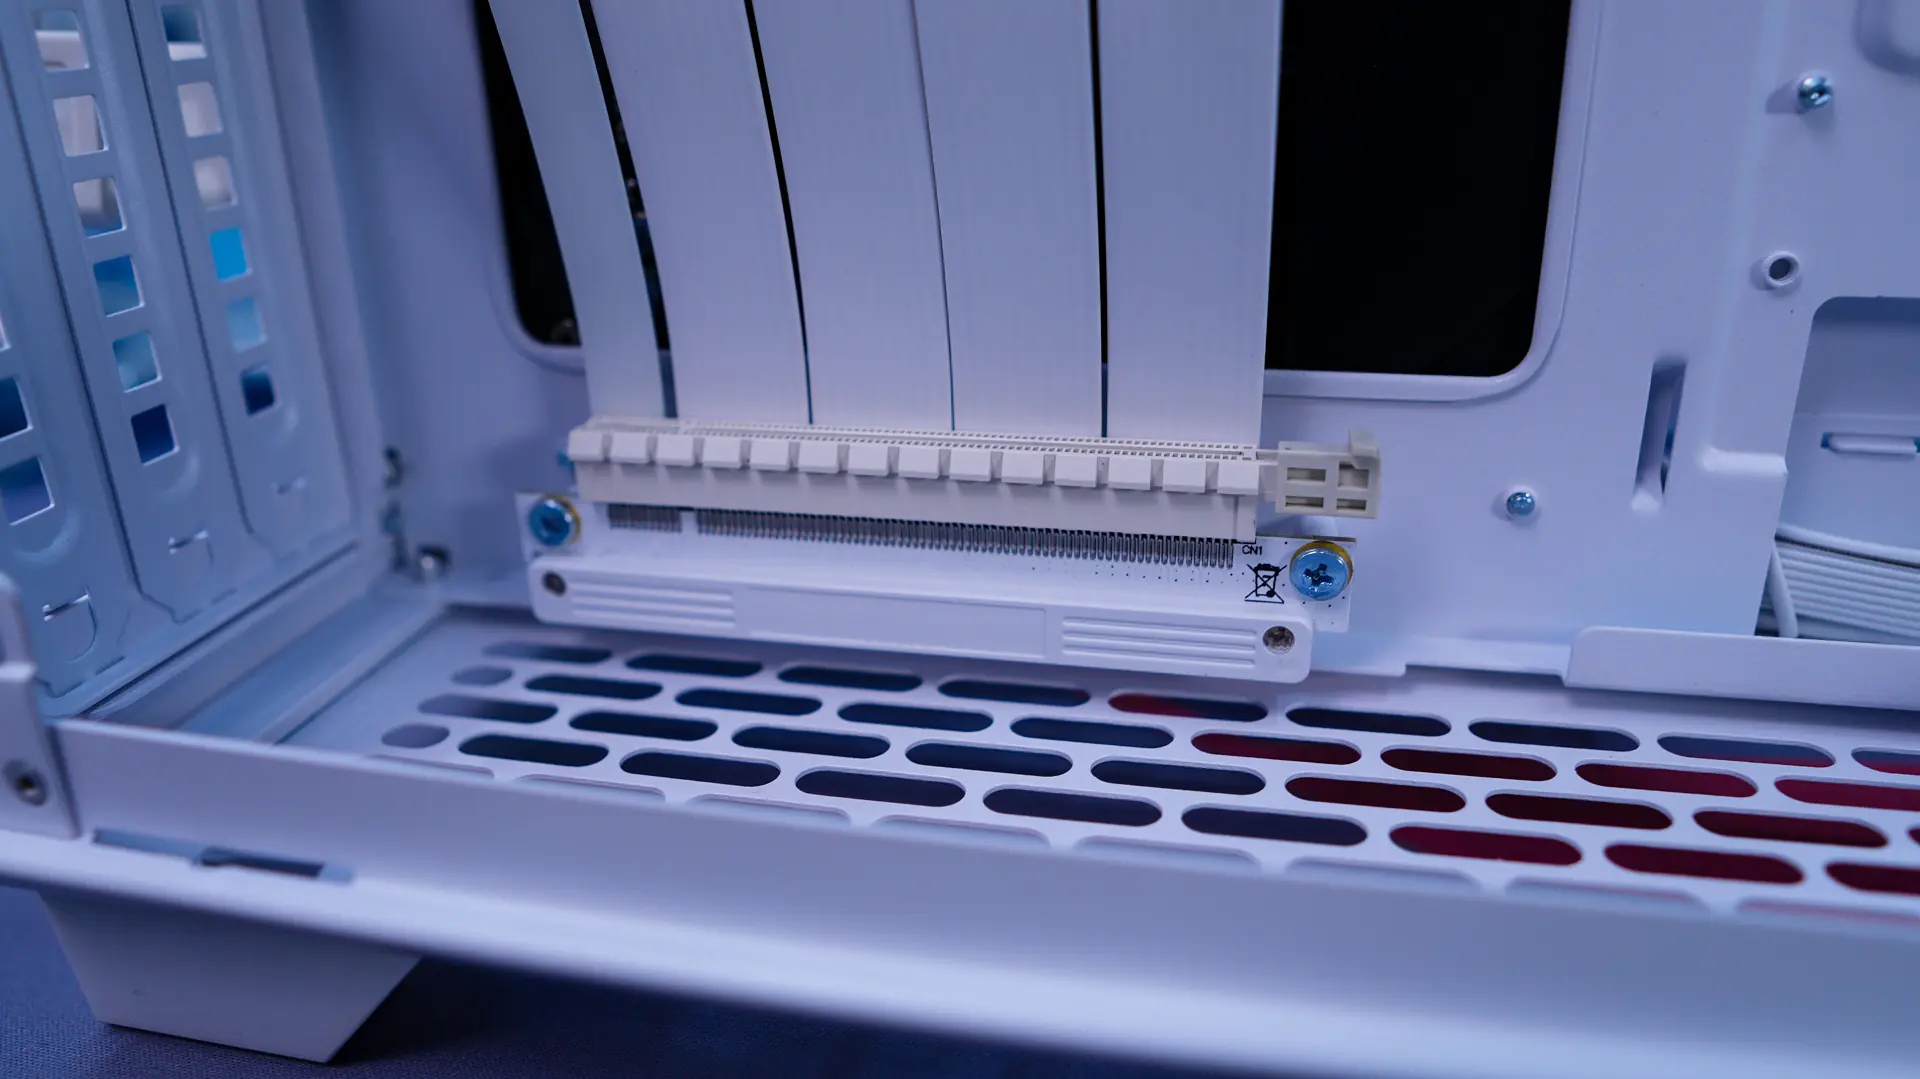
Your motherboard actually gets installed upside-down so your PCI-Express slot is towards the top so you can connect the included riser cable. There is a small removable piece of the case which helps route the riser cable. Then you secure the riser by screwing it in on the other side of the case.
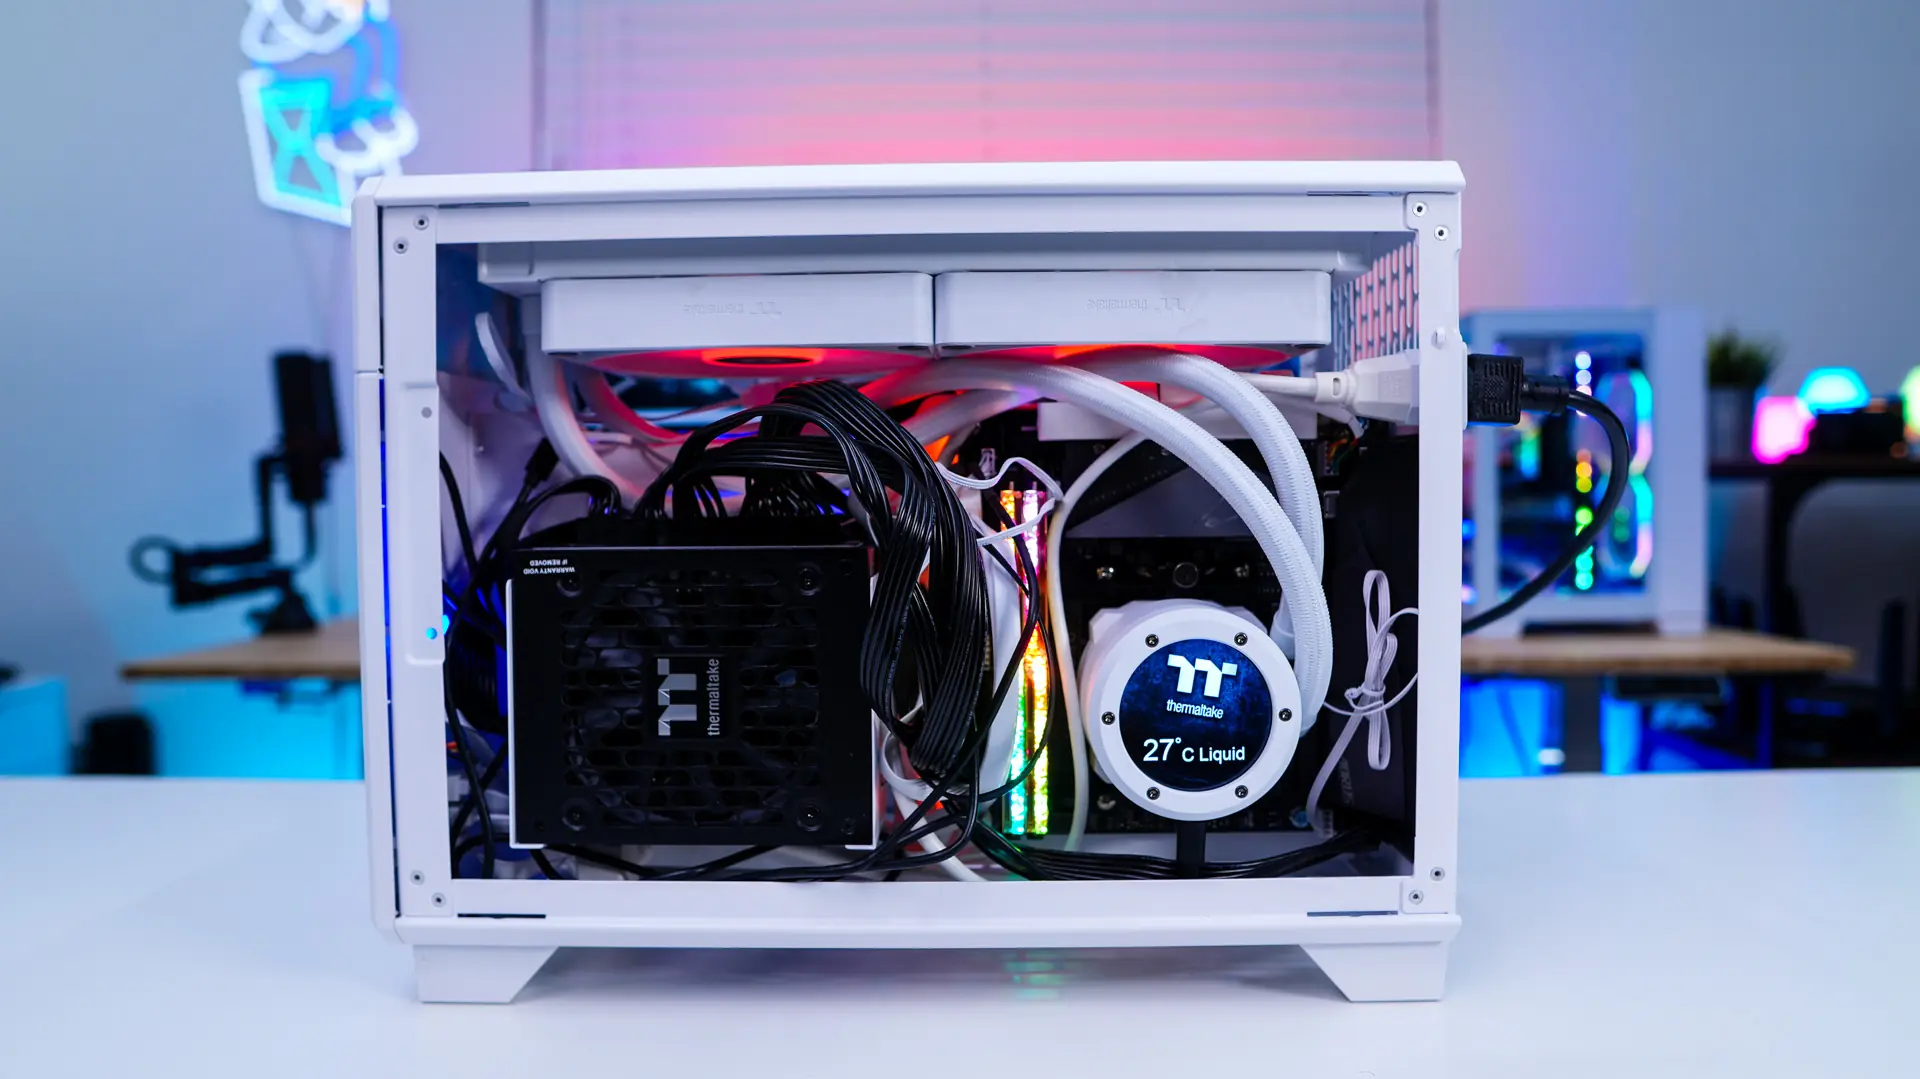
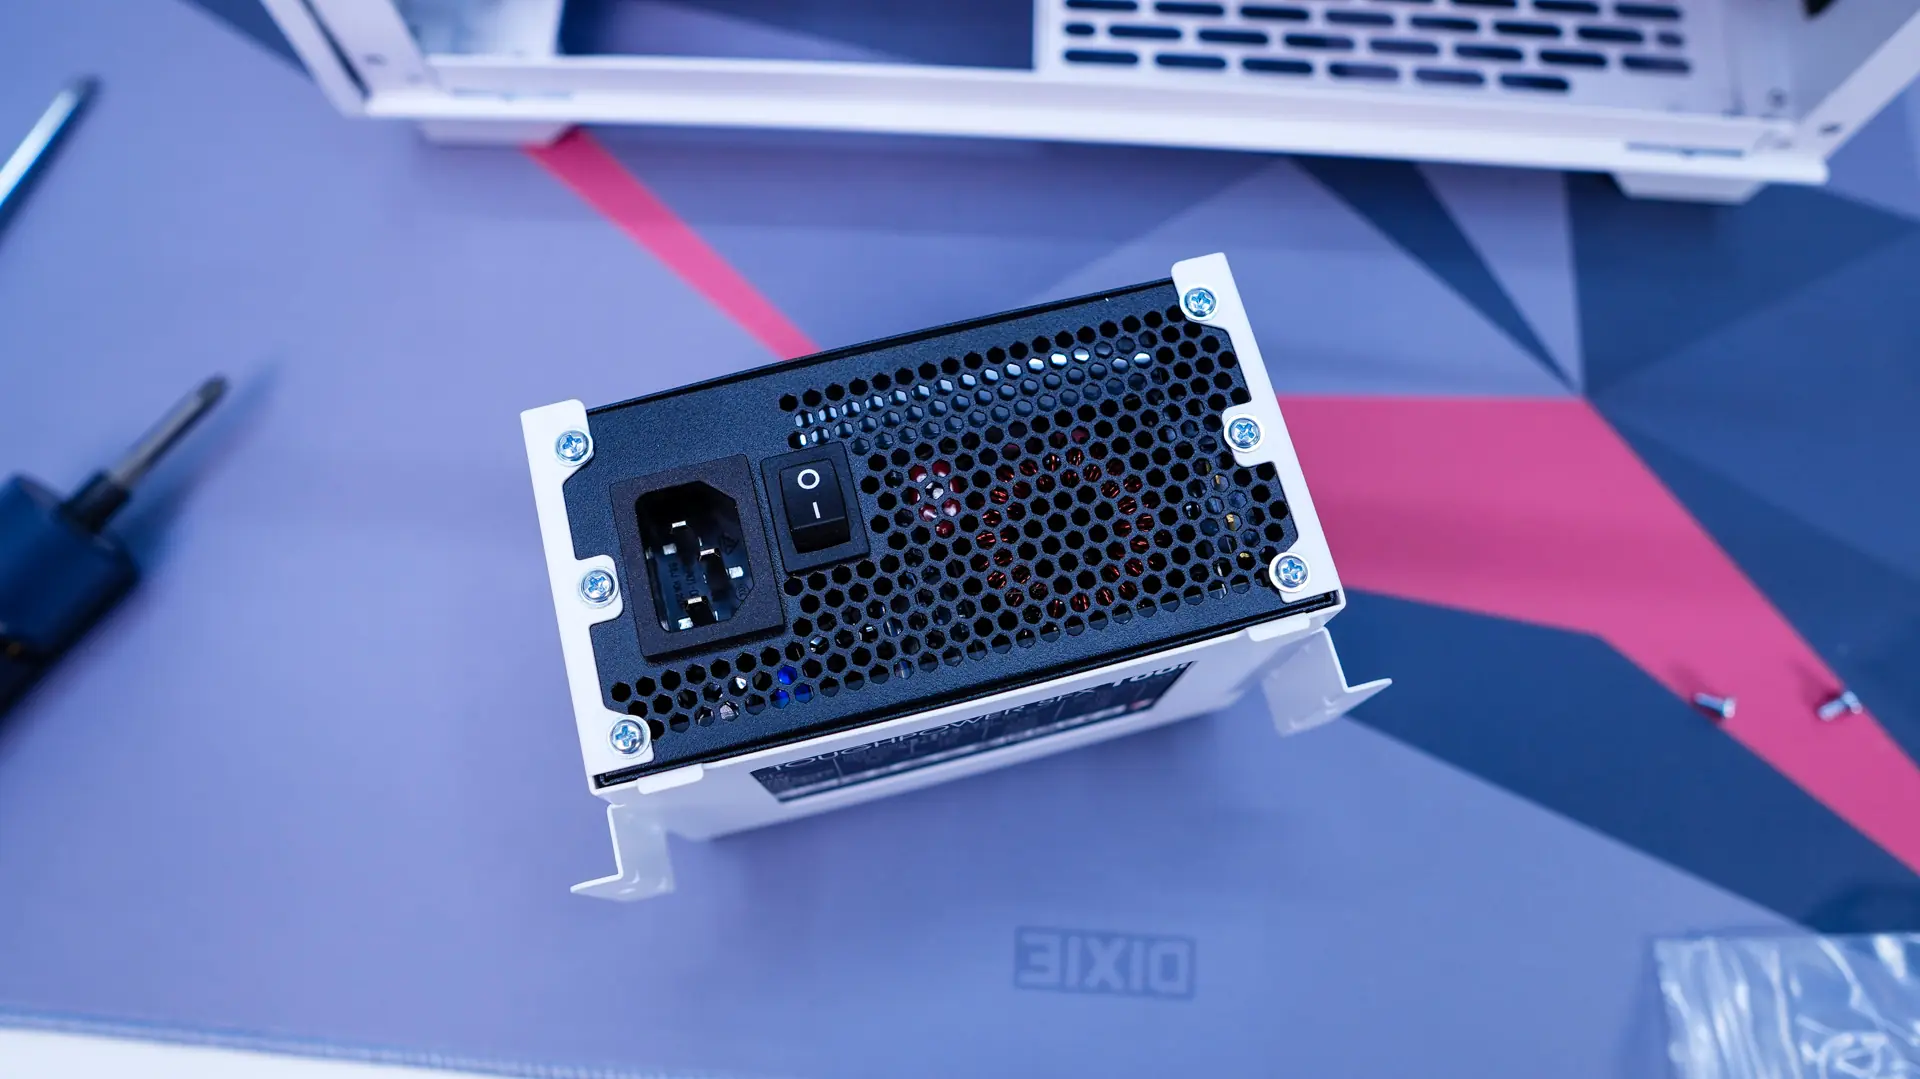
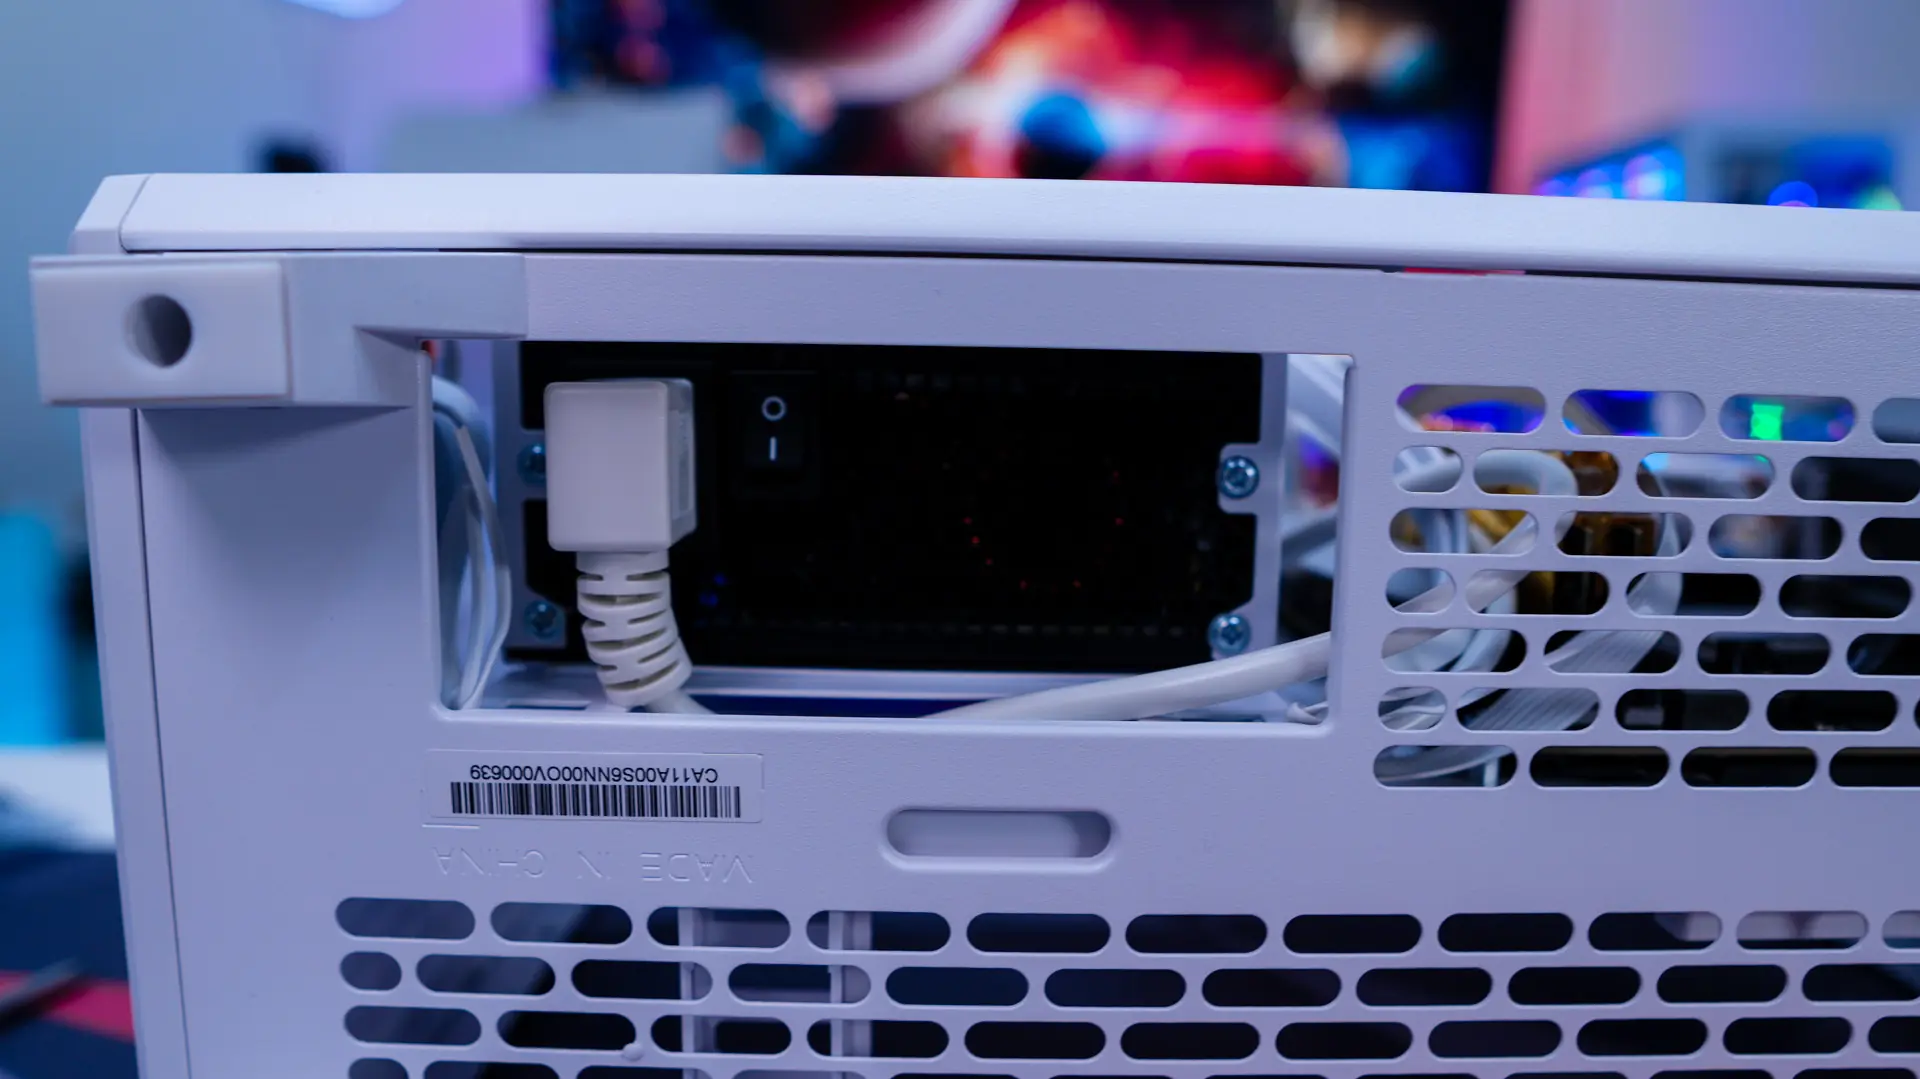
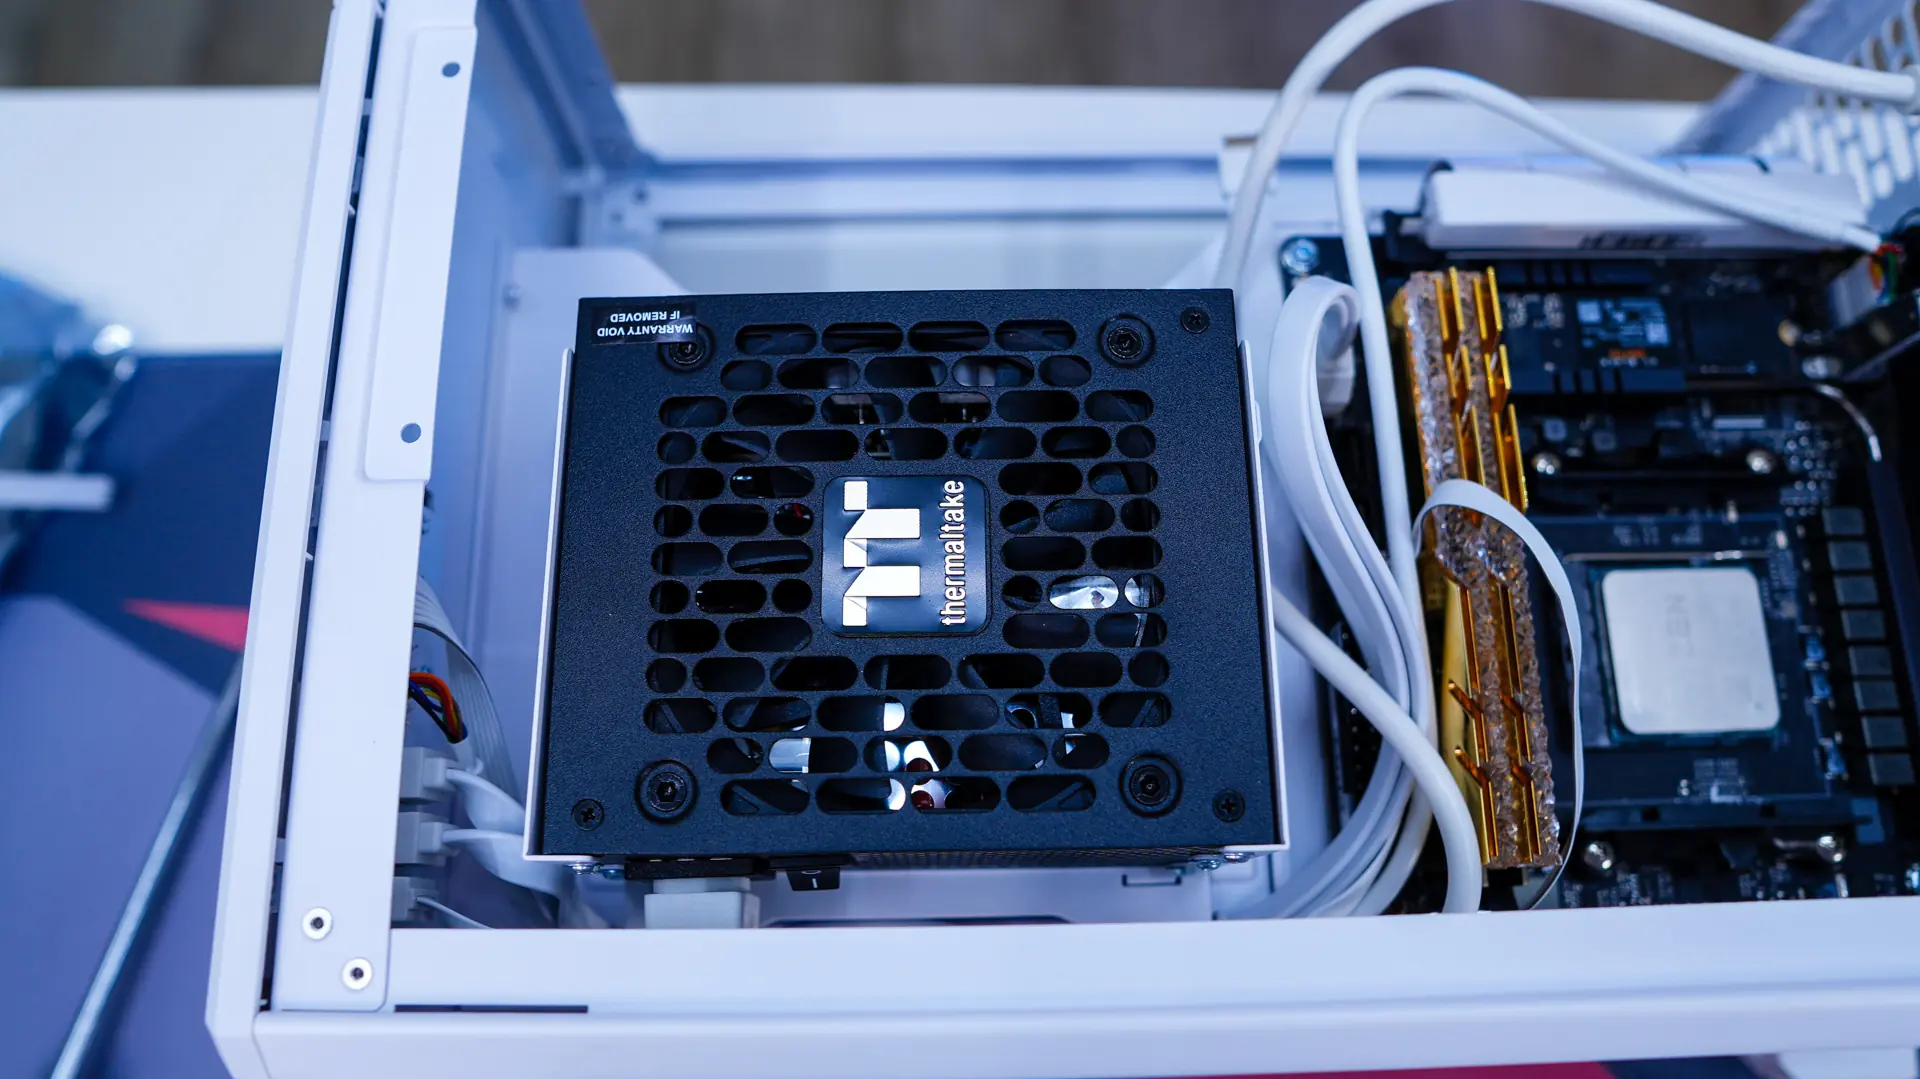
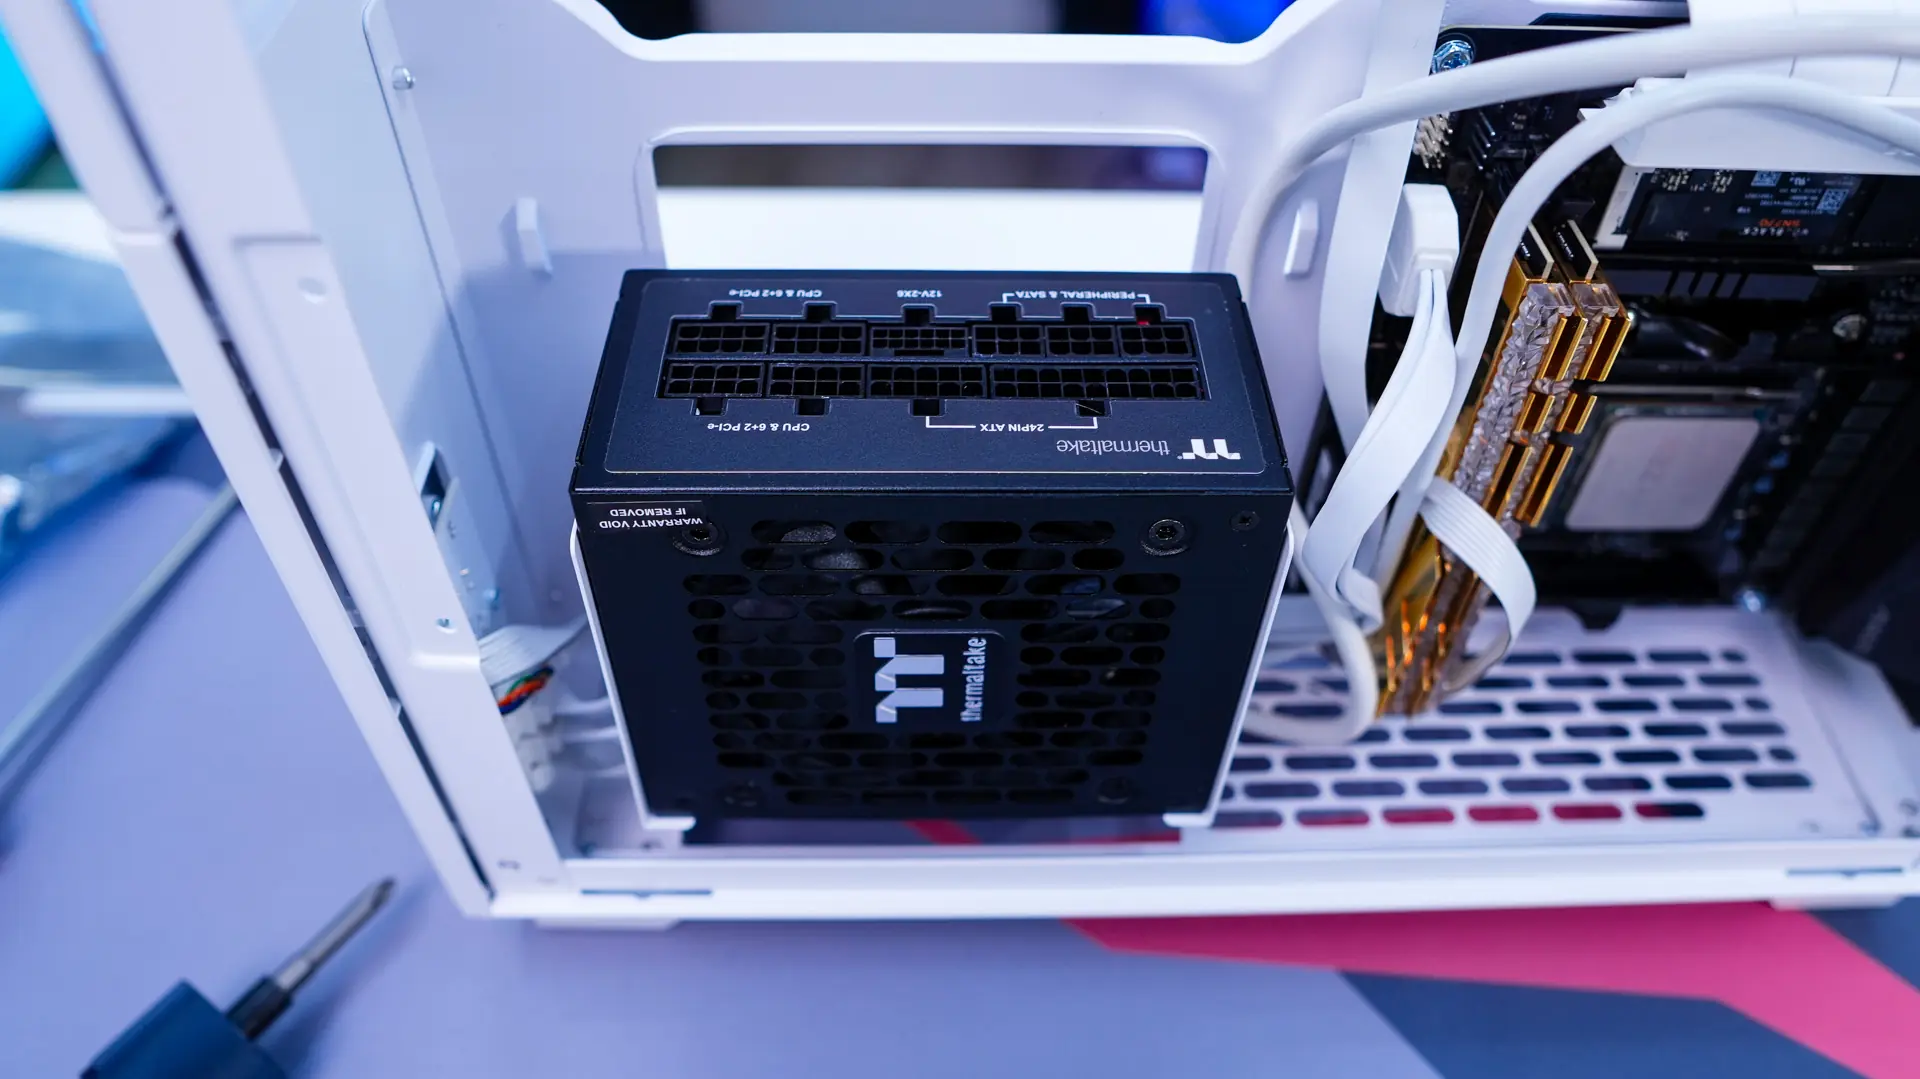
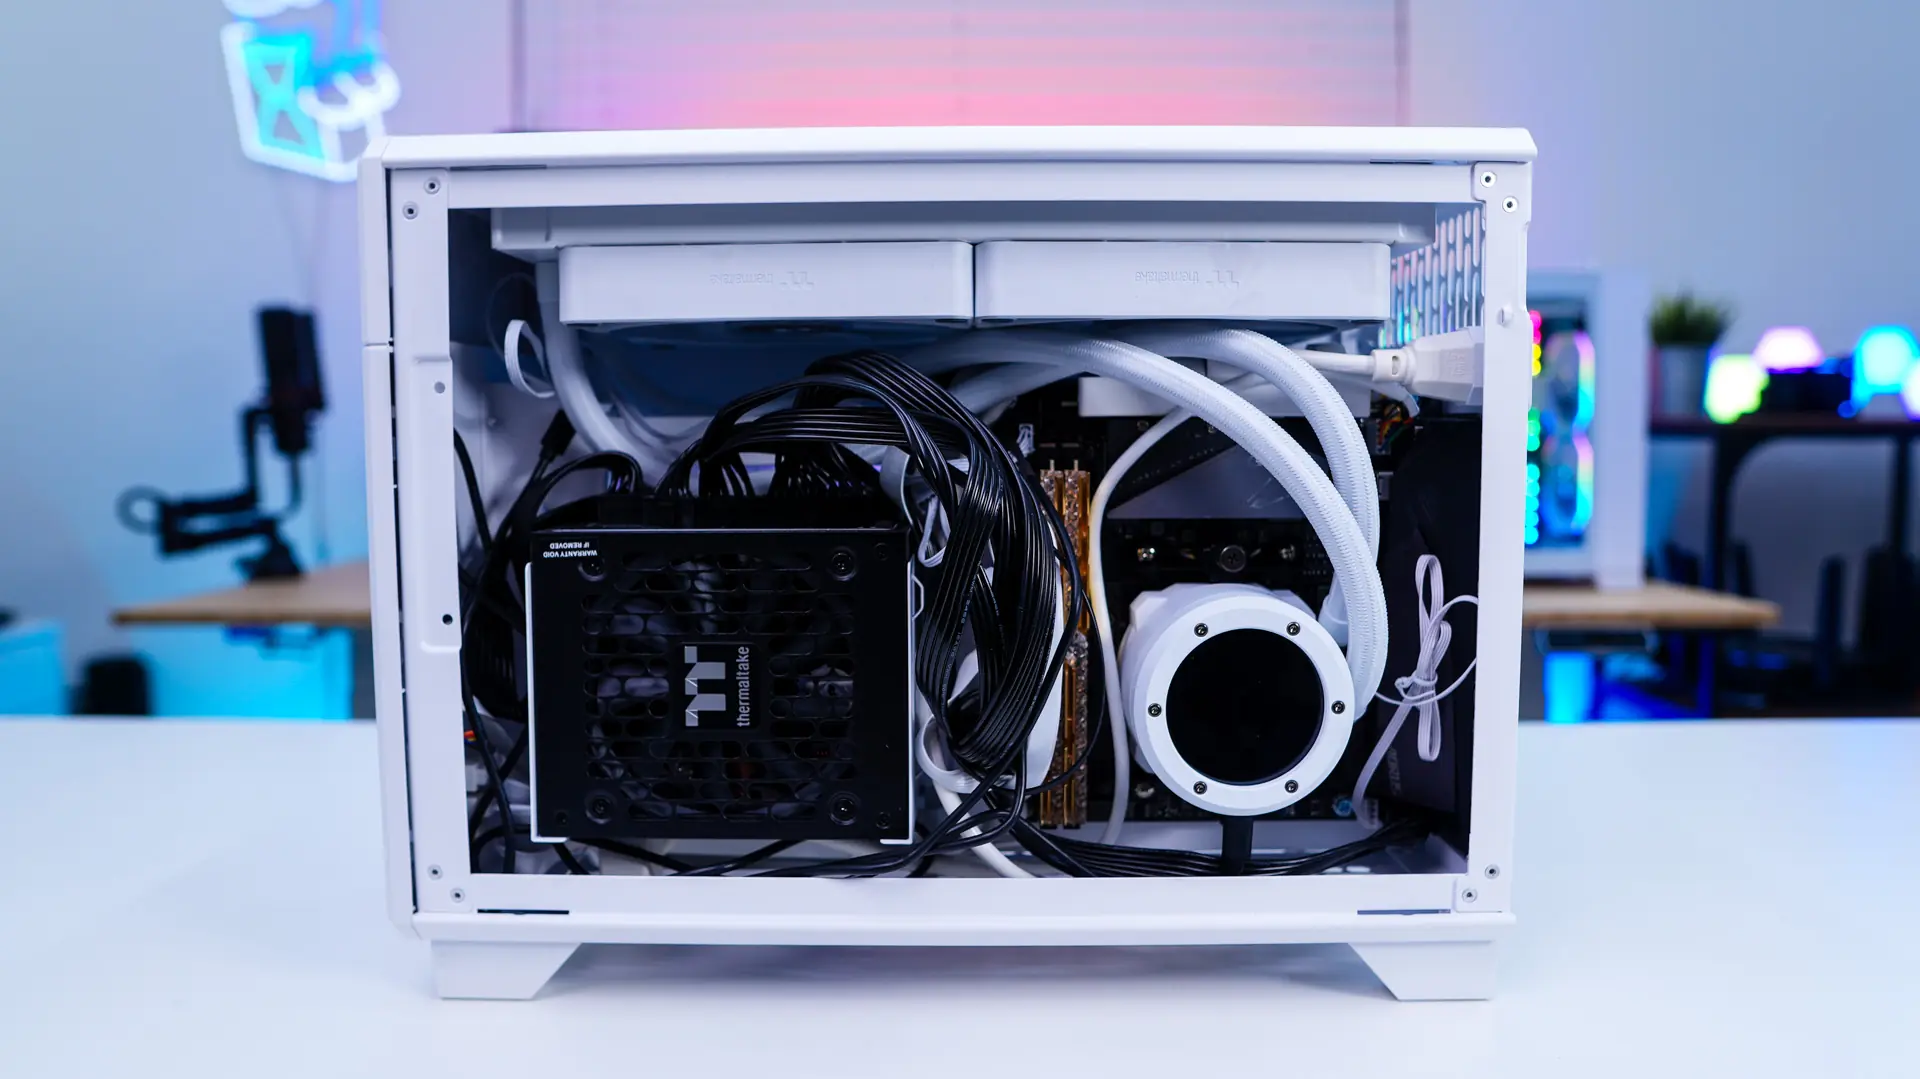
After the motherboard we install our power supply. Thermaltake was nice enough to send us over their Toughpower SFX 750W for this build! As a reminder this case supports both SFX and SFX-L units. The power supply bracket is removable so we can easily remove it from the case, install our power supply, and mount the entire thing back in the case.
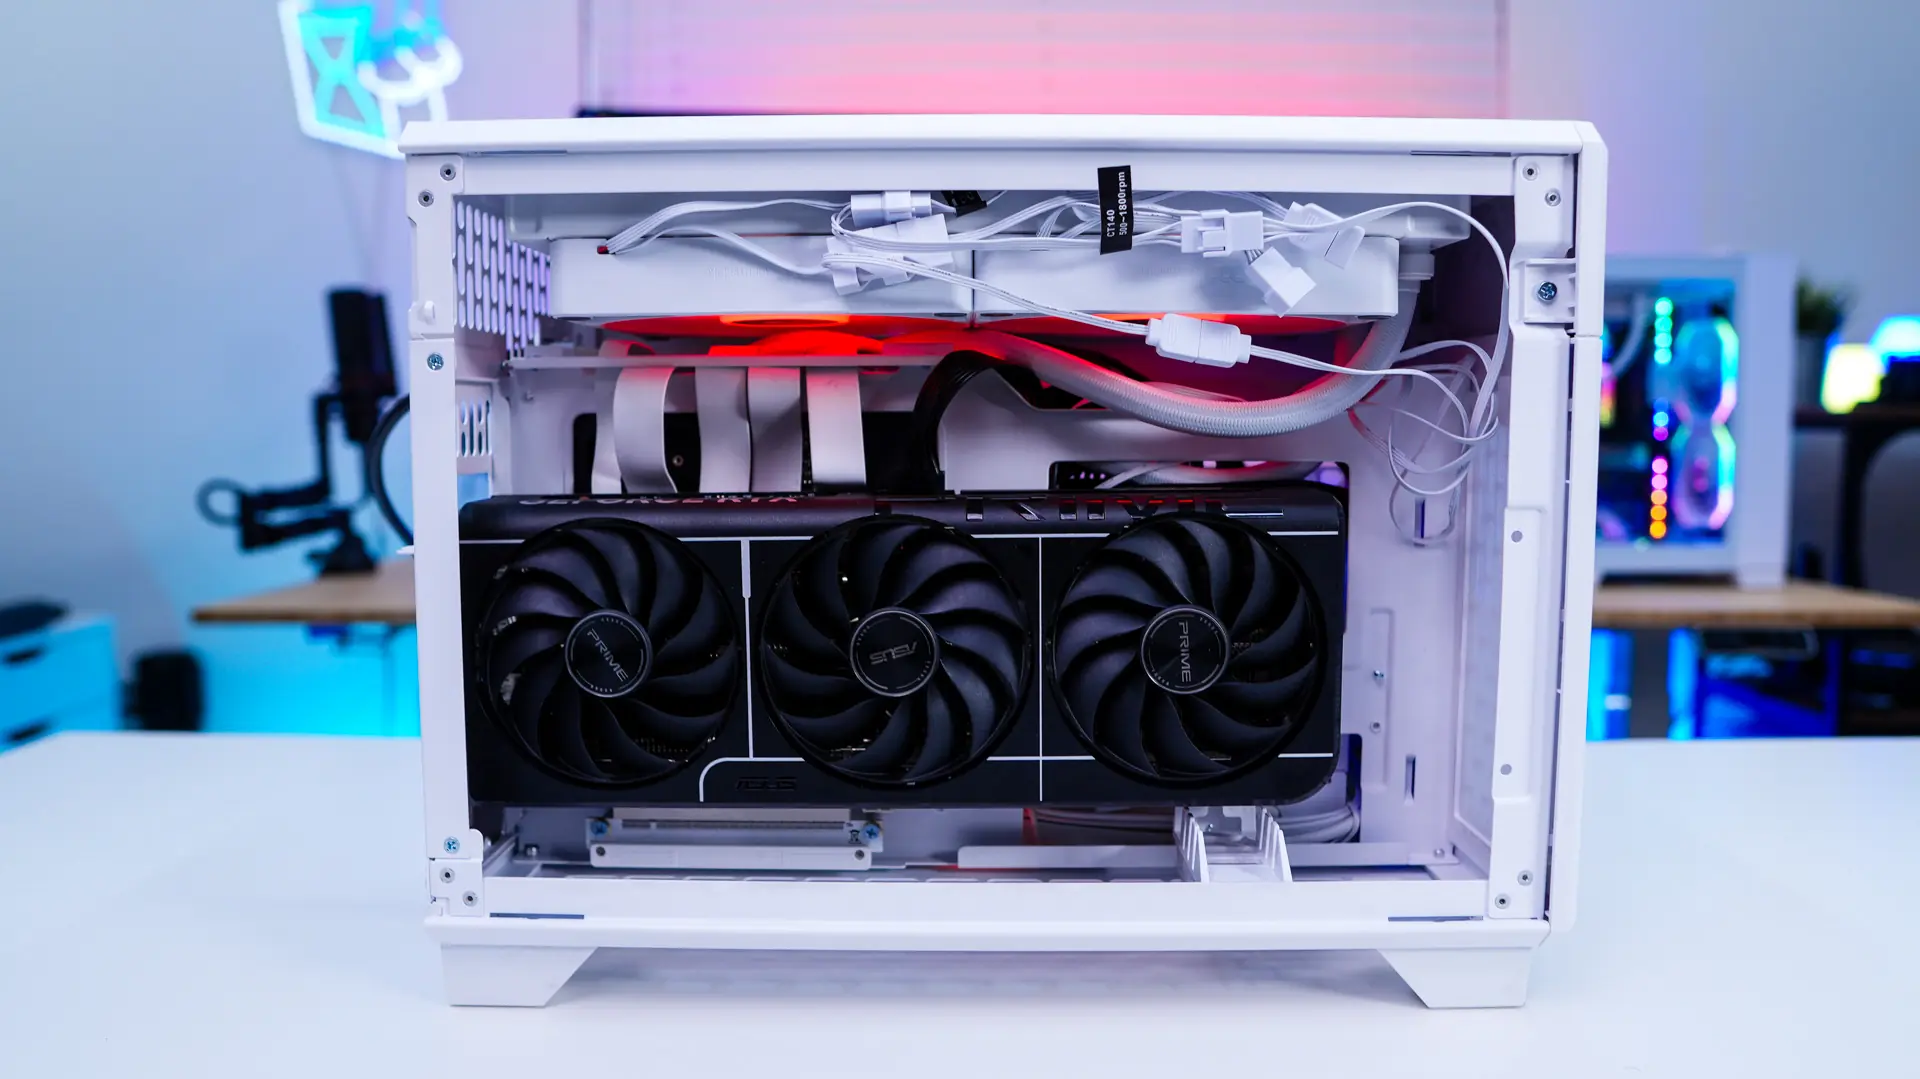
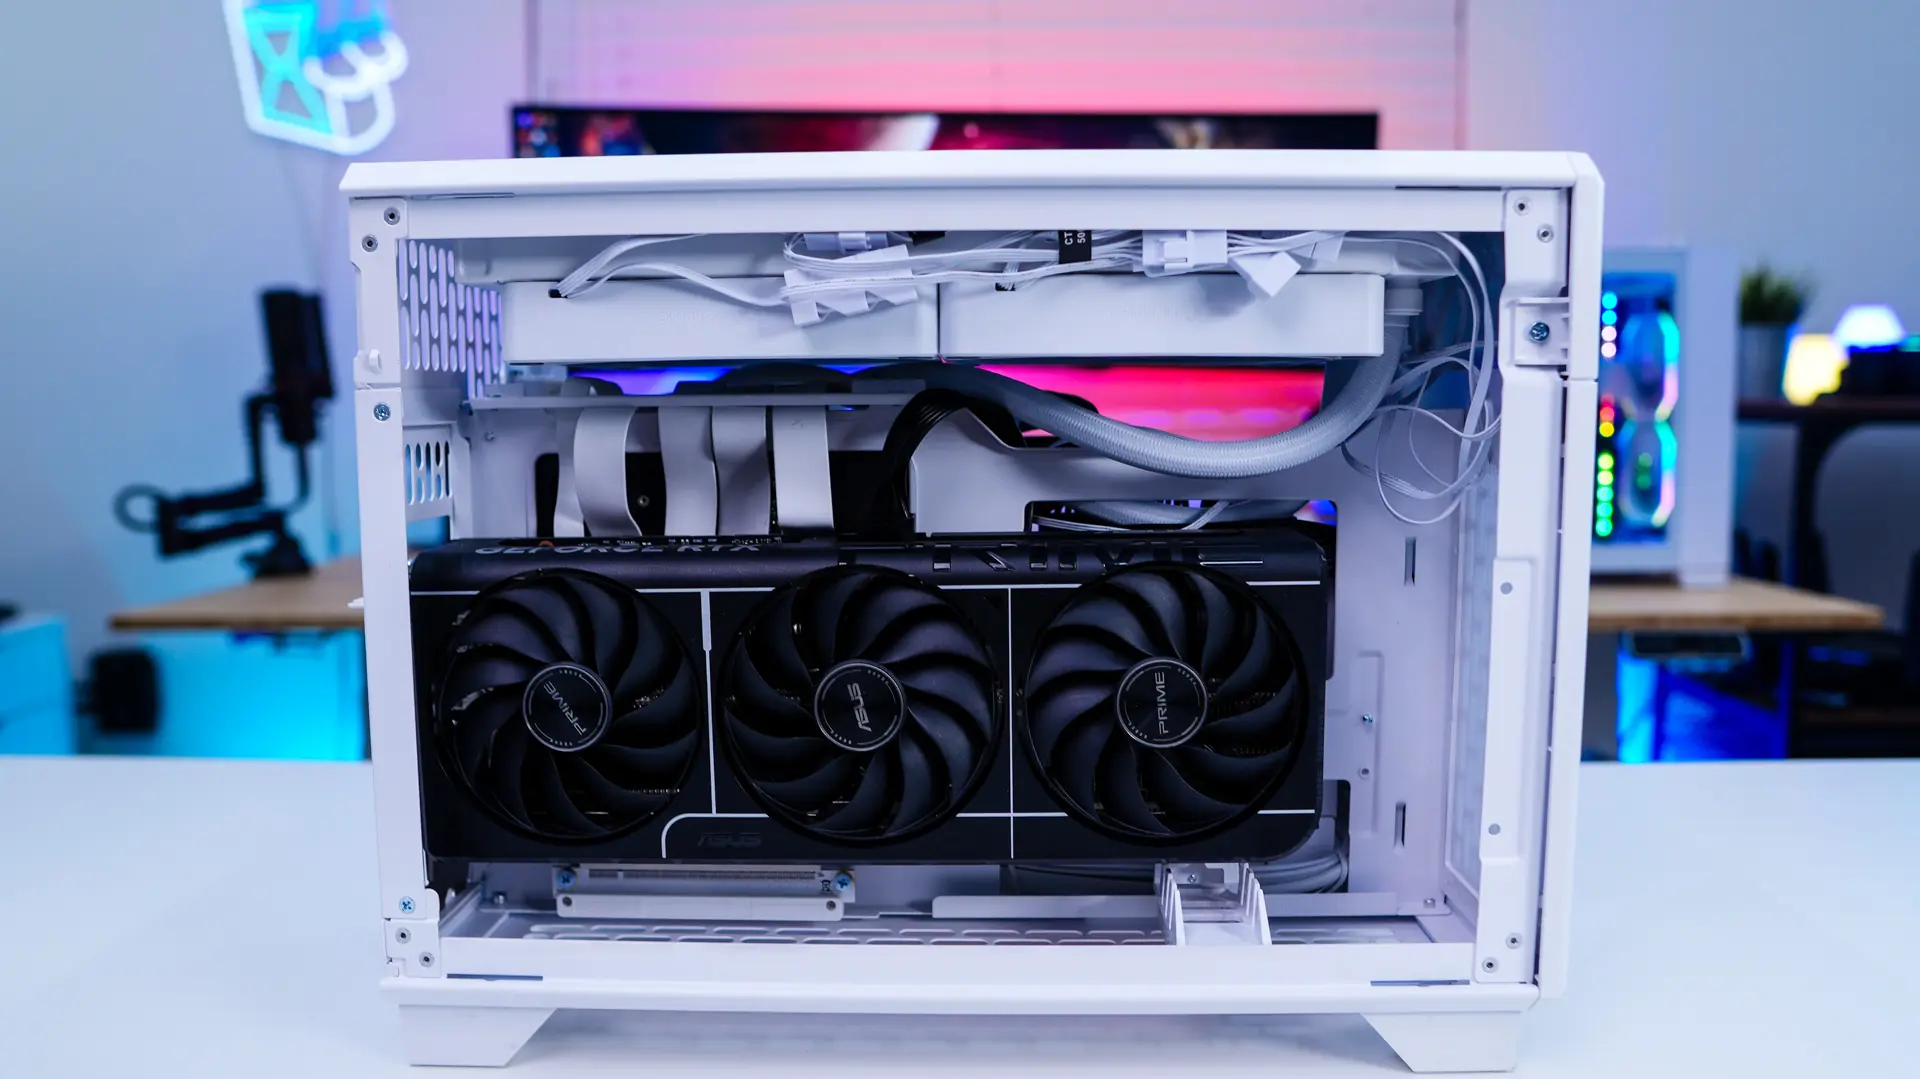
For our graphics card we went with the ASUS Prime GeForce RTX 5060 Ti OC Edition which had no problem fitting inside this case. It is also nice that the GPU support bracket can be moved based on the length of your graphics card.
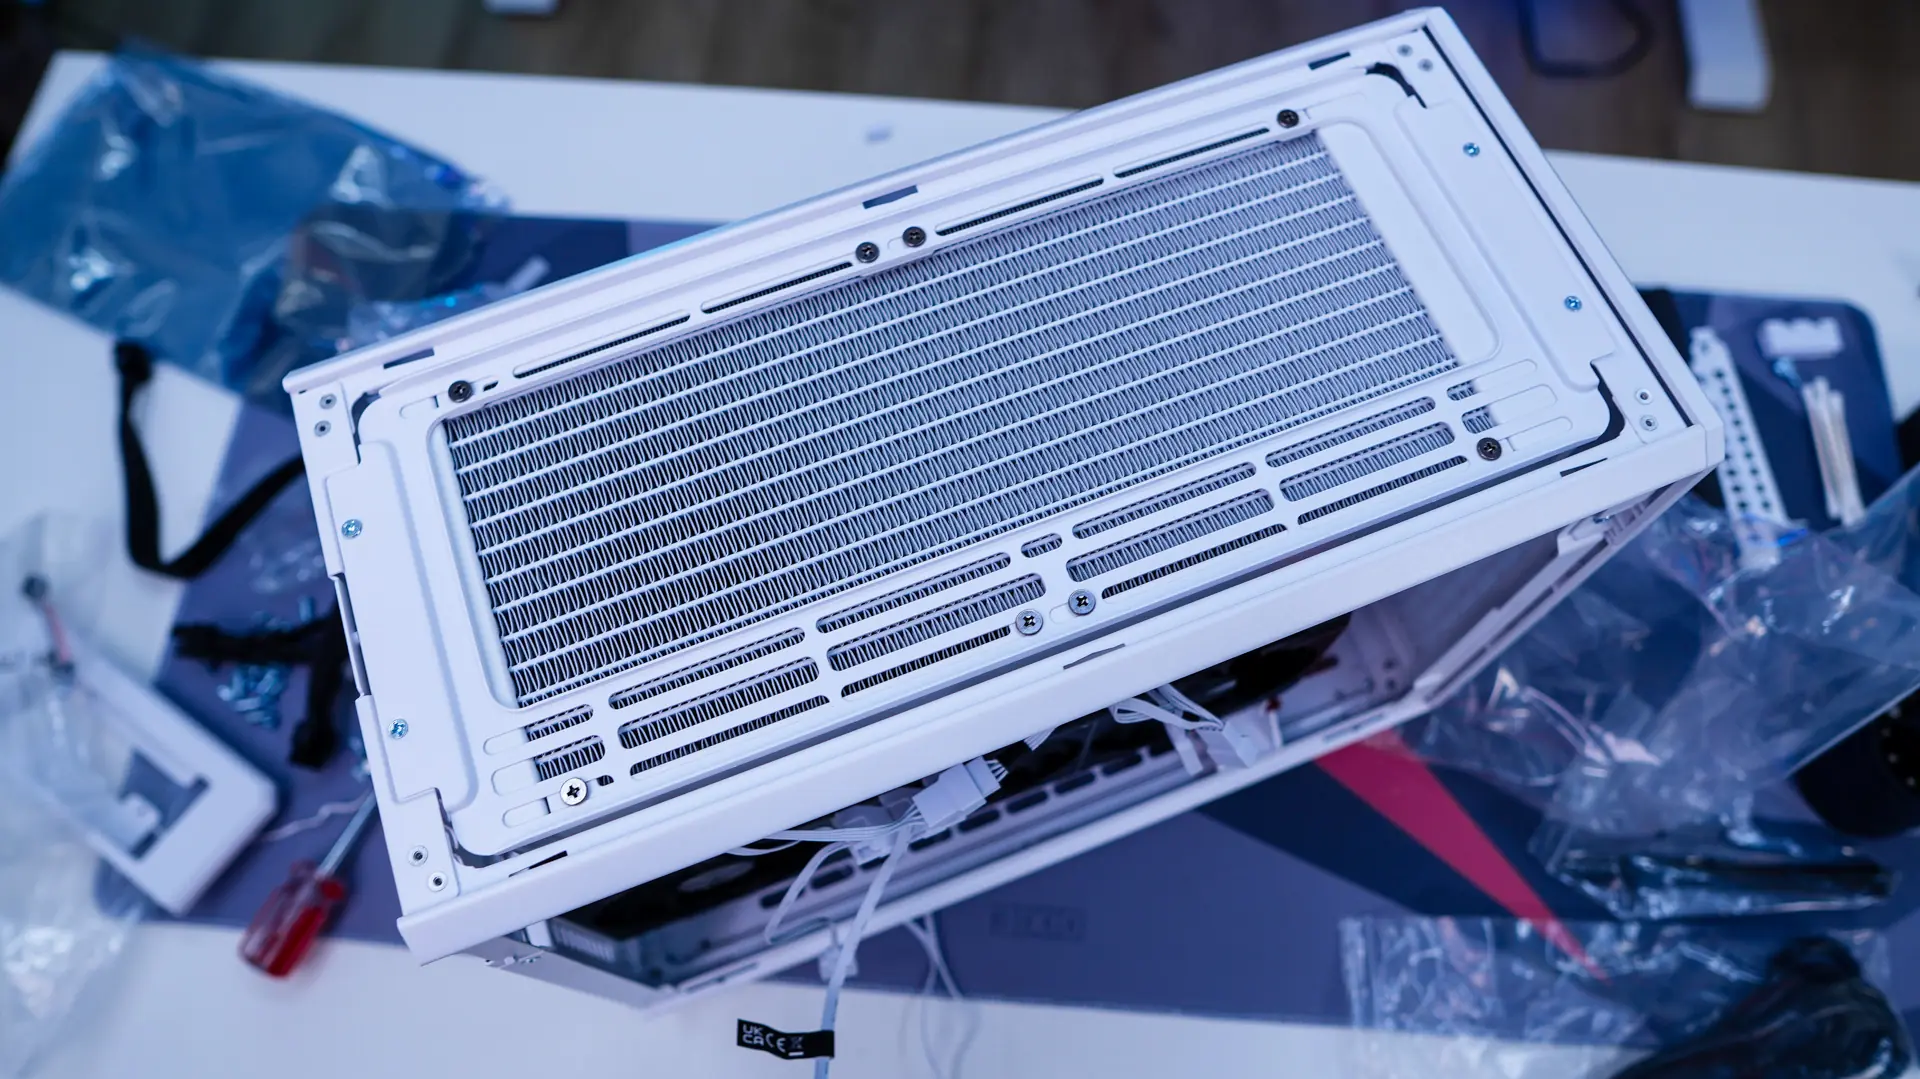
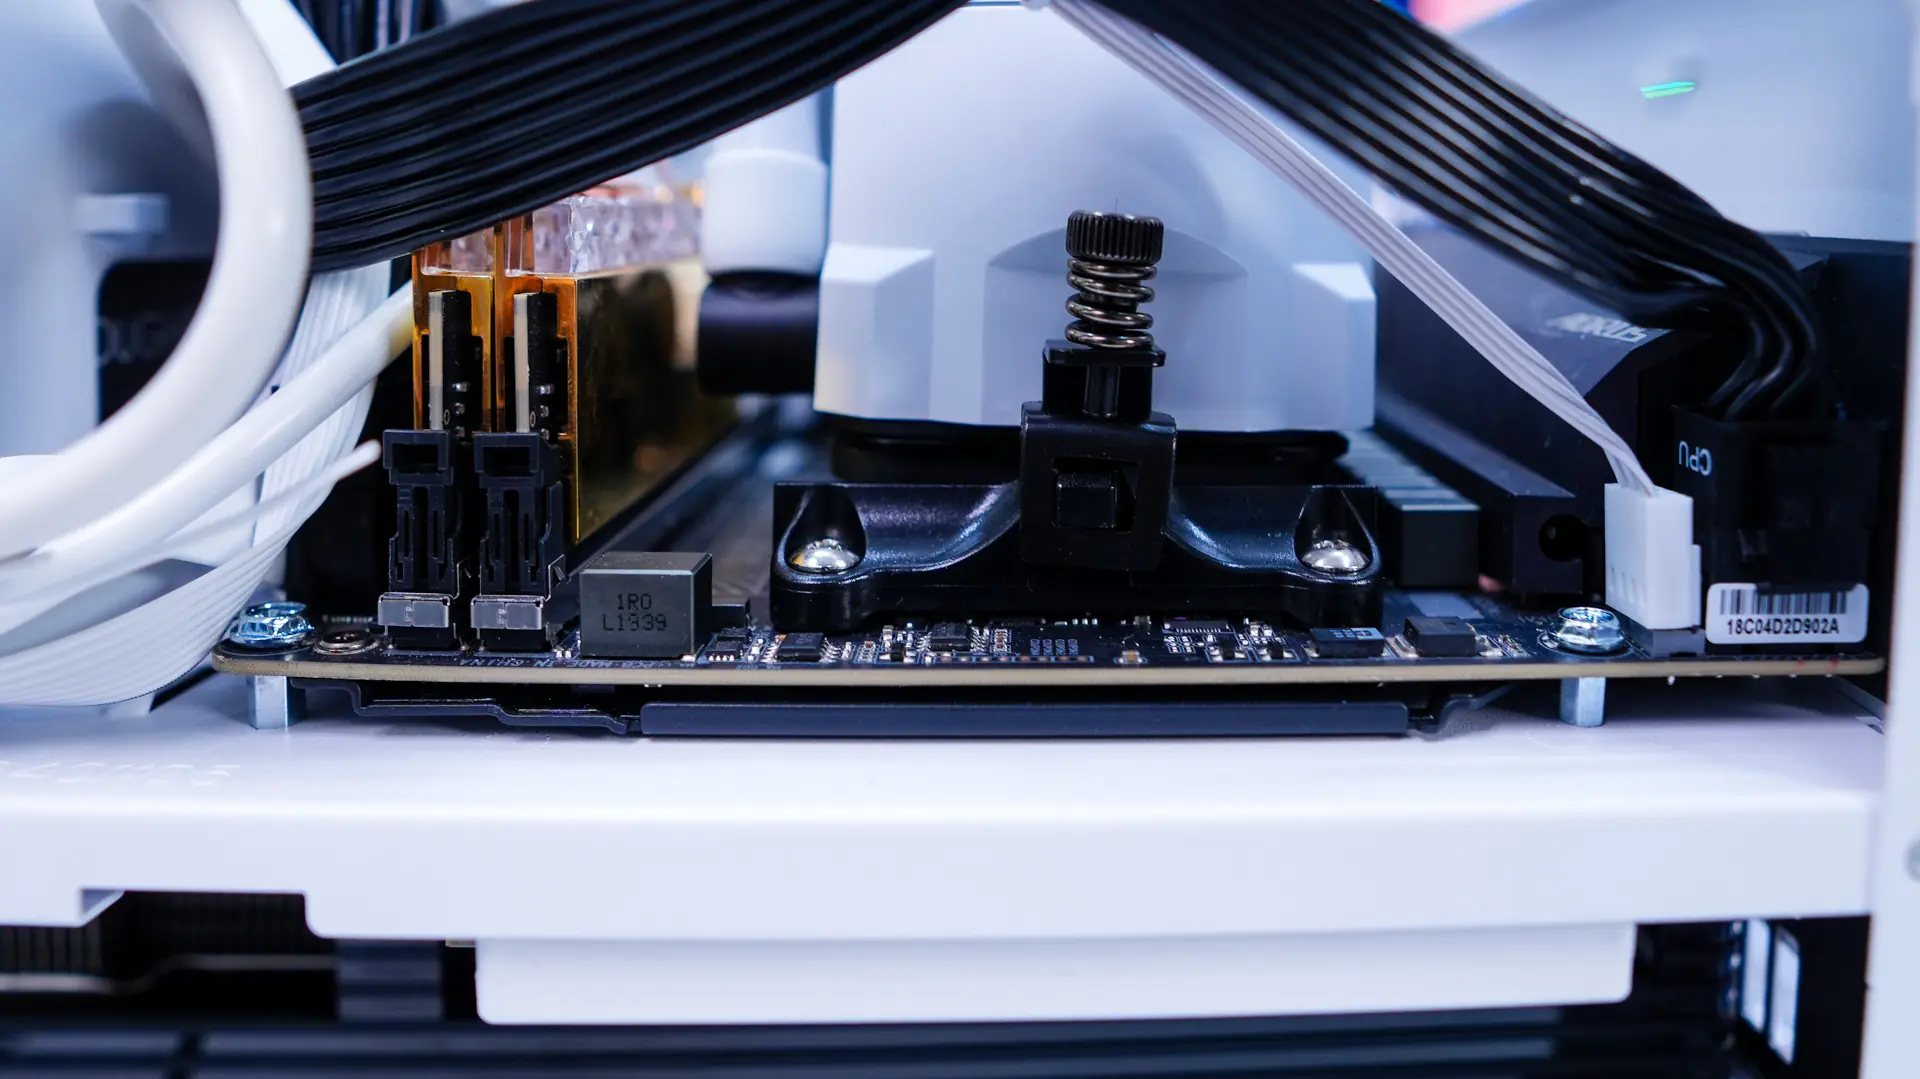
For our CPU cooler we are going to use the Thermaltake TH280 V2 Liquid CPU Cooler, which they were nice enough to send over. Since the cooling bracket at the top of the case is removable it was quite easy to install the radiator outside of the case. Then we remounted it inside the case and finally installed the block on our CPU. It is also nice that the bottom of the case comes off so it is easier to mount CPU coolers.
Finally we wire everything up and we are good to go! this definitely has to be one of the easier Mini-ITX builds that I’ve done!