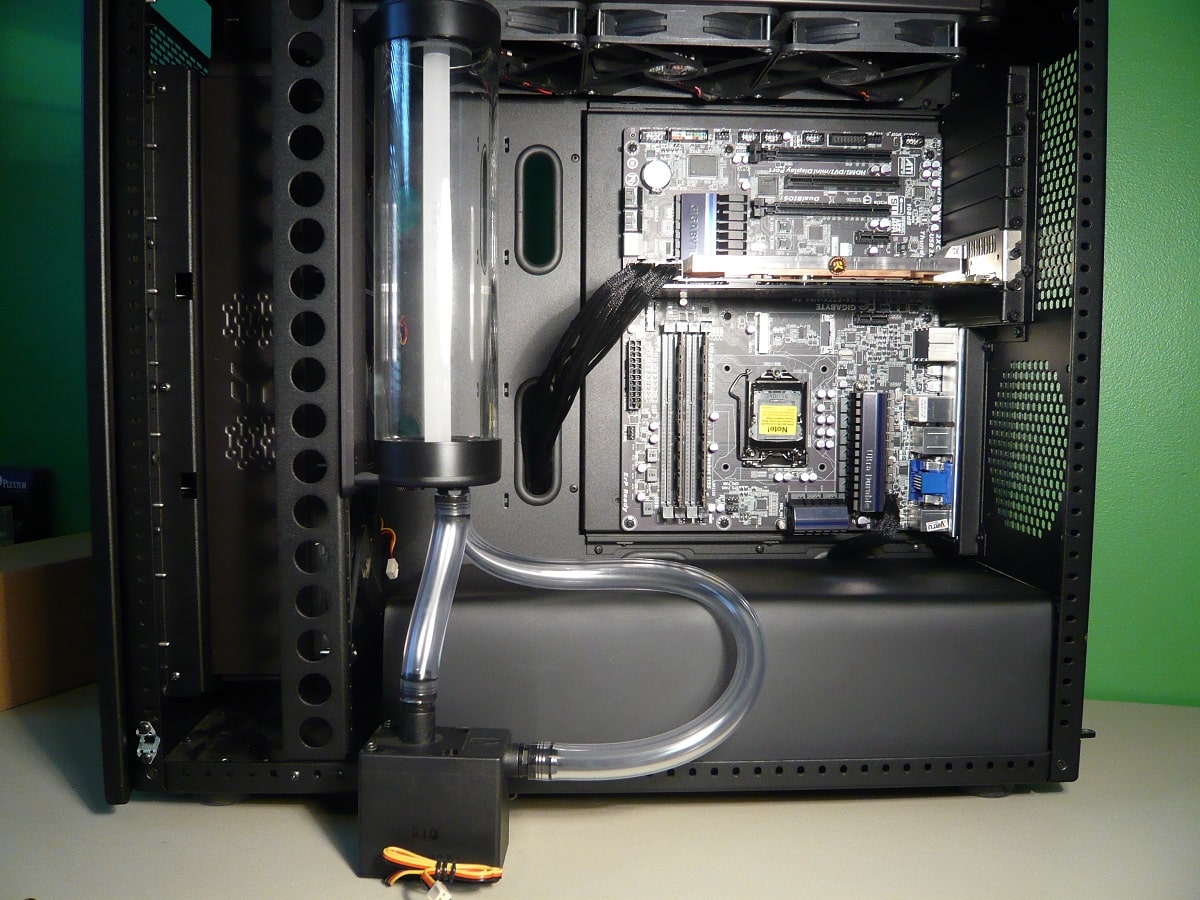
Installation
Installation will of course vary greatly from loop to loop. Ours is as simple as it gets, but will show any potential strengths or weaknesses of the reservoir.
The first thing we did was attach a pair of ½ barbs to the two open ports of the reservoir. These threaded on no problem, good machining by XSPC.
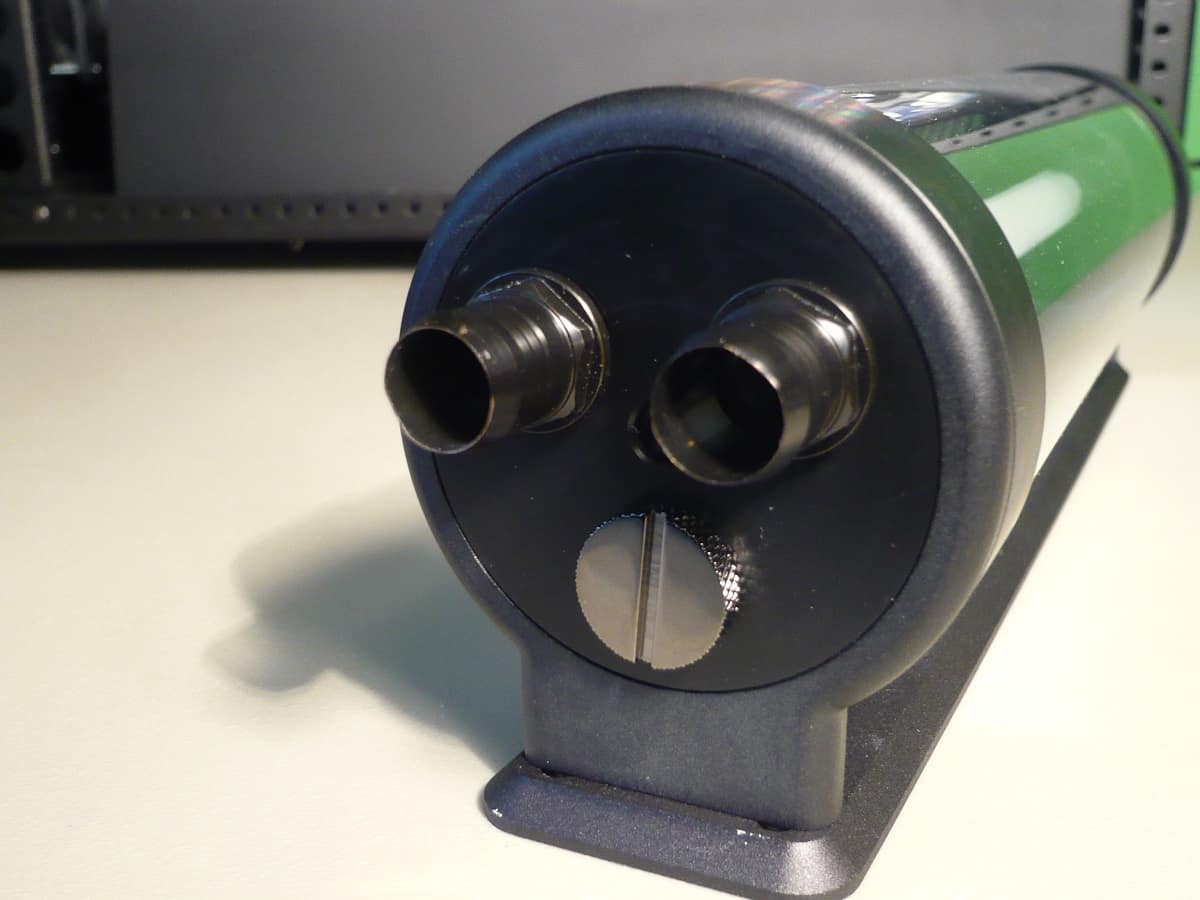
Next we pre-threaded on one of the mounting screws into our case to attach the reservoir.
With the tubing attached to the barbs, we simply held the reservoir in place and threaded in the screw. One thing to note, the reservoir can only be attached from behind. Keep this in mind when planning your build.
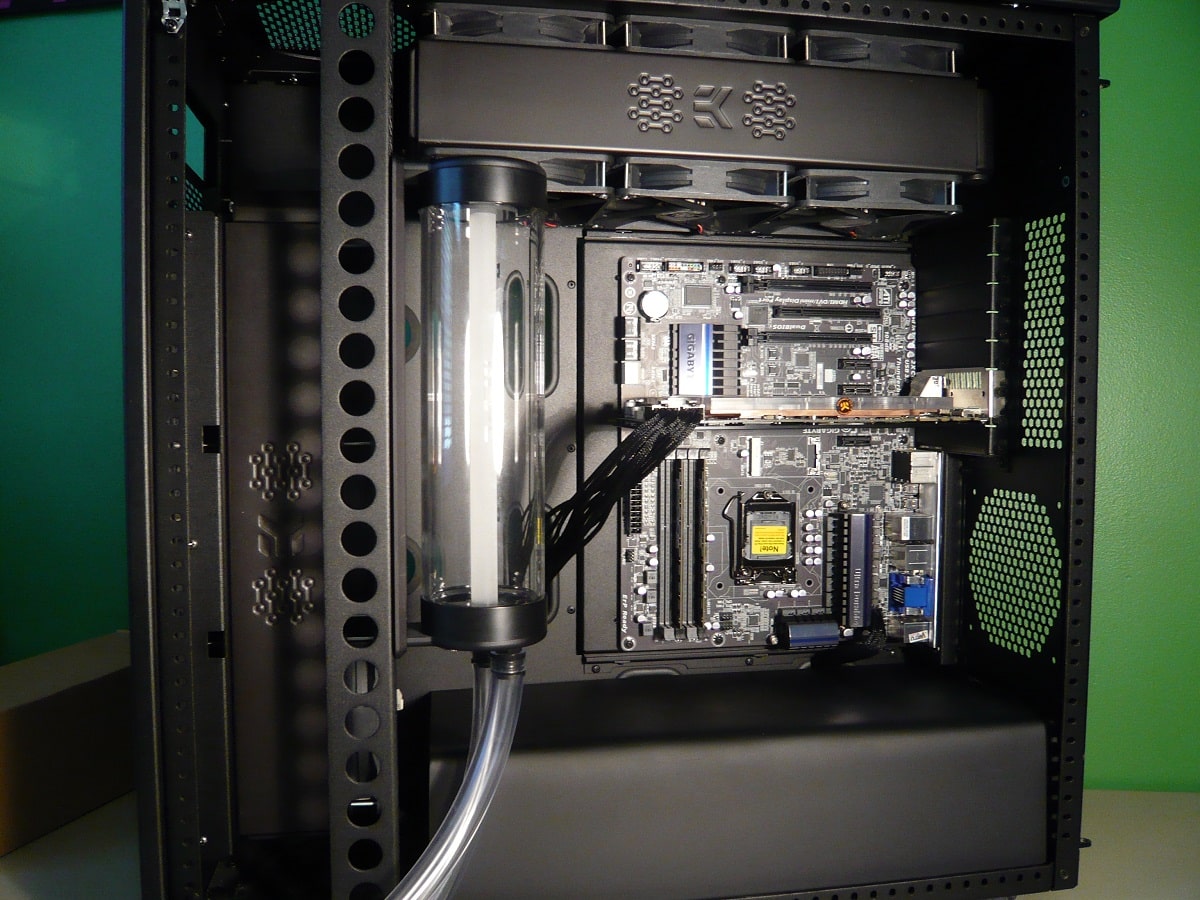
With the reservoir in place we simply hooked up the inlet and outlet directly to our pump. Indeed a very simple but effective loop.
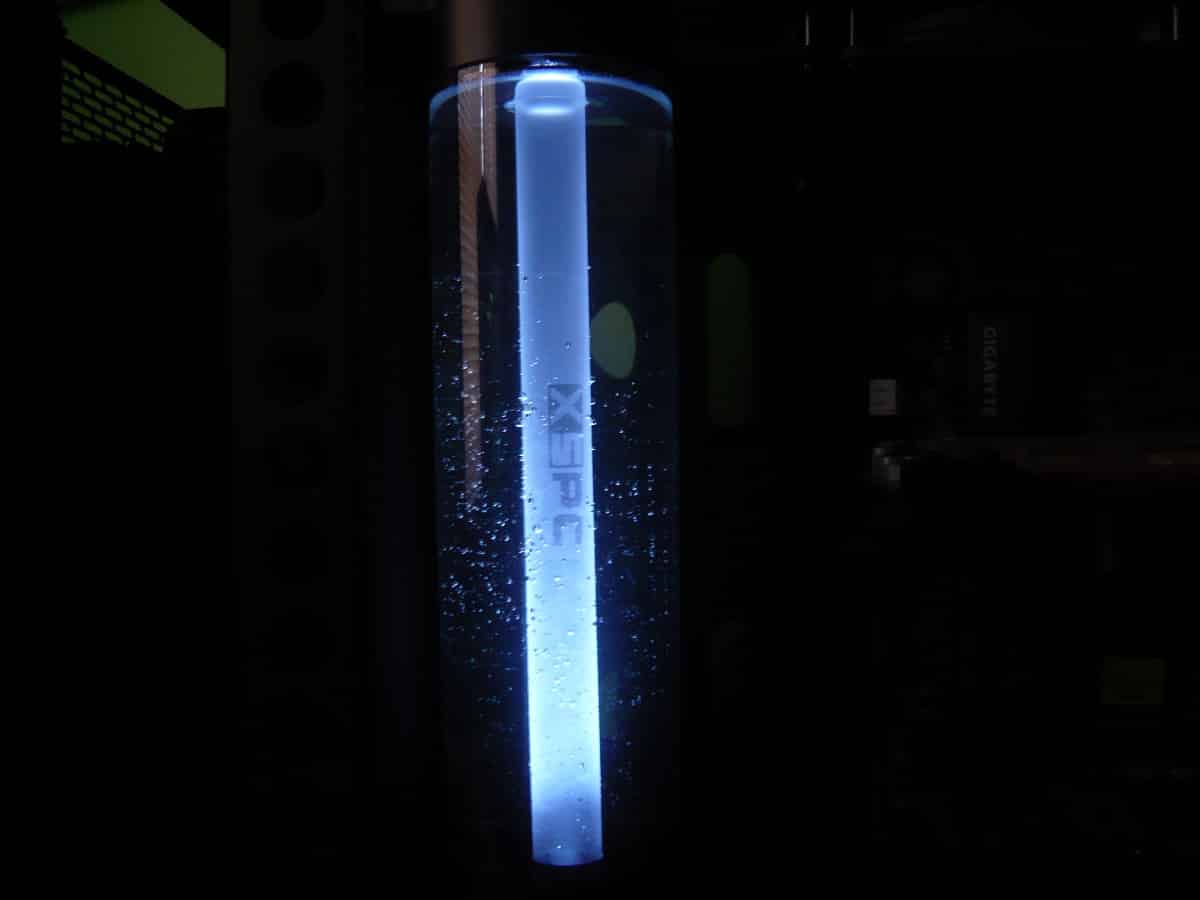
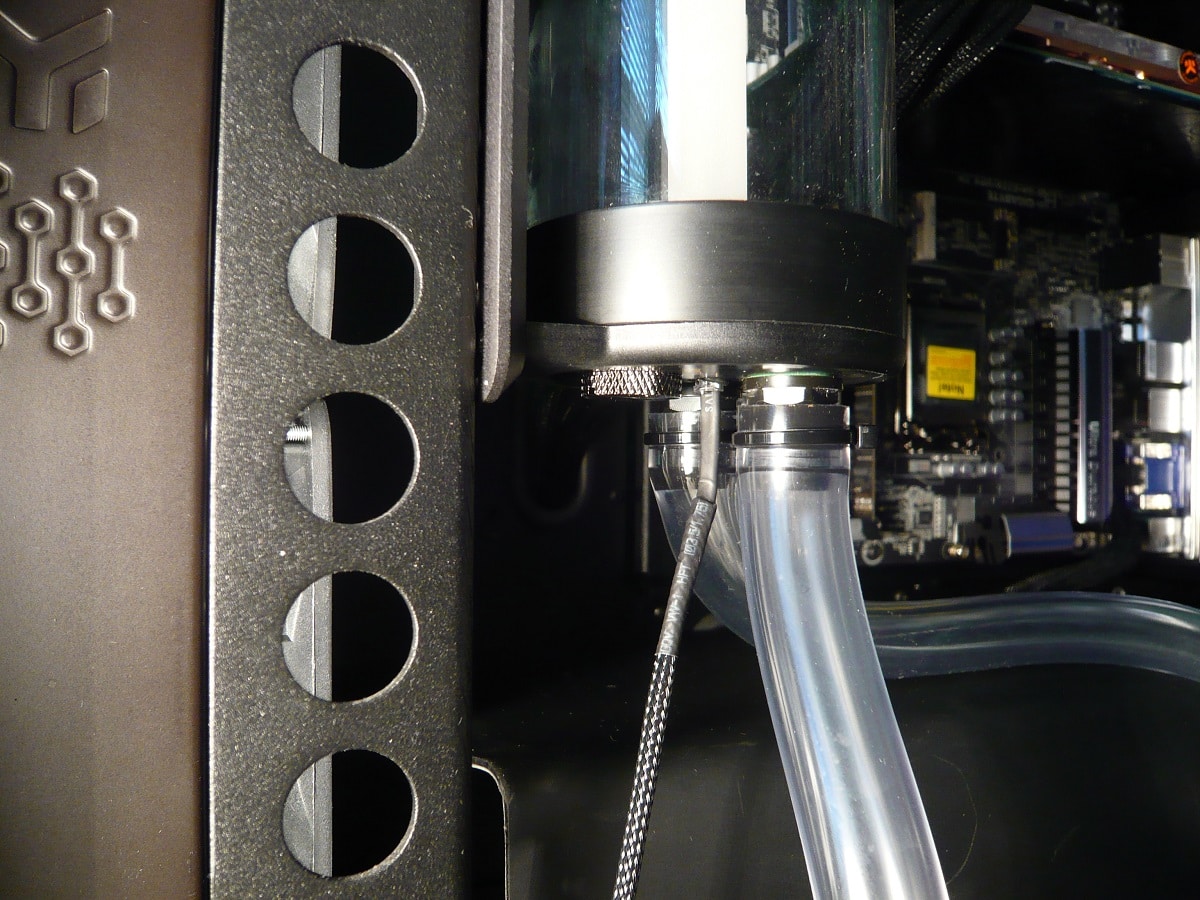
With the loop assembled now you need to insert the LED into the base of the reservoir. There is an O-ring included to help secure the LED to the reservoir.
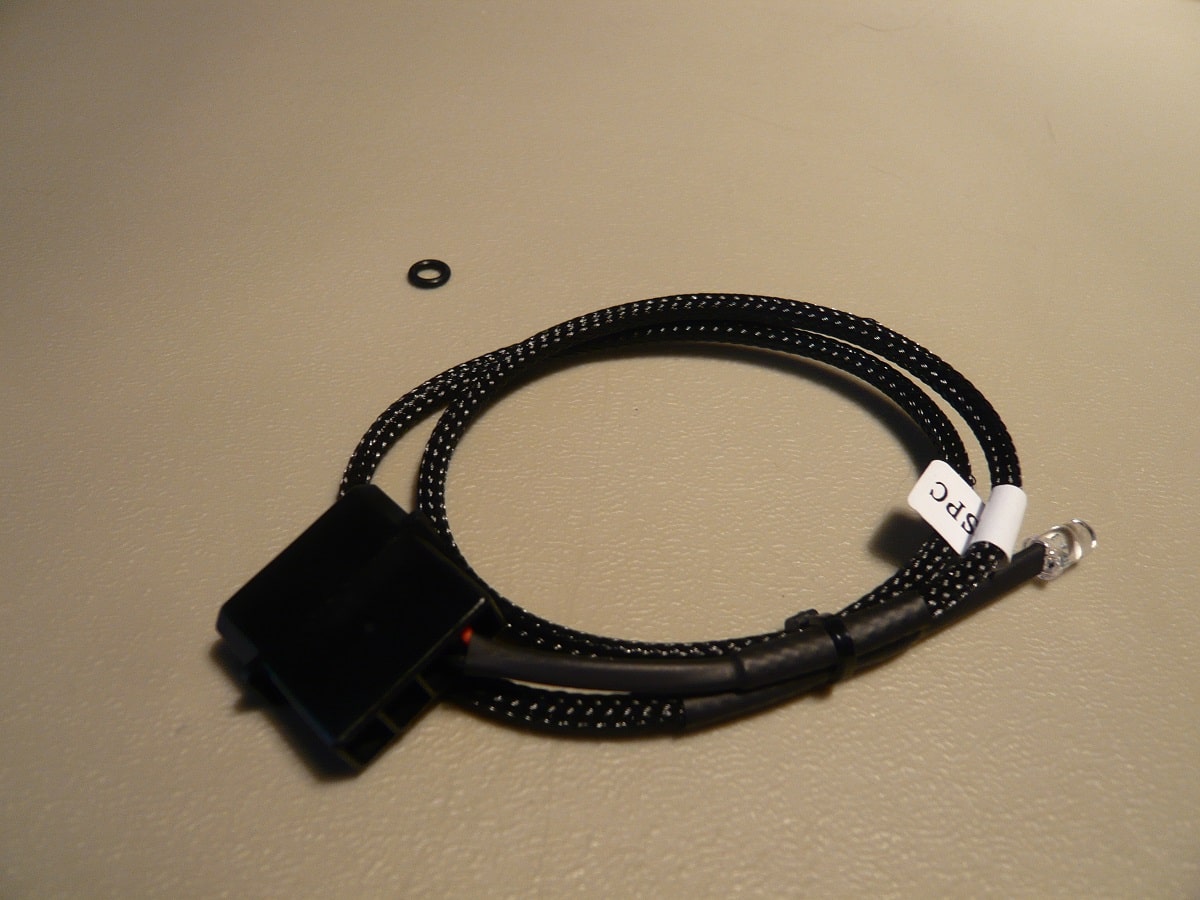
Slip the O-ring into the LED hole, then insert the LED. The LED is capped with a molex plug, simply hook that up to an open one from your power supply.


Im really liking that res. Was that installed in a CaseLabs SM8?
A multiport top to alleviate the air issue would be a good idea.
You didn’t comment on bubble removal but wondering if they should have some kind of an internal tube return that would assist in keeping bubbles from recirculating into the system. They have such a device in their DDC reservoir top, so I’m wondering why it was left out here.
Also seems odd to not even have the option of a top in, bottom out solution which seems common in tube designs. Again a multiport top would help, with 2 ports for fill/air and one for return from pump.
i’m thinking of doing a whole new rig with a 270, but I can’t find a proper case for it. What case did you use there? It looks like a great fit!
The case that was used was a CaseLabs SM8.
Nice built !did you move the in and out port on the reservoar is it possible?beacause original the in and out port is not in line with each other….first picture its not in line picture with fitings its in line …
Hi there ,
Question:
1. can the side panel close properly when doing this?
2. Any drilling required on the PSU mounting bracket itself?