
Testing
To test the reservoir we need to fill the loop and run the pump. To fill the loop remove the large plug from the top of the reservoir. If you need to, try using a coin as a screw driver to get the plug turning.

With the plug removed and using a funnel, start to fill the reservoir. Unfortunately with only one hole in the top of the reservoir, there is nowhere for the displaced air to escape. This causes back pressure as the air is trying to leave the reservoir through the same hole you are filling through. If you aren’t careful the water you are trying to pour in will come leaking right back out. To alleviate this we inserted a straw in the reservoir which allows the air to escape. Due to the design of the reservoir, you will still need to pour slowly.


With the reservoir completely filled, the only thing left to do is turn on the PSU and let the pump run. As you can see, the reservoir is lit generously from the LED in the base all the way through the tube.

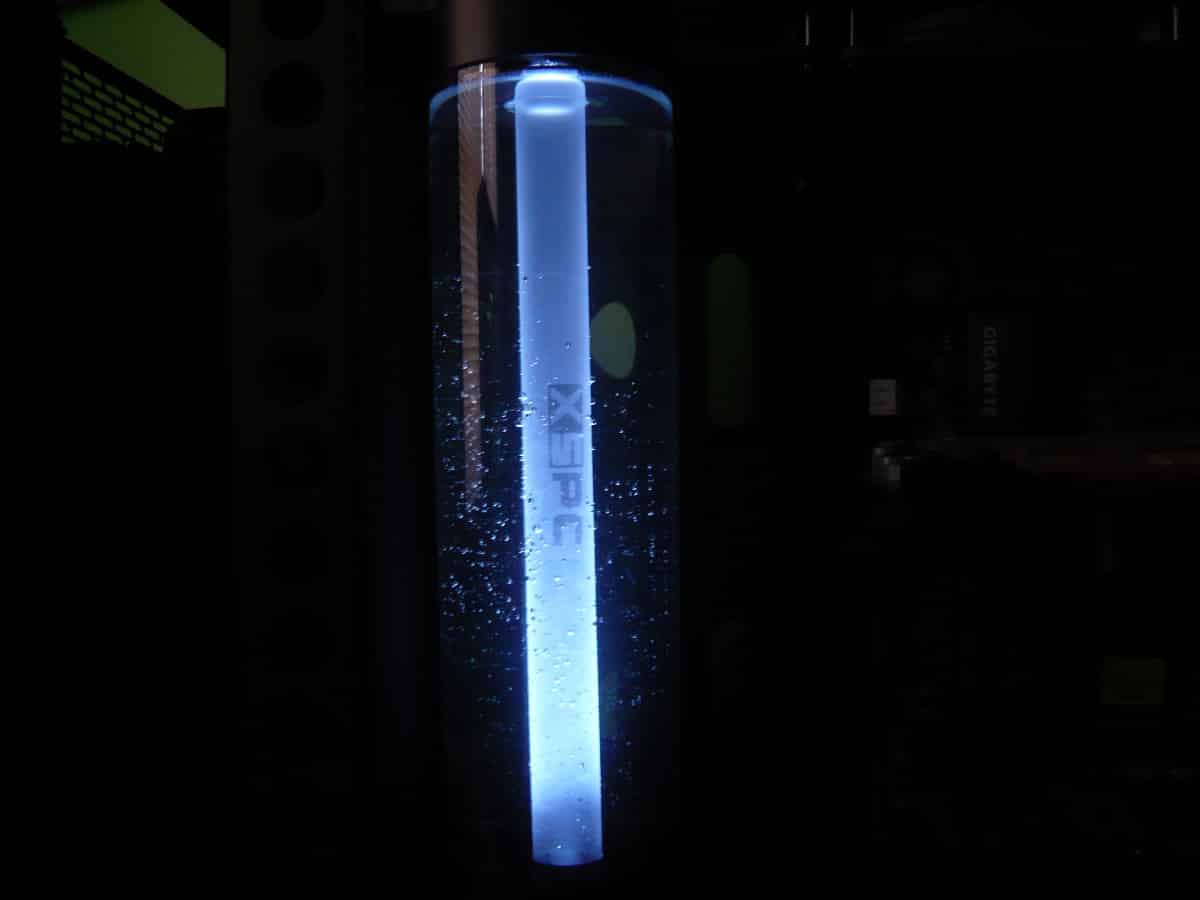

For fun we added some Mayhem’s UV Green dye to the reservoir from the top fill port.


We ran the pump for around an hour and discovered no leaks.


Im really liking that res. Was that installed in a CaseLabs SM8?
A multiport top to alleviate the air issue would be a good idea.
You didn’t comment on bubble removal but wondering if they should have some kind of an internal tube return that would assist in keeping bubbles from recirculating into the system. They have such a device in their DDC reservoir top, so I’m wondering why it was left out here.
Also seems odd to not even have the option of a top in, bottom out solution which seems common in tube designs. Again a multiport top would help, with 2 ports for fill/air and one for return from pump.
i’m thinking of doing a whole new rig with a 270, but I can’t find a proper case for it. What case did you use there? It looks like a great fit!
The case that was used was a CaseLabs SM8.
Nice built !did you move the in and out port on the reservoar is it possible?beacause original the in and out port is not in line with each other….first picture its not in line picture with fitings its in line …
Hi there ,
Question:
1. can the side panel close properly when doing this?
2. Any drilling required on the PSU mounting bracket itself?