Installation
Installing a GPU block for the first time can be a daunting task. Follow along for a good general idea of how to install any GPU full cover block.
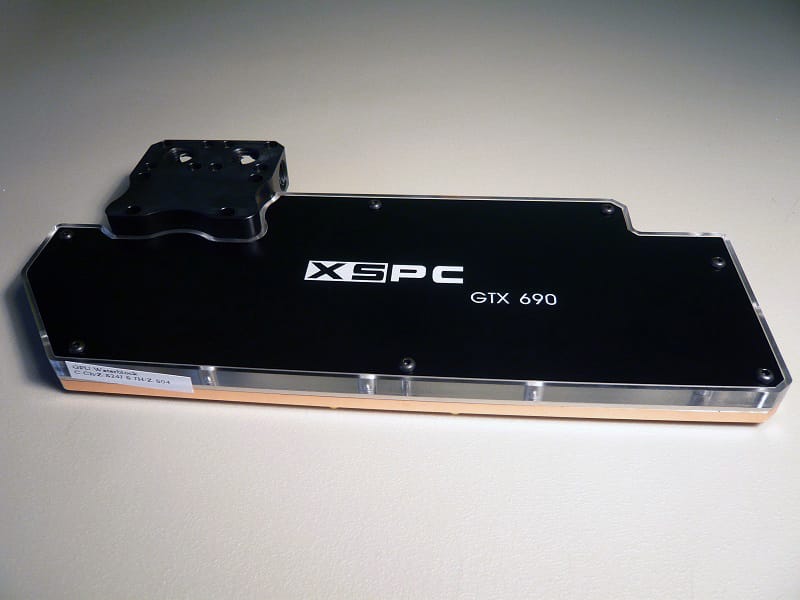
First you must remove the factory air cooler. Start by removing all screws from the back side of the card and pulling steadily straight up on the cooler. It might also be necessary to twist the card slightly to break the suction the thermal paste will create. Once removed set the cooler aside and clean off the remaining thermal paste and factory thermal pads. You can save the pads for reinstalling the factory cooler, but you will want to use the included pads for the water block. Once clean it should look similar to our photo.

The next step is to install the thermal pads. Follow the guide on the instructions to make sure you are using the correct pads at the correct location. If the wrong thickness is used the card may not make good contact with the block and could overheat. To install a thermal pad you first peel one side of the plastic from the pad.

Next place the pad plastic side up on the surface and press on it to make some contact. Now carefully peel off the other piece of plastic. The pad is now installed, repeat until all pads are used.


With the pads installed apply thermal paste to the GPU’s. For GPU’s I make an X on the surface.

With all pads and paste installed carefully place the block onto the surface. You can line it up by checking that the standoffs are over screw holes.

Now you must attach the block to the card using screws. Carefully flip the card and block over. Since the multi port connector is taller than the rest of the block set it over the edge of your table to keep the block in even contact with the card.

Follow the diagram in the instructions to know which screw holes will need screws. Since my card already had a GPU block on it, I already had plastic washers in place. You will need to use the red ones that come with the kit. Begin with the screws around both GPU’s. These will ensure you have a good compression of the thermal paste. Tighten all screws snug, but be careful not to overtighten and cause damage to the PCB.

The block is now installed on the card, and we can install both into our rig. Since we have a single card we will put it in the top slot. Make sure you install the included G1/4 plugs in the unused ports. We needed to use five of them with our configuration, your’s may be different. Make sure they are tight by using a coin as a tool.
You will notice that we had to use an extension. This is a downside to the port being all the way to the left. In order to use the same piece of tubing already connected we needed to get our barb a bit closer.

With the card in place you can now install the LED’s. The holes are located on the right side and left side of the card. Connect the molex adapter to an open one on your PSU.


Plumb your tubing, and you’re ready to go, GPU installed.