
Building inside the Zalman Z11 NEO Mid-Tower Computer Case
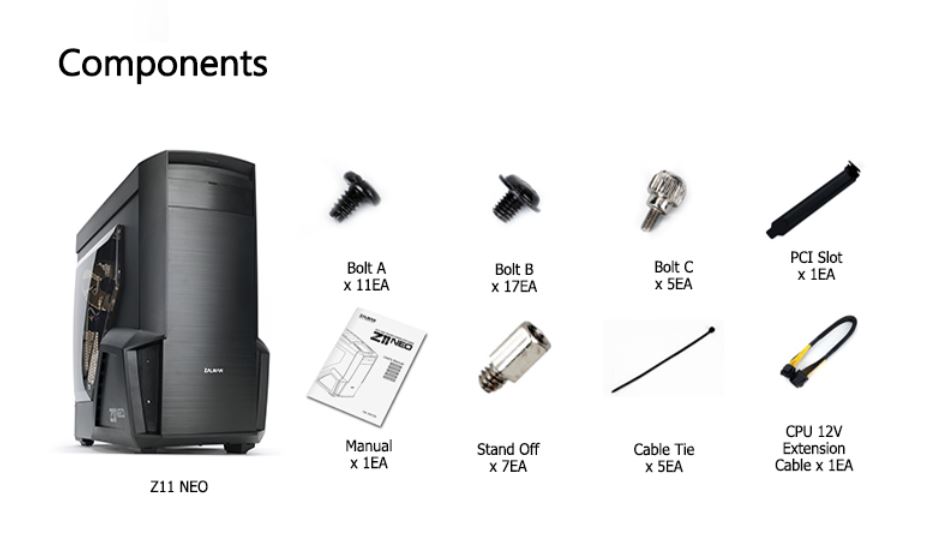
Just in case you may be using this page as a guide for building inside the Zalman Z11 NEO case then I want to remind you again that the motherboard standoffs will have to be put into the correct holes then you want to use the Bolt B for securing the motherboard into place. The pan head Bolt A’s are for SSD mounts and the bolt C’s are made for the Optical drive placement since you will want to fit it the way you want it. The Extension is really nice to use in this build since it makes it easier to plug into the top of the motherboard before you mount the motherboard onto the tray.
Here is the Pin-out Chart for the plugs that go into the motherboard for the Audio, USB 2.0 and 3.0 Reset and HDD LED. Remember that LEDs are diodes, so they have to be correctly polarized to negative and positive on the board pin out. Be sure to get your polarity right when connecting any LED connections as they will not function if you connect them the other way.

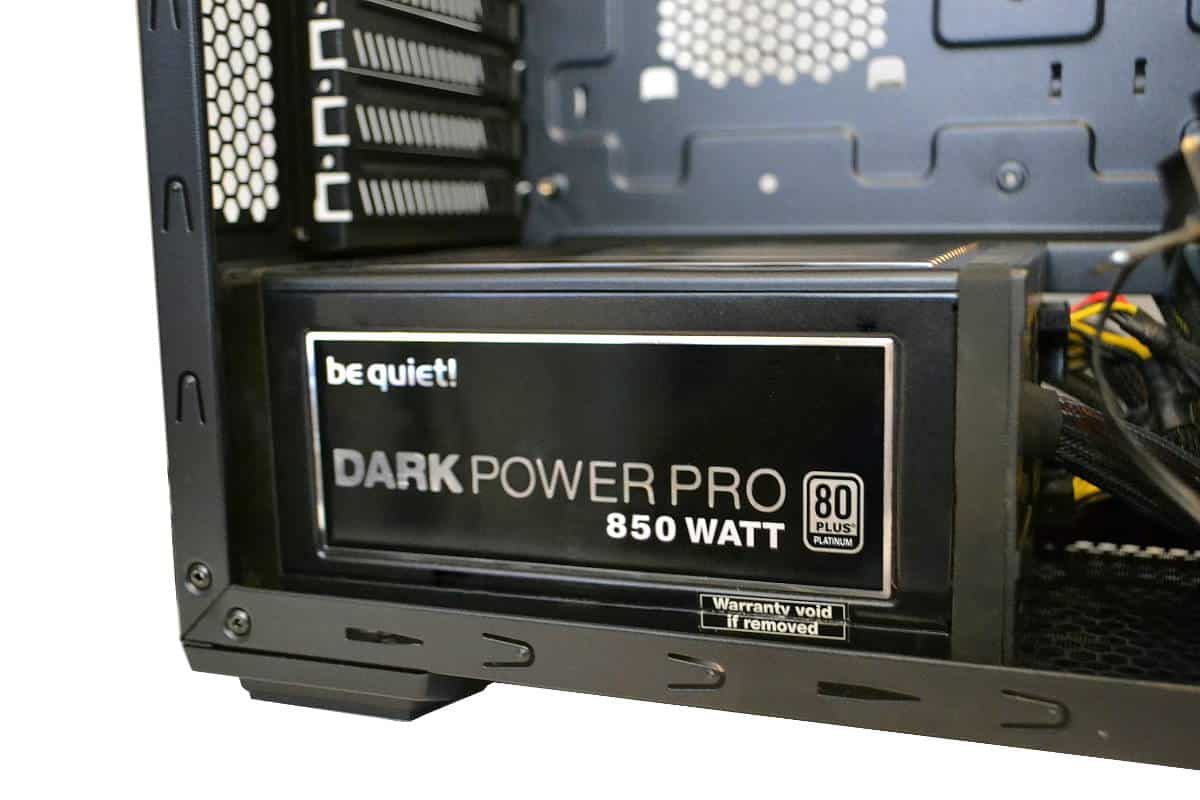
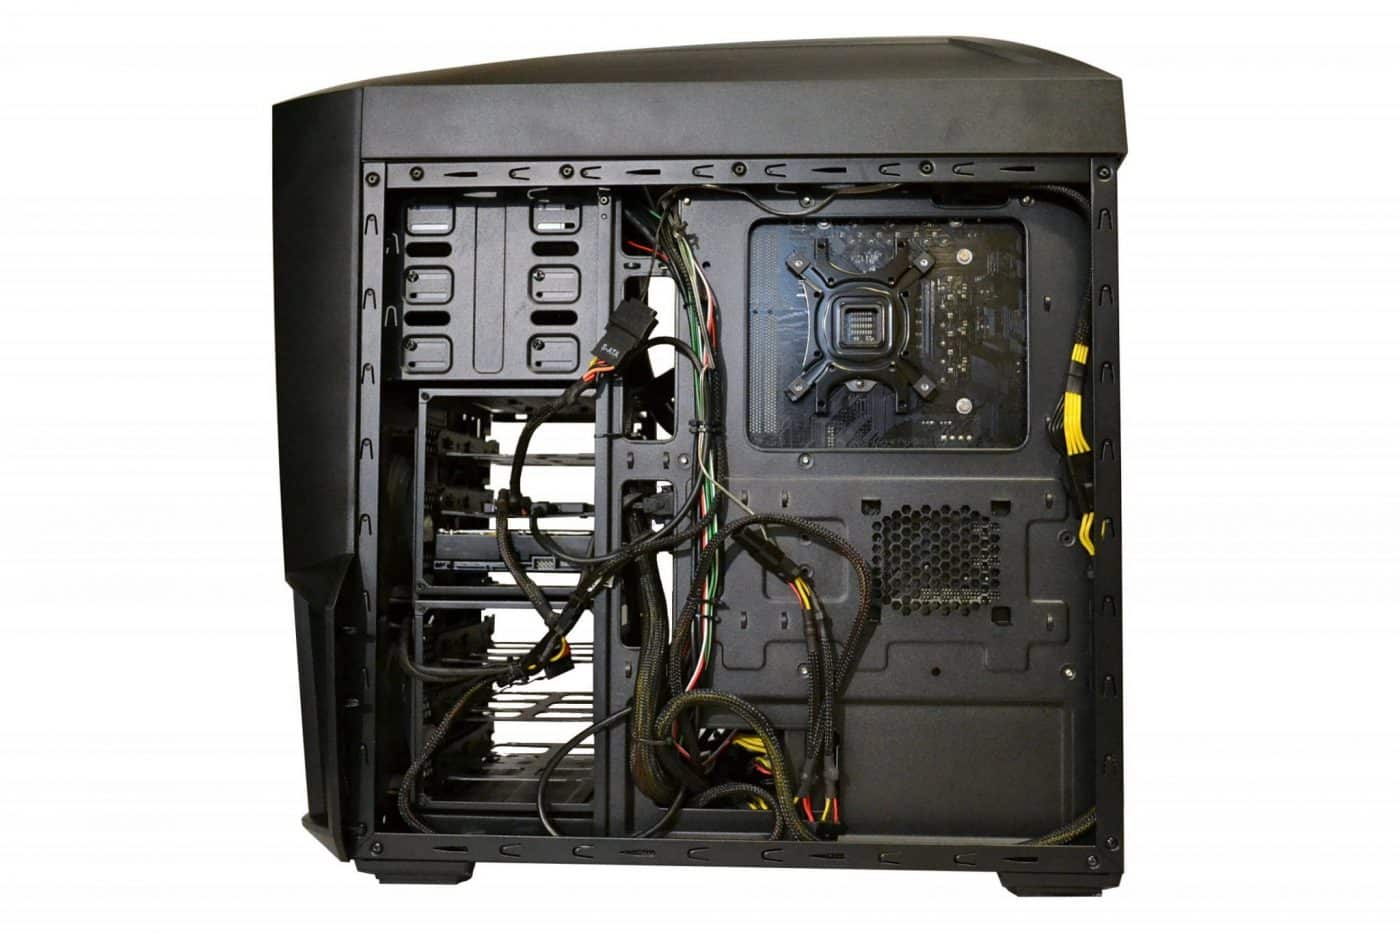
While I used my trusty, longer sized power supply, it was not much of a problem but it did interfere with using the bottom fan mount. If you plan to have more airflow from the bottom of case using the lower fan vent is sure to not have a power supply that is too long or it will partially cover the fan mount.
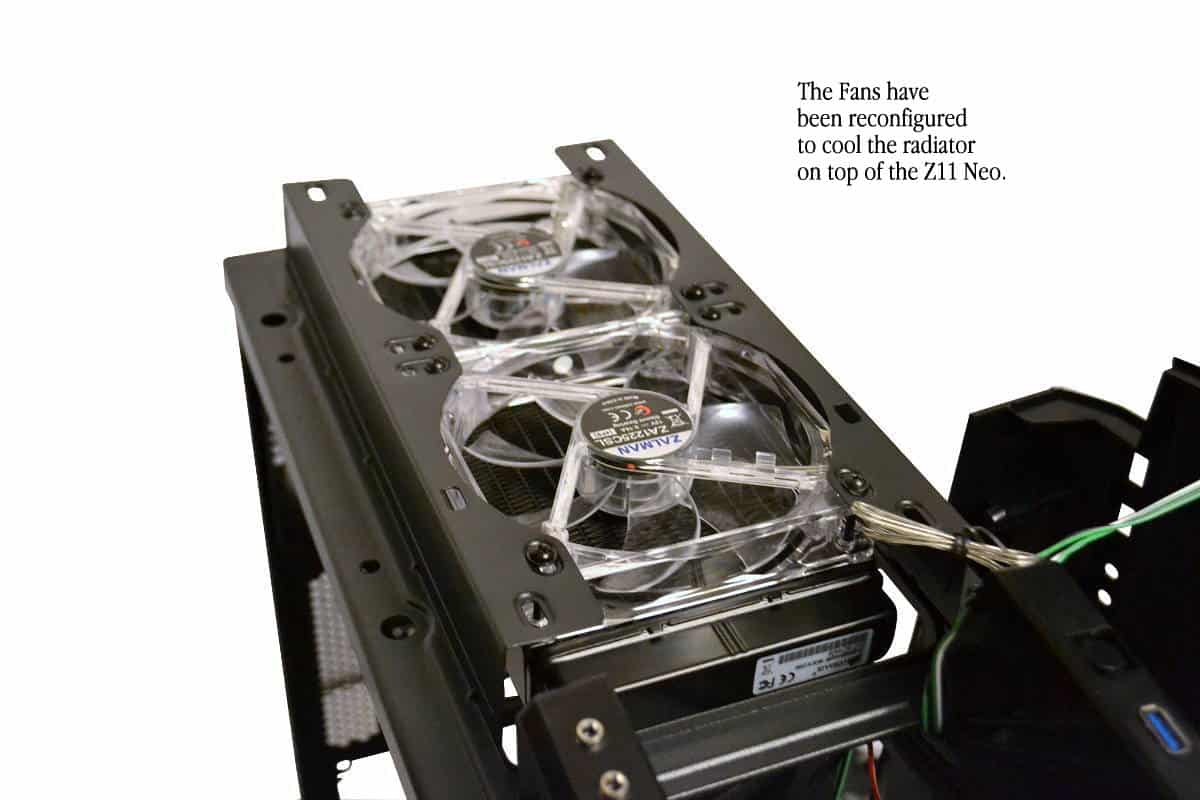
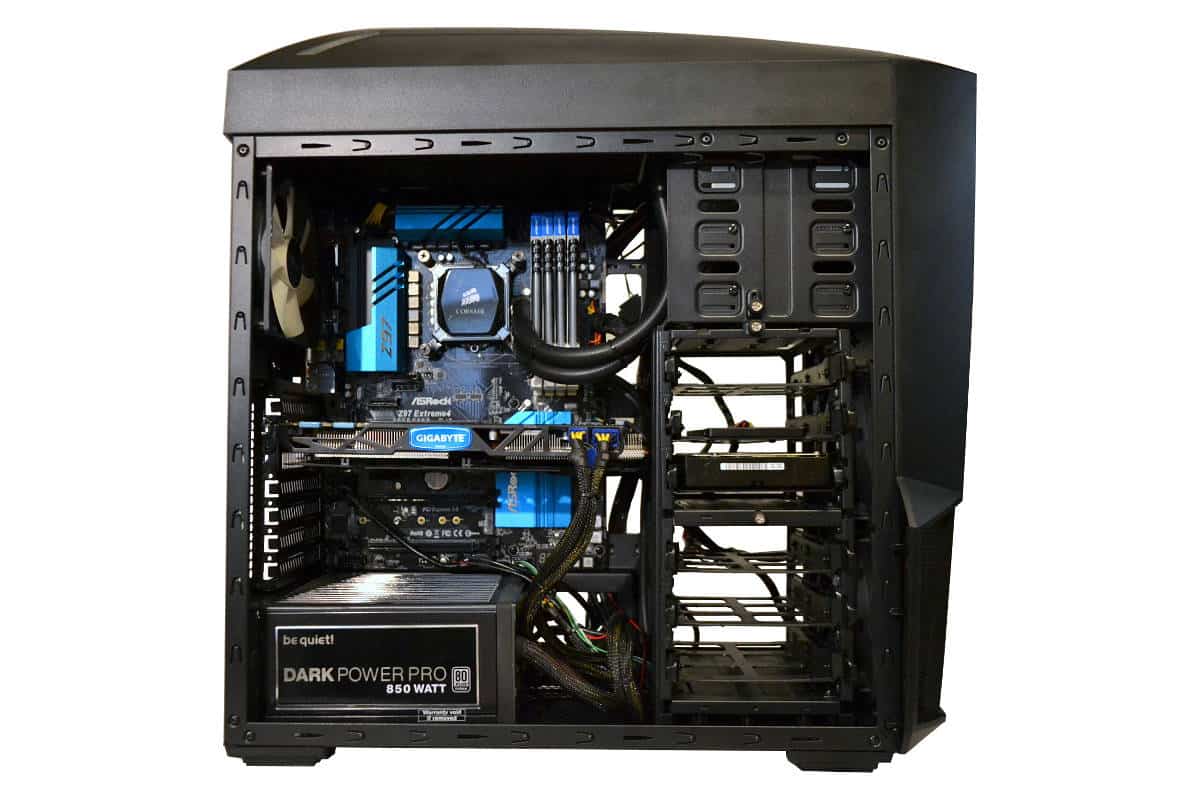
Installing the radiator was really easy with this added area at the top of the Zalman Z11 NEO case. The top Radiator and one set of fans fit perfectly above the flat top of the case allowing for lots of room for the motherboard placement. Remember: Hook up your P8 power cord into the motherboard before installing the motherboard as flat top cases can be really difficult to get to if you don’t plug this in early.
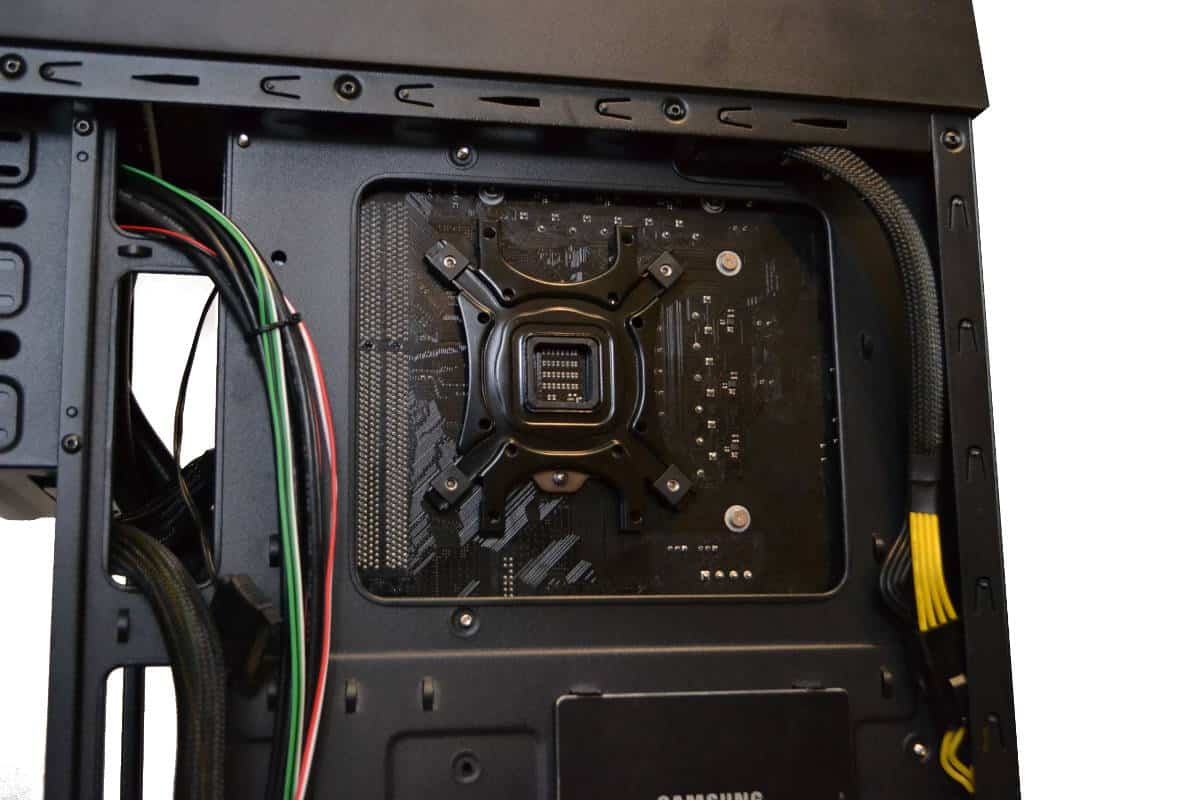
Actually the best way to work this is to use the supplied P8 extension and plug it into the board and then install the board running the wire behind the motherboard tray. Then hook the two p8 cords together. This makes it so much simpler than trying to install the wire after the motherboard has been installed. Also remember to put in the back plate of the motherboard into place before installing the board. Placement is tight in the Z11 but it works fits perfectly.
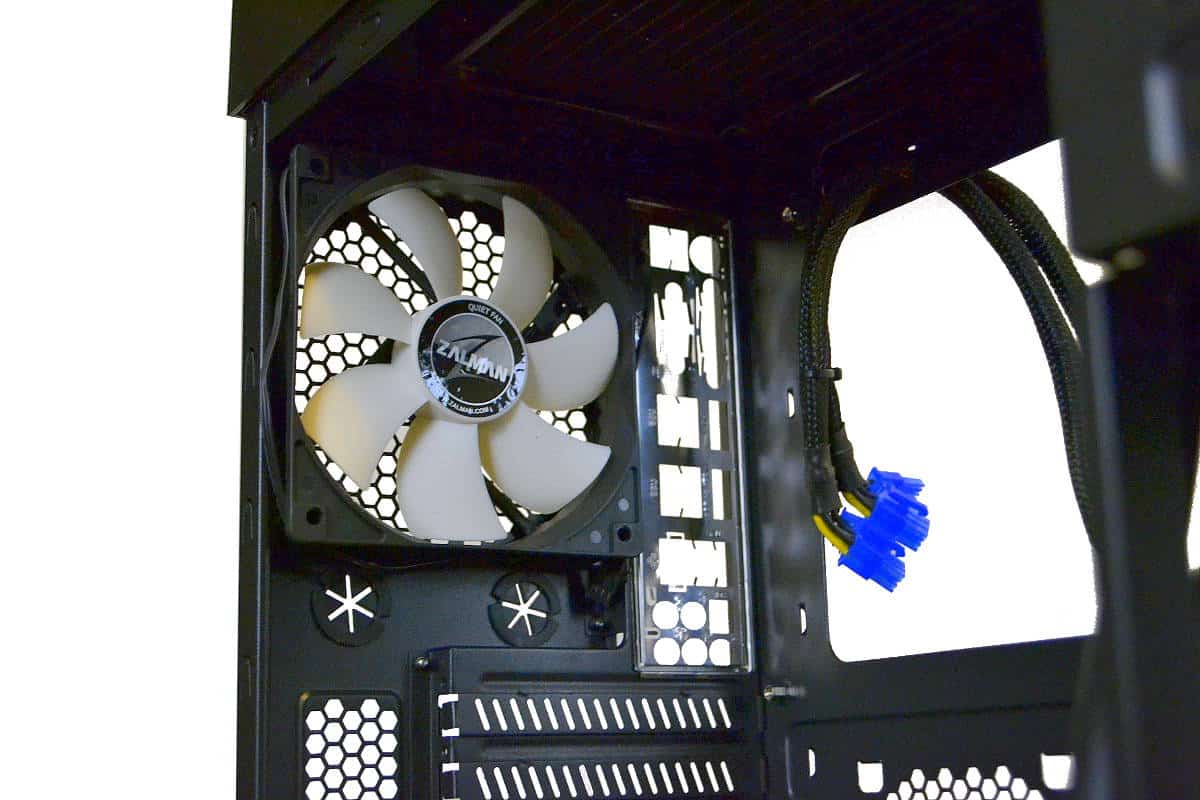
Here is a picture of the back plate and the P8 wire placement before install. This is one of the easiest ways of building into a flat top case. You won’t have room to work the wires into the plug so do it before securing the board. The back White 120 X 120mm exhaust fan is not lighted, but it is a beautiful white Zalman silent fan and it really works well.
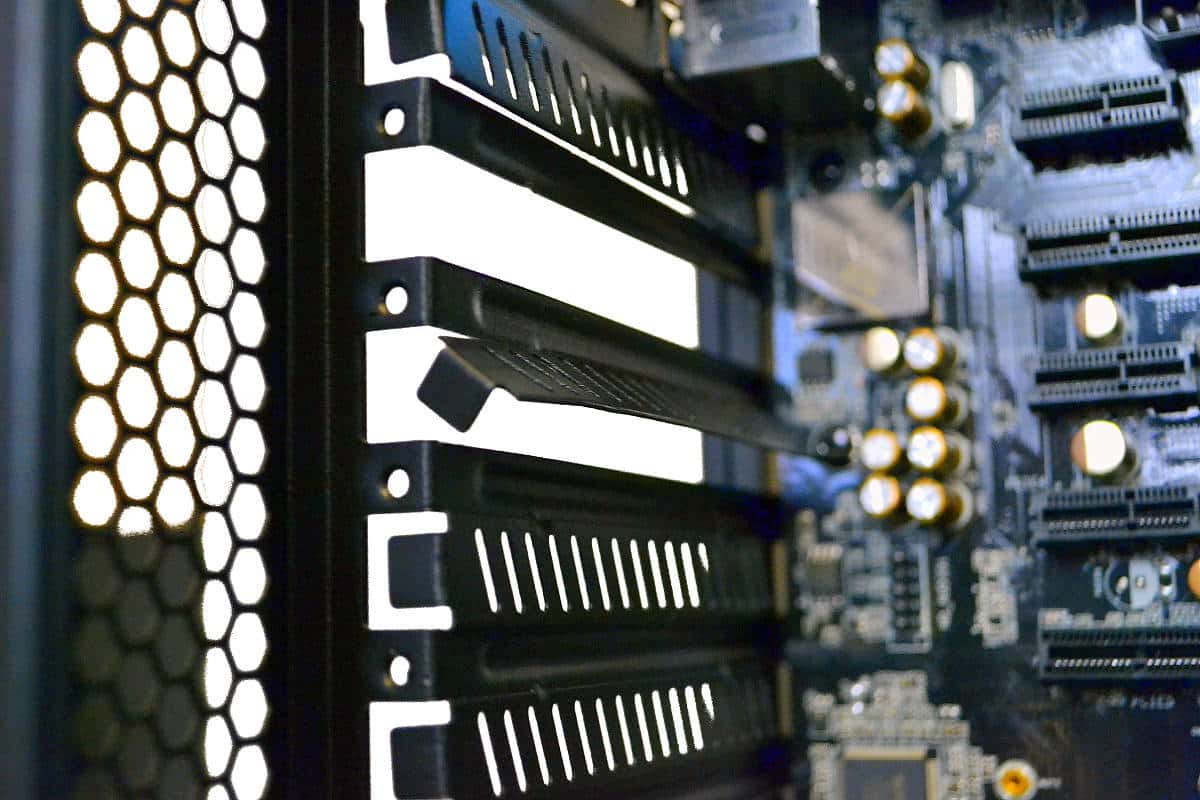
This is what I meant by the PCI Knock-out. You basically bend them back and forth over and over until the steel weakens and breaks off. These covers are not reusable so once you remove them you can throw them away or use them for modding word but if you need to fill the holes later on you would need to purchase some PCI slots to fill them. Any type will fit. Vented ones are encouraged to be used since ventilation is everything in a computer.
The CPU access hole is big enough for both Intel and AMD boards and you will be able to access the back with plenty of room to spare.
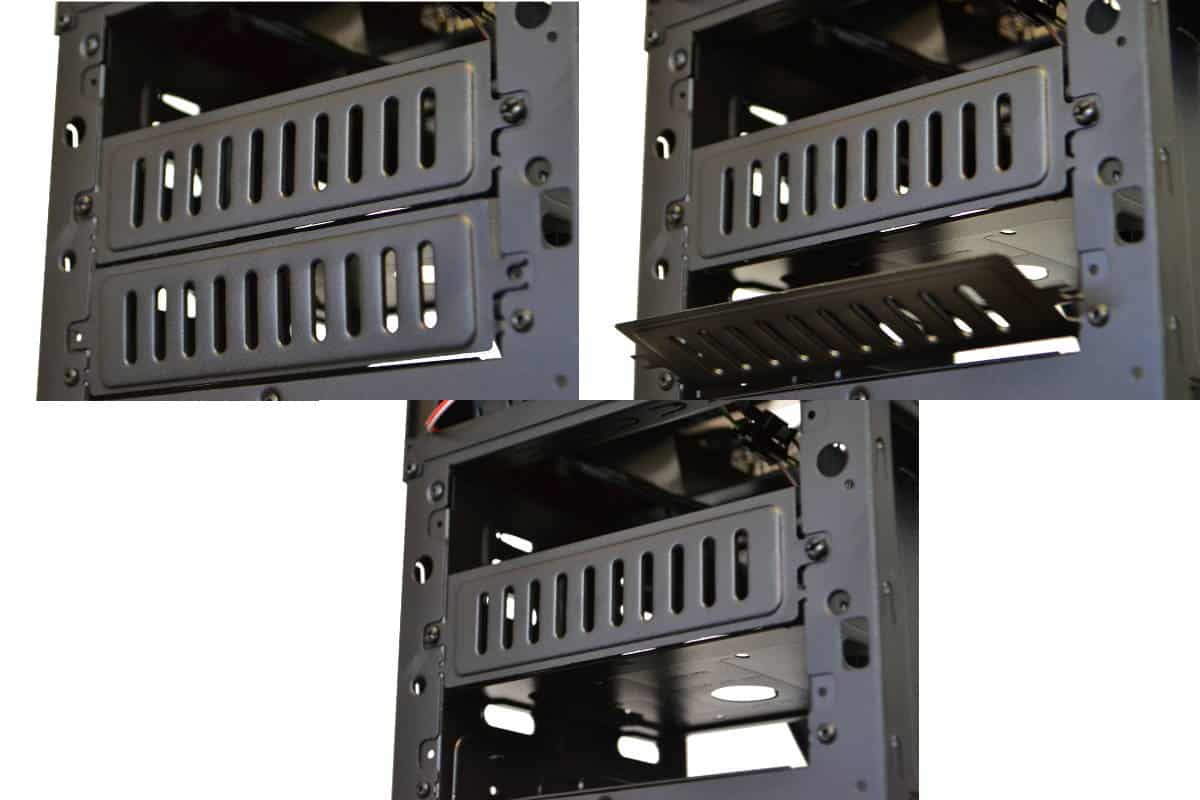
Both the middle and the bottom hard drive 5.25 inch knock-out type covers are replaceable with screws.
Below shows a knockout being removed from the bottom slot to install a Mechanical hard-drive into it. While this is a 5.25 slot it is configured only for a 3.5 inch Mechanical hard drive.
Wire management is tight in this case and needs to be thought out thoroughly. I would suggest that you run the 24 pin motherboard power wire inside the case since I had a devil of a problem putting the back panel on with it the way that I wired it. Don’t make the same mistake I did. The Window is small enough to hide this from view and you can use those struts that I didn’t like for tie downs for it.
As you can see I always use lots more wire ties than come with any case. I buy them by the hundreds at the local Auto-parts store in my home town. They are cheap and come in a pack that are sufficient for any build and left over’s for mistakes, reties or other future builds or to hey, Who knows, maybe to clean up that wiring job you have in your car radio wiring.
One more thing was that the SSD mount has vent holes. Since SSD’s rarely cook off much heat so the vent holes are a little counter intuitive in my opinionm, but now I am just being Nit-picky.
I must admit the blue Z97 AsRock Extreme 4 looks super sweet in the Z11 Neo with the blue lights and the AVEXIR Blue RAIDAN Ram with its Tesla coil effects look awesome inside the Zalman Z11 Neo as well. I really like the overall look of the build as I completed it and the problems that I suggested in this review was not really too bad.
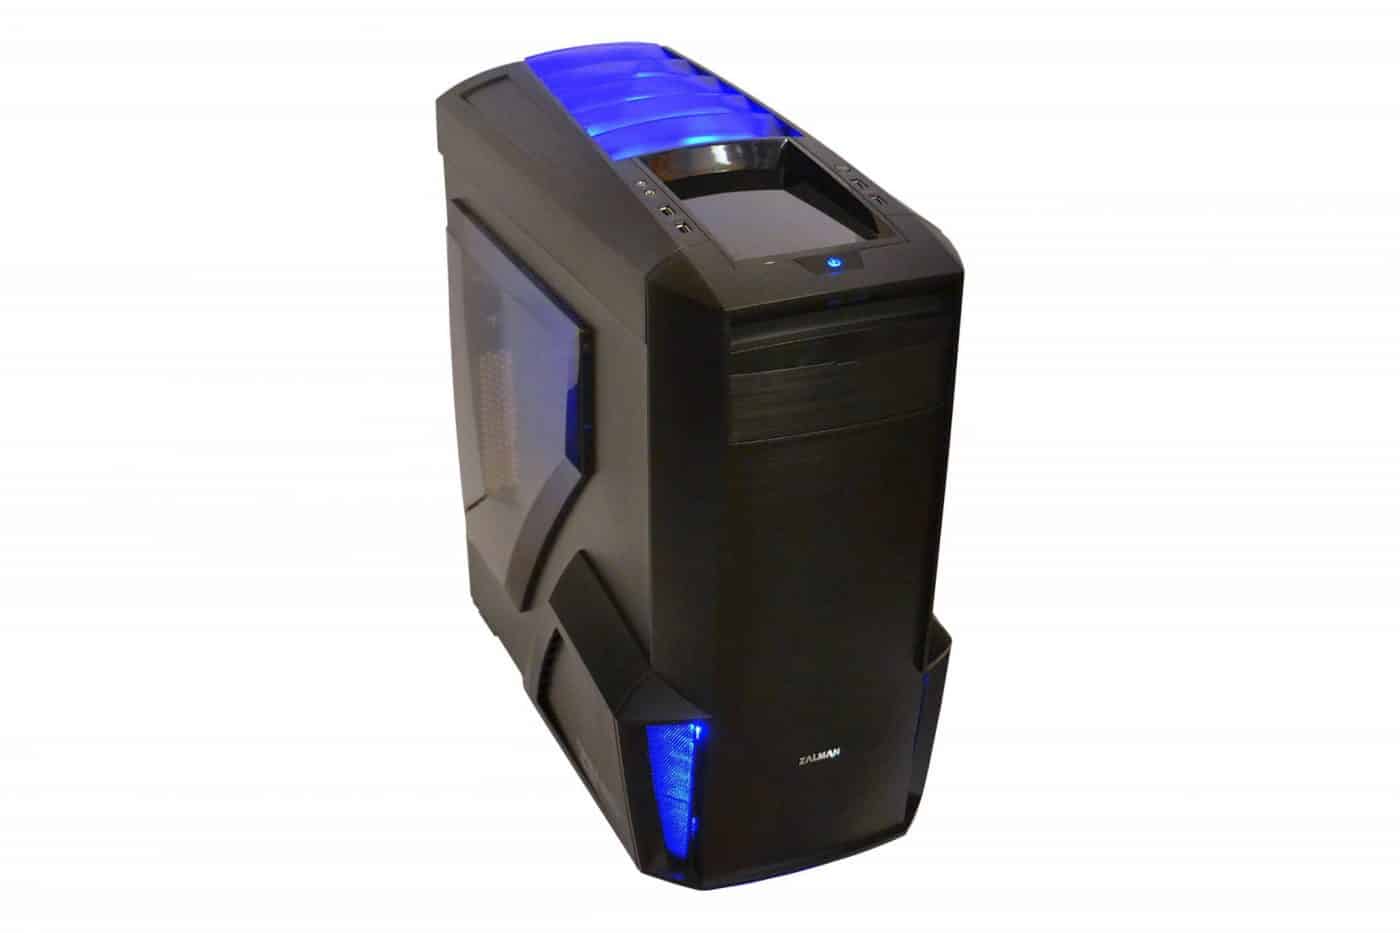
I must confess in the end I was very happy with the way the build looked after the case was done. The blue lighting on the top is both of the included fans and the lights at the bottom are two small 4 inch led strips that I mounted on the inside front of the case under the front panel.


It seems to be much cheaper your side of the pond which makes it a more viable option. Here in the UK it faces much stiffer competition: http://www.ukgamingcomputers.co.uk/zalman-z11-neo-review-a-72.html
Please hire someone to write articles who proof reads their work…and who’s first language is at least English.