
Inside of the Zalman Z11 NEO Mid-Tower Computer Case
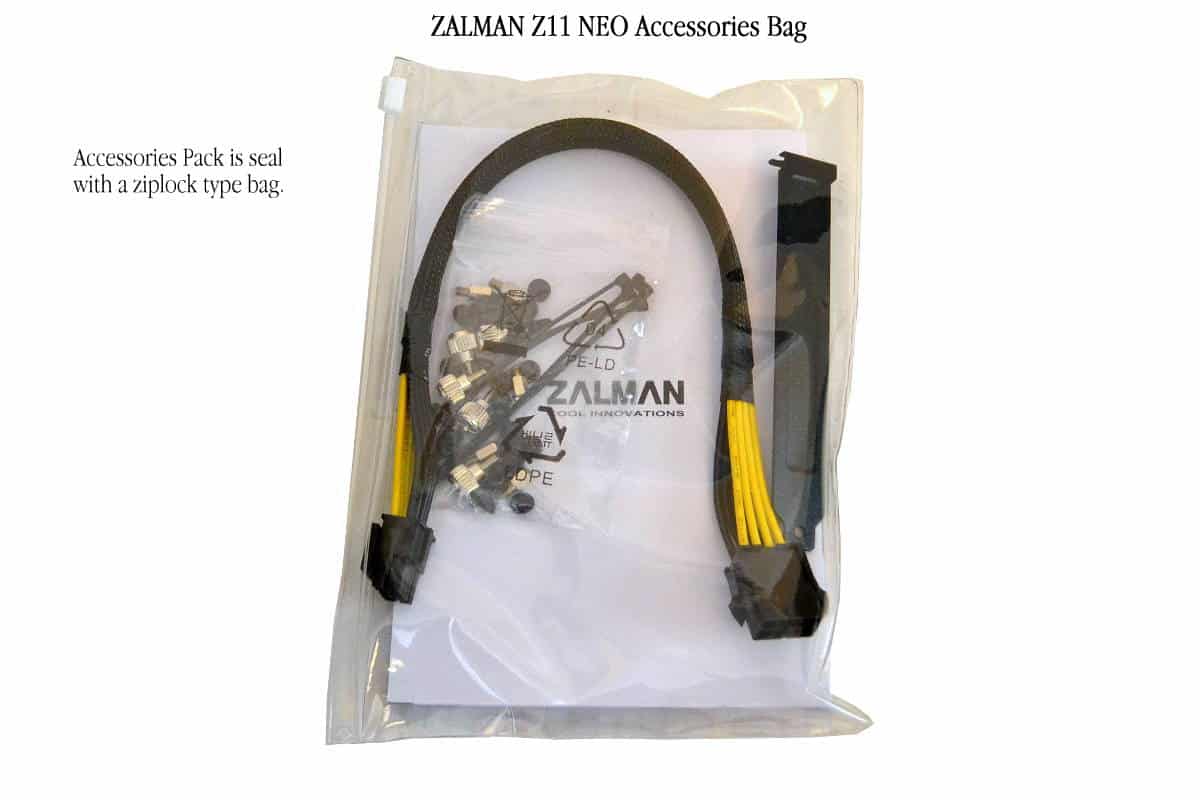
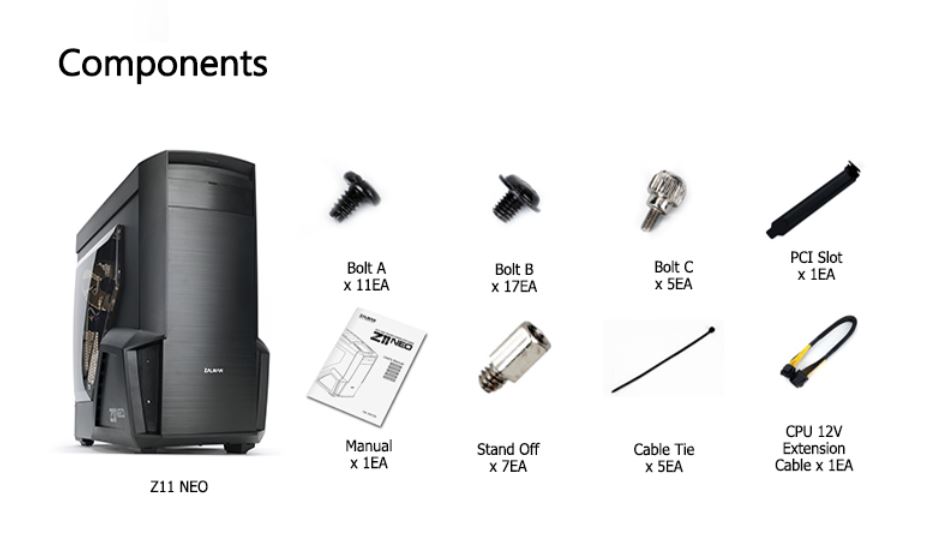
Before we venture inside the case and see how it is constructed let us review the Accessories bag that comes with the Zalman Z11 NEO. The zip lock heavy duty strength bag will probably last as long as the case or longer. The 8 pin extension is great for this case as this case is basically a flat top case with an extended top.
As I mentioned just above the Zalman Z11 NEO case is a flat-top design with an extension at the top to allow for a 240×120 all in one radiator system to be installed with one side of fans. Its best to use blue fans if you are buying more fans because the case really is a light friendly design and the more light the better.
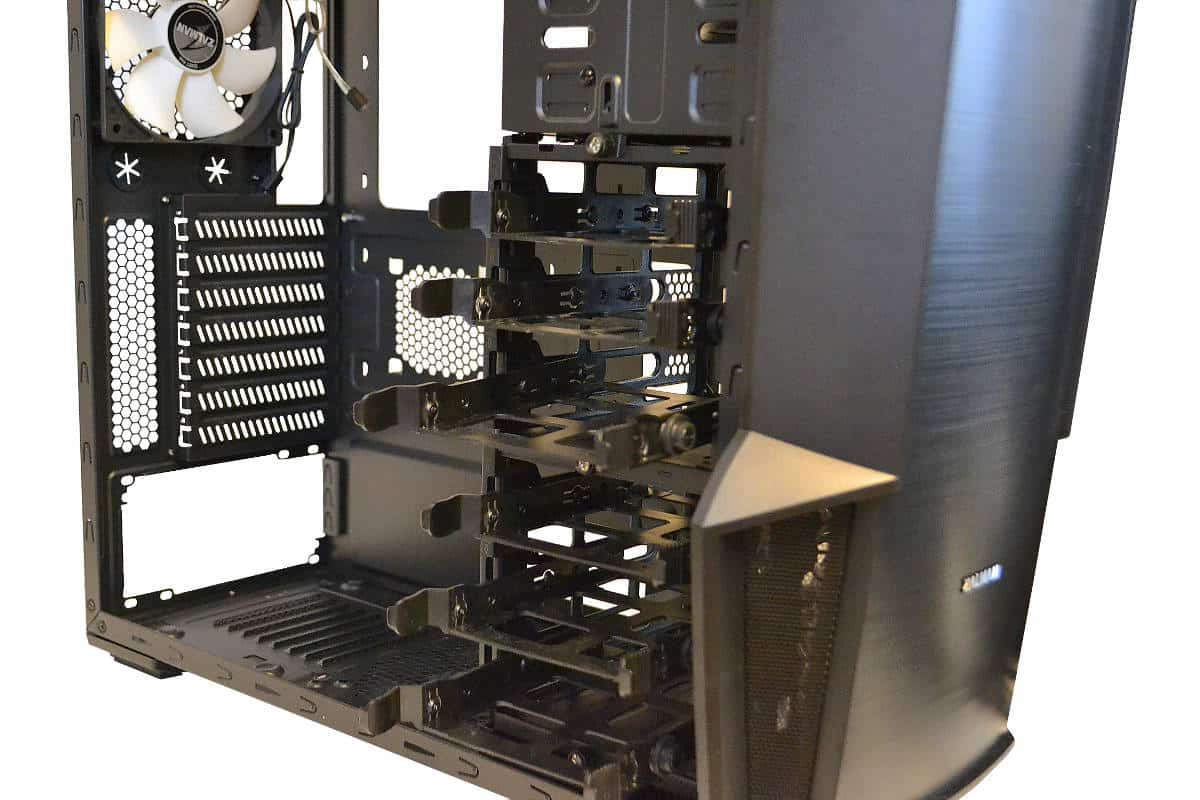
The Motherboard tray is very tight and the video card size is a very restrictive as well. You find yourself moving parts at angles to get them to fit into the area but I was able to fit my Gigabyte 760 4gb. Video-card into the slot but no room was left to spare after install. It completely filled the space completely. The big structural bar that travels from bottom to top is not removable so it can be cumbersome to fit your large card in but it will fit if you can get around that strut.
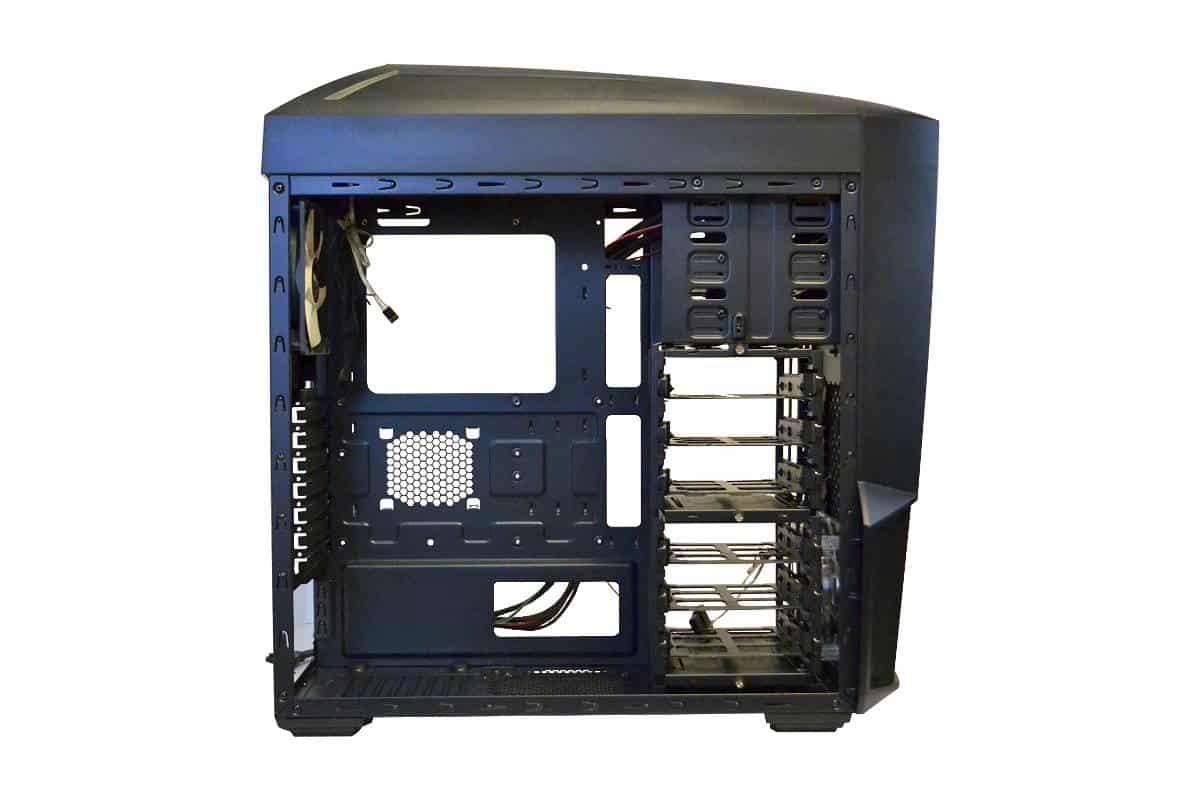
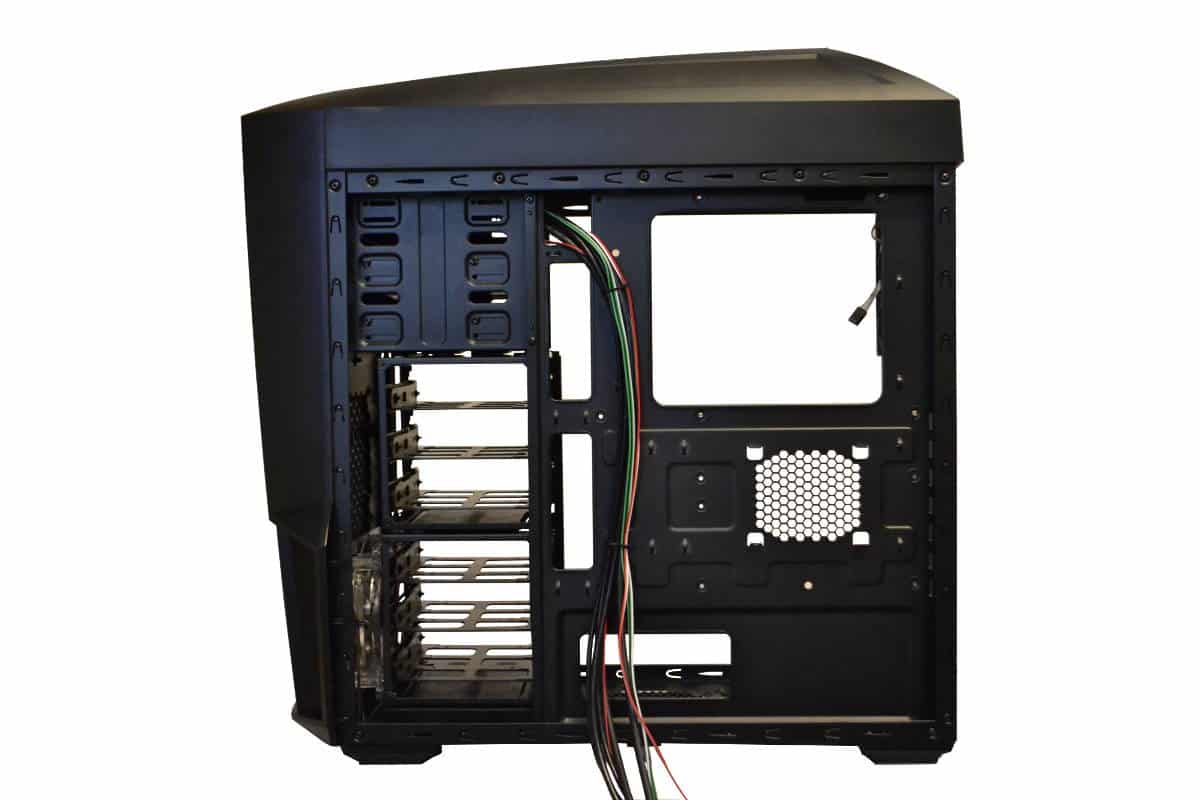
The back also has that another Structural bar between the drive bays and the motherboard tray. This can give some problems with large wire bundles so keep your bundles small and try to avoid that up and down strut with thick wires like the 24 pin Motherboard bundle. The control wires are done well and the LEDs are set with hot glue so they hold in place well. There is also a wire disconnect for the LED on the front panel to remove the panel completely from the front.
The front fan has a Molex connector so don’t try to hook it up to the board. The rest of the case fans installed use the 3 pin standard fan connector, so hooking them up to the motherboard systems is very simple but that Molex makes that front fan run at full strength all the time but it’s not a problem since the fan is really silent.
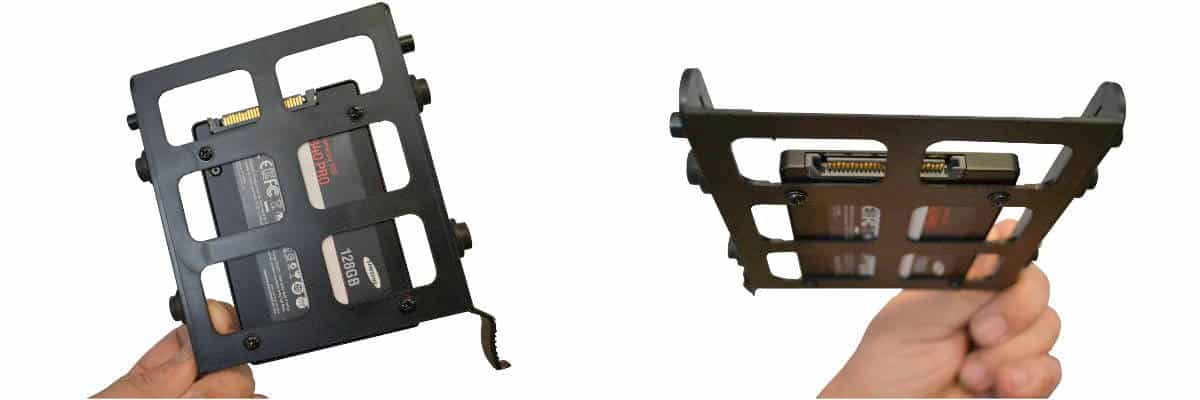
Lastly there is the SSD Mount right under the very spacious CPU Cooler back access hole. Both are well designed and work well for what they are made for. The SSD brace uses the standard four SSD screws that hold the SSD on the side. The fit of the SSD is tight and unmovable and leaves room for a wire to get close to it since the SSD is not flush with the motherboard tray.
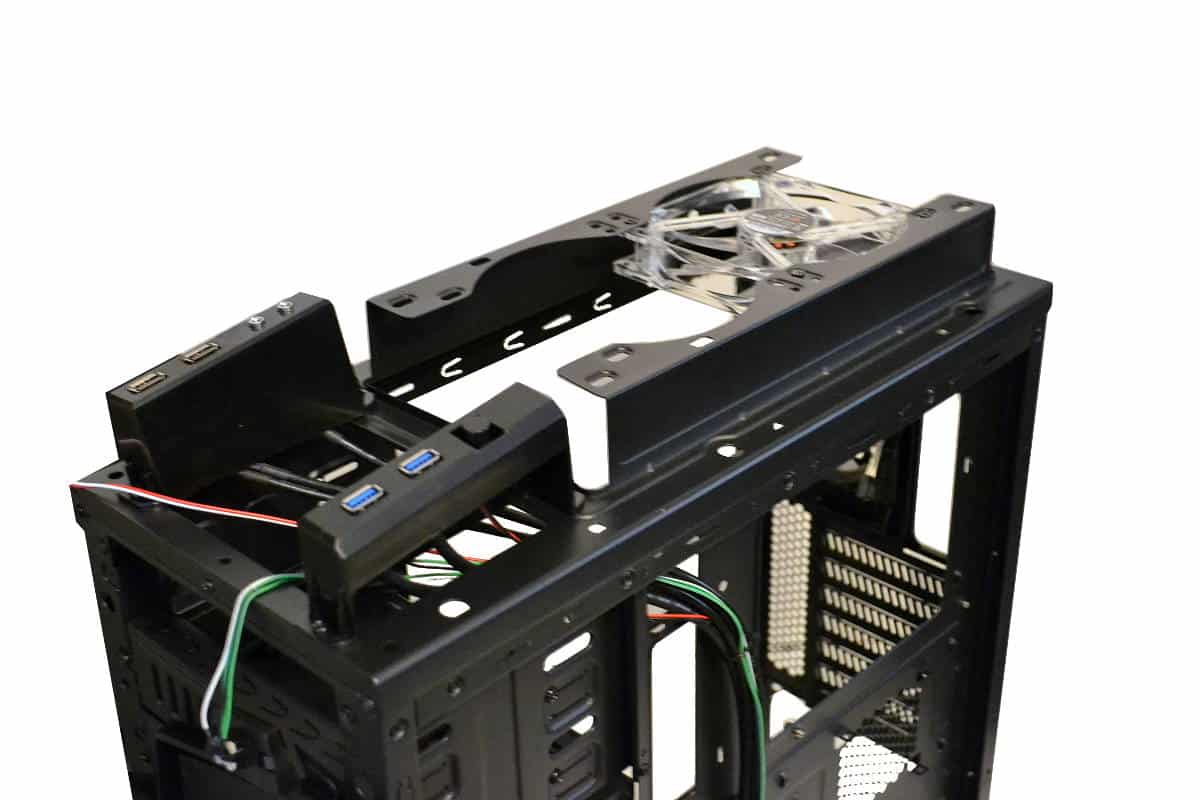
This picture below shows the case with the top cut out to show the overall flat top design of the case. The top 5.25 inch bay is made for a typical Optical Disk drive or fan controller and the other two have a mount for 3.5 inch hard drive to be mounted in behind each of the knock-out type bay cover.
The good think about these is that you can replace the covers with two standard case screws to reattach the cover once you have bent and broken the tabs of the knockouts. The Hard drives in these two areas are screw into the side of the drive type mounts and hold very firmly inside each of the over-sized bays.
The front filter on the figure to the left is held in by four movable tabs that unlock when pressed toward the center and allows for the filter to be cleaned fast and efficiently and returned back in no time, but you will have to pull the front panel face off to get to it. It just snaps into place with shaft stays and are easy to unlock with a brisk pull back.

This is a picture that shows what I meant about the add-on to the top of the typical flat top case design. These upward joined areas carry the controls and plugs out of the way from the inside of the case and the Radiator mount in the back is seen with the one fan that comes with the case at the top. The fan and the radiator fits very nicely into this configuration and 140 and 280 radiators are welcome in this top area of the case. The fan is blue lit to give the glowing effect of the louvered frosty acrylic vents that cover the area so try to keep your fan colors all the same as well as any other front accent lights to keep the lights theme uniform throughout your build.
Below is a look at the power supply mount area. There are four coin sized rubber mounts that hold the power supply off the base of the case and the vents on the bottom are great for strength but I am not too sure about the airflow so I positioned my power supply fan up for two reasons. First I was not sure about the airflow with these type vents and I would not like having to clean the filter element at the bottom as refitting the element might be slightly problematic.
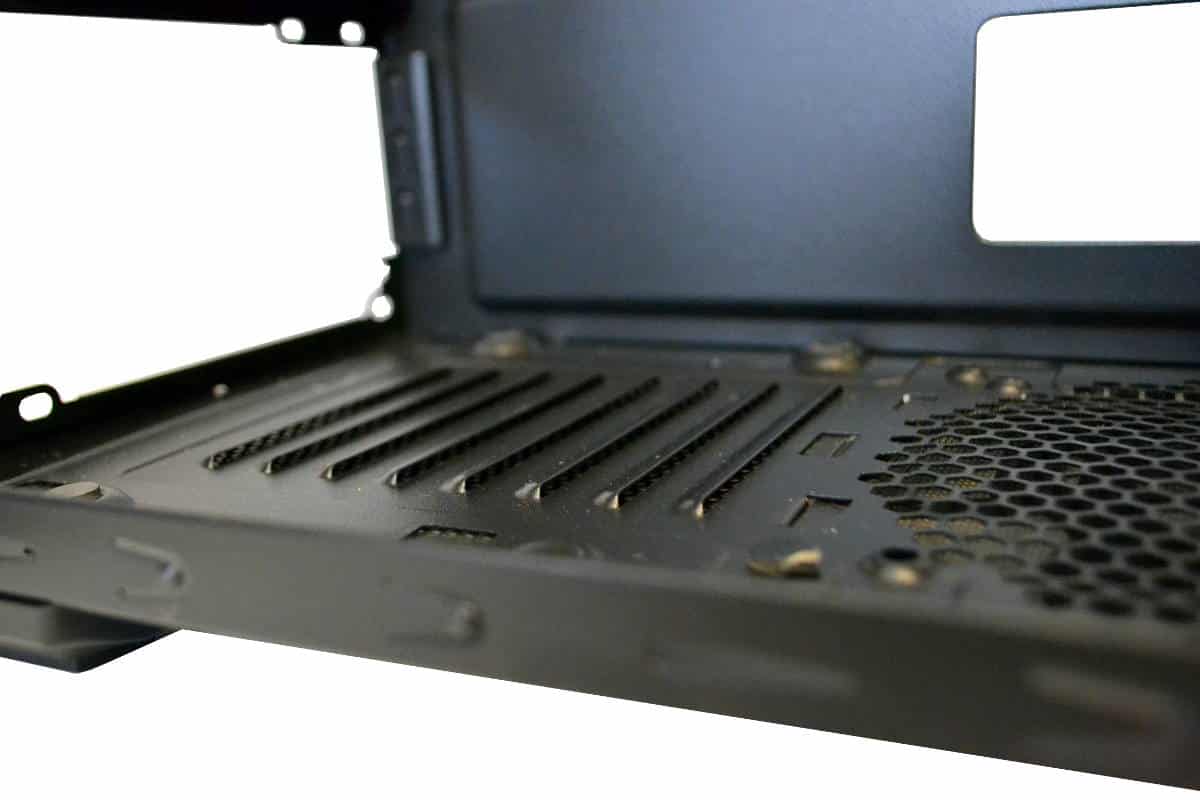
The back PCI knock-outs can be seen well in this picture and again, please determine all the PCI placements you will be using before removing the knock-outs, as there is only one PCI slot cover that comes with the case.
The hard drive trays from the semi Modular drive bays use rubber mounts on the side for noise control and work really well. Actually we really liked the way the drives were insulated from vibration by these slide mount made completely of high quality rubber and ABS plastic structure. The down side is that strut. The modules can easily be removed and not used in the built, but the strut is part of the modular mounting so if you want to remove the Struts you have to deal with no modules at all down low. Still there is room for two large drives in the bottom two 5.25 inch ODD drive bays but some people want the drives or need more drives so the struts stay if the modules stay.
The drive trays are the usual screw in types but the SSD Mounts the drive back toward the window side of the module tray so wiring can be difficult but the SSD on the back side works best for the SSD placement if you are only using one as a OS Boot drive. The 3.5 inch mechanical drives fit in nicely with no effort and not tools. Just snap them into the tray and slide the Drive into the slot for that tray and its installed. Very nice set up for mechanical drives but not so much for the smaller SSD 2.5 inch drives.


It seems to be much cheaper your side of the pond which makes it a more viable option. Here in the UK it faces much stiffer competition: http://www.ukgamingcomputers.co.uk/zalman-z11-neo-review-a-72.html
Please hire someone to write articles who proof reads their work…and who’s first language is at least English.