Installation
Getting the CT404B Dual Sync installed in your system is not all that hard. We will be installing in our AMD system so these installation instructions will be for AM4. The first thing you are going to want to do is remove the default AM4 bracket and backplate on your motherboard.
Once that is done take the included backplate and install the backplate screws in the corresponding holes for your specific socket. Use the backplate clips to make sure they stay in place.


Now place the bracket behind your motherboard, making sure the standoff screws come through the holes in your motherboard.

Next take the AMD base mounting brackets and install them to the heatsink (with fans removed) using the included screws.

Carefully apply the included thermal paste and take the heatsink and carefully place it on top of your CPU, lining up the screws in the mounting bracket with the standoffs from the backplate. Secure the heatsink by tightening up the screws.


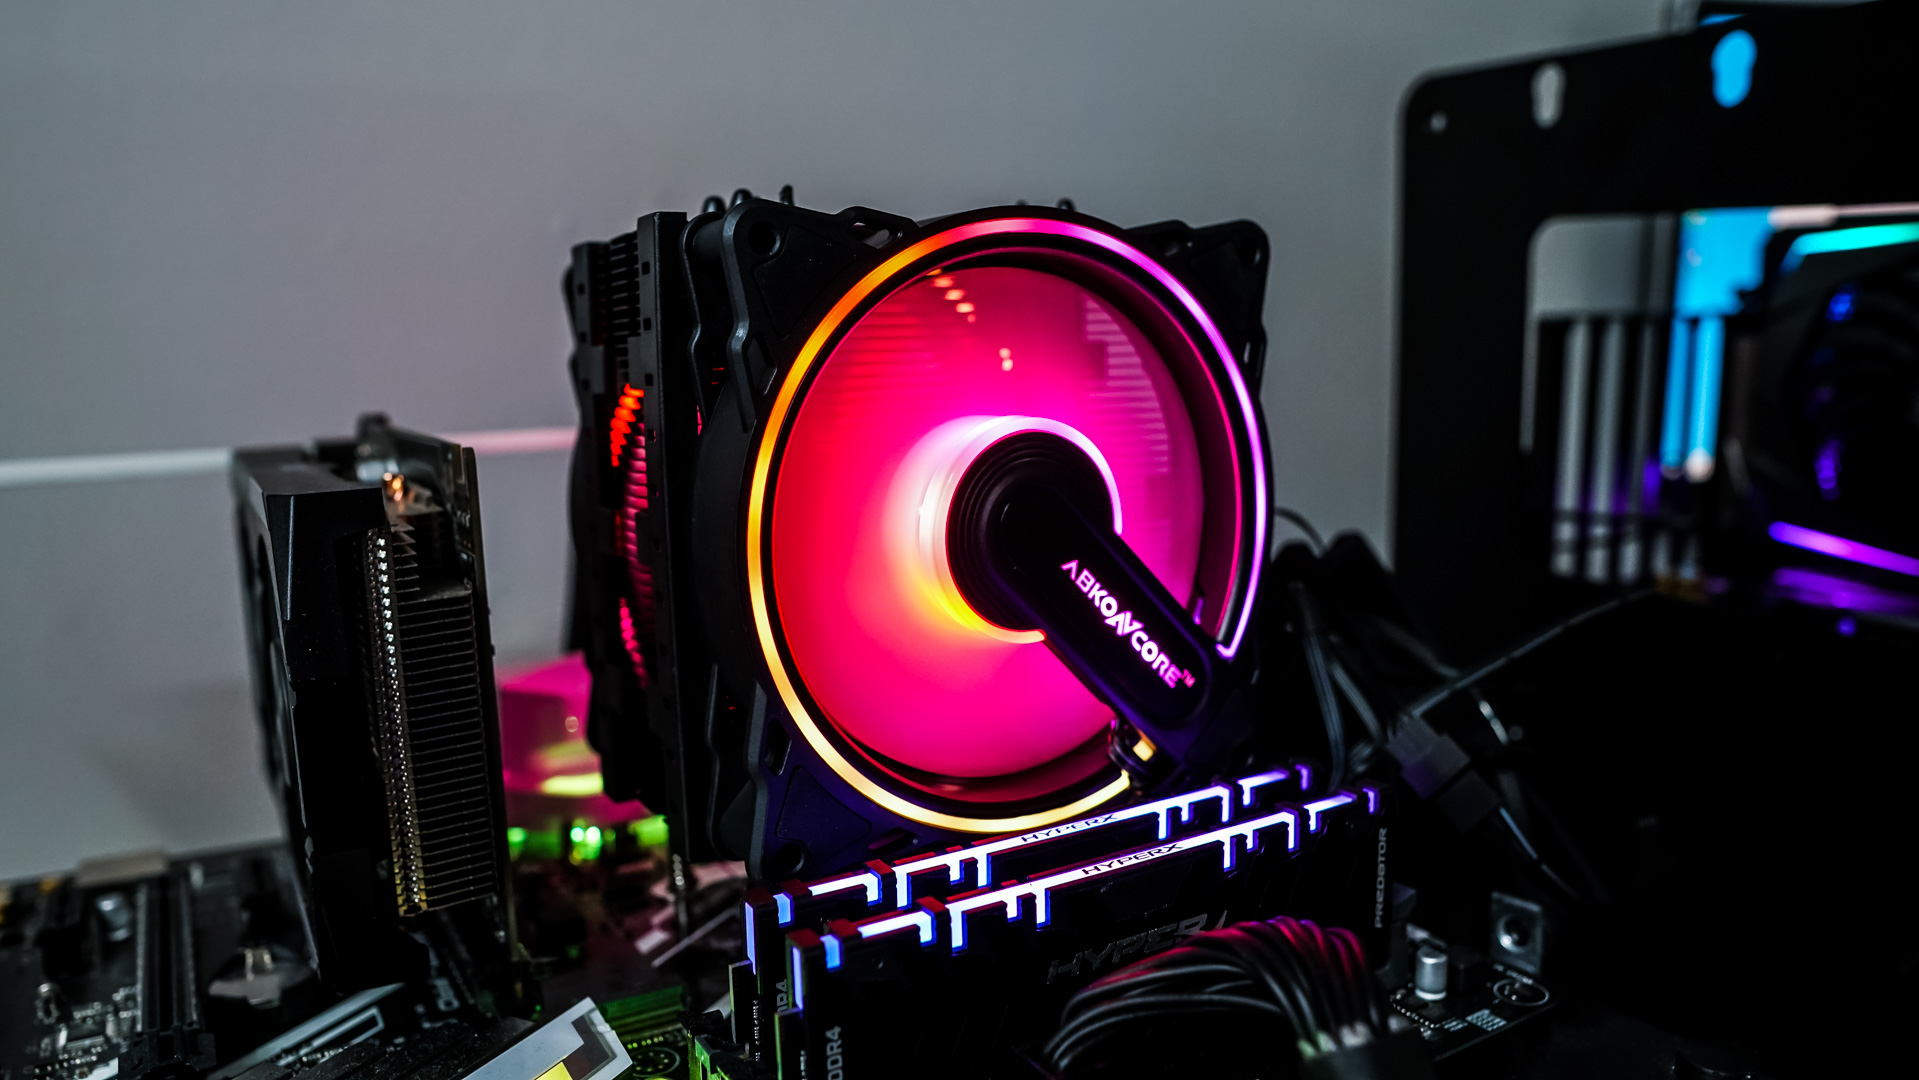
Now all you need to do is attach the two fans and connect them to your CPU fan header (using the Y-connector) and RGB lighting (3-pin addressable header on your motherboard). There is no RGB controller included with the fans so if you happen to have an older motherboard that does not have a 3-pin addressable header you are out of luck.