Is the Antec Flux Pro Noctua Edition Case Easy to Build In?
To start off installation we will be installing the six Noctua fans first. It would have been nice if these were pre-installed, but we understand why they were packaged separately.
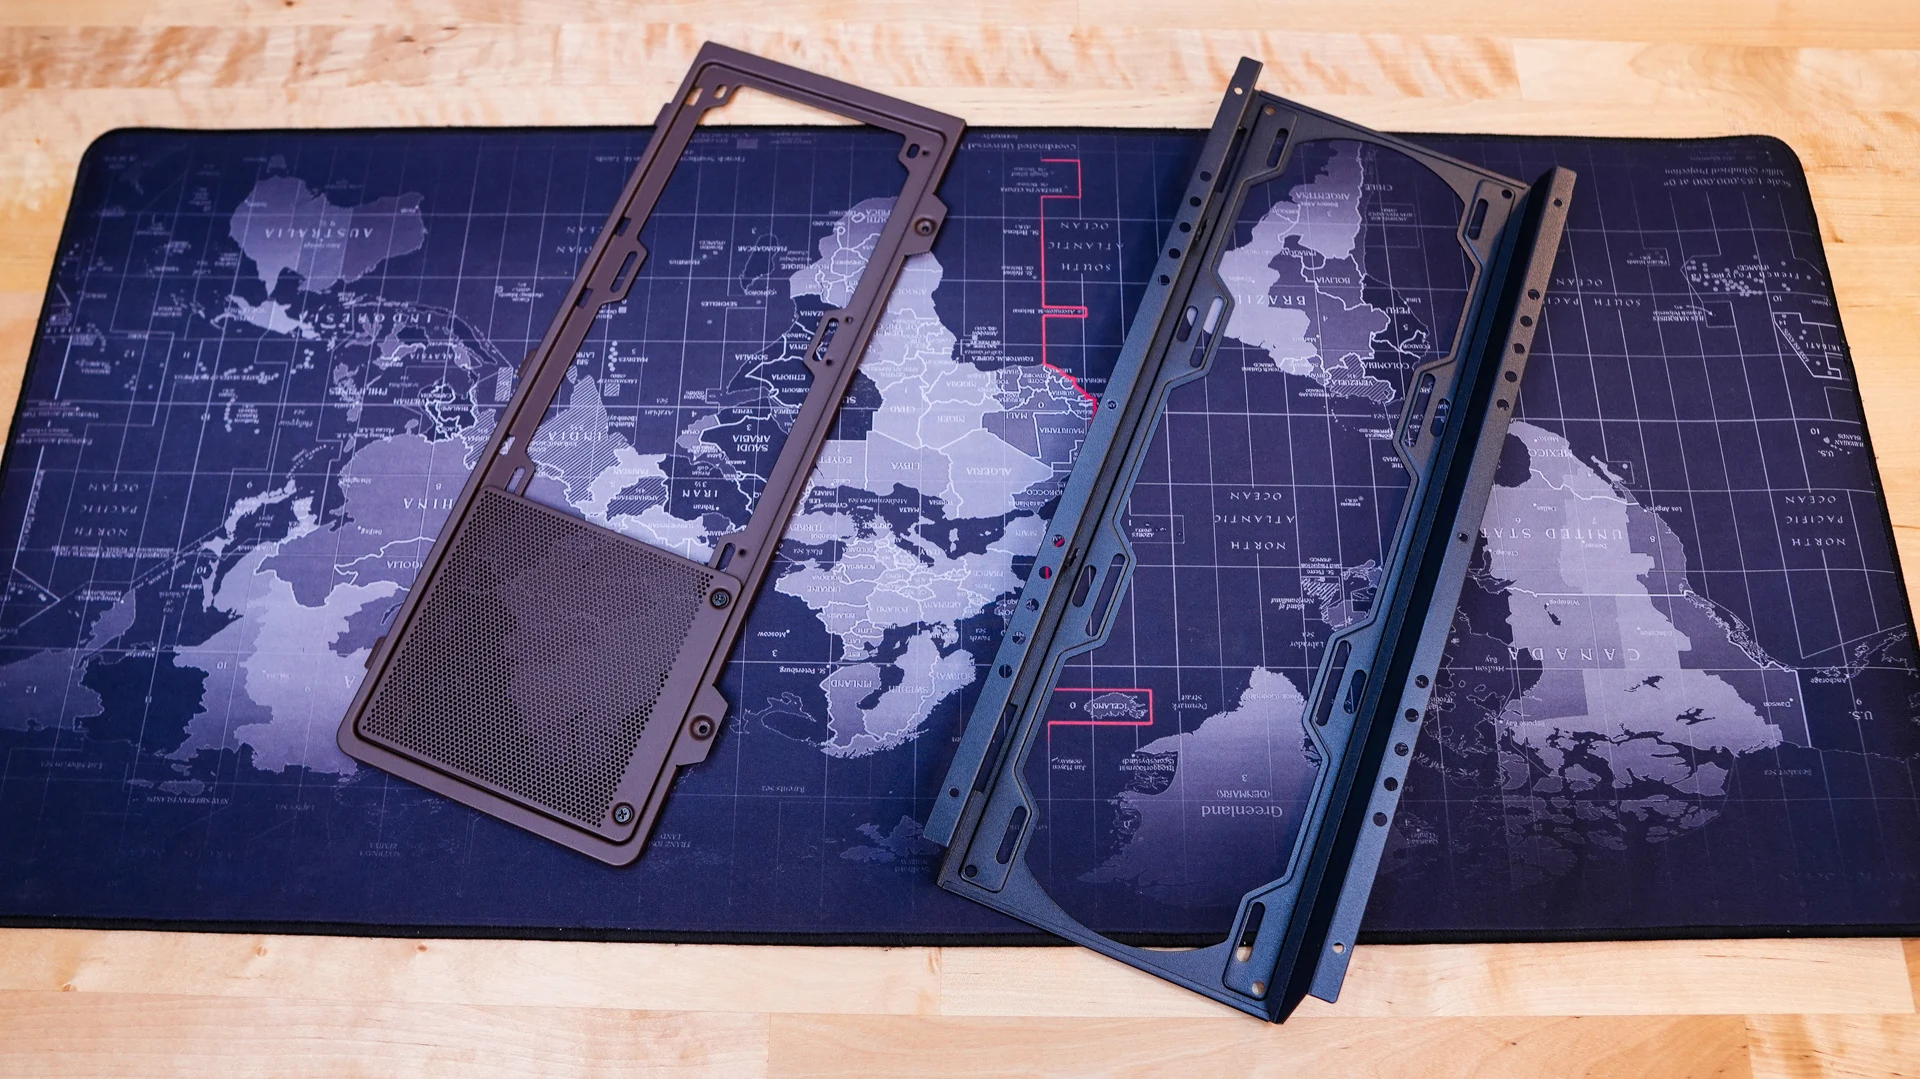
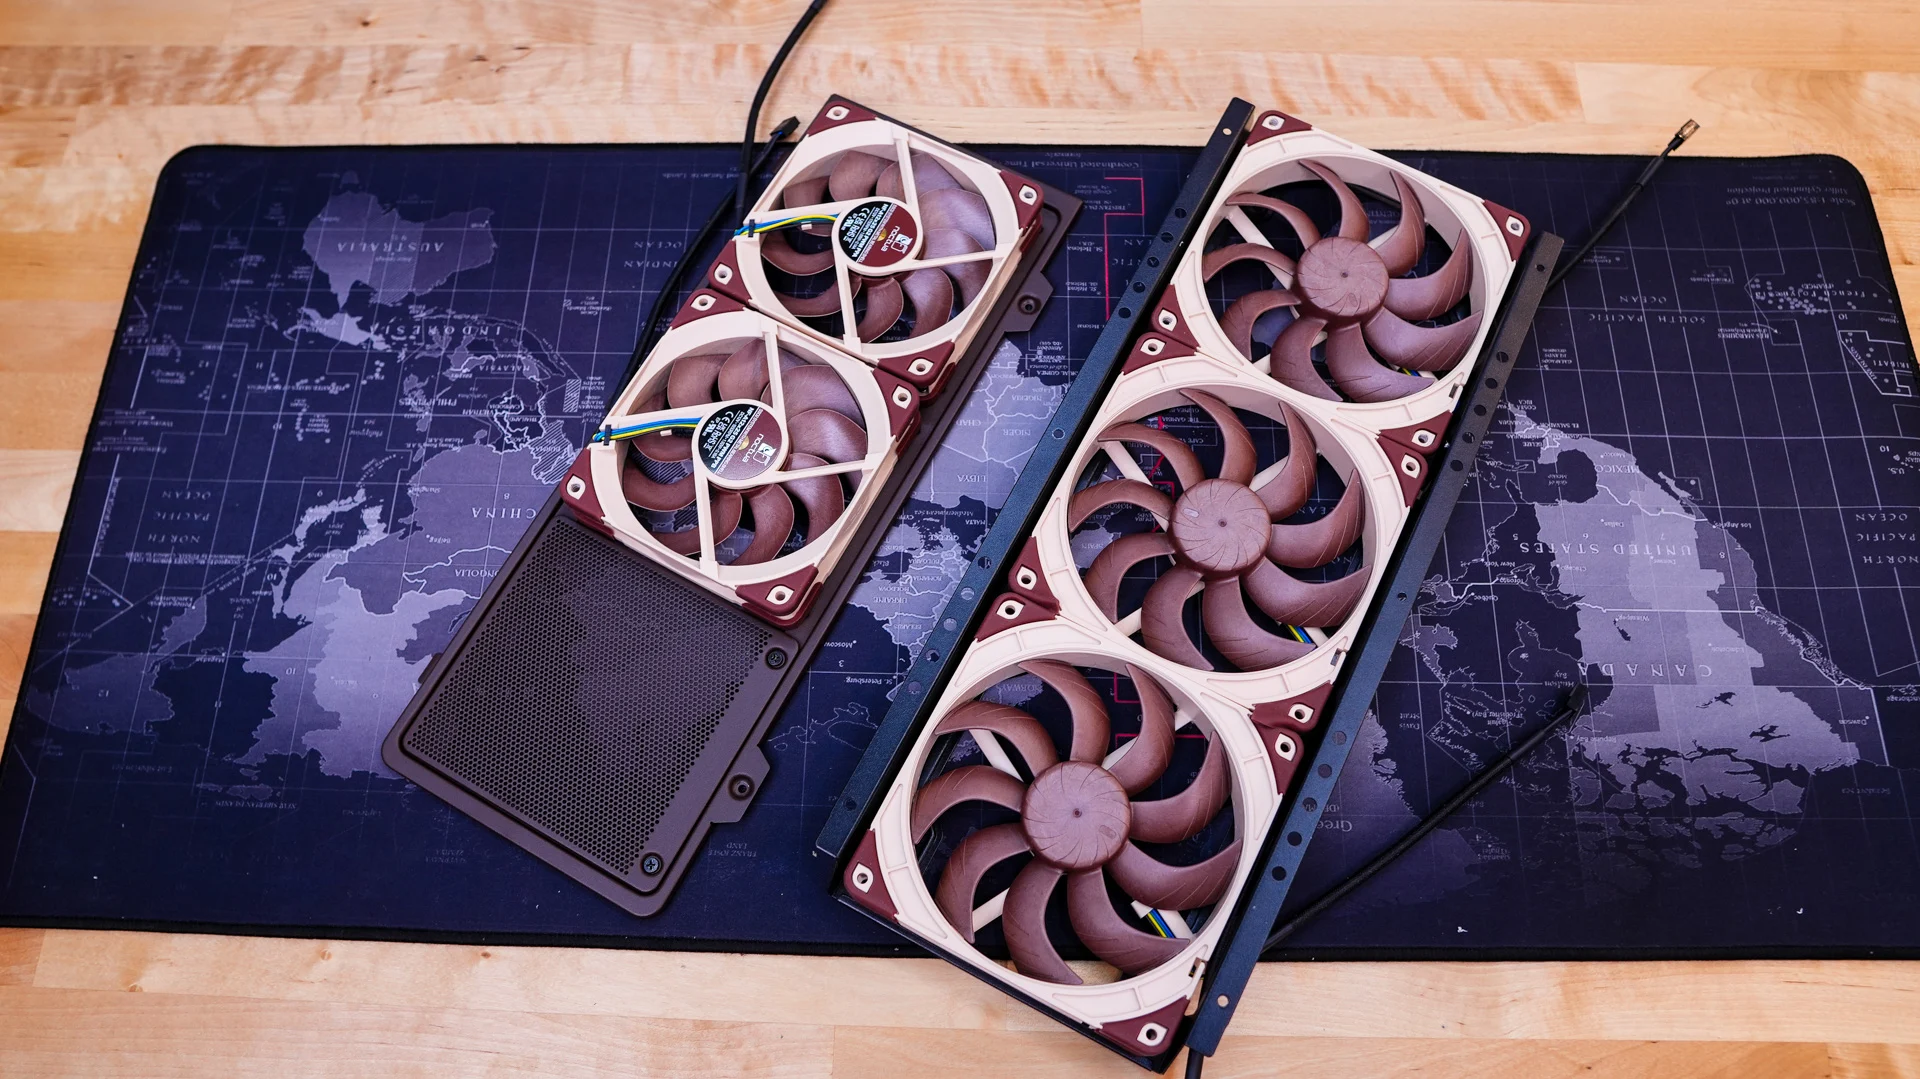
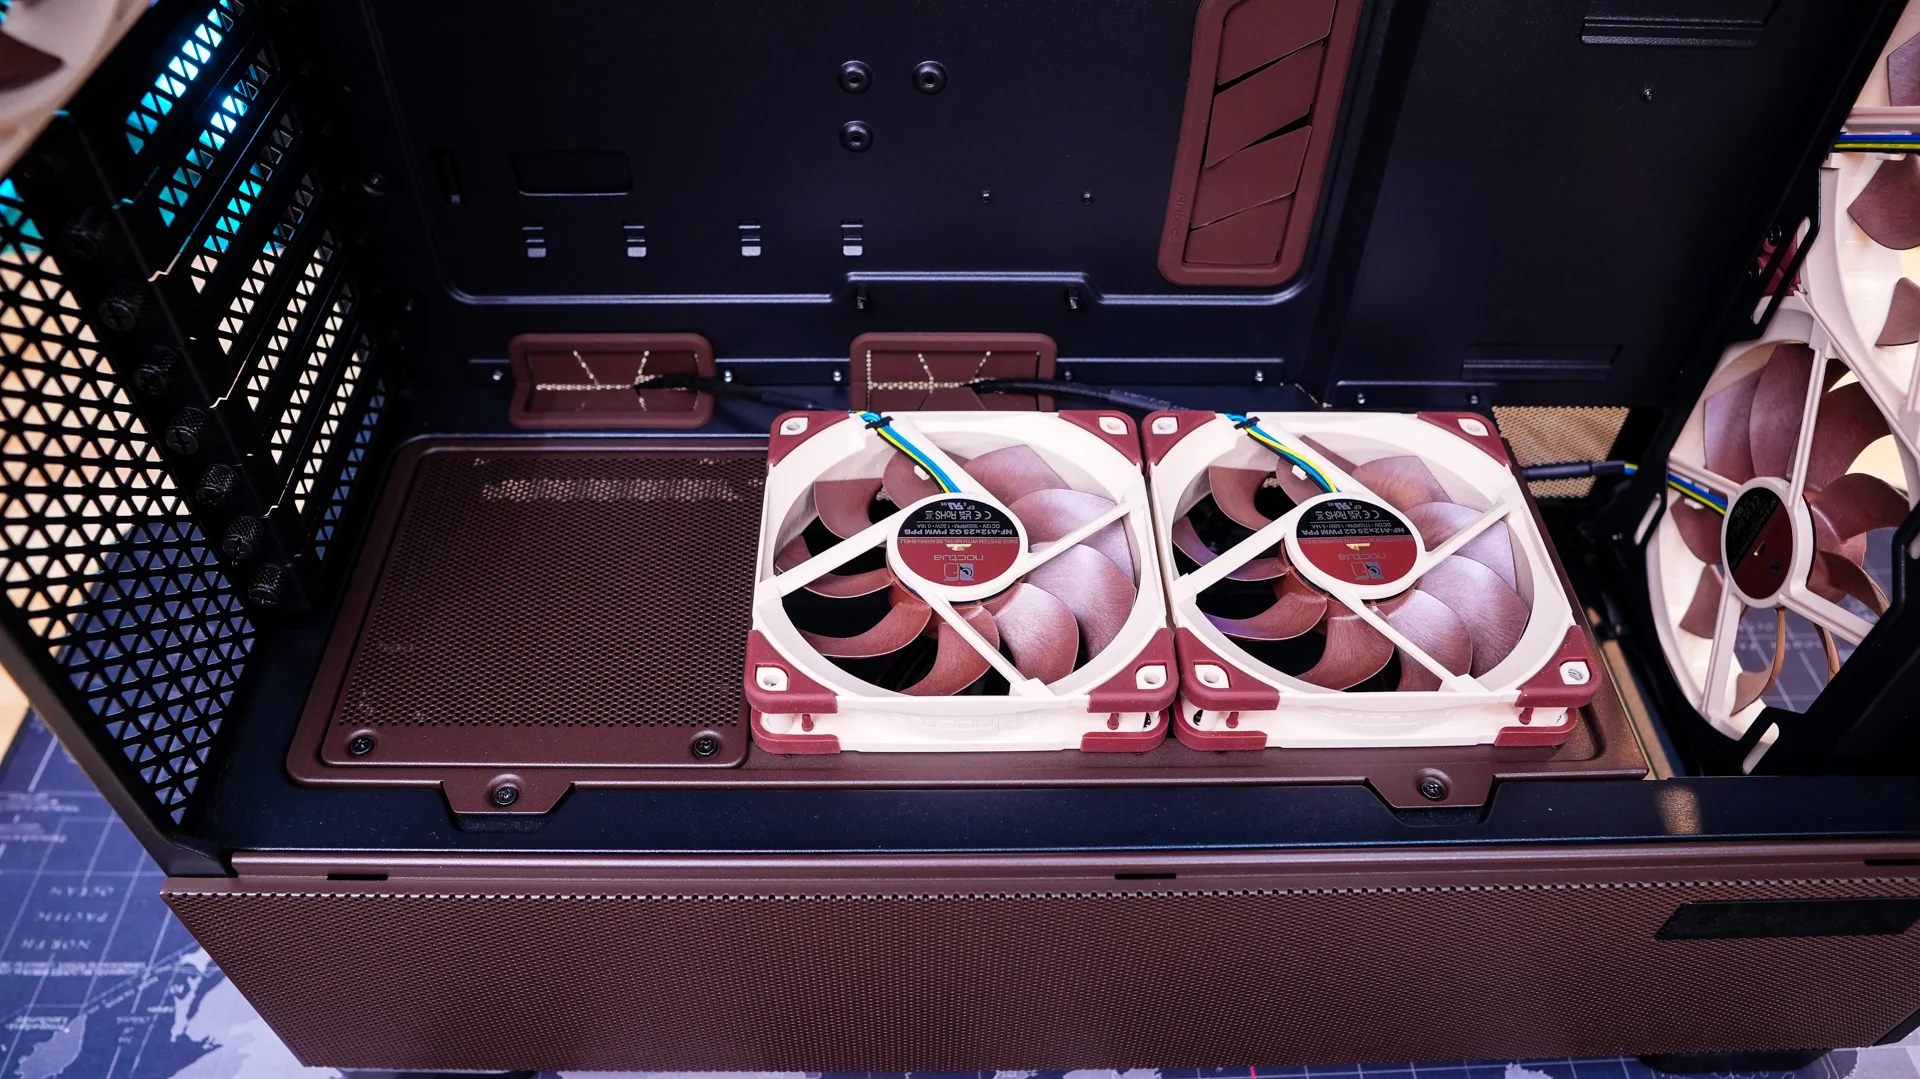
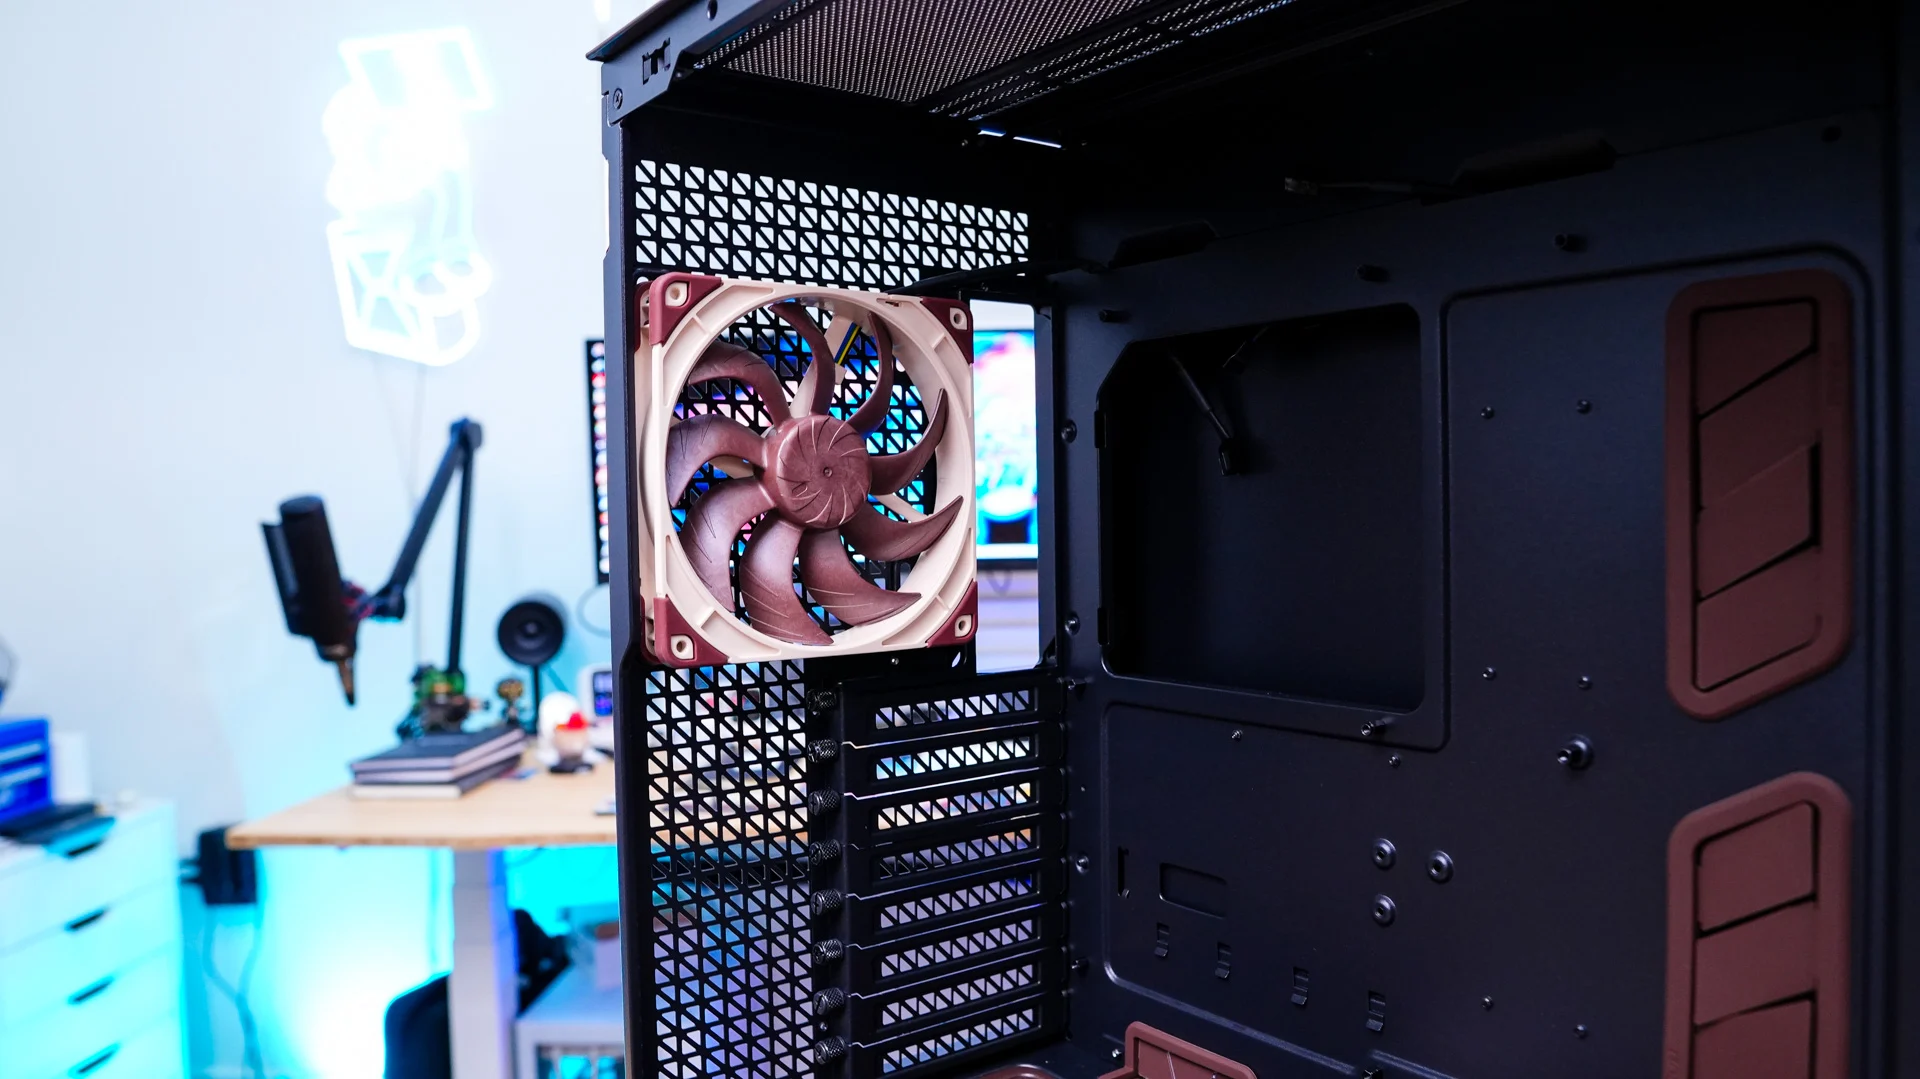
To start our fan mounting we remove the front cooling bracket as well as the cooling bracket on the power supply cover. This of course will make installing the fans much easier. We then mount three of the NF-A14x25 G2 PWM fans to the front cooling bracket and the two NF-A12x25 G2 PWM fans to the power supply cooling bracket. Then we simply just reinstall the two brackets. Finally we install the last NF-A14x25 G2 PWM fan in the rear cooling slot on the case. One thing that is nice is that by default the extension connectors from the fan controller are properly places throughout the case so it is pretty easy to connect all of the fans once you have them installed.
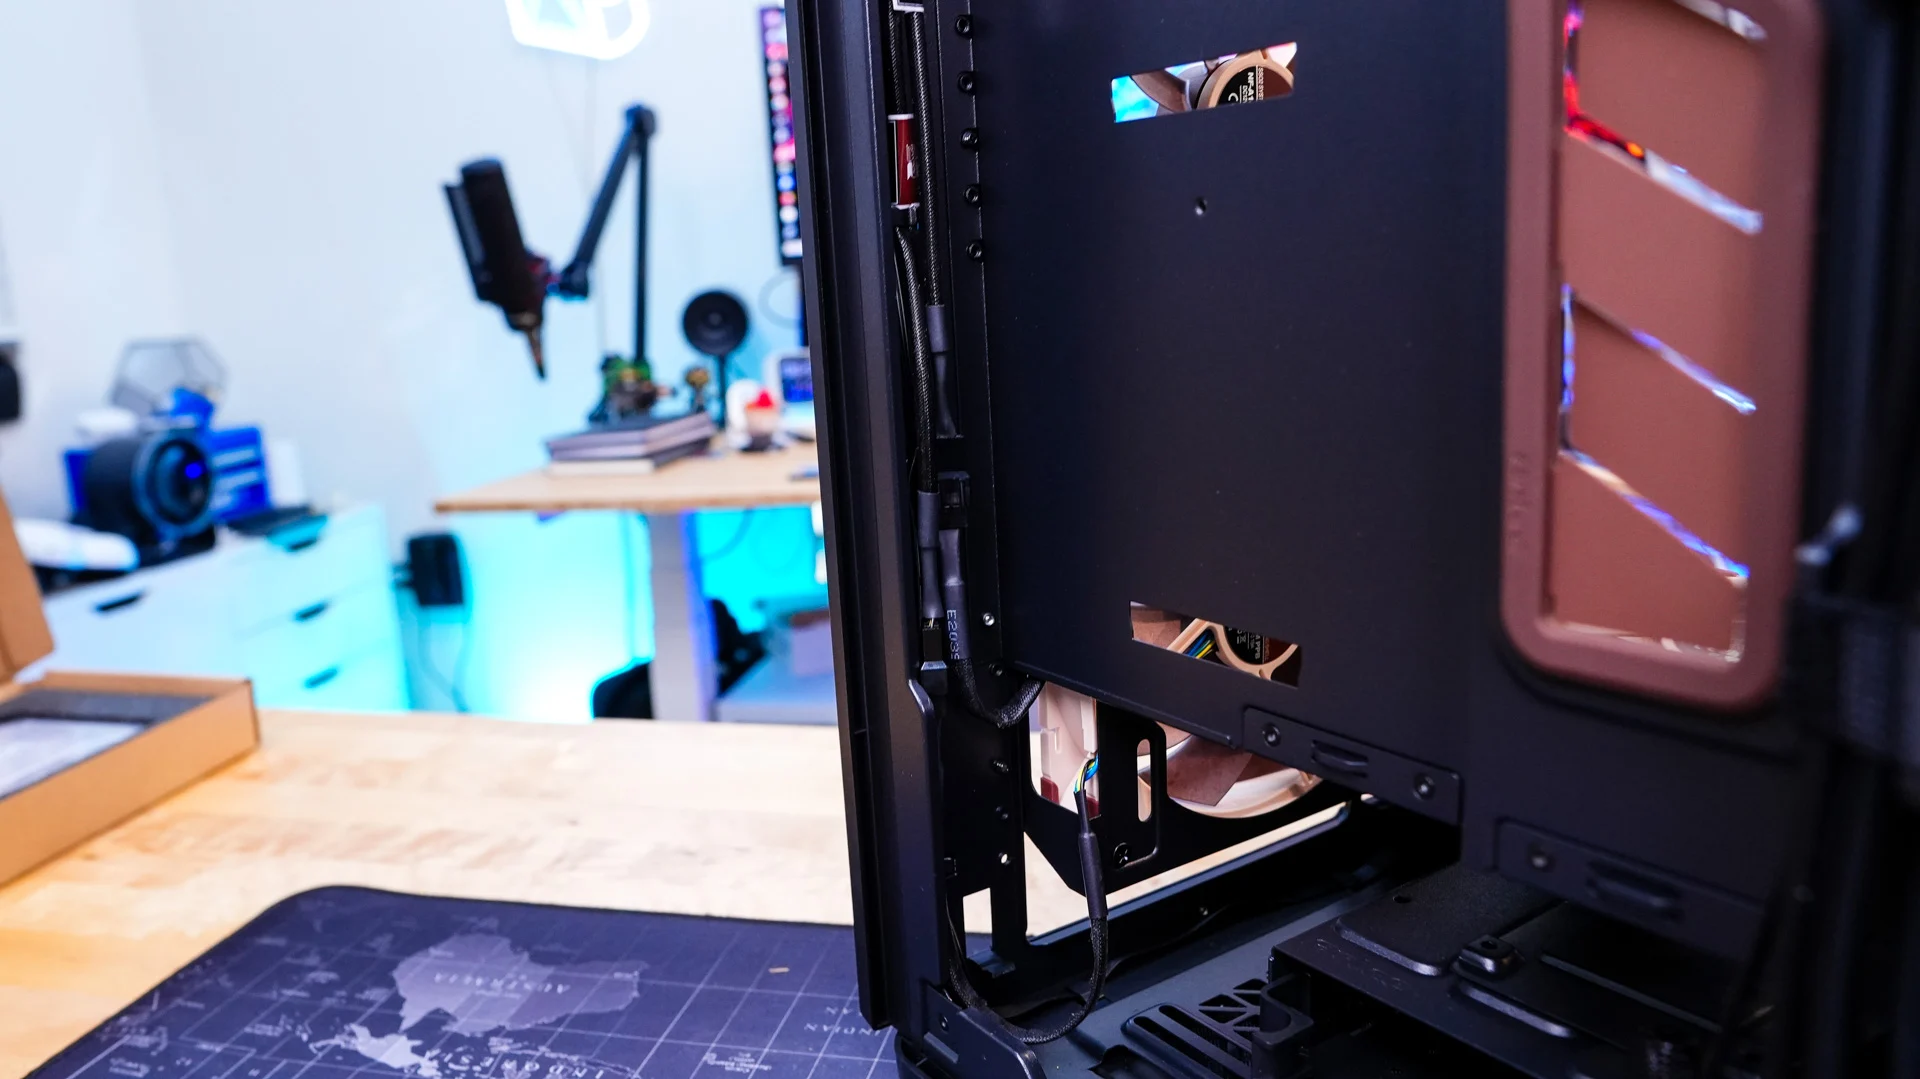
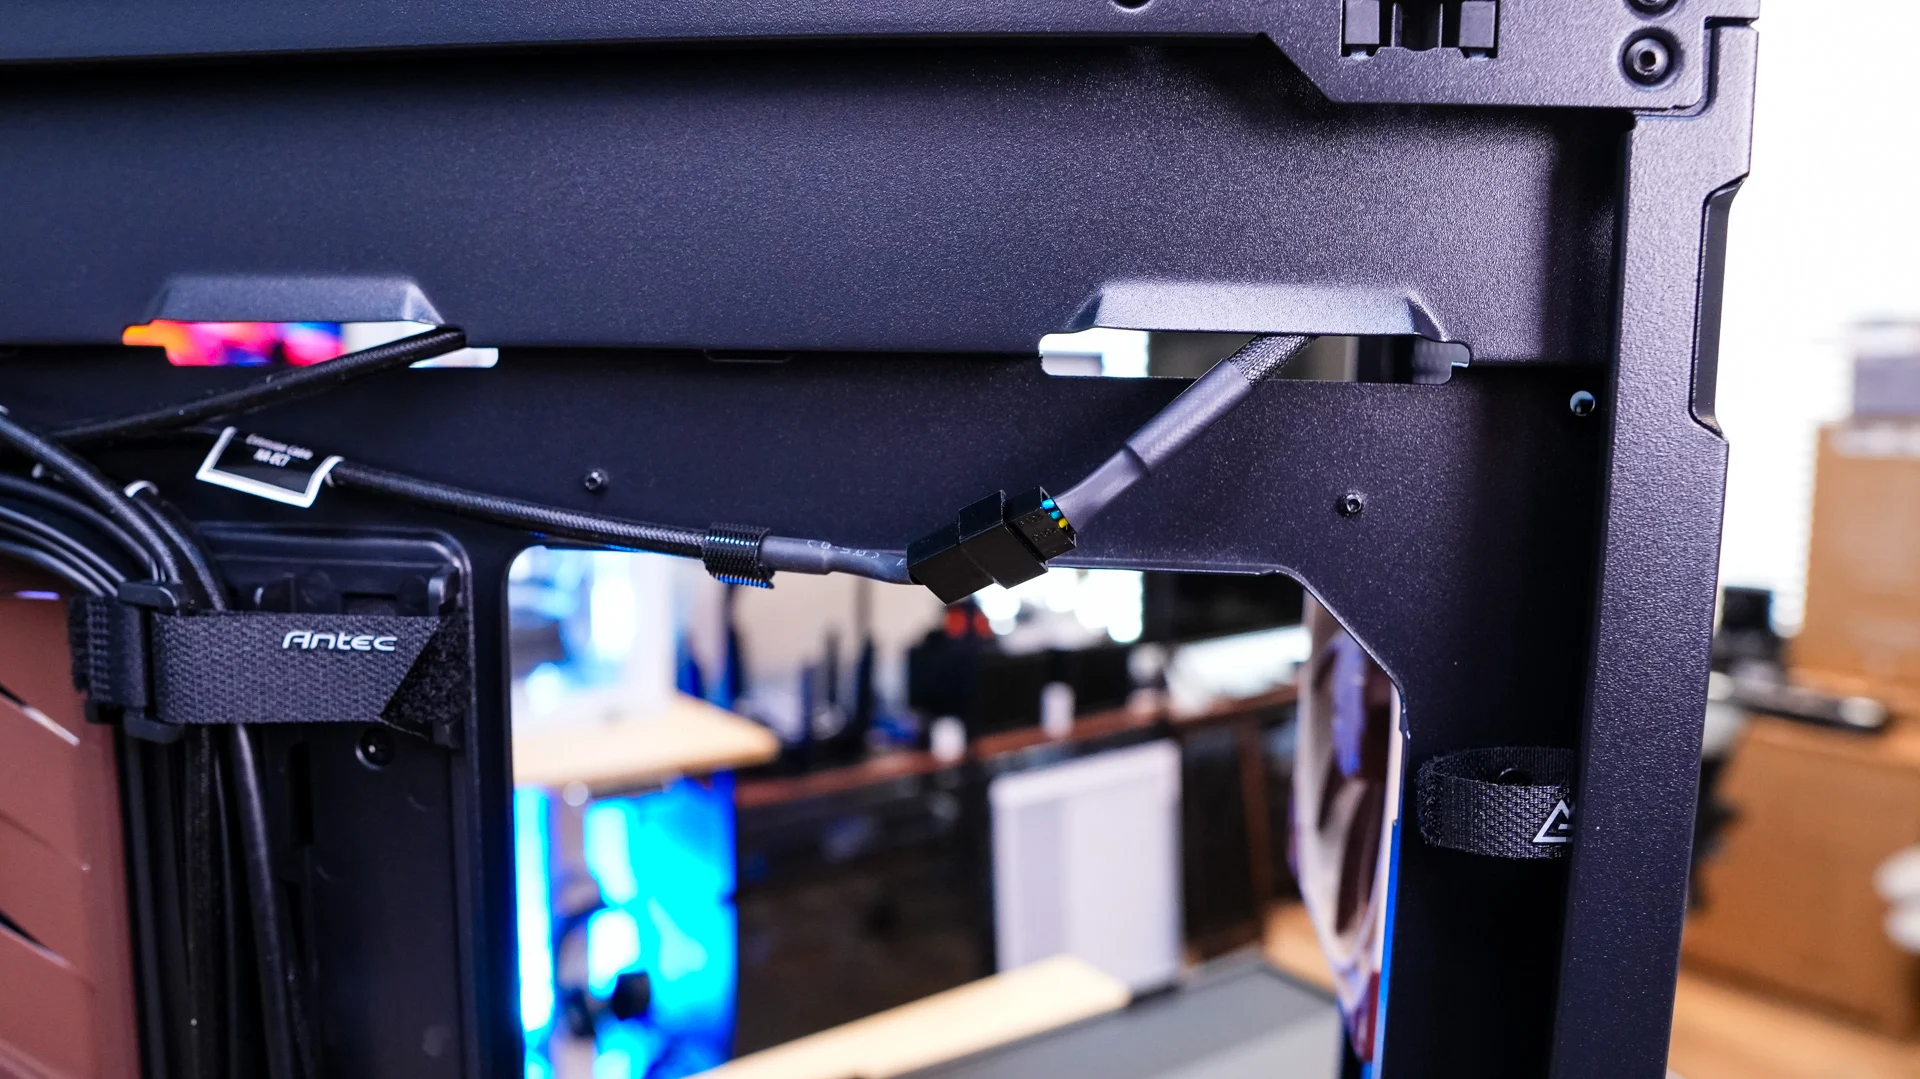
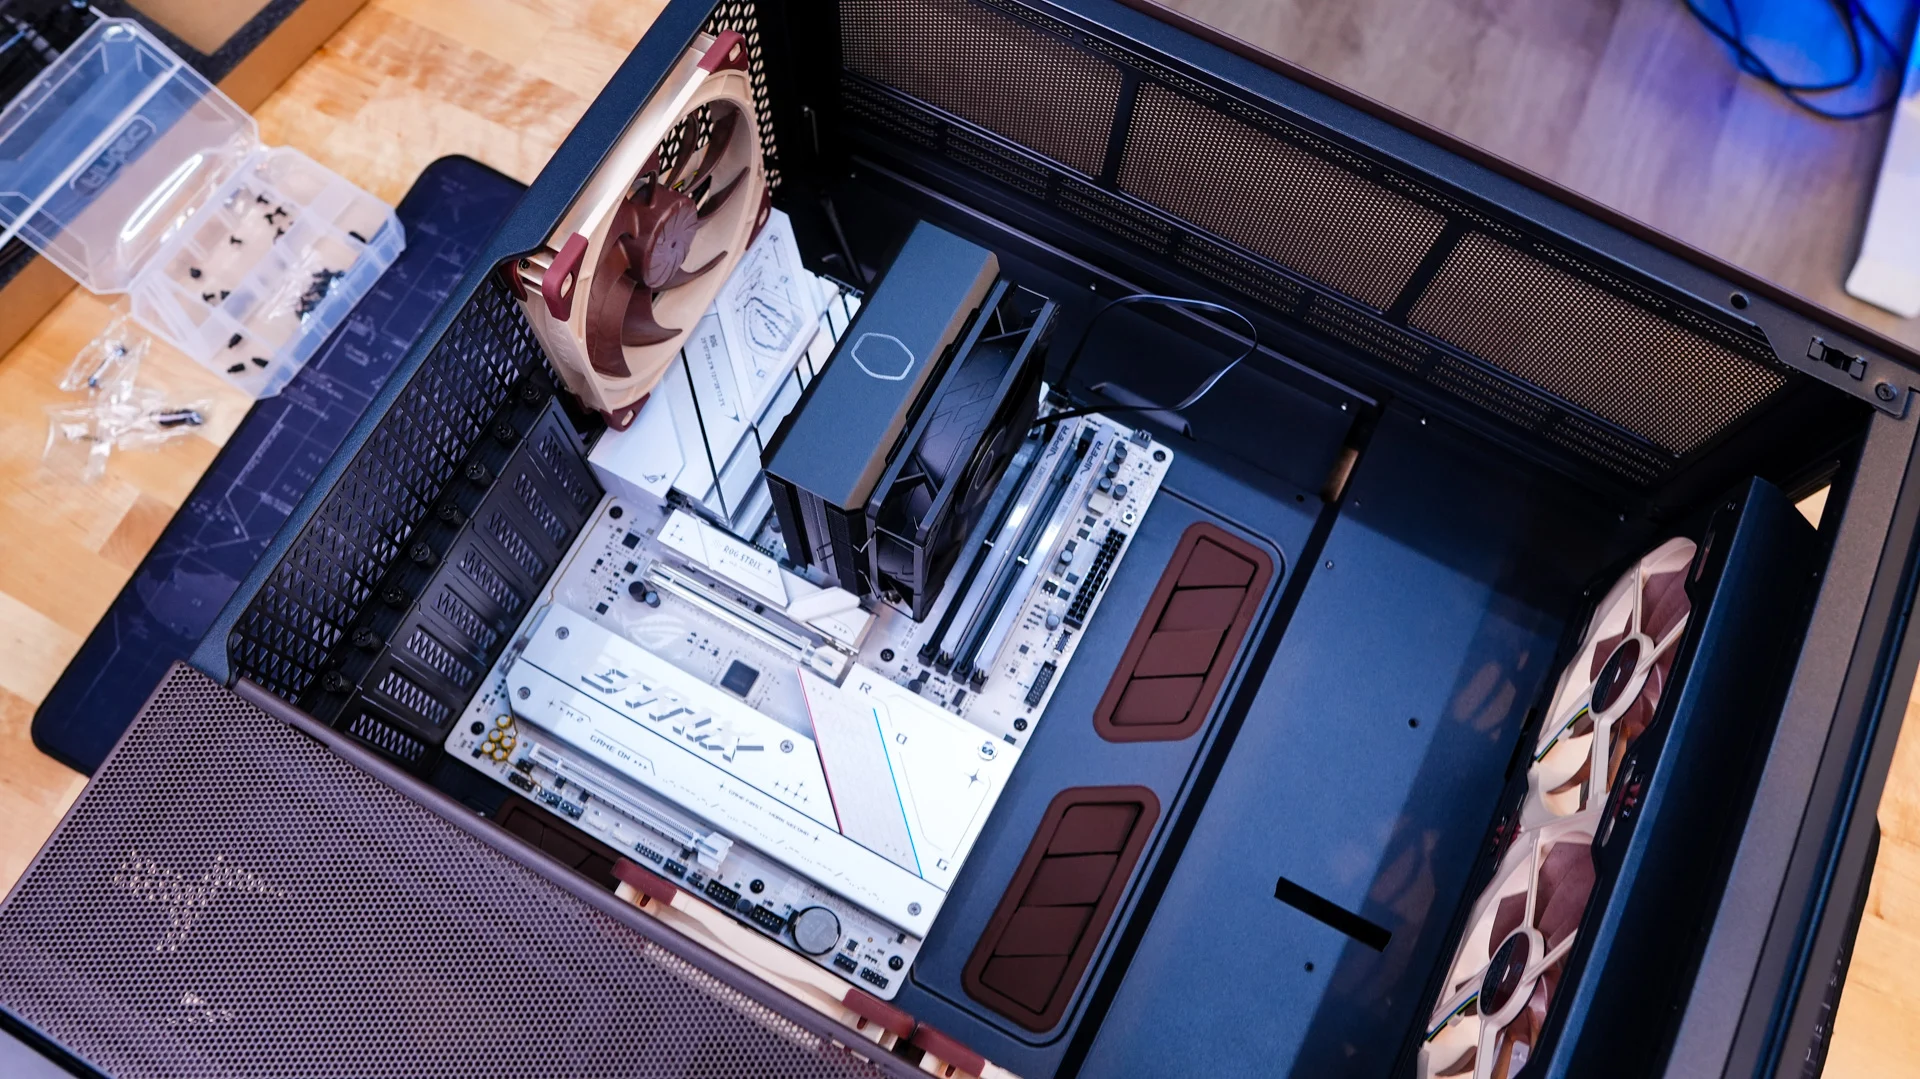
Now lets move on to hardware installation. First up we have our motherboard, which goes in no problem as we have quite a lot of room to work with.
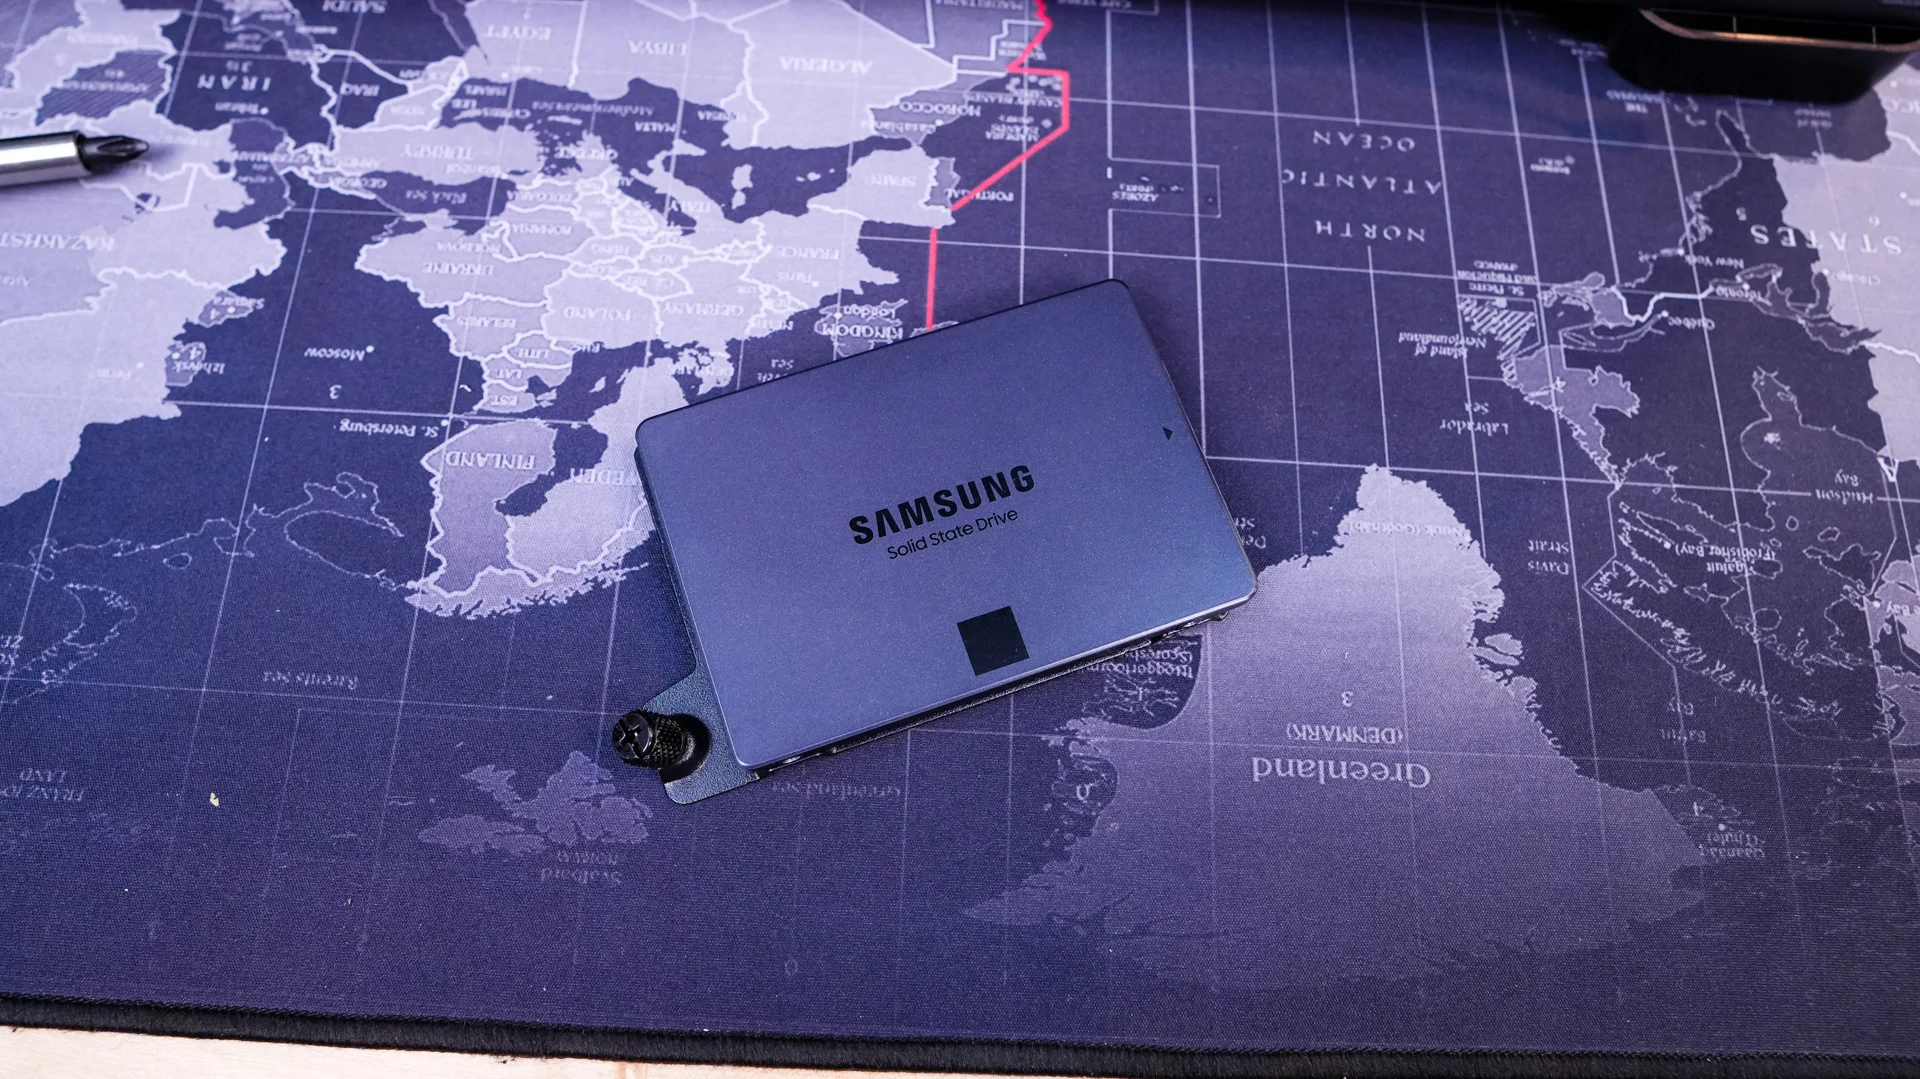
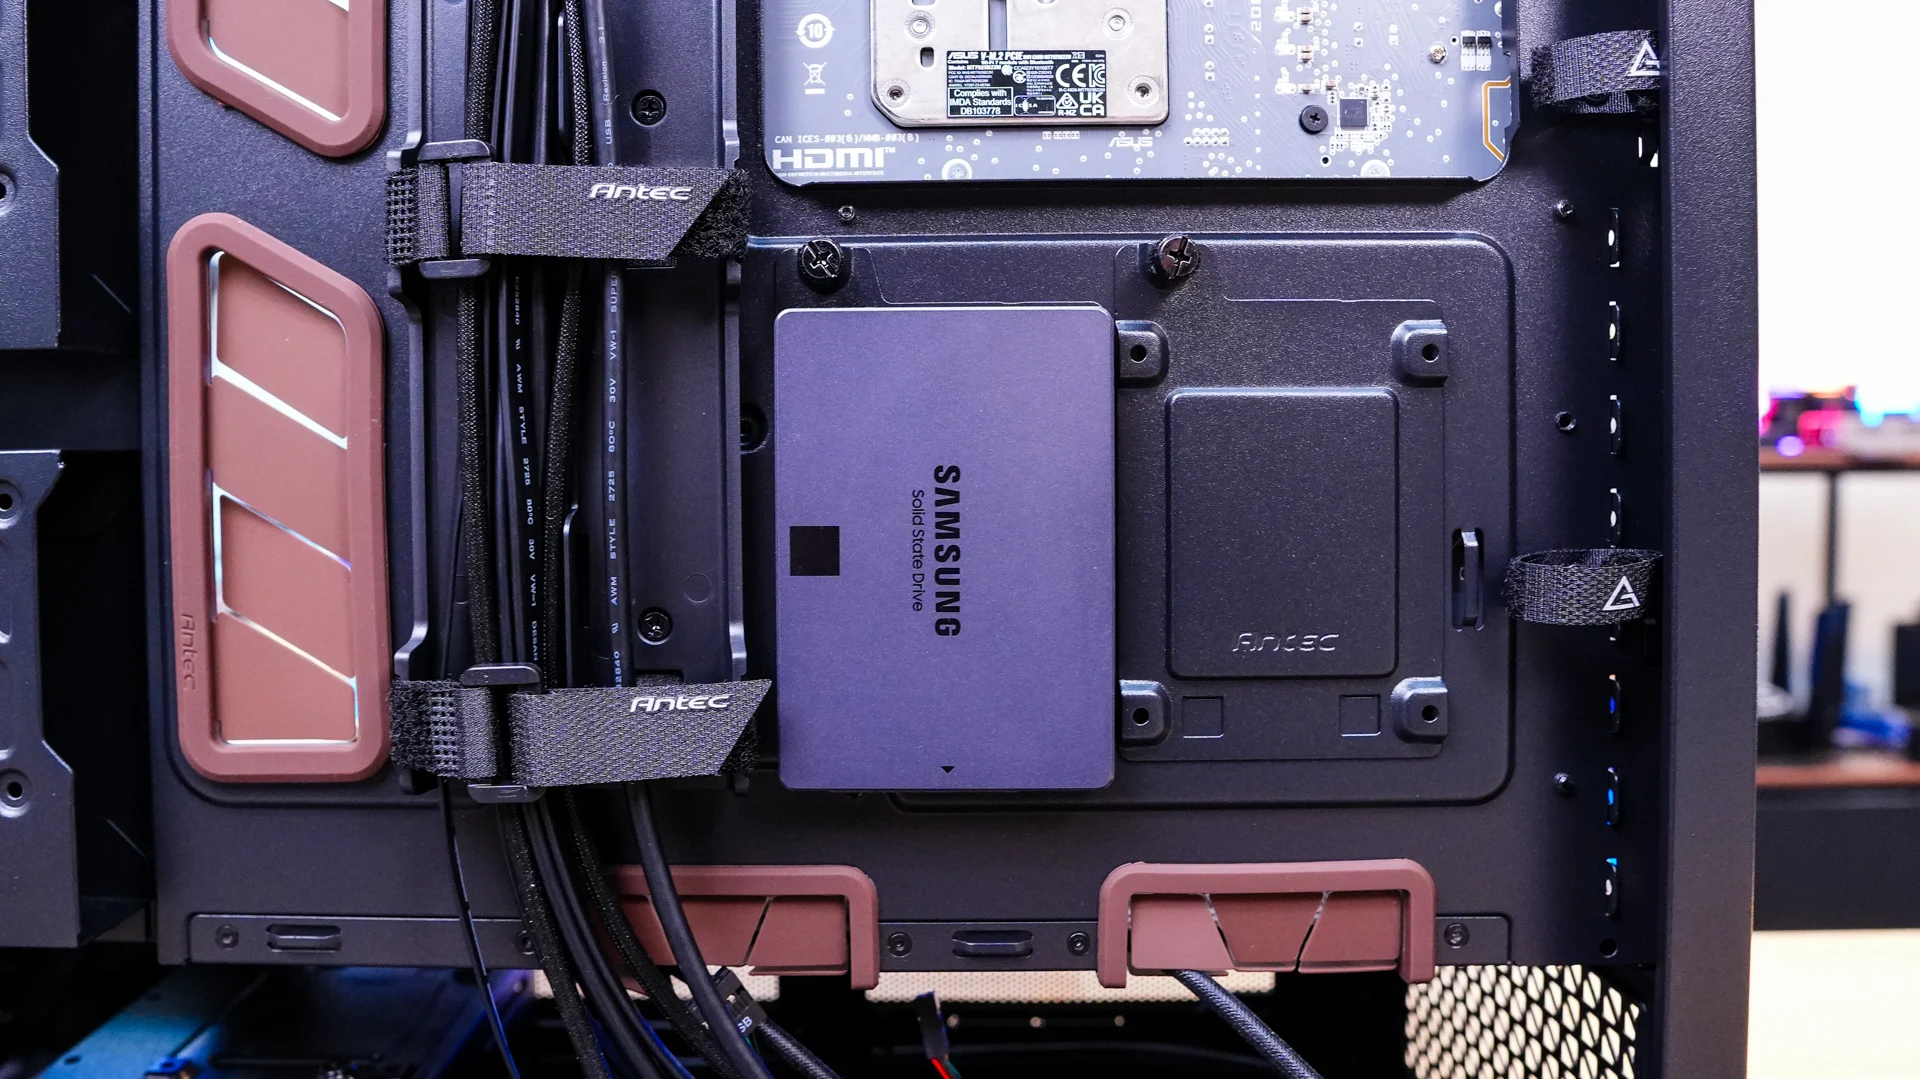
For storage we are opting to install a 2.5-inch solid state drive. I decided to use one of the removable brackets on the backside of the motherboard tray. So I simply removed it from the case, installed my drive, then reinstalled it.
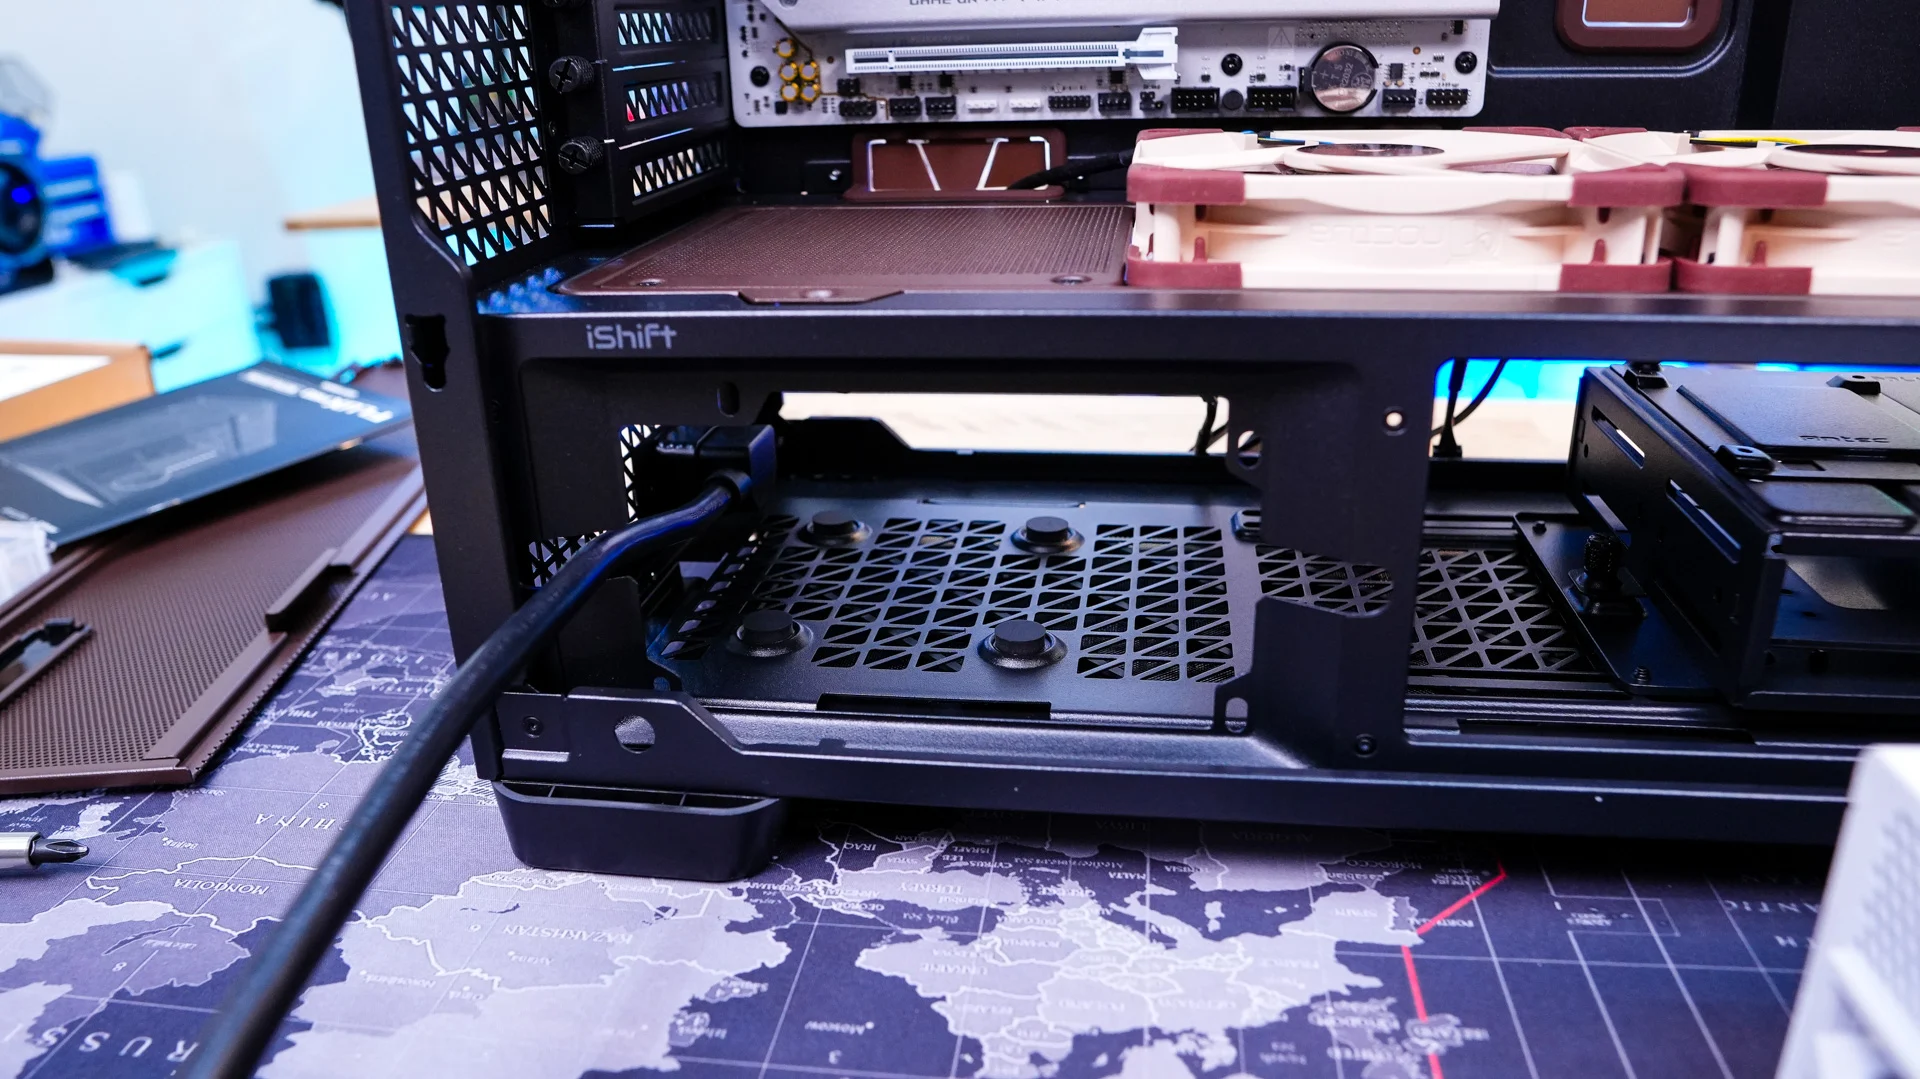
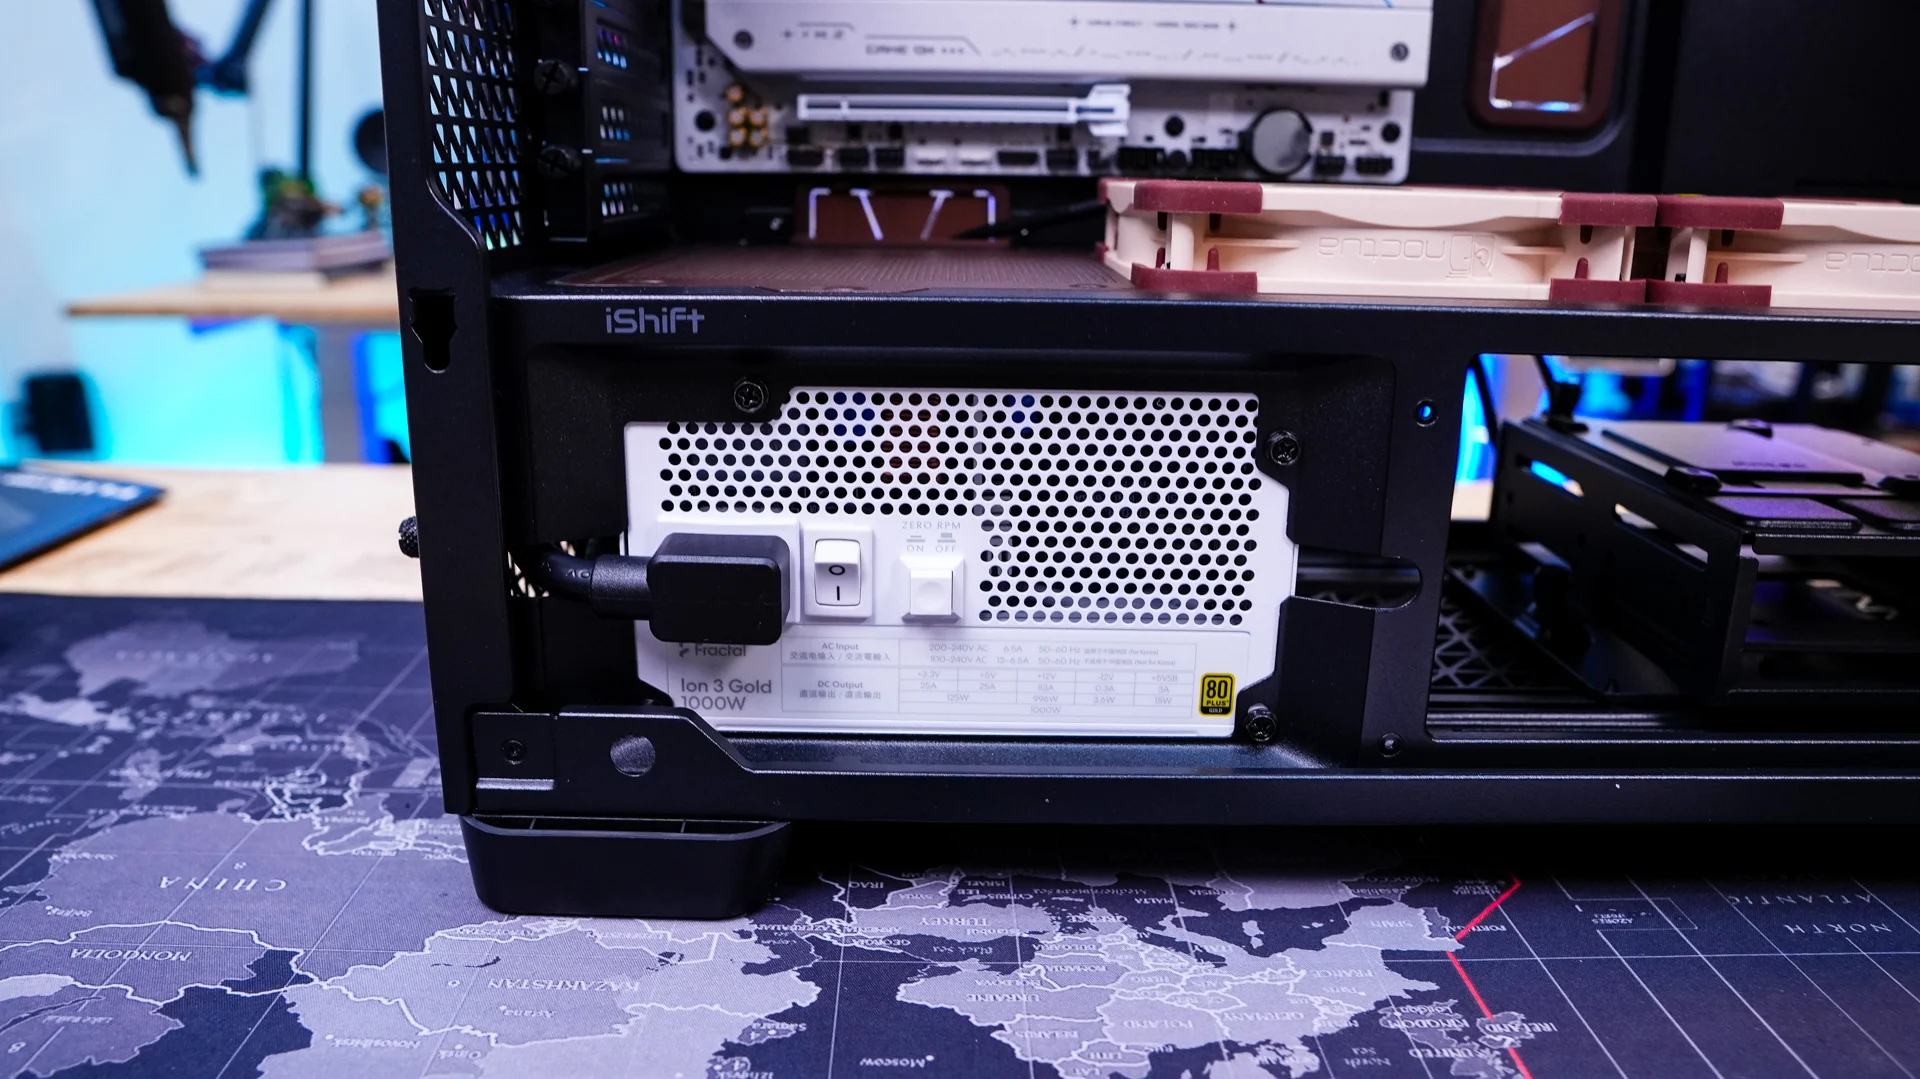
Power supply installation in this case is a bit different than most cases. First you want to remove the small bottom panel on the main side of the case. Since we have the extension cable coming from the back of the case we want to slide it though one of the cut-outs you see in the power supply mount. Now slide in your power supply from the back-side of the case with the connectors facing towards you. Secure it on the opposite side, making sure you connect the extension cable. I actually rather like this type of placement, especially when it comes to connecting modular cables, or adding them in down the line.
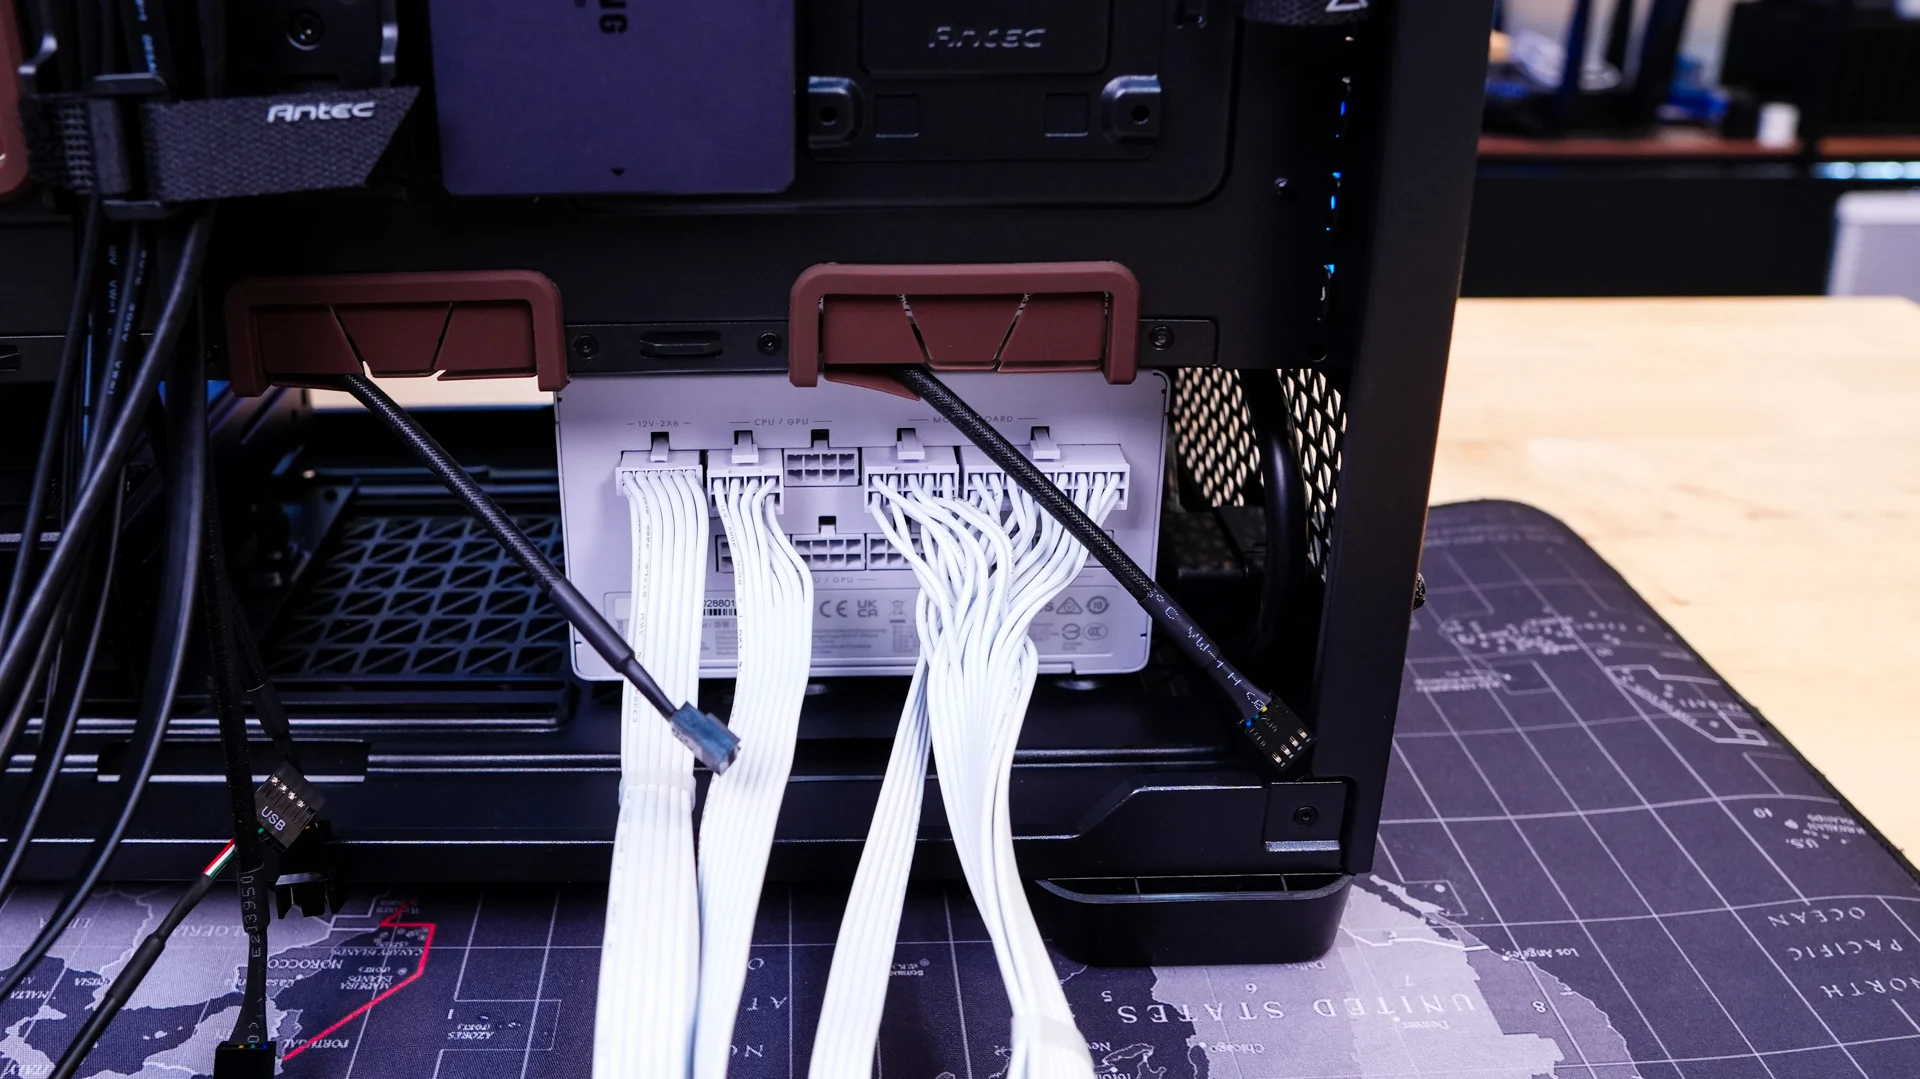
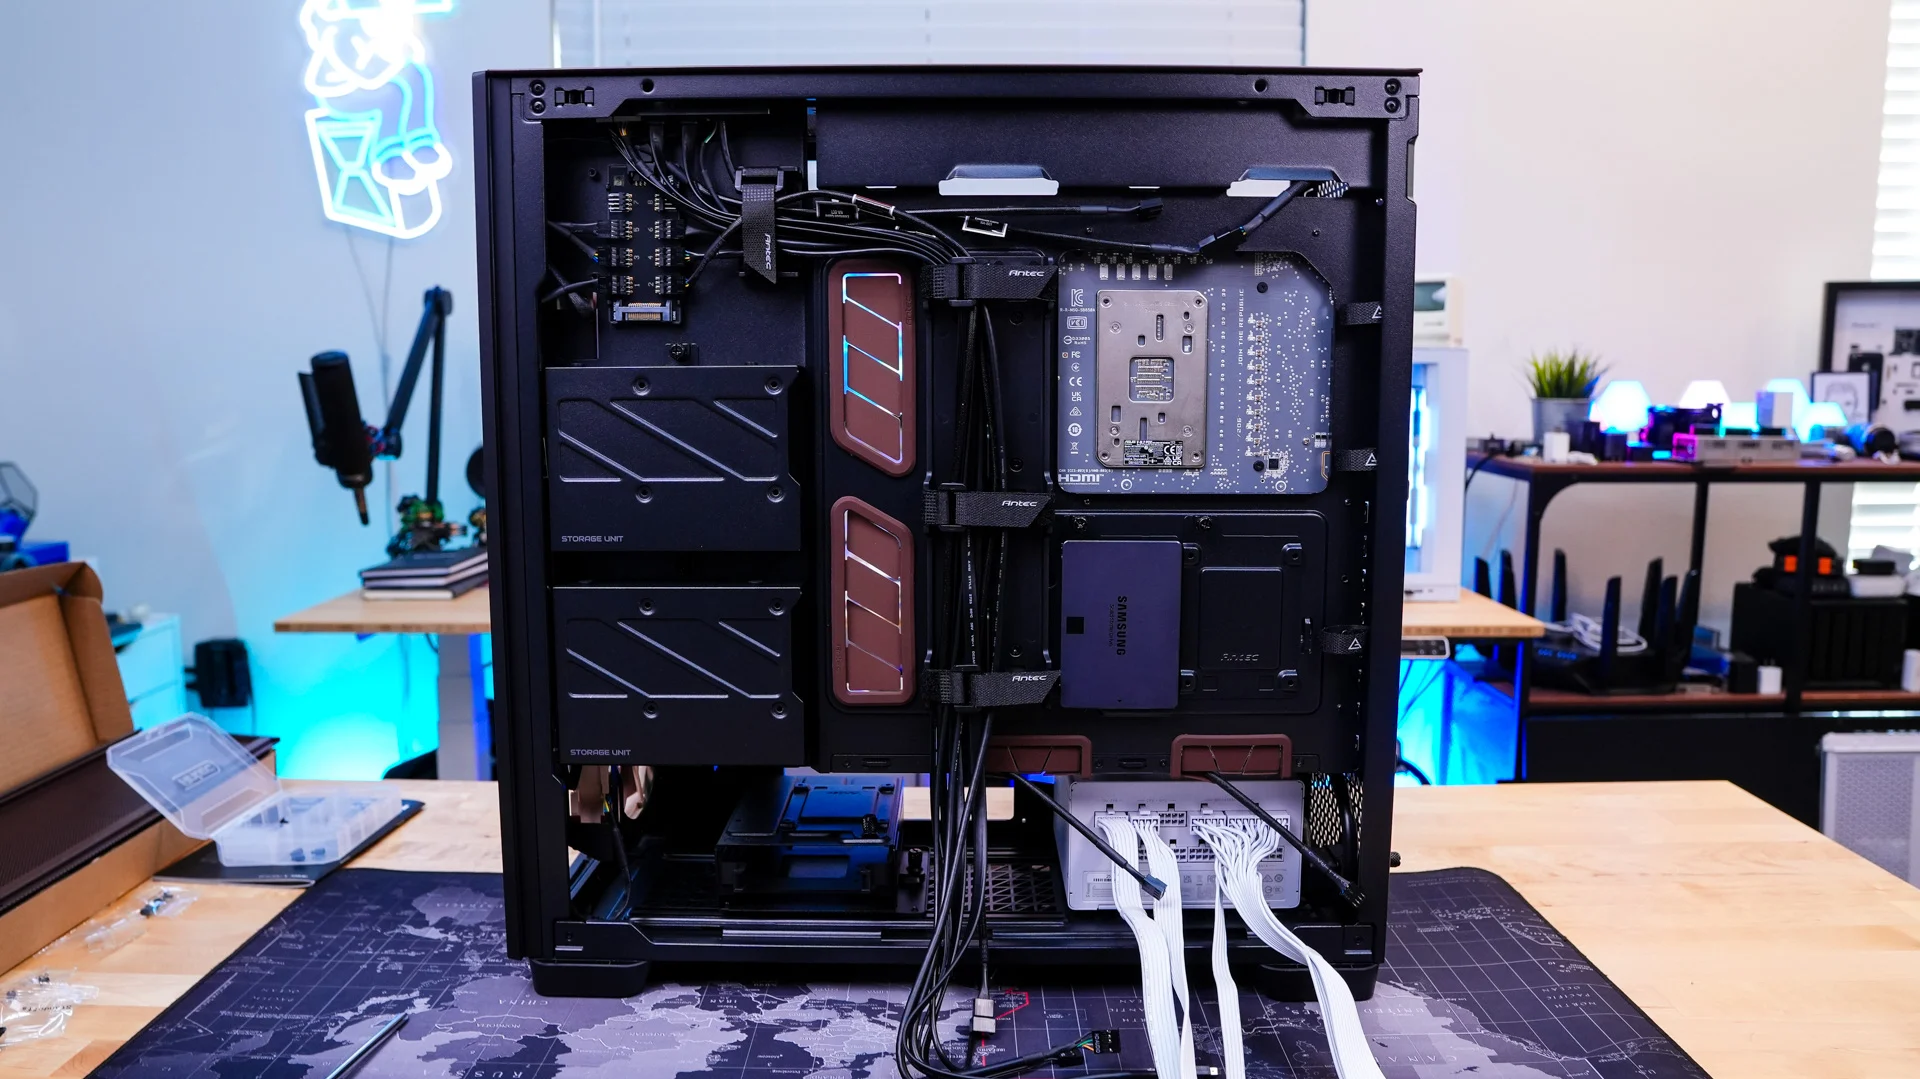
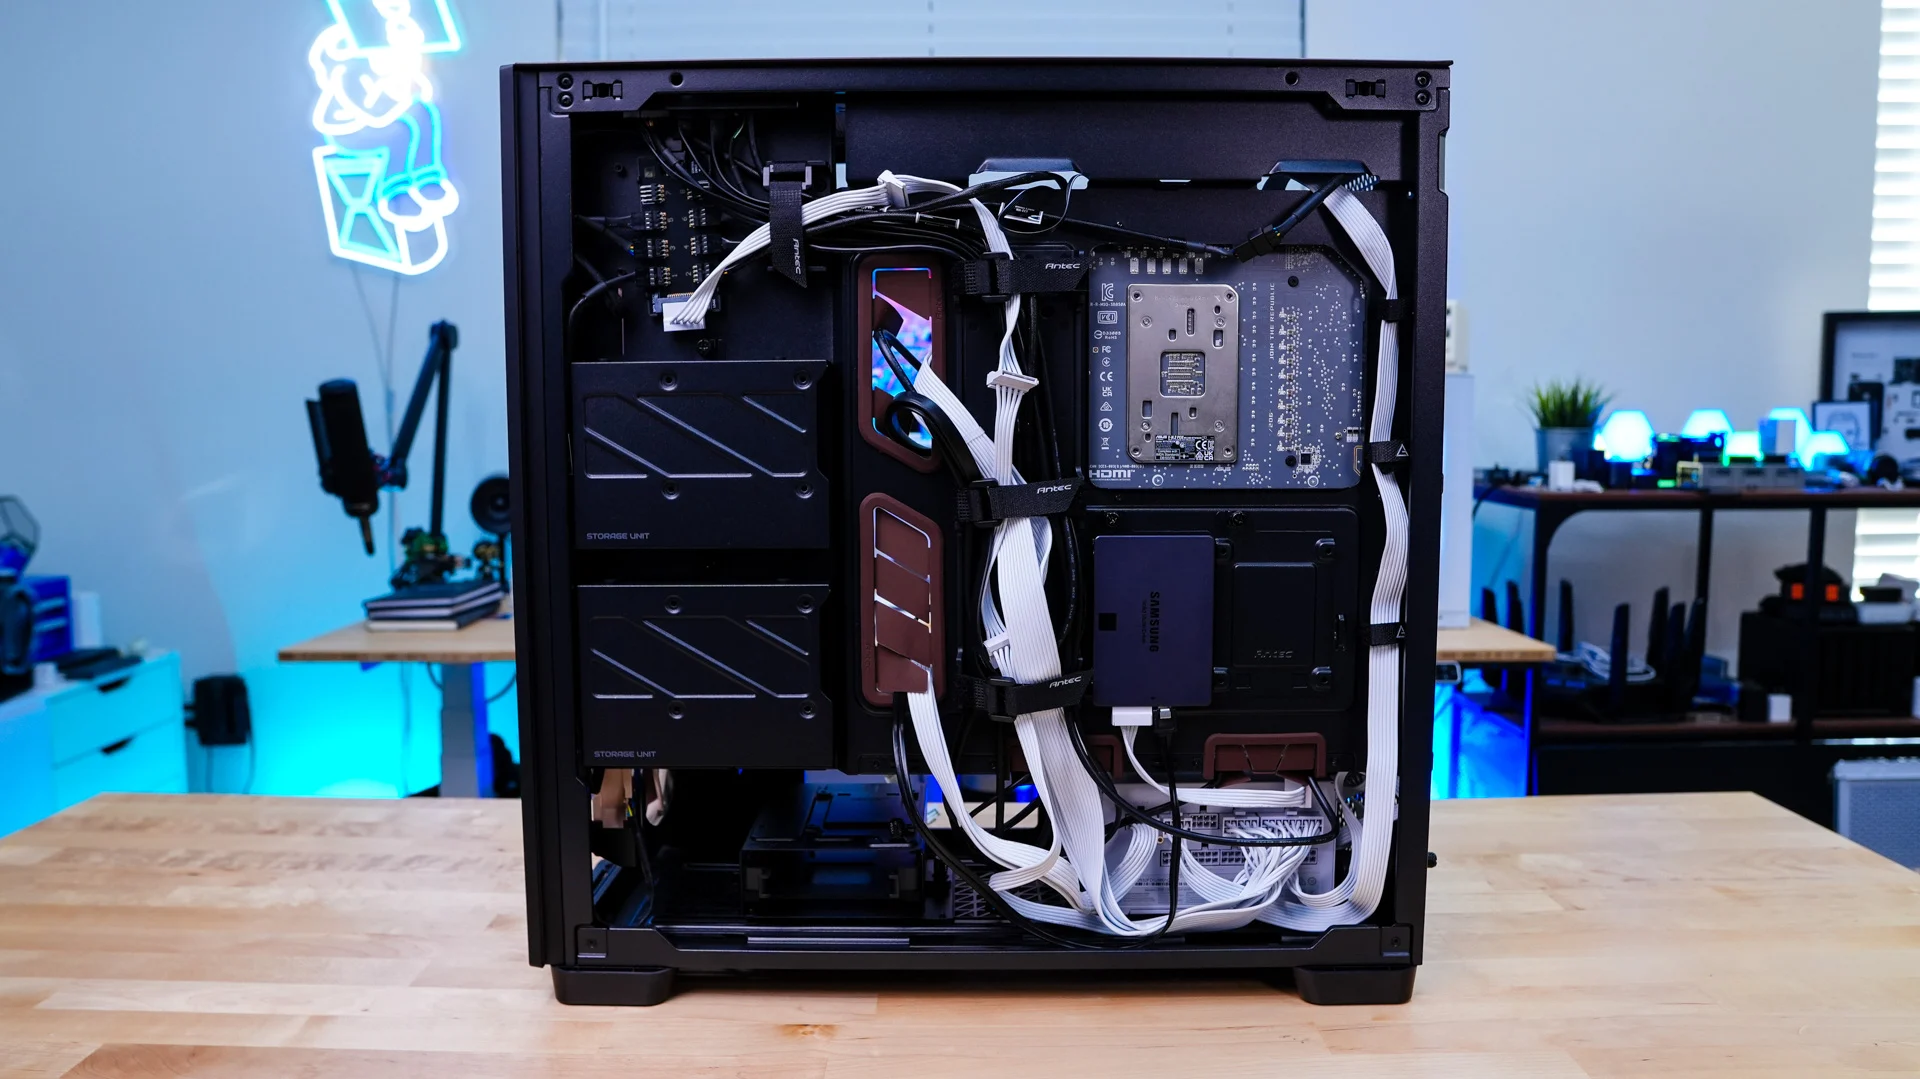
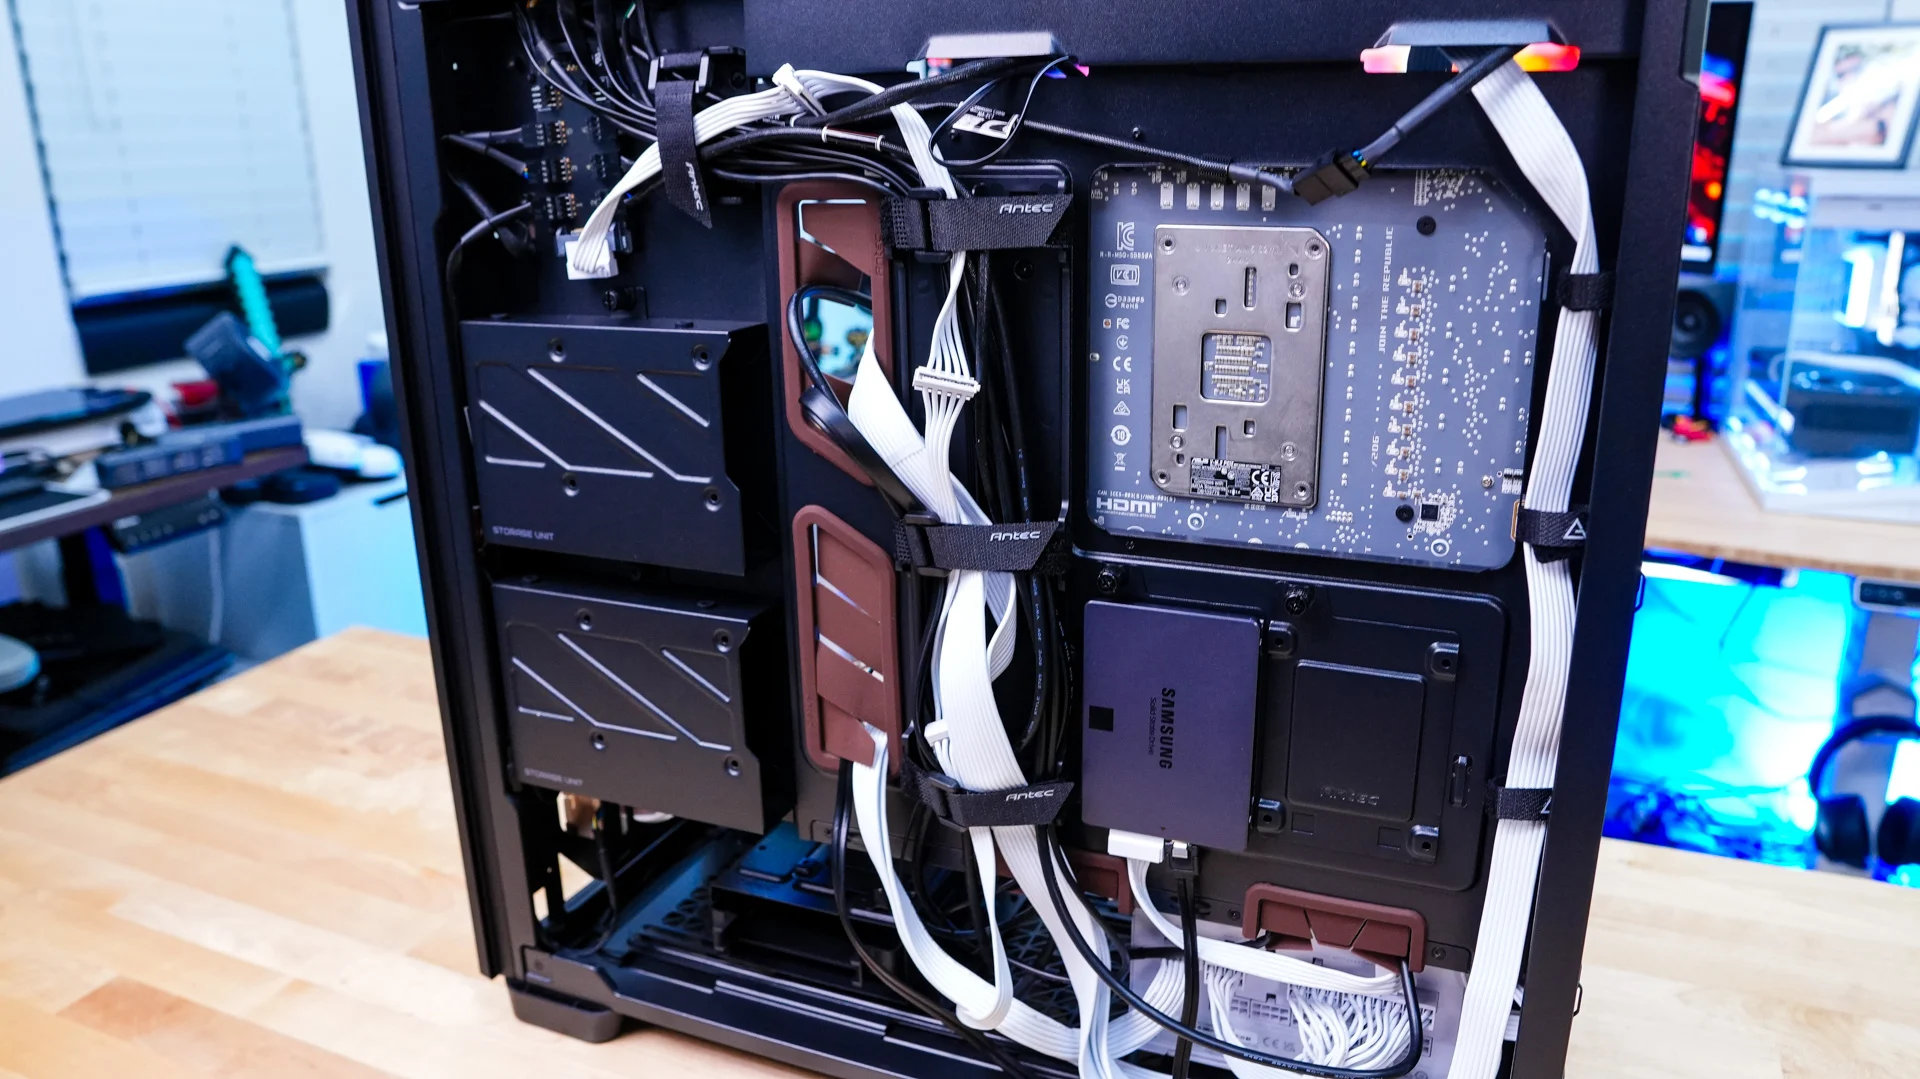
After installing my motherboard, power supply, and storage it is time to wire up mostly everything. The large cable channel and Velcro straps really make it easy to tidy things up and keep your cables organized.
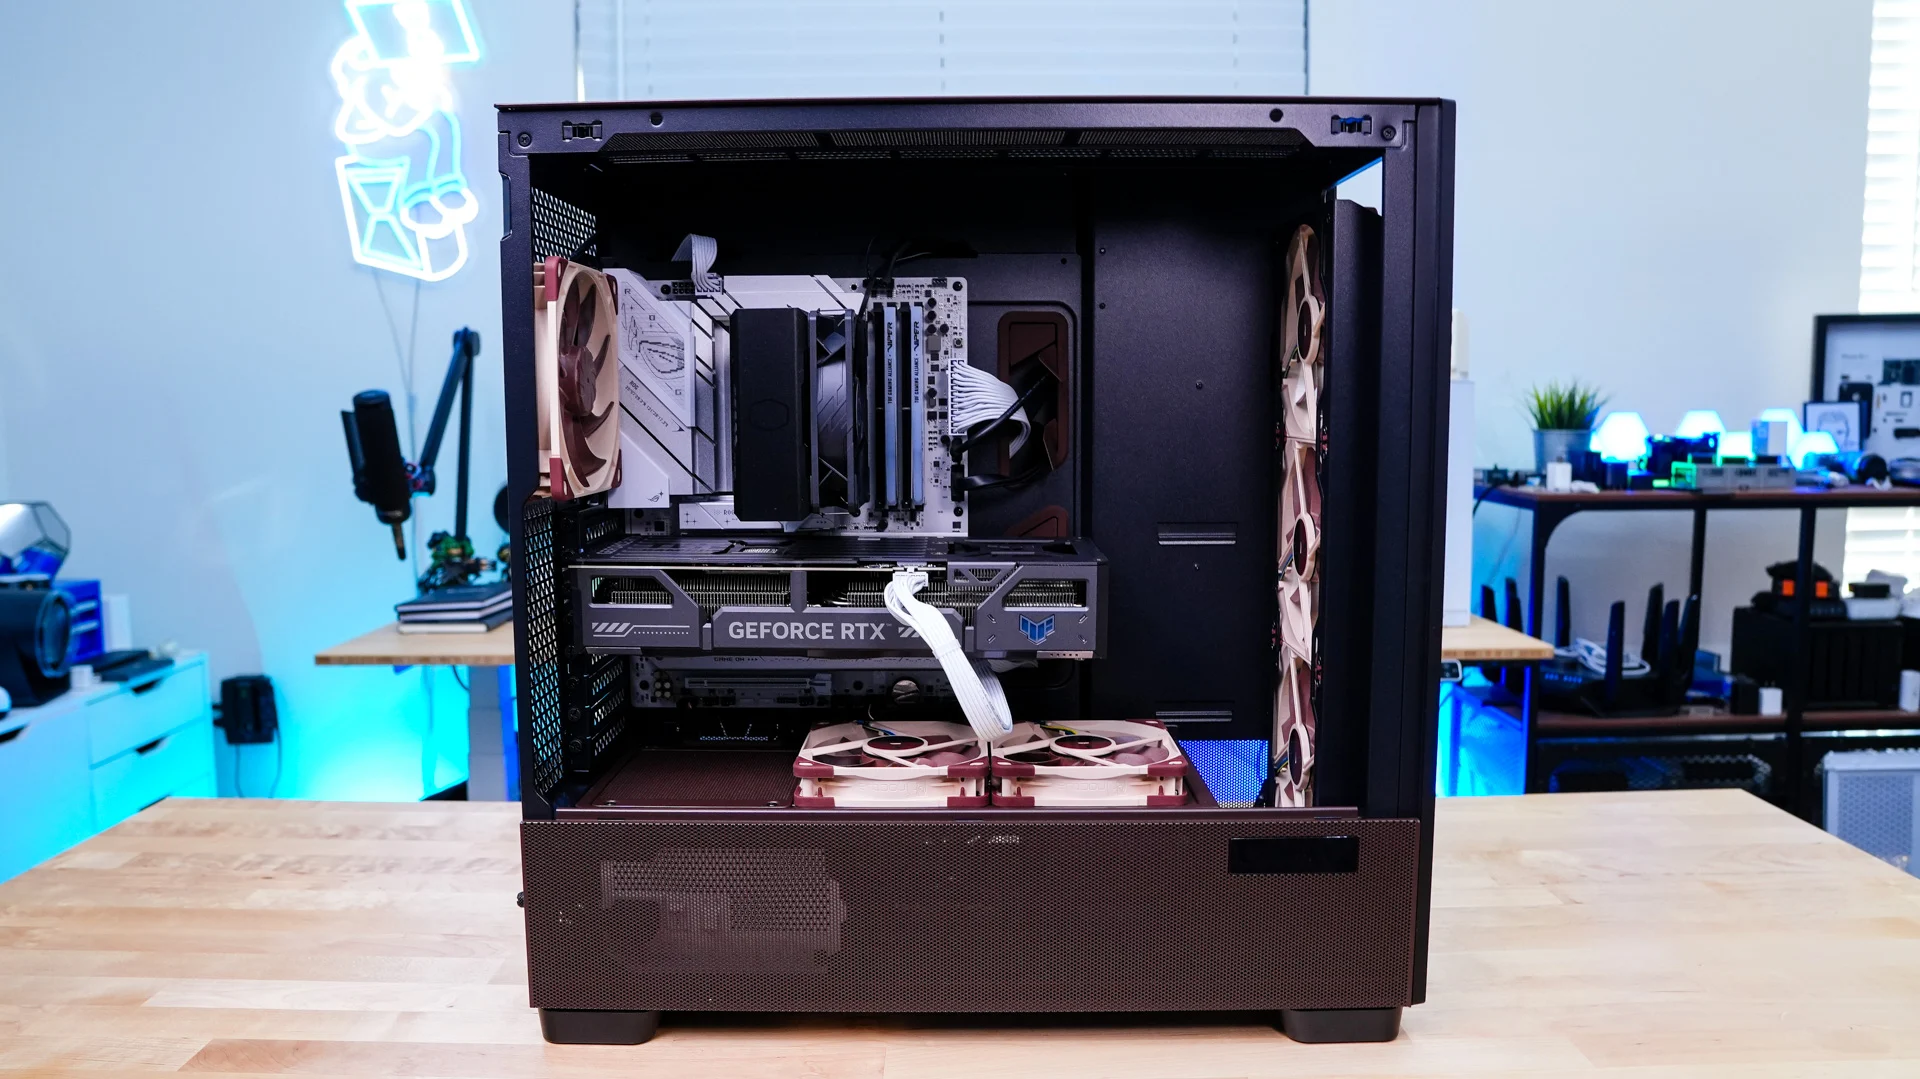
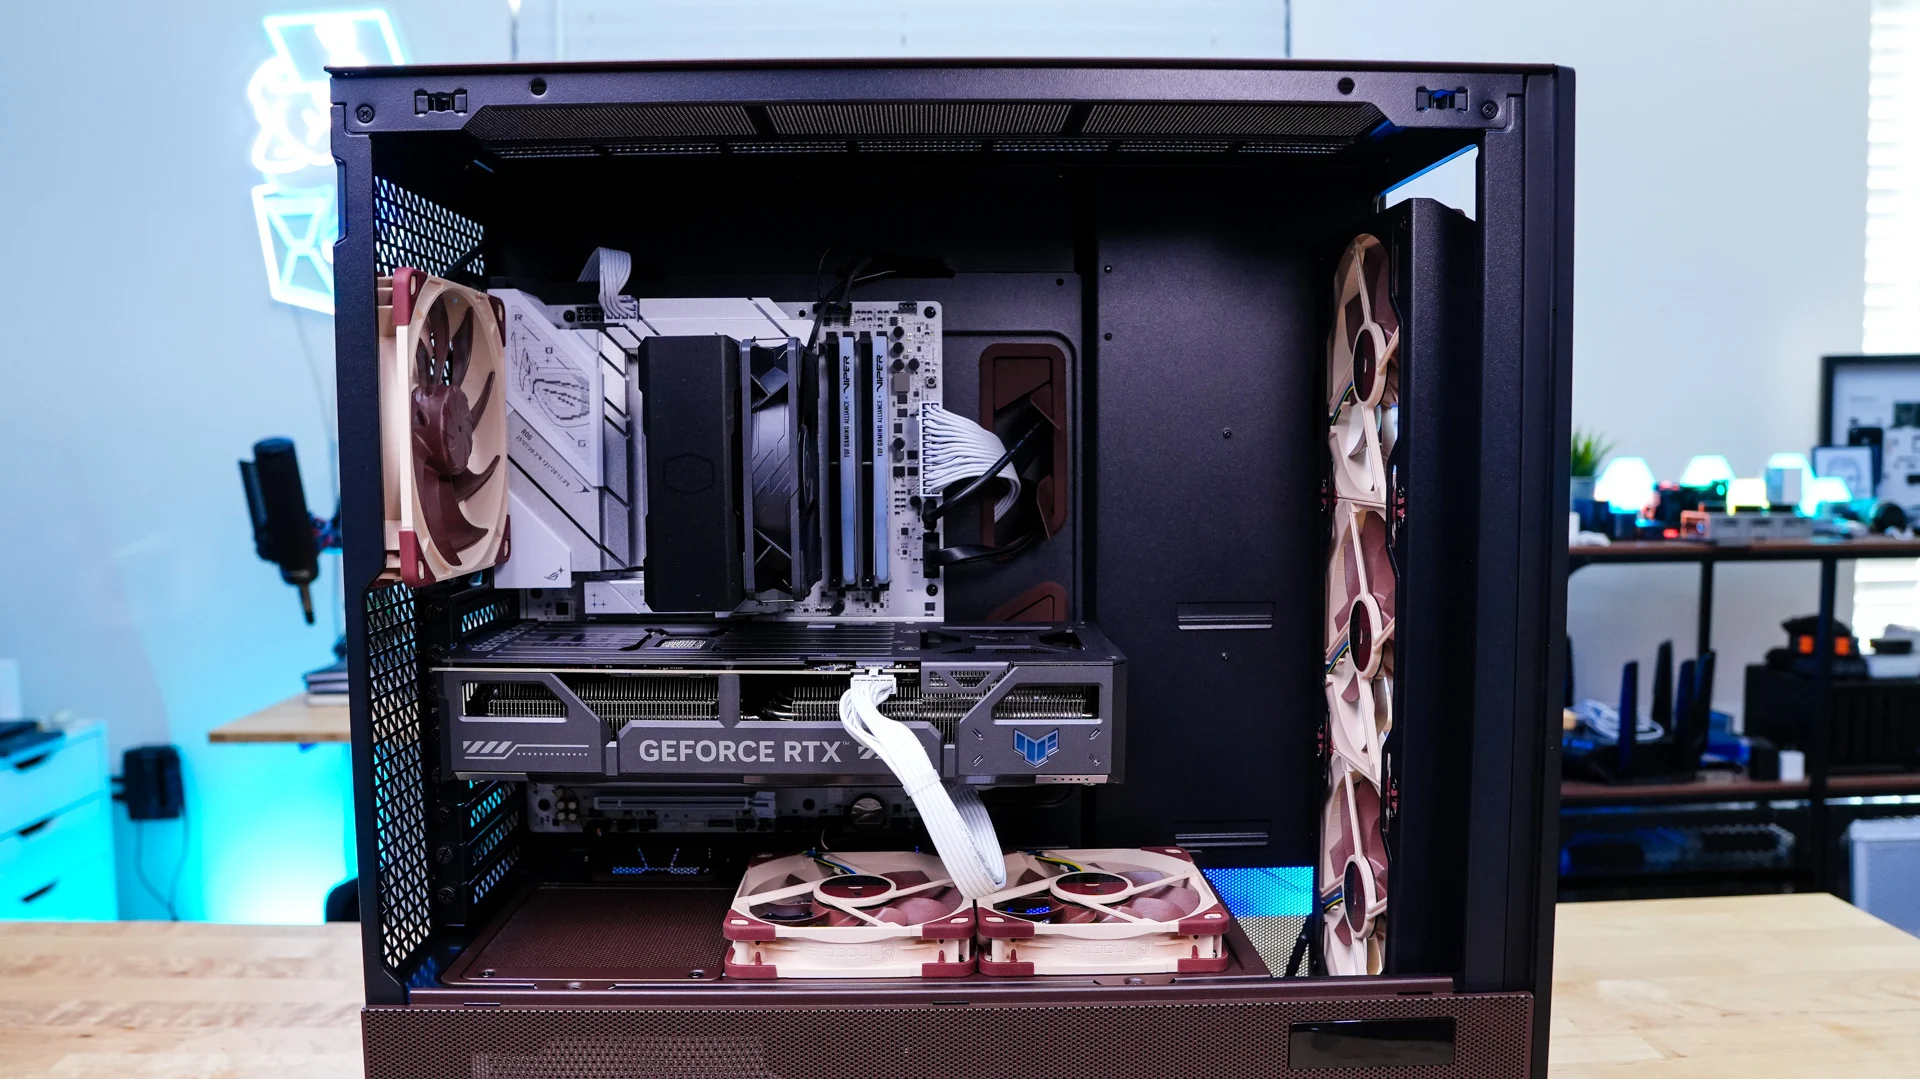
Moving around to the main side of the case this last thing we need to install is our power supply. Even with the longest graphics card you’ll have plenty of room!
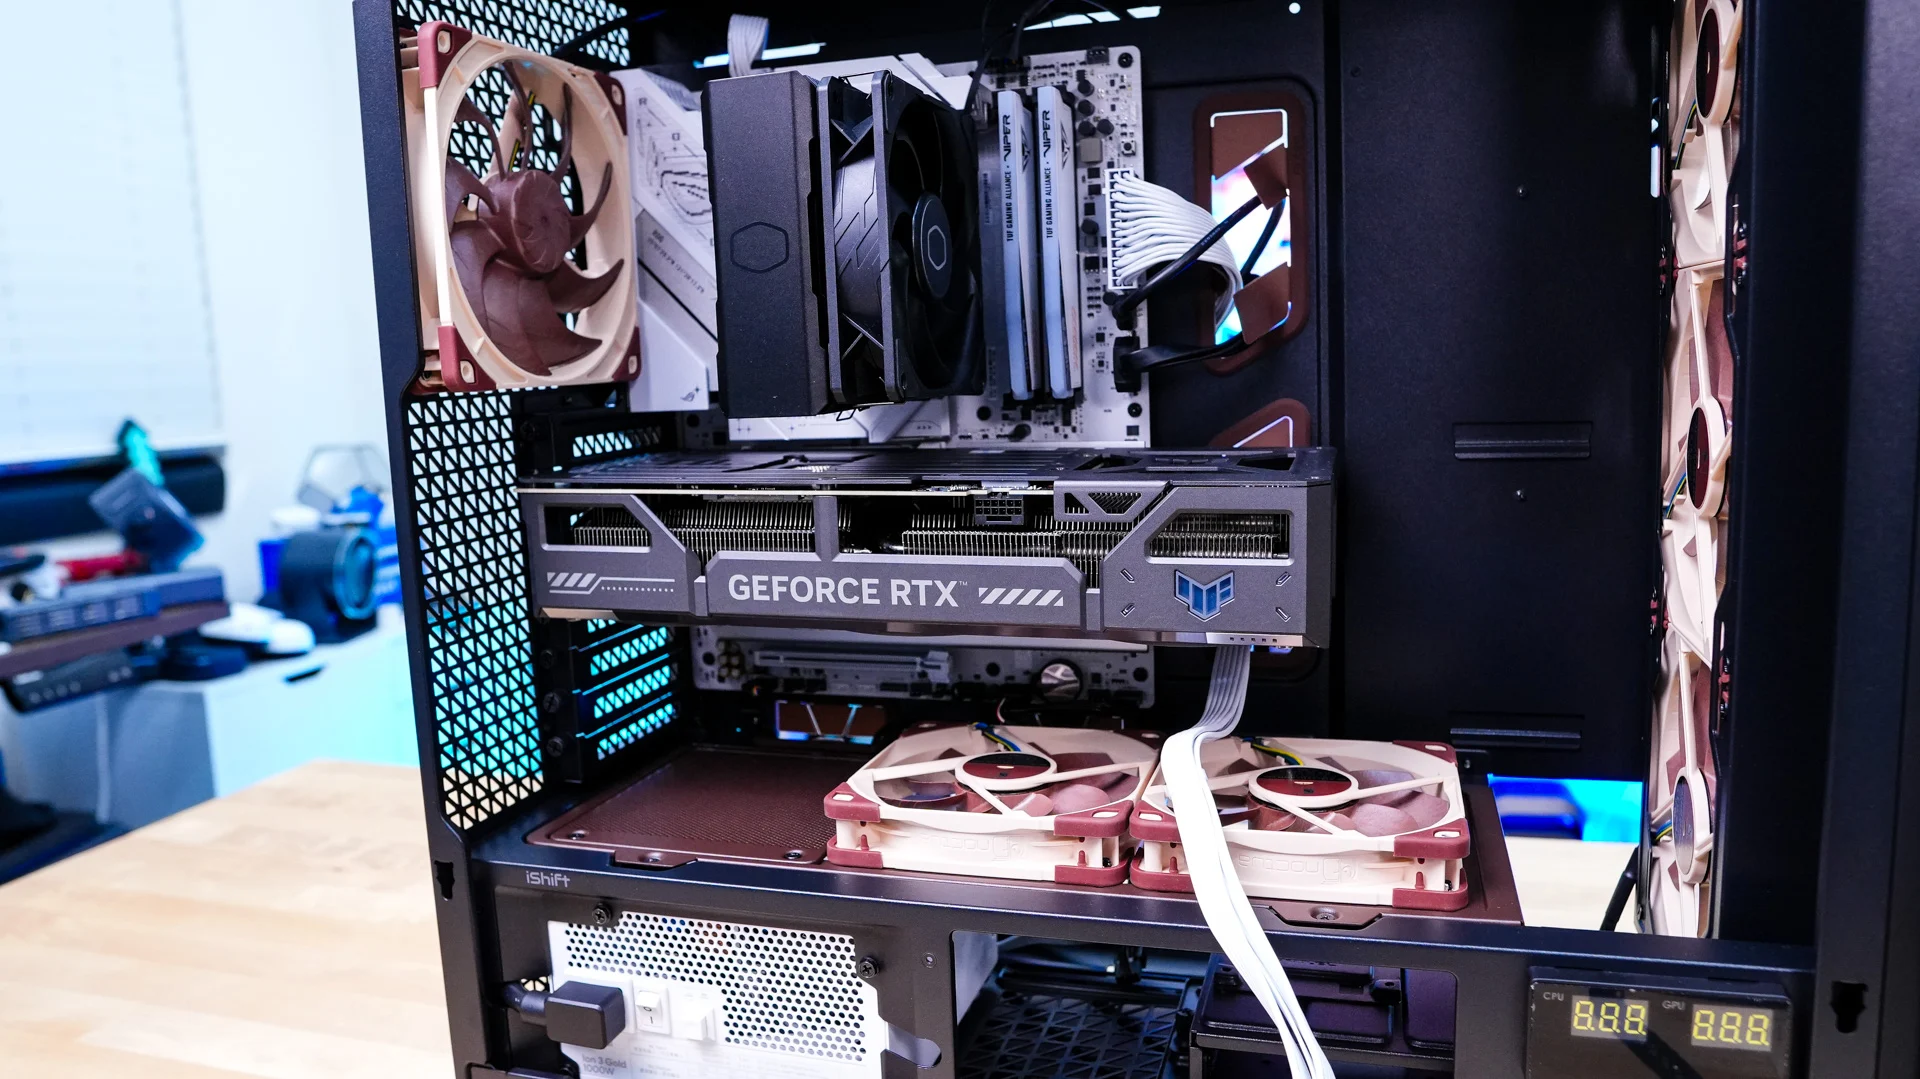
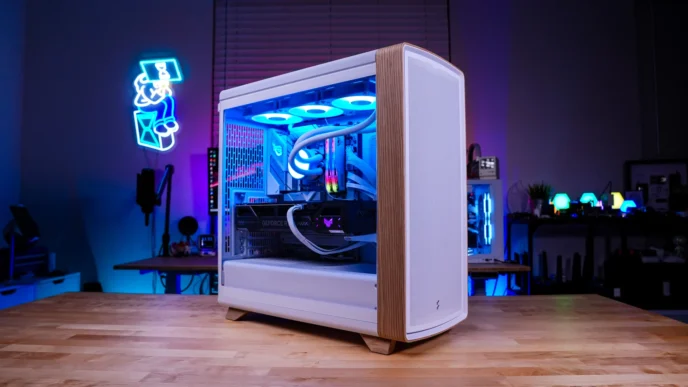
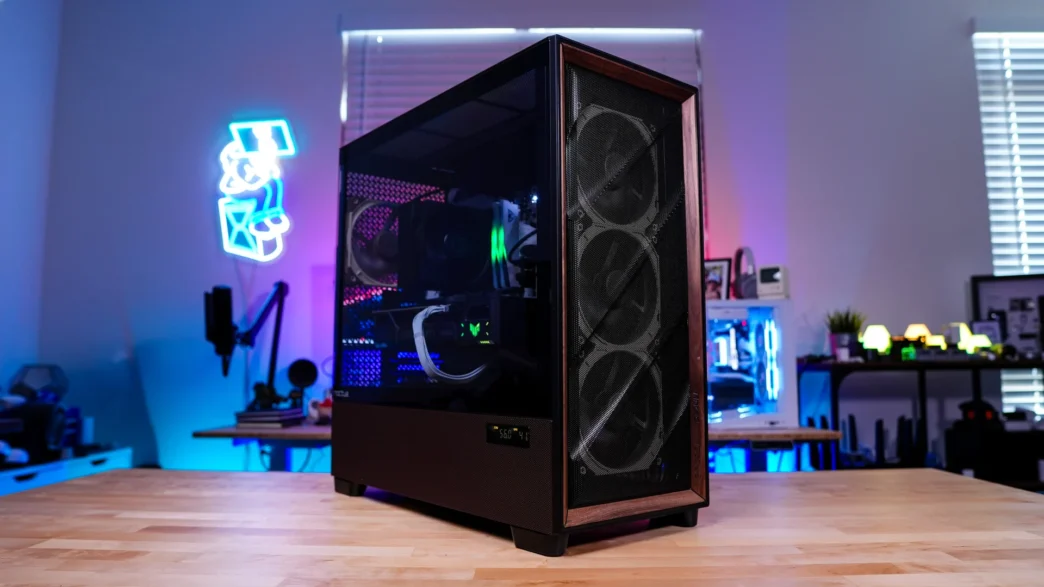
With our build completed it is quite clean and not all that flashy at all.