AVerMedia Live Streamer MIC 350 Overview
Once out of the box, I quickly noticed that the AM350 had a solid build quality. The combination of metal and plastic exterior components not only provides a sturdy body for the microphone, but also adds to the professional design language overall. The design of the AM350 is what I would consider to be a “tube style” shape, which lends itself well to the omnidirectional and cardioid polar patterns available in this microphone.

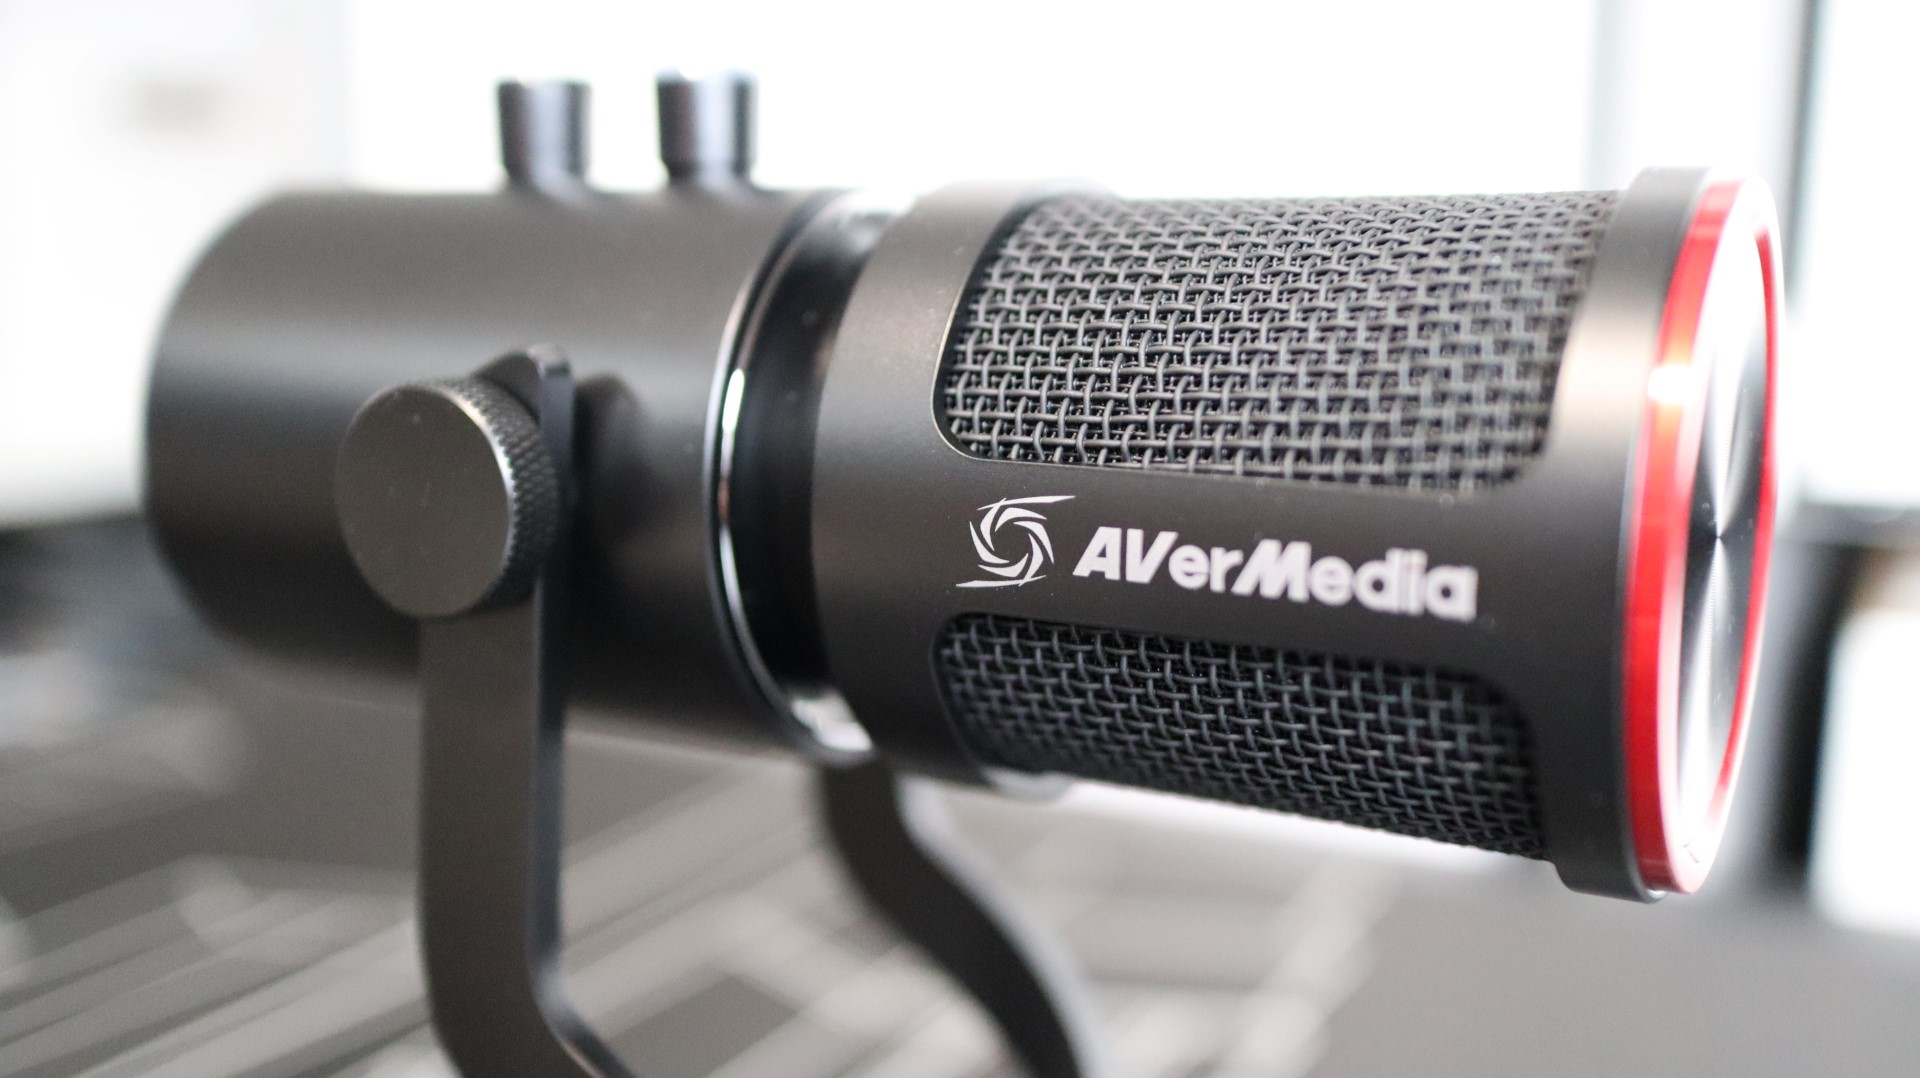
The overall design is that of a black body with some polished black and silver accents here and there, and a distinctive red ring at the top.

Speaking of the top, the most eye-catching feature of the microphone is the red ring around the top, that to my surprised, doesn’t actually light up when live or muted, but instead just adds a touch of color to the mic. I think this may have been a missed opportunity to have a lighting feature up top to indicate the status of the microphone, but that was handled in a different manner that I will discuss later on. Inside the red ring is a series of very fine concentric circles leading to a central point.

Moving down from the top is a metal mesh material that acts as an integrated pop filter, though AVerMedia did also include their optional external pop filter for us to take a look at. The metal mesh appears to surround a more dense material, as I was unable to see the internal diaphragm. This should translate to a good out-of-the-box experience with regards to removing pop and wind noise from recordings.

The specifications from AVerMedia show that this microphone has a frequency response of the standard 20Hz-20kHz we see in many other microphones, and most folks will be just fine with this audio range. The AM350 has a bit depth and sample rate of up to 24-bits and 96 kHz, which should be fine for most audio recording needs for the user base this microphone is designed for.
Looking at the front of the microphone we see two free-spinning control dials stacked on top of each other. The top dial allows you to adjust the AM350’s gain, and can be pressed in order to mute and unmute the microphone. When muted, a beveled ring glows red to indicate the microphone’s status. You won’t find any touch-sensitive controls on the AM350, which is a bit of a shame, as I have found this to be a very convenient and practical feature that has been showing up more and more often since we first encountered it in the HyperX QuadCast.

The second dial down adjusts the headphone monitoring mix volume, and can be pressed to toggle between microphone and system sound volume control. Two small indicator LEDs let you know which volume level you are controlling.

The back side of the microphone is free from any controls or connection interfaces.

Moving to the bottom of the microphone we find all of the connectivity options for the AM350, as well as the polar pattern selection switch. A single 3.5mm headphone monitoring jack is present, along with a standard USB Type-C port.

The arms of the AVerMedia AM350 are attached to the sides of the microphone body, and can be adjusted via thumbscrews. When used with the included base, this allows you to adjust the angle of the microphone to best fit your positioning.

Both of the arms come together lower down in order to function as a bit of a channel to assist with cable management when used in conjunction with the metal base plate.

By default the included metal base is not attached to the microphone arms, but easily threads on. A rubber pad on the bottom of the base is present to make sure the microphone stays in place on your desk surface of choice.