Installation
When it comes to installation things should go pretty smoothly. The first thing we are going to install is our motherboard. be quiet! has pre-installed the standoffs so you simply just place it in the case and secure it with the included screws.
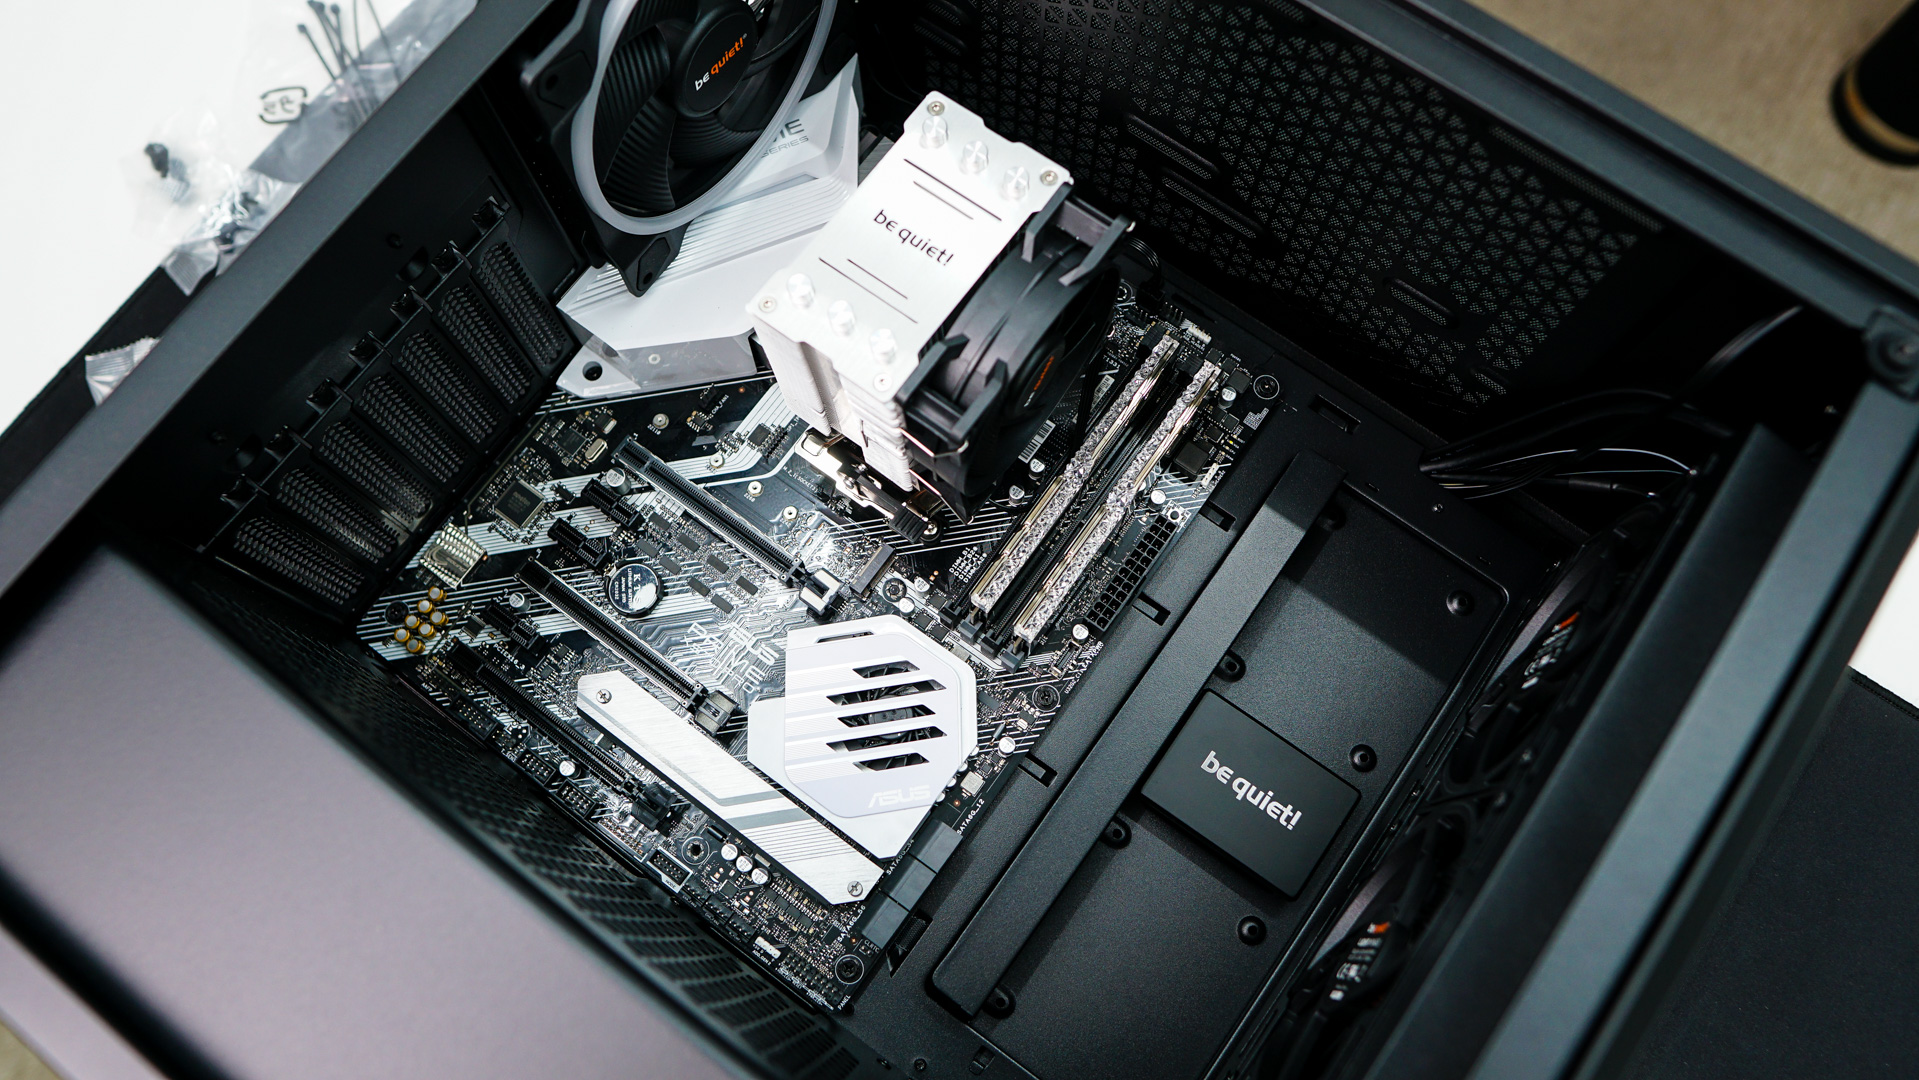
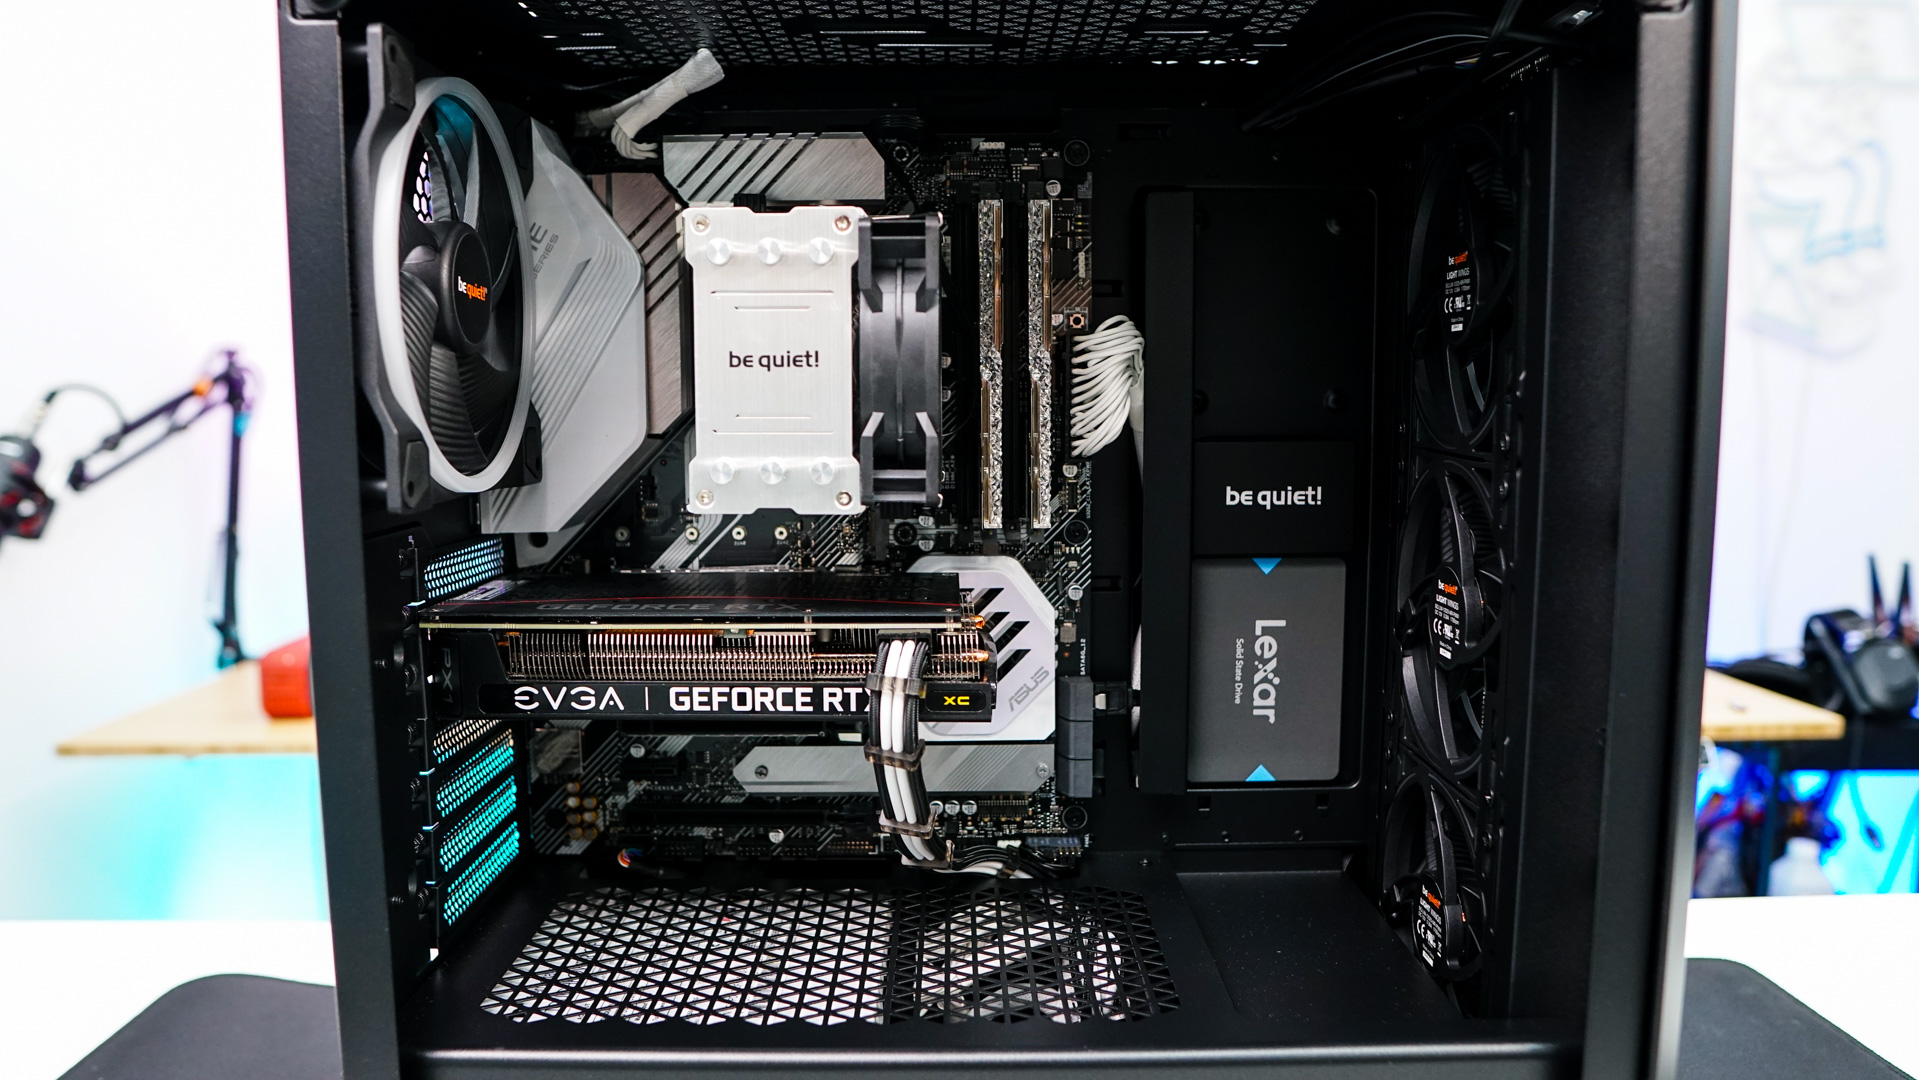
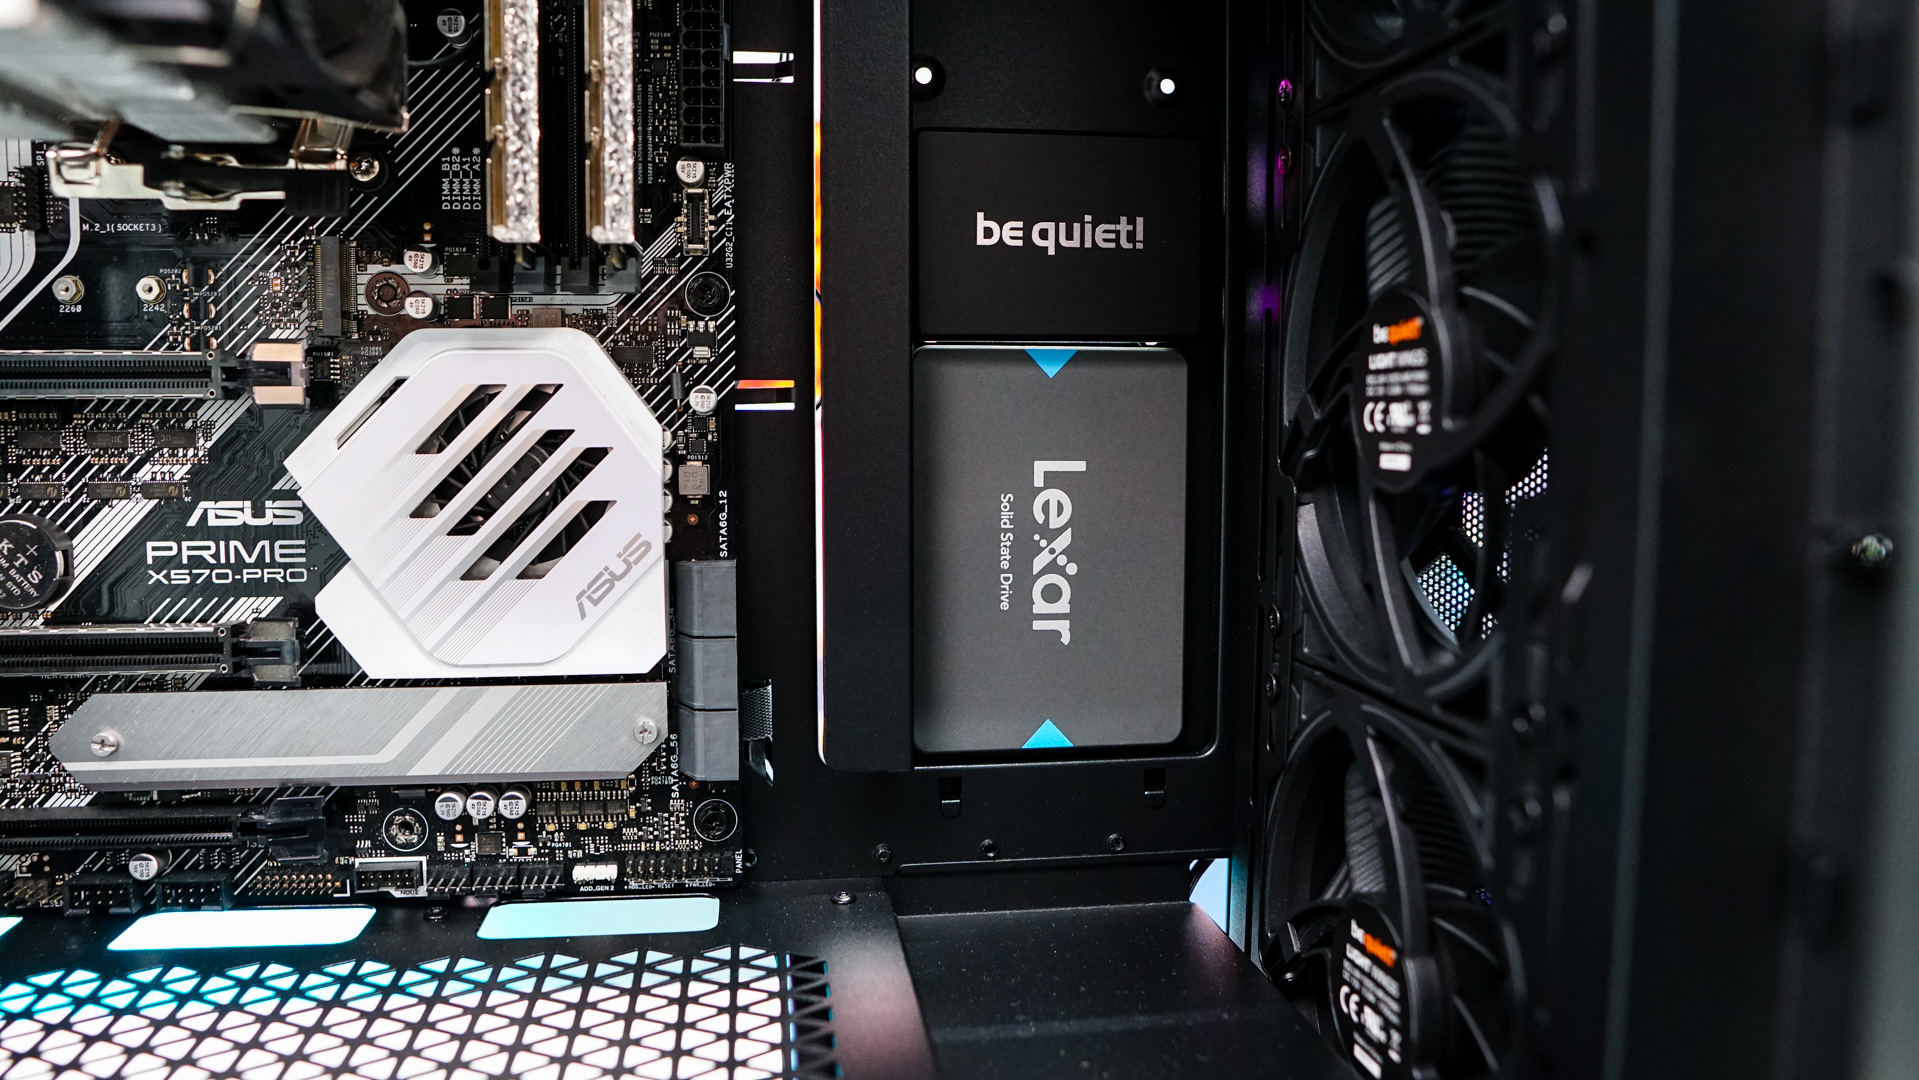
After the motherboard I decided to install my SSD. I decided that I wanted to install it on the main side of the case so I could display it. Now you can remove the whole section where you mount these drives, but it was simply enough to just hold the drive in place and secure it with screws.
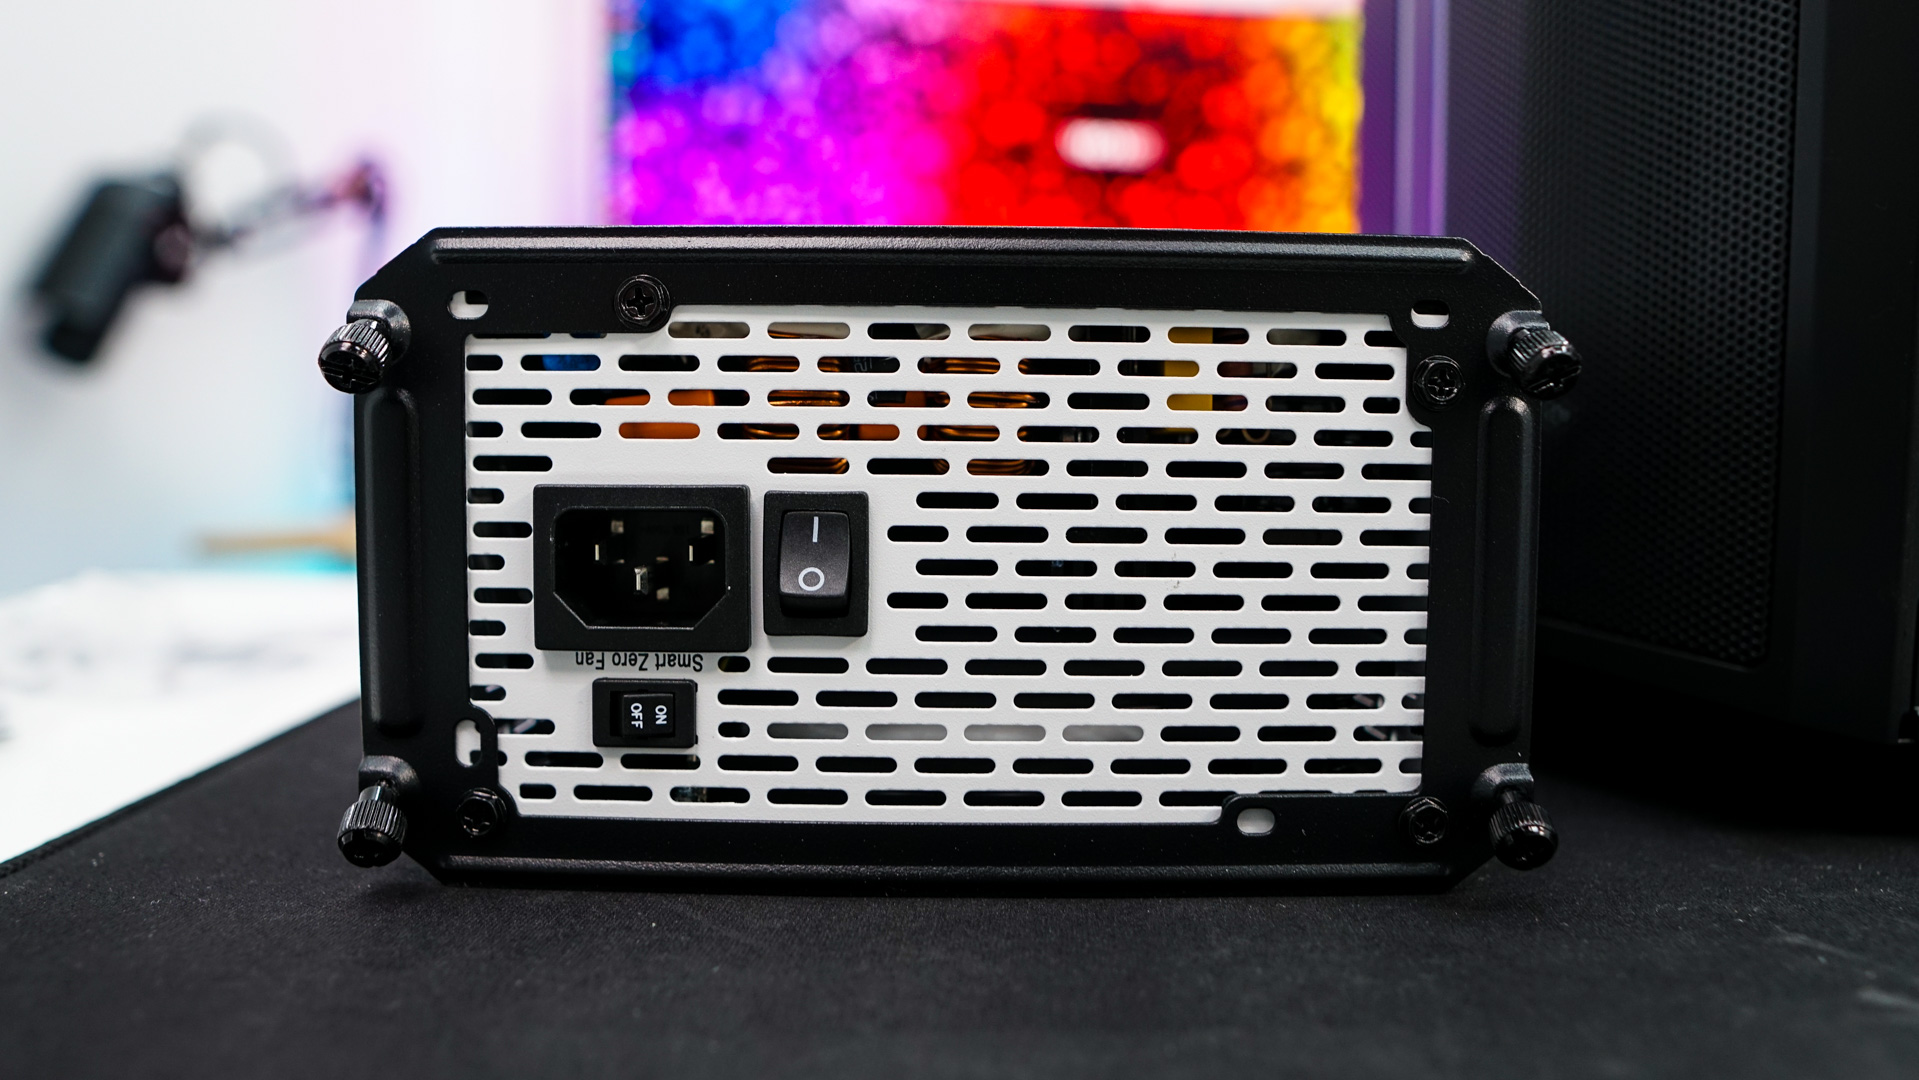
When it comes to installing your power supply all you have to do is remove the power supply bracket from the rear of the case and screw it on to the back of your power supply. Then slide your power supply in from the back securing it with the thumbscrews on the power supply bracket.

Installing your graphics card is very easy as well. Just line it up and remove the required expansion slot covers. For those who have longer graphics card this case will support graphics cards as long as 369 mm.


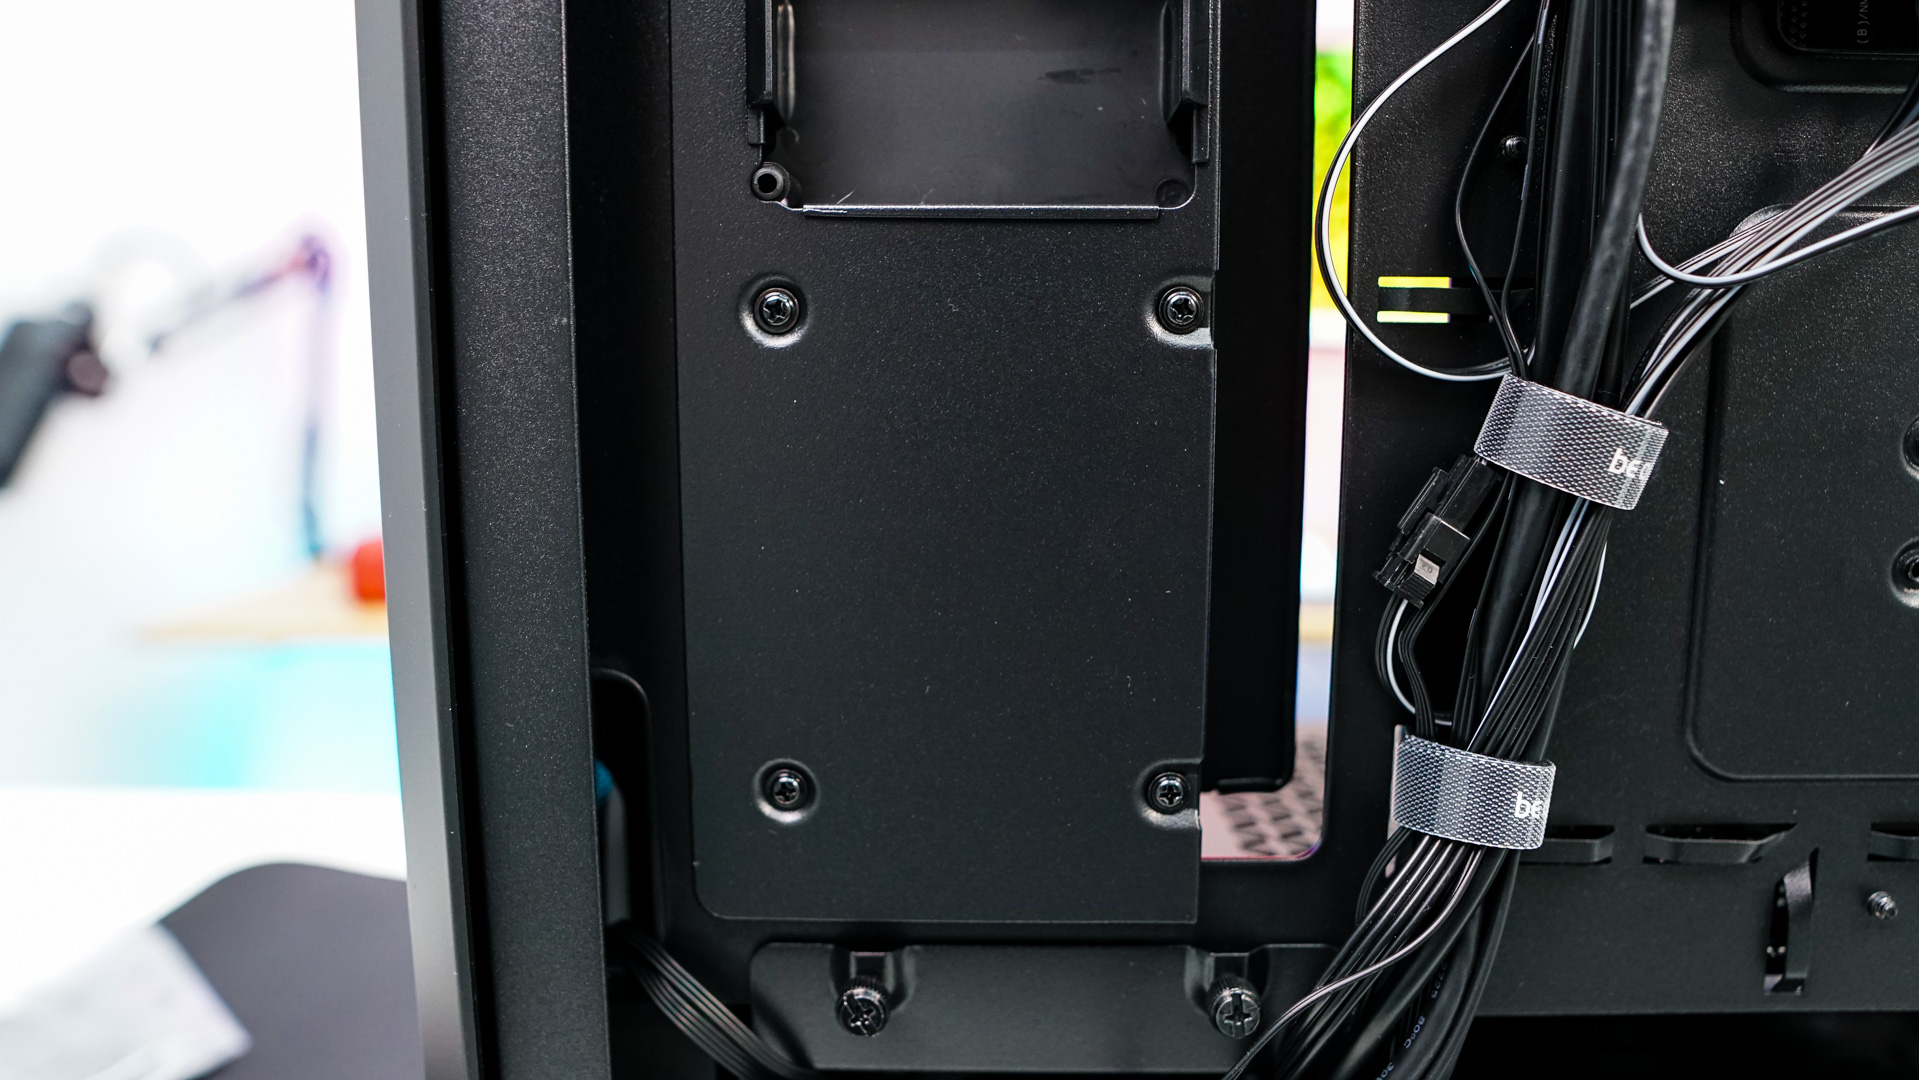
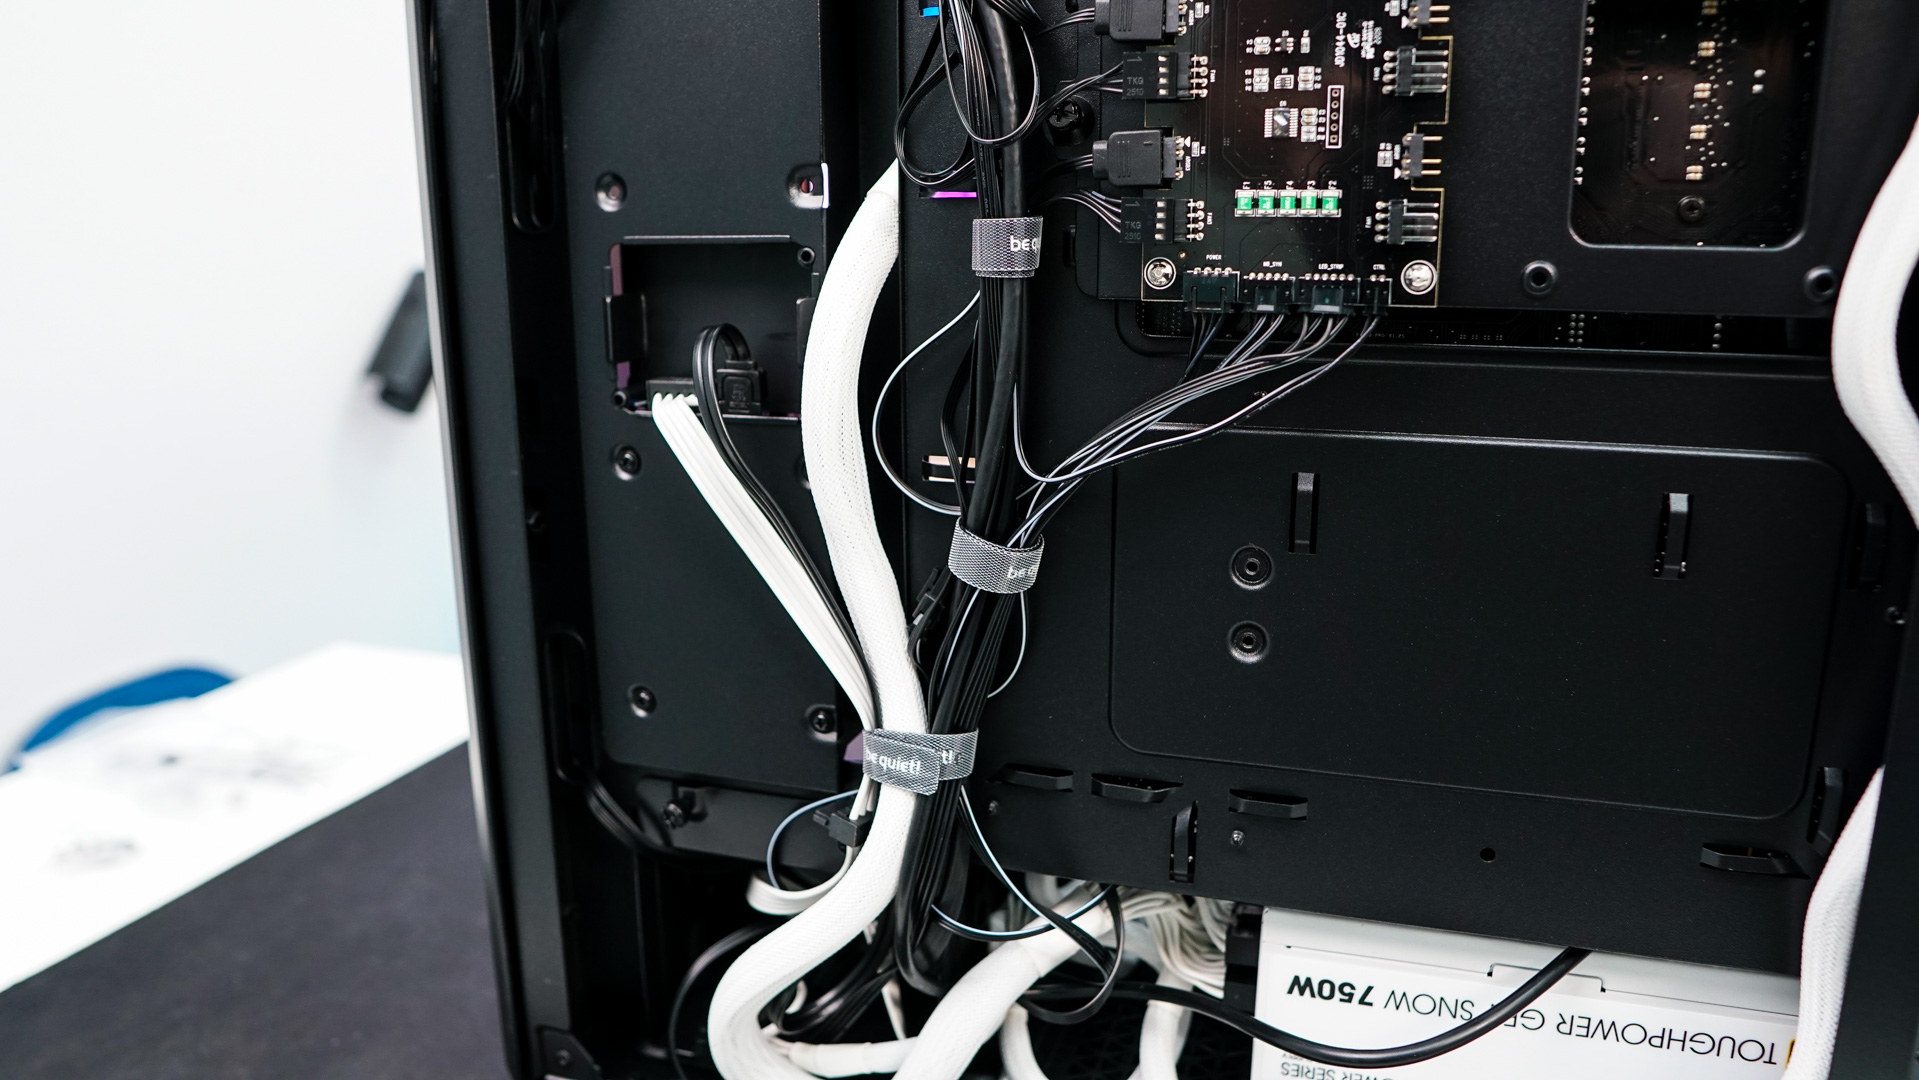
Now we just have to wire everything up. be quiet! does include 4 velcro ties on the backside of the case. While these work well, we’ve seen much better implementations of these recently. There are also plenty of tie-down points and be quiet! does include a handful of cable ties.
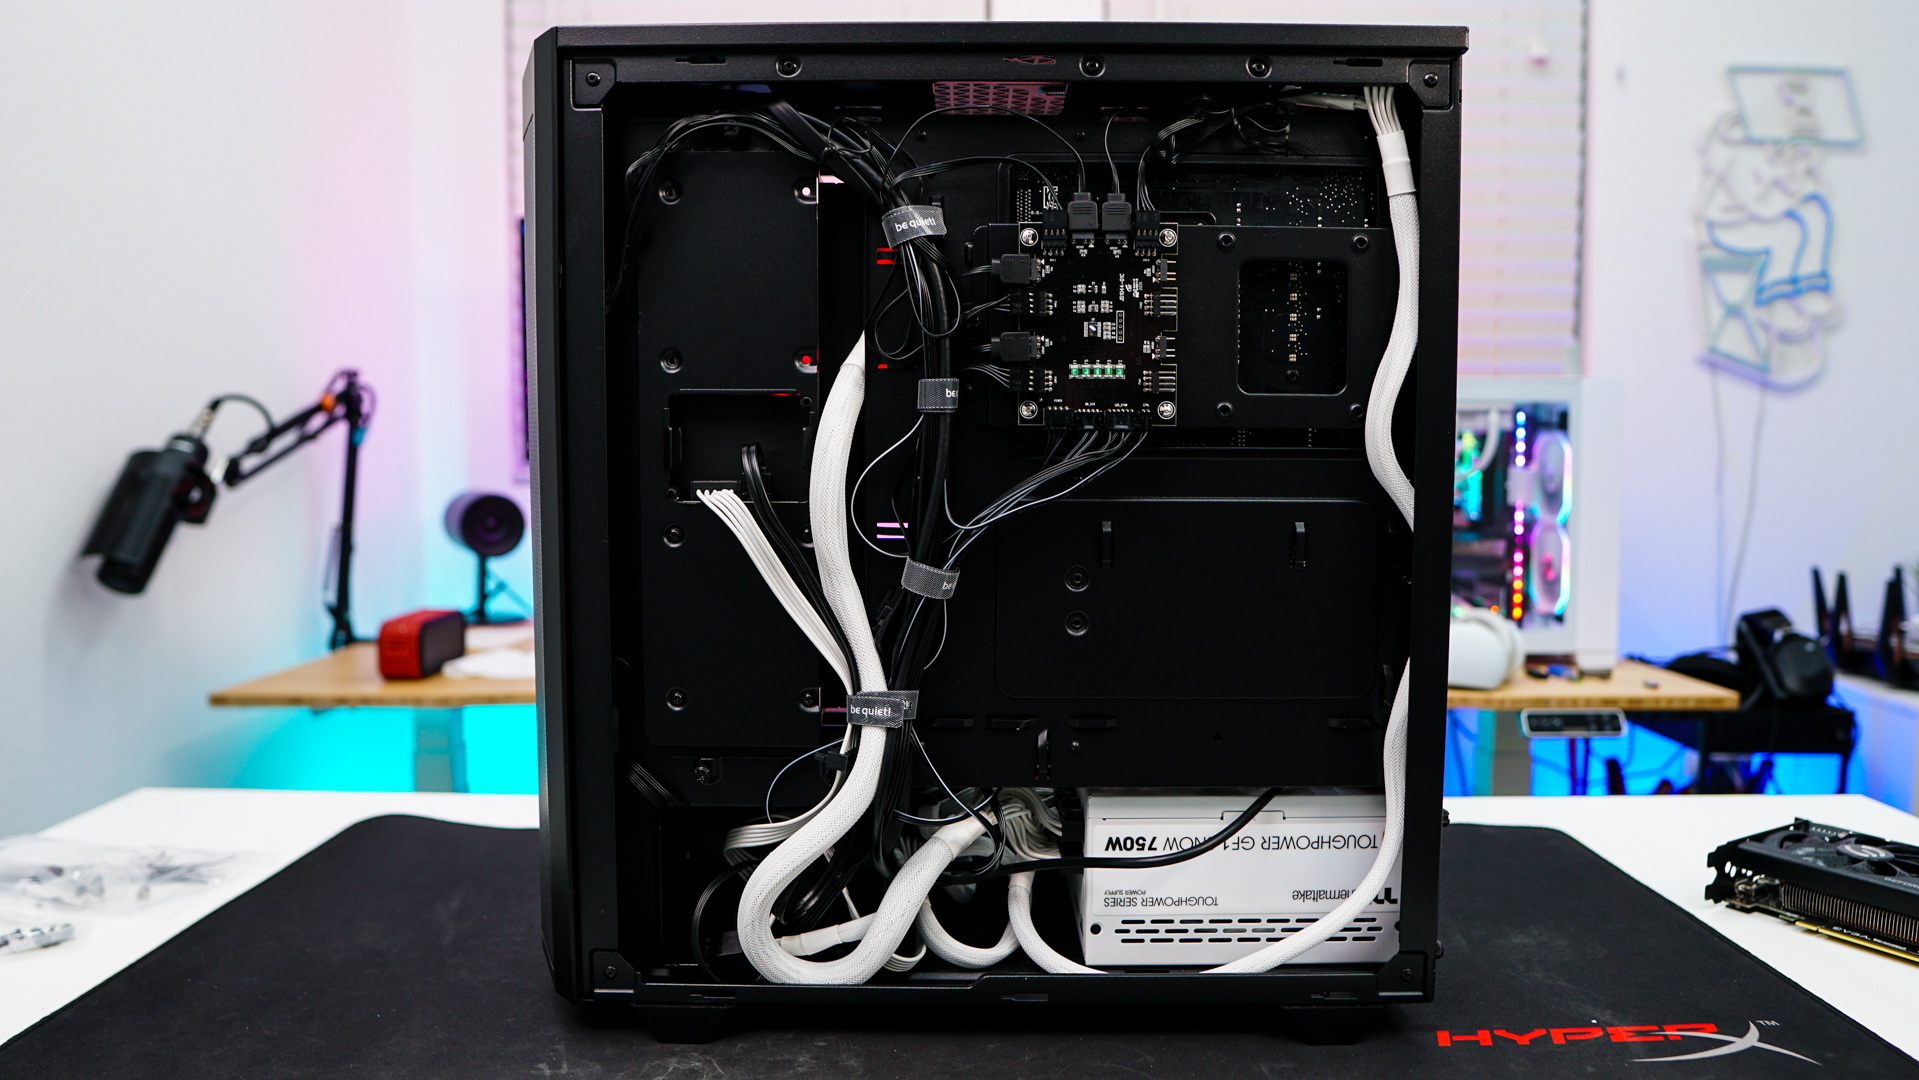
Looking at the other side of the case we have a very clean build.