
Installation
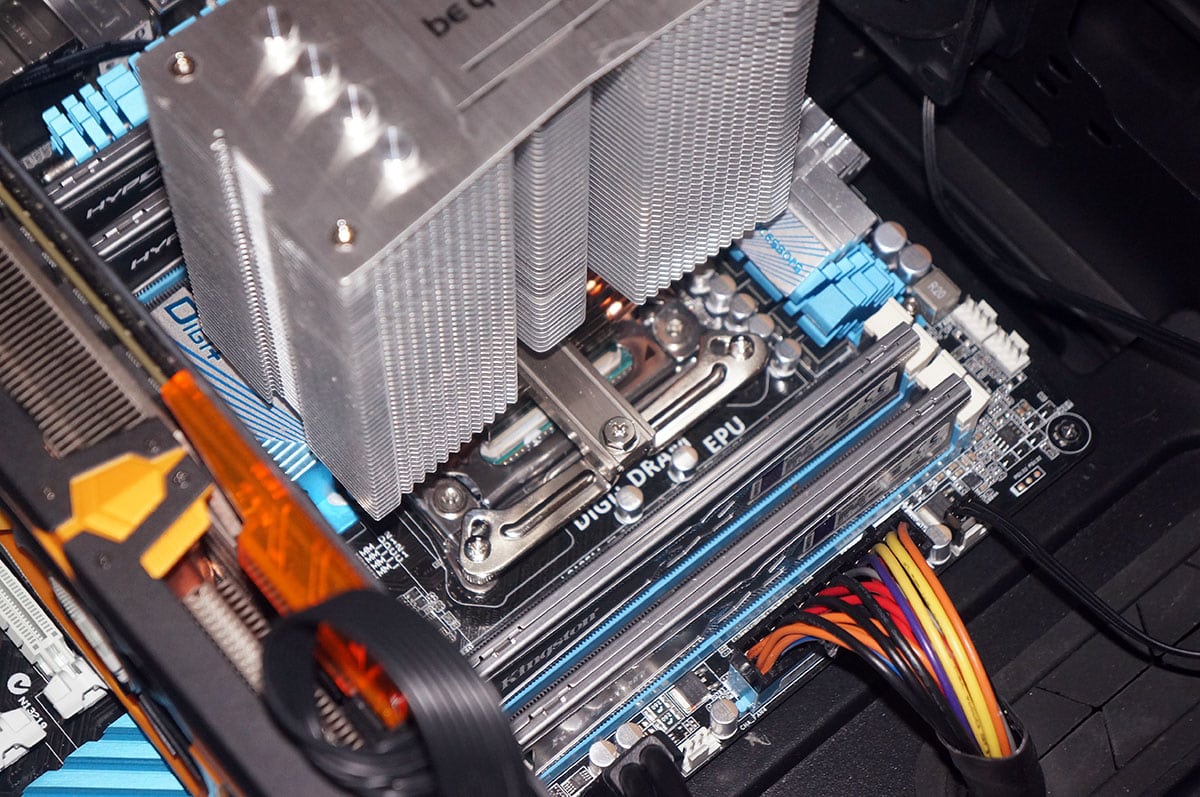
Getting the Pure Rock installed is actually pretty easy. We will be installing the cooler on our X79 system, which uses the LGA2011 socket. The first thing that you are going to want to do is to install the four thumbscrews as shown in the photo below.
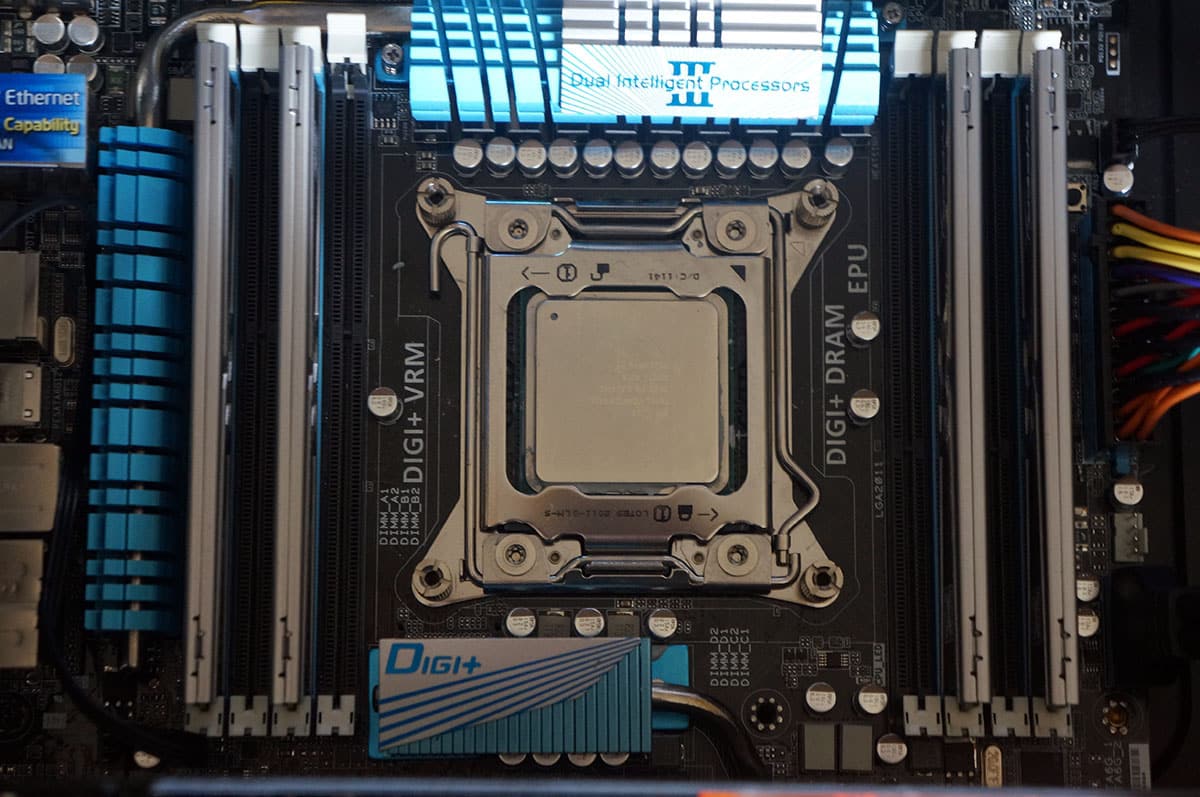
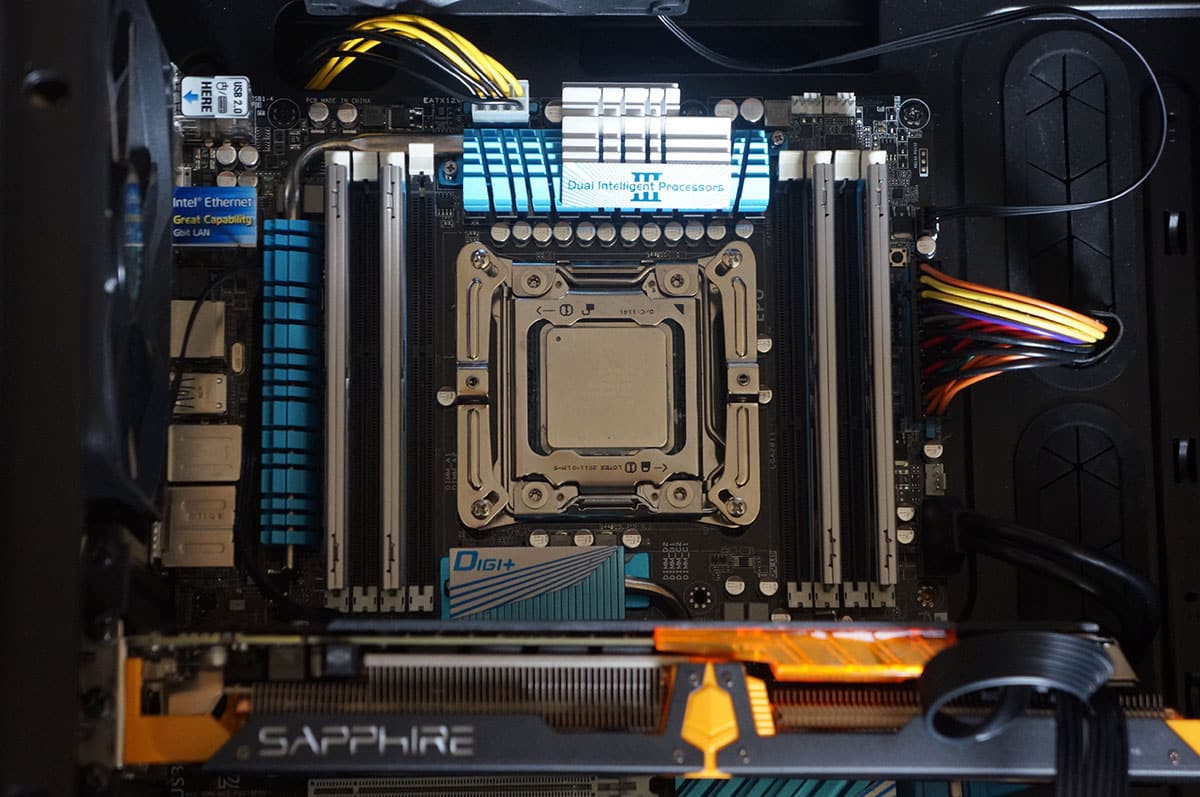
From there install the Intel mounting brackets, which easily screw right into the four thumbscrews that you installed previously.
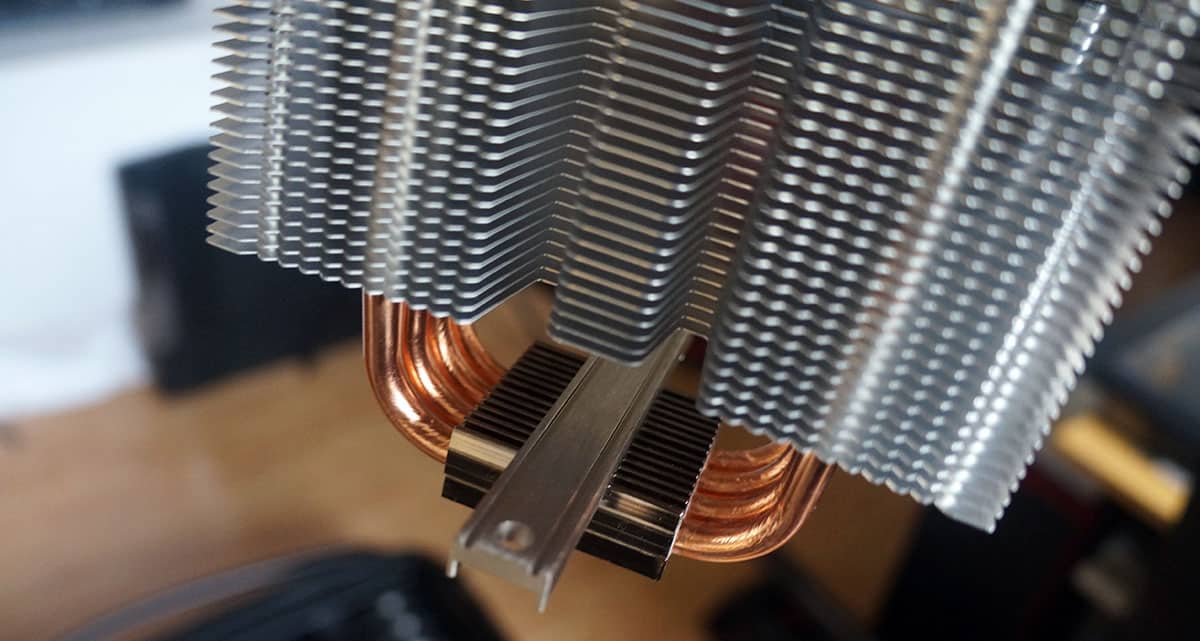
Very carefully place the mounting bar in the notches on the base of the cooler. There is sort of like a balancing act because you cannot put the cooler down on a flat surface because of the pre-applied thermal paste.
Now place the cooler on your motherboard lining up the holes in the mounting bar with the holes on the Intel mounting brackets. Take the supplied mounting screws and secure the cooler on to your CPU and motherboard.
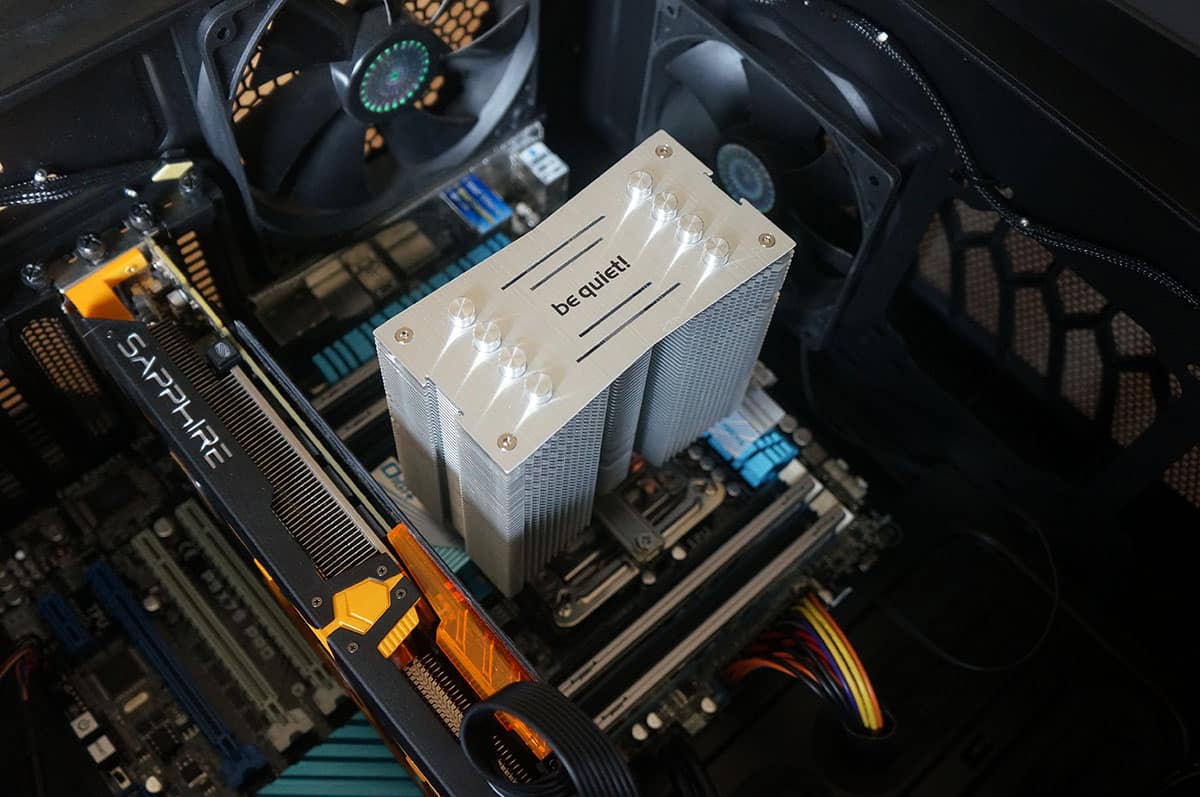
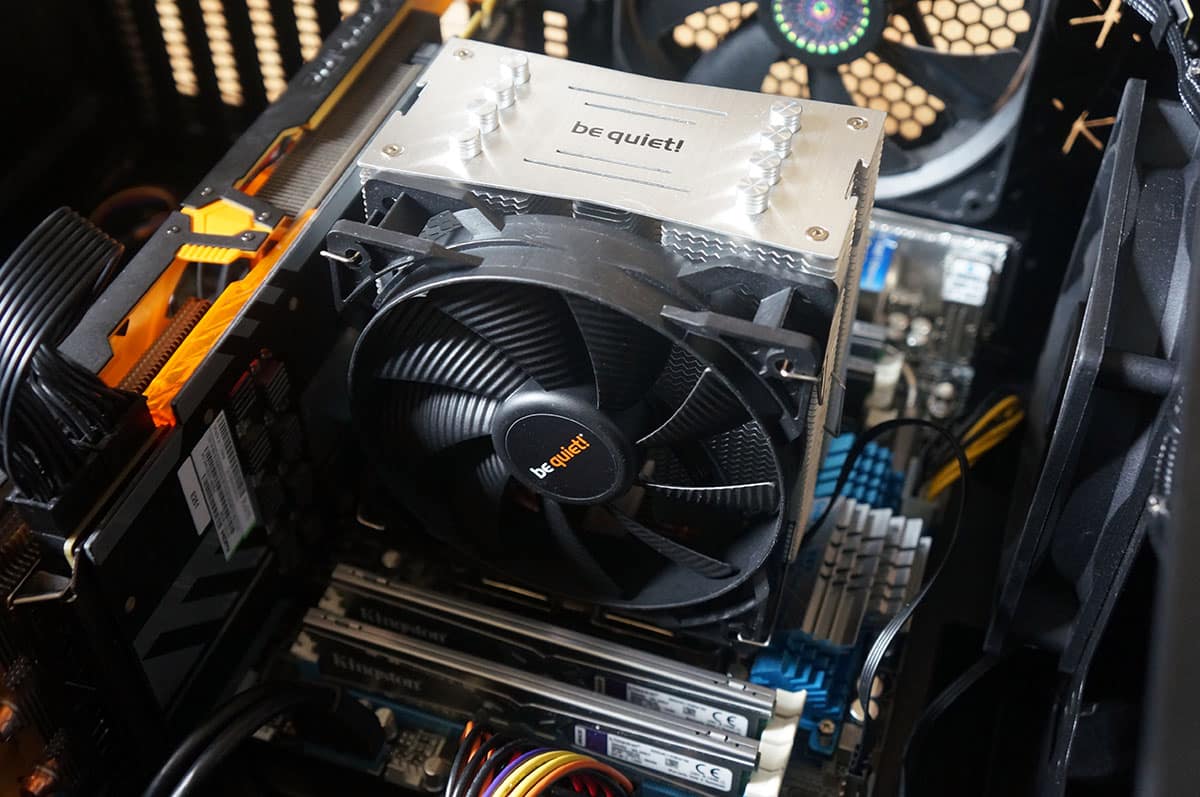
Finally take the fan and place it either on the front or the back of the cooler. You lock it into place with the included fan clips. I was actually able to get the fan on with my graphics card installed, but it would be much easier with your graphics card removed.


Could you clarify what you meant with the thermal paste? I’m not sure I understand what the issue is with the debris. I’m interested in this cooling solution as it’s affordable and would probably be a great improvement over the stock i7 fan/heatsink.
Yeah its just a thing you need to be careful with, since I install a lot of CPU coolers I prefer them to come with separate thermal paste so I can apply it myself.
Any advice when you apply thermal paste yourself so that you know you applied not too little, not too much? I’ve applied it on probably 2 previous builds years ago and don’t remember having an issue with overheating CPU and whatnot, but having not done it in a while and taking extra care with my newer build, I wouldn’t mind having extra advice on that.
I was thinking of removing the thermal that comes with the cooler and applying my own instead… Not sure if that’s a better way to go.
The best way to do it would be to apply a circle in the center of your processor, then install your CPU cooler.
Thanks.