MX Board 3.0 Overview
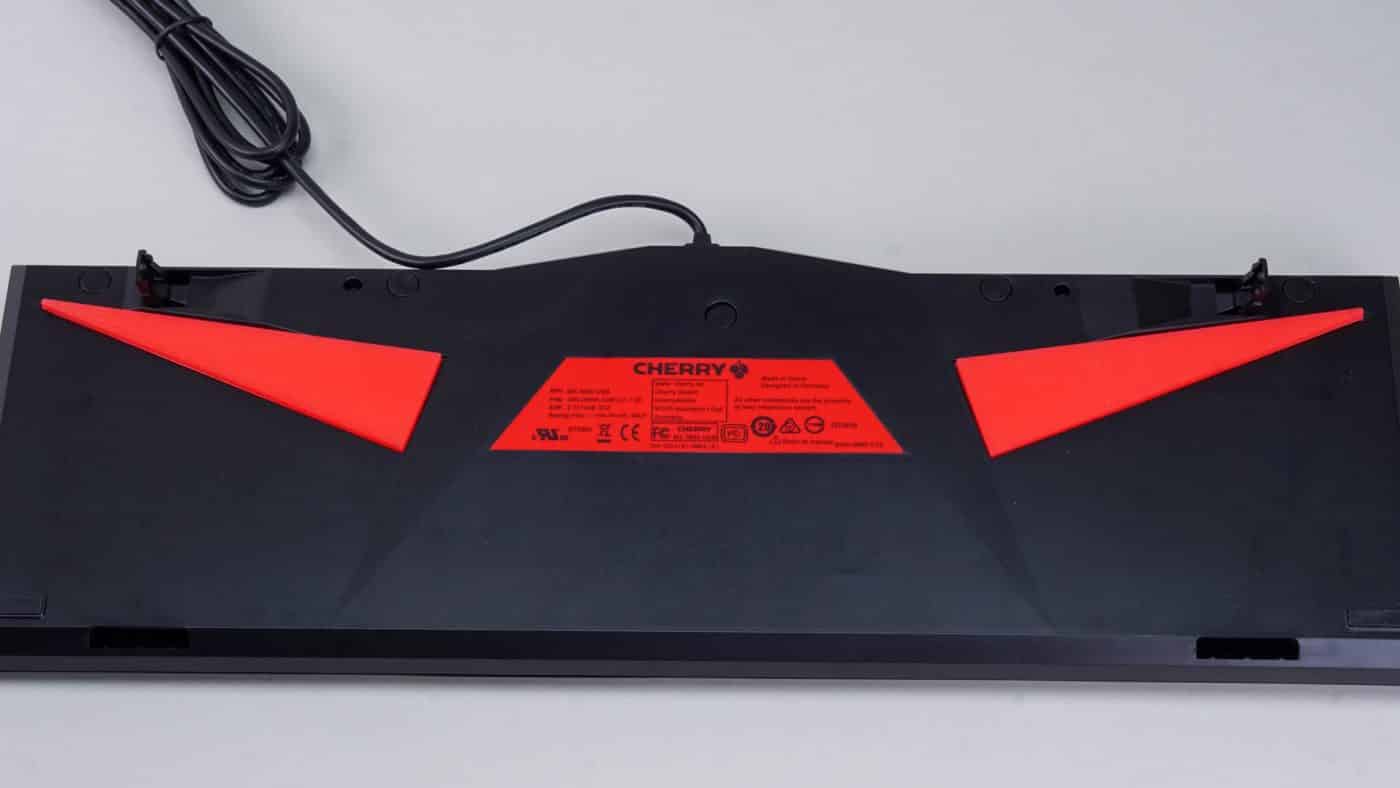
Inside the box you’ll find a couple of helpful items. Of course you get a manual which you really shouldn’t need. Then you get two triangular rubber strips that have double sided 3M tape intended to be applied to the base of the board. Finally a couple of rubber feet for the ends of legs. For a pretty basic board these essentials are all you should really need.
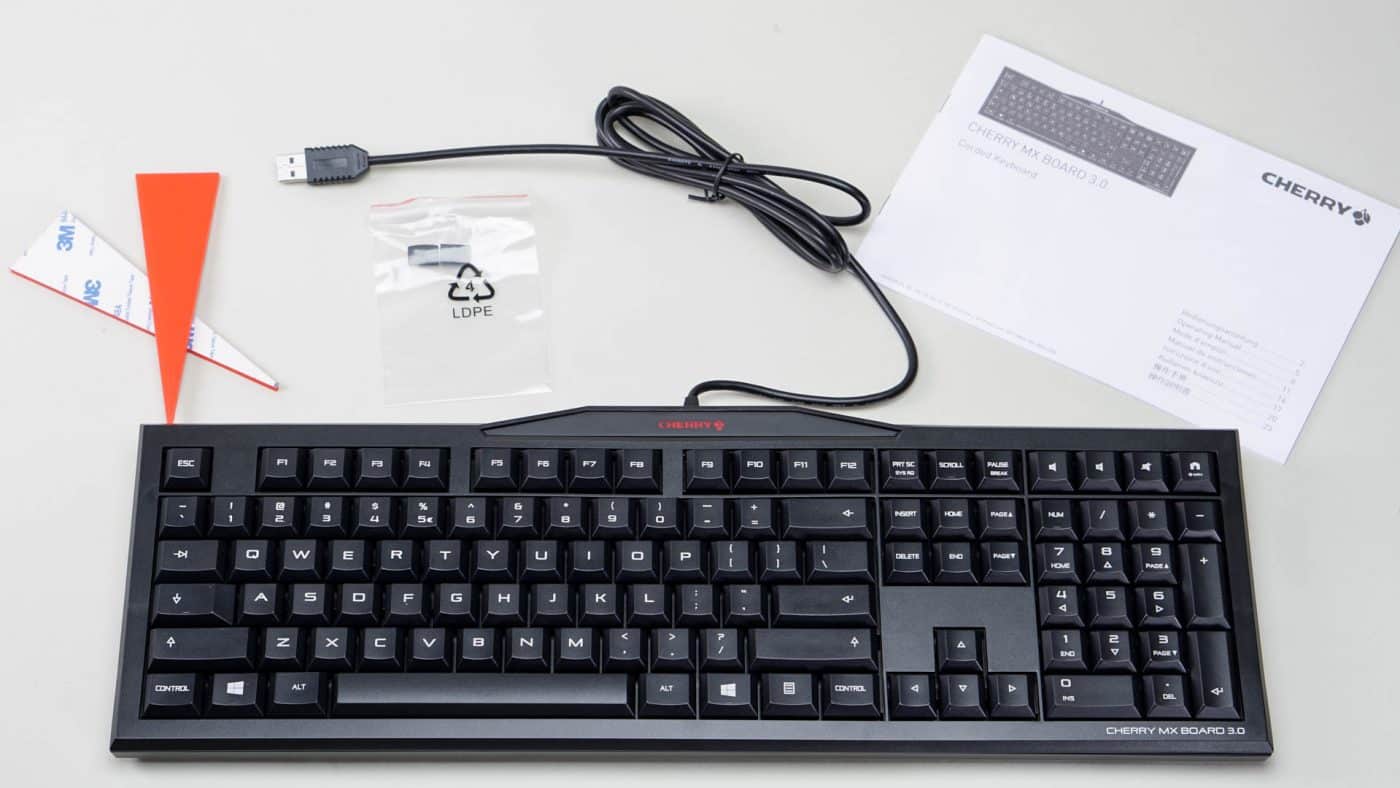
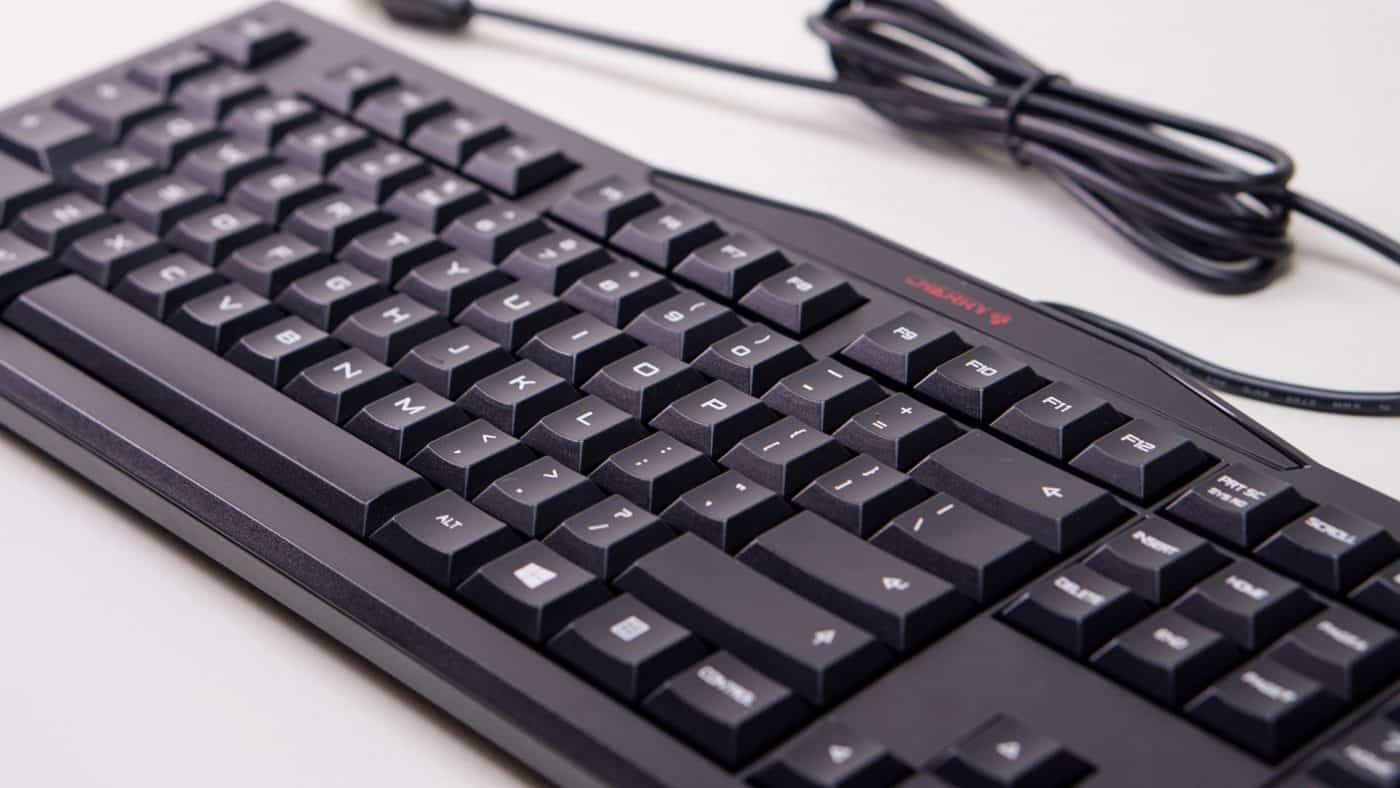
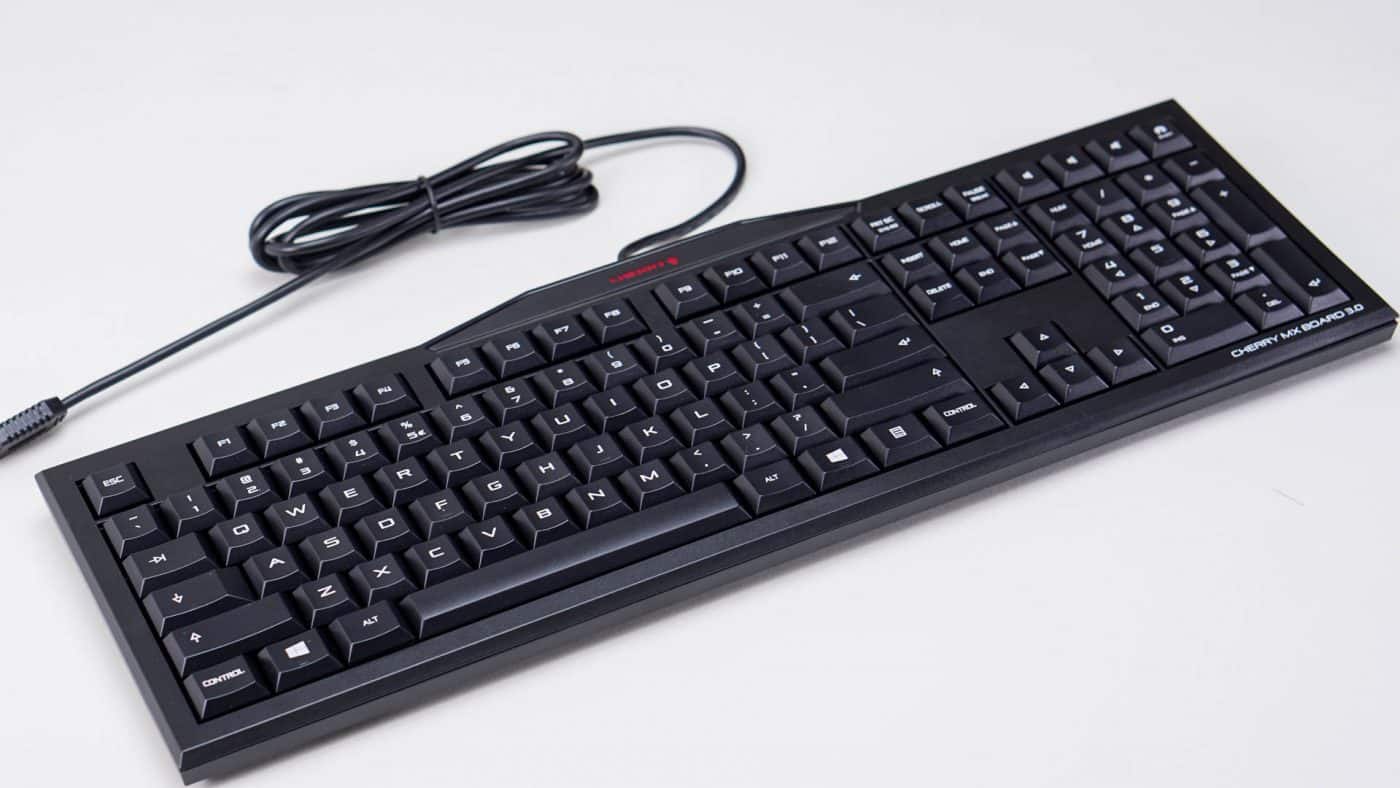
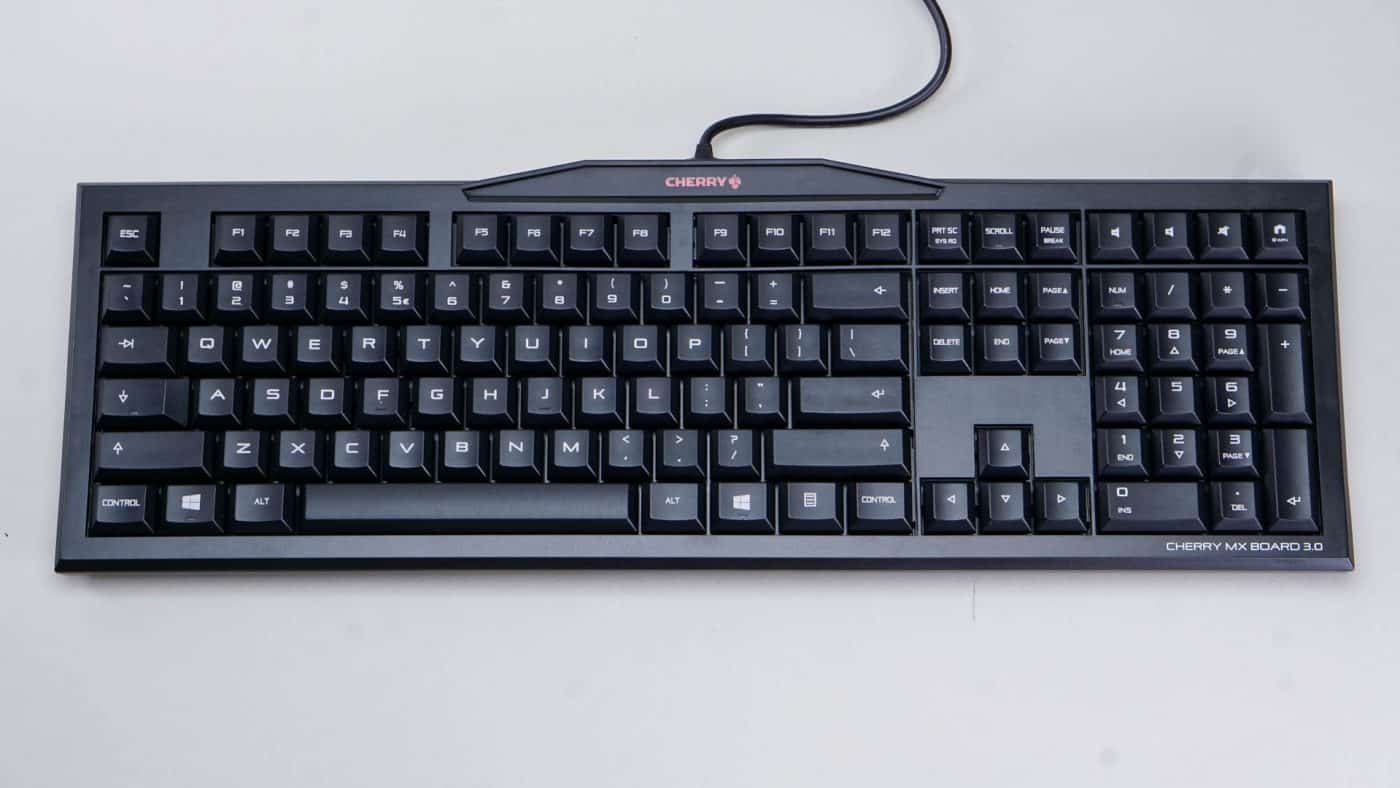
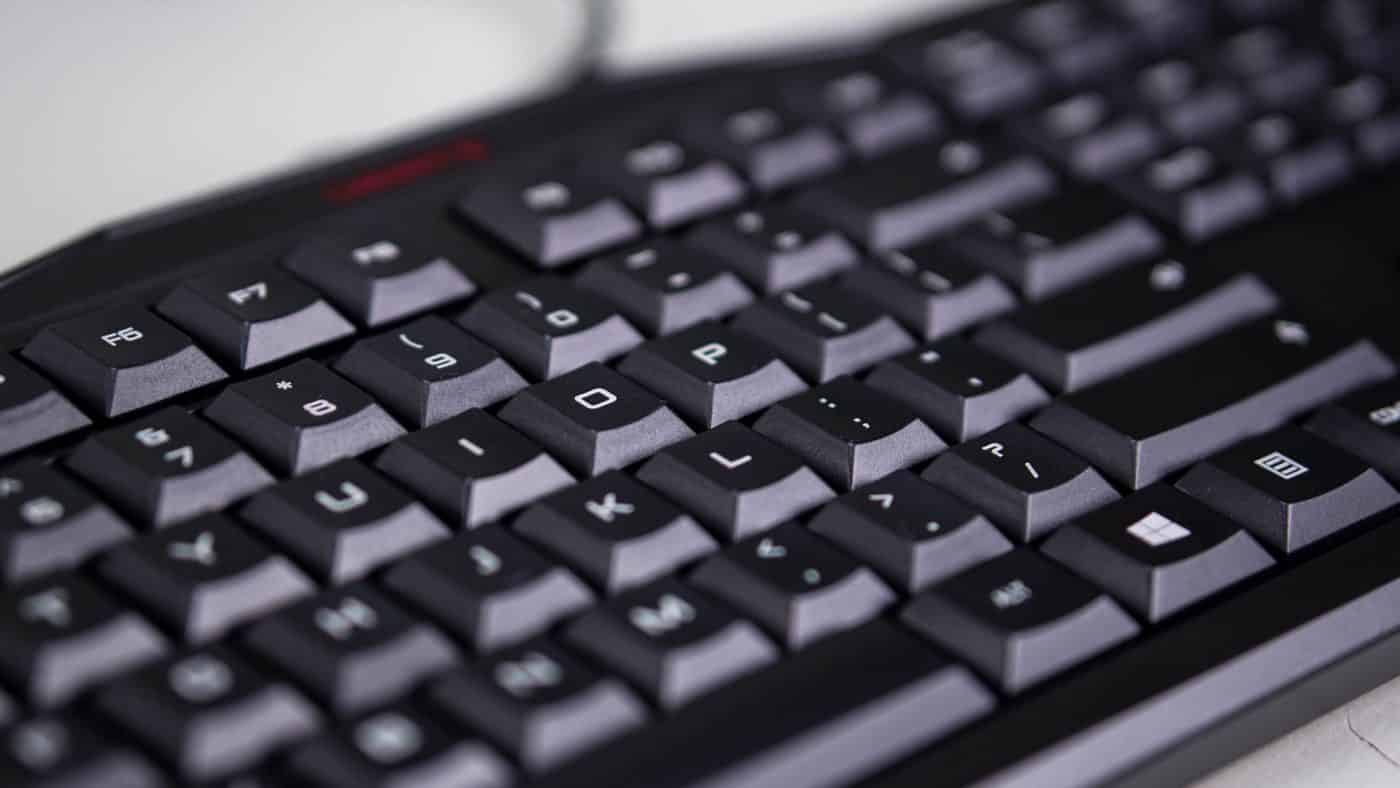
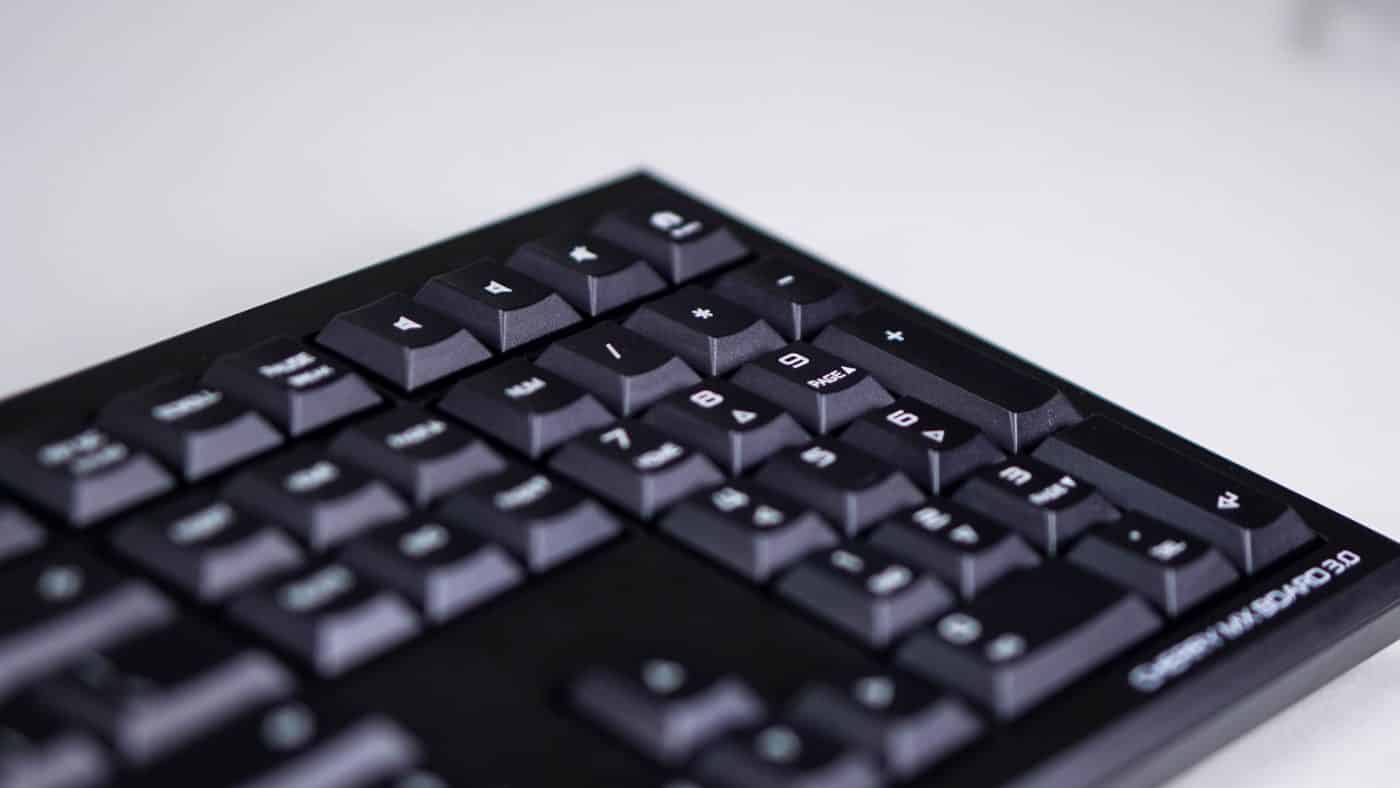
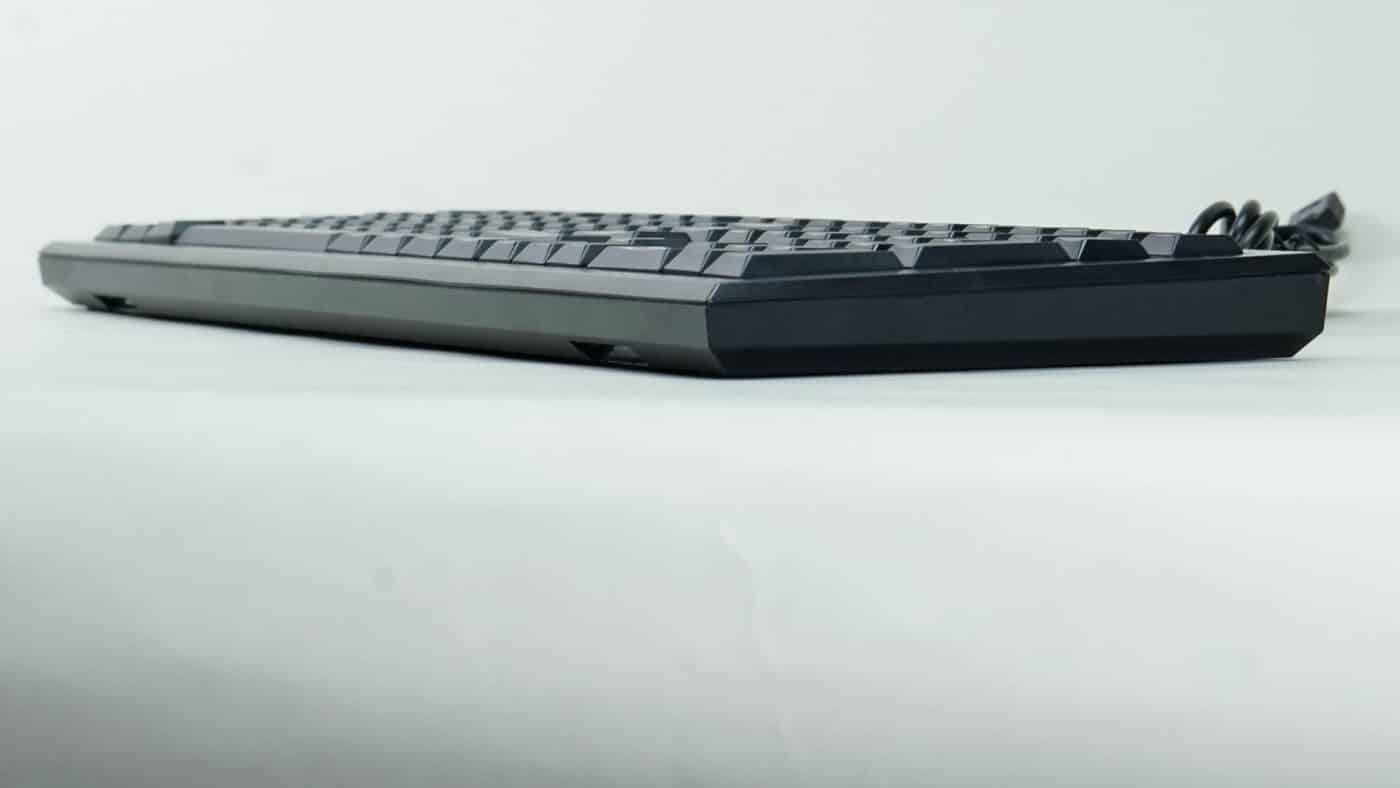
The board itself is 17.5 inches by 6 inches at its widest point at the top of the middle where you’ll find a backlit red Cherry logo. These dimensions don’t make the board small, but it certainly doesn’t waste space anywhere. For instance the gap between the function keys and the top row is very narrow and that spacing is maintained across the whole board. In addition to the full QWERTY board you will find F1-F12 and a full numpad on the right. On top of that you’ll find dedicated volume keys at the top right and a web page launch key as well.

They board is done in a semi grippy textured plastic that has great finger tip feel. It also helps to break up the flat black color scheme. While this is no RGB board there are red LEDs at the top for the logo as well as in the NUM key and both Windows keys. Key lettering is painted on in white on the top of the shallow dished keys.


In addition to the smaller footprint, the height of the MX Board 3.0 is low too. With the legs retracted the top of the board is nearly level. Combine that height with the shape and throw of the MX Brown switches and you will find that it this board has a typing feel very similar to that of a laptop.
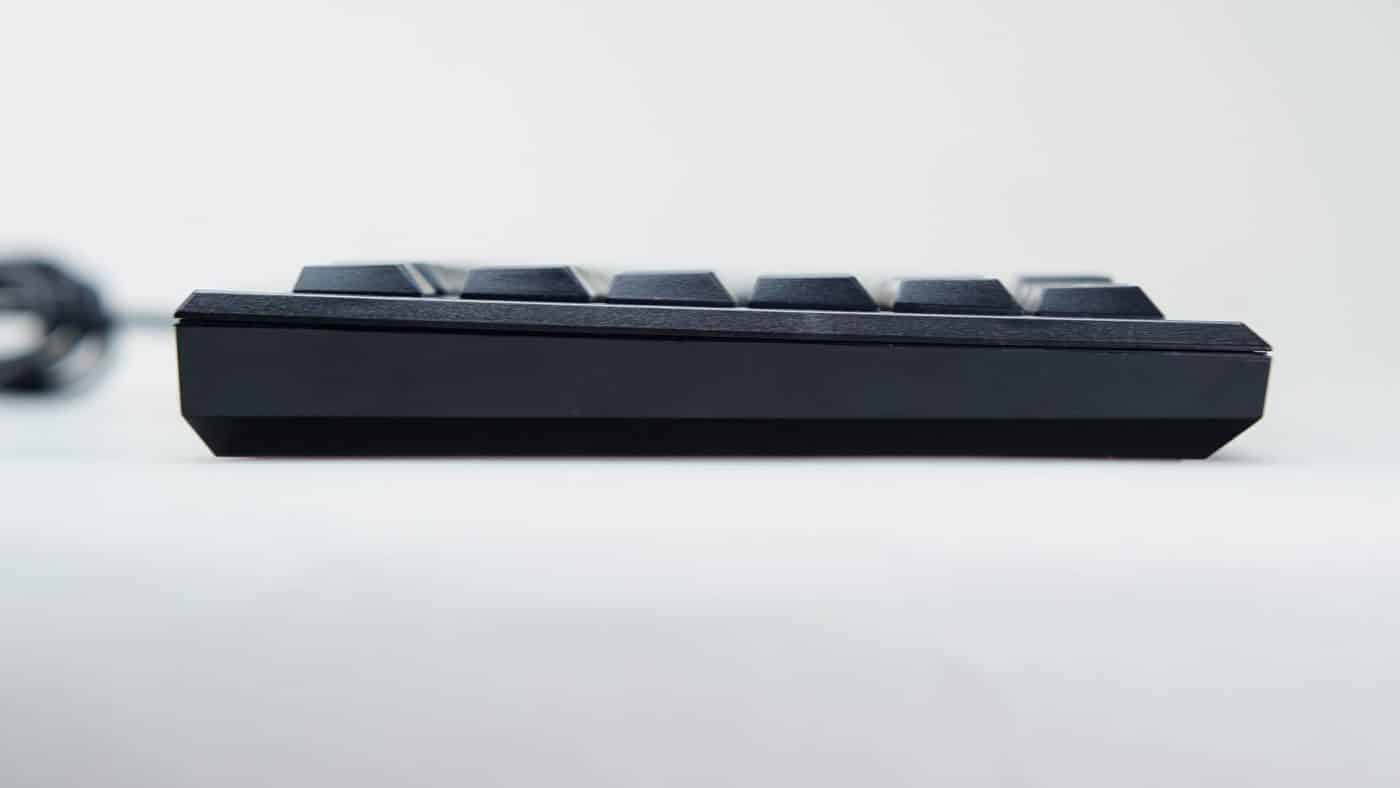
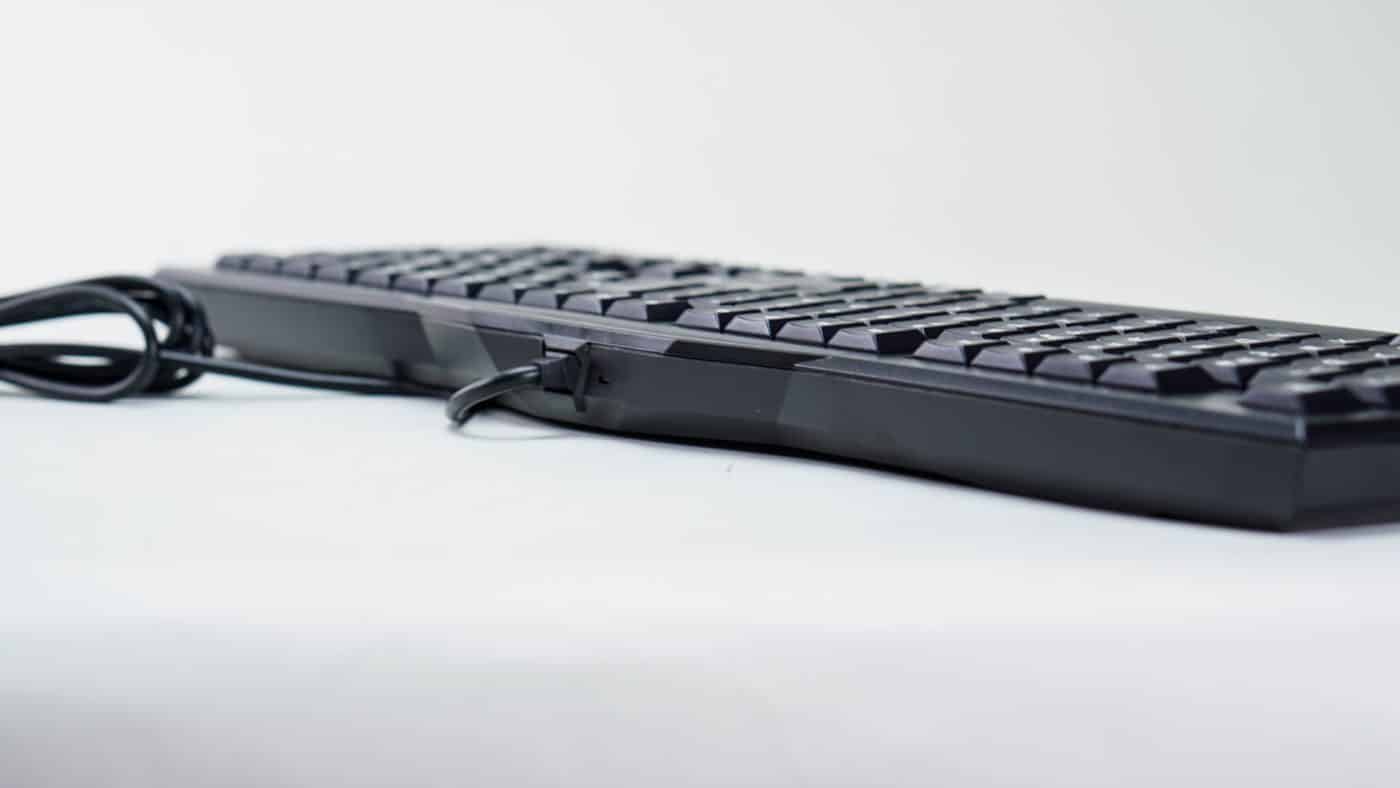
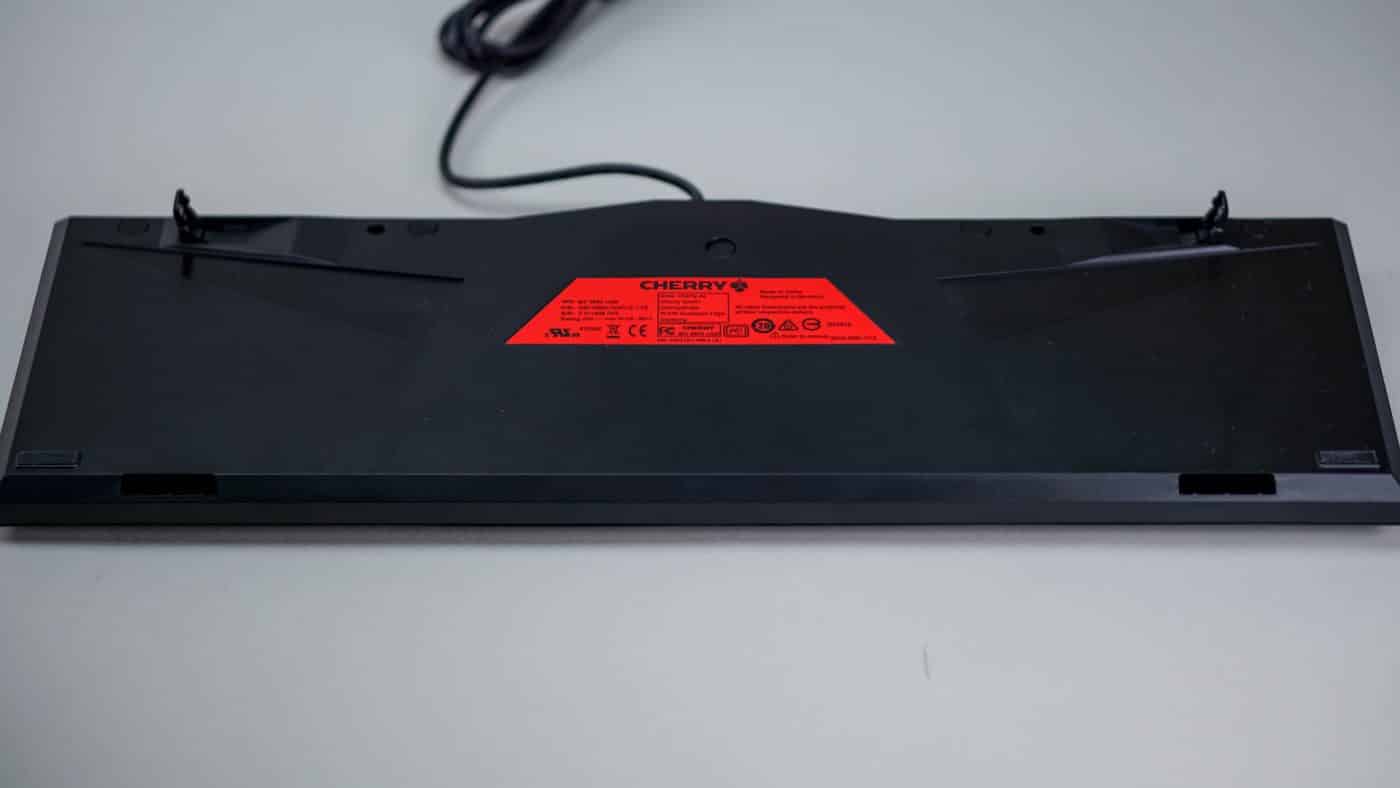
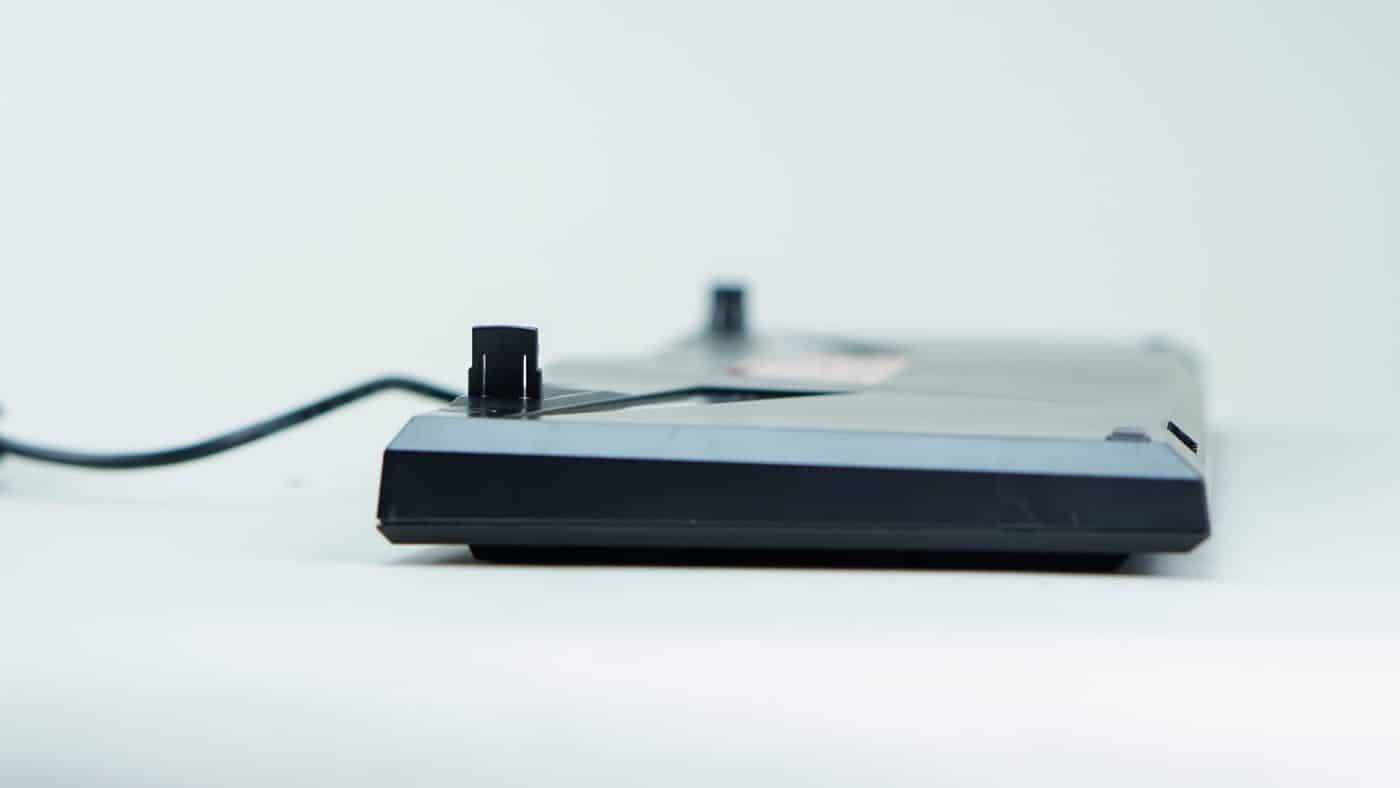
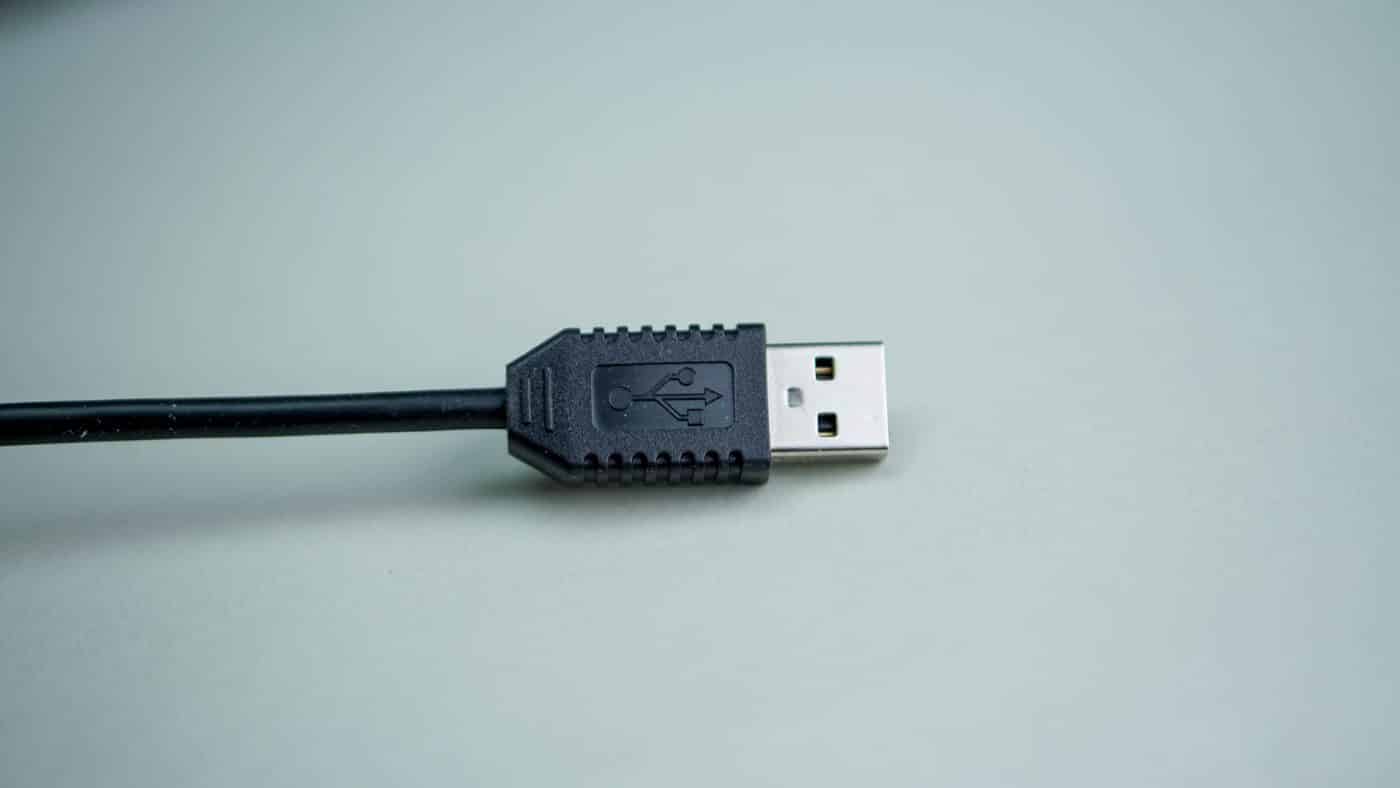
We installed the red grip pads (just peel the backing and stick) and the already solid board is anchored firmly to your desktop. For those that prefer a little vertical angle to their typing surface the short legs prop the end up half an inch. Add the rubber feet for more grip if needed. Connectivity is made through a standard USB connector. No gold plating or sleeved cable here.


I like the simplicity. Now tell them to make a tenkeyless version and offer the Cherry MX Silent switches. Don’t want annoying loud clicks.
The browns in this board are actually nearly as quiet as the MX Silent reds. Definitely worth checking out.