Software
Now you can plug the MM711 into any open USB port on your PC and it will be automatically recognized by Windows and you’ll be able to use it, but if you want to do any customization you’ll have to download Cooler Master’s MasterPlus software. It is interesting that they have “Cooler Master Portal” for their keyboards, but “MasterPlus” for their other devices. I am not a huge fan of having to run multiple applications for two different devices from the same company.
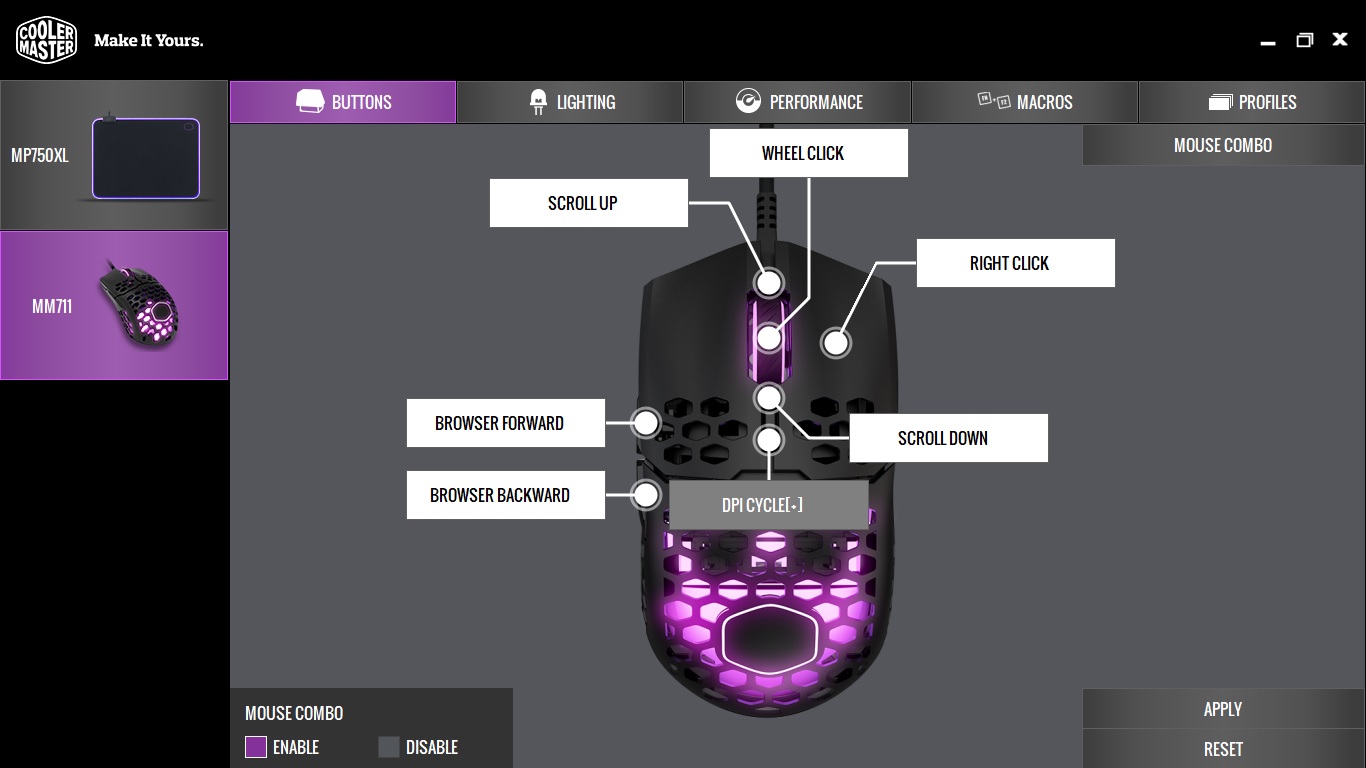
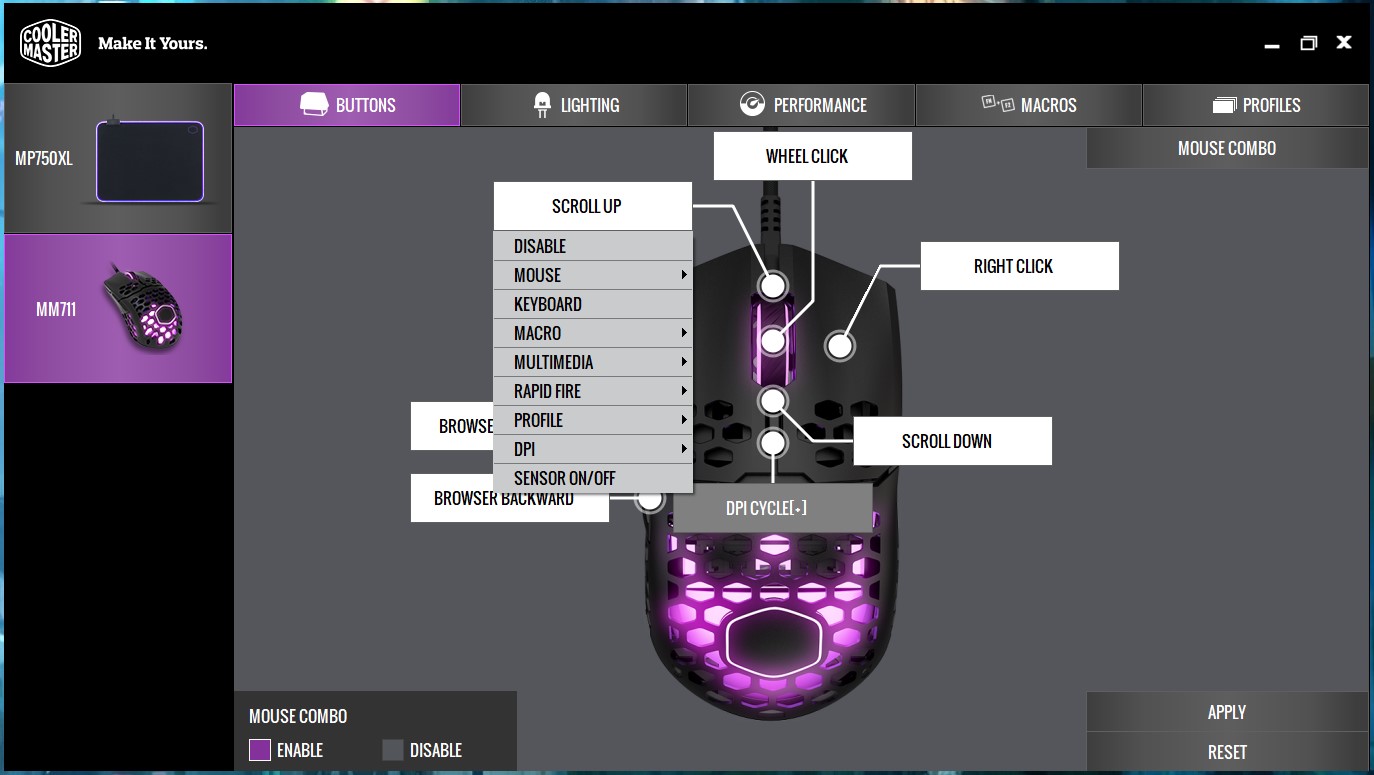
Opening the software up the first screen you’ll come to is the “Buttons” tab. Here you can program the six button on the mouse. You have the option to set each button to a mouse command, keyboard button, macro, multimedia control, Rapid-Fire, Profile, DPI level or cycle, and even turn the sensor on or off. Again missing from this is the ability to launch a program or run a Windows command. We mentioned this multiple times when reviewing their keyboards.
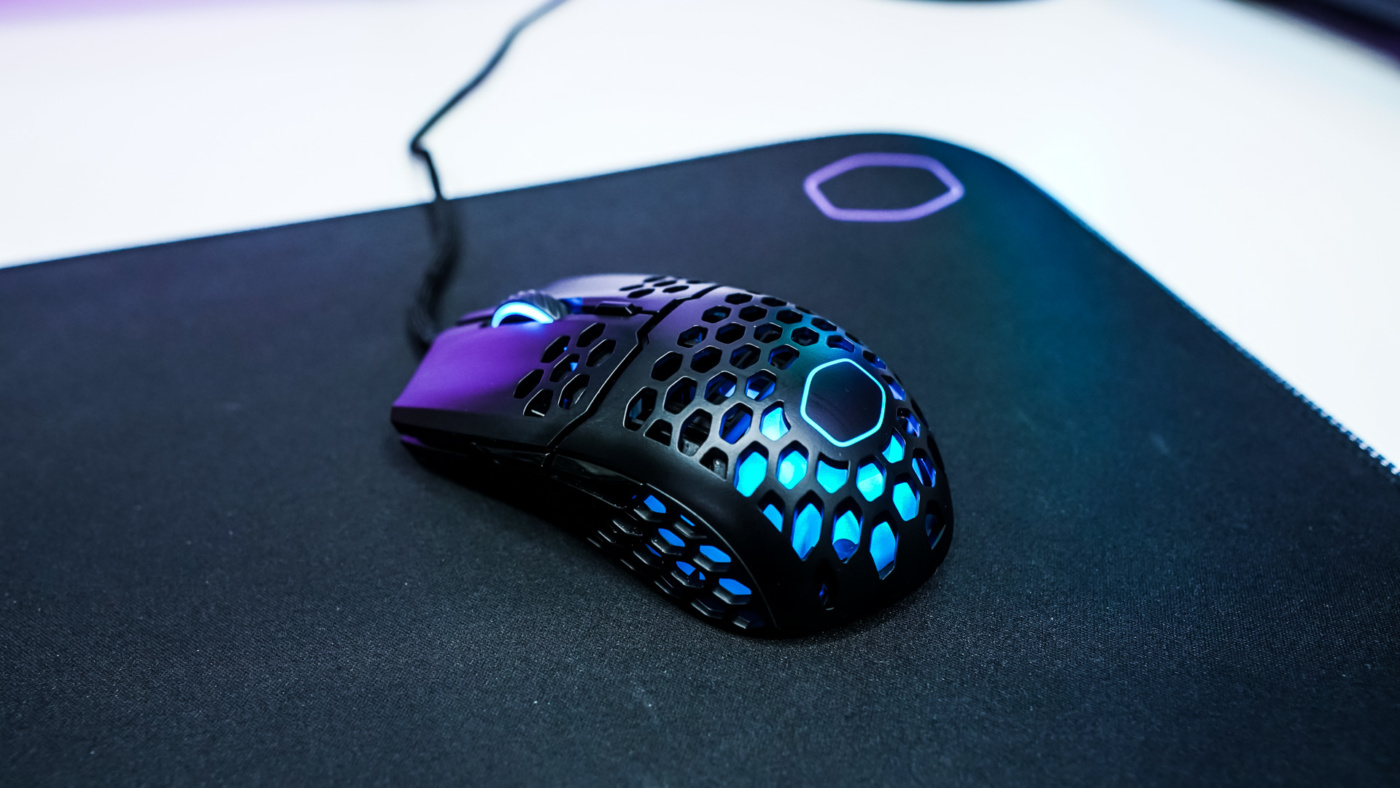
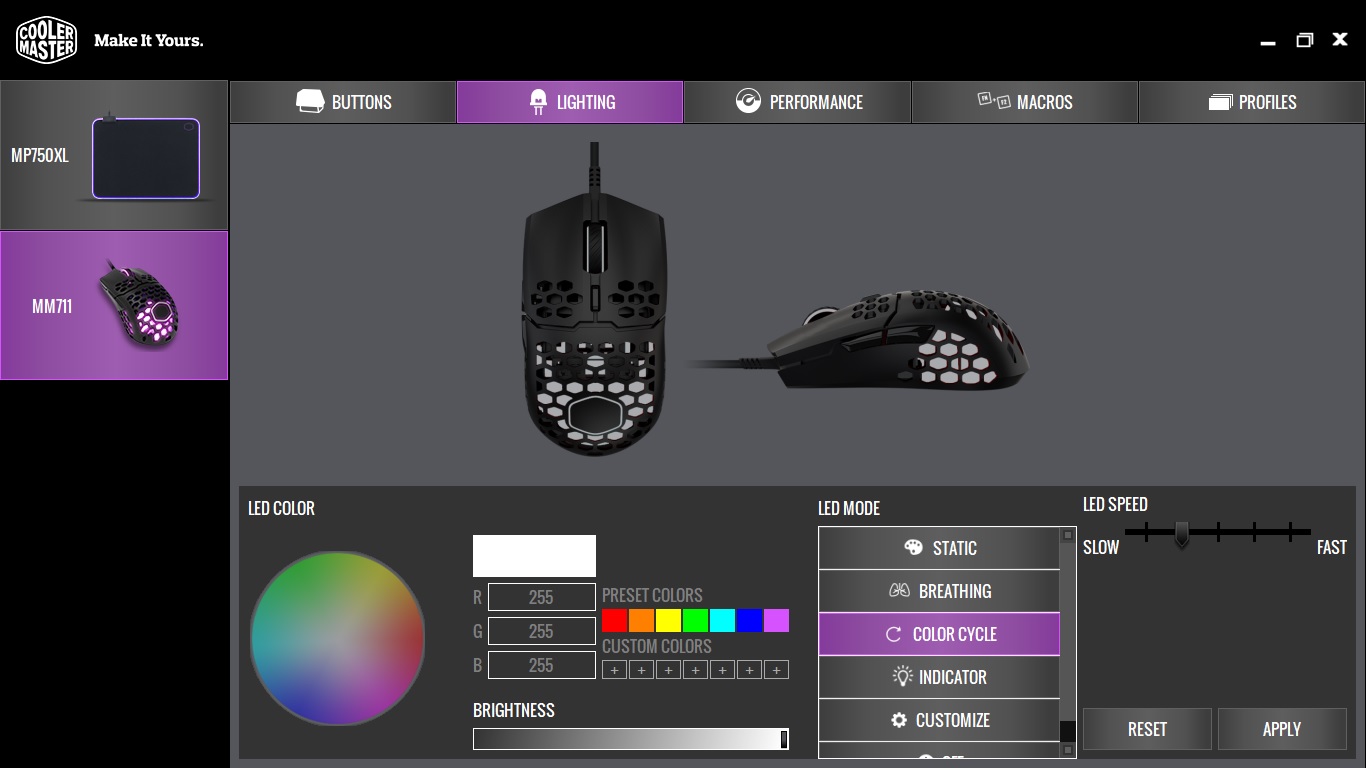
Since we have RGB lighting on this mouse the next tab is “Lighting”. Here you can customize the lighting on the mouse and set different effects. While you have lighting on both the scroll wheel and palm rest there are no “zones” in the software so all of the lighting on the mouse will have the same effect.
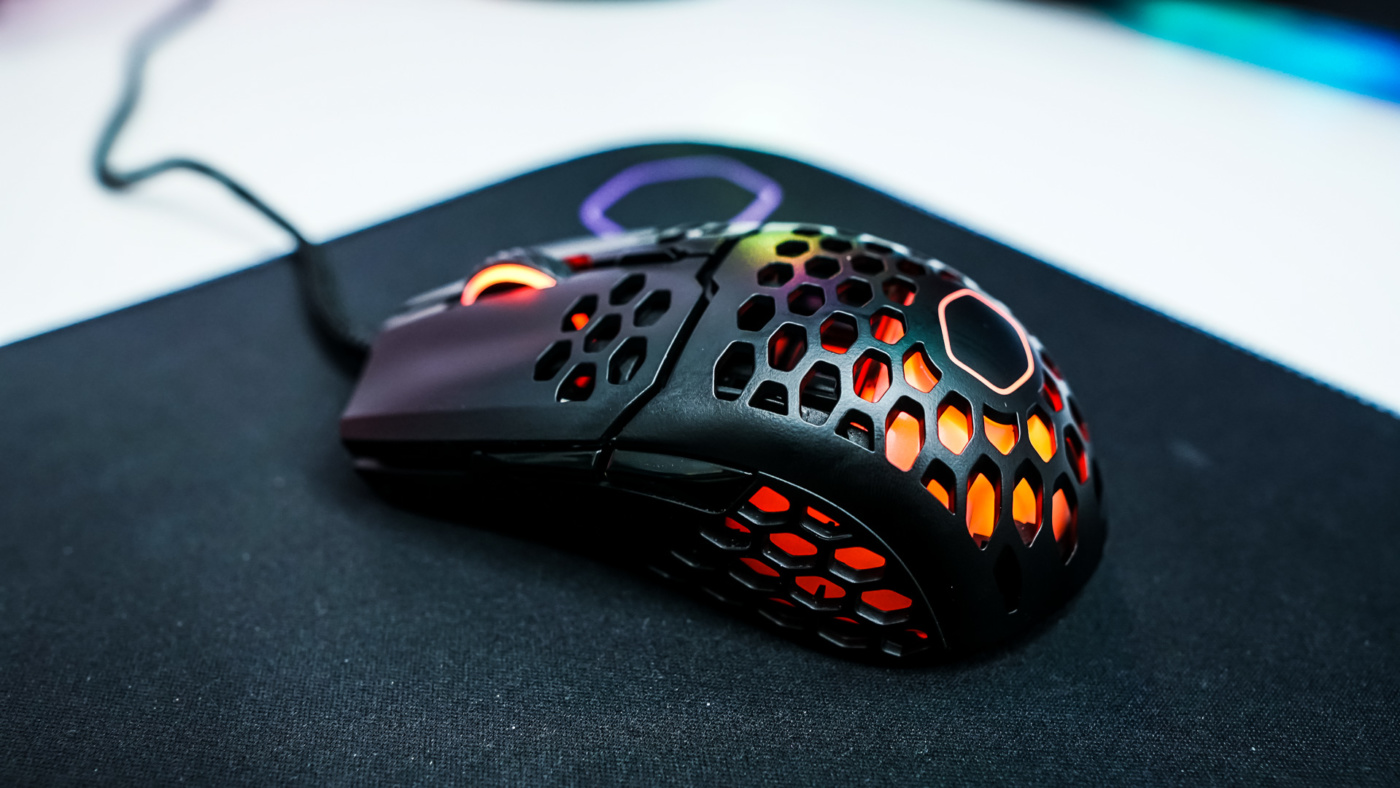
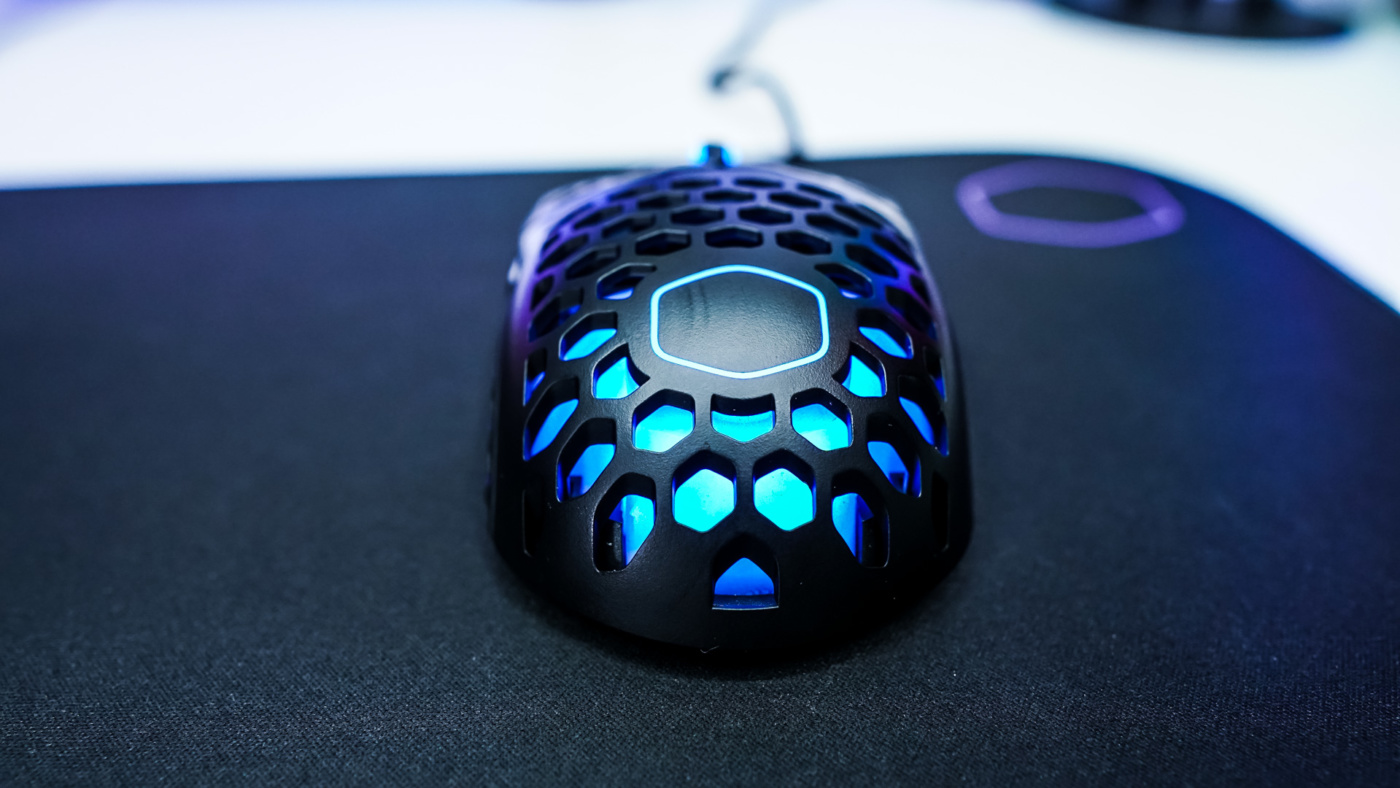
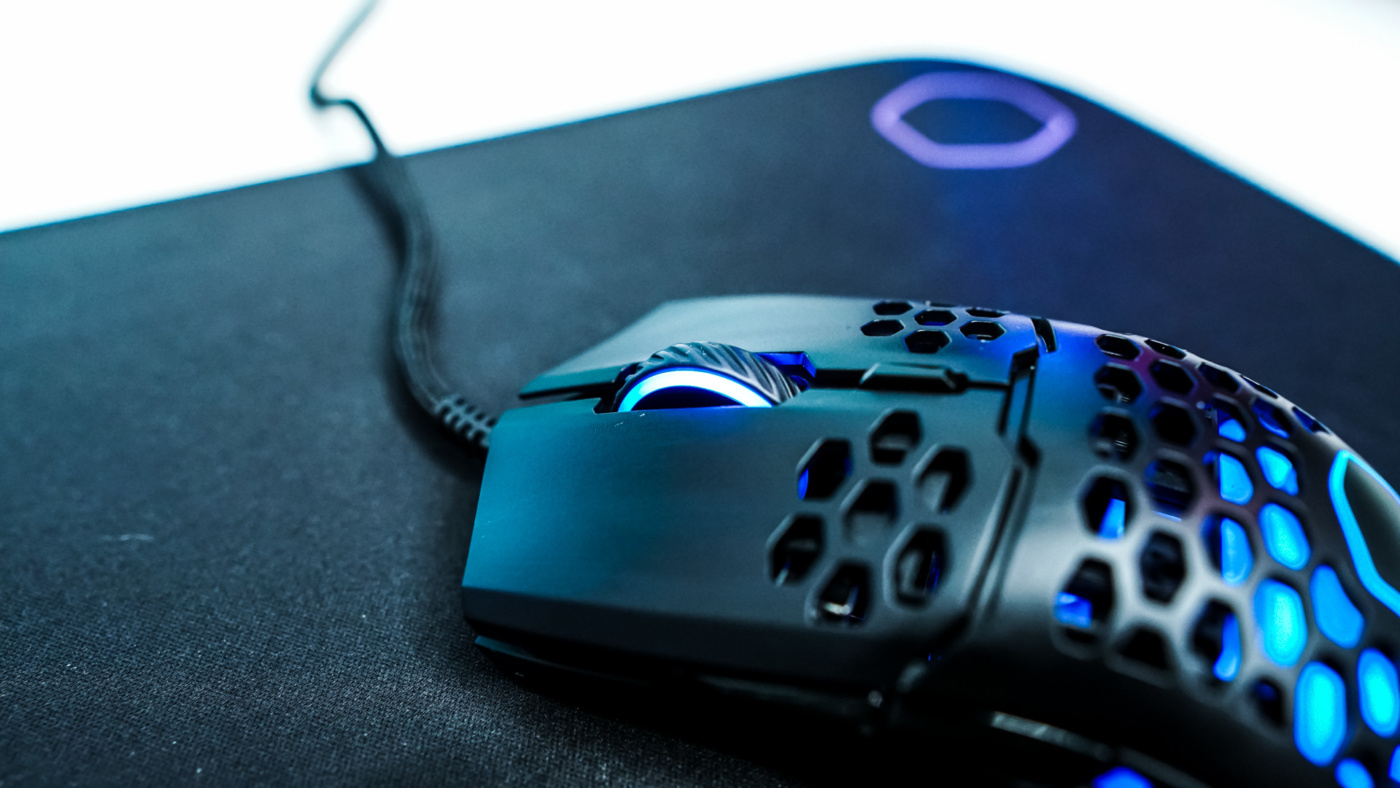
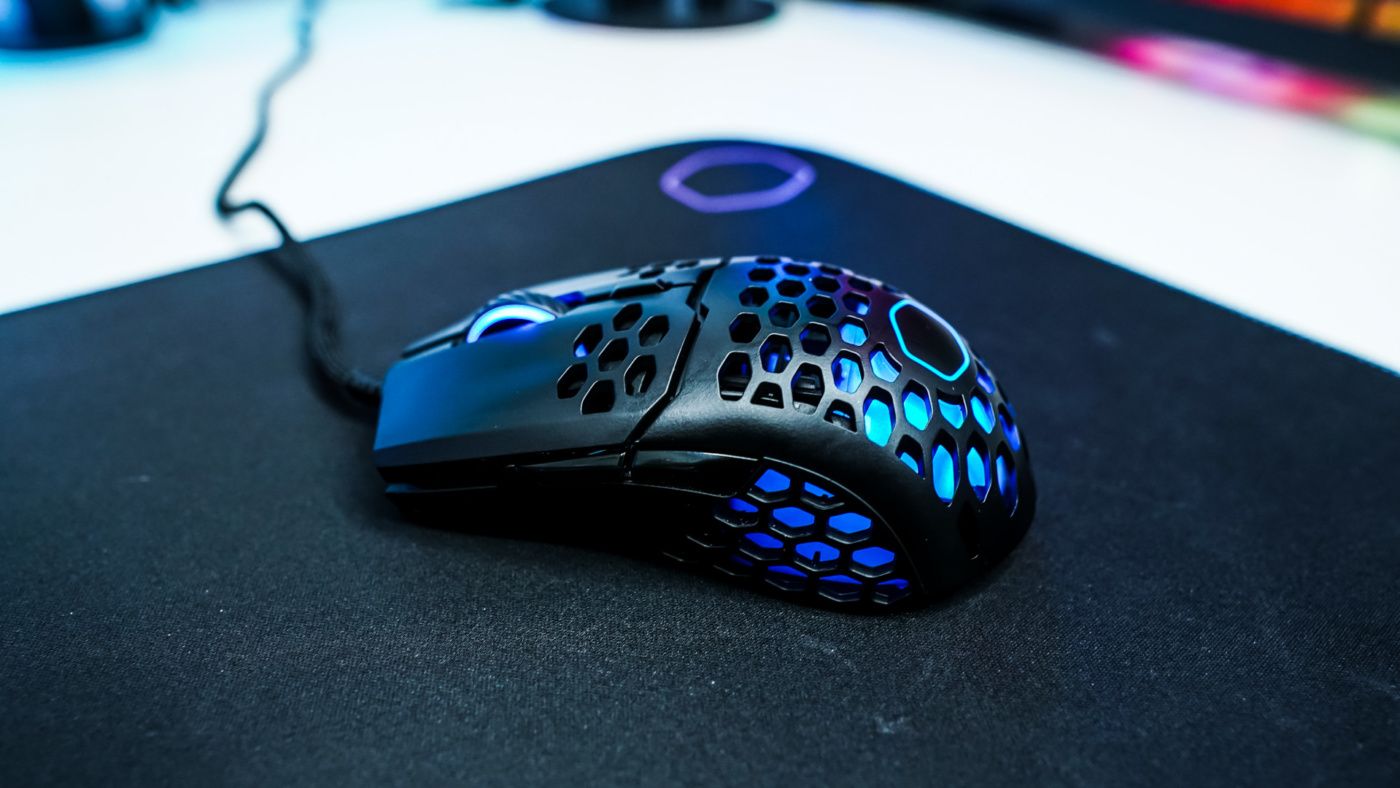
The RGB lighting on the mouse was definitely needed and it looks great sitting on our desk.
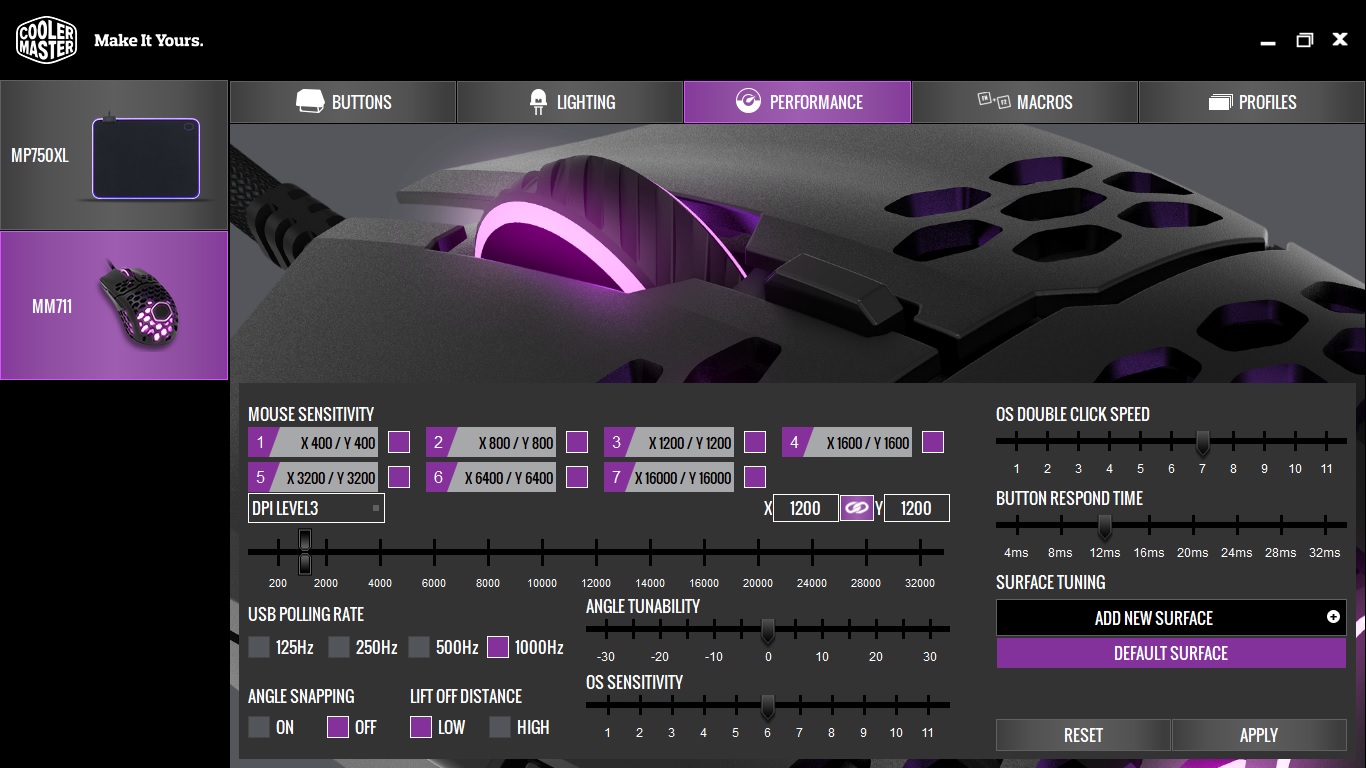
The next tab is “Performance”. Here you can adjust the mouse sensitivity or DPI level in 100 DPI increments. There are seven set DPI levels, but you can adjust these to whatever you want them to be. Next you have polling rate, angle snapping, lift off distance, angle turnability, OS sensitivity, OS double click speed, and button respond time. There is also surface tuning, which is sort of like surface calibration. I would definitely suggest running this before you start gaming.
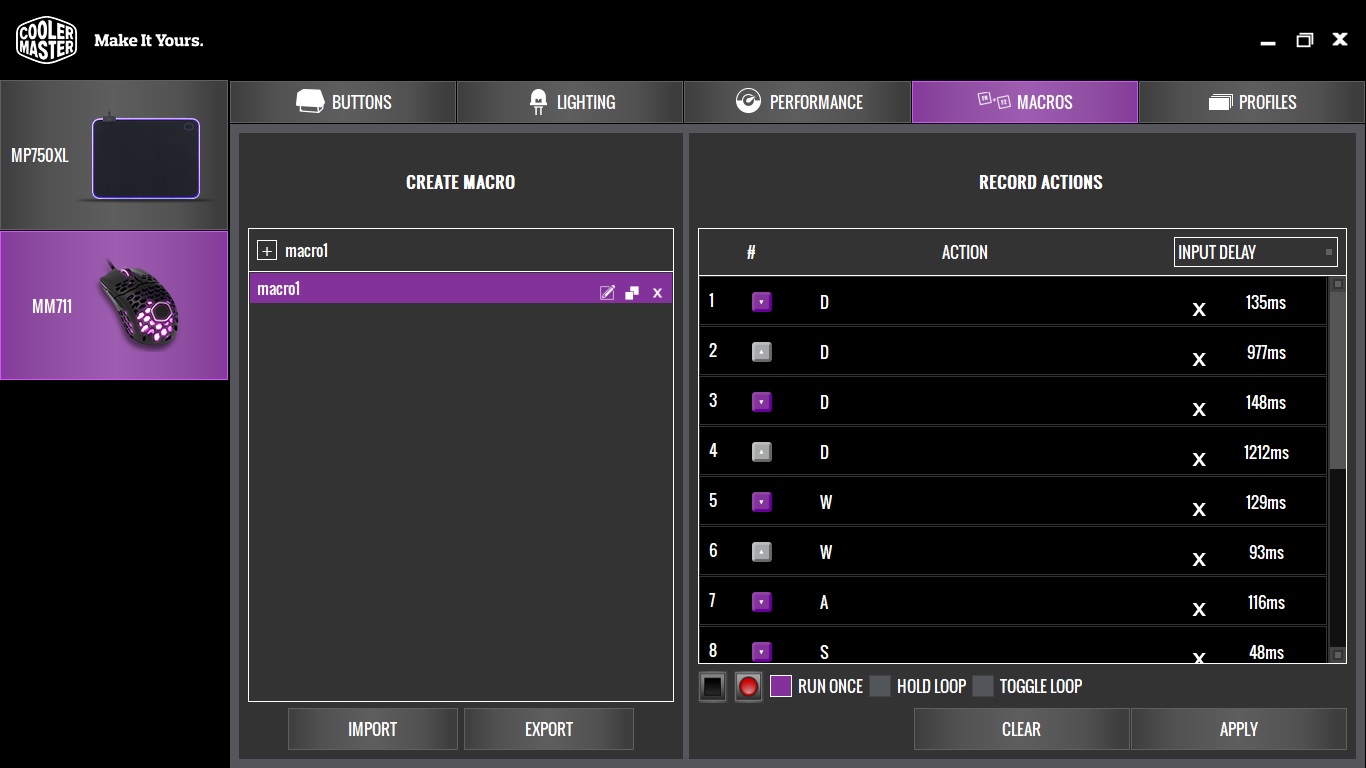
Of course there is a “Macro” tab. Here you can create and store macros. It is quite easy to create you own macro by entering the macro name and simply recording the macro.
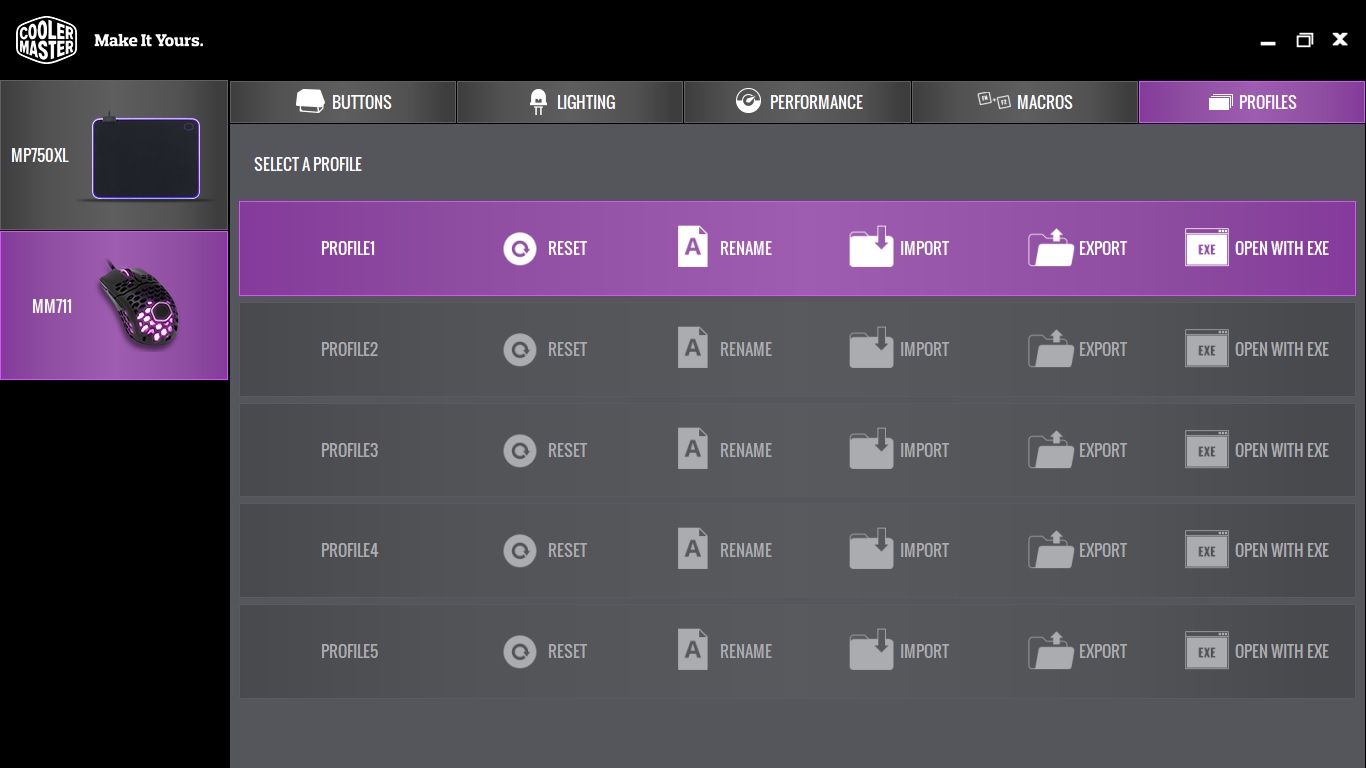
The final tab is “Profiles”. Here you can store up to five profiles, import or export profiles, and even have a certain profile turn on when you open a program.