
Inside the Corsair Carbide 100R
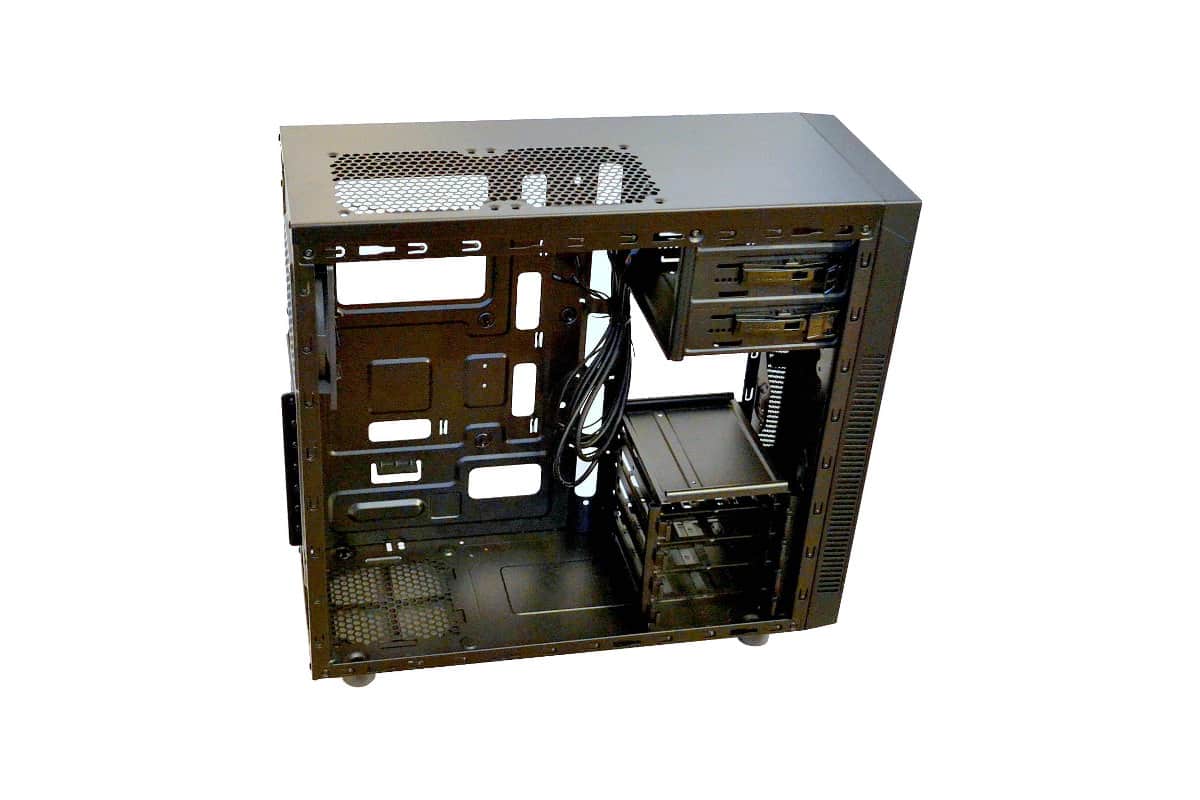
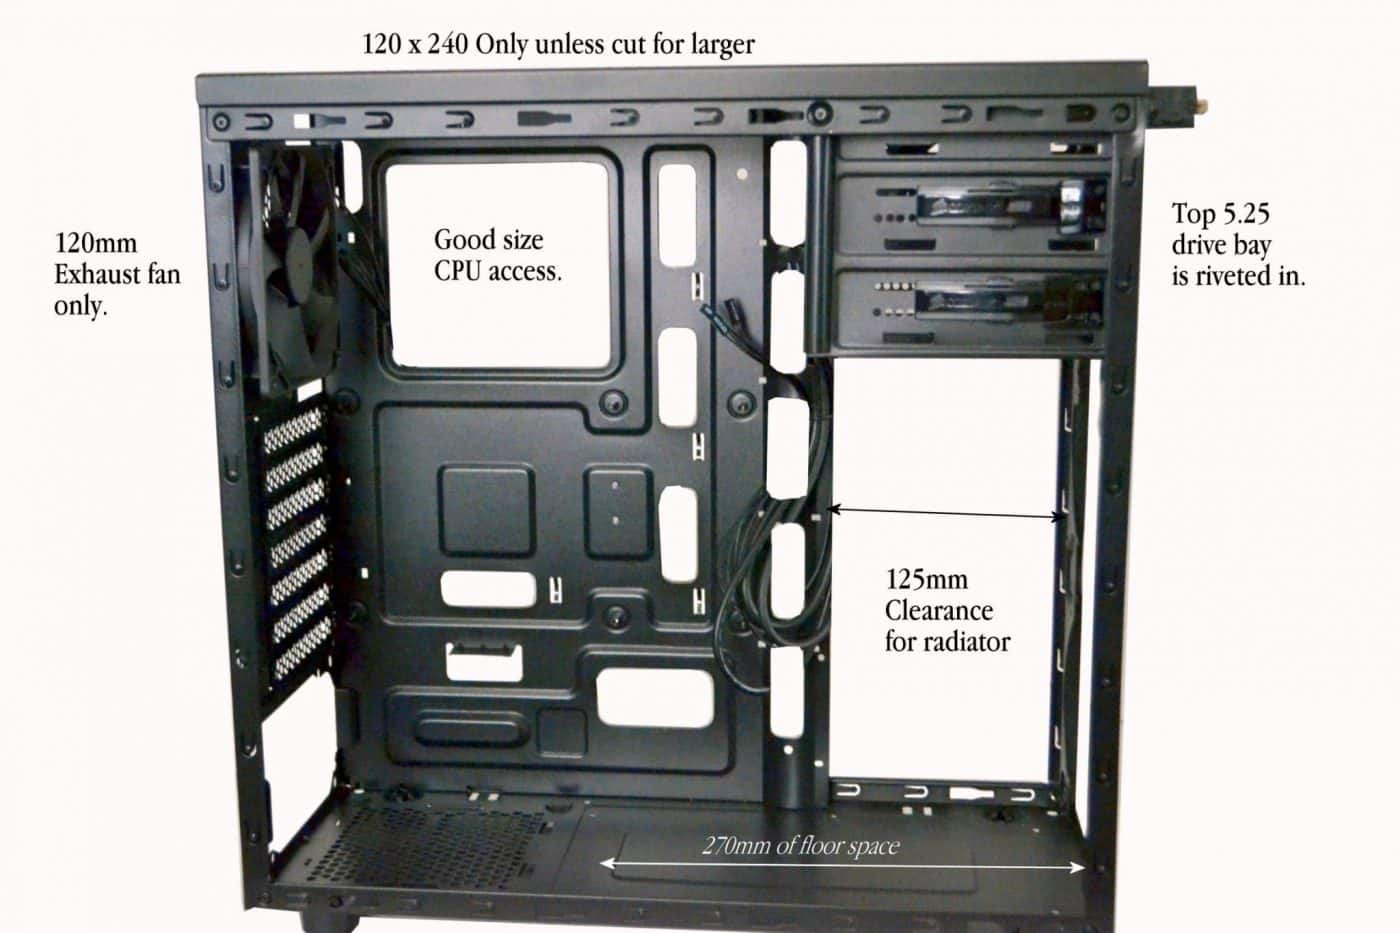
A look at the Chassis naked shows the design elements of the case. I will tell you that it’s not a perfectly built case. The motherboard CPU Access hole is made for the smaller motherboards and so if you plan on using it with an regular ATX motherboard, like I did, you will want to do some cutting and drilling before you start building. I go over that in a the build segment of this review.
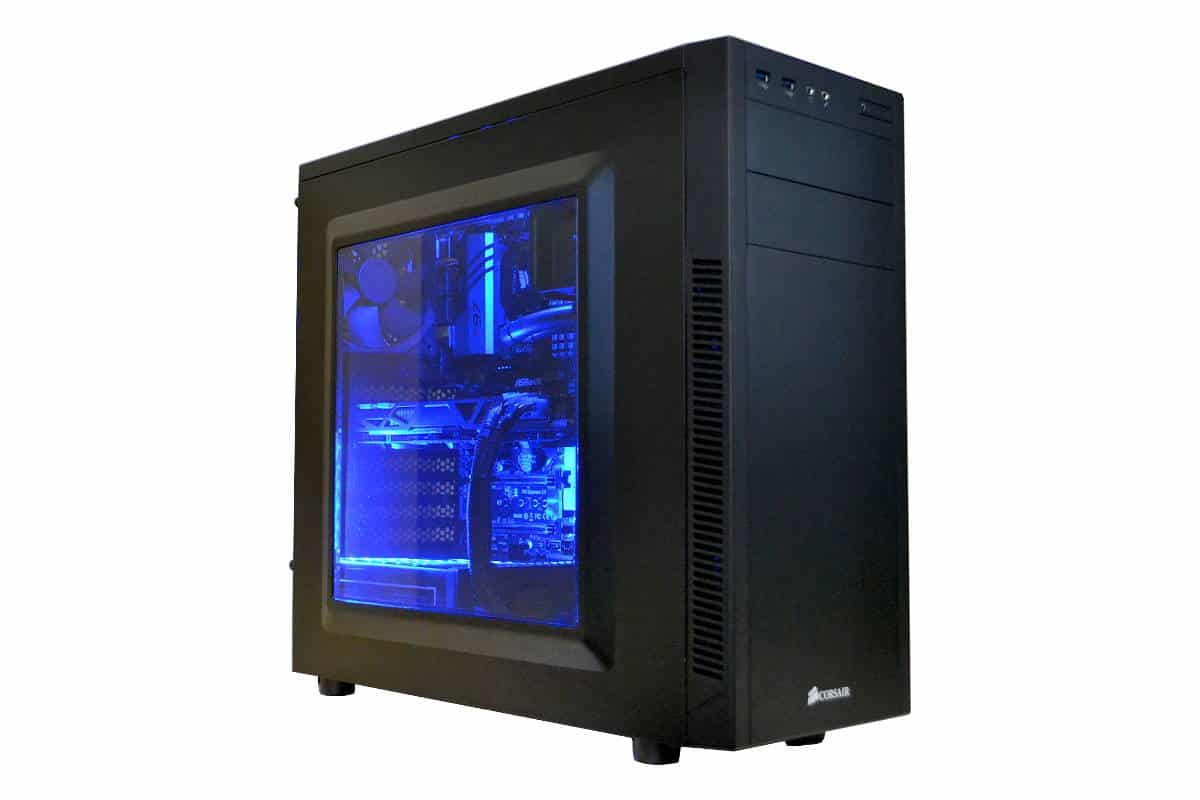
For the Corsair Carbide 100R budget case the quality is not at all bad. Like I said before, it is made of lightweight thin gauge steel than usual but it is not a weak case. Its light and airy. The front, top and the back have ventilation for heat to escape and it will house a nice set of parts with not many obstacles. The paint is done to perfection and the screw holes were properly threaded and placed.
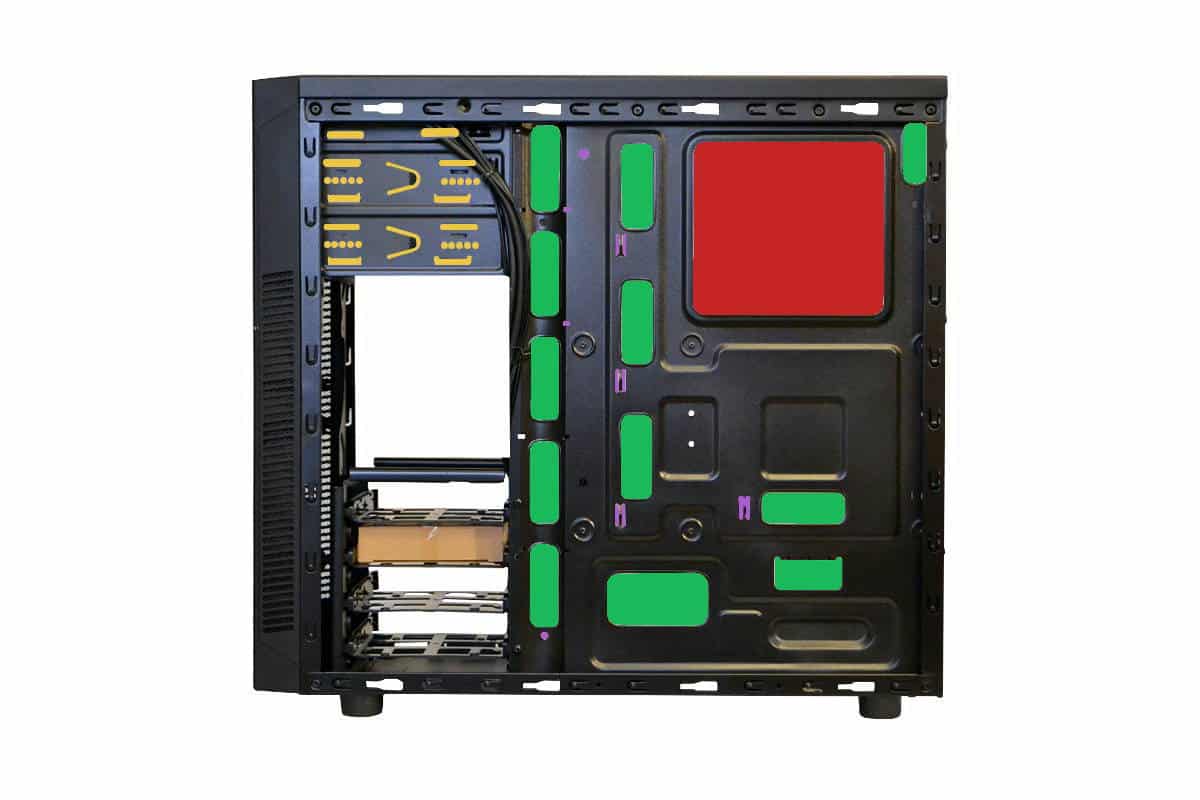
Here lies some of the problems. If you don’t use a power supply that utilizes the flat ribbon type cables then you may run into problems with the top back CPU power. The hole is right next to the back motherboard mount so I didn’t screw down the board there because I don’t want a short. Cutting another hole at the top is recommended by this reviewer before installation of any parts to make up for this short fall.
I know I got crazy with the coloring but I wanted to make it easy for you to see the different cutouts available on this case. Also the part in Red is the CPU Access hole. It did not line up with my CPU mounting for my ASRock Z97 motherboard so I would cut that wider towards the middle too. Most of the wire ties in purple are in unusable areas so that is a minus too.
The white is the tab holes that hold the panel into place. This is a method that is old tried and true but really a pain unless you were born with an extra arm or two. laying it flat on the carpet and working it in place is about the best way to do this without getting too angry at it.
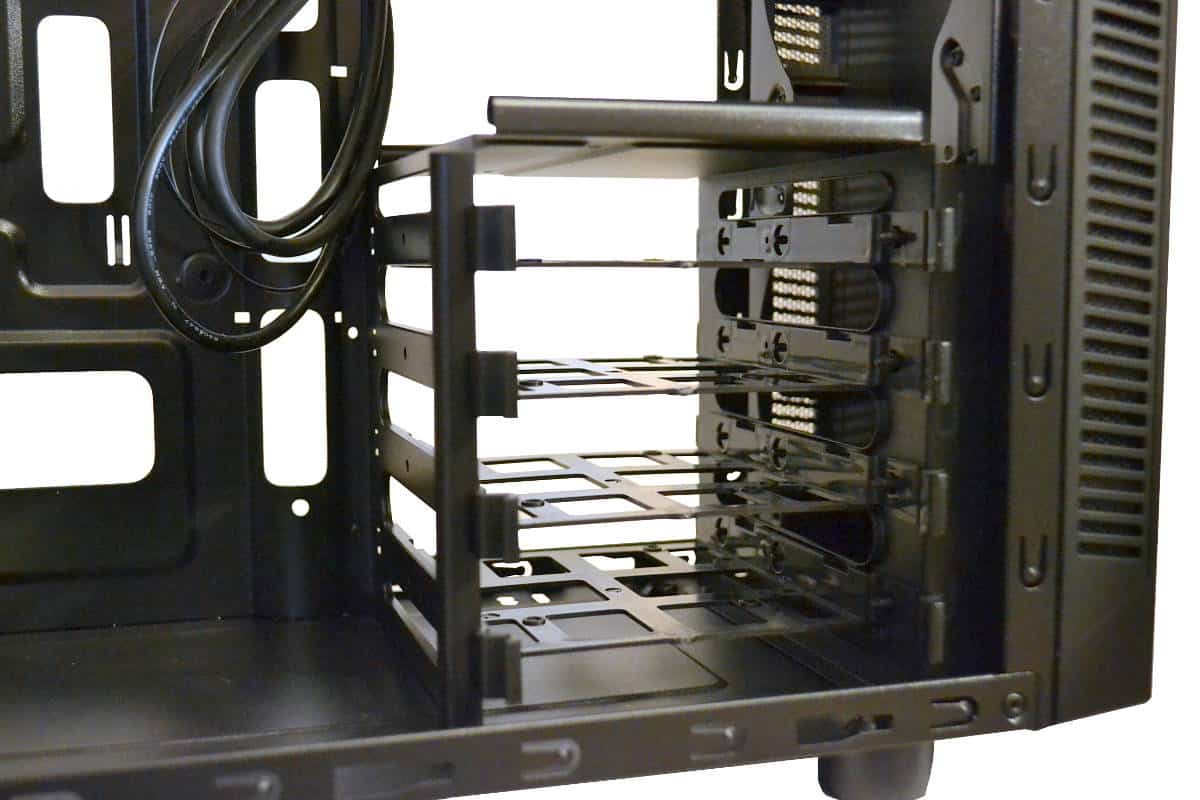
The drive bay is metal and the drive drawers are very small and very light weight plastic but it can hold 4 of your favorite drives in a row. The builder will have to remove this module bay from the case if they plan on using a 240X120 Radiator in the front. There are step by step instructions further on about how to remove it. The good part about this is the Fans are mounted outside of the case and the radiator is mounted inside so the sandwich of the two parts actually make the case stronger and quieter in the front.
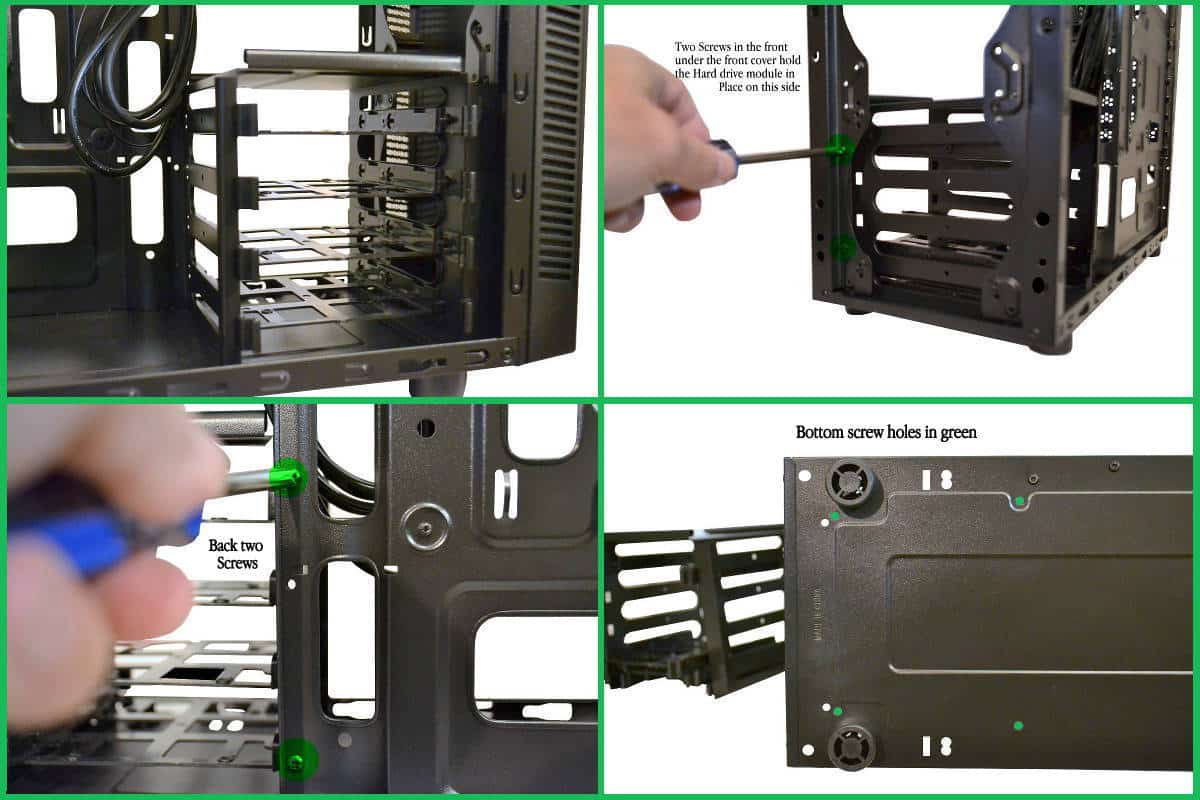
The procedure for removing the hard drive module is shown below. 2 in the front; 2 in the back; and four on the bottom and its ready to be laid to rest somewhere to rest in peace.
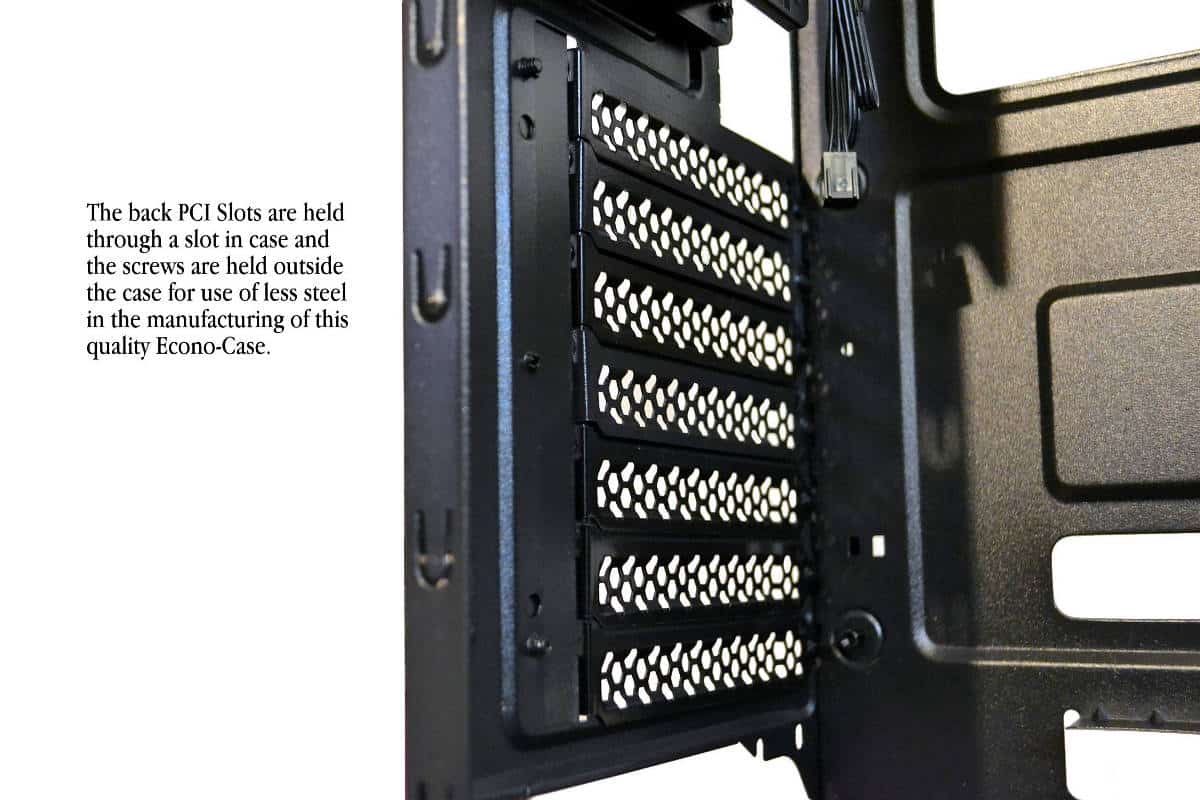
The rear PCI slots can be a real head scratcher. There is a cover that mounts over the PCI slot screws. That cover has to be removed the insert or remove a PCI card. The cover is not needed and can be eliminated but for extra security and that sticky fingered college roomie one could rivet fasten that cover into place to keep people from stealing you video card. Other than that its just a cover with two screws.
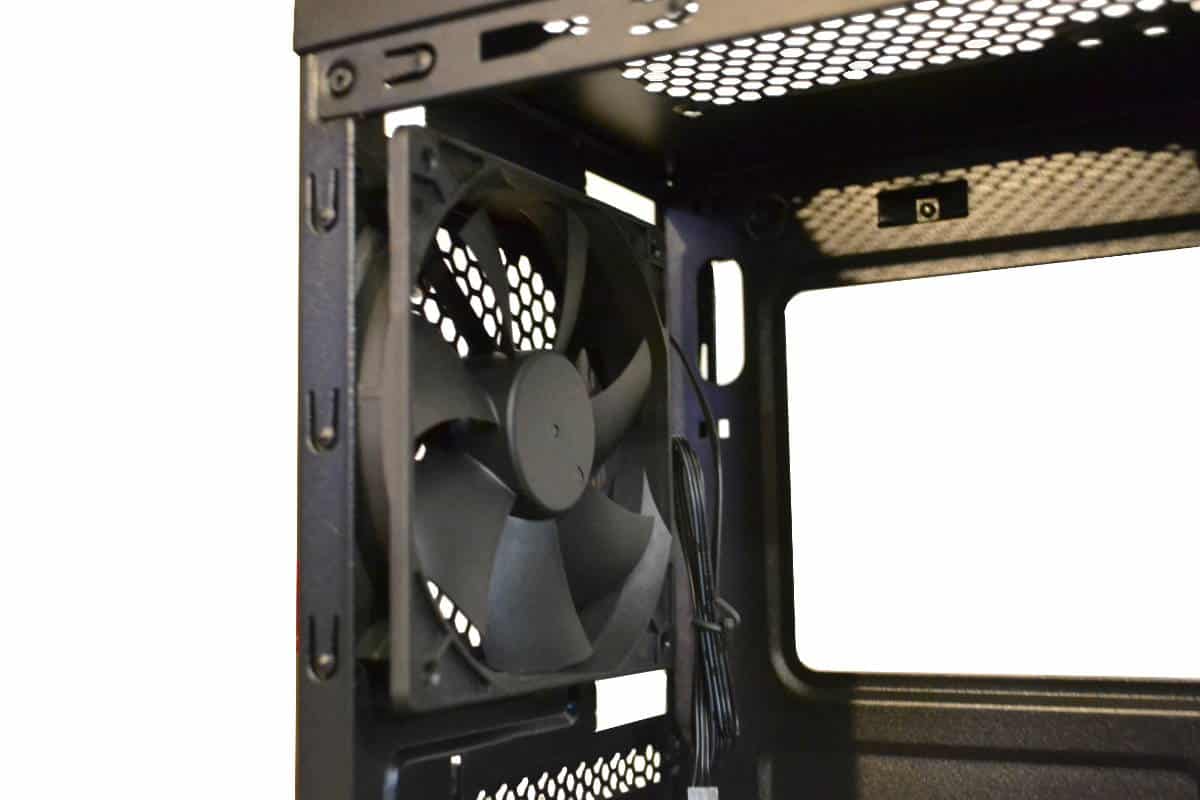
The prime noise maker in this whole system is this back fan. It’s not a particularly loud fan but its in a weak part of the case and it vibrates and makes some sound from the back but if you can rubber mount this fan then you will be good.
Here are some measurement that your friends are going to ask if you are on the forums. I did them my self for you to give you the measurements that guys usually ask like how fat of a Radiator can I put into this gap. or can I mount my SSDs on the floor?
Here you can see the single sided tool-less mount for the ODD Drive. I did not use this for an ODD but I used it for a drive expansion unit and put my two drives on top inside the 5.25
bay.
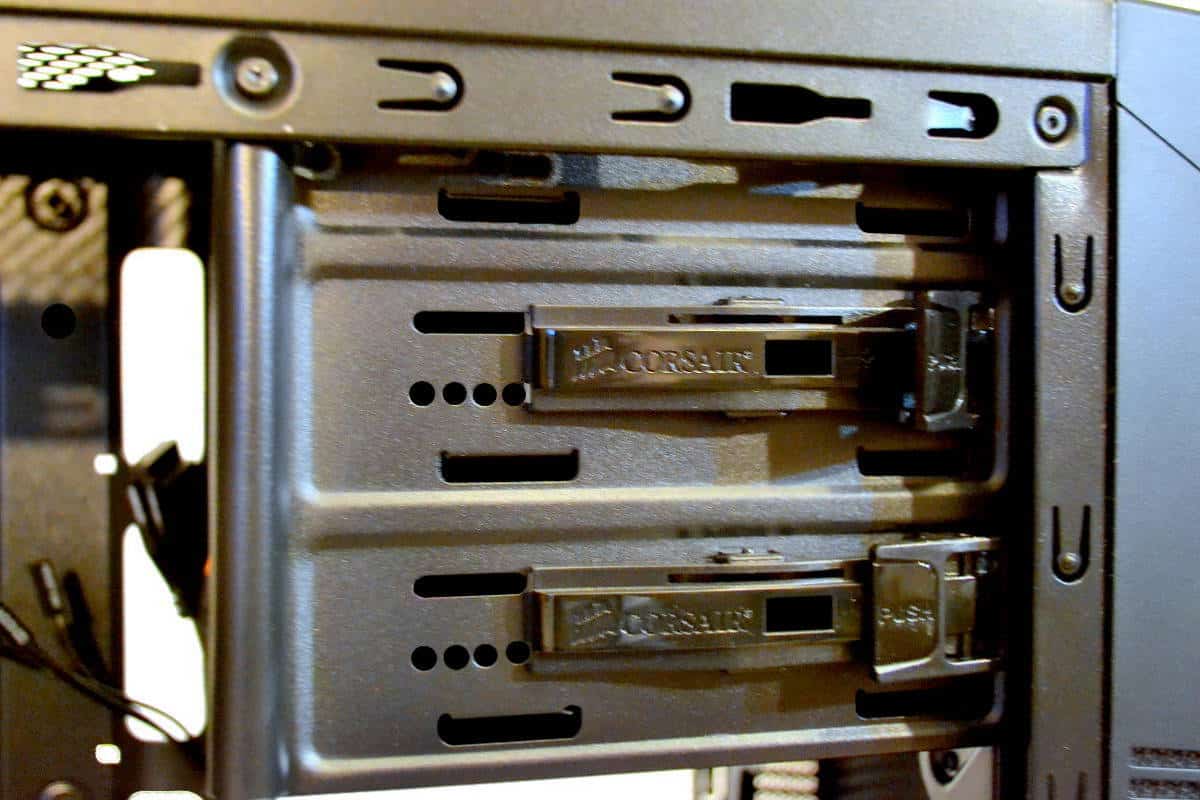
As most of us are getting adjusted to the drive drawer are about the same as always. The purple holes are for the mechanical hard drive screw mounts; the green are for securing you smaller SSD and the Teal pins are made to tool-less fit your mechanical drives in place. The plastic is light and not very sturdy and unless they have changed the chemical make up of the plastic it will crack over time.

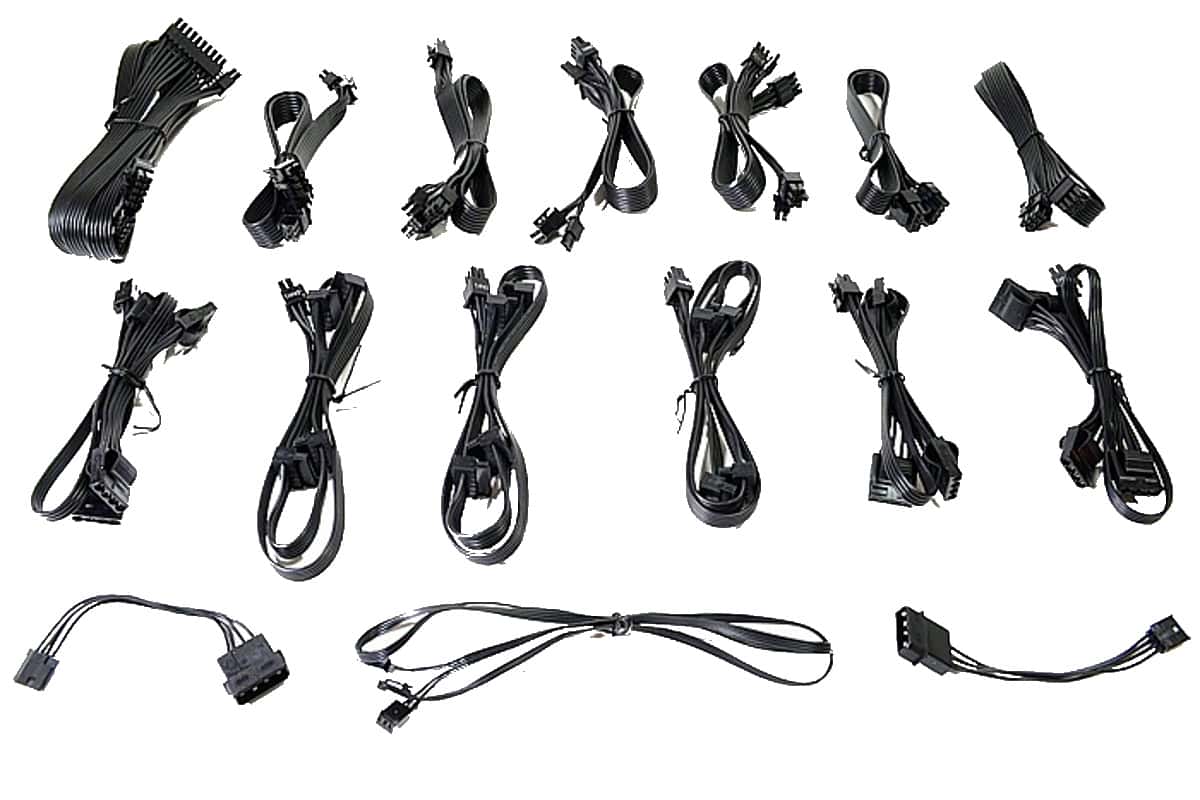
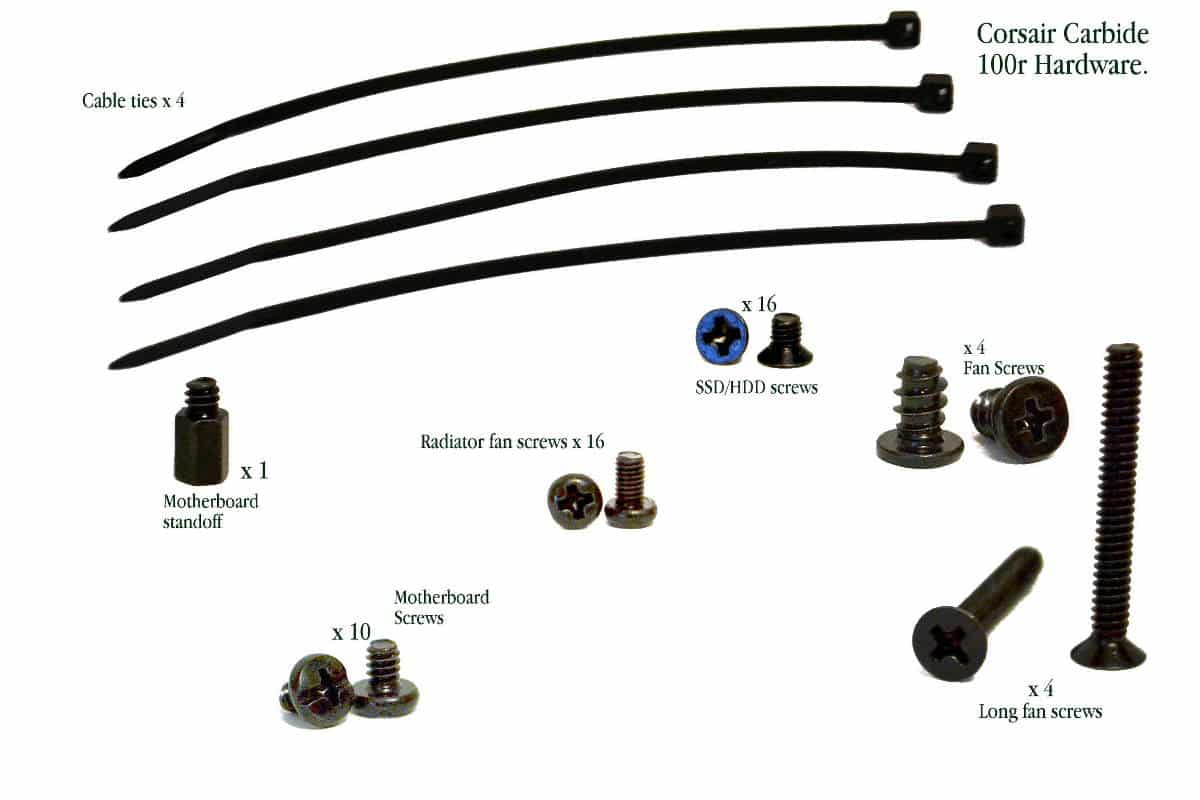
I wish 10 wire ties could be in every case. Four is just not enough for me but I am a bondage type guy when it comes to wire tie. I use ten at least and four is usually the amount that I throw away from mistakes, so Advance Auto parts or any other auto parts place carry a great selection of wire ties an brackets if you are in the middle of a build and need more. The rest of the hardware is really great. They are just the right size and the right amount.


Hello Derek. I liked so much of your review from the 100R. Specially the H100i installation. I think I have improved the installation putting the radiator and the fans inside the cabinet. This way I could install the water block in the right position. Also I see you installed some blue leds. It would be nice if you could show a picture of it.
Man!!! Great job, congratulations! Thanks for the tips, it will help alot the assembly of my machine.