Installation
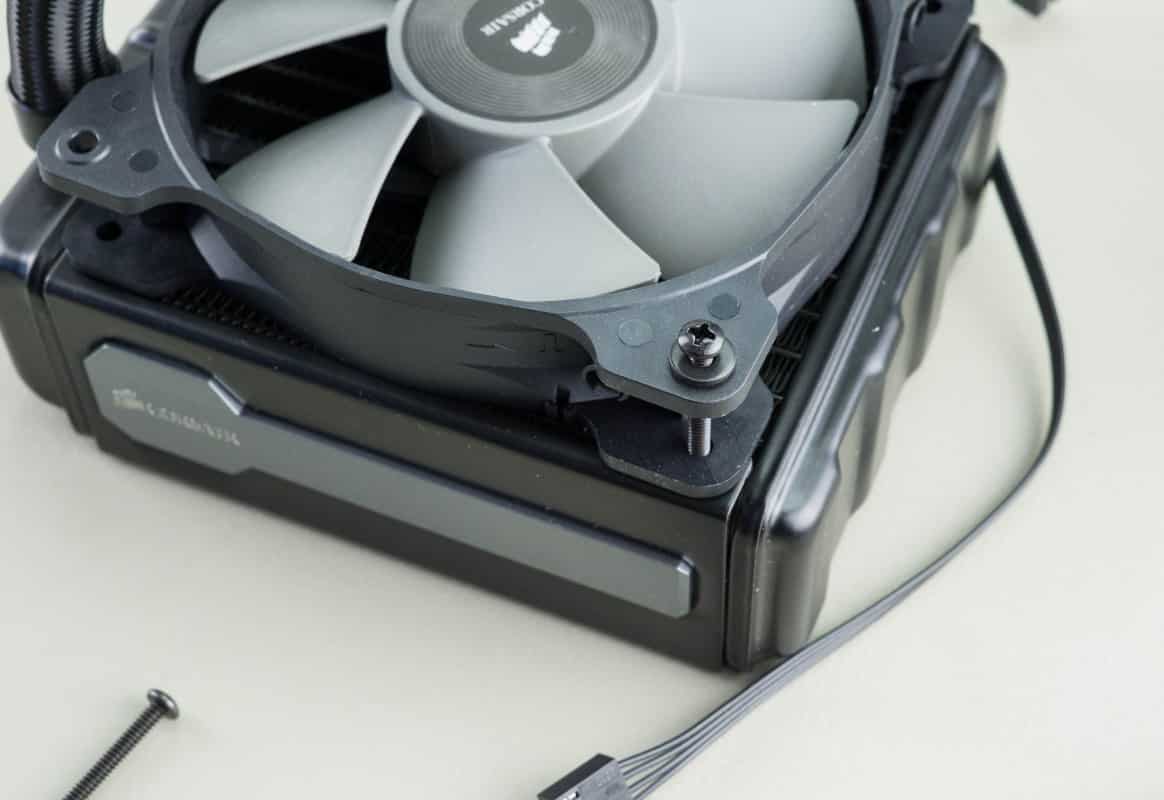
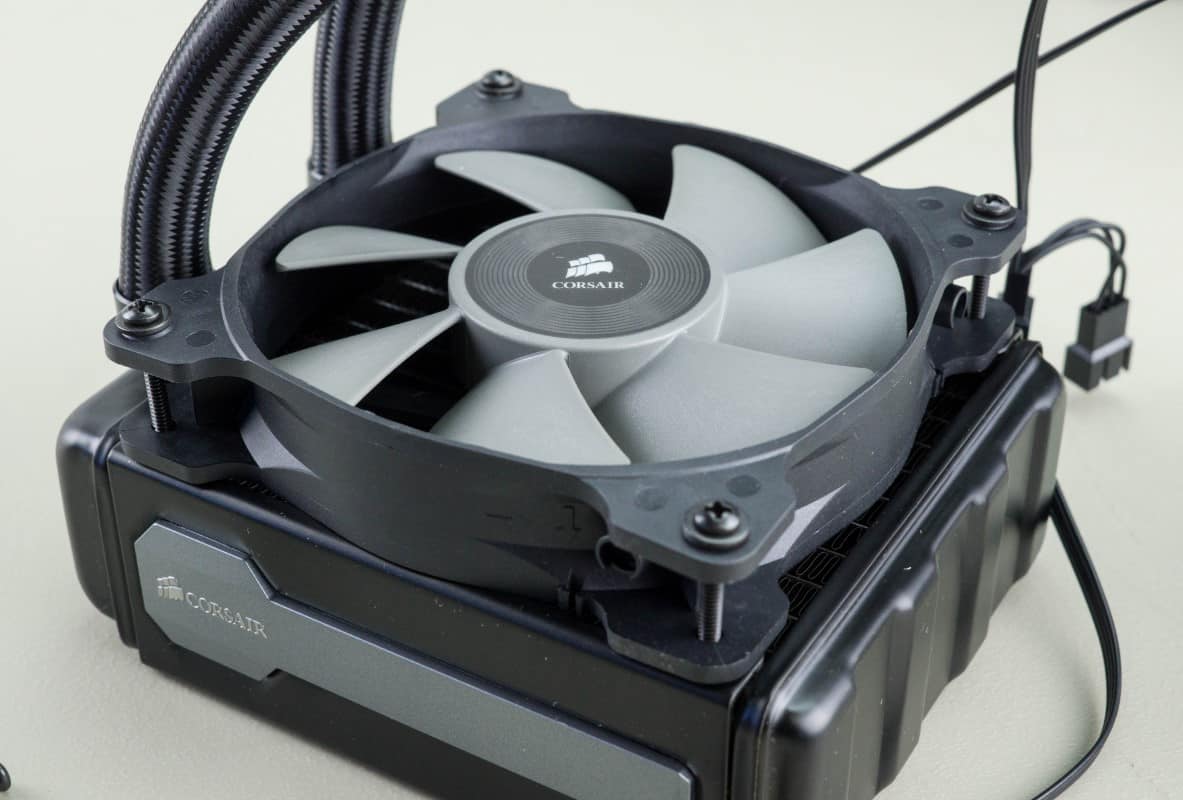
We begin the installation the same way we started for the previous two Corsair coolers by attaching fans and installing the radiator. First choose which side you would like the tubing to be on, top or bottom, and place the first fan accordingly. Since this is a 120mm cooler we will install it in the top rear exhaust position. We also want to have the fans exhausting air out of the case. With the fan in place simply attach it securely with four of the included screws and washers.
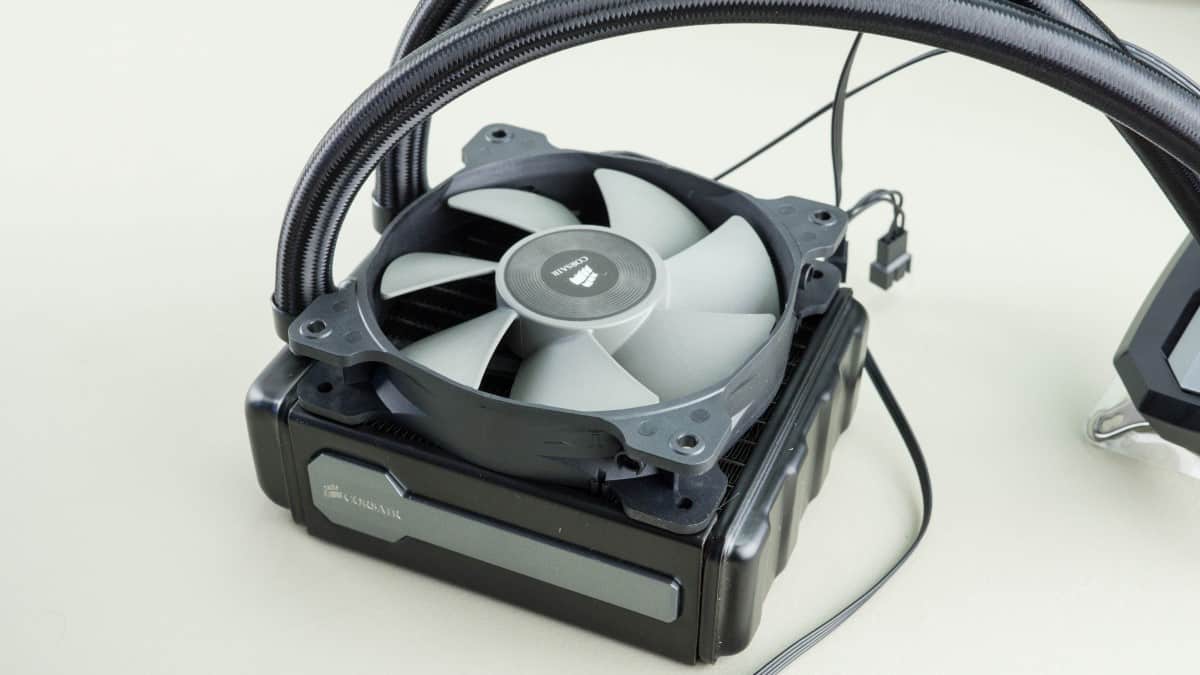
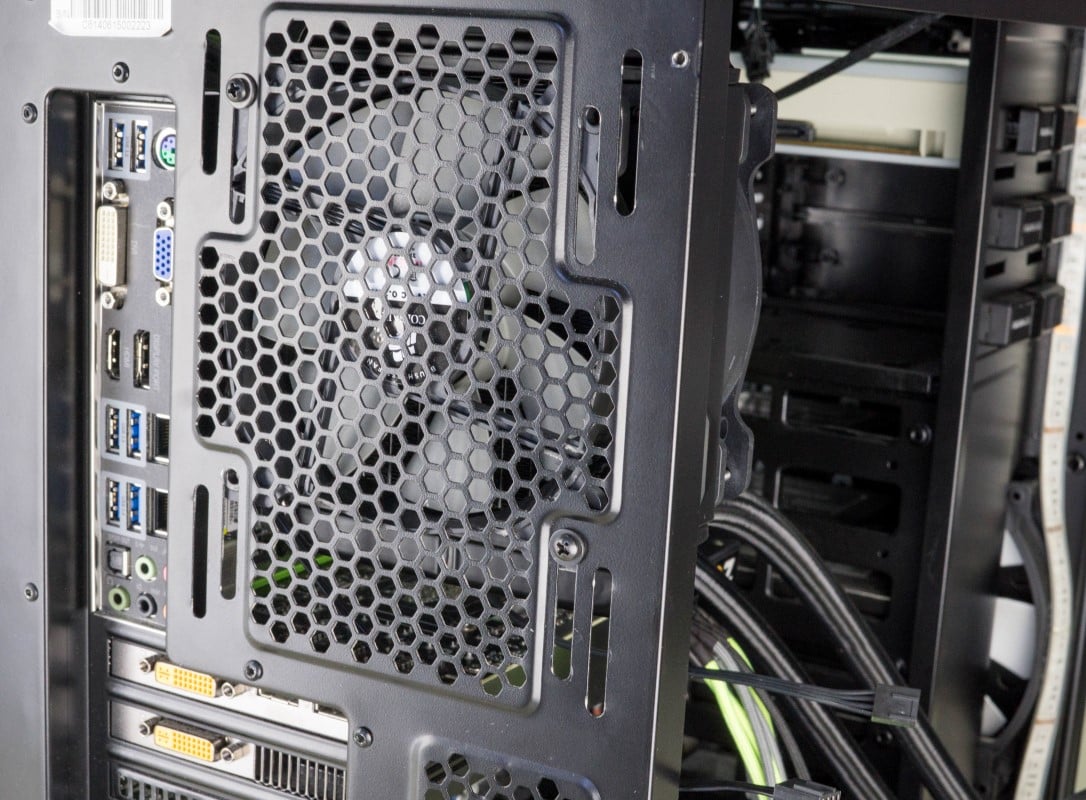
Next sandwich the second fan between the back of the radiator and the case. Hold it firmly with one hand while you install the second set of screws and washers with the other hand.
With the radiator in place we move to installing the hardware for the pump. Begin by putting the sliders on the backplate to the correct position for you motherboard’s layout.
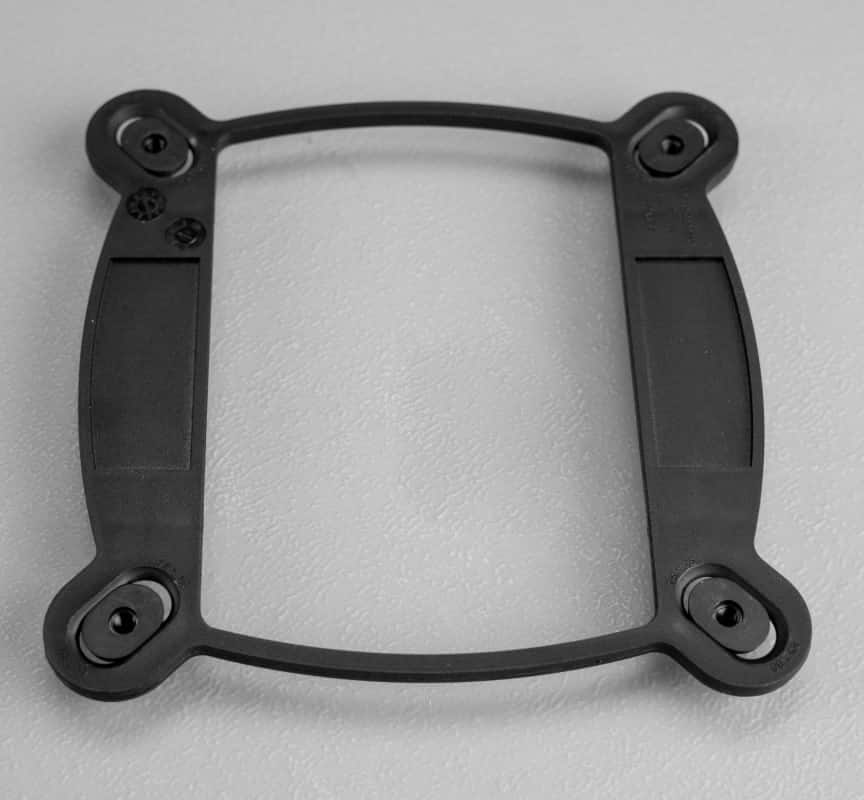

Once they are set correctly simply slide them through the holes in from the back side of the motherboard. You will need to hold this bracket in place with one hand while from the front side you start a couple of the stand offs in order to secure the bracket.


Once you have the bracket secure finish it off with all of the other stand offs until they are all firmly finger tight.

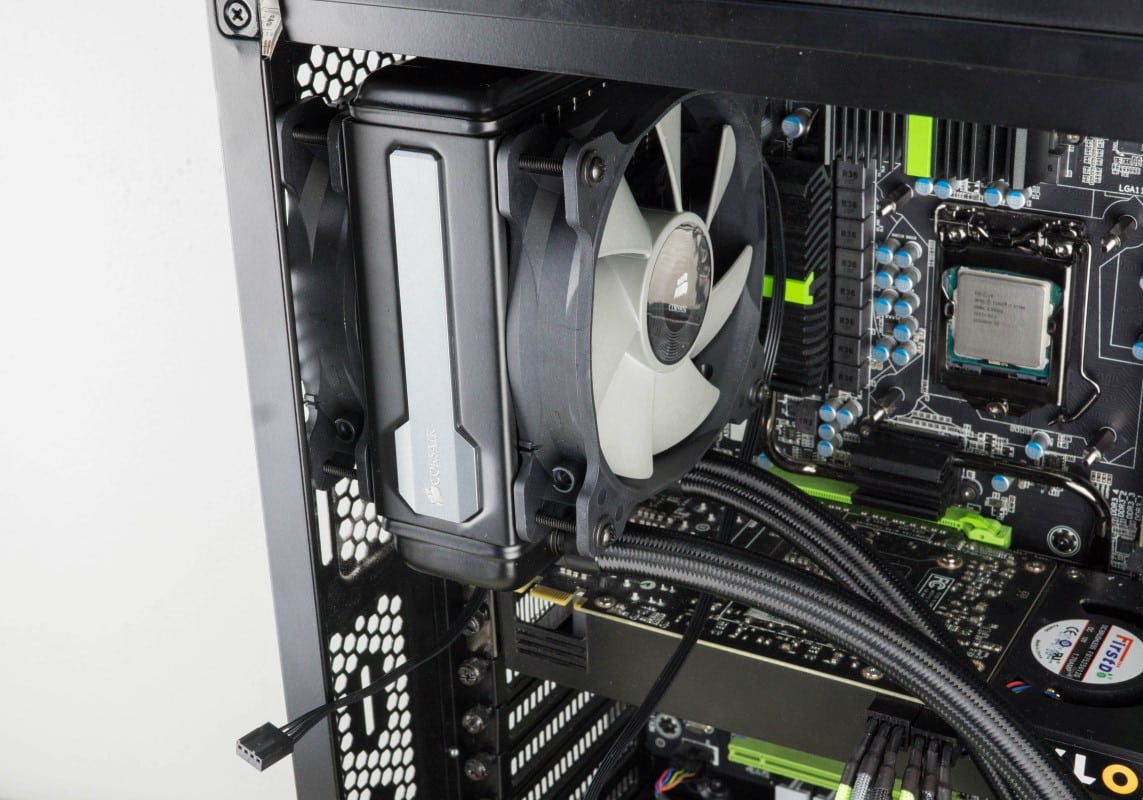
The socket is now ready to have the pump installed. Remove the plastic tray and align the pump with the four stand offs. Press the pump firmly onto the CPU and begin securing it with the four silver thumb screws. Once they are all finger tight you may choose to snug them just a bit more with a Philips head screwdriver.

The cooler is now fully installed, but must be hooked up to the motherboard. Start by attaching the 3 pin power plug to the CPU_FAN motherboard header. Next attach the two fans to the four pin connector with the splitter at the end. Now take the USB cord and begin by attaching the mini USB connector to the port on the pump. Finally connect the USB connector to an open USB 2.0 port on your motherboard.


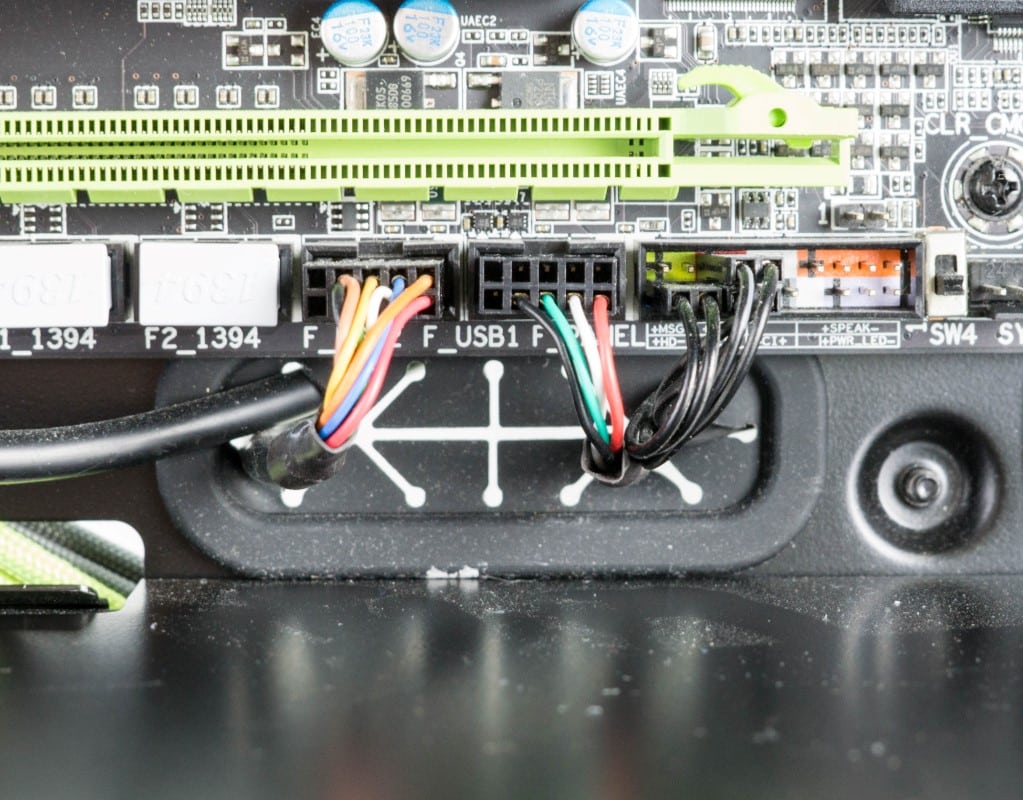
With all the connections made and wires tucked away as best you can the hardware side is completely installed.

This unit really isn’t complete if you’re not running it with the Corsair Link software suite. This suite is a one stop location to adjust your fan and pump speeds, as well as the color of the LED on the pump and monitor all your systems vitals. The software must be downloaded from: http://www.corsair.com/en-us/support/downloads
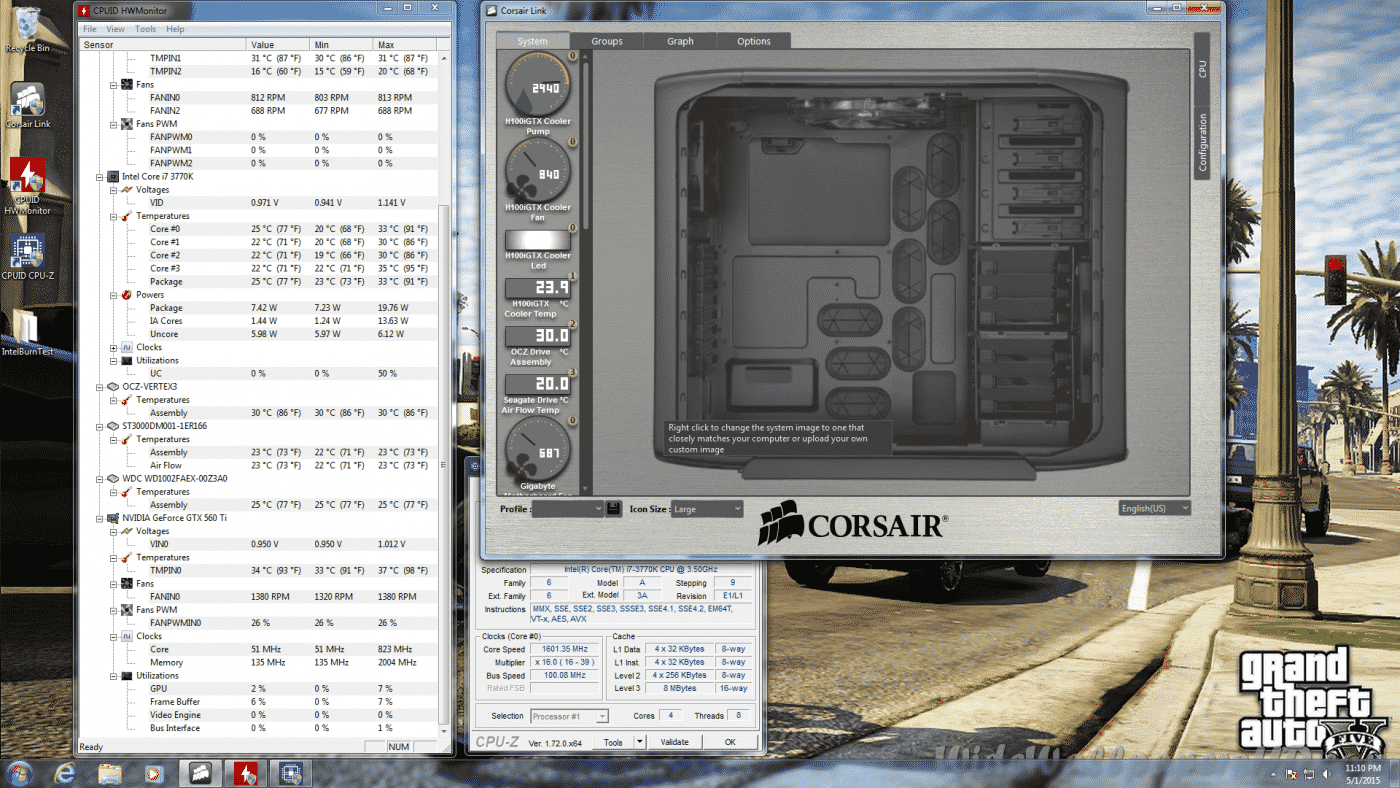


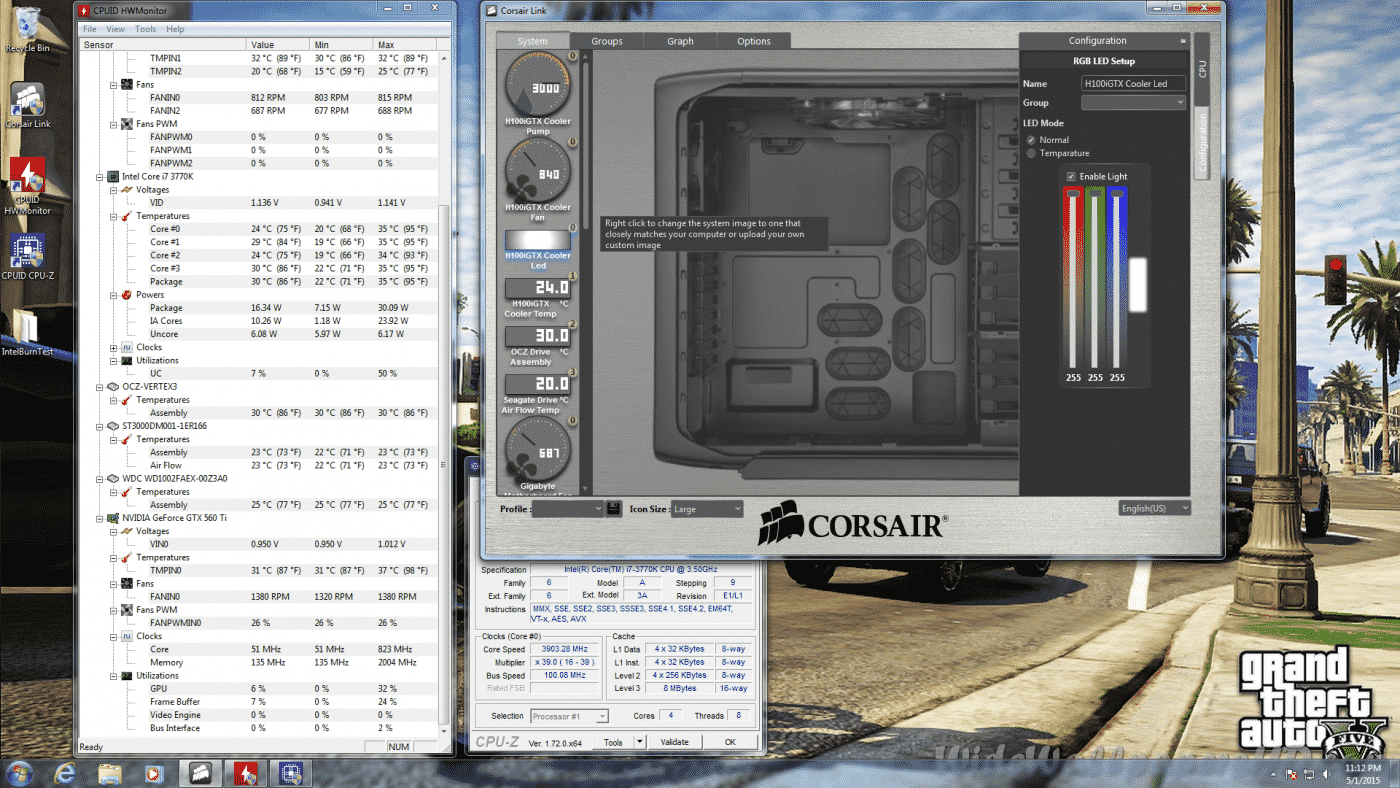
*Screenshots are from H100i GTX but are the same for the H80i GT