Installation
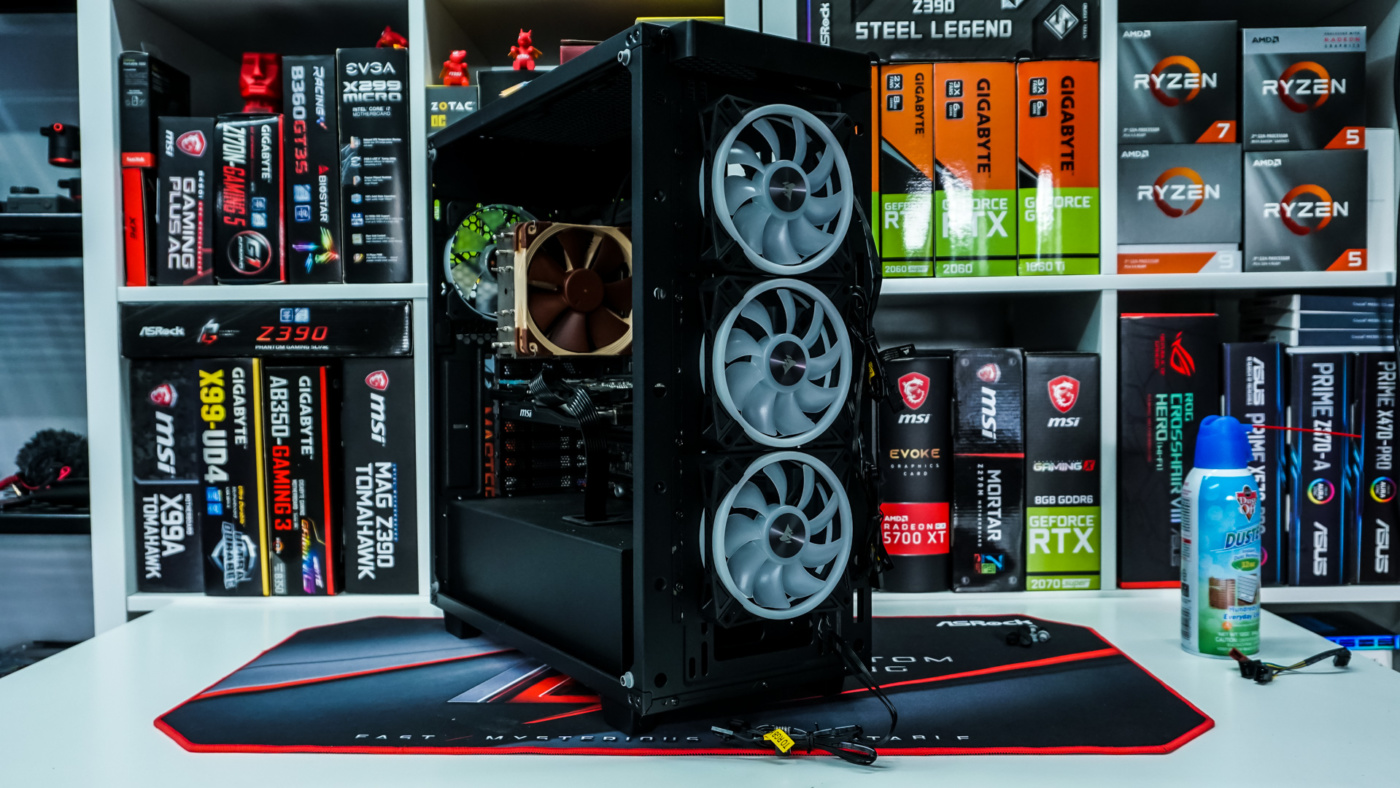
Getting these fans installed is pretty easy. We will be installing them in the front of our mean:it 5PM Tempered Glass Case. Corsair does provide mounting screws so you just simply mount the fans where you want them.
Now it is time to connect each of the two cables coming from each fan. Keep in mind that there is no fan hub to power these fans, so in our case we’ll need at least three open 4-pin fan headers on our motherboard or of course we could get a fan controller. I really hope at some point Corsair makes an integrated fan hub / RGB controller.

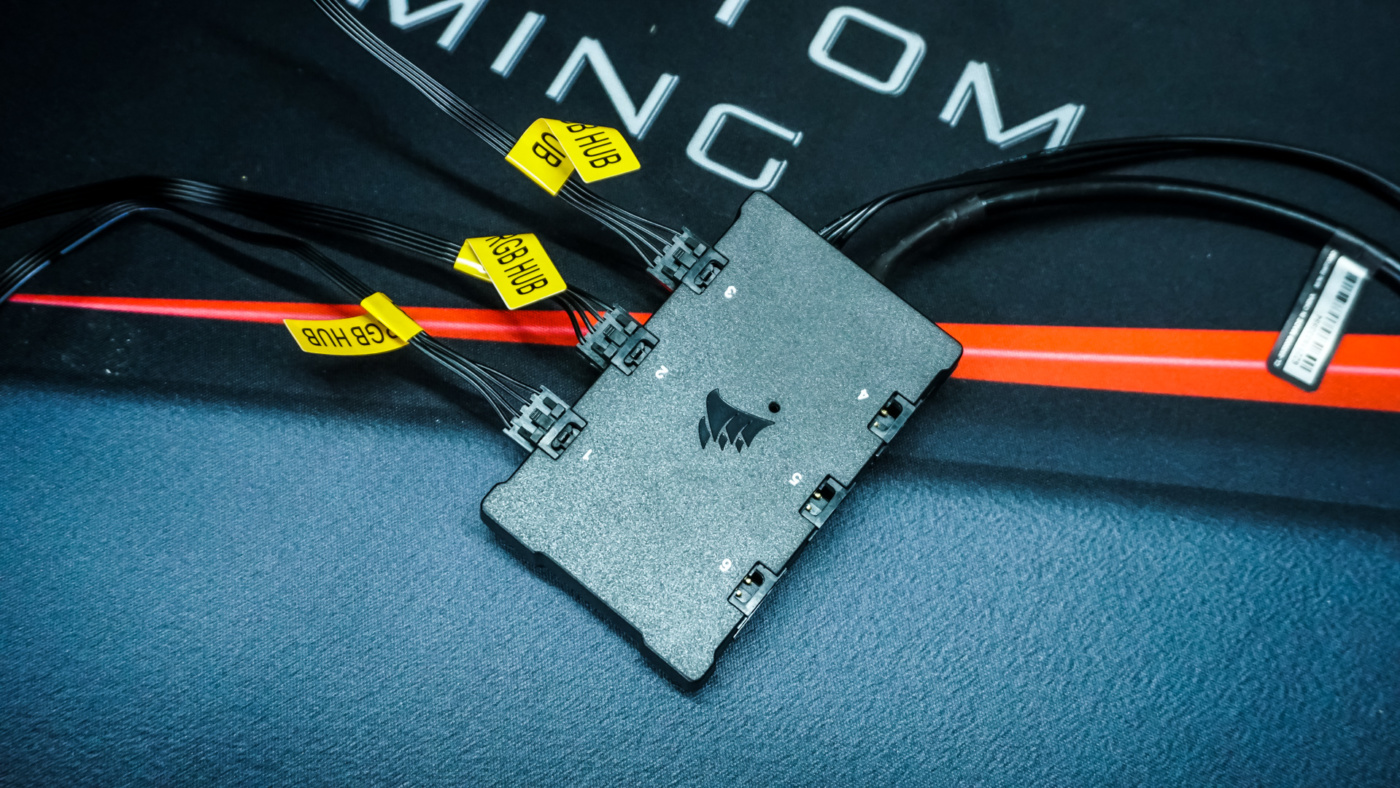
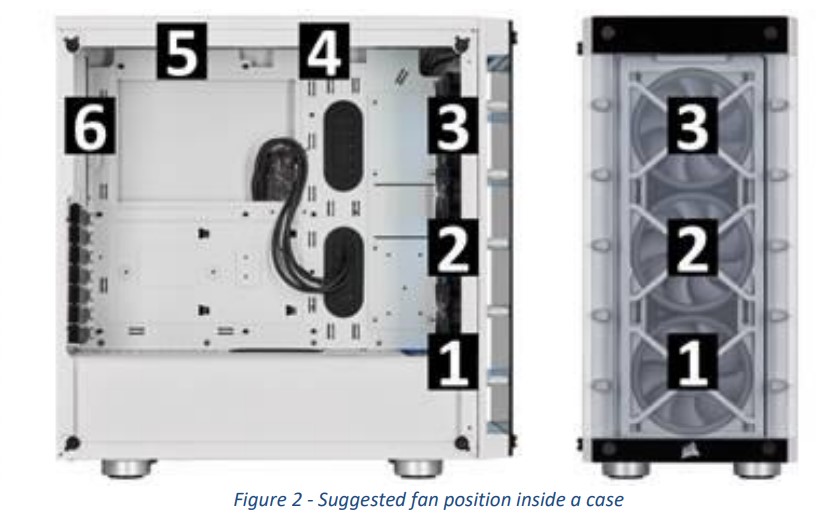
Now to connect the RGB cables. You might have noticed that the connections on the Lighting Node Core are labeled 1-6. This is important as it is the order in which your fans are recognized by the software. So in our case we would want our fans going down the front of our case to either be 1-2-3 or 3-2-1 so that the effects work correctly. Corsair suggests you connect the fans in the order below.
Once you have figured out the correct order of how to install the fans, just connect them and be sure to connect the Lighting Node Pro to your motherboard using the USB header. Corsair also provides double-sided 3M tape to mount it inside your case.