A Look Inside
Getting into the CMT340 is an easy enough process, as just two thumbscrews at the back of the case are holding the left side tempered glass side panel in place. With the panel out of the way, we see a very simple layout. And while we can appreciate the small stature of the CMT340, it does limit the amount of cable management cutouts that are available, and forced us to route most of our cables to the right of the motherboard. This isn’t a huge problem, but it does require a bit more work to keep things neat in a build.

Taking a look at the top portion of the interior, we see a single pass-through opening for our CPU power connector, as well as the rear 120mm fan. Just below this opening is a large cutout for CPU cooler backplate access. Just to the right of the motherboard area are two long, but narrow cable management cutouts.
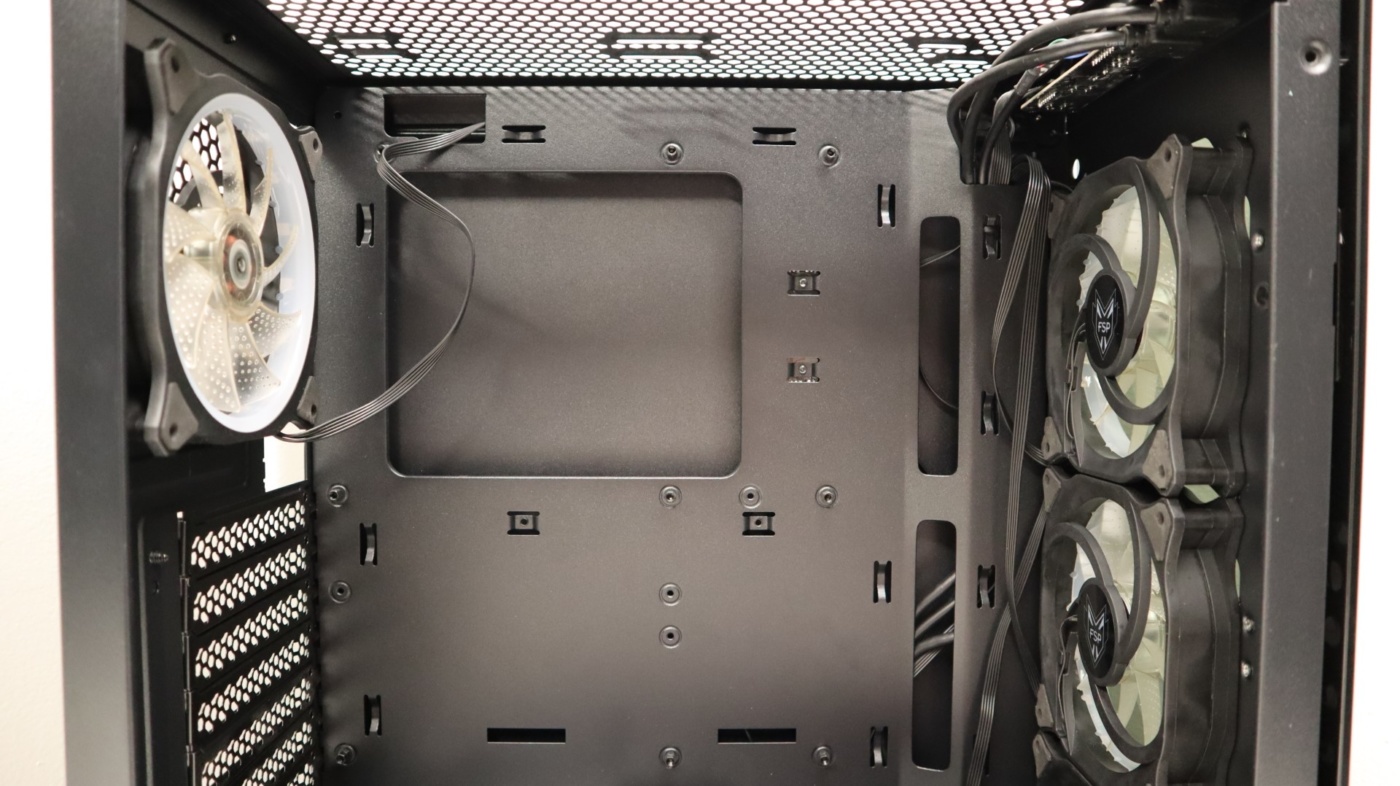
Moving down a bit, we come to the full-length power supply shroud, complete with a window to show off your power supply. I’ve never really understood this type of opening, but it’s not really hurting anything. The top portion of the shroud is home to a good deal of passive ventilation, and the CMT340 comes equipped with two 2.5″ drive trays mounted to the top of the shroud. A single cutout towards the motherboard is available for routing cabling, but as you will see in our installation section, it doesn’t provide enough of an opening as we would like.
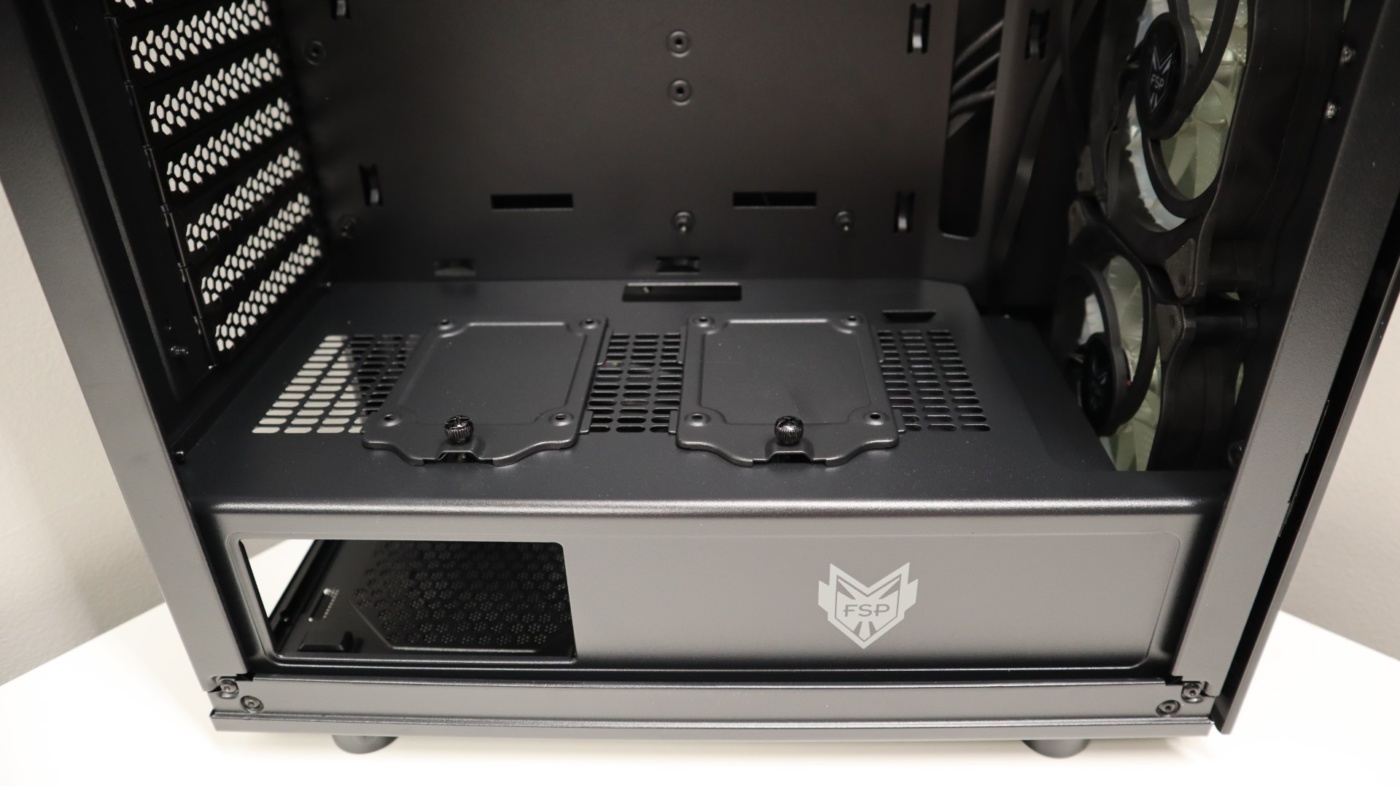
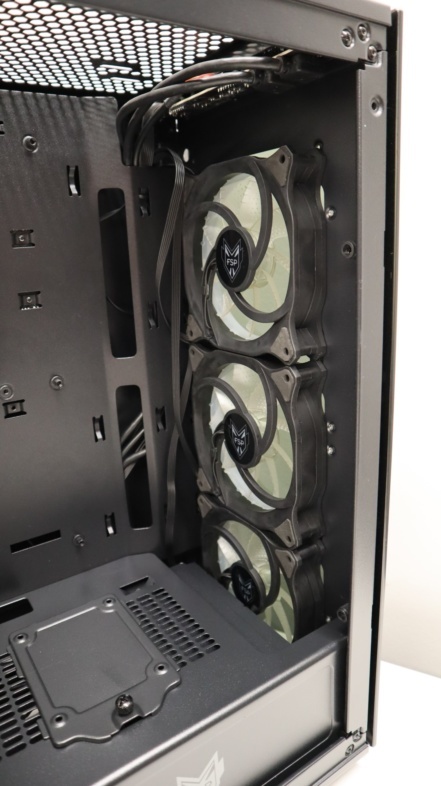
A cutout in the shroud towards the front of the case allows for the installation of a 360mm radiator and fans, though you will definitely want to adjust or remove the 3.5″ drive cage below to accommodate.
Swinging around to the other side of the case, we are presented with a very basic layout. There are multiple cabling tie down spots to help with cable management, and the front portion of the motherboard panel is “bumped” into the case a bit to give a bit more room for cabling. Just below the CPU cooling bracket opening are two additional 2.5″ drive tray mounting locations, though we didn’t even realize they were there until after our build was complete. As there are no trays included in this location, you will be limited to using one or the other, of which we would choose this more discreet location.

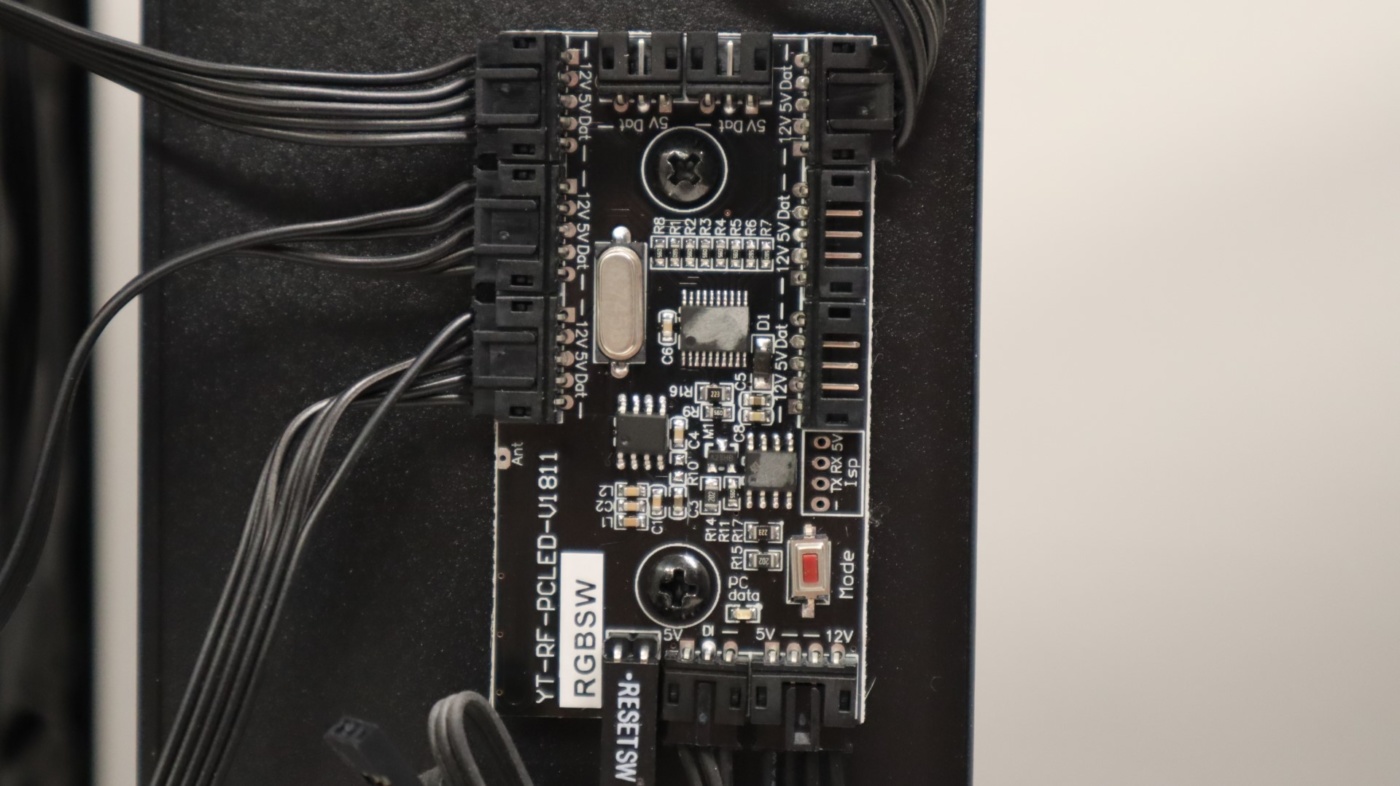
Also housed in this area is an included fan hub and controller for the four included addressable RGB fans. This controller is wired to the front of the case and the lighting of the fans can be adjusted by RGB portion of the rocker switch. This controller can also be connected to compatible motherboards for synchronization with motherboard lighting software. Unfortunately, this hub is powered by a 4-pin MOLEX connector and not a SATA connector, requiring you to attach another cable to your space-saving power supply.