Setup & Usage
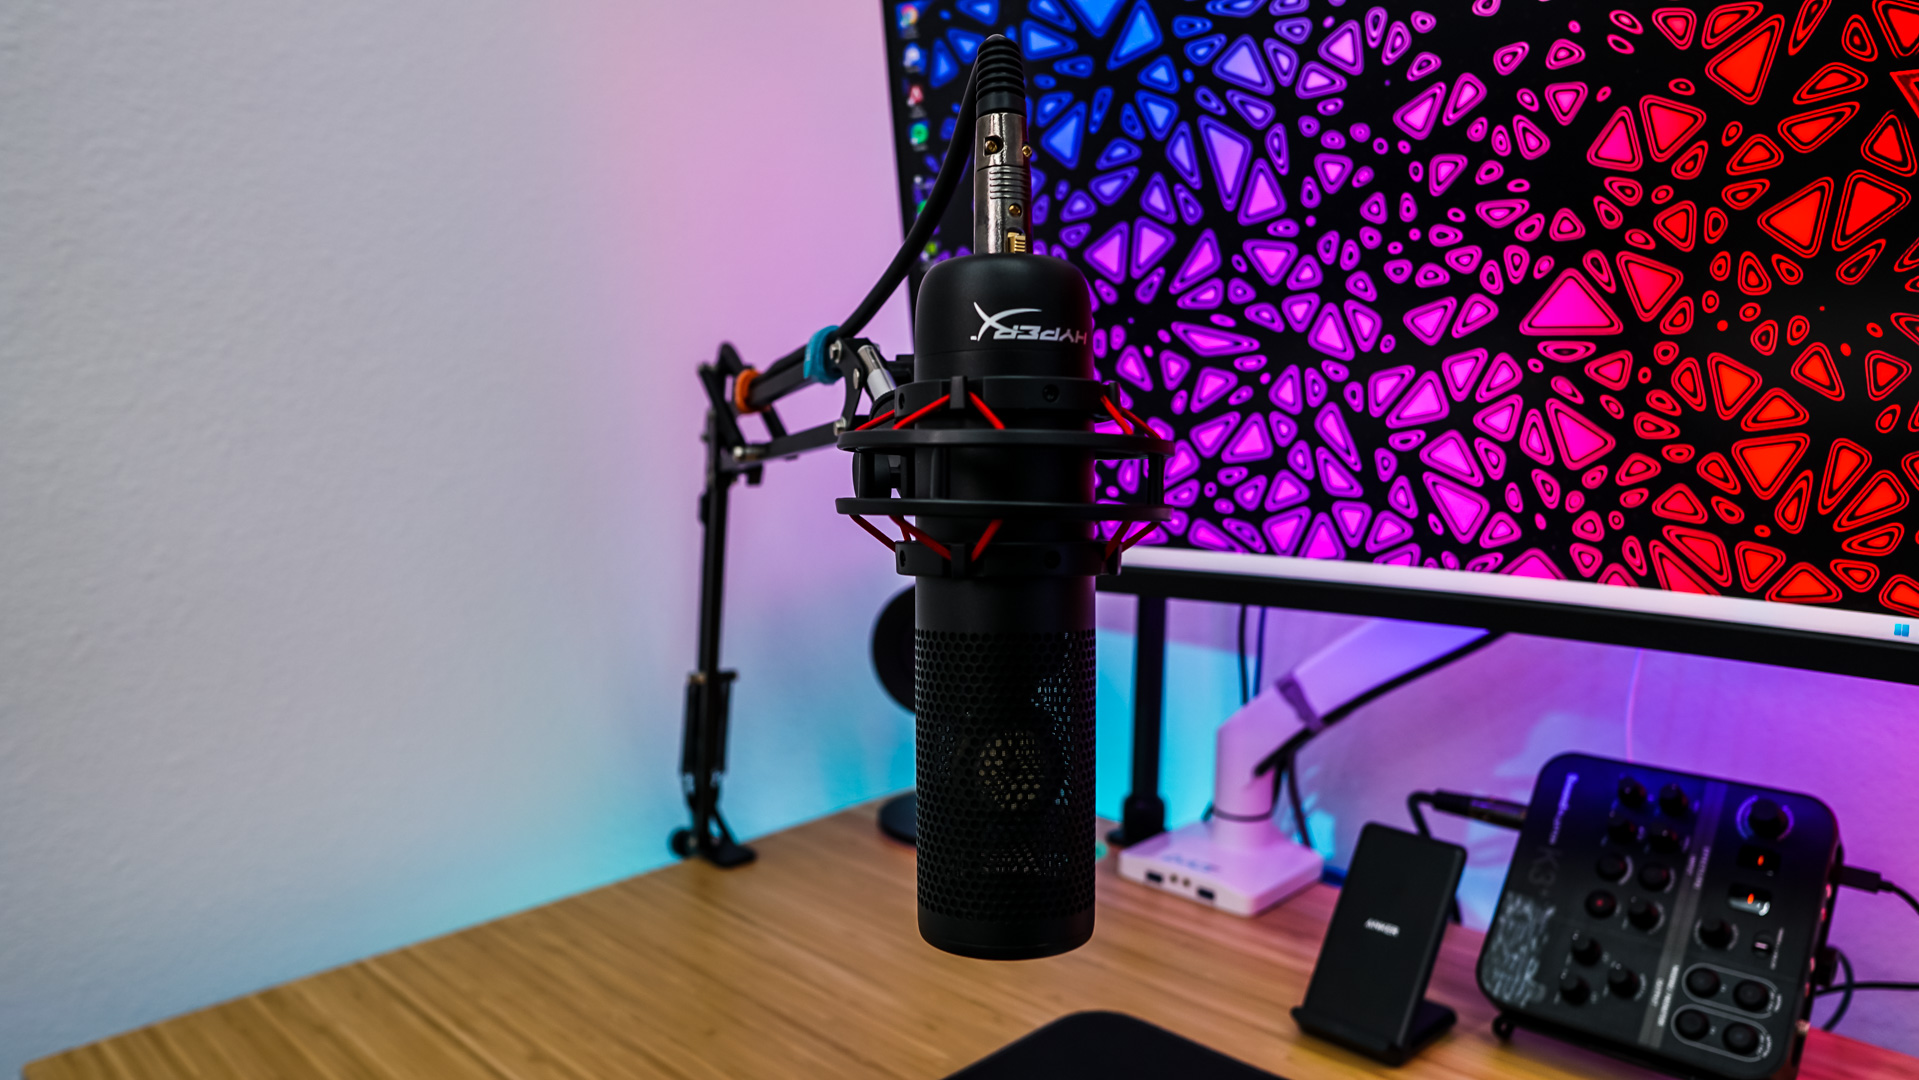
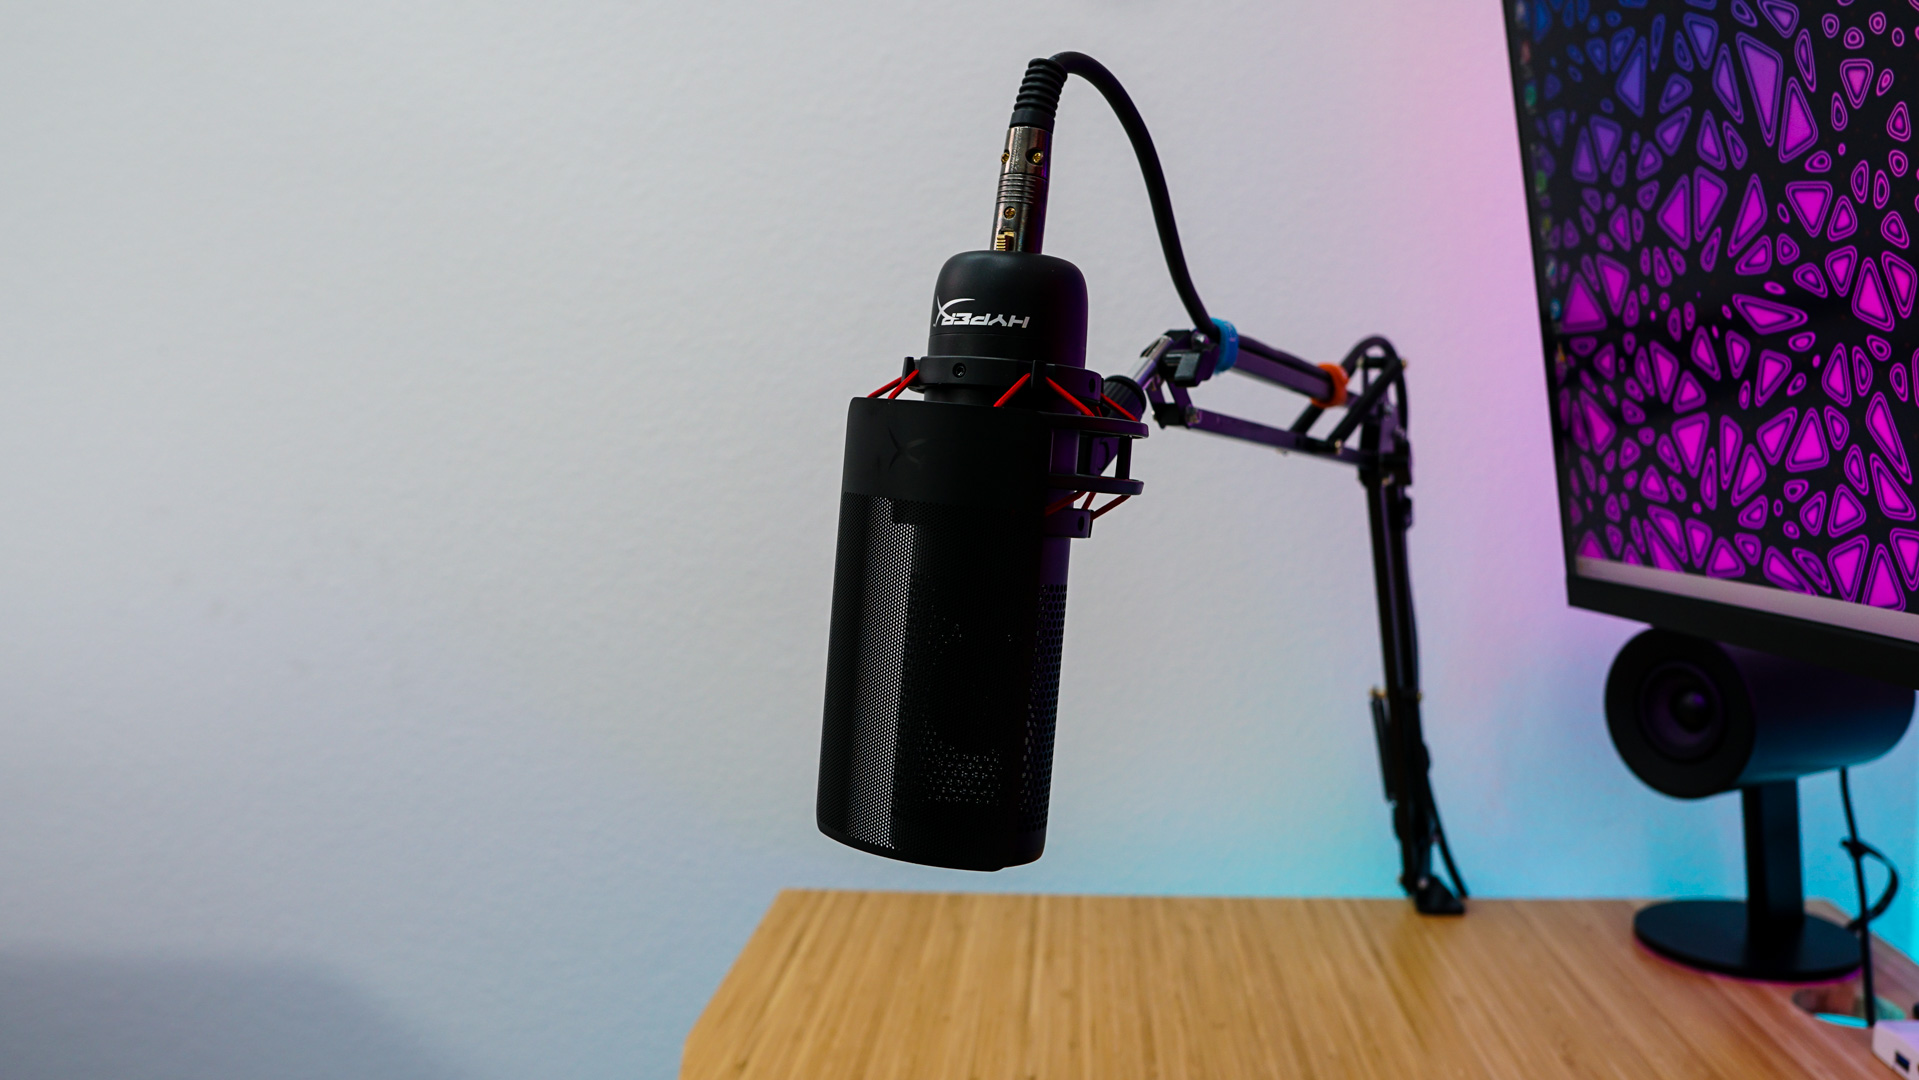
Getting the ProCast setup and running is pretty easy. First you’ll need to mount it, I have a pretty basic microphone arm and the ProCast attached to it no problem. Next you’ll need to connect it to your audio interface, I used the Creative Sound Blaster K3+, which does have phantom power.

The included pop filter easily clips on to the shock mount. The pop filter is one of the nicer ones that I’ve seen, it is not your typical cloth filter, it is actually made of metal!
For testing I recorded myself using the ProCast so you can get a better idea of how the audio quality is. My office is moderately-sized room, but is not sound-treated at all. We will do a normal recording and then one using the 80 Hz high pass. We will be comparing directly against the Audio Technica AT2020 as it is another XLR microphone. We will also include audio samples from a handful of USB microphones that Ryan has reviewed.
XLR Microphones
HyperX ProCast
HyperX ProCast 80 Hz High Pass Filter
Audio Technica AT2020
USB Microphones
AKG Ara
HyperX SoloCast
HyperX QuadCast S
Elgato Wave:3
Thronmax MDrill One Pro
Samson G-Track Pro
MXL BCD-1
MXL Tempo
HyperX QuadCast