Initial Setup & Software
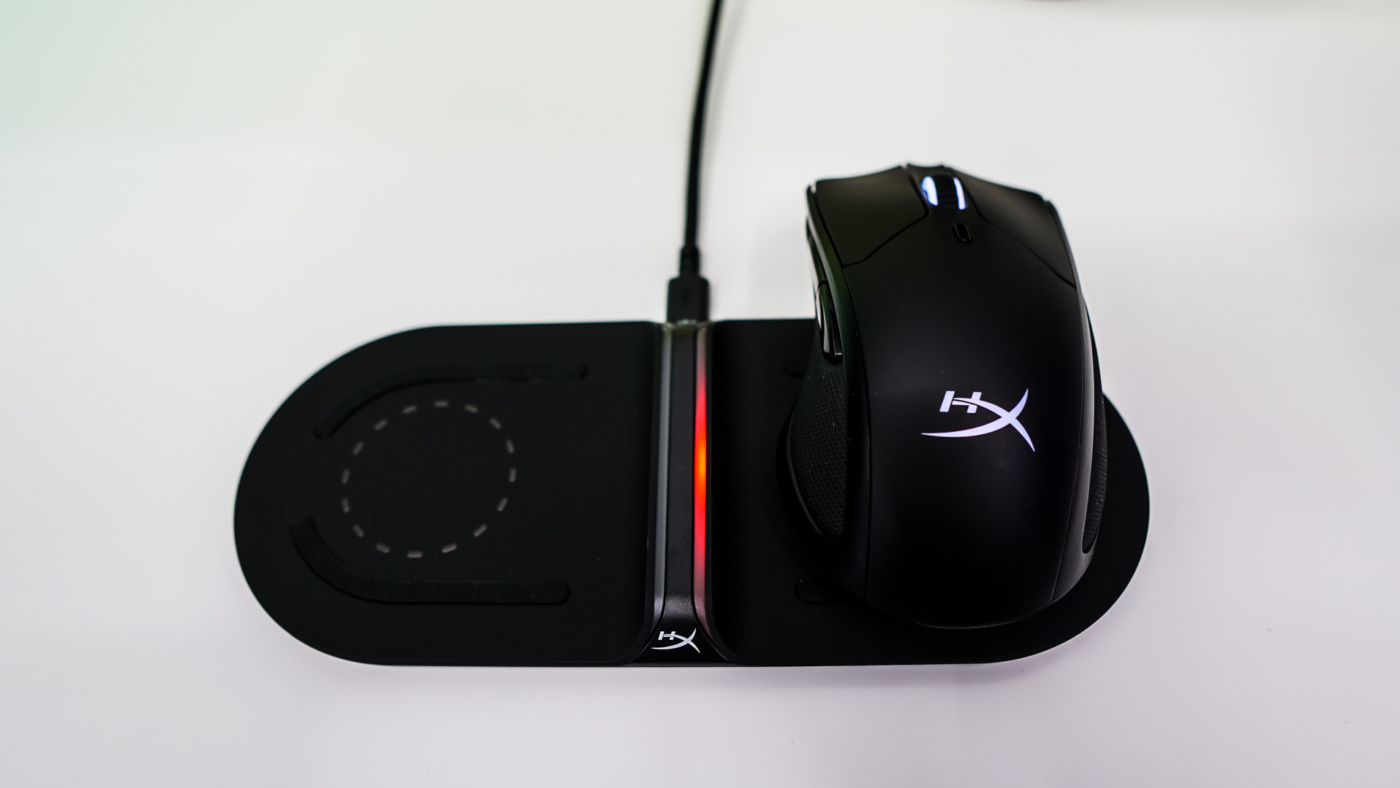
Since this is a wireless mouse you’ll need to make sure you have it charged up before you start using it. Using the Chargeplay Base I easily charged up the battery wirelessly, but you can also plug in the USB cable to charge it. When placing the Pulsefire Dart on the Chargeplay Base you’ll want to make sure the backside of the mouse is on the charging point. You’ll know it is charging as a red LED will light up on the Chargeplay Base and the lights on the mouse itself will glow white.
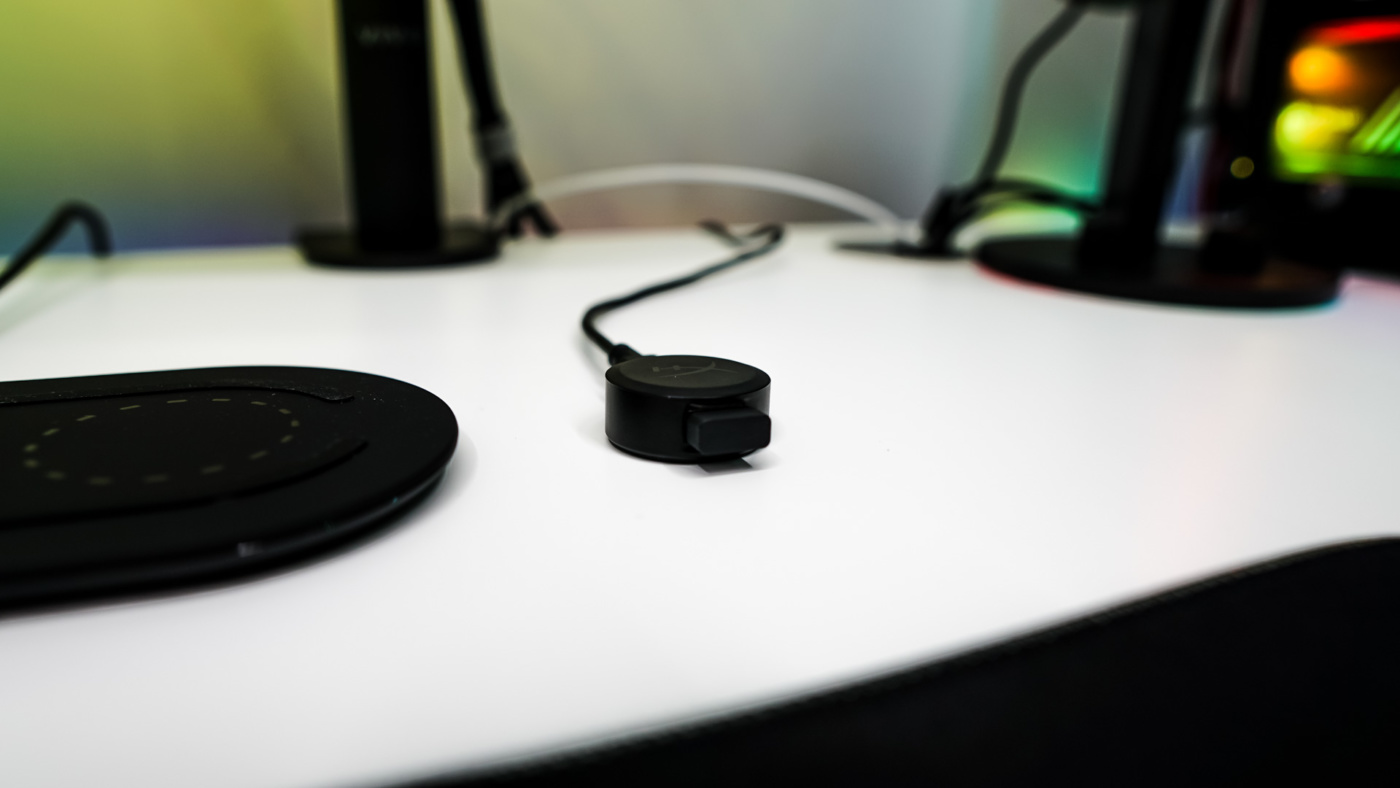
After the mouse is charged you can plug in the RF receiver to an open USB port in your system or using the included extender. Now HyperX recommends that you keep the received within 8 inches of your mousepad, so that is why the extender is included. We actually had it plugged into the back of our system and noticed some input lag so we would for sure recommend using the extender.
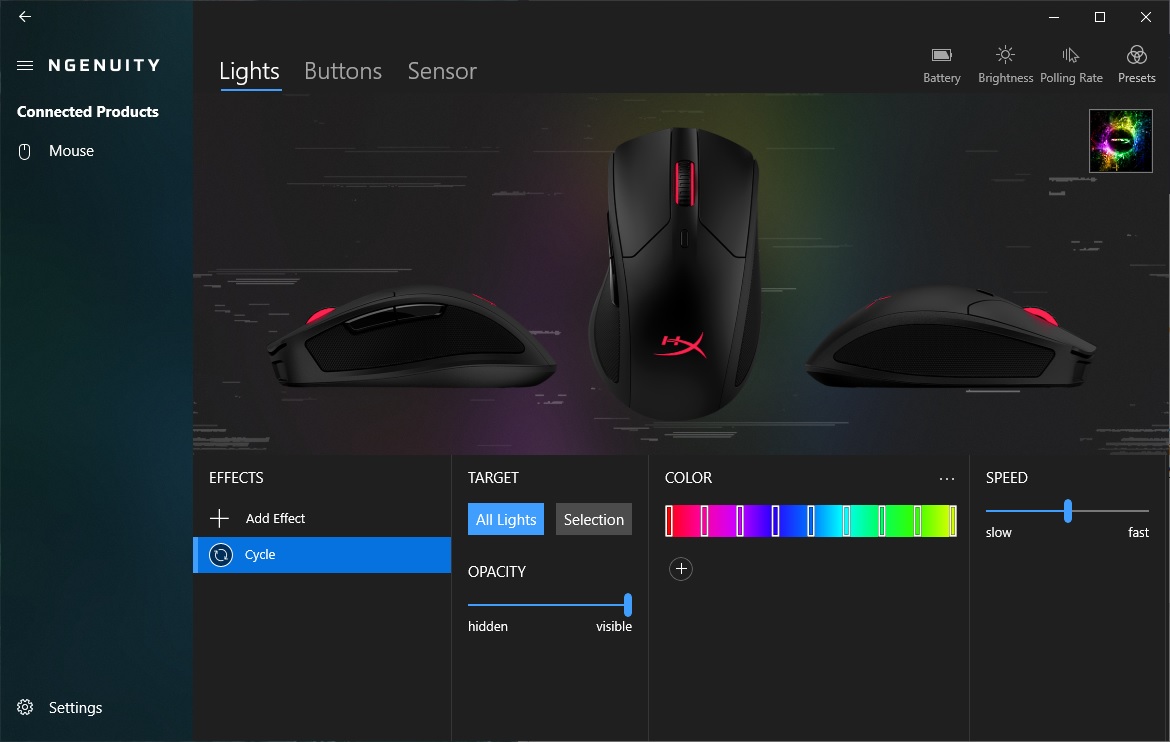
Once plugged in Windows will recognize it and you can turn your mouse on and start using it. HyperX does back this mouse up with their NGenuity software, which can easily be downloaded. Sadly you’ll need to use the mouse in Wired mode for the software to recognize it. You can save your profile on the mouse though so once you have your mouse setup you won’t have to use it in wired mode, unless you want to change something. With the mouse plugged in opening the software up the first tab is lights. Here we can change colors and add effects for the two lighting zones (scroll wheel, HyperX logo) on the mouse.
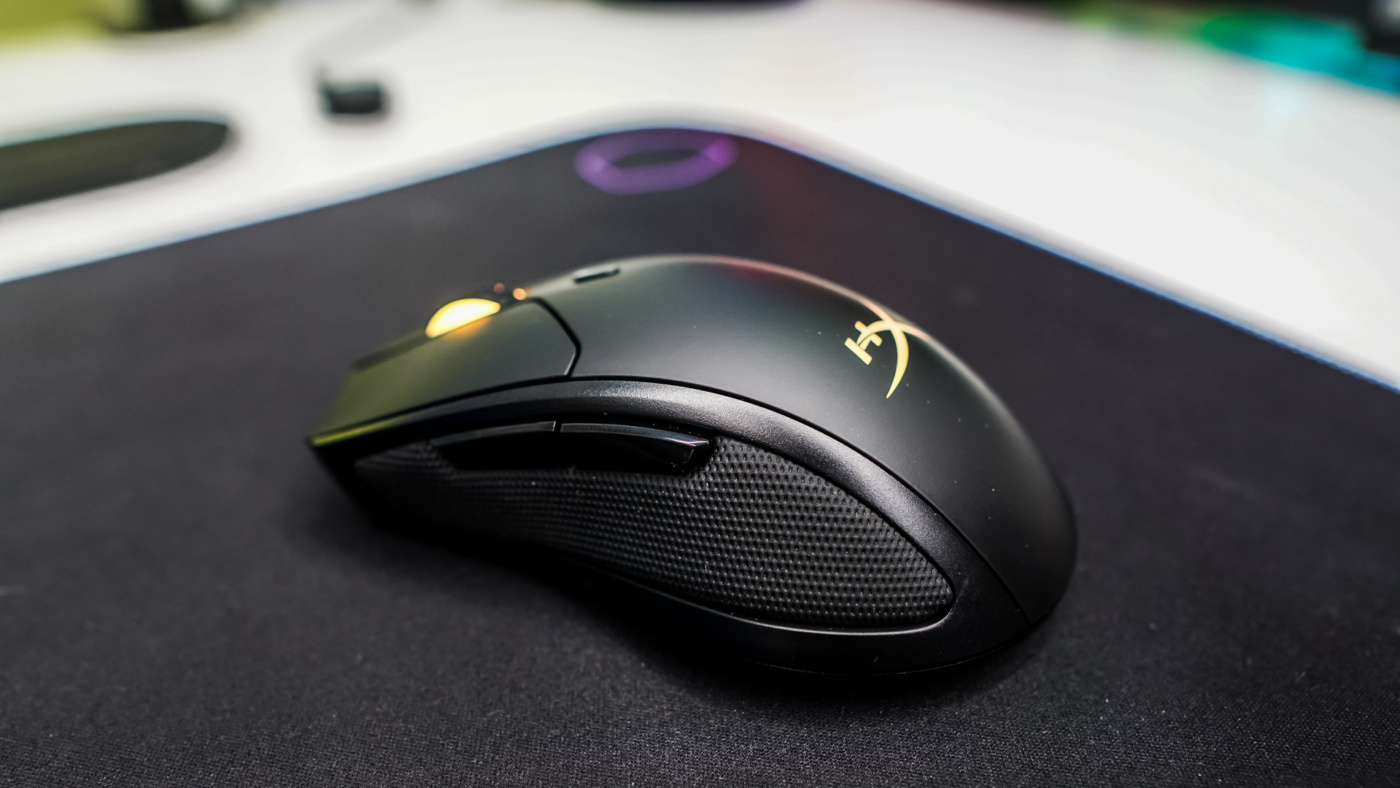
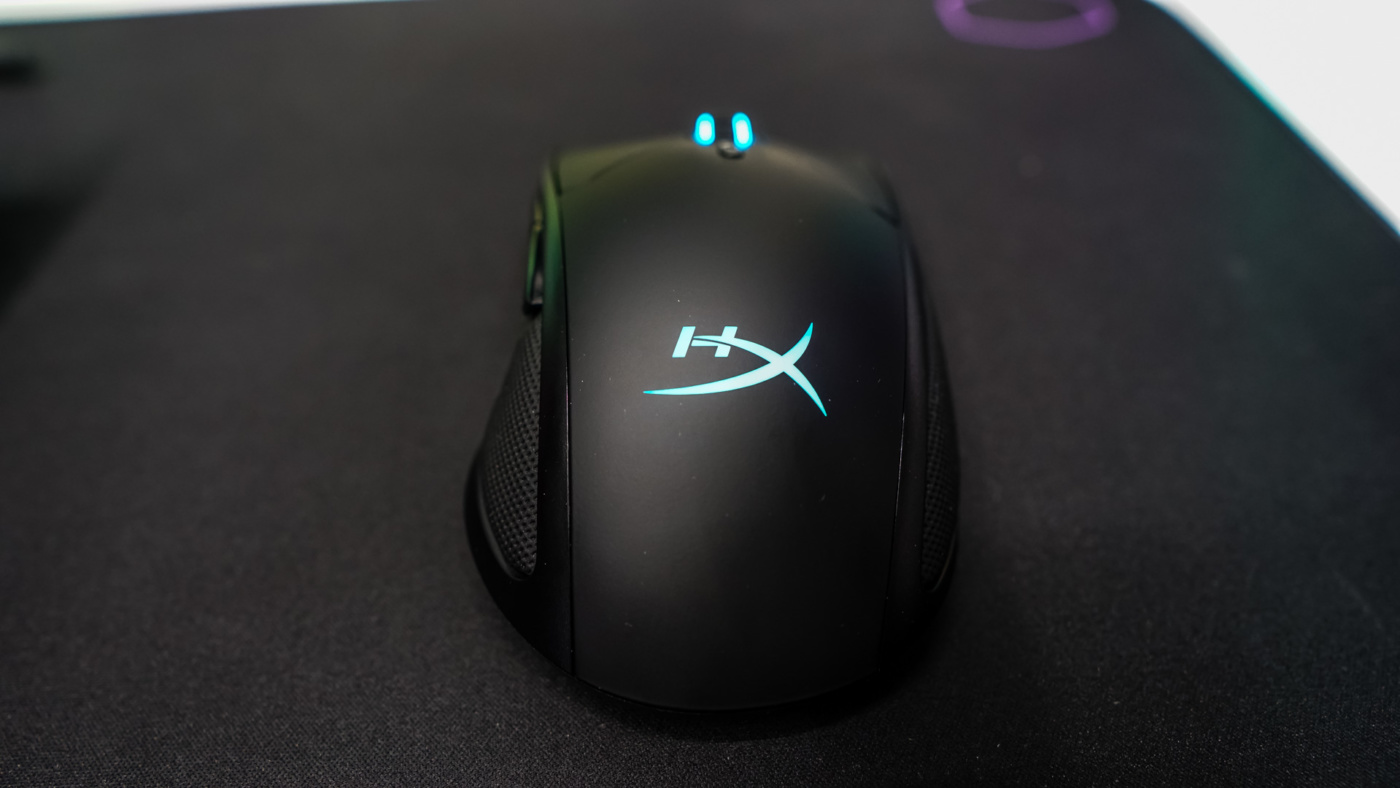
The lighting on the mouse is pretty typical with the HyperX logo and on the scroll wheel lighting up.
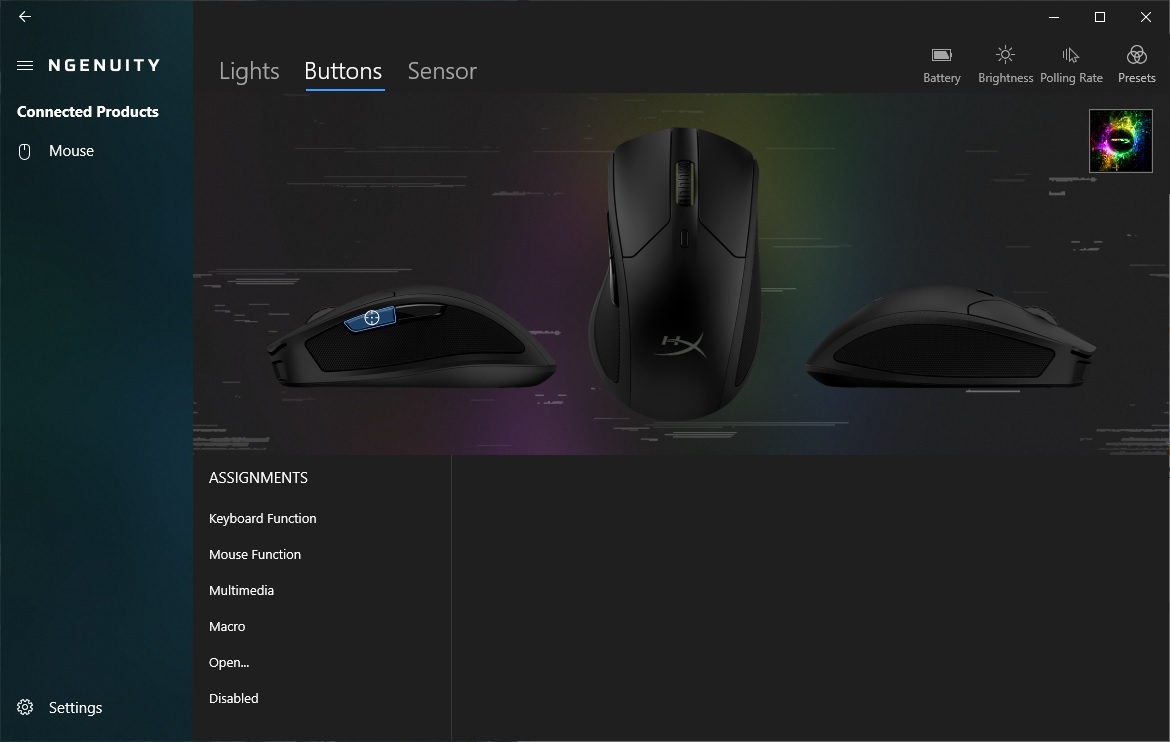
The next tab is “Buttons”. Here you can program all of the different buttons on the mouse. You have the ability to change them to a keyboard function, another mouse function, multimedia controls, a macro, open a program, or completely disable the button. Macros are pretty easy to setup as well, a dialog allows you to record your macro and easily save it.
The last tab is “Sensor”. Here you have your DPI levels and corresponding colors for each. There are three by default (800, 1600, 3200), but you can add more.

In the top right corner of the software you have your battery level, brightness, polling rate, and presets. I think that HyperX could have put brightness and presets in the lights tab and polling rate under sensor.