Is the HYTE Y50 RGB Case Easy to Build In?
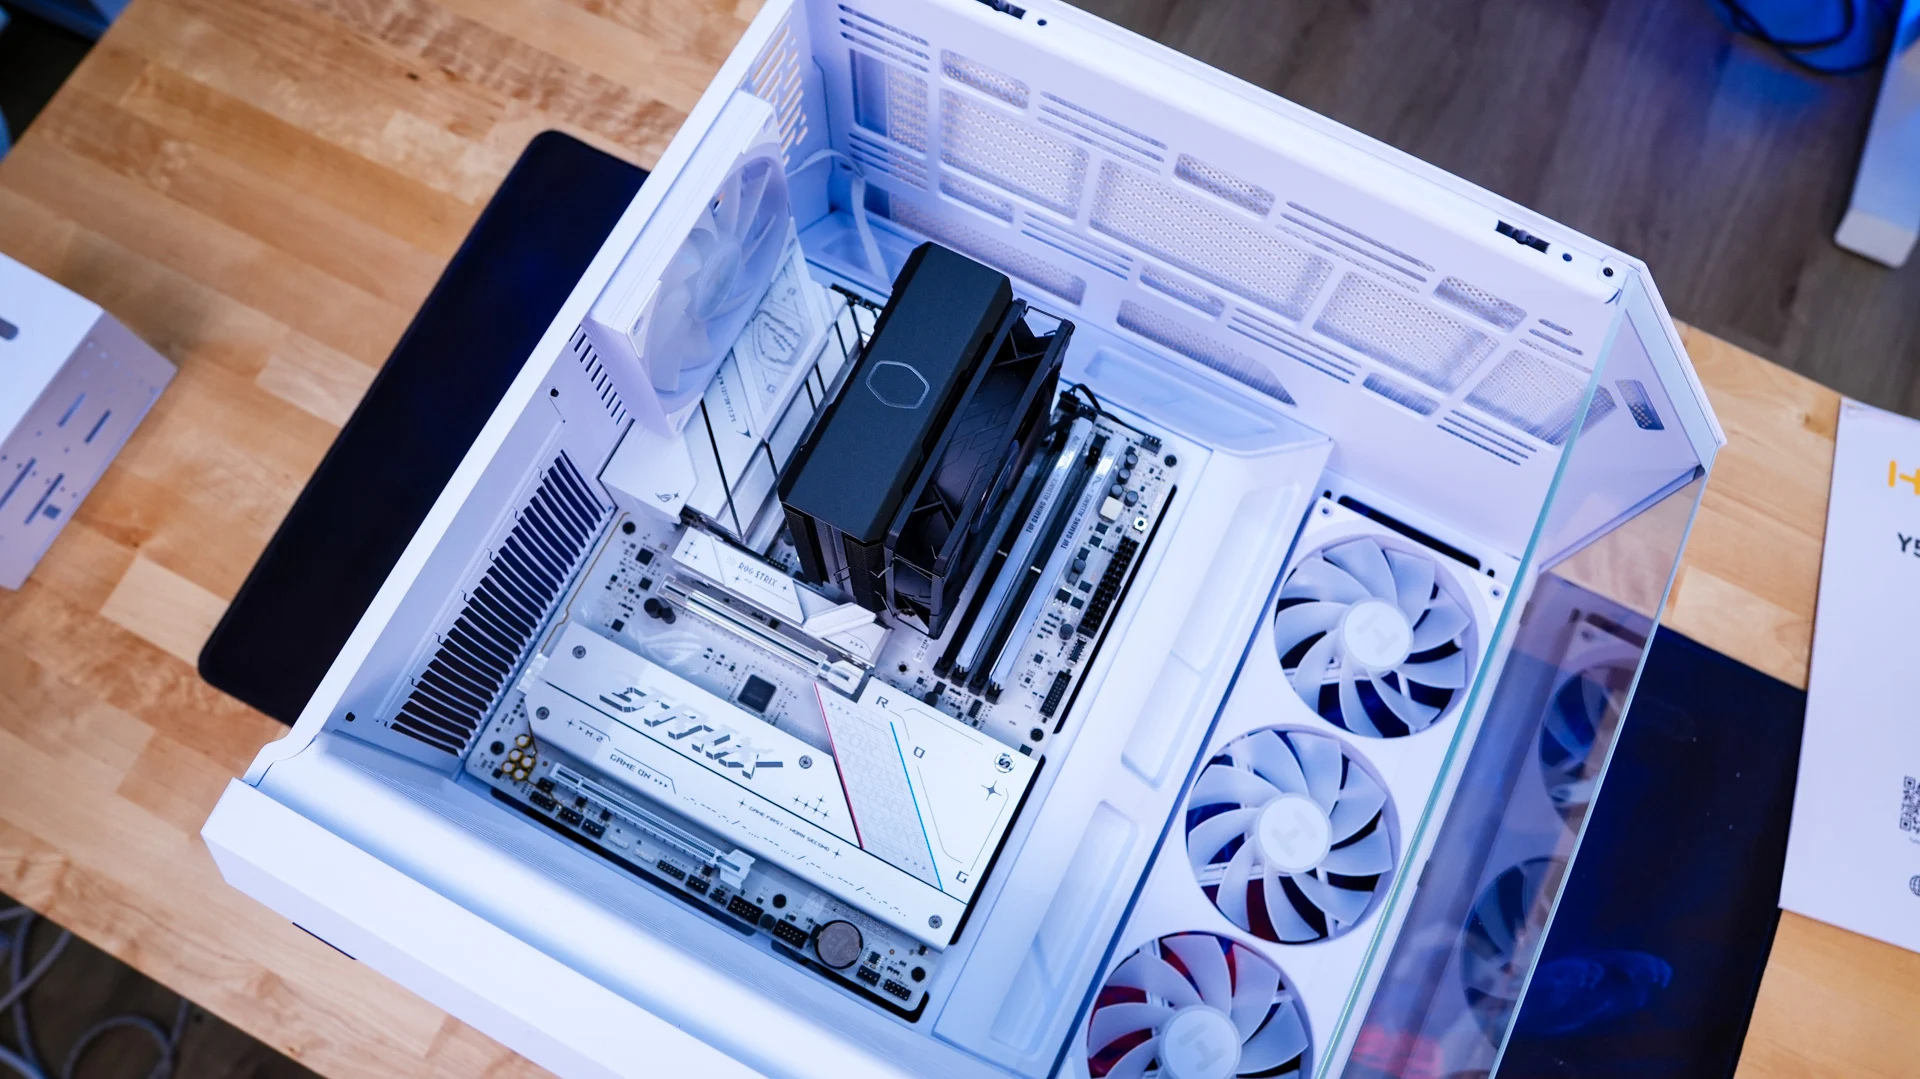
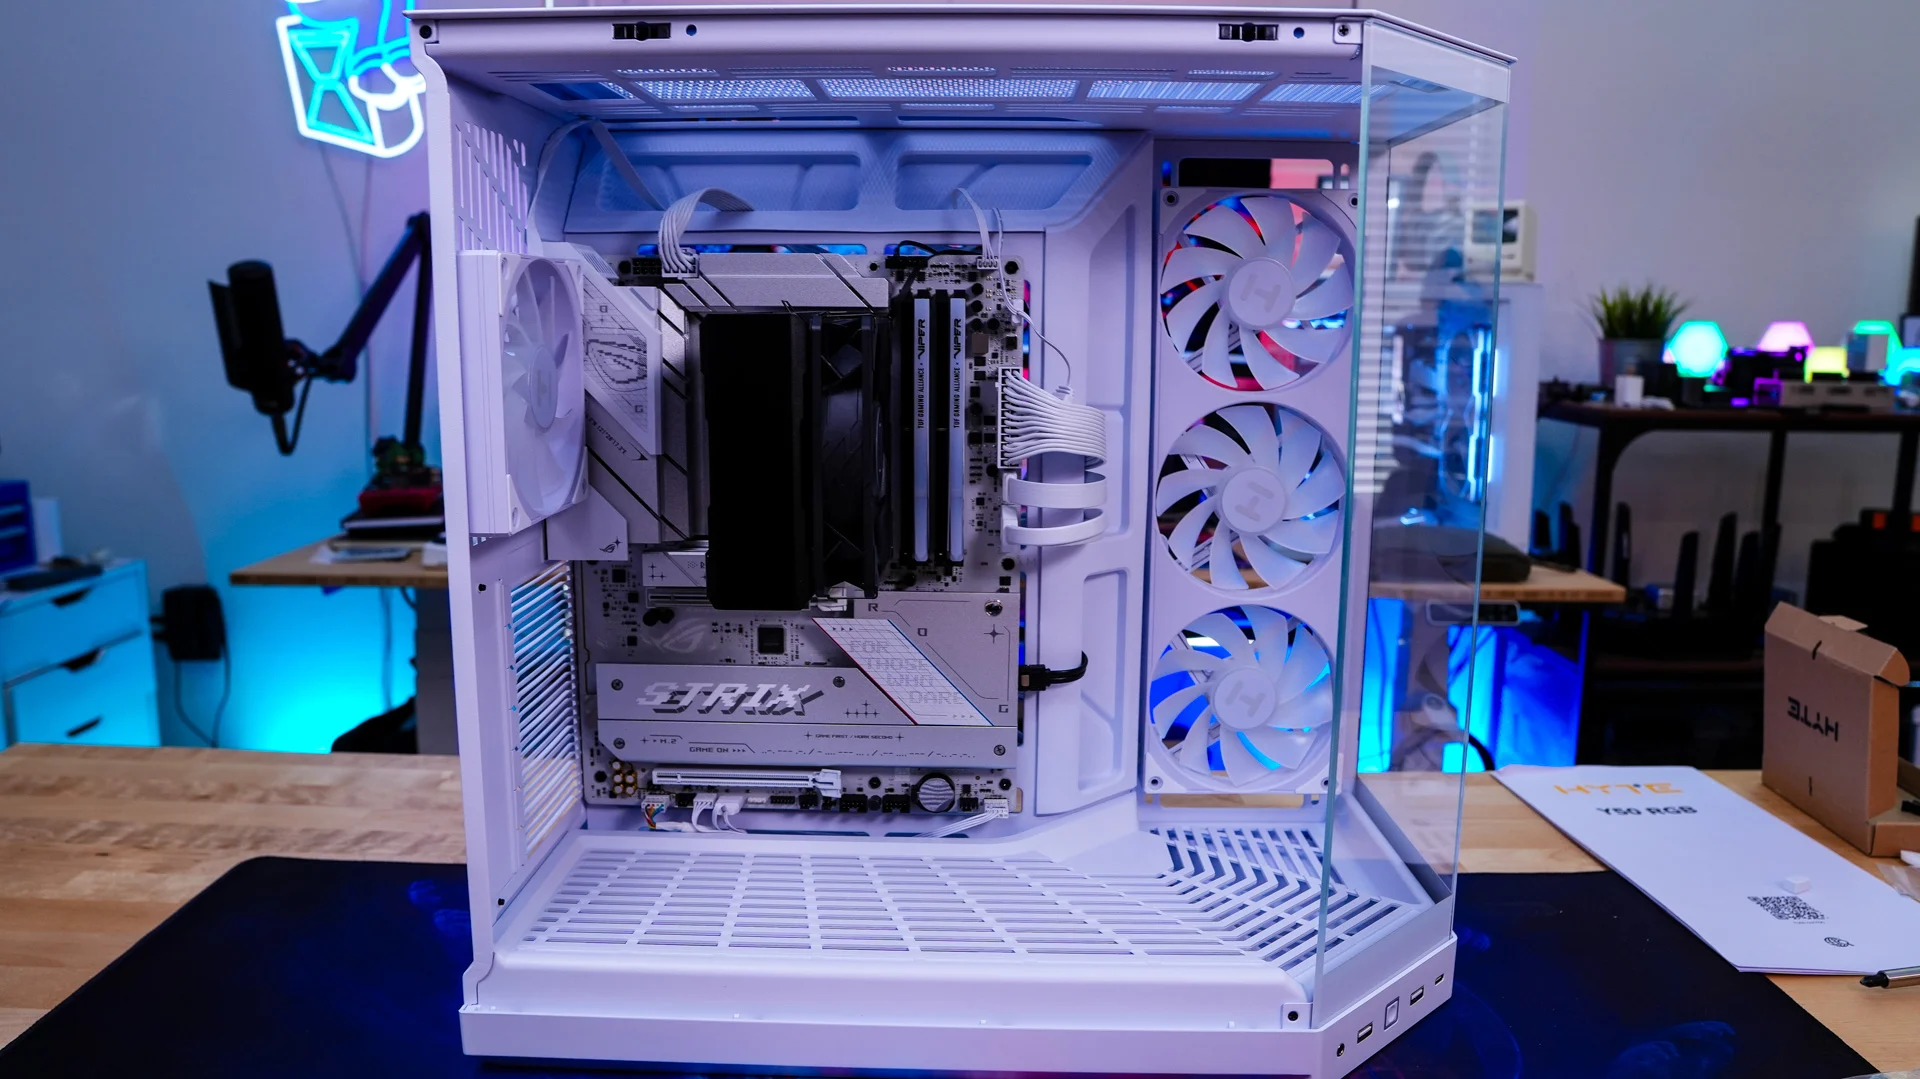
When it comes to building in the HYTE Y50 RGB things are pretty straight-forward. We are going to start with our motherboard, which goes in no problem as we have more than enough room to work with. We also did not have to remove either the front of 45-degree angle panels to get it installed.
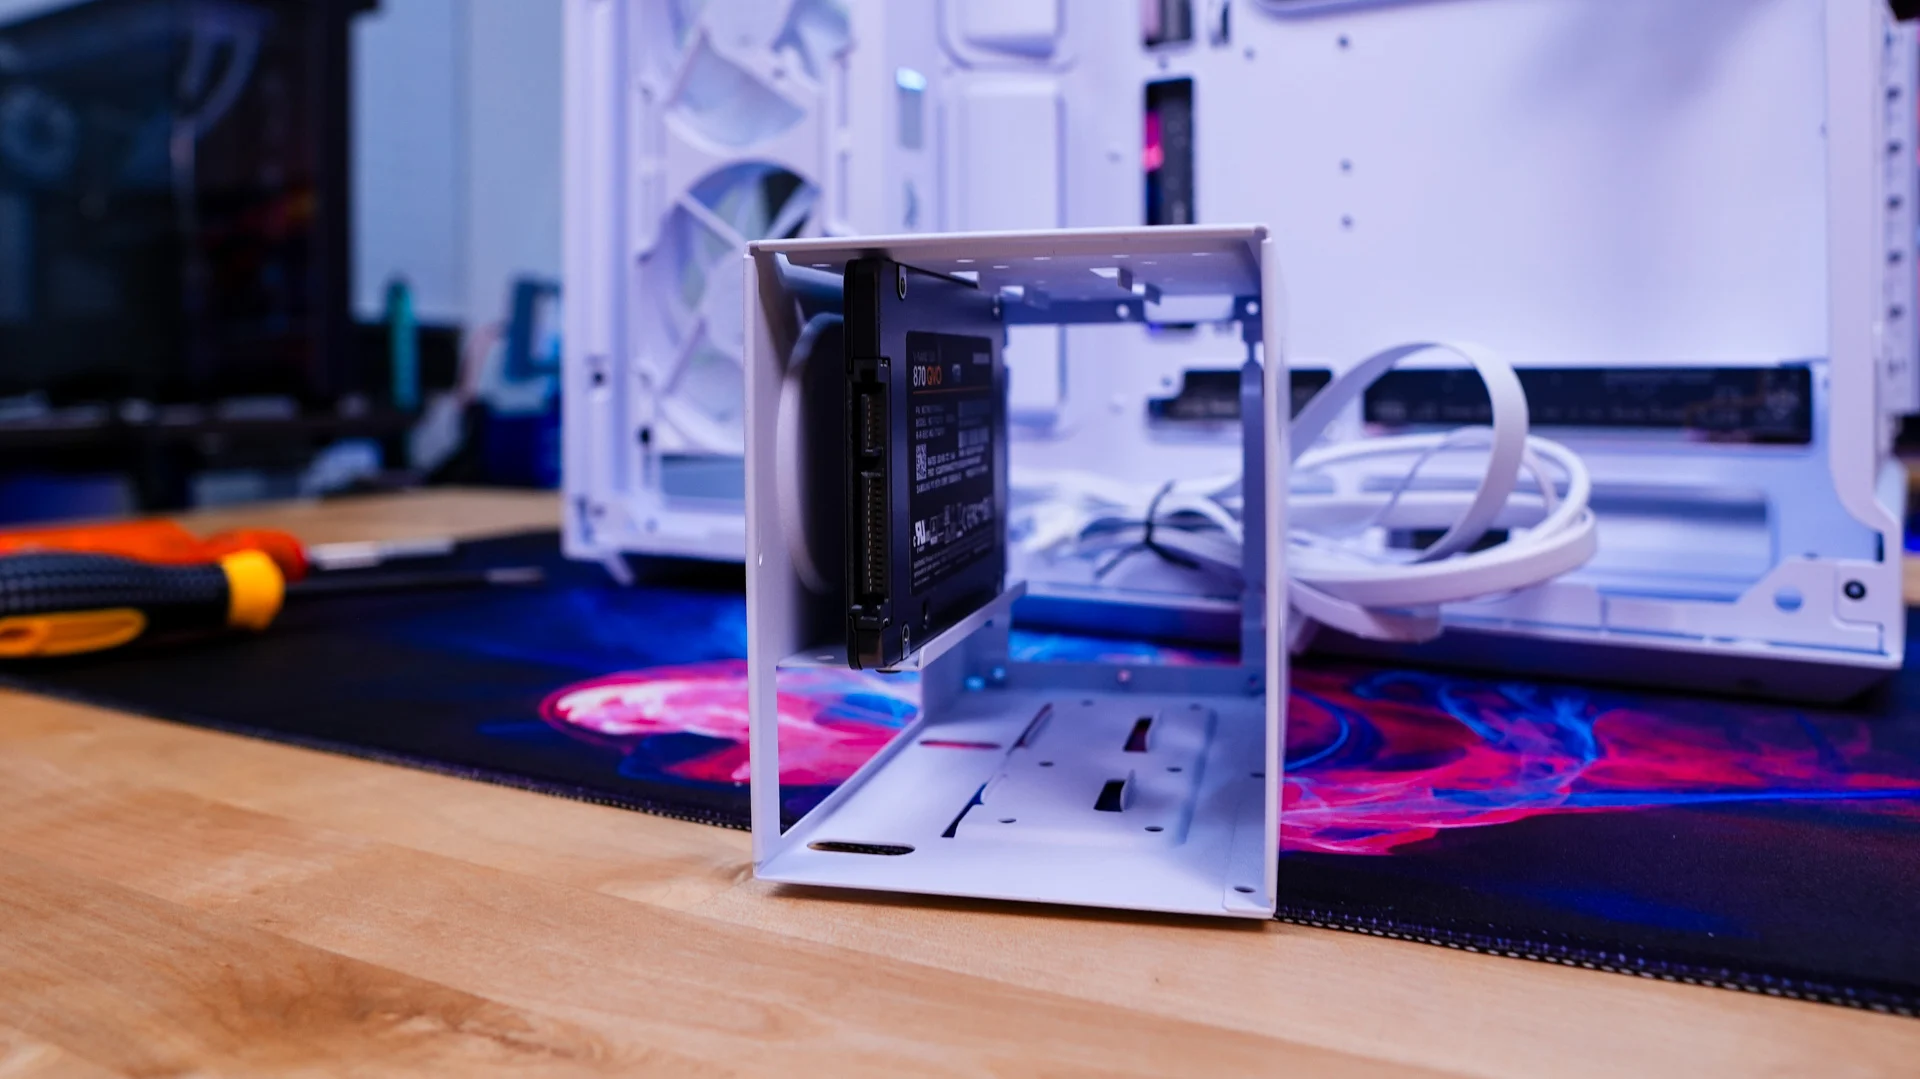
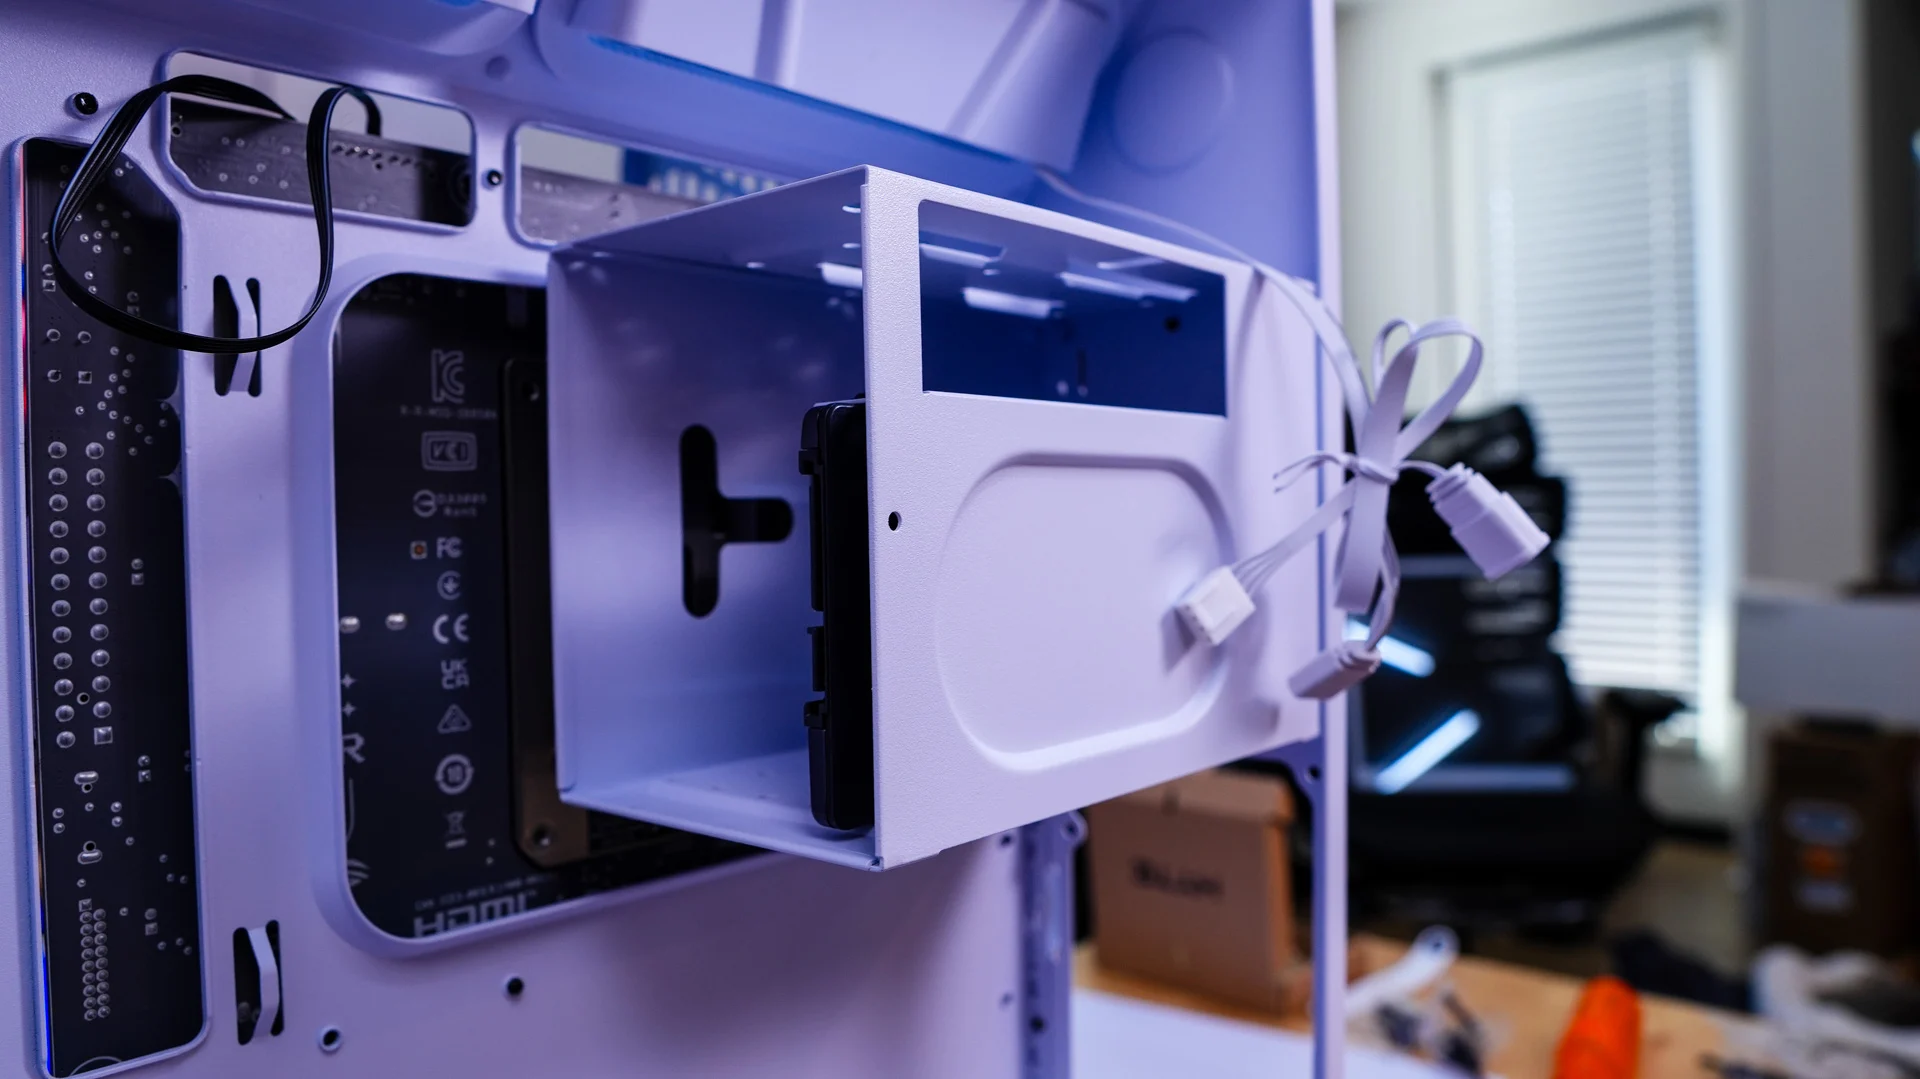
Up next is our 2.5-inch solid state drive. You simply remove the hard drive cage from the case, install your drive, and reinstall the cage. This really makes installing multiple drives quite easy as there is only a single cage to remove.
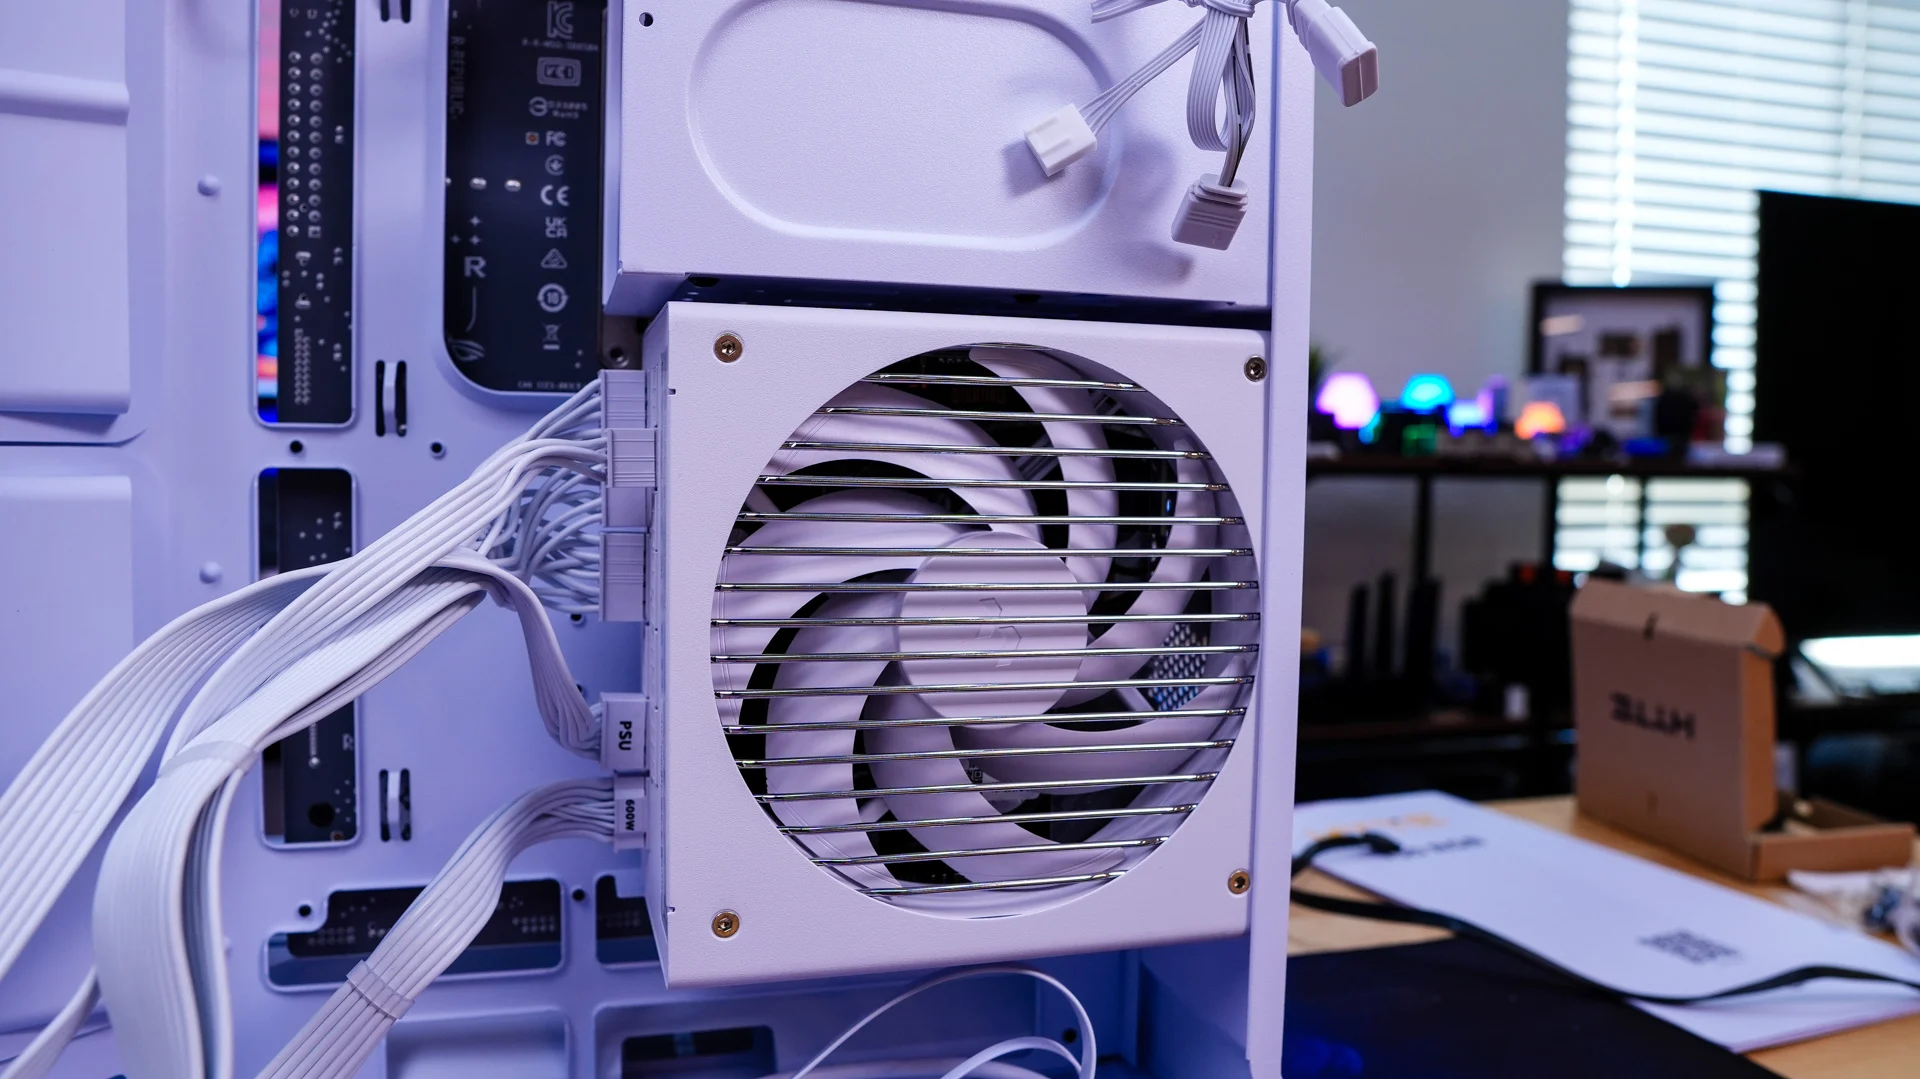
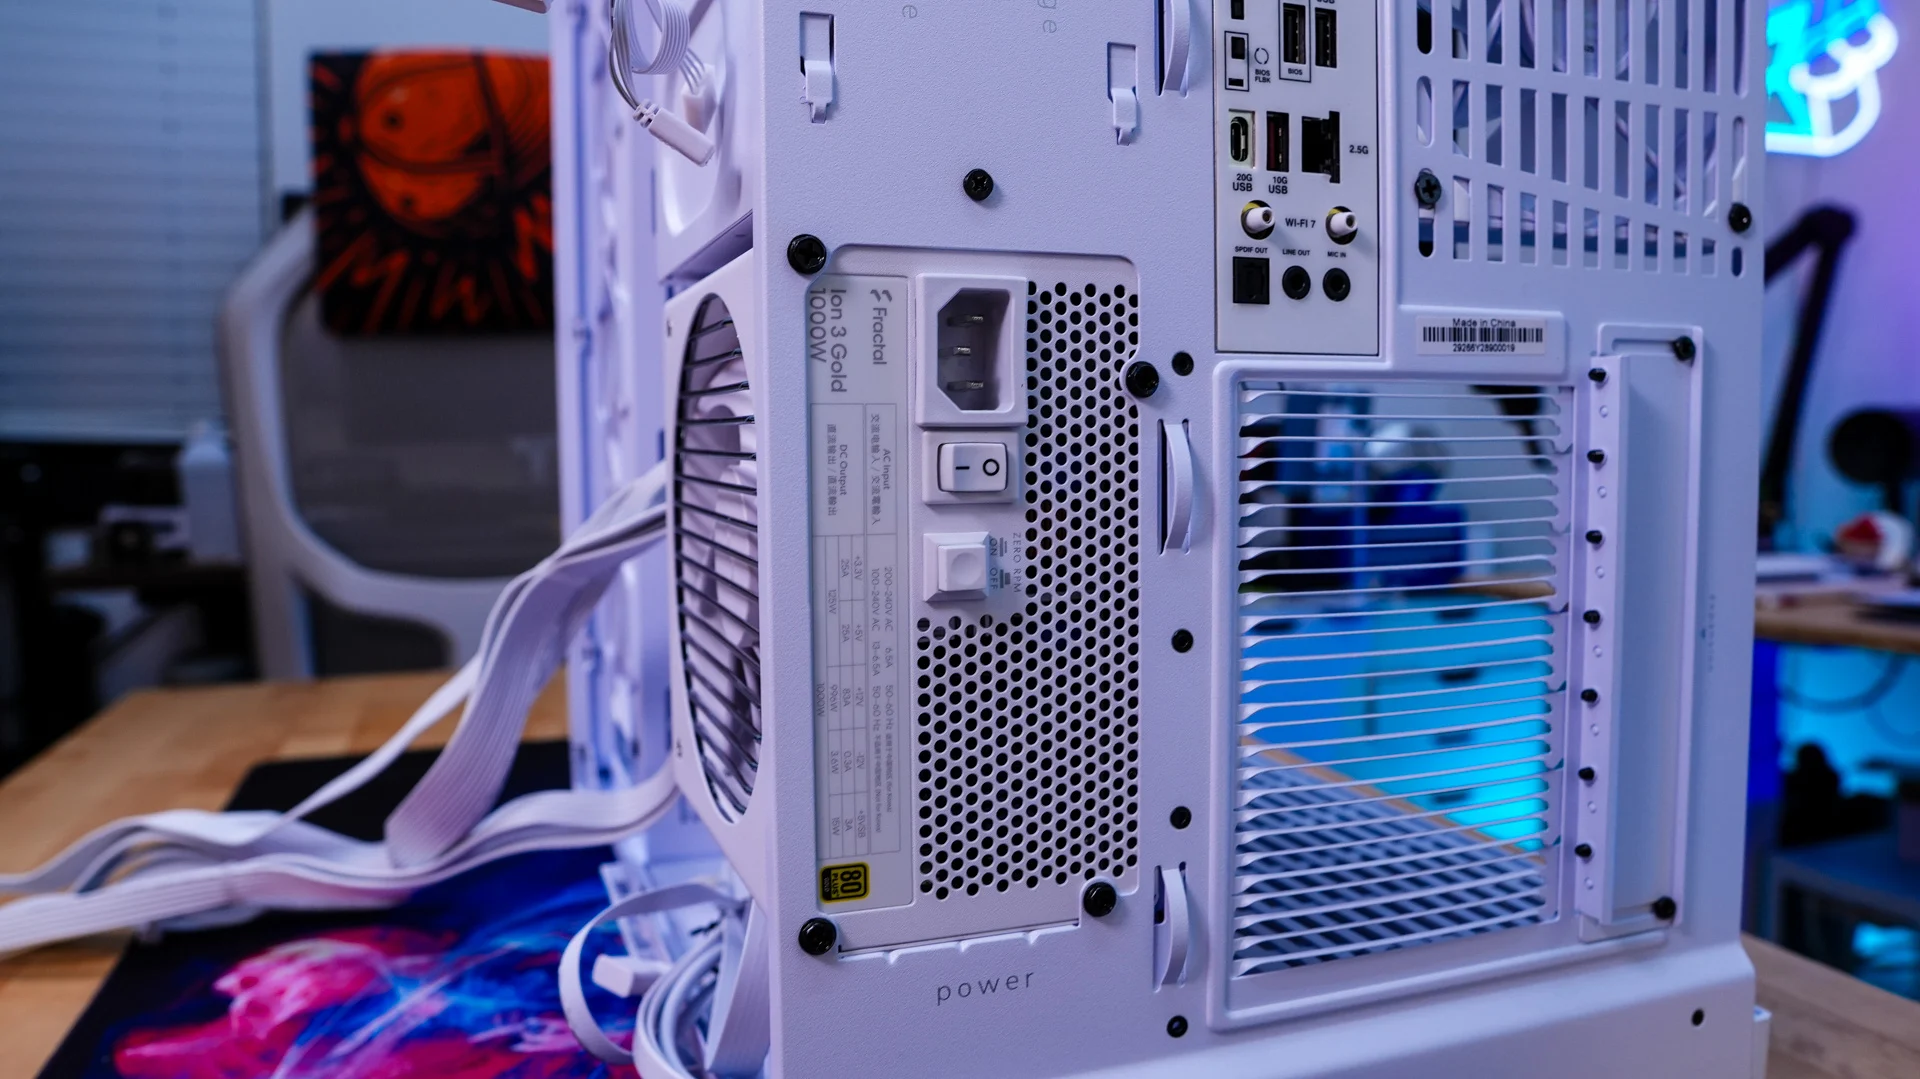
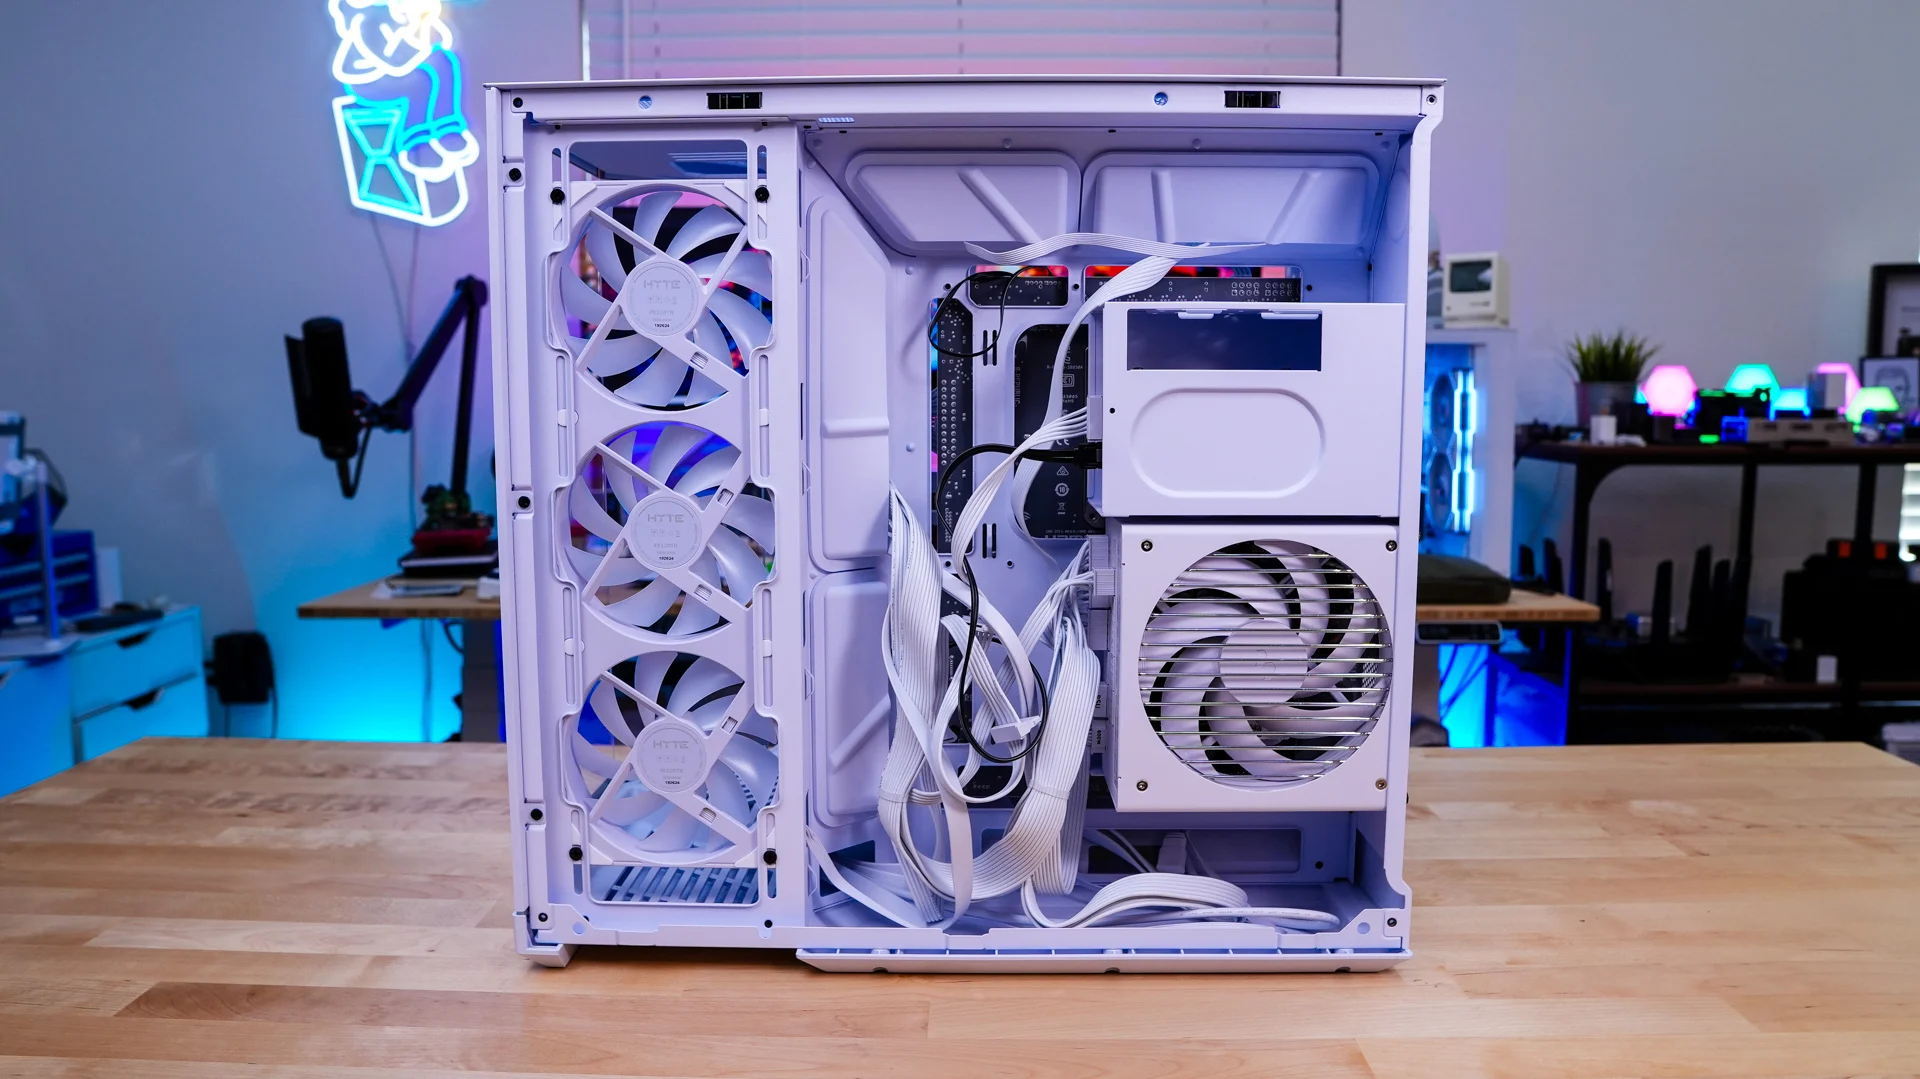
While you are on the backside of the case you can go ahead and install your power supply, which goes in vertically. Be sure to have the fan side facing towards you.
Now it is time to route and connect most of your cables. The large cable routing holes really make this easy and I didn’t have a single issue organizing cables at all. Also there is more than enough room behind the motherboard to hide cables where you don’t really even need to tie them down.
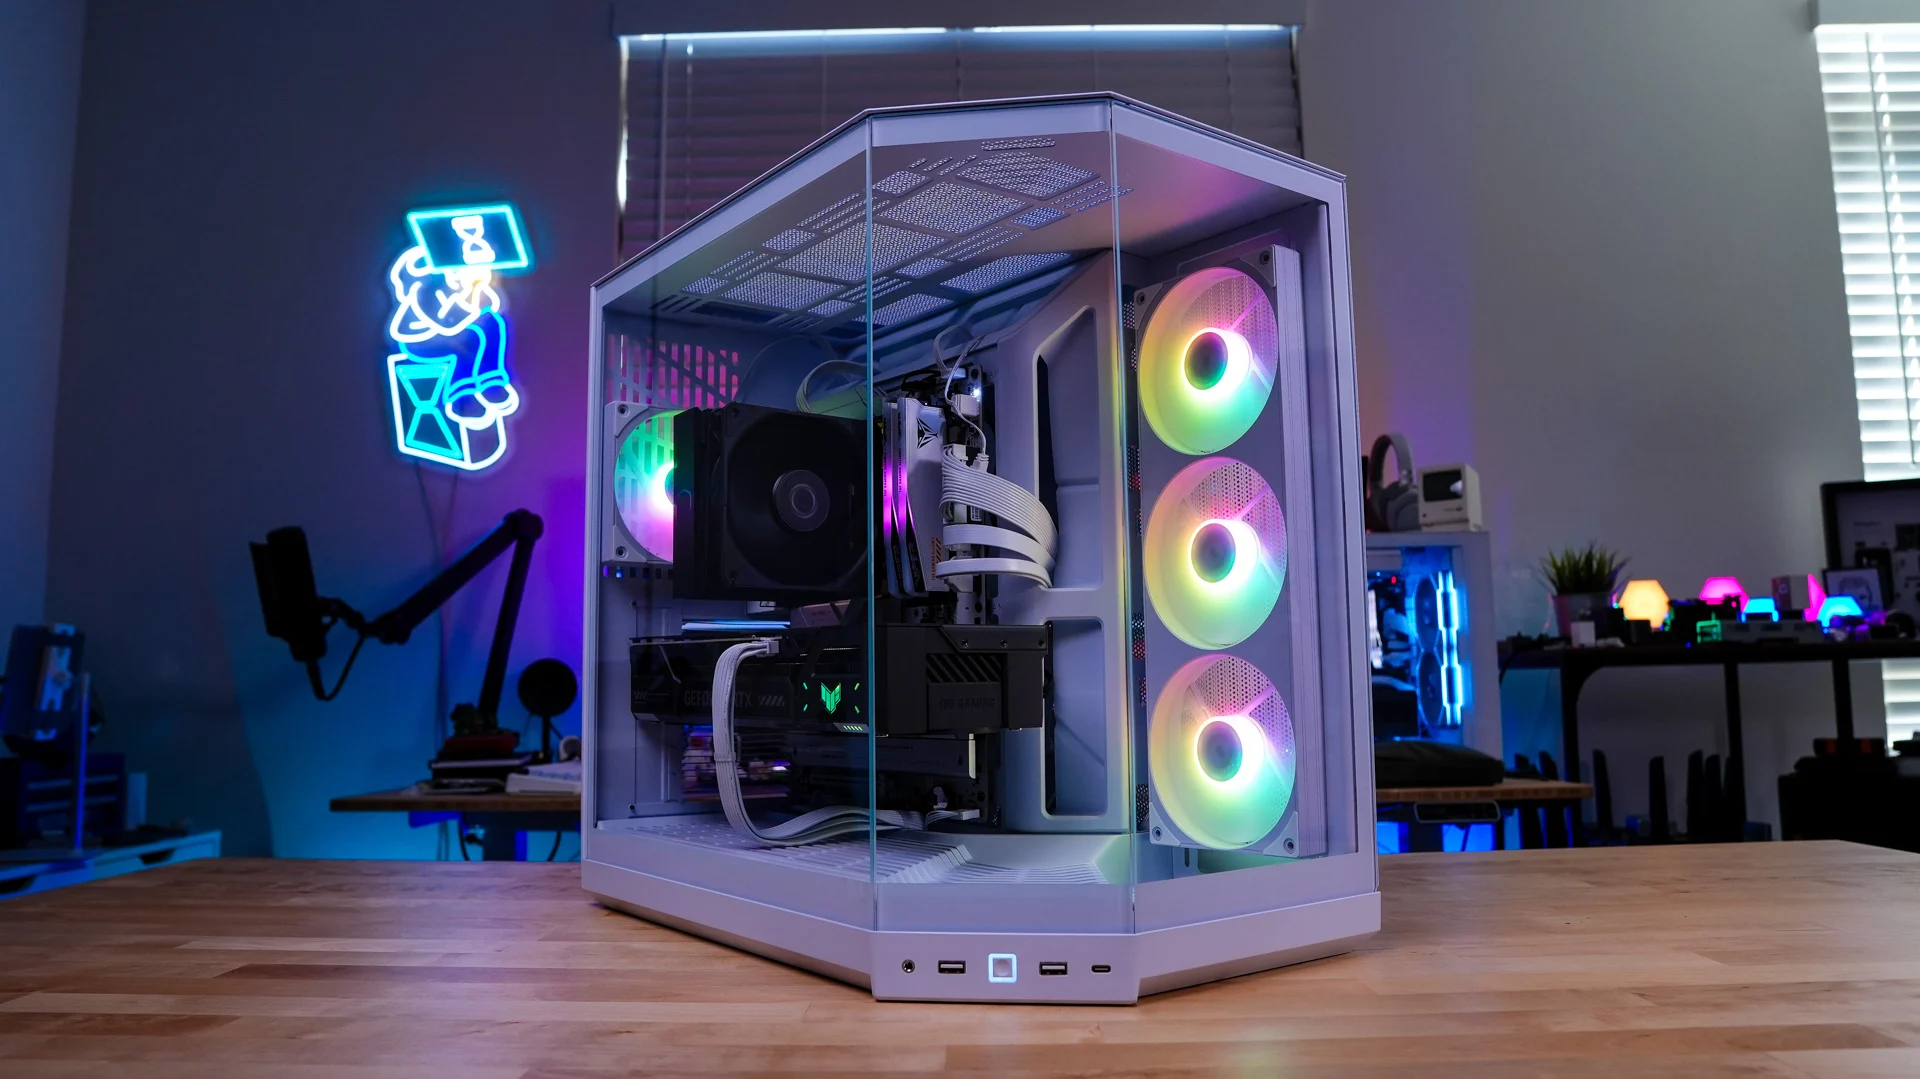
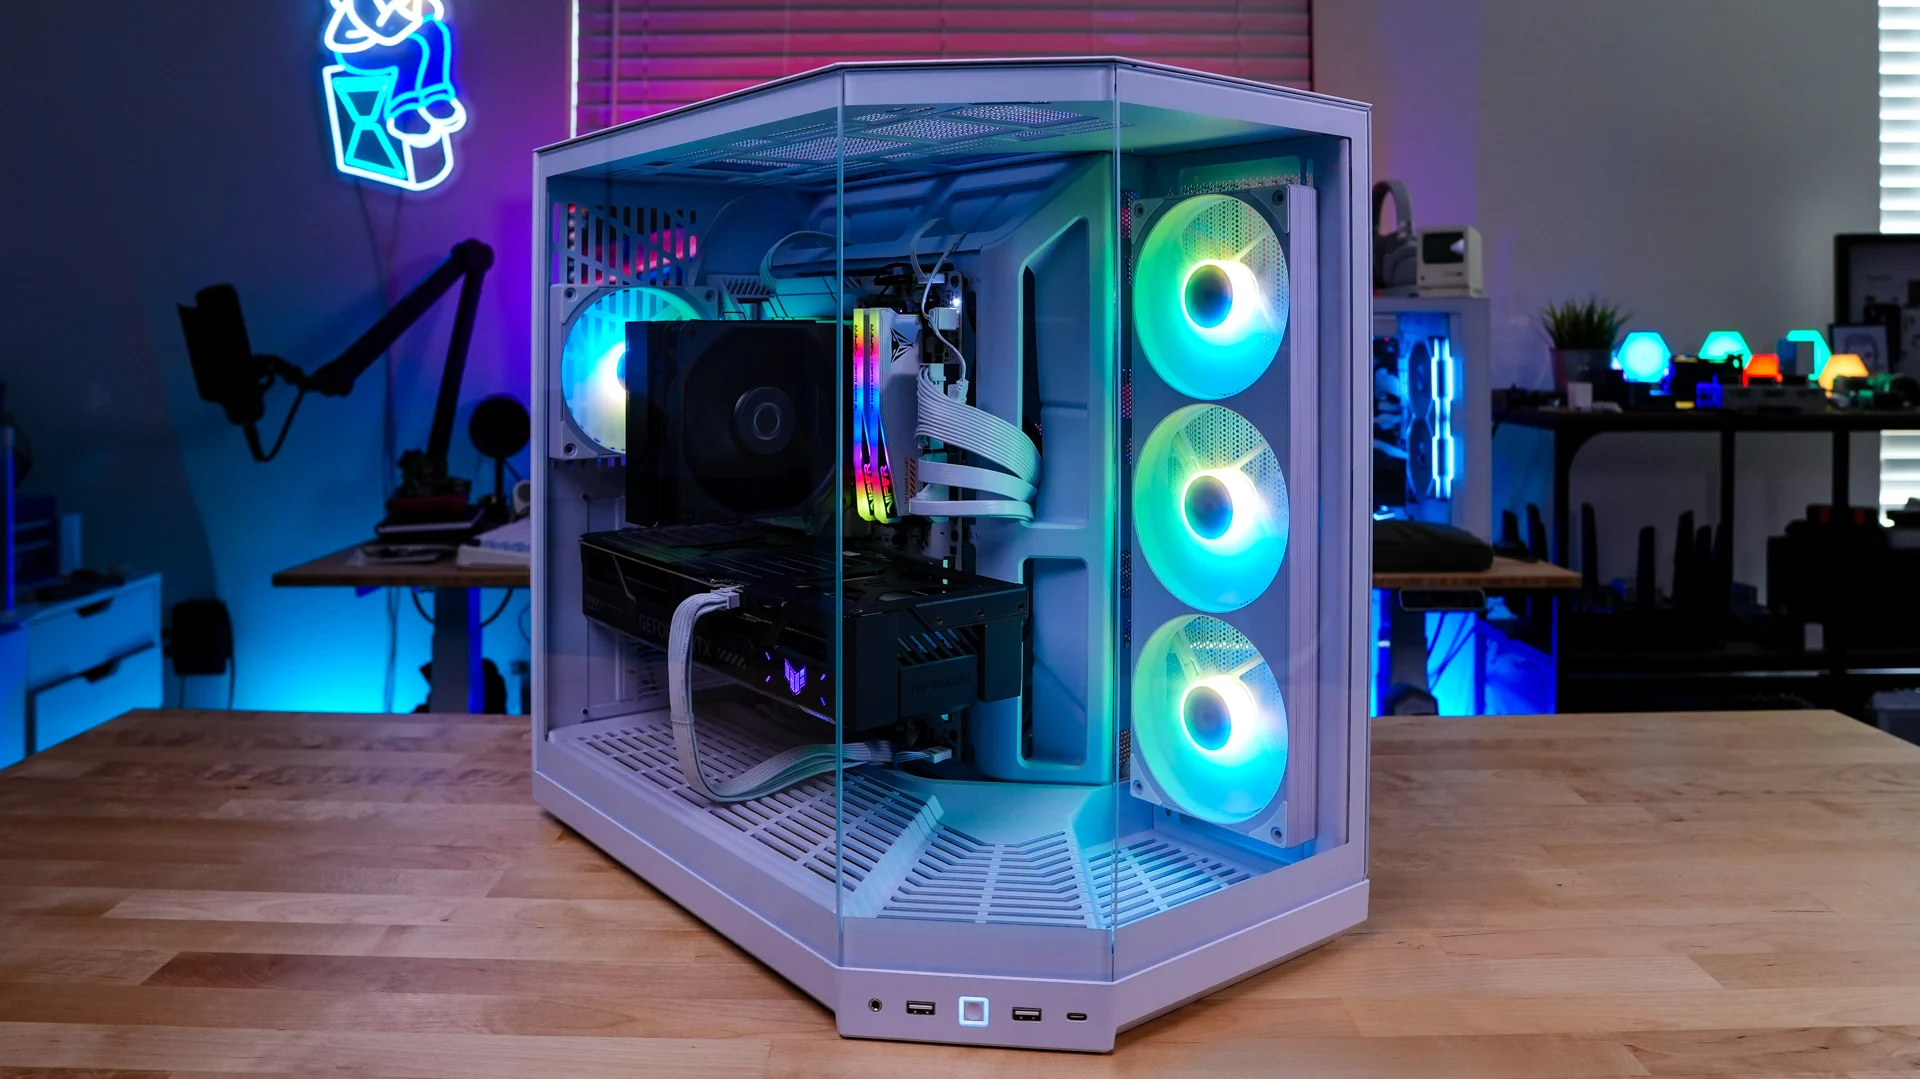
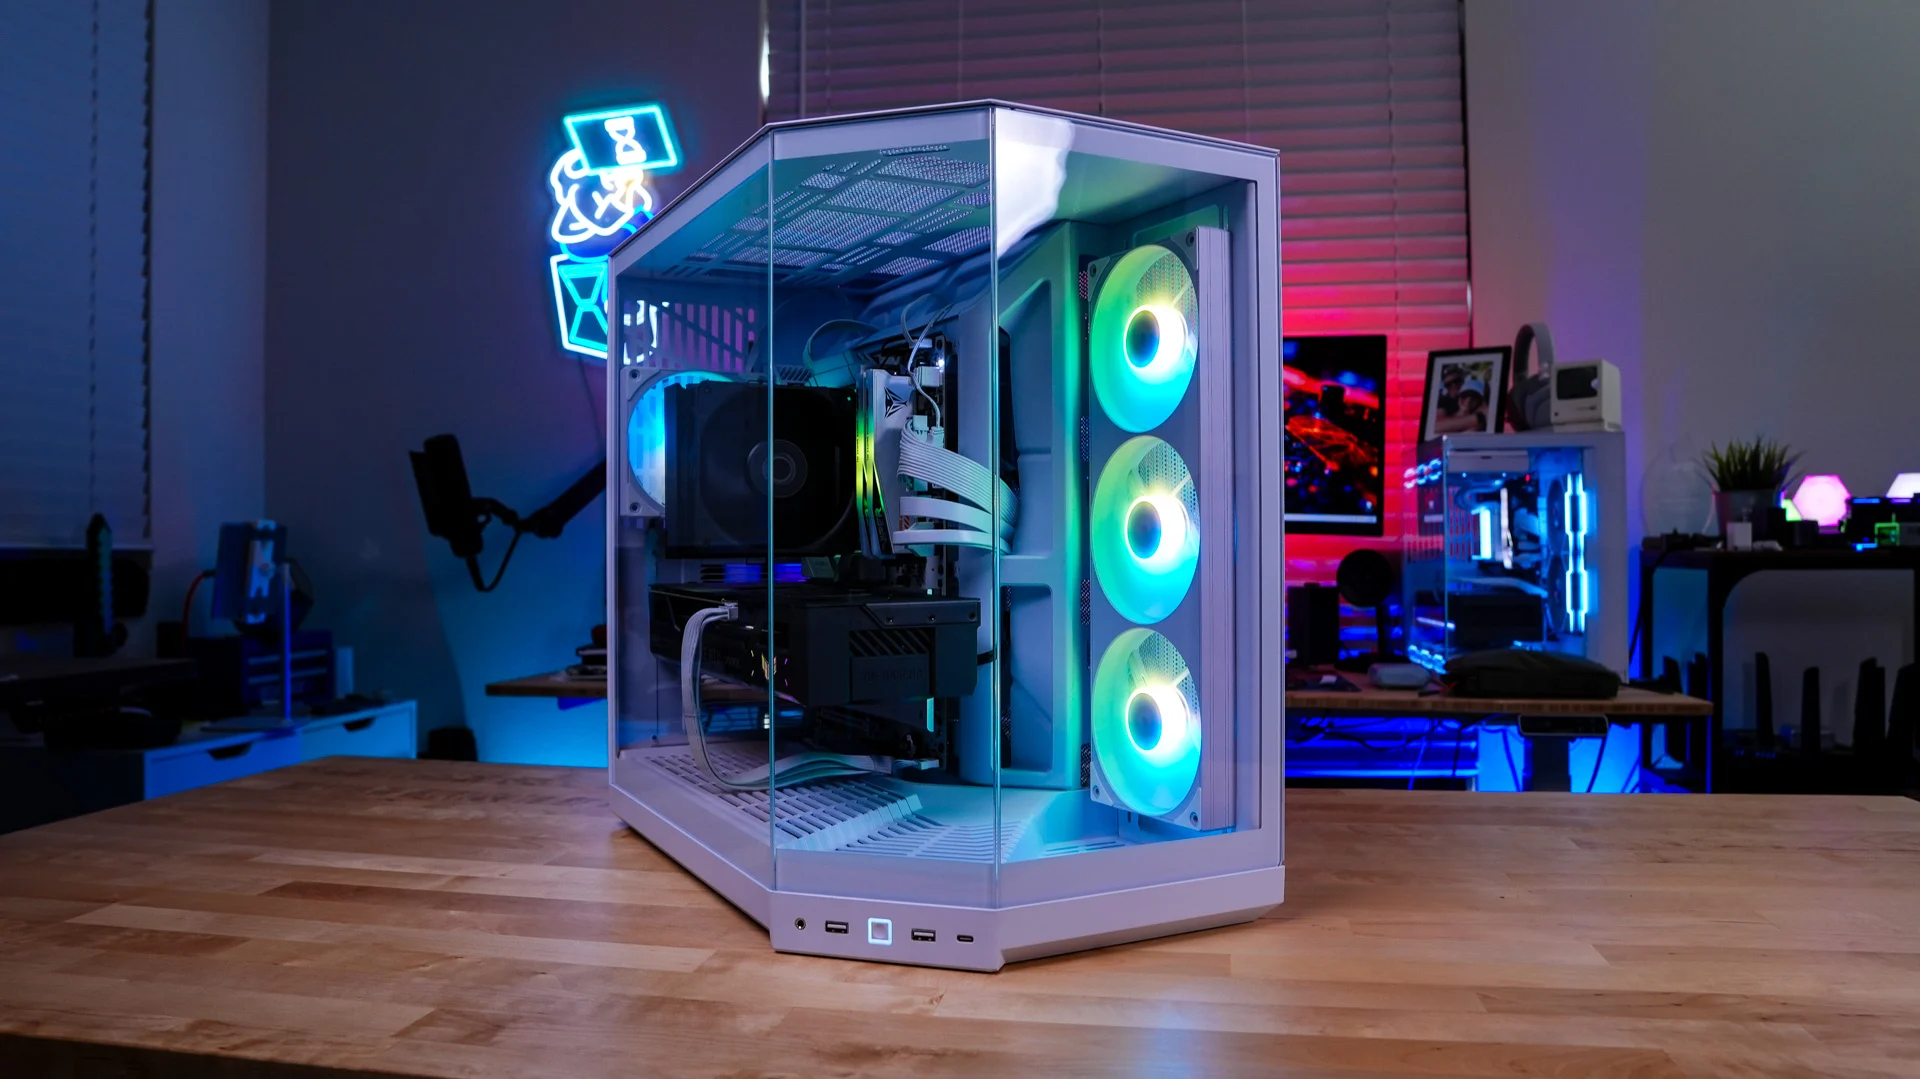
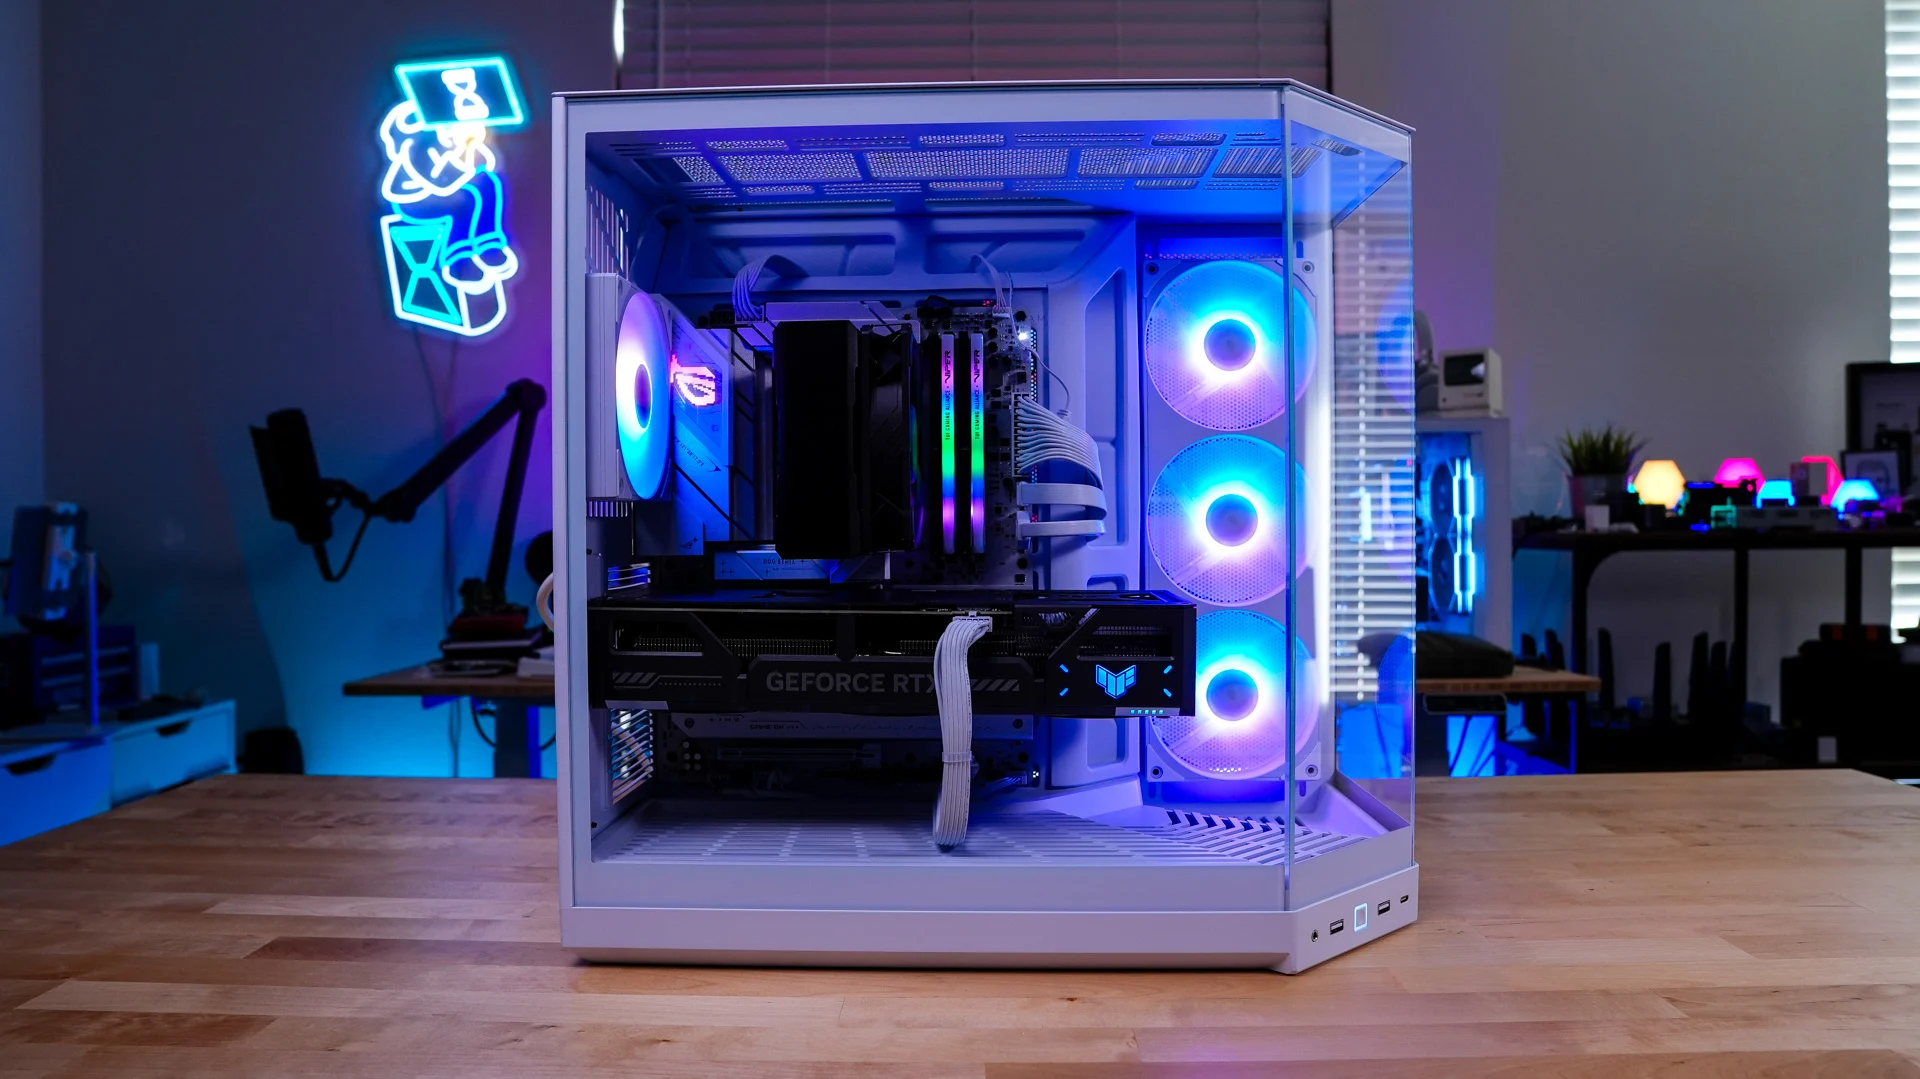
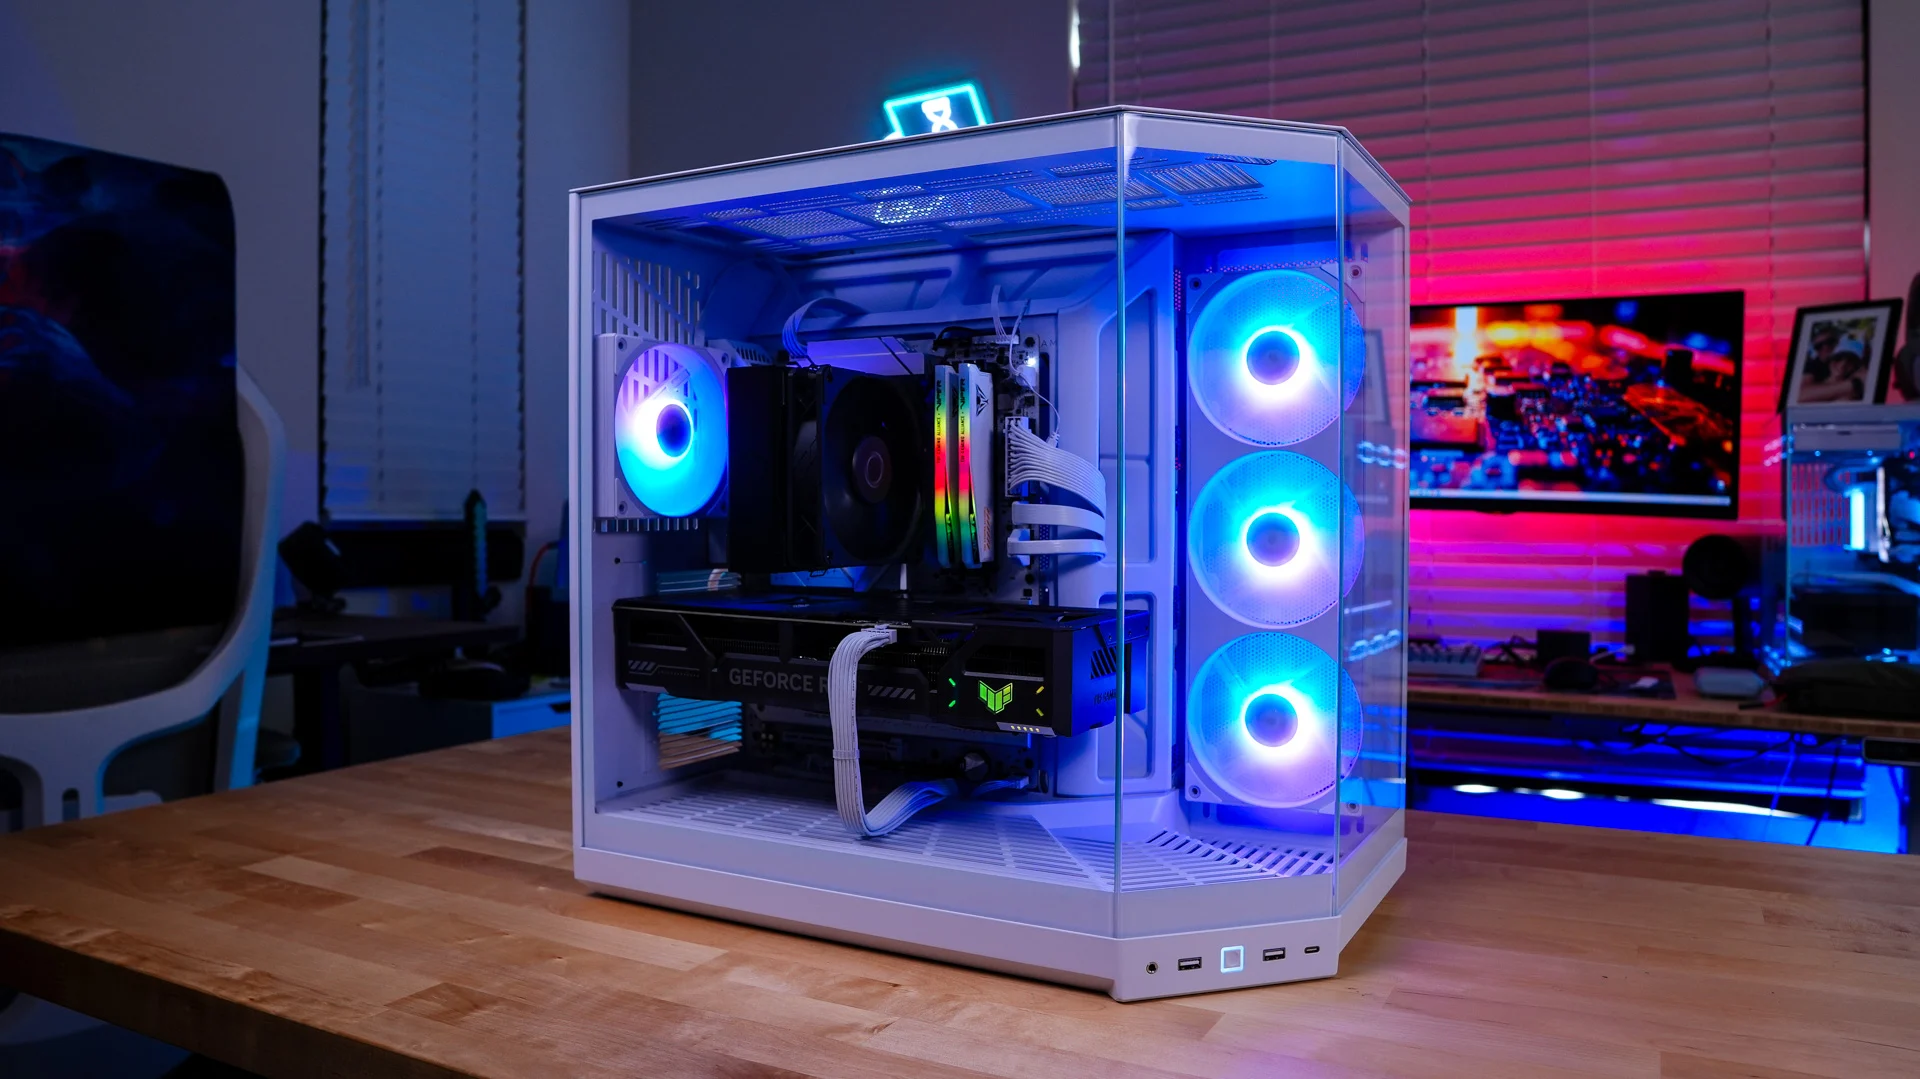
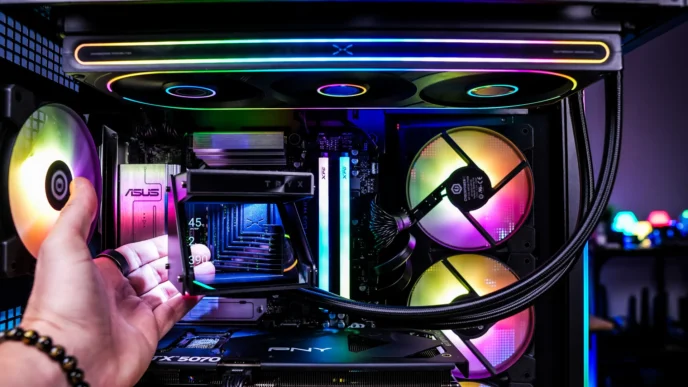
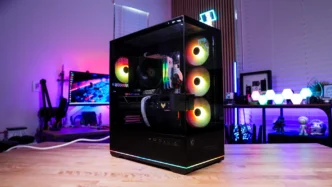
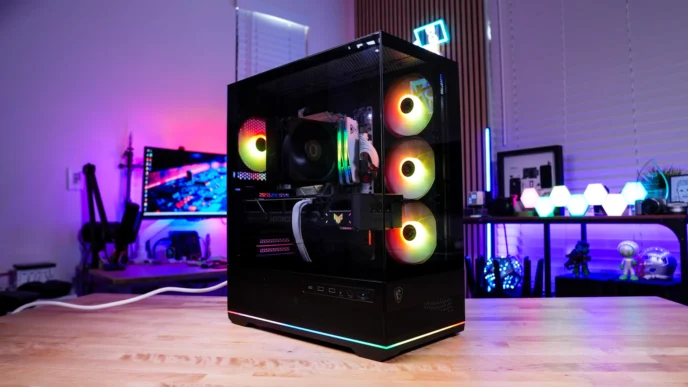
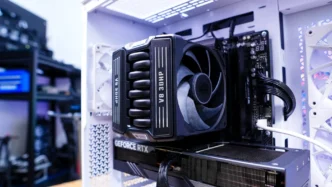
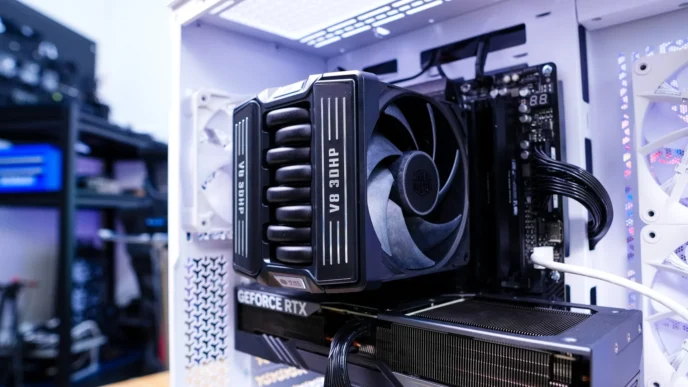
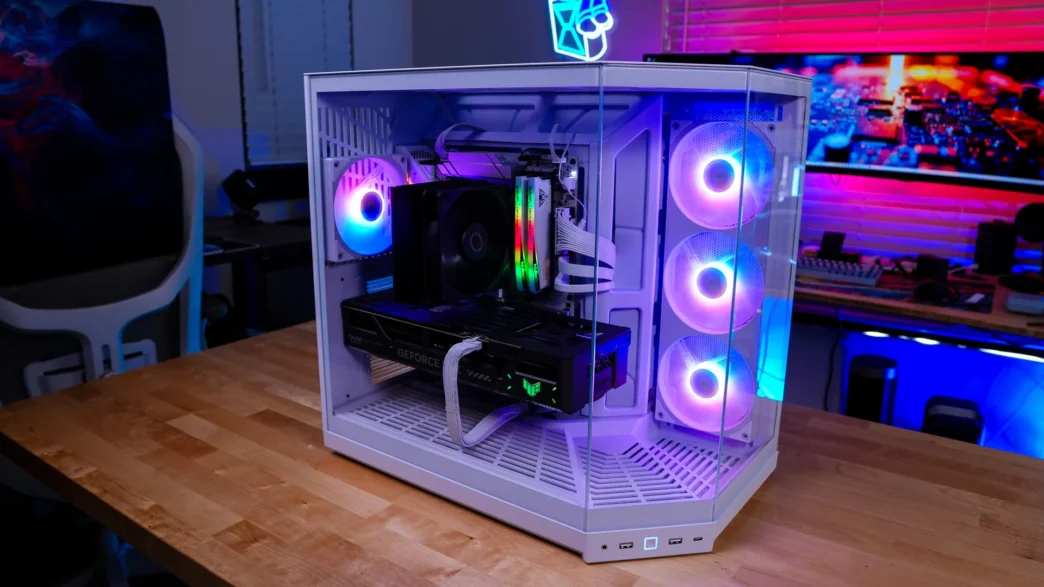
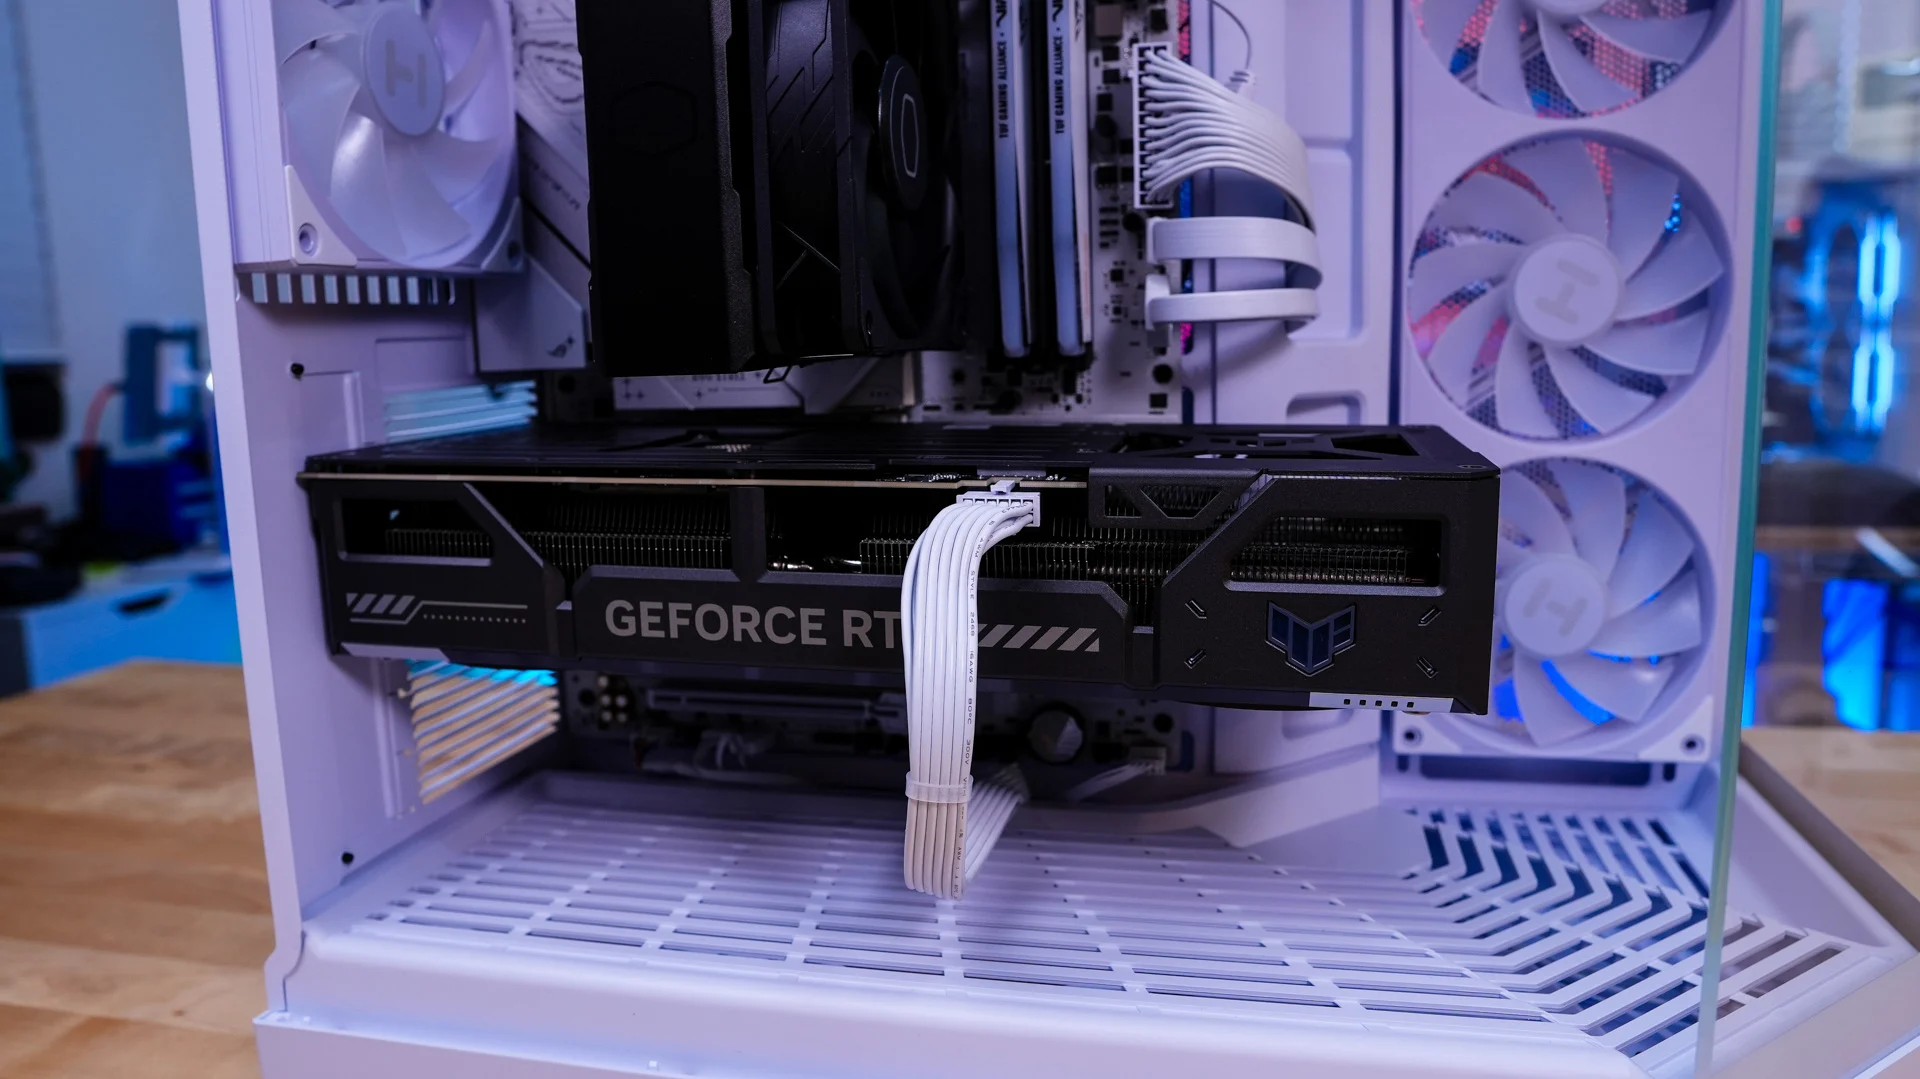
The last thing to install is our graphics card, which I had no issues getting in with those two panels towards the front of the case still in place. With everything installed we have an extremely clean build.
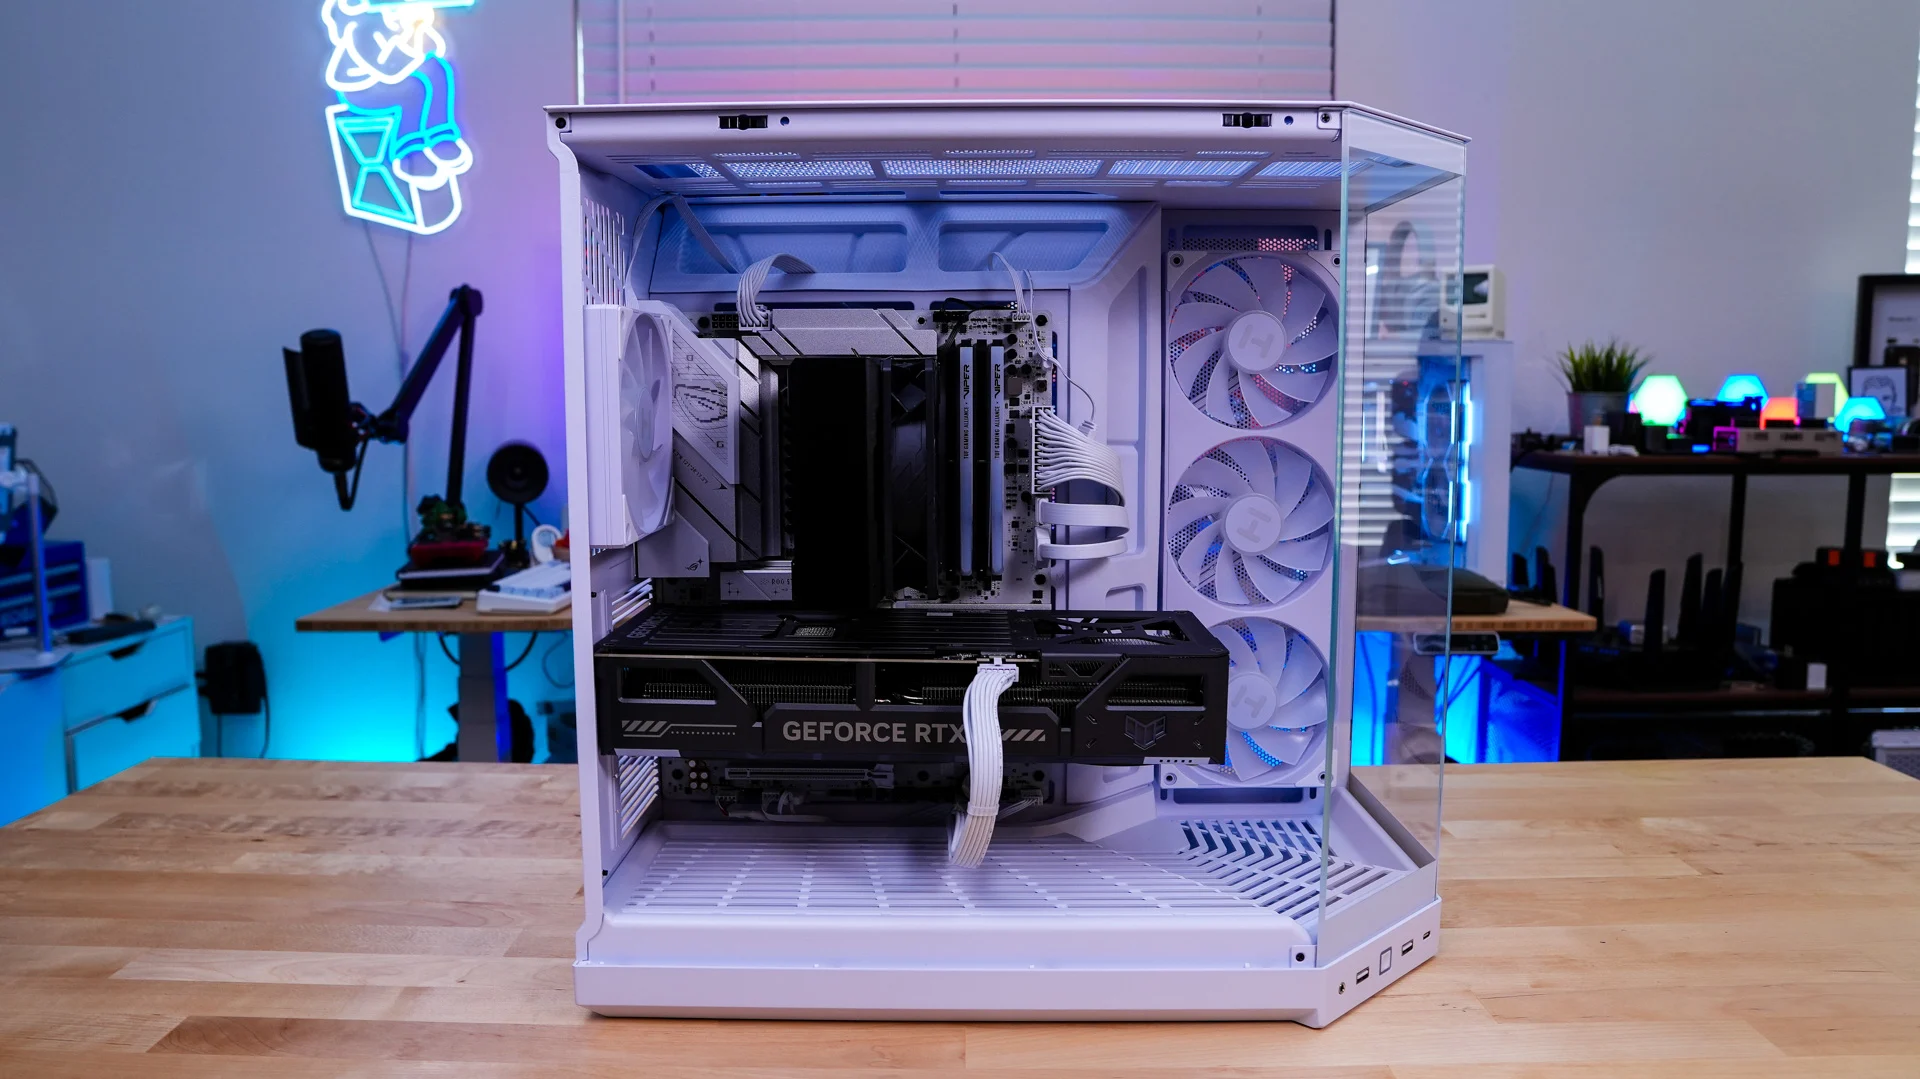
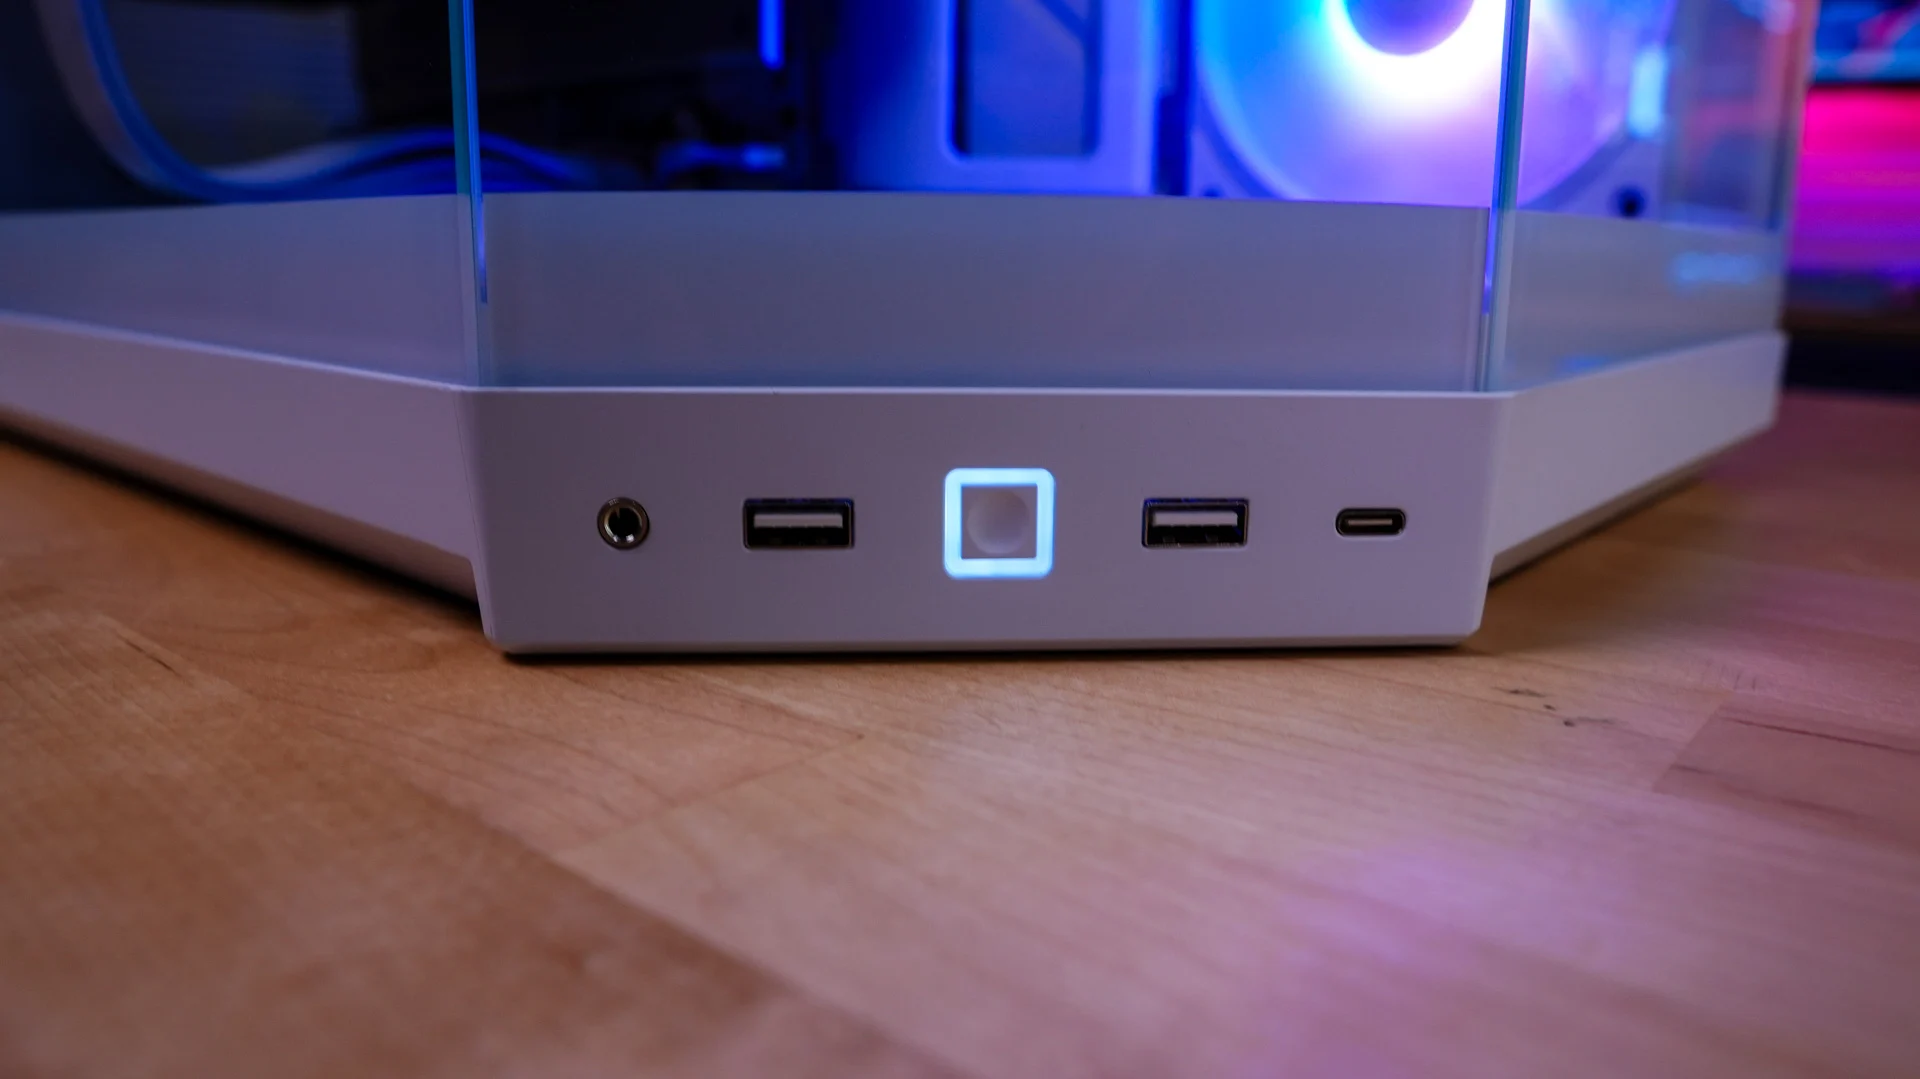
When you power on your system for the first time you’ll see the RGB lighting from the fans turn on, lighting up the inside of the case. If you were wondering these fans use a standard 3-pin ARGB header so you can easily connect them to headers on your motherboard and control them with RGB software that way. The power button illuminates as well.