A Look Inside
To get inside the case you have to remove the glass side panel. It sits on four rubber washers the ensure that the glass will not crack when you tighten the 4 screws. Once you remove the side panel you can take a look inside. This is the D-Frame Mini so you only have support for mini-ITX cases here.

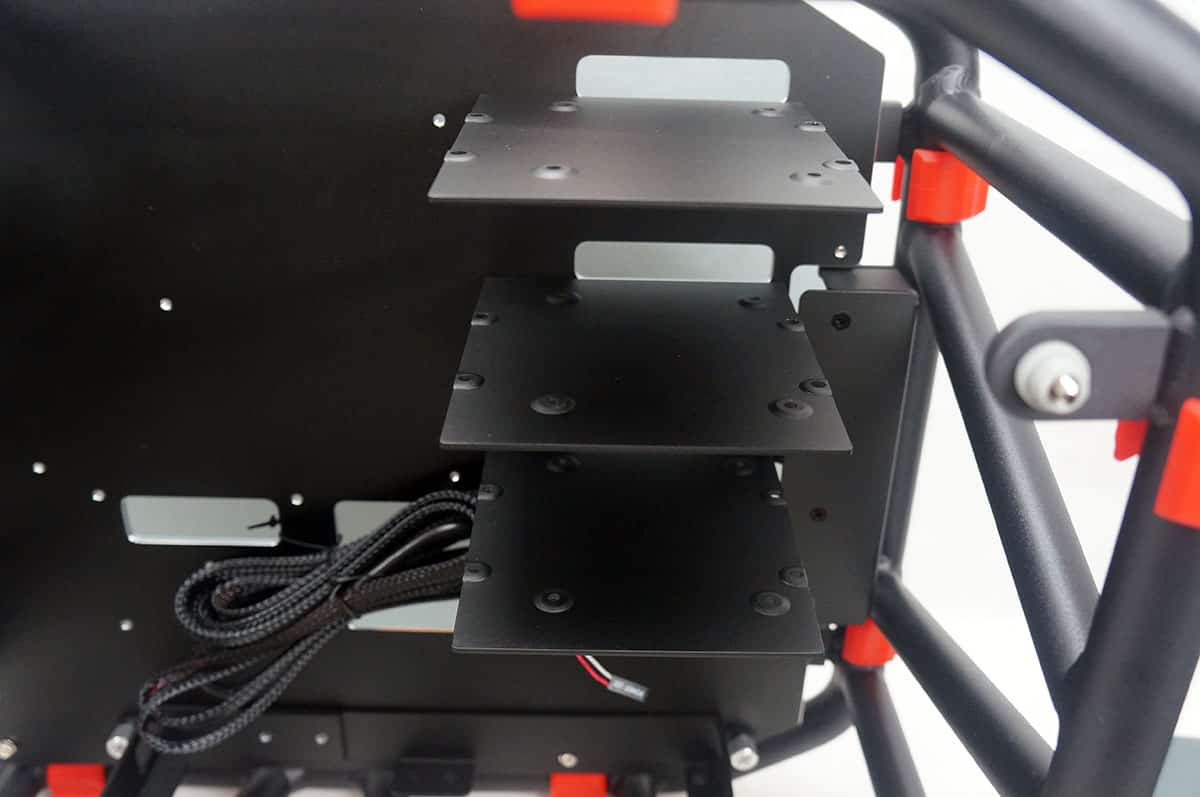
Starting towards the front of the case you have three hard drive trays or shelves as I call them. These are removable and support both 2.5-inch and 3.5-inch hard drives.
At the bottom of the case you will find a mounting for two 120 mm fans or a 240 mm radiator. This is really your only form of cooling on this case, no fans are included either. If you happen to not want to install anything here the entire holder can be removed.

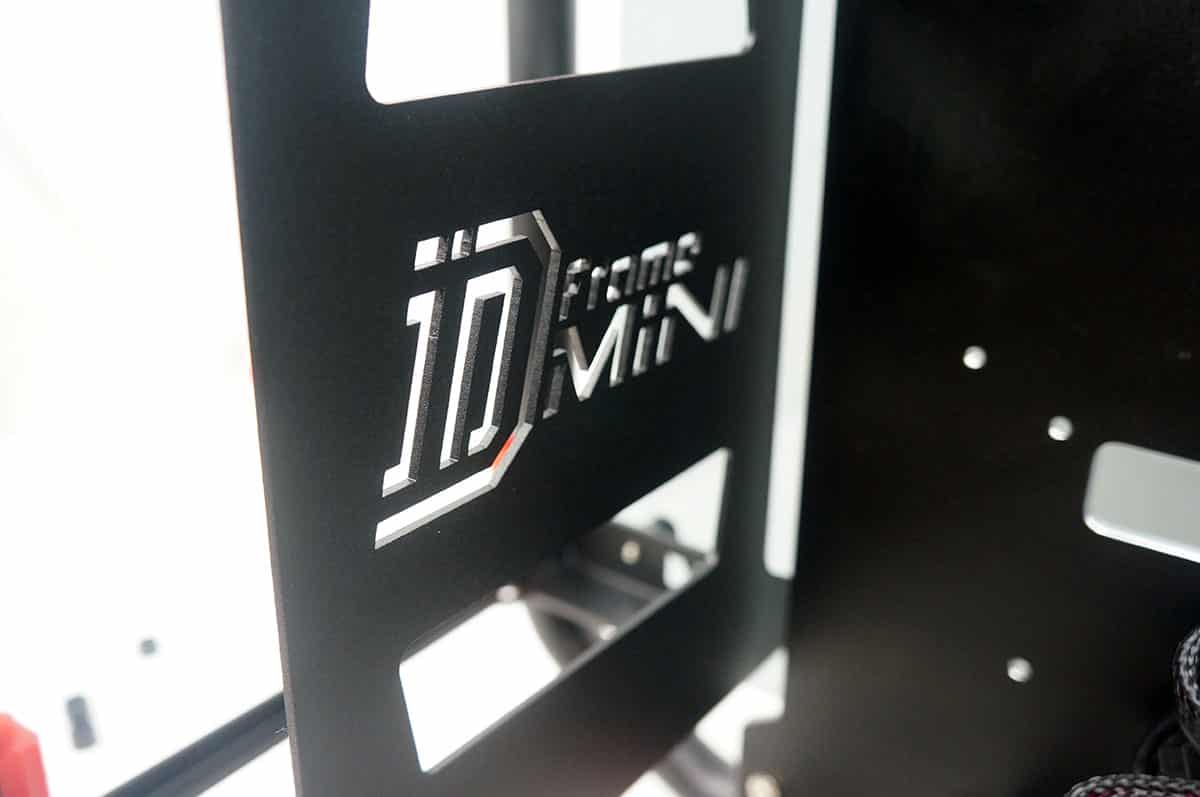
Towards the back of the case there is an cut-out of the D-Frame Mini logo, which actually looks pretty cool.
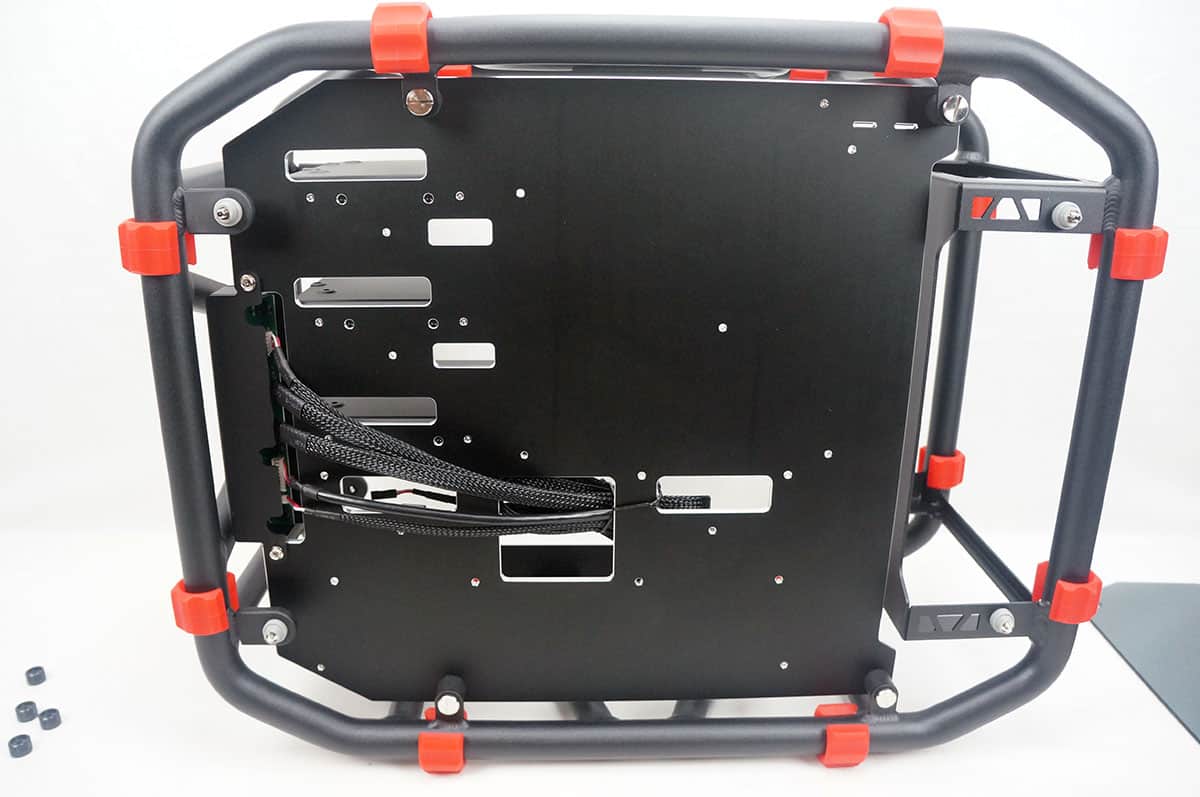
Removing the rear side panel you can see how all of your cables will be routed and all of that. There are three larger routing holes where your hard drives will be installed and 5 others. While these cable routing holes do not have rubber inserts the metal is rounded so it is unlikely you would rip or tear your cables.