Installation
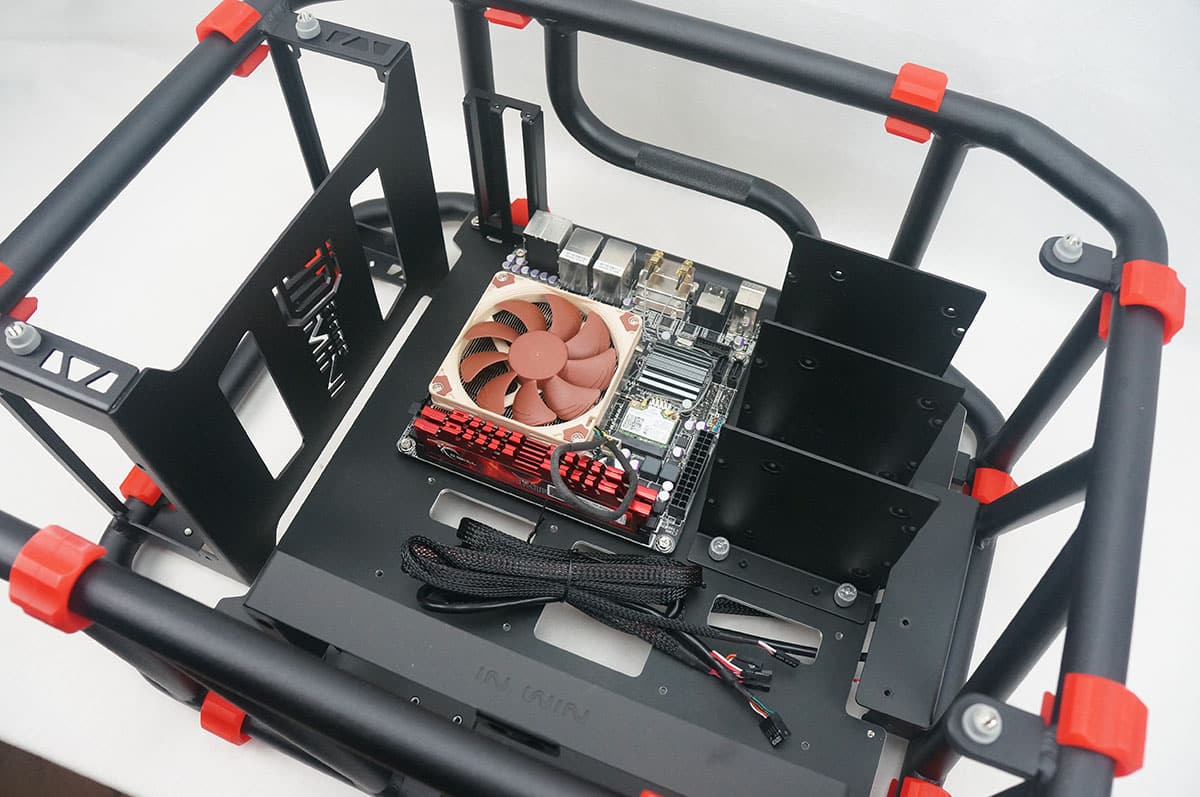
To start off our installation we will be installing our motherboard. Since this case is larger than most mini-ITX cases you have plenty of room inside to mount your mini-ITX motherboard. You will have to install your own motherboard standoffs, but In Win does include a standoff install tool. Also all of the included mounting hardware is labeled in individual bags, which is nice. The motherboard is installed with the ports facing the top of the case.
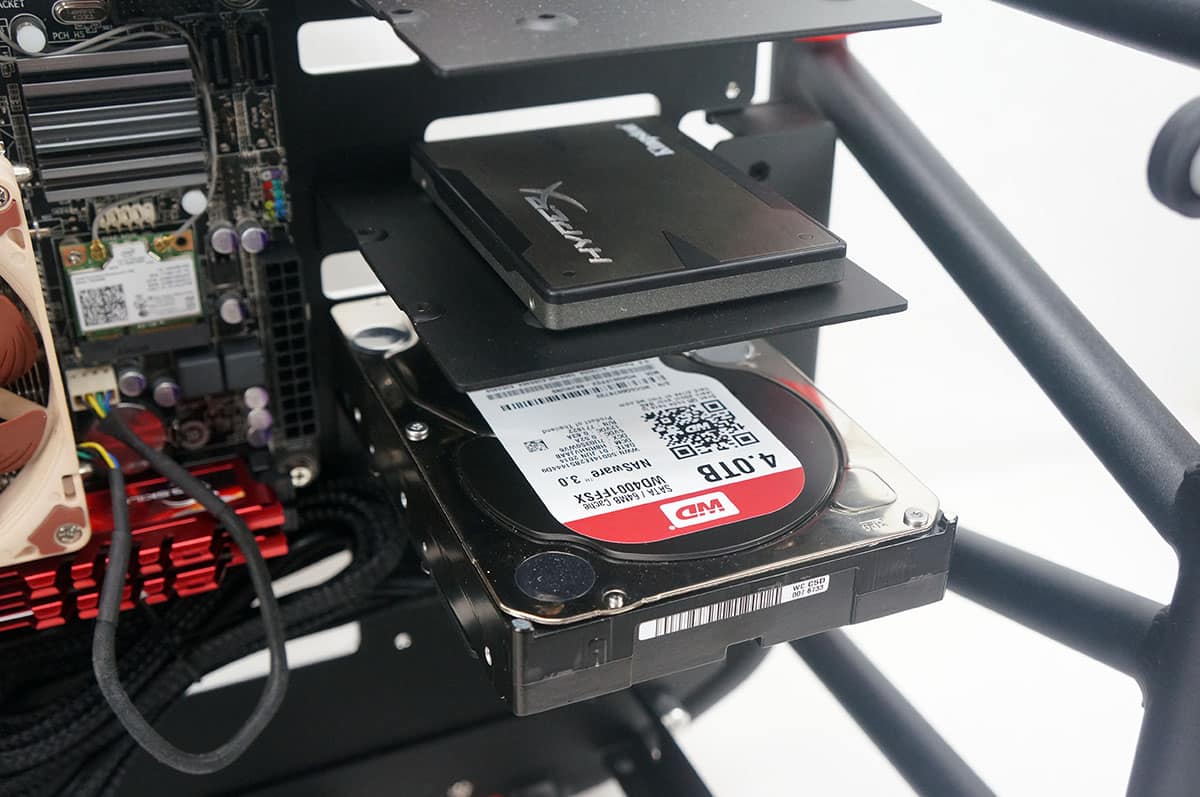
Hard drive installation is next. As I said the shelves are removable so just unscrew them and take them out to install your hard drives on them. Here we have both our 2.5-inch and 3.5-inch hard drives installed on the shelves.
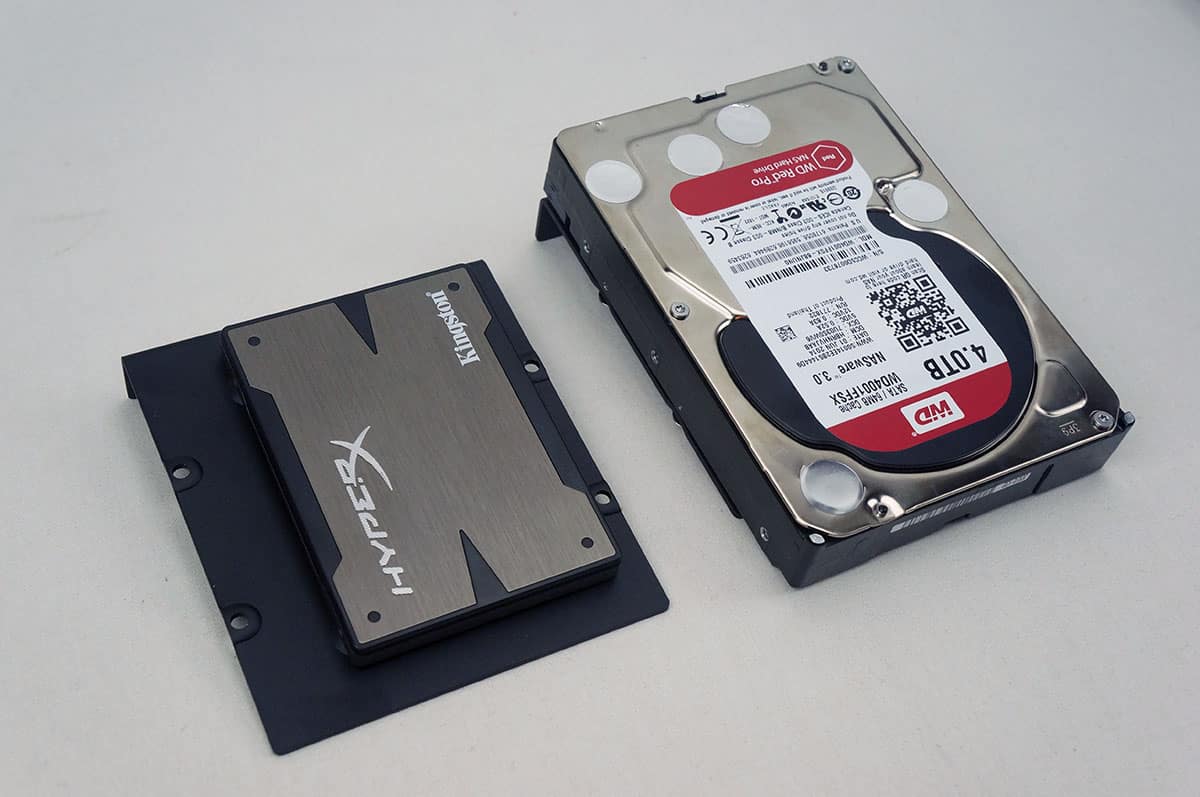
Once you have your drives installed you just re-install the shelves. Remember these are visible so if your hard drive has a cool design on it you can definitely show that off.
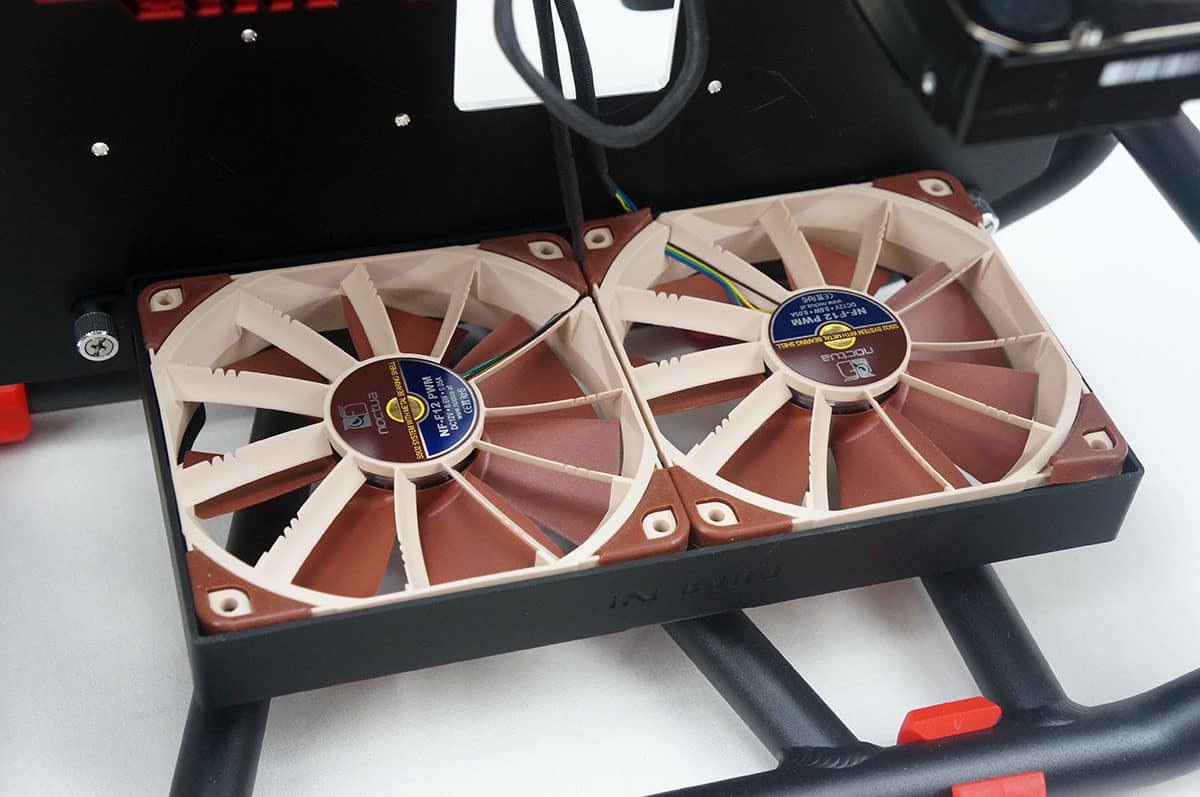
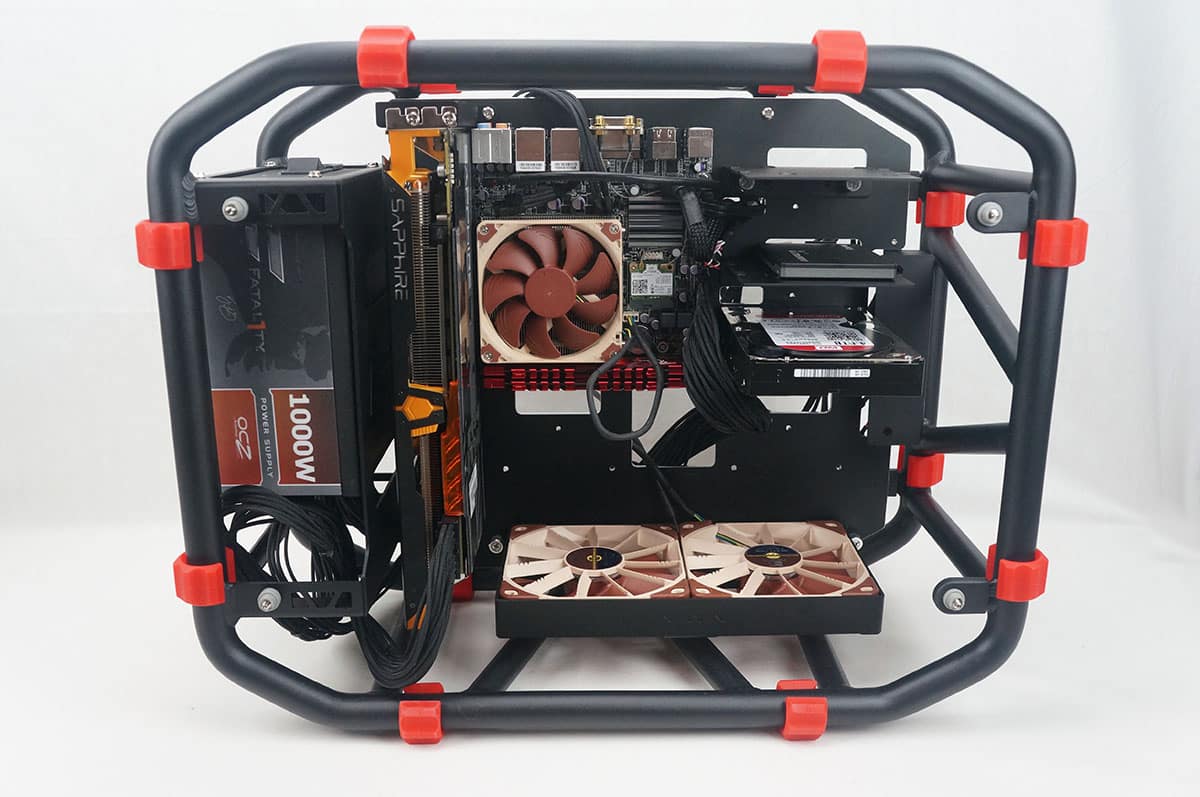
To match the Noctua cooler we have on our motherboard I’ve installed two Noctua 120 mm cooling fans on the bottom of the case. They easily fit right in the mounting and you just secure them with screws.
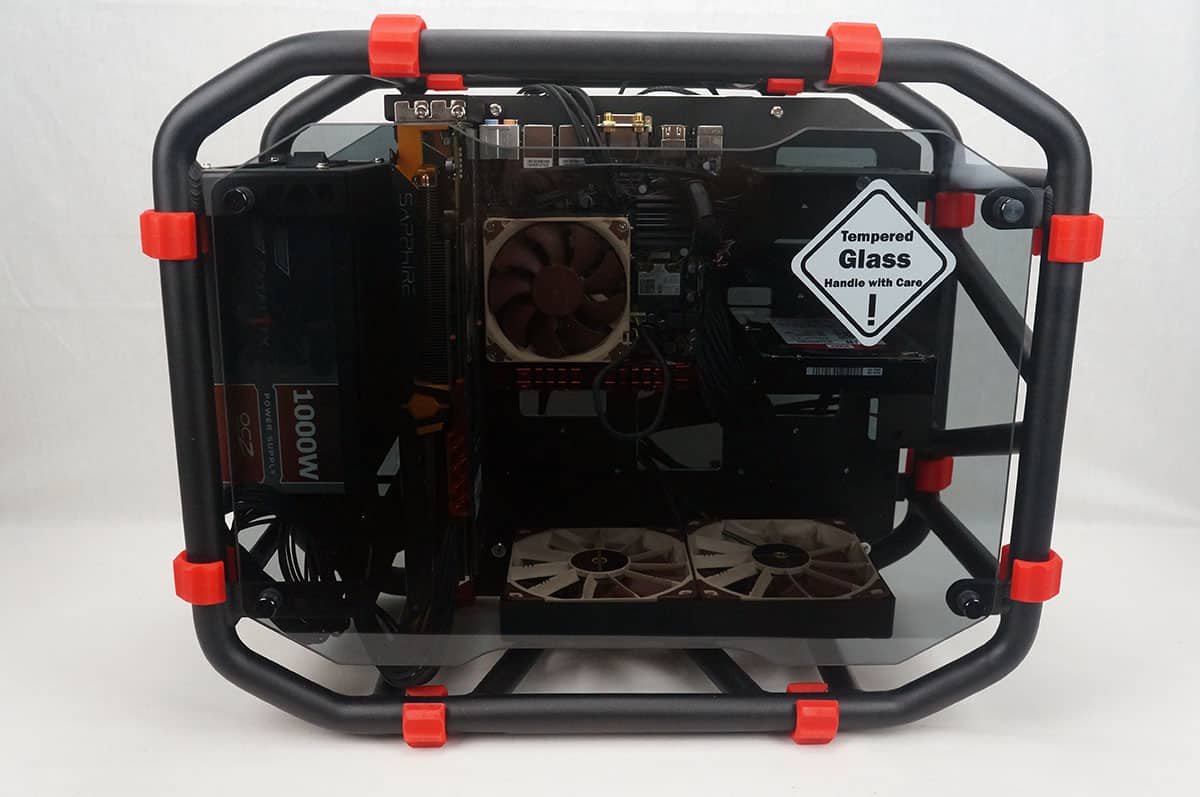
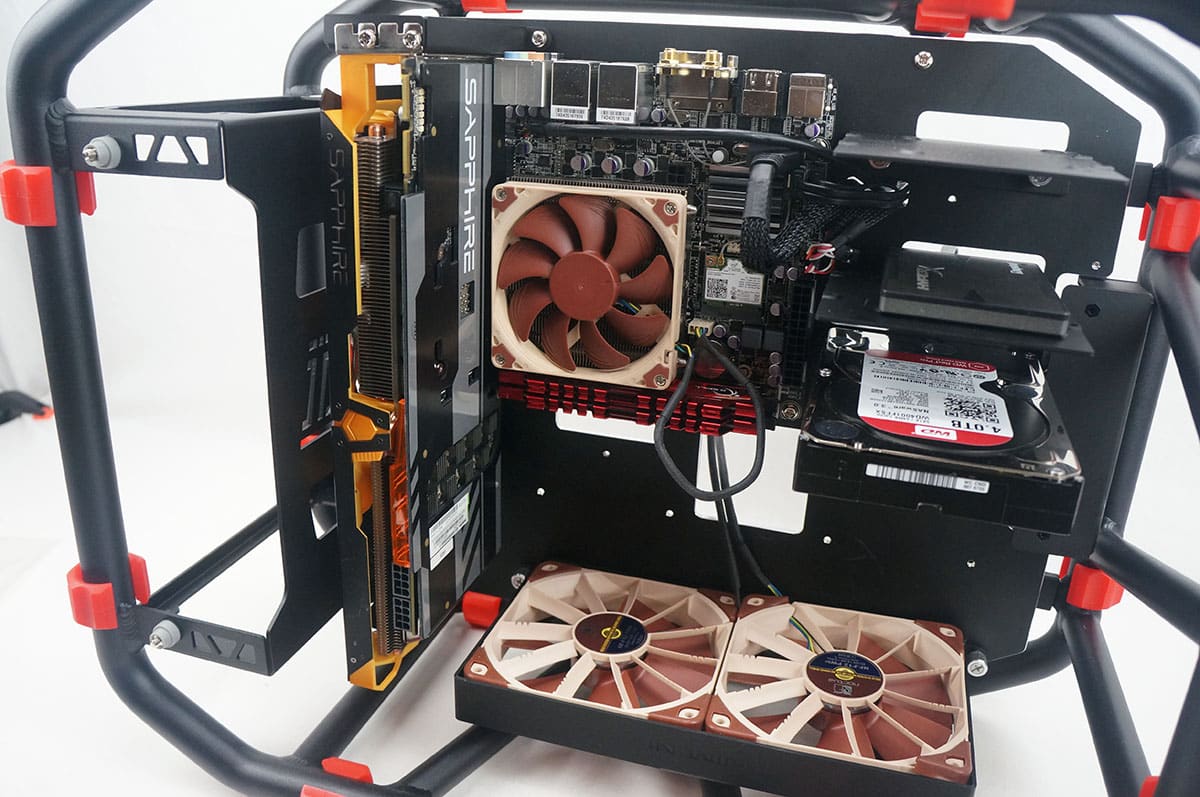
Next we have our graphics card. It will be installed vertically inside the D-Frame Mini. The D-Frame Mini supports dual-slot graphics card up to 340 mm in length. I opted to install the Sapphire R9 280X Toxic Edition which happens to be the longest graphics card I currently have on hand. As you can see it fits no problem at all.
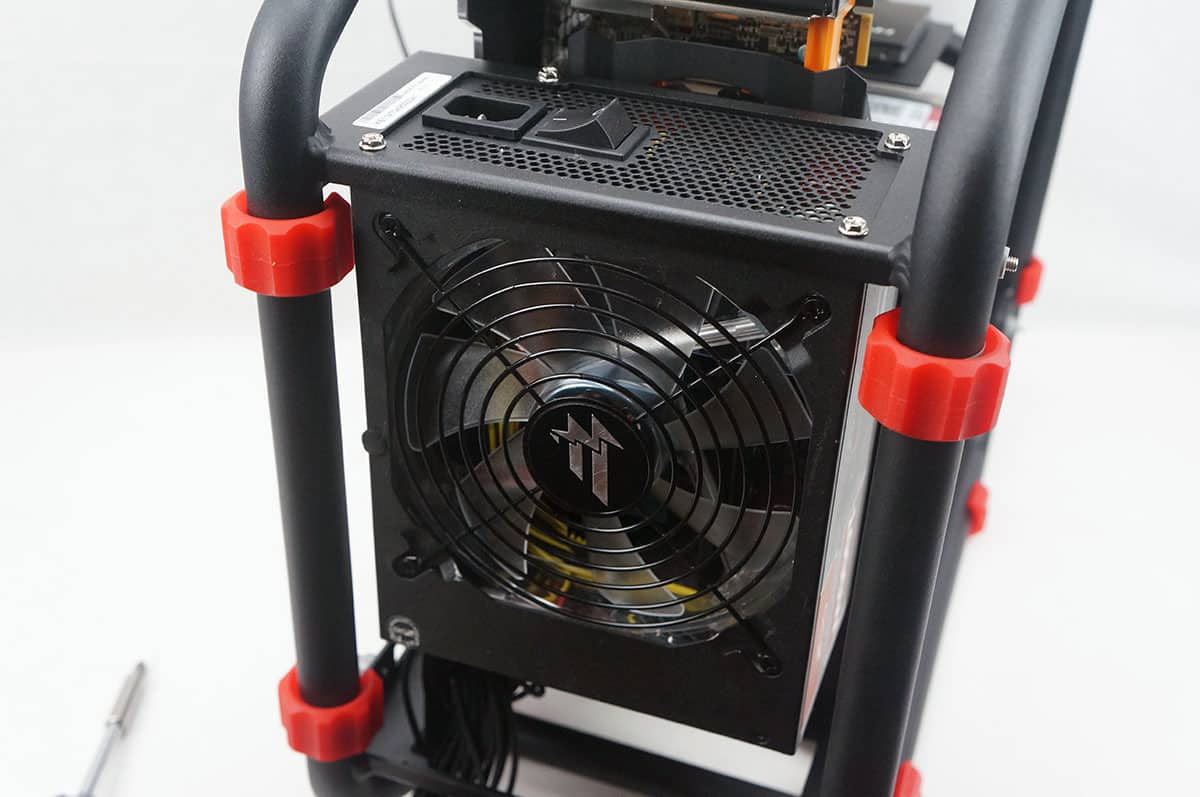
Finally we have the power supply. I decided to instal it with the connections facing down, this will make routing cables much more easy for me. Also the extra cable mess will be at the bottom of the case rather than the top. This case does have room for full-size ATX power supplies up to 220 mm in length.
Now it is time to wire everything up. Connecting everything is pretty easy. The only real issue I had was with the CPU power cable. I had to route it over the top of the motherboard tray, this is not as aesthetically pleasing as I would have liked.
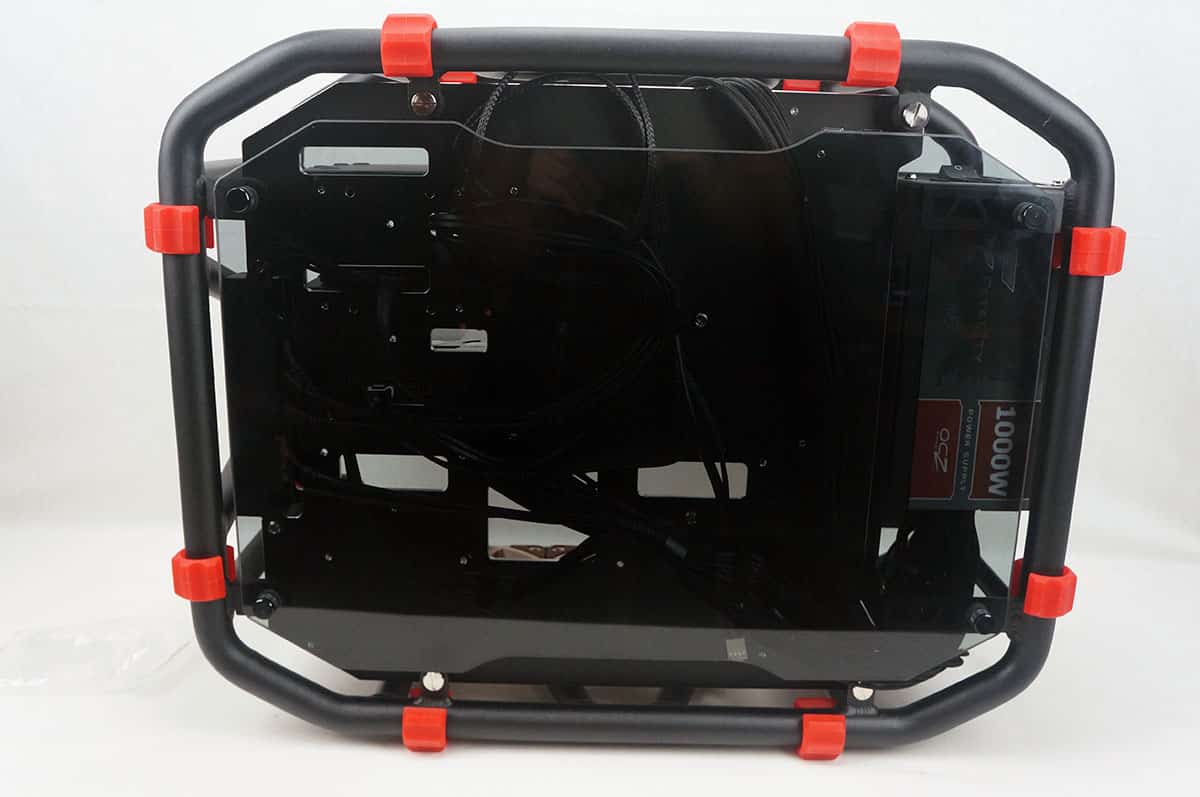
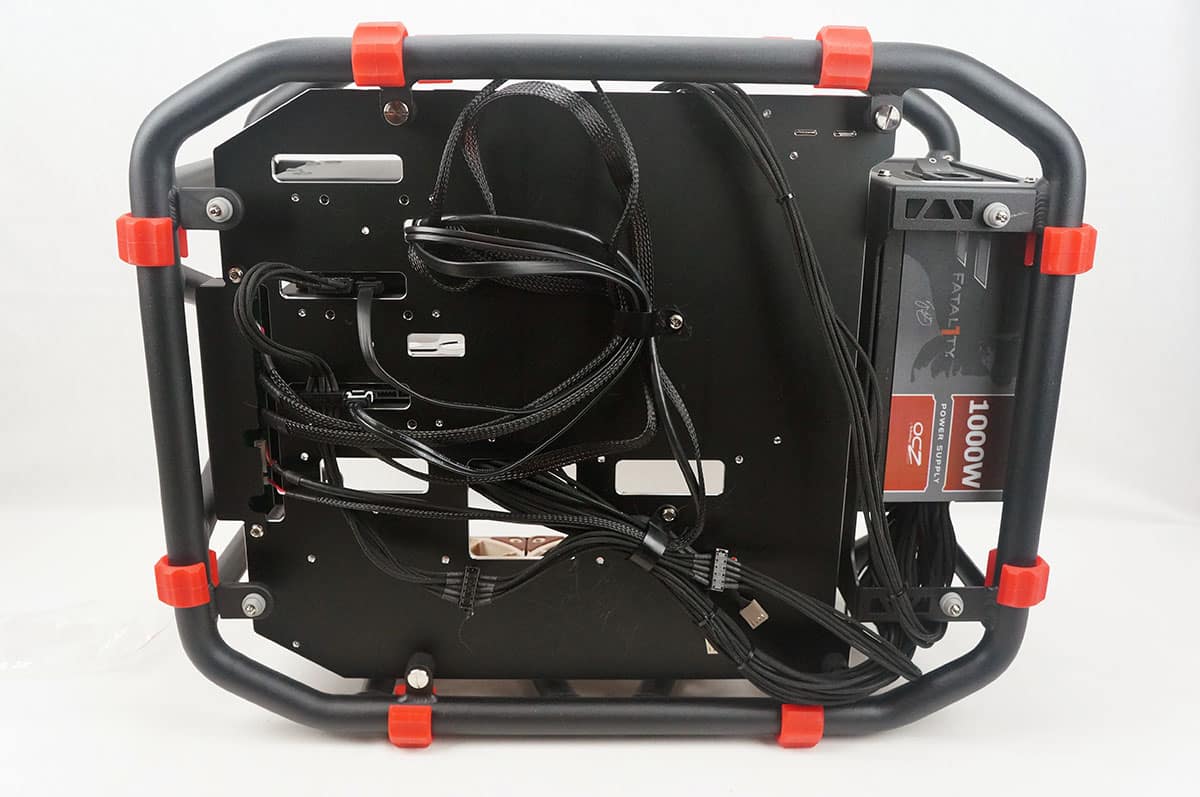
Looking at the backside of the case I was able to keep things pretty clean. The included cable organizers helped with keeping things clean, but I wish there were more threaded holes so I could actually use more of them.
Finally we can put the two glass side panels back on and we have a completed system!