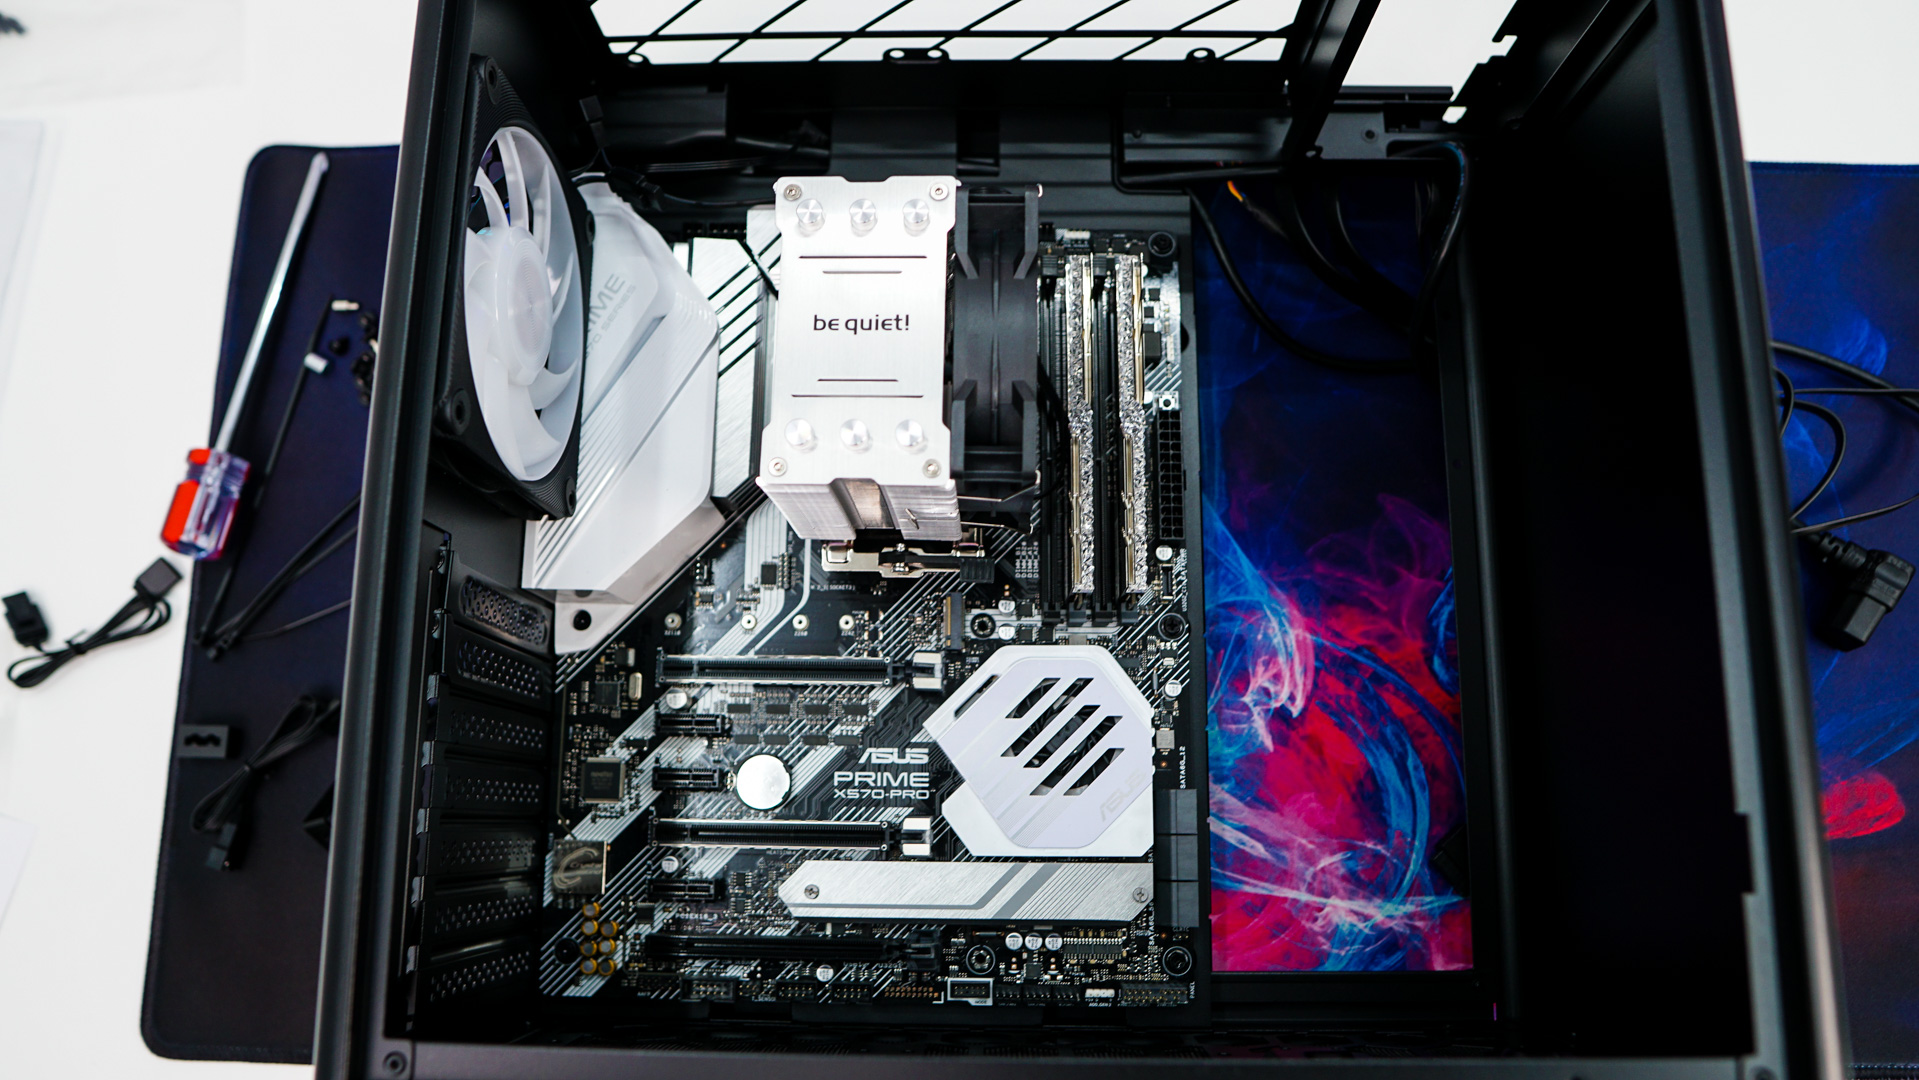
Installation
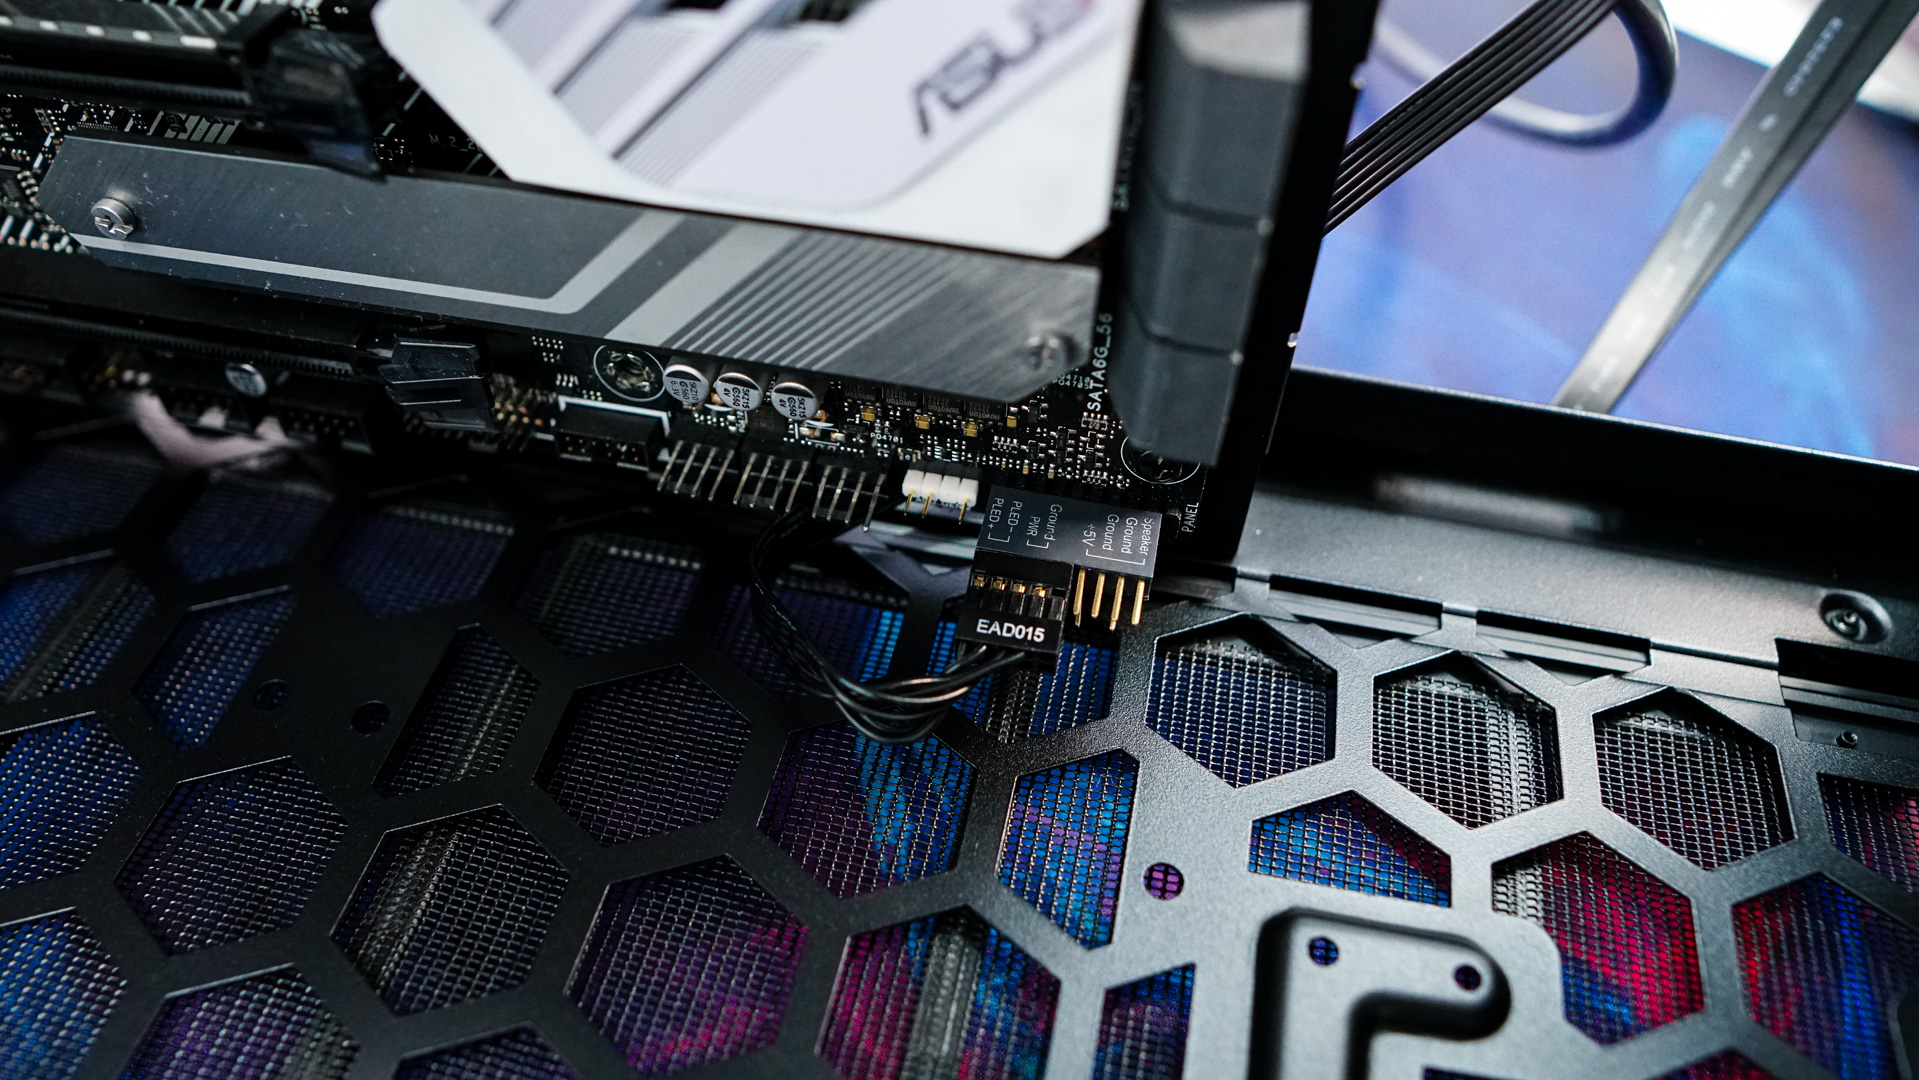
Starting off with installation we will be installing our motherboard first. You are going to want to remove the small panel on the side of the case. This will just give you more room and make things easier. Installing our motherboard was not an issue at all. One interesting thing I noticed when connecting the front panel connections to our motherboard is that they were not labeled and they are a single connector. This is something we typically see on Mini-ITX cases, but not so often on ATX cases. Since they are not labeled you do have to bring up the installation guide to make sure you are connecting it correctly.
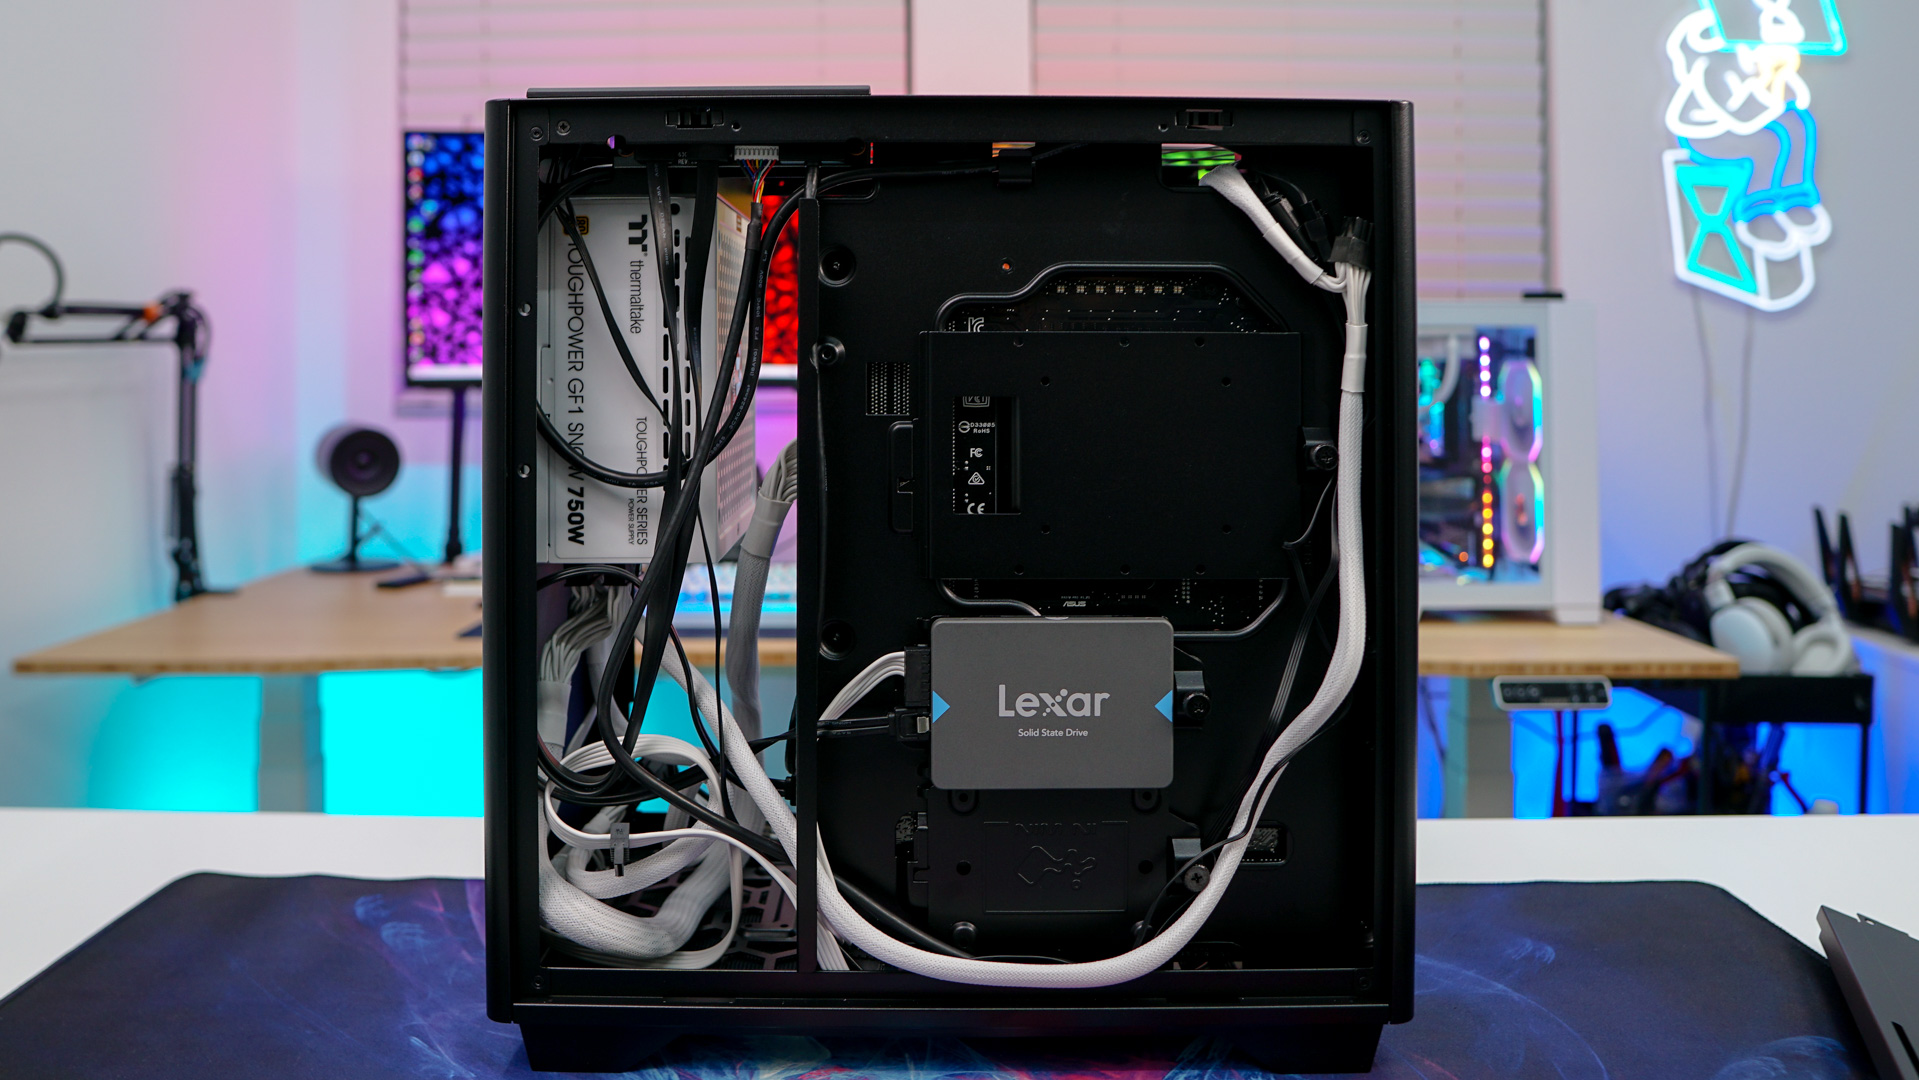
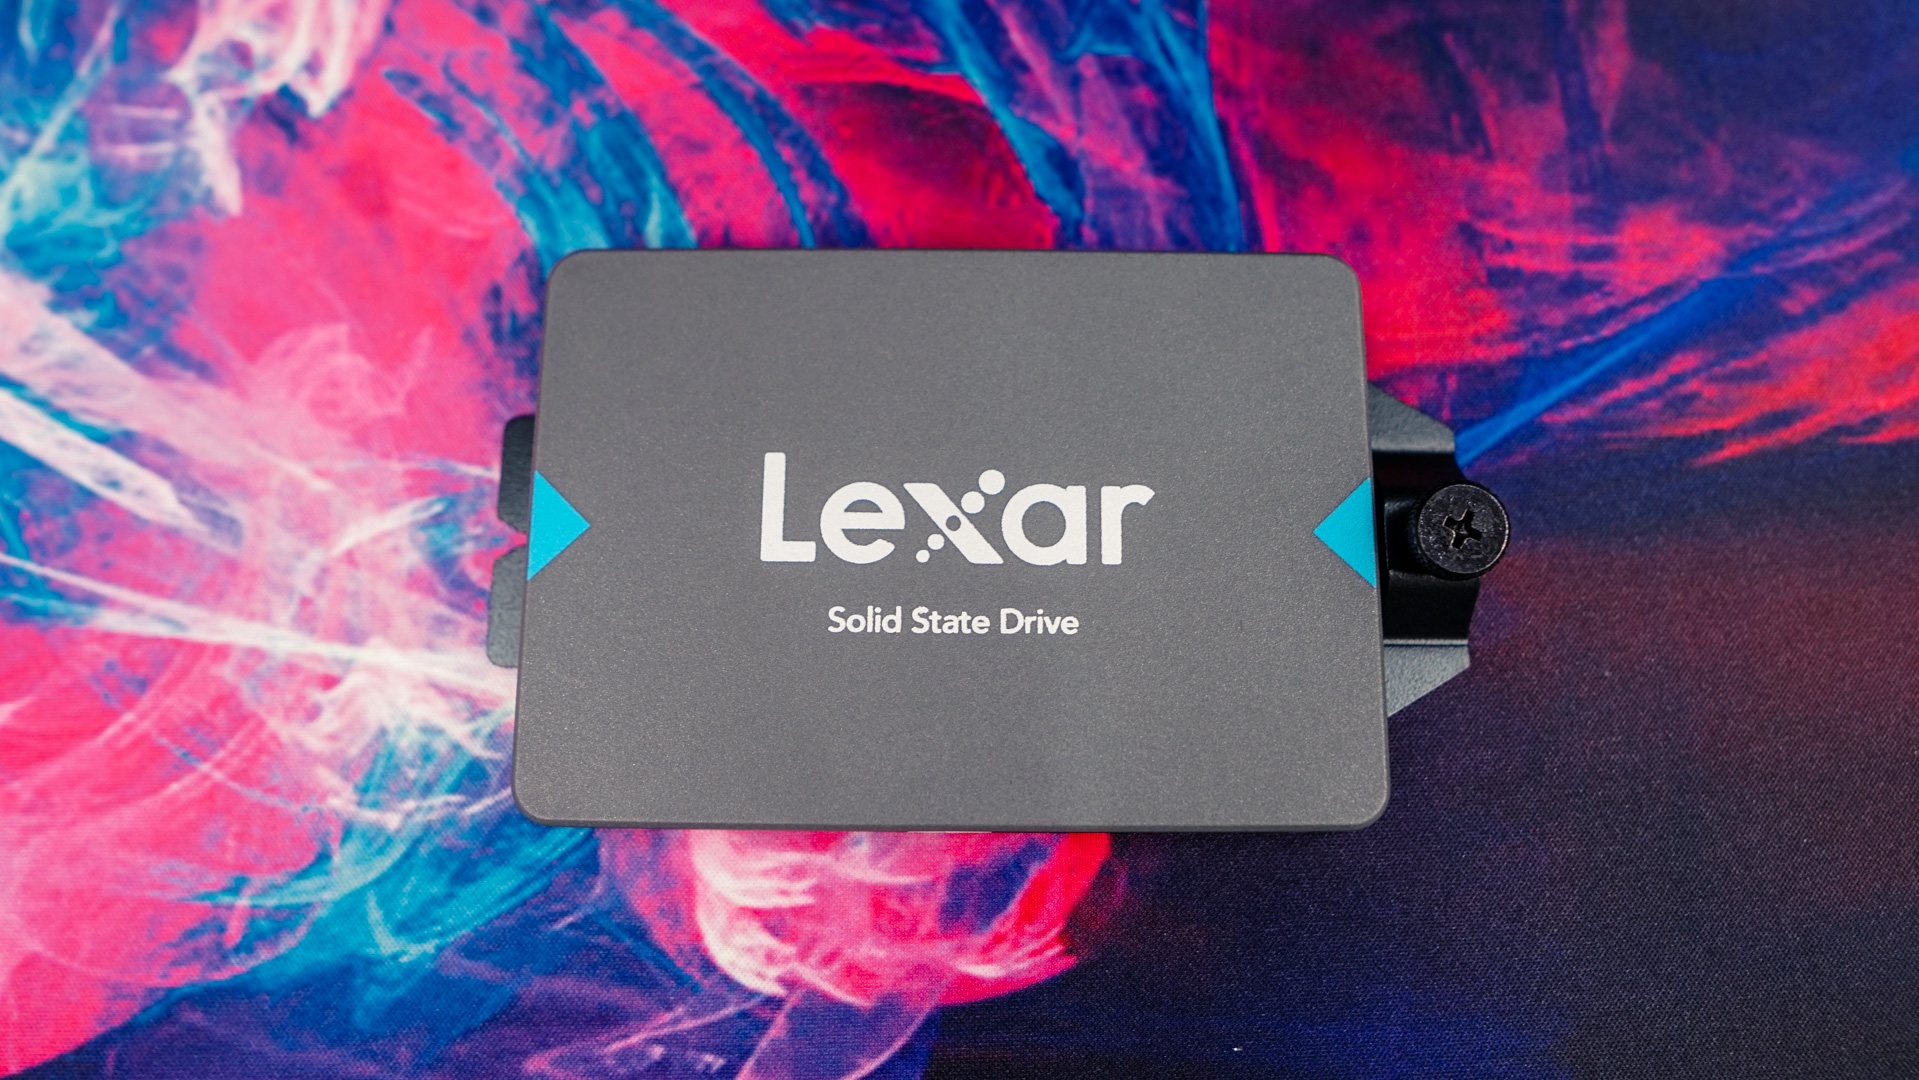
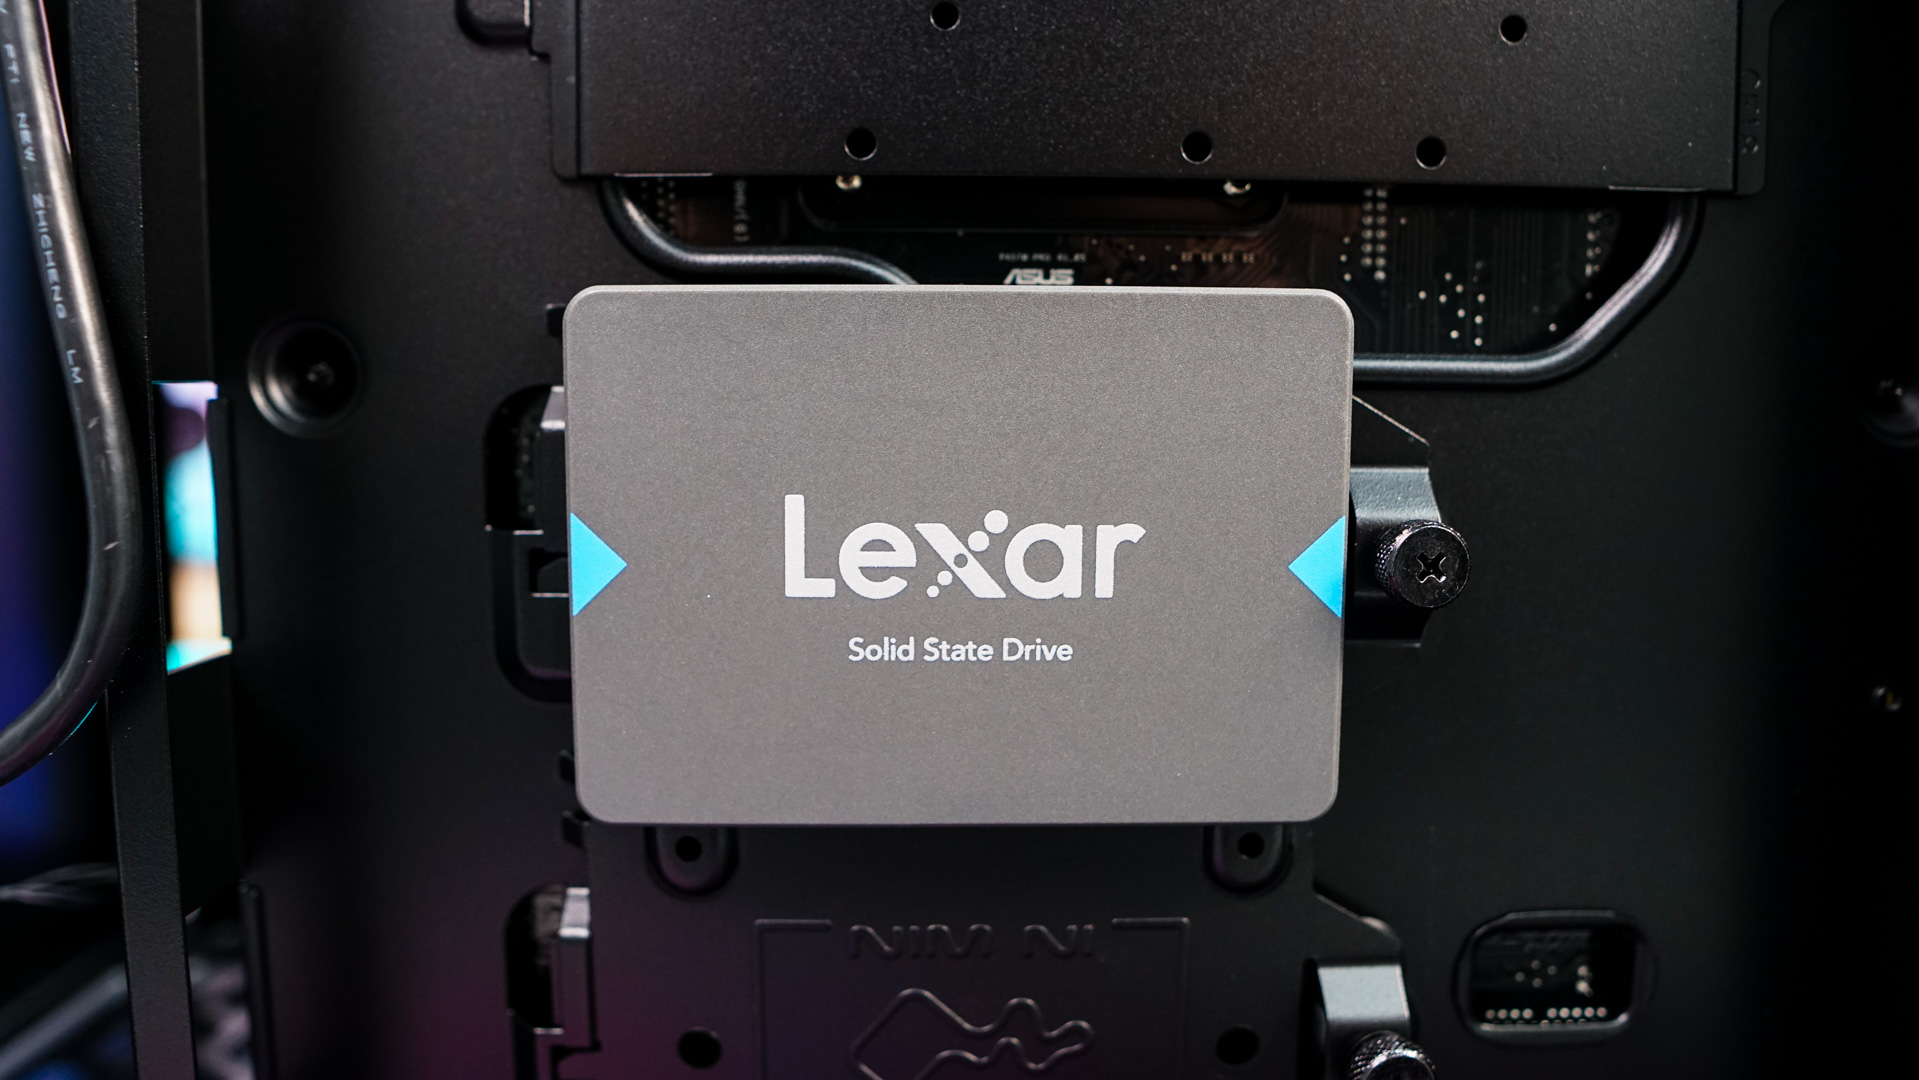
We will be installing our solid state drive next. I decided to install it on one of the two SSD mounts on the backside of the motherboard. Since they are removable its as easy as taking on out, installing our drive, and then simply reinstalling it.
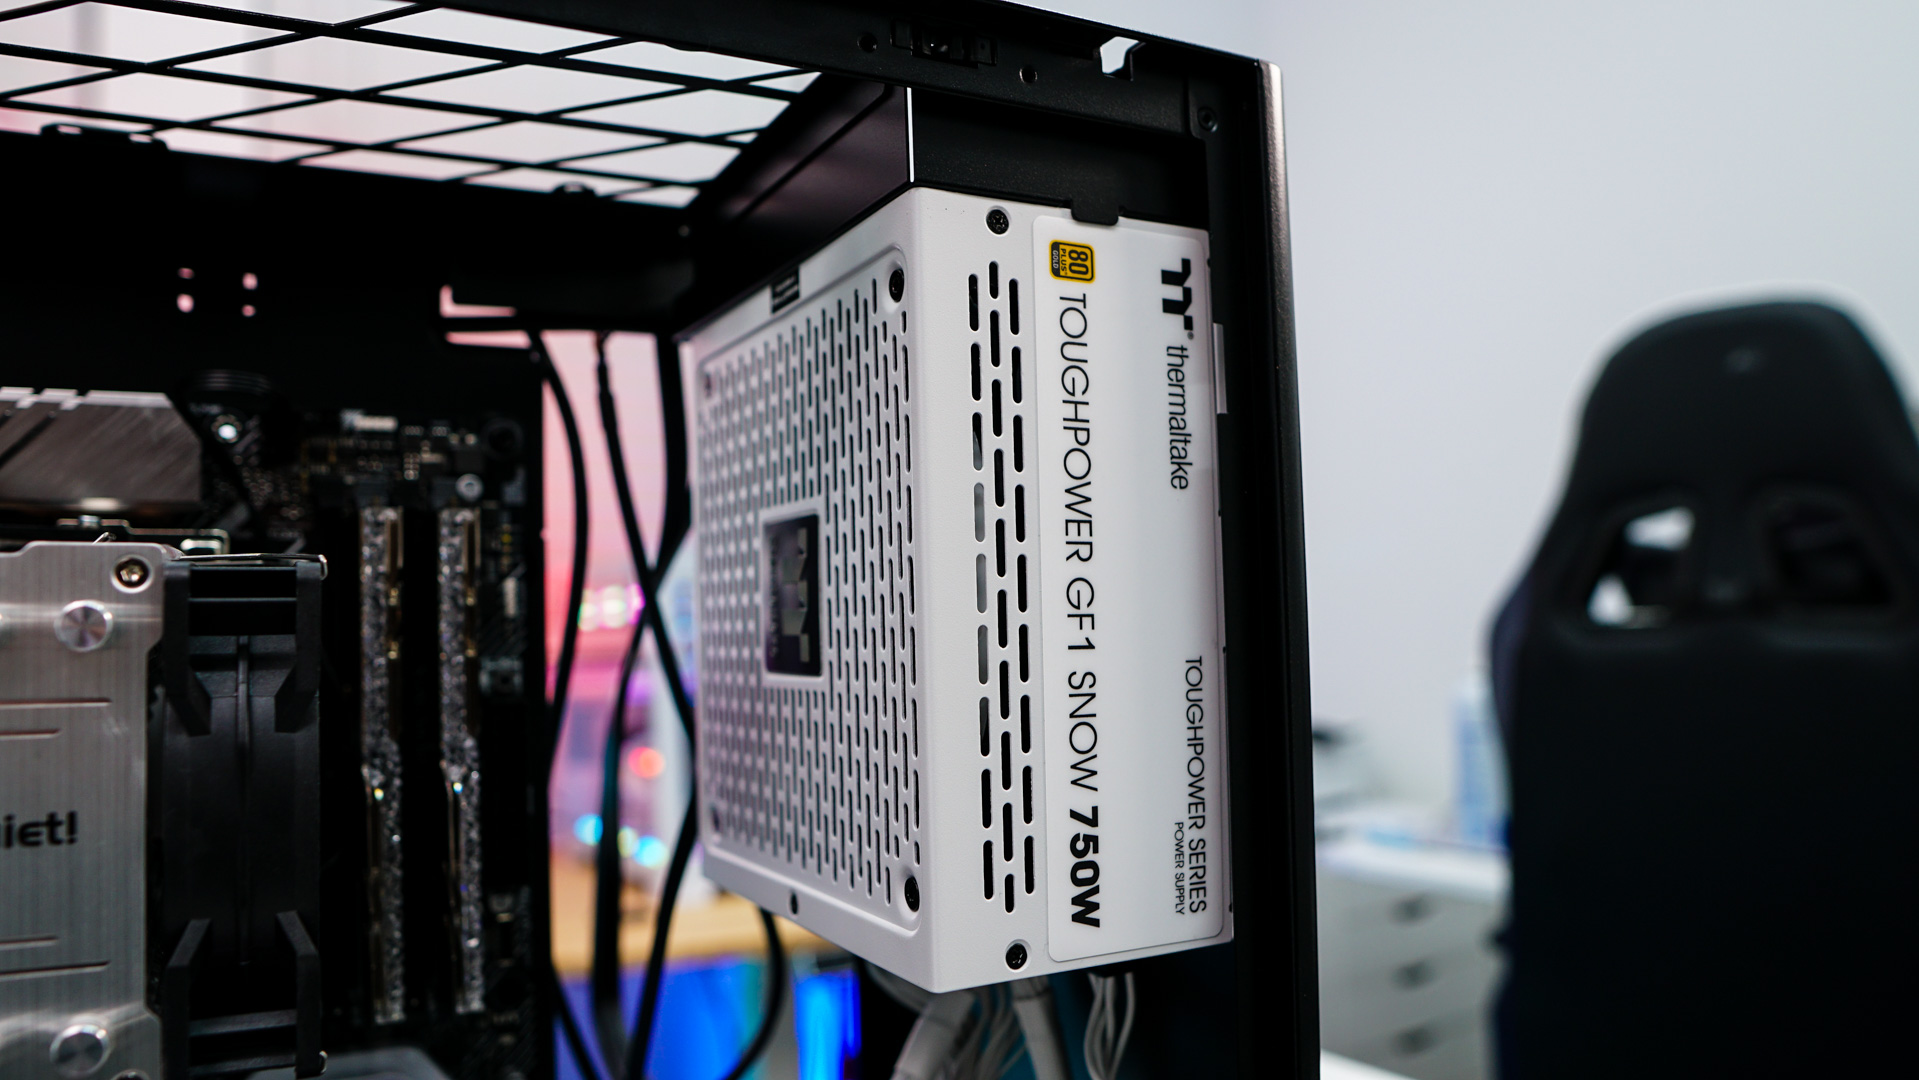
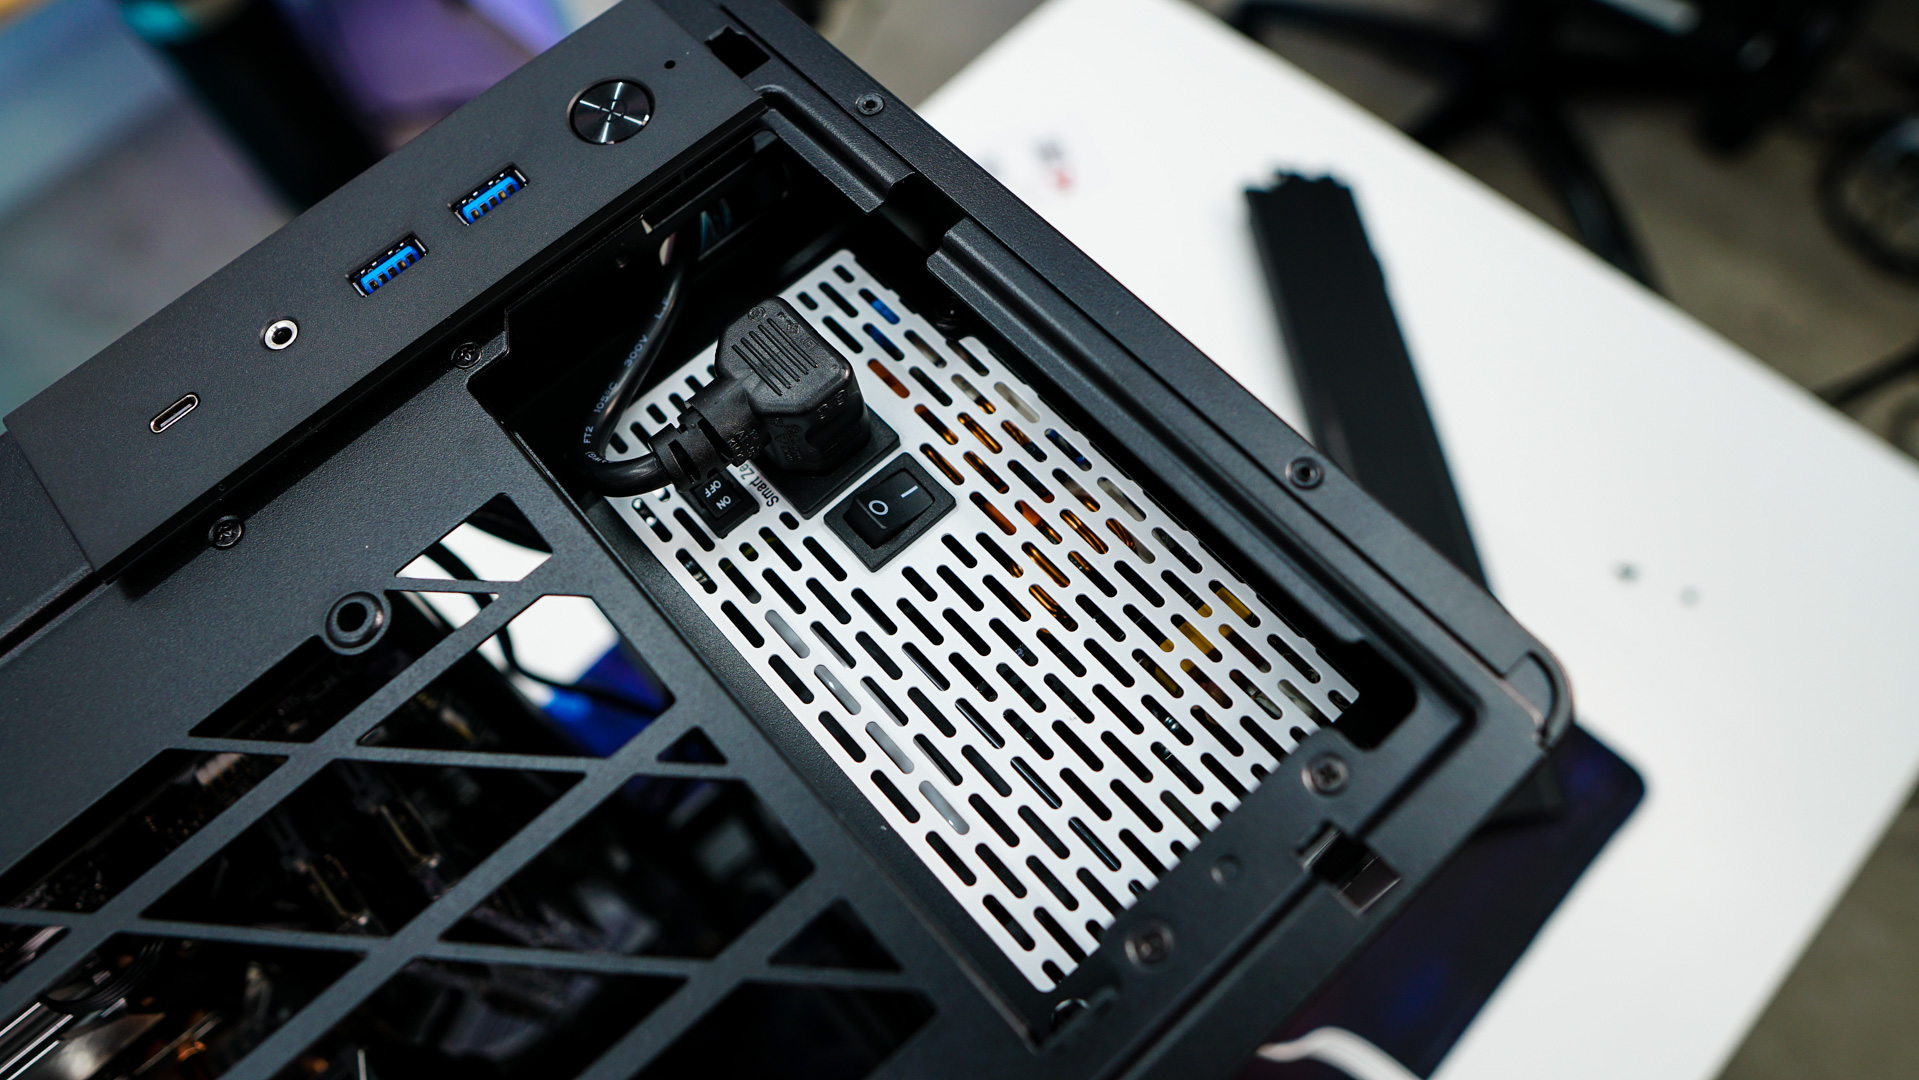
Your power supply gets installed in the front of the case. You want to make sure the bottom is facing into the case so you get some airflow into the unit. You simply align your power supply and secure it with screws on the top of the case. Be sure to connect the included power supply extension cable.
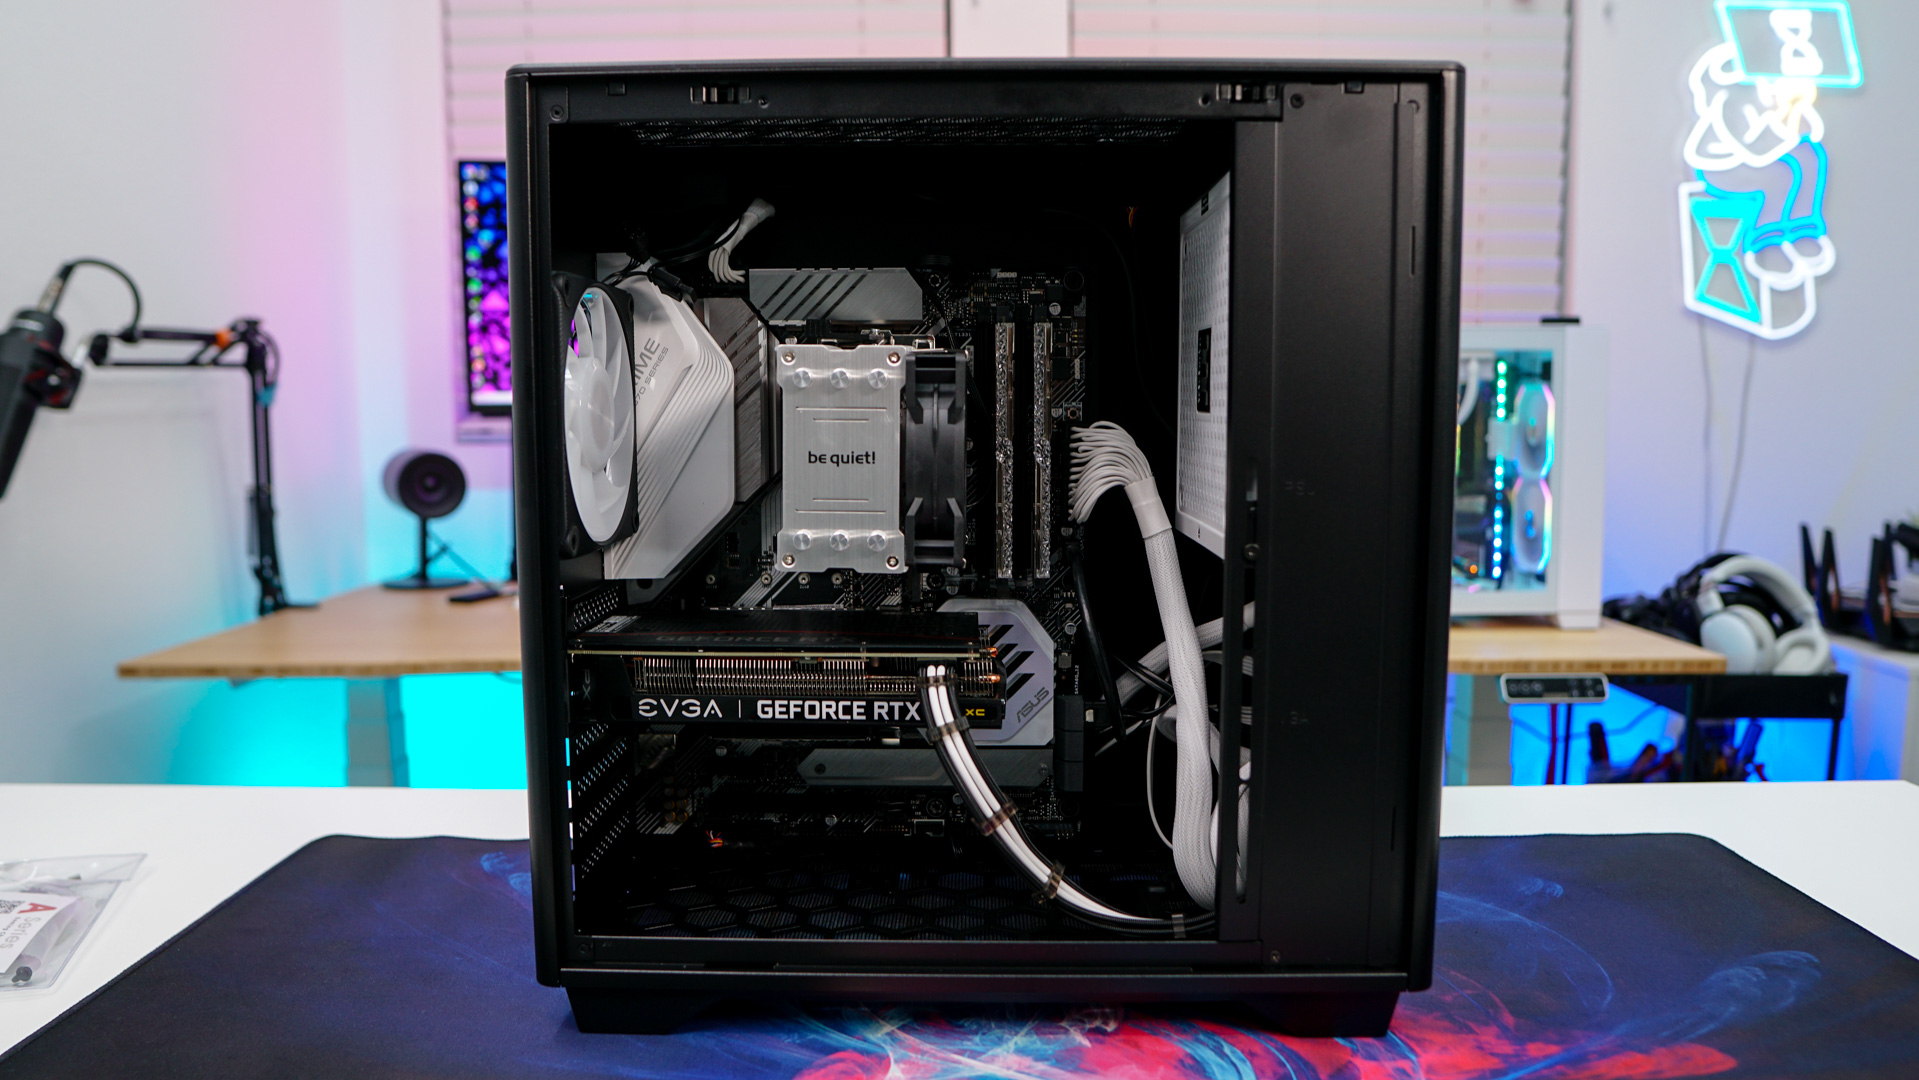
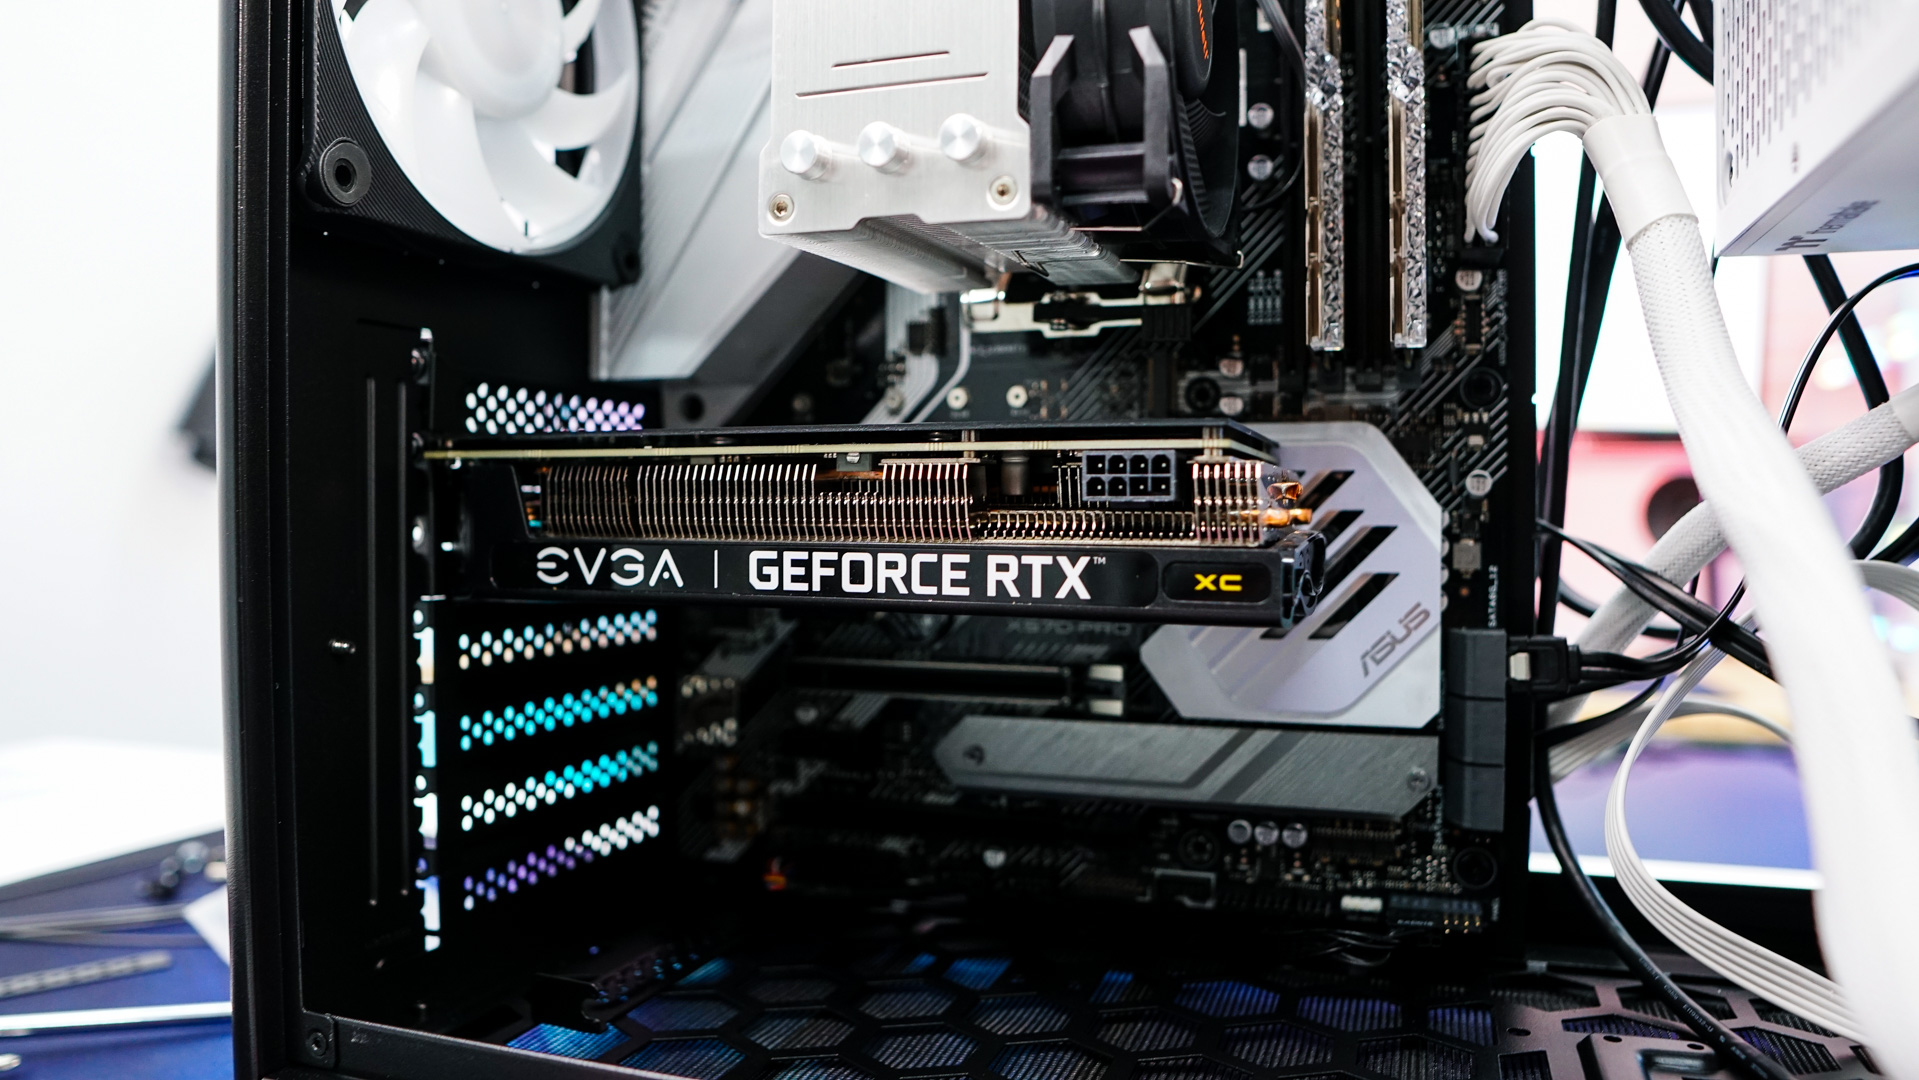
The last thing to install is our graphics card. I was a bit disappointed when I found out InWin is using I/O covers that break off the case instead of removable ones (only the top two are these).
Now it is just time to wire everything up. I did notice there really were no tie-down points on this case at all. While InWin does provide zip-ties, having actual tie-down points would have been nice. Also some possible velcro ties built-in to the front of the case would be nice to help organize your power supply cables.