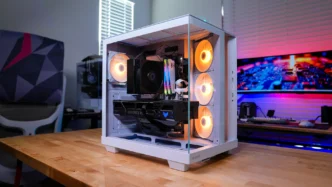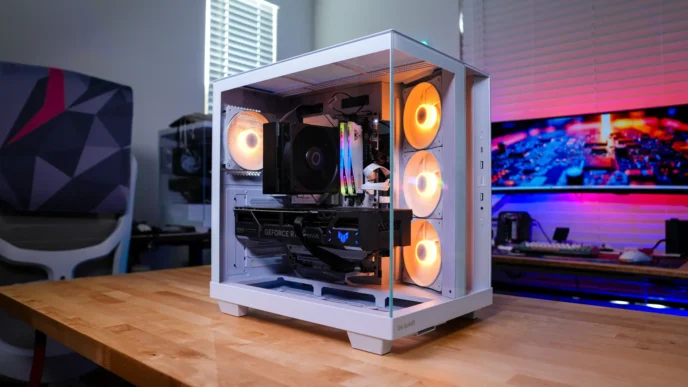

InWin Prism (White) Case Overview
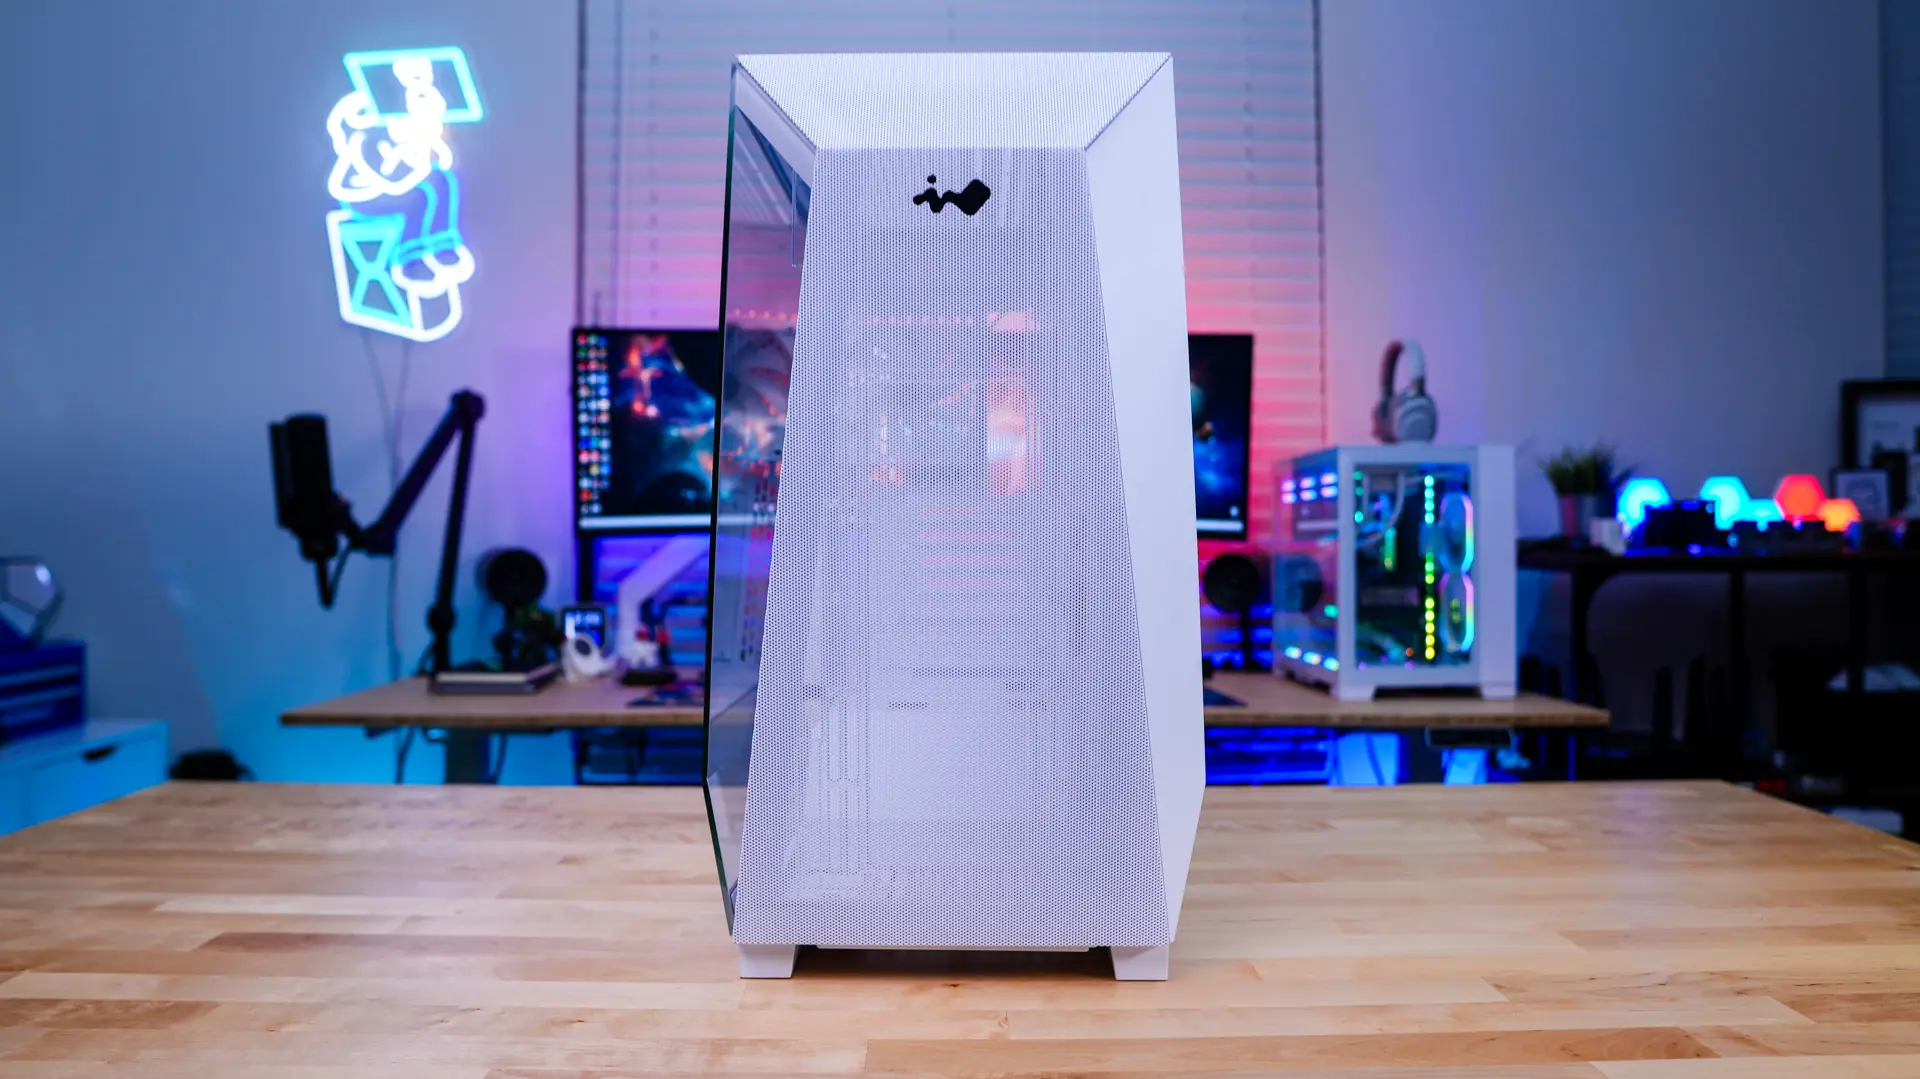
The Prism has the same type of angular design that we saw on the original Tòu case. This should really make it stand out amongst many of the boxy mid towers out there. As far as size goes I would say this is about an average sized mid-tower. The official dimensions are 530 x 275 x 500 mm and it weighs in at 22.2 lbs.
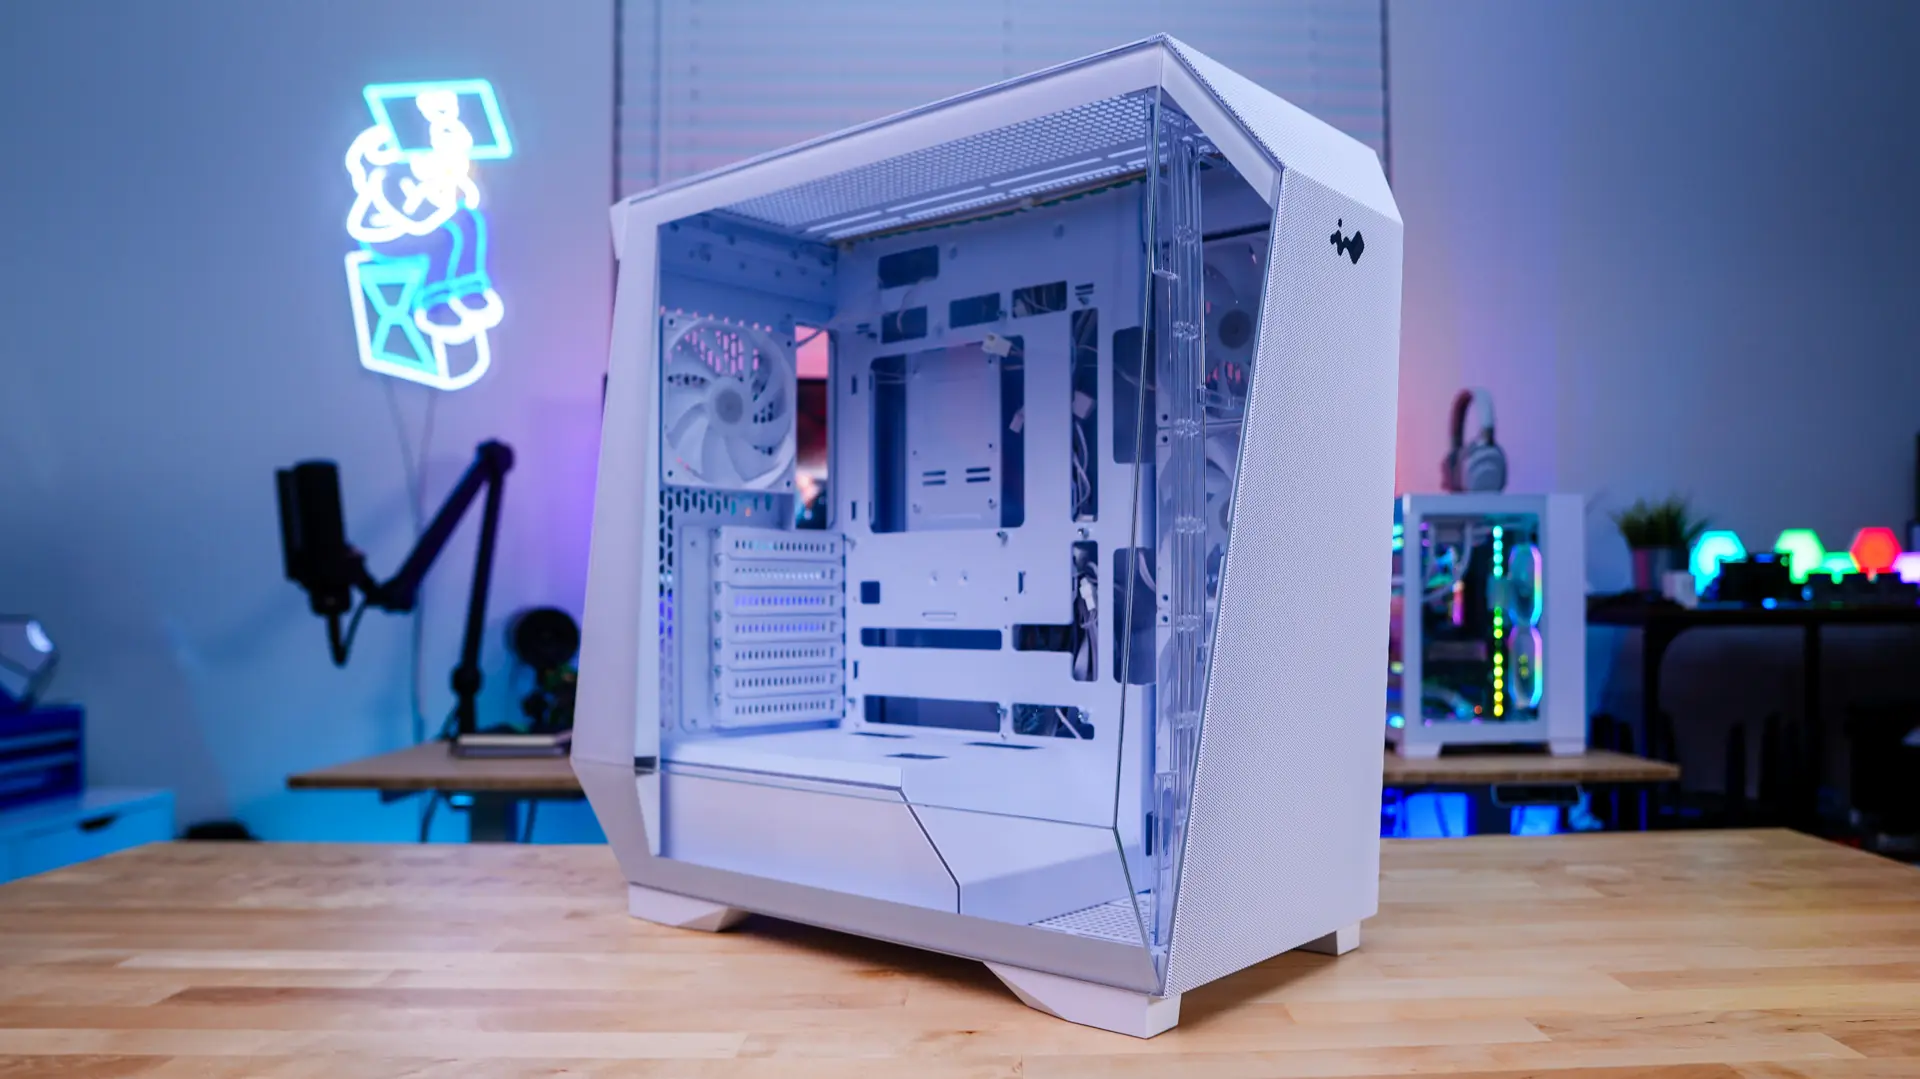
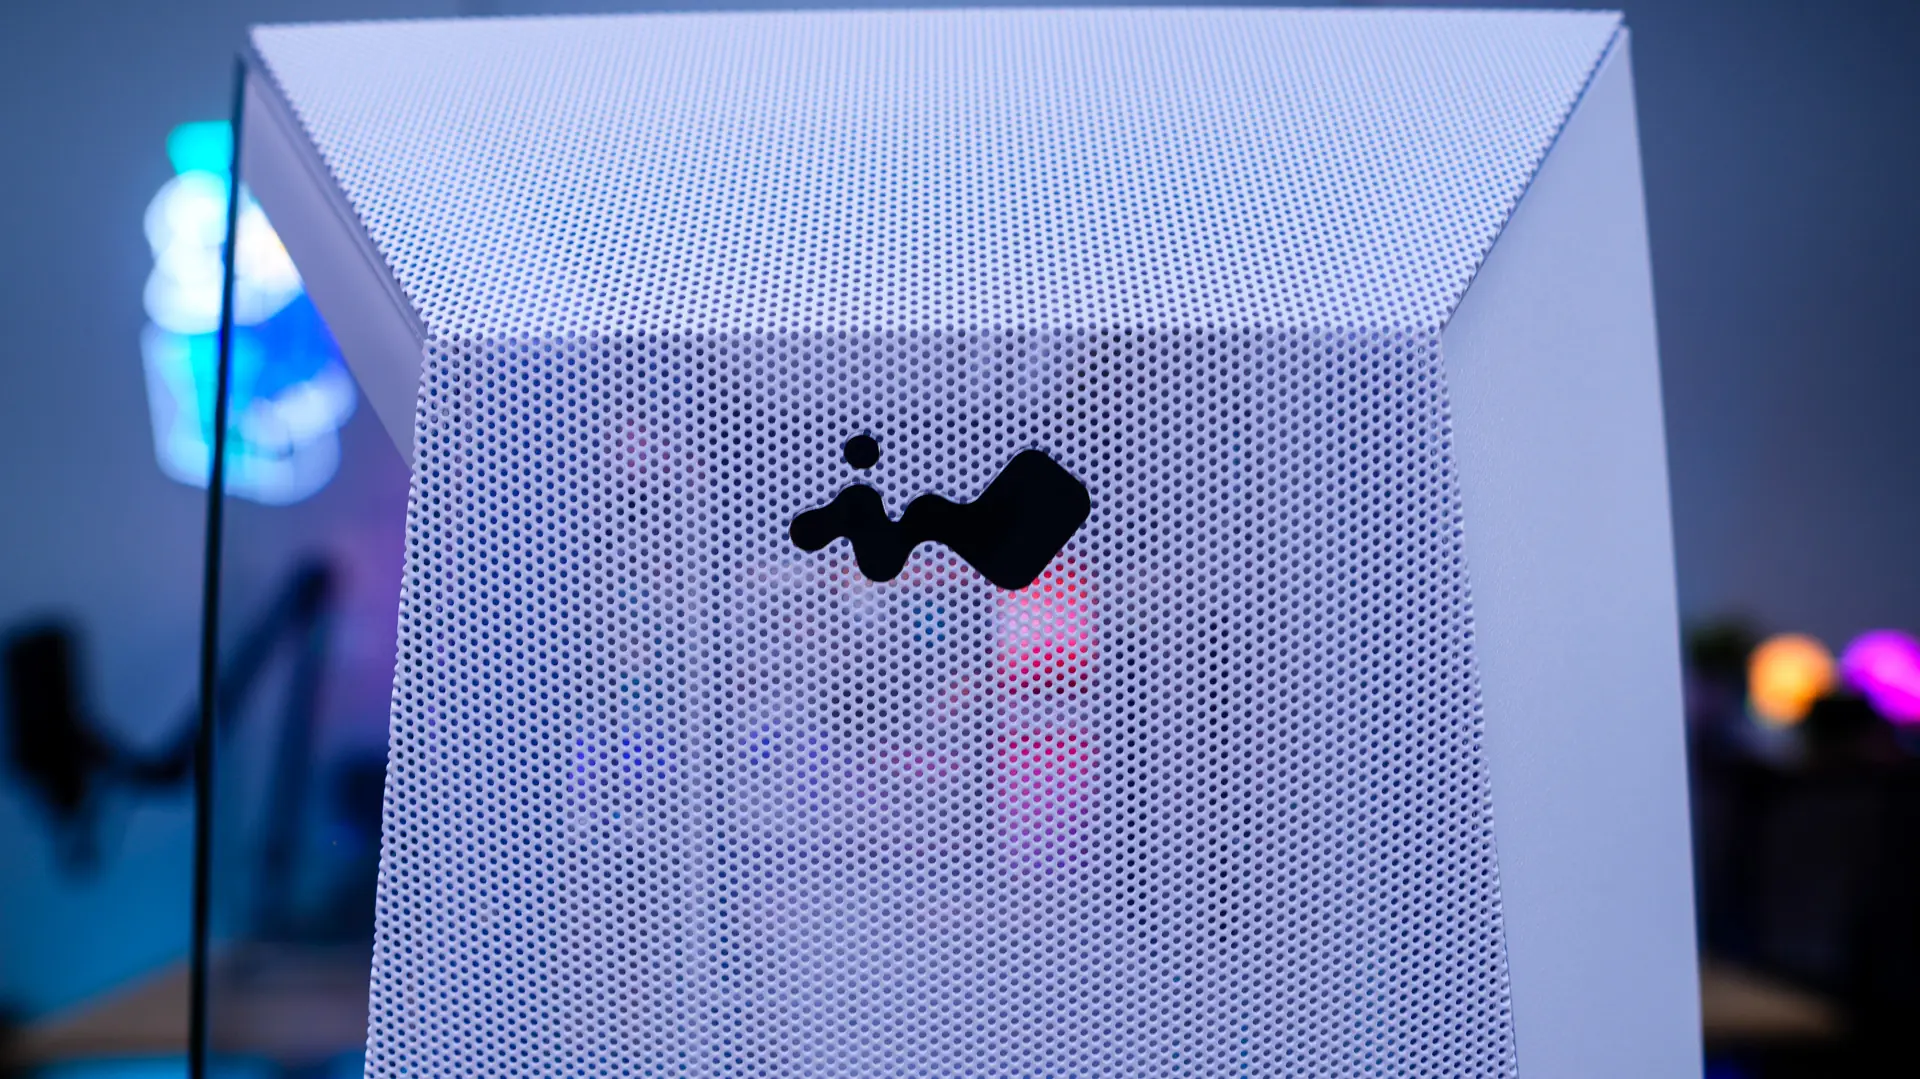
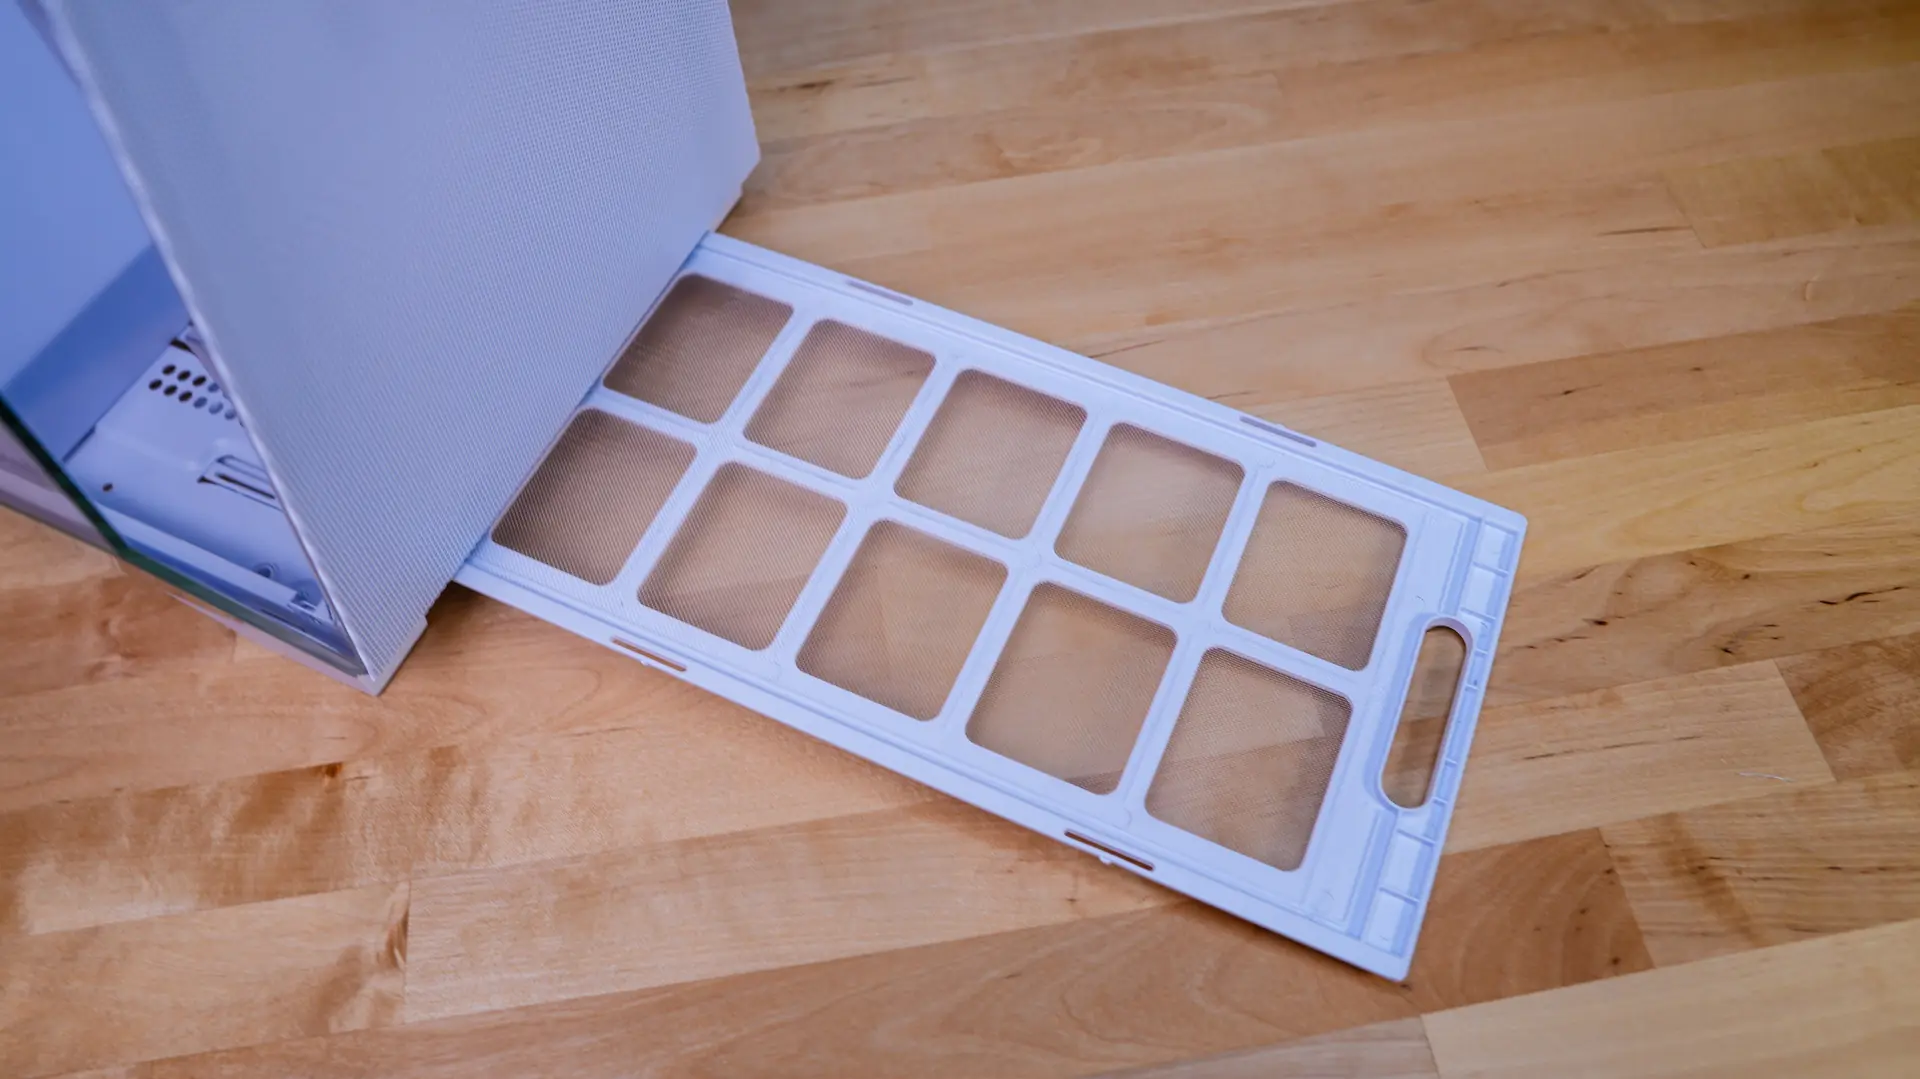
Starting at the front of the case we can really see that angular design with an InWin logo right in the center of the case. The front of the case is mostly mesh to allow for proper airflow into the case. You can pull a filter out front the front of the case. This filter actually extends the entire length of the case. You can easily remove the front of the case to reveal a cooling mount. Now this cooling mount is made of what appears to be plastic and is sort of flimsy. I’m not sure why InWin didn’t use metal here, which I think more people would have appreciated. This cooling mount supports three 120/140 mm fans as well as radiators up to 360mm, although I’m not sure how comfortable I would be mounting a radiator here.
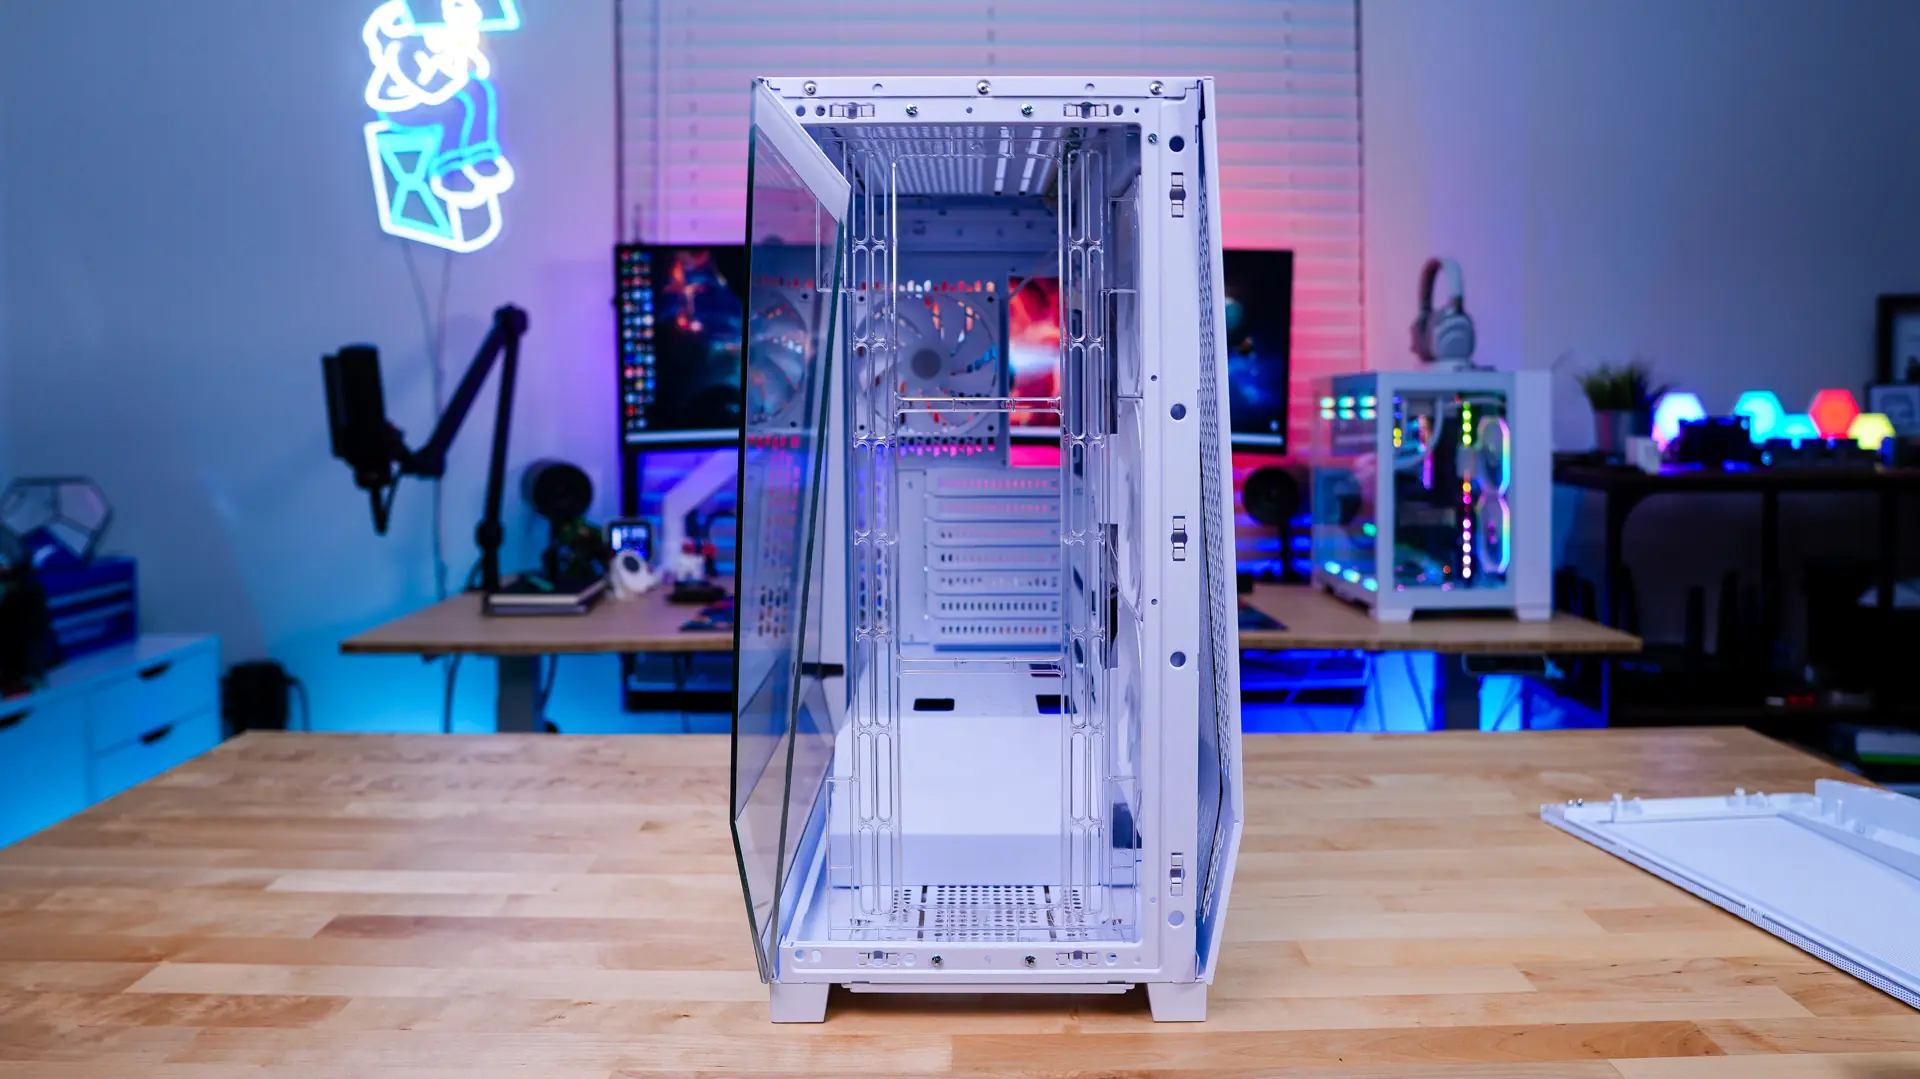
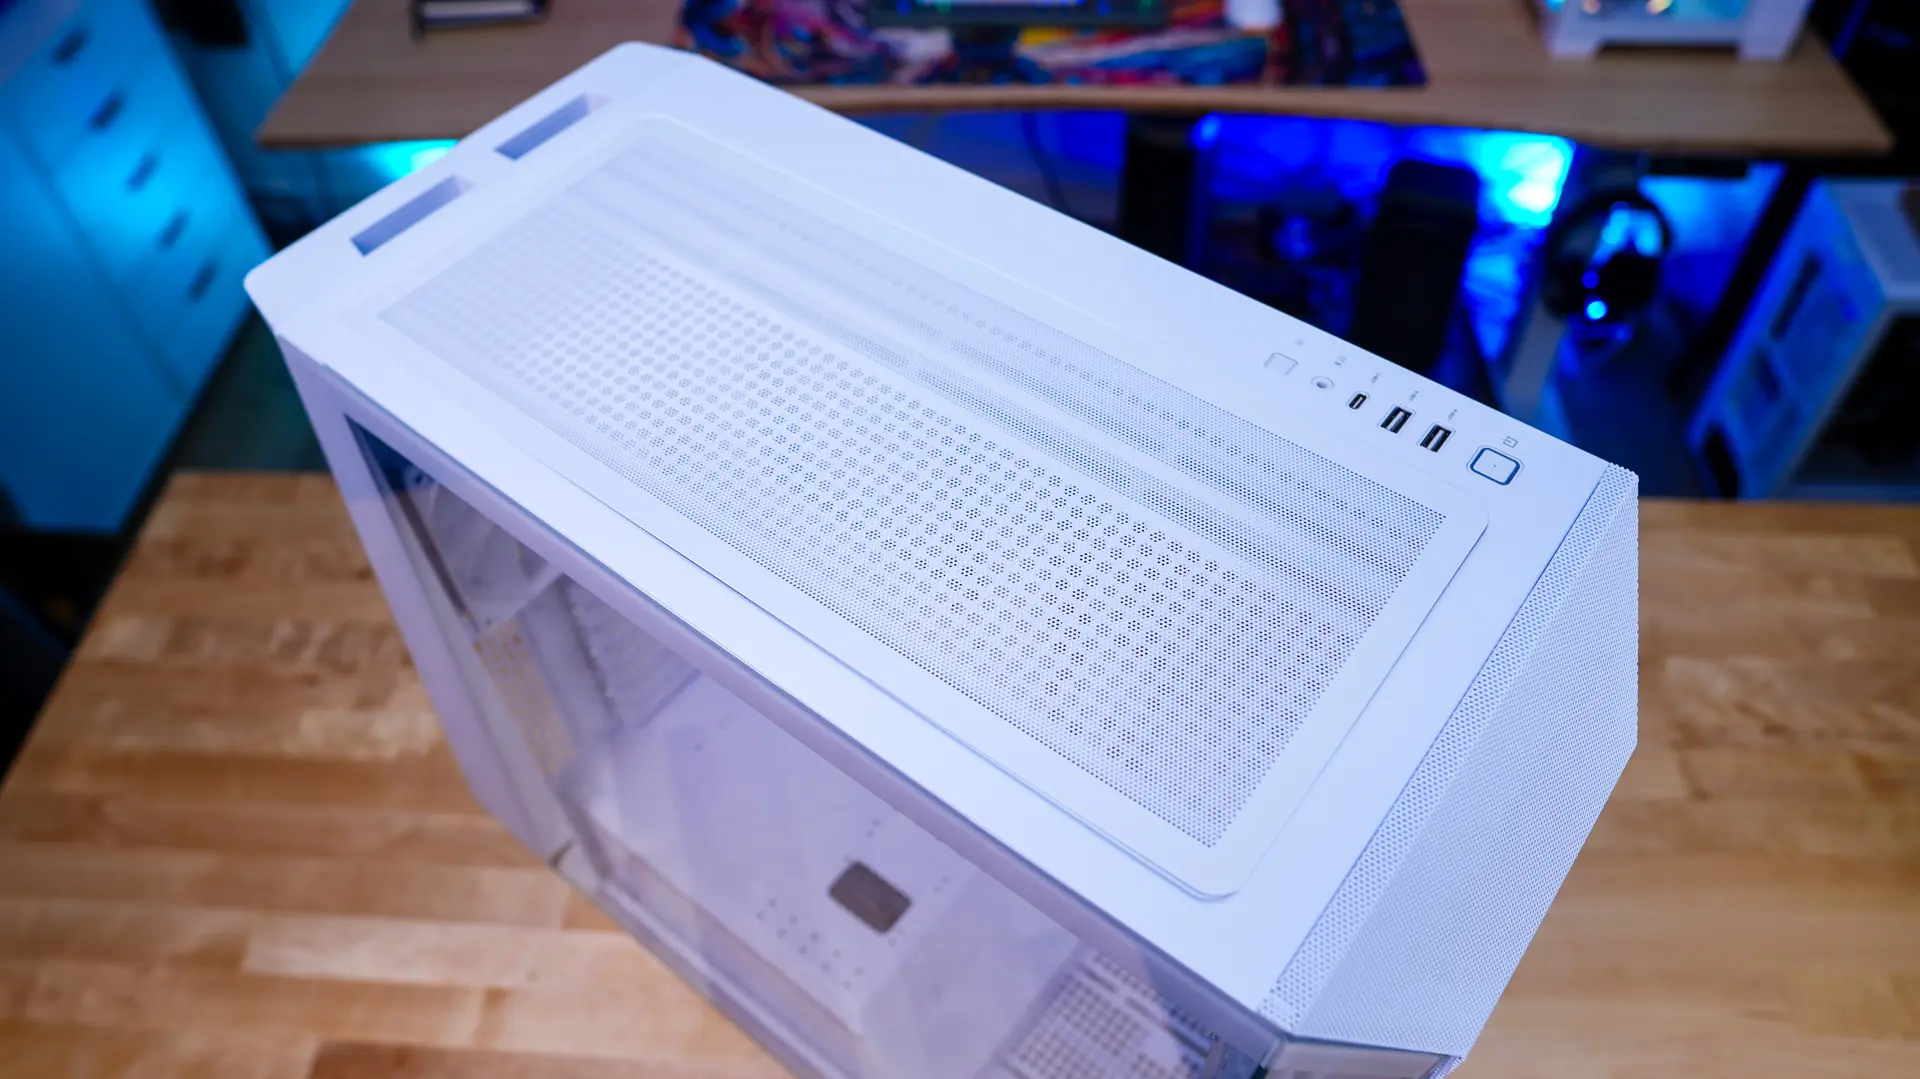
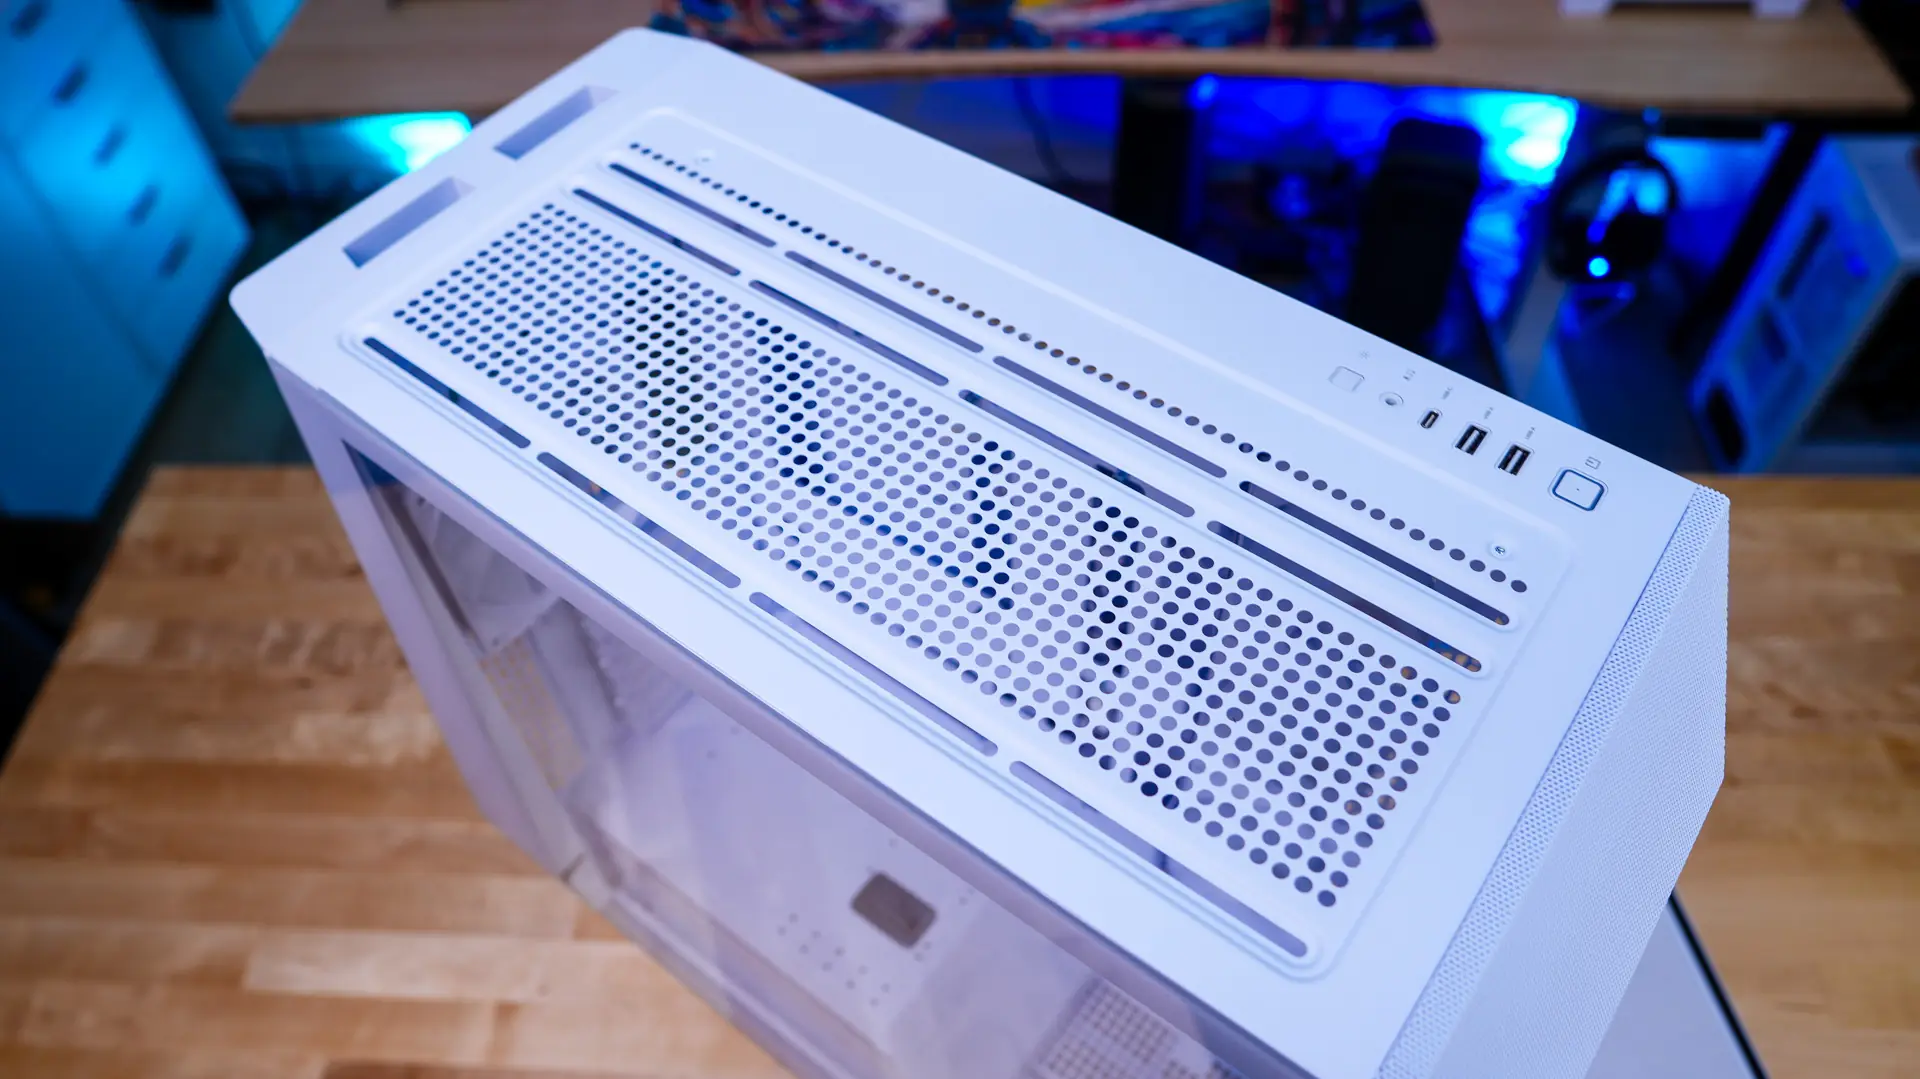
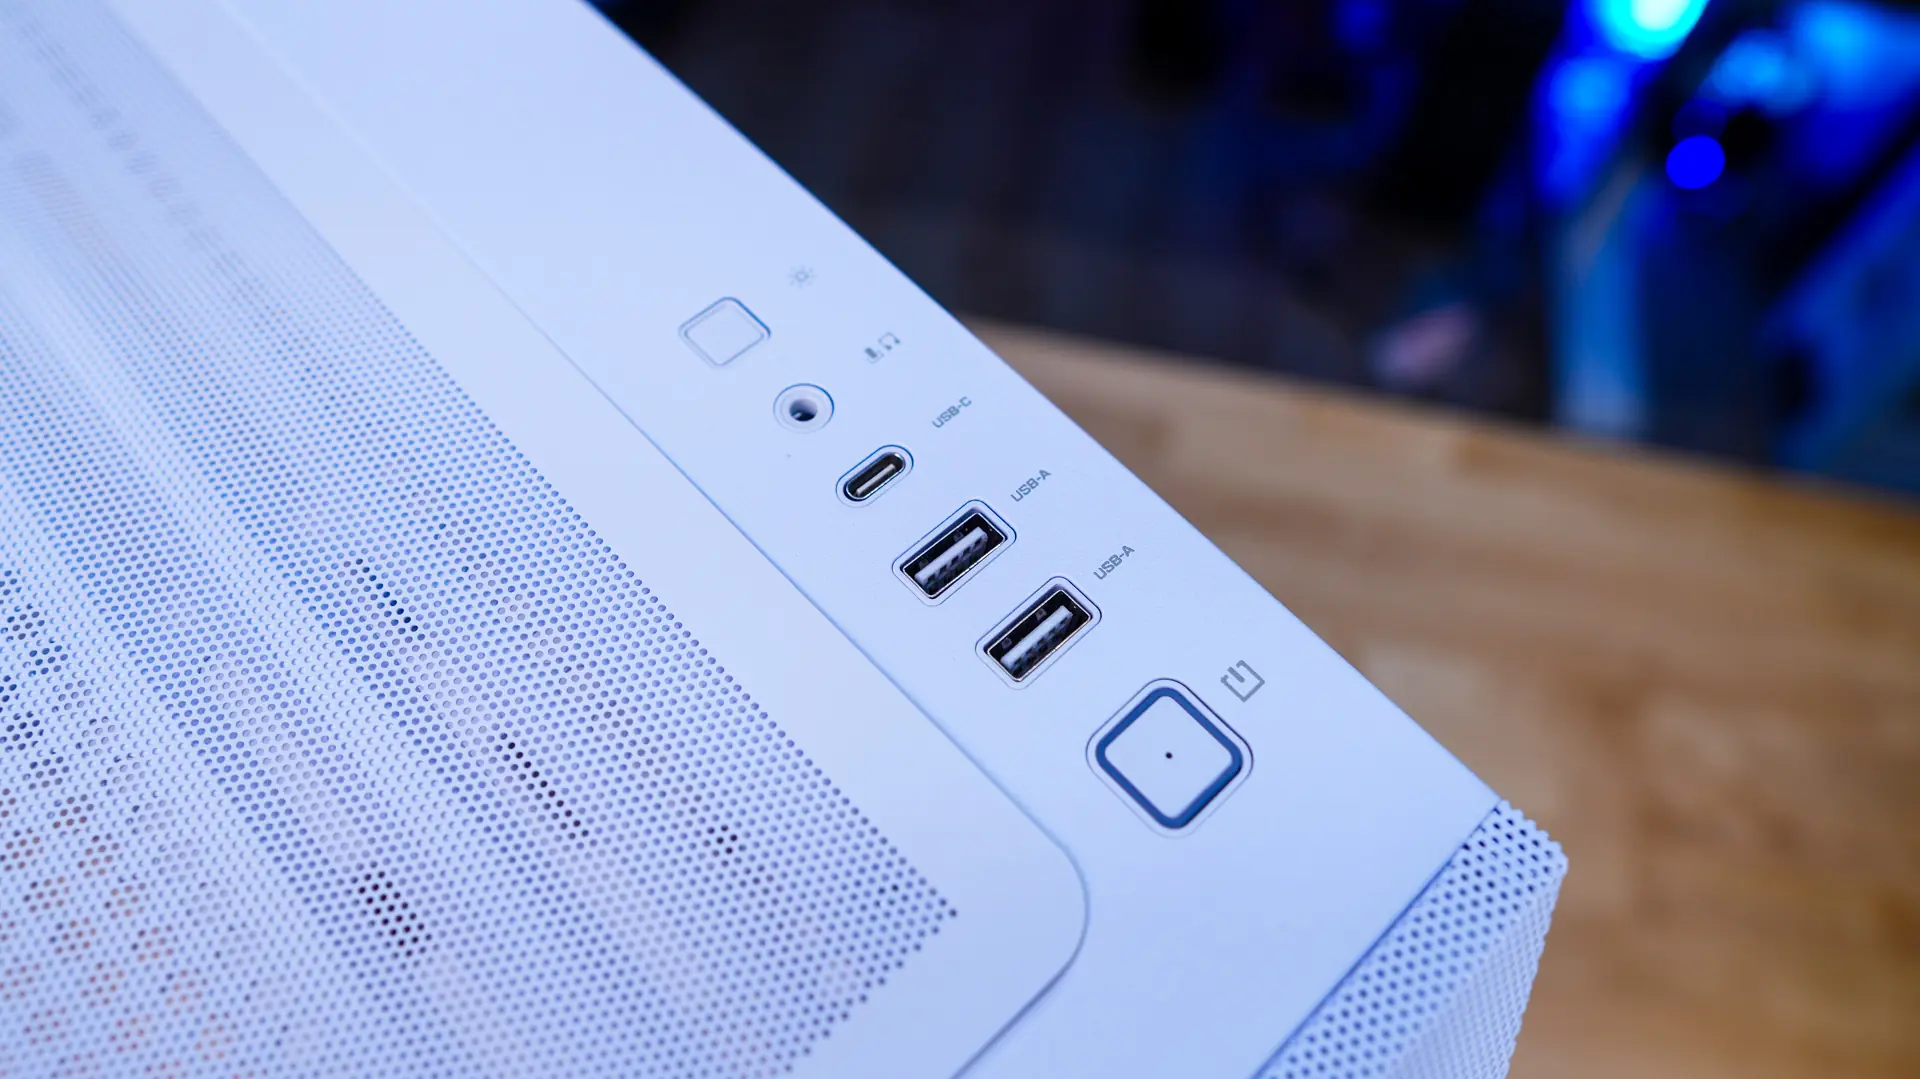
Moving up to the top of the case it is mostly ventilated with a removable magnetic filter. With the filter removed we can see another cooling mount that will support three 120mm fans, two 140mm fans, and radiators up to 360mm. On the far right you’ll find a larger power button, two USB 3.2 gen 1 Type-A ports, one USB 3.2 gen 2×2 Type-C port, a combination headphone / microphone jack, and a LED lighting control button.
The main side panel of the case is going to be a tempered glass glass panel. As I mentioned, unlike the black version of the case which has the mirror-finish this side panel is just a plain clear windows with no tint at all. This does allow you to completely show off your system though. The opposite side panel is just a normal steel panel, but it does have ventilation for the side mount cooling.
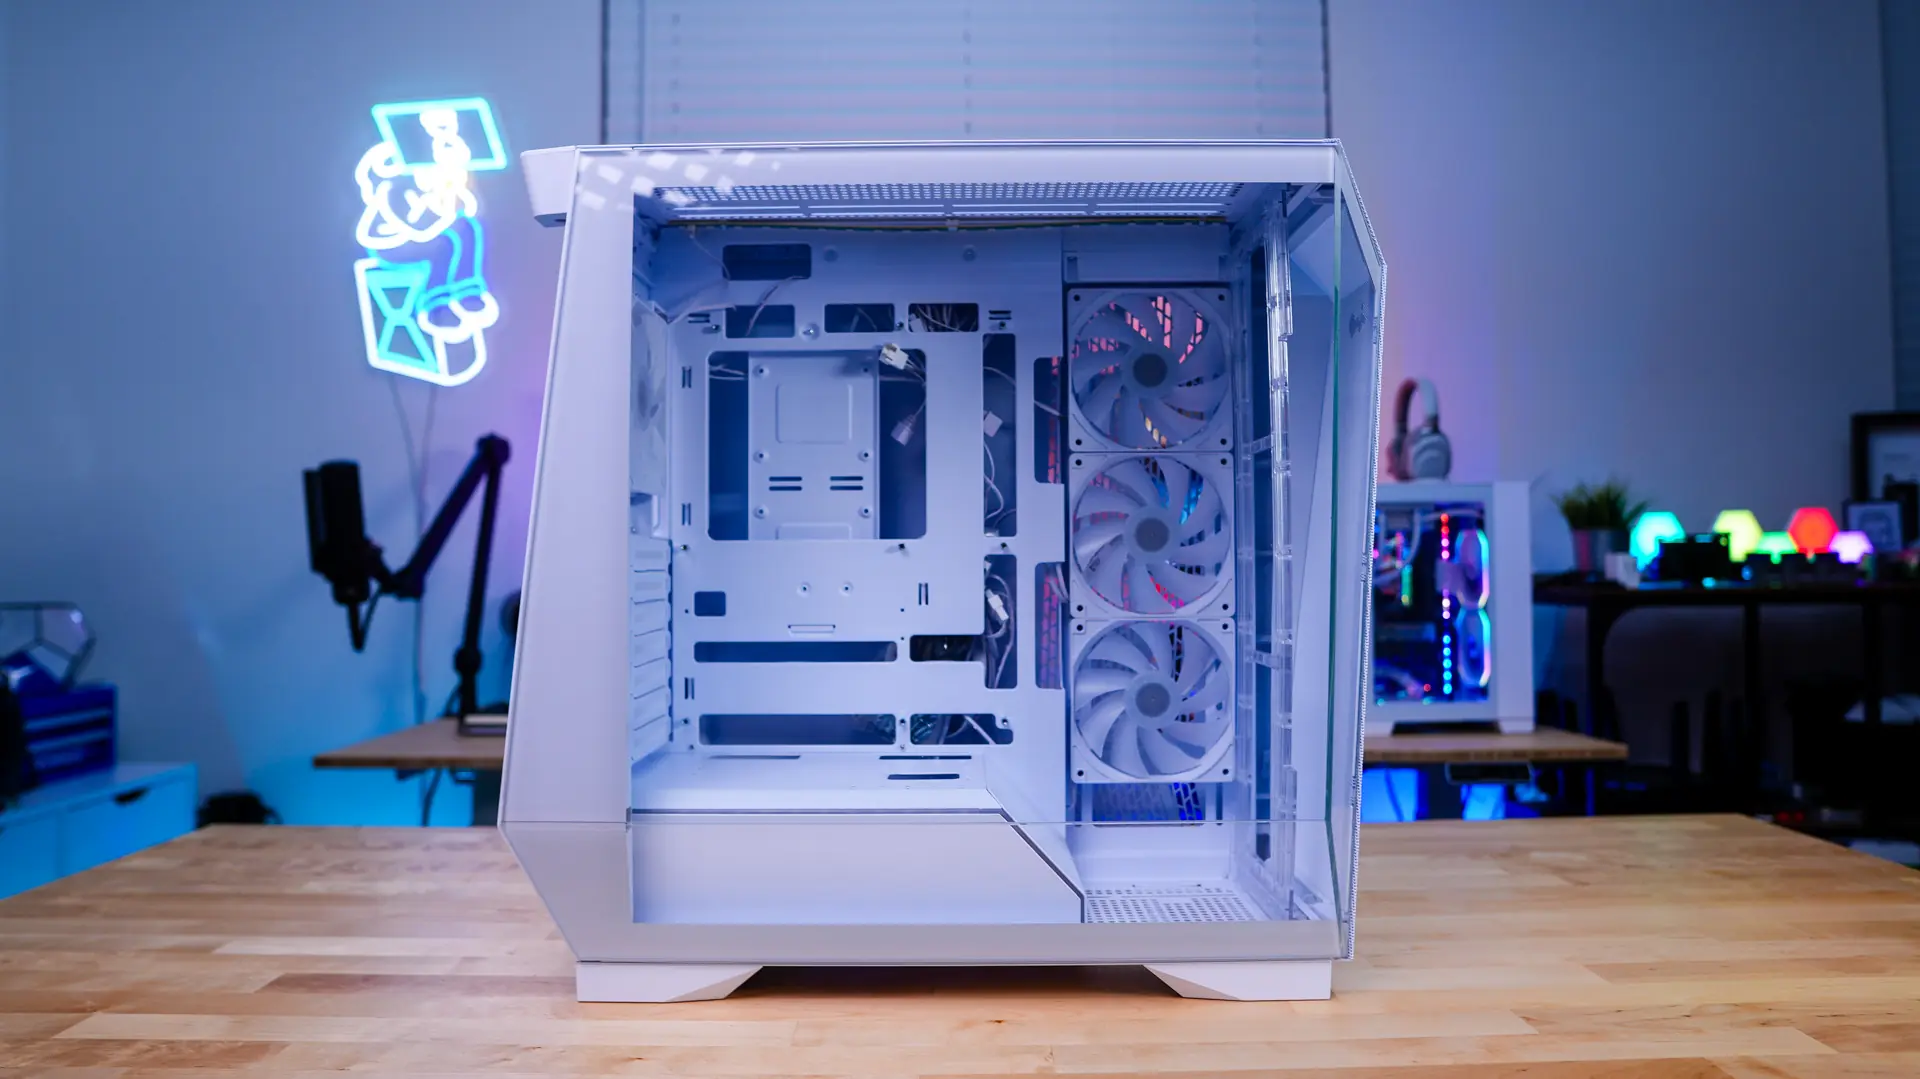
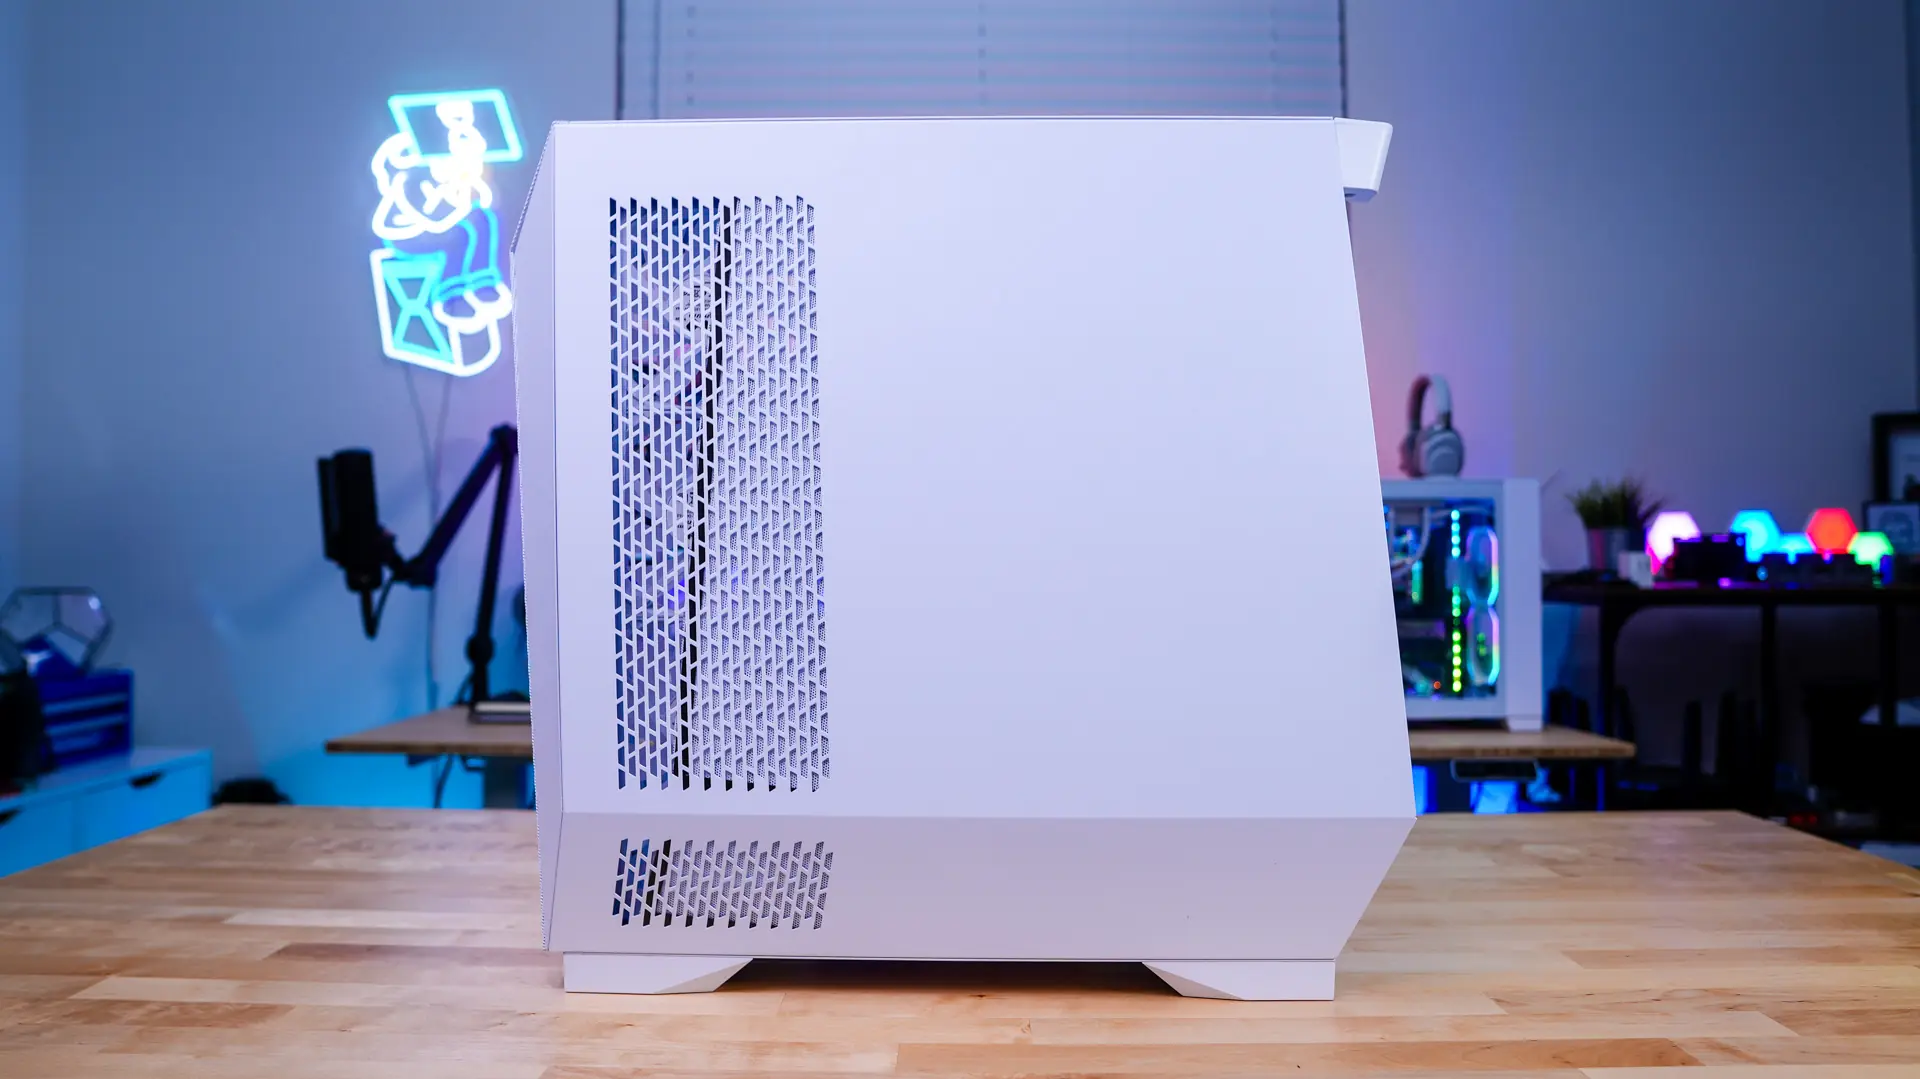
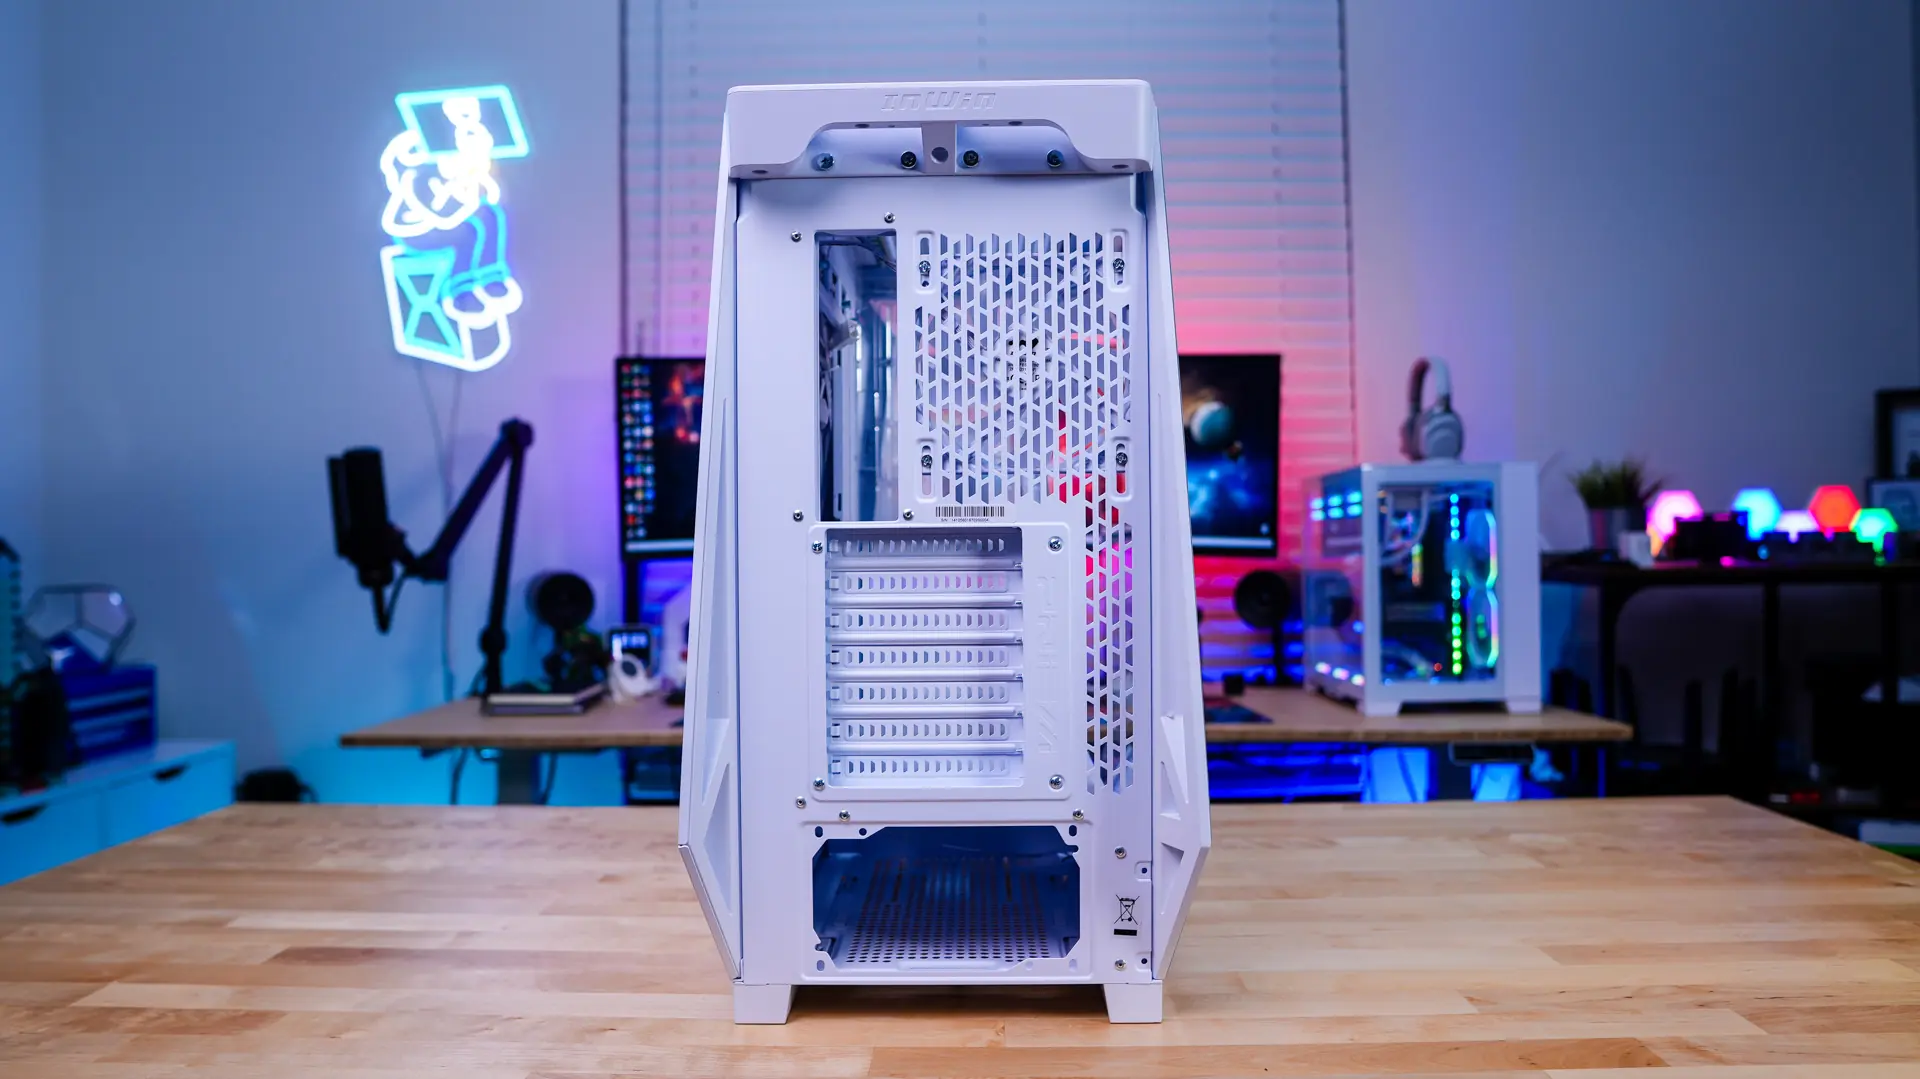
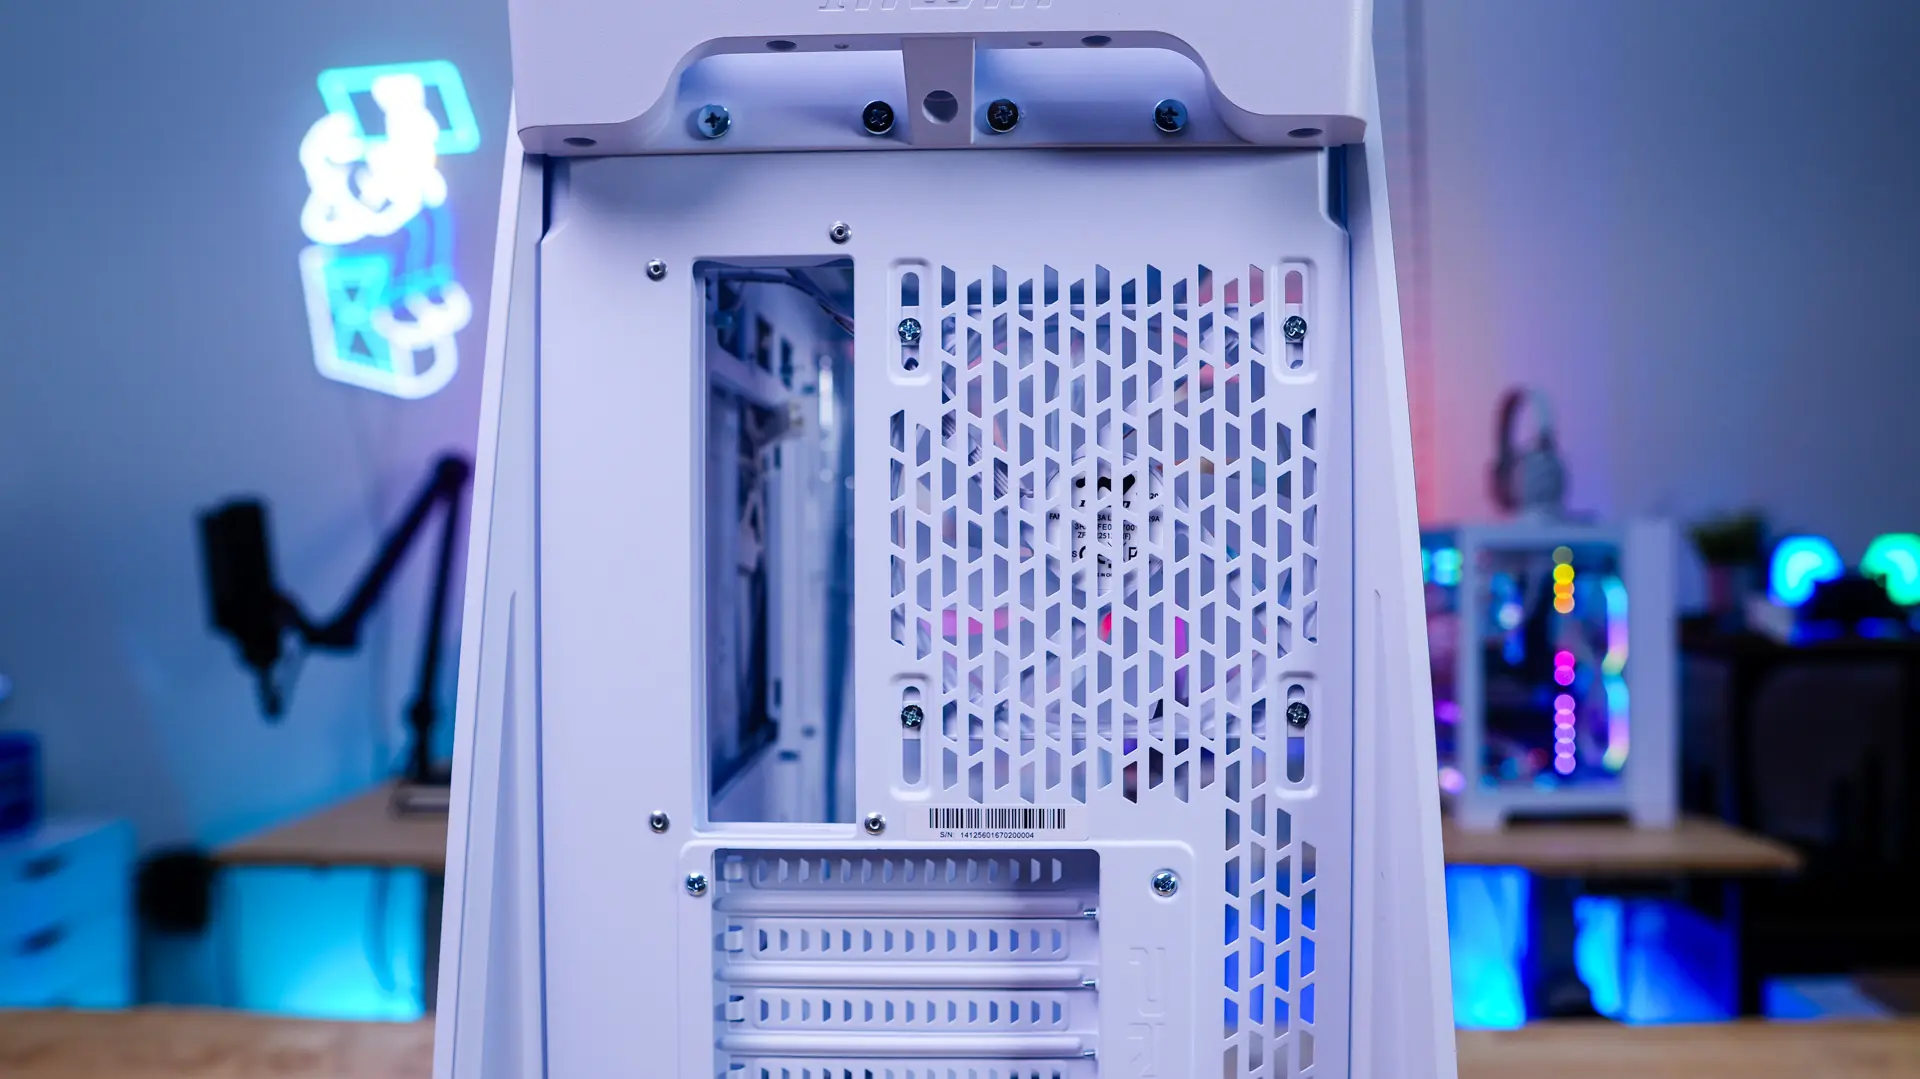
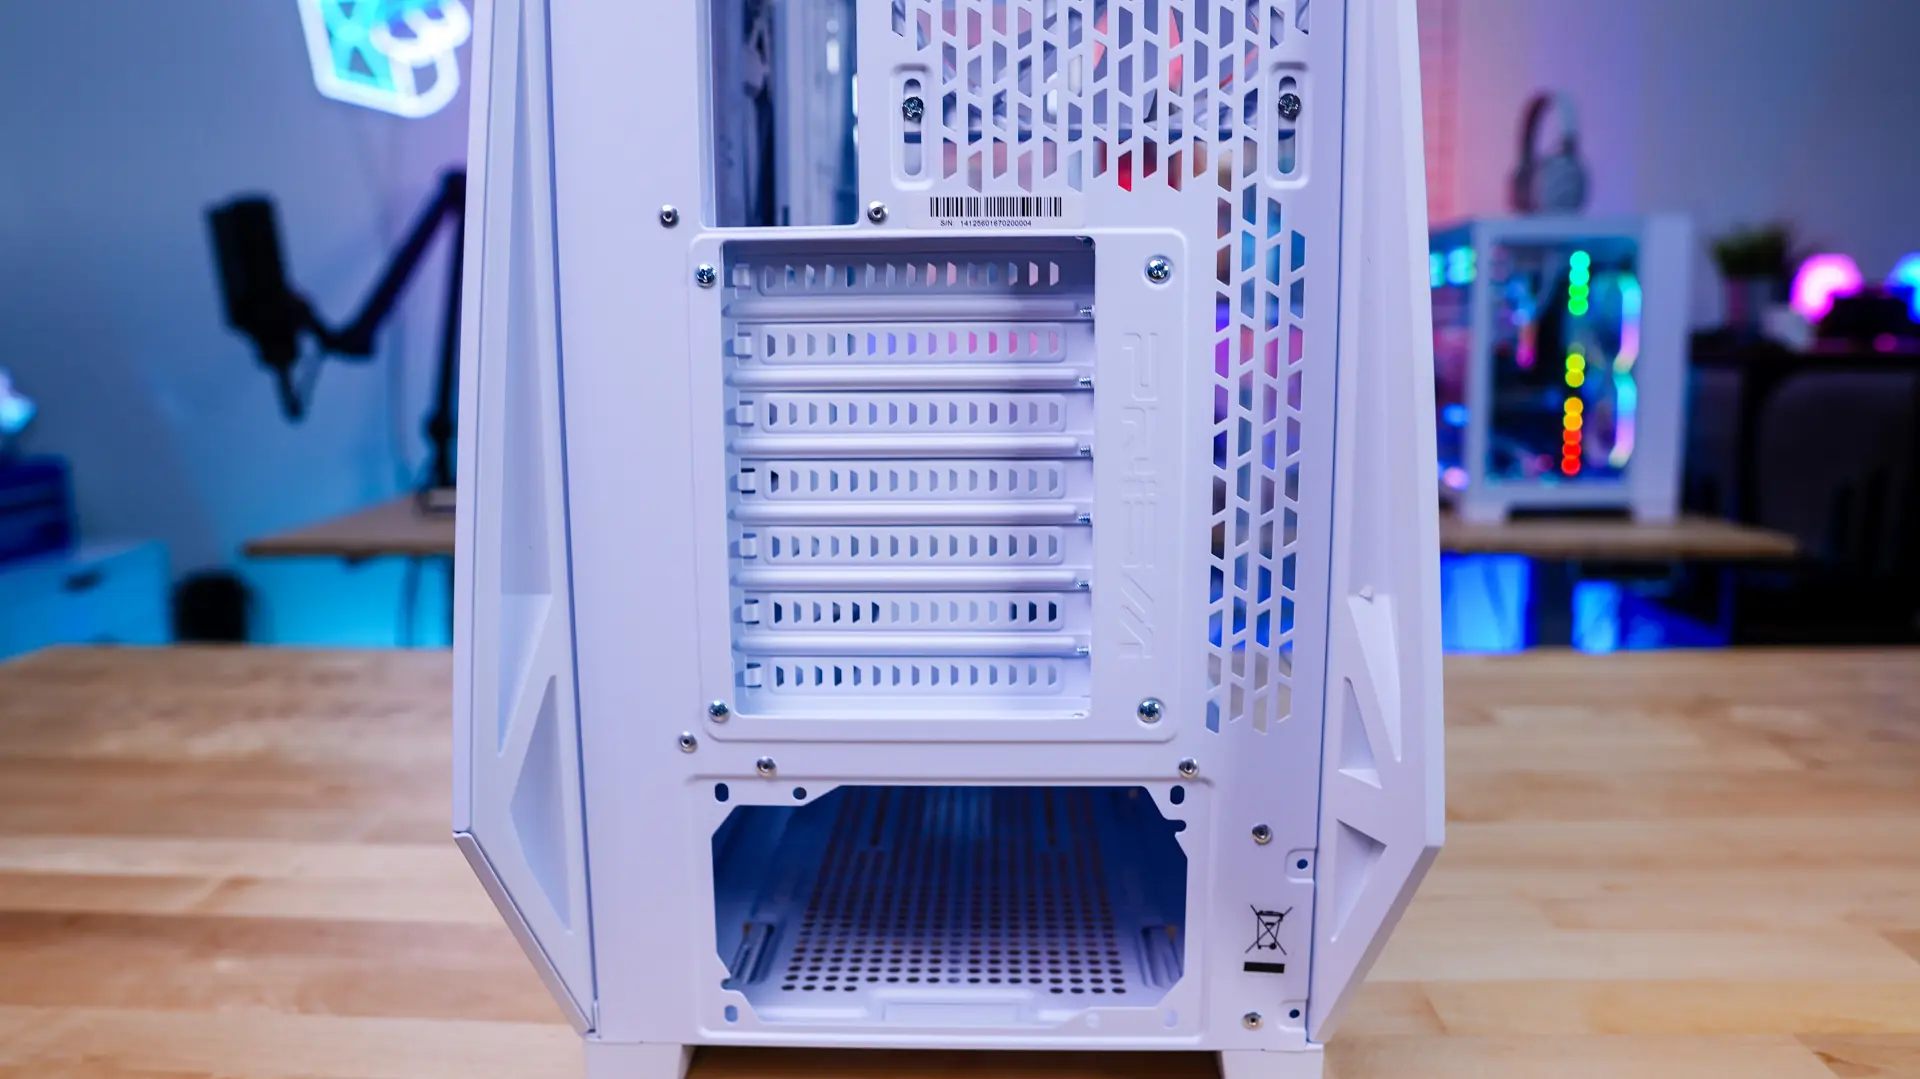
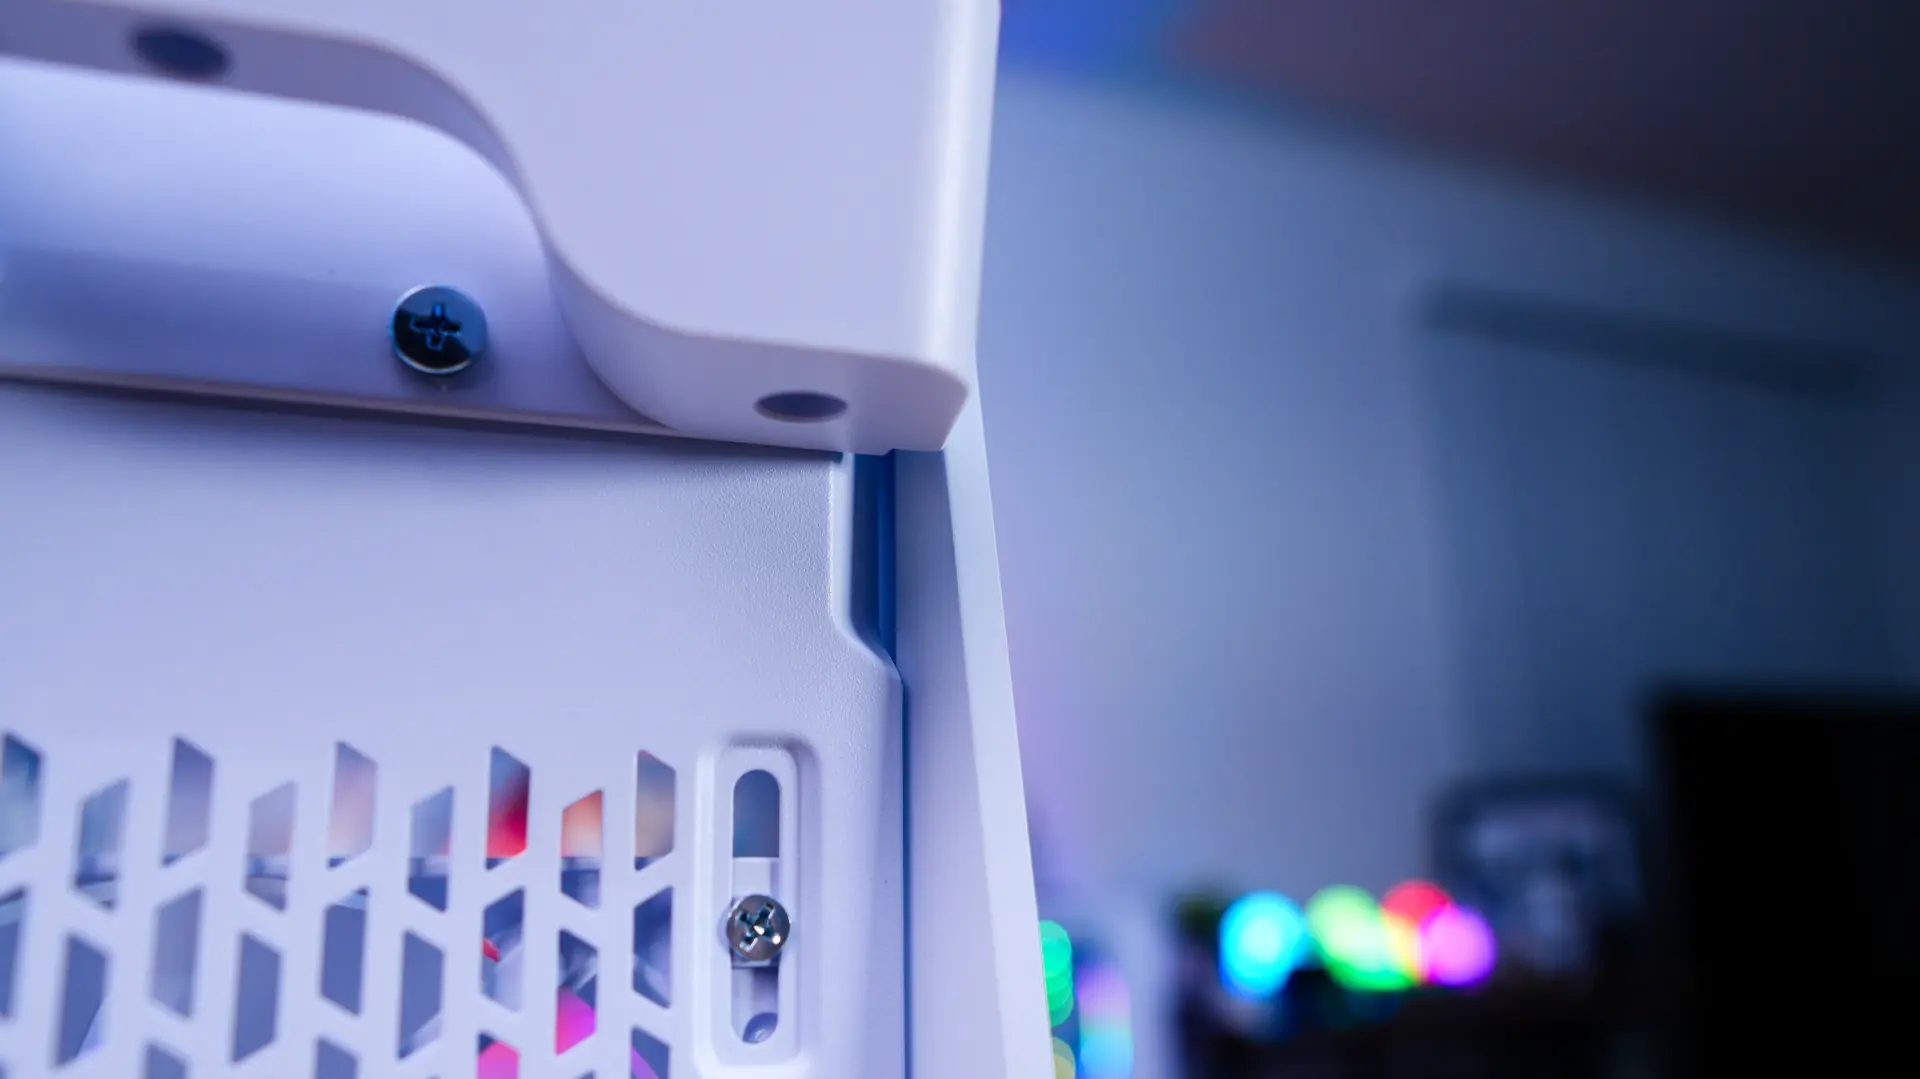
The back of the case is pretty standard with your motherboard mount, a fan mount that supports a 120mm fan (a 120mm ARGB fan is pre-installed), and your power supply mount at the bottom. You will notice screws around the expansion slots, that is because you can rotate this section for vertical graphics card installation. You will however have to provide your own riser cable. There are little indents towards the top of the case on each side. You put your finger in these and carefully press out to unlock and remove each side panel.