
Installation of the MSI MAG COREFROZR AA13 CPU Cooler
We will be installing the MAG COREFROZR AA13 on an AMD X870 motherboard so this installation will be for the AM5 socket.
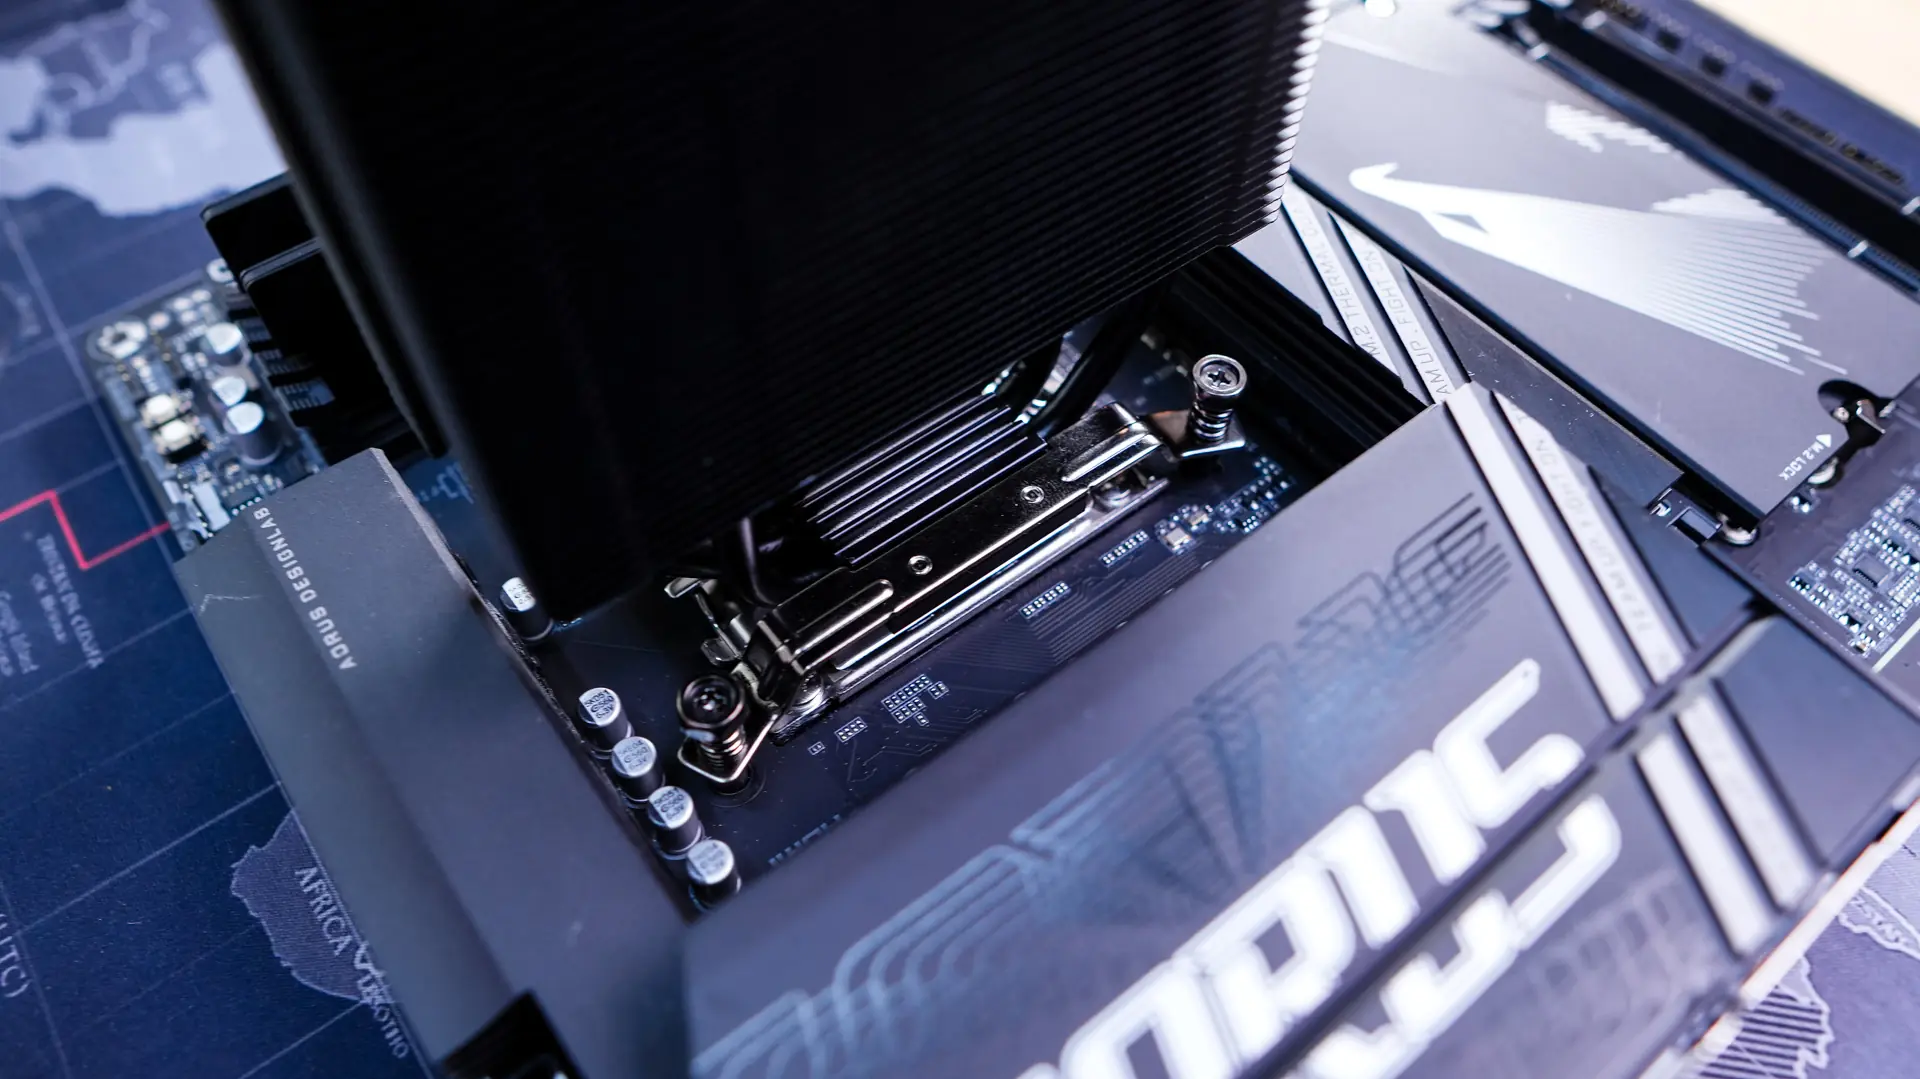
The first thing you are going to want to do is remove the AM5 mounting brackets that are on your motherboard. You will keep the backplate in place though, so your motherboard will look like the photo you see below.
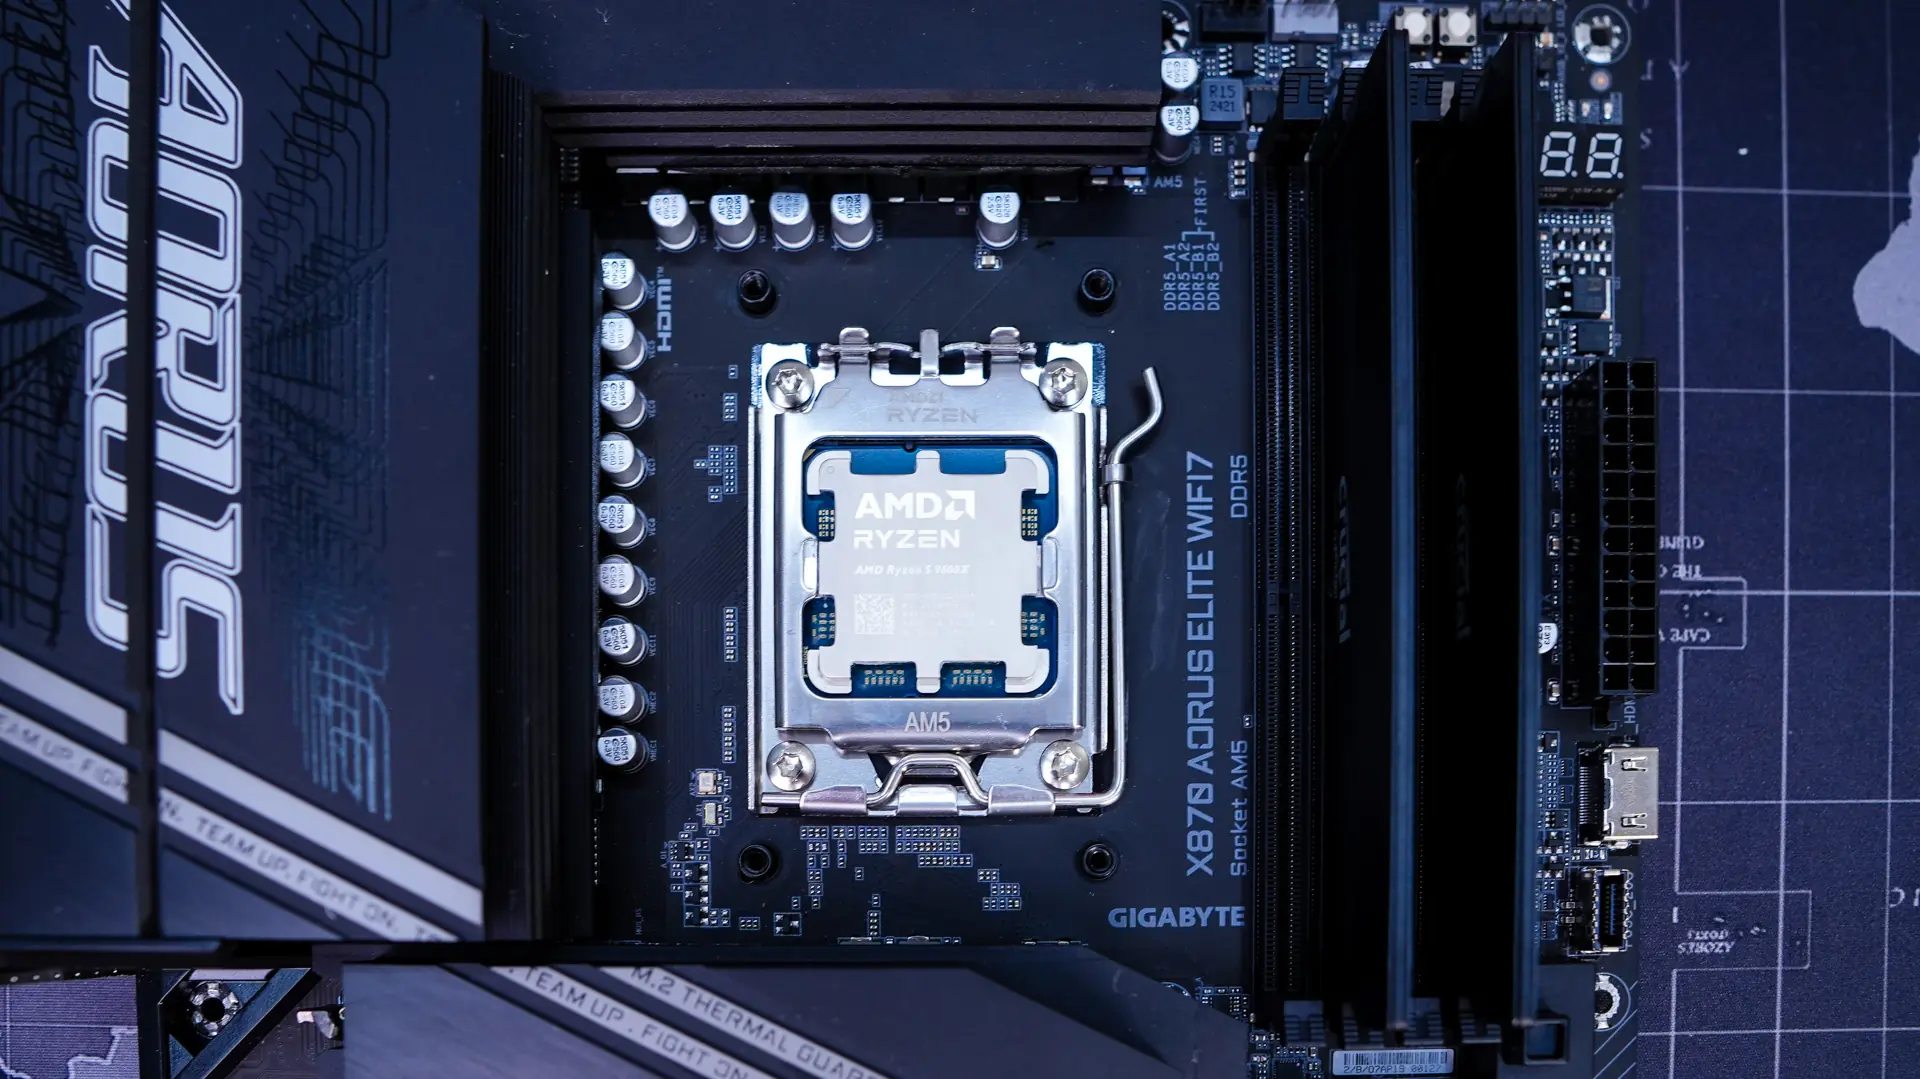
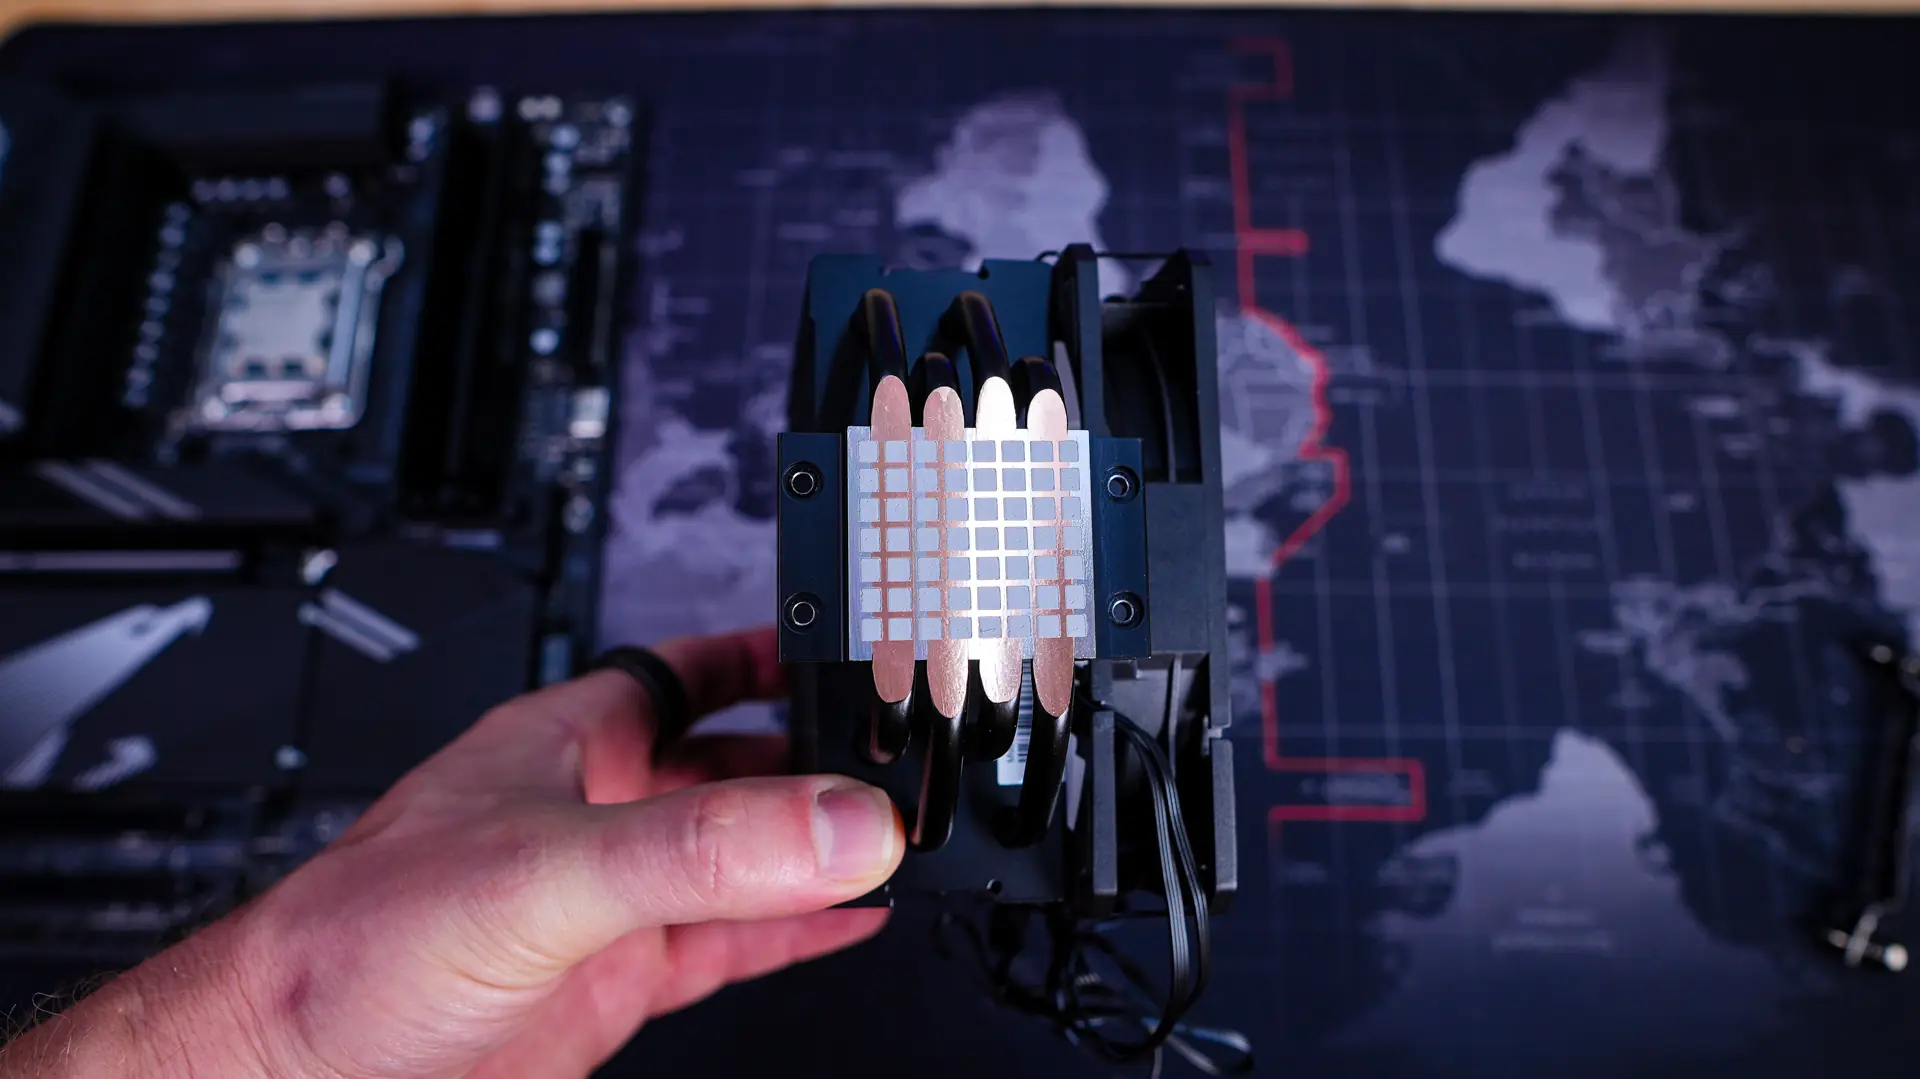
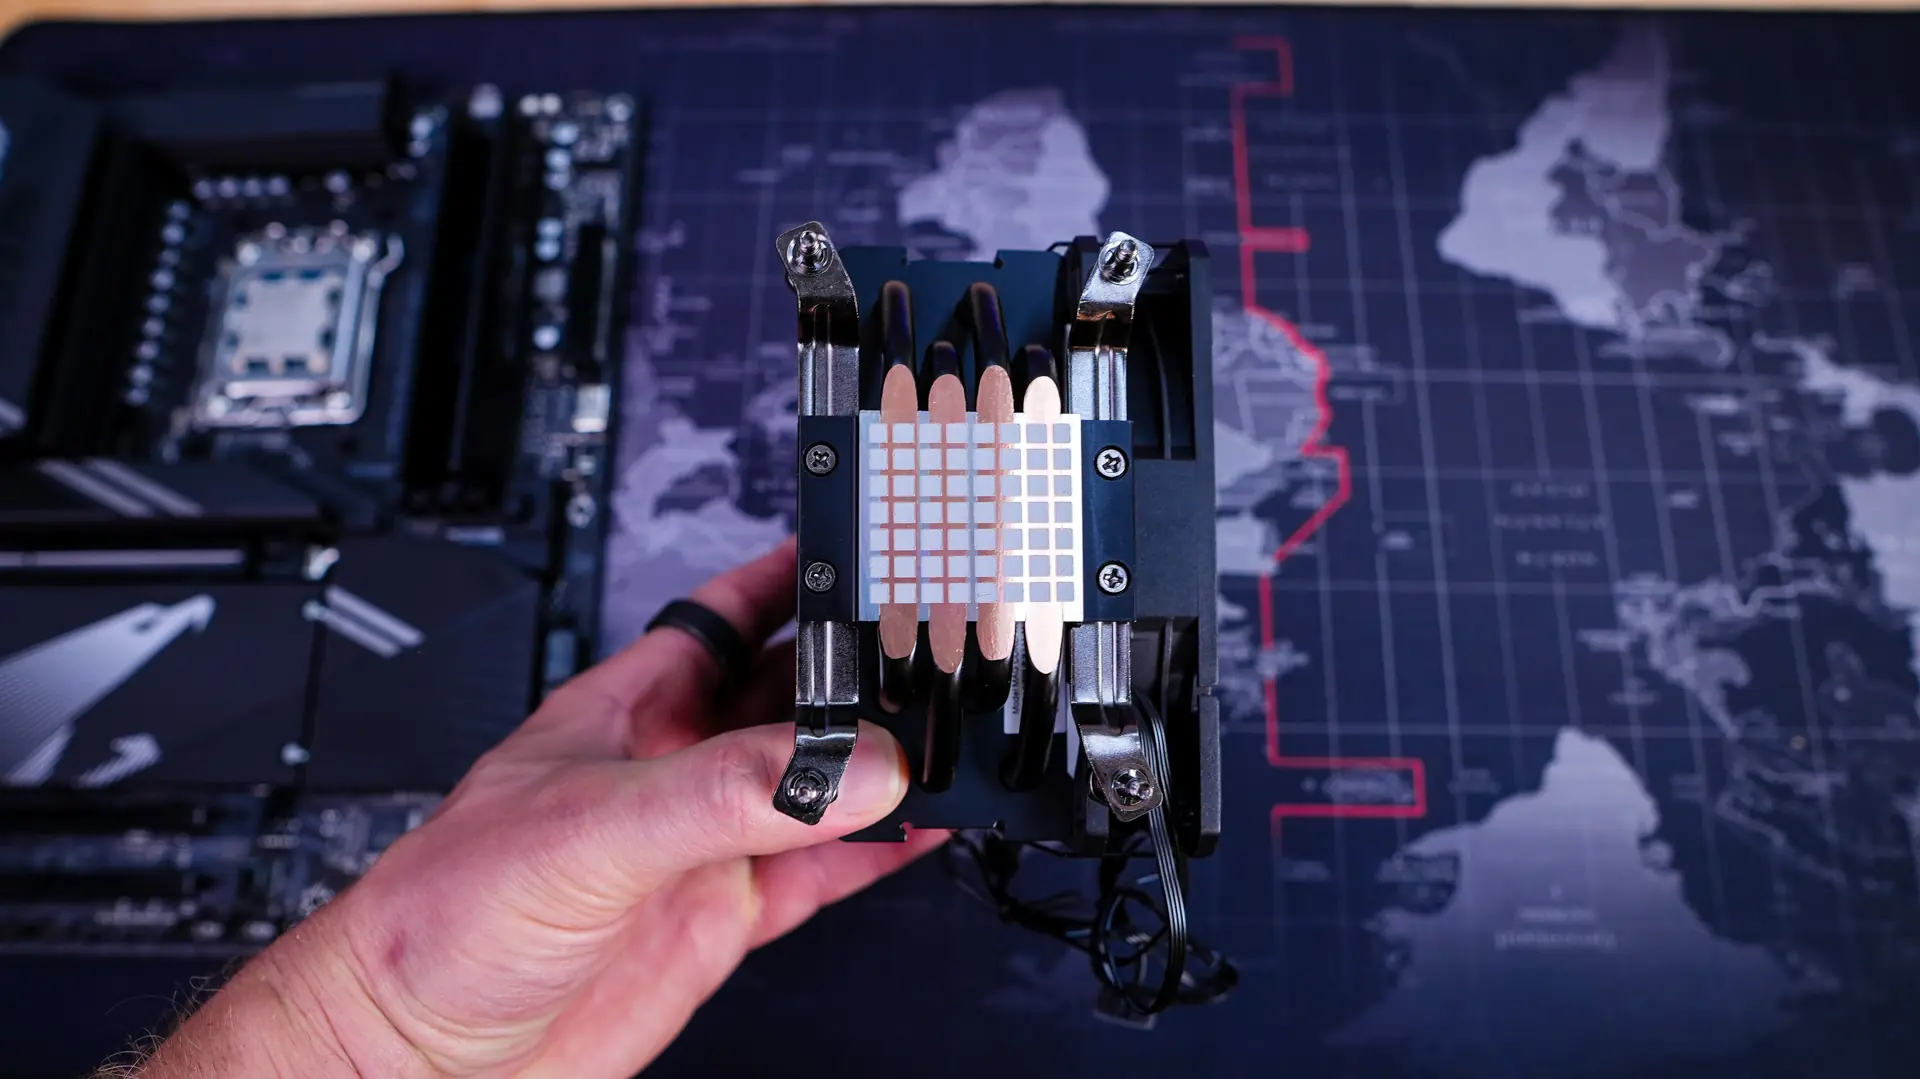
As I mentioned earlier MSI has pre-mounted the Intel mounting hardware to the cooler, so if you plan on installing the cooler in an AMD system you’ll need to remove this mounting hardware and replace it with the supplied AMD mounting hardware. All you have to do is flip the cooler over and remove two screws on each side.
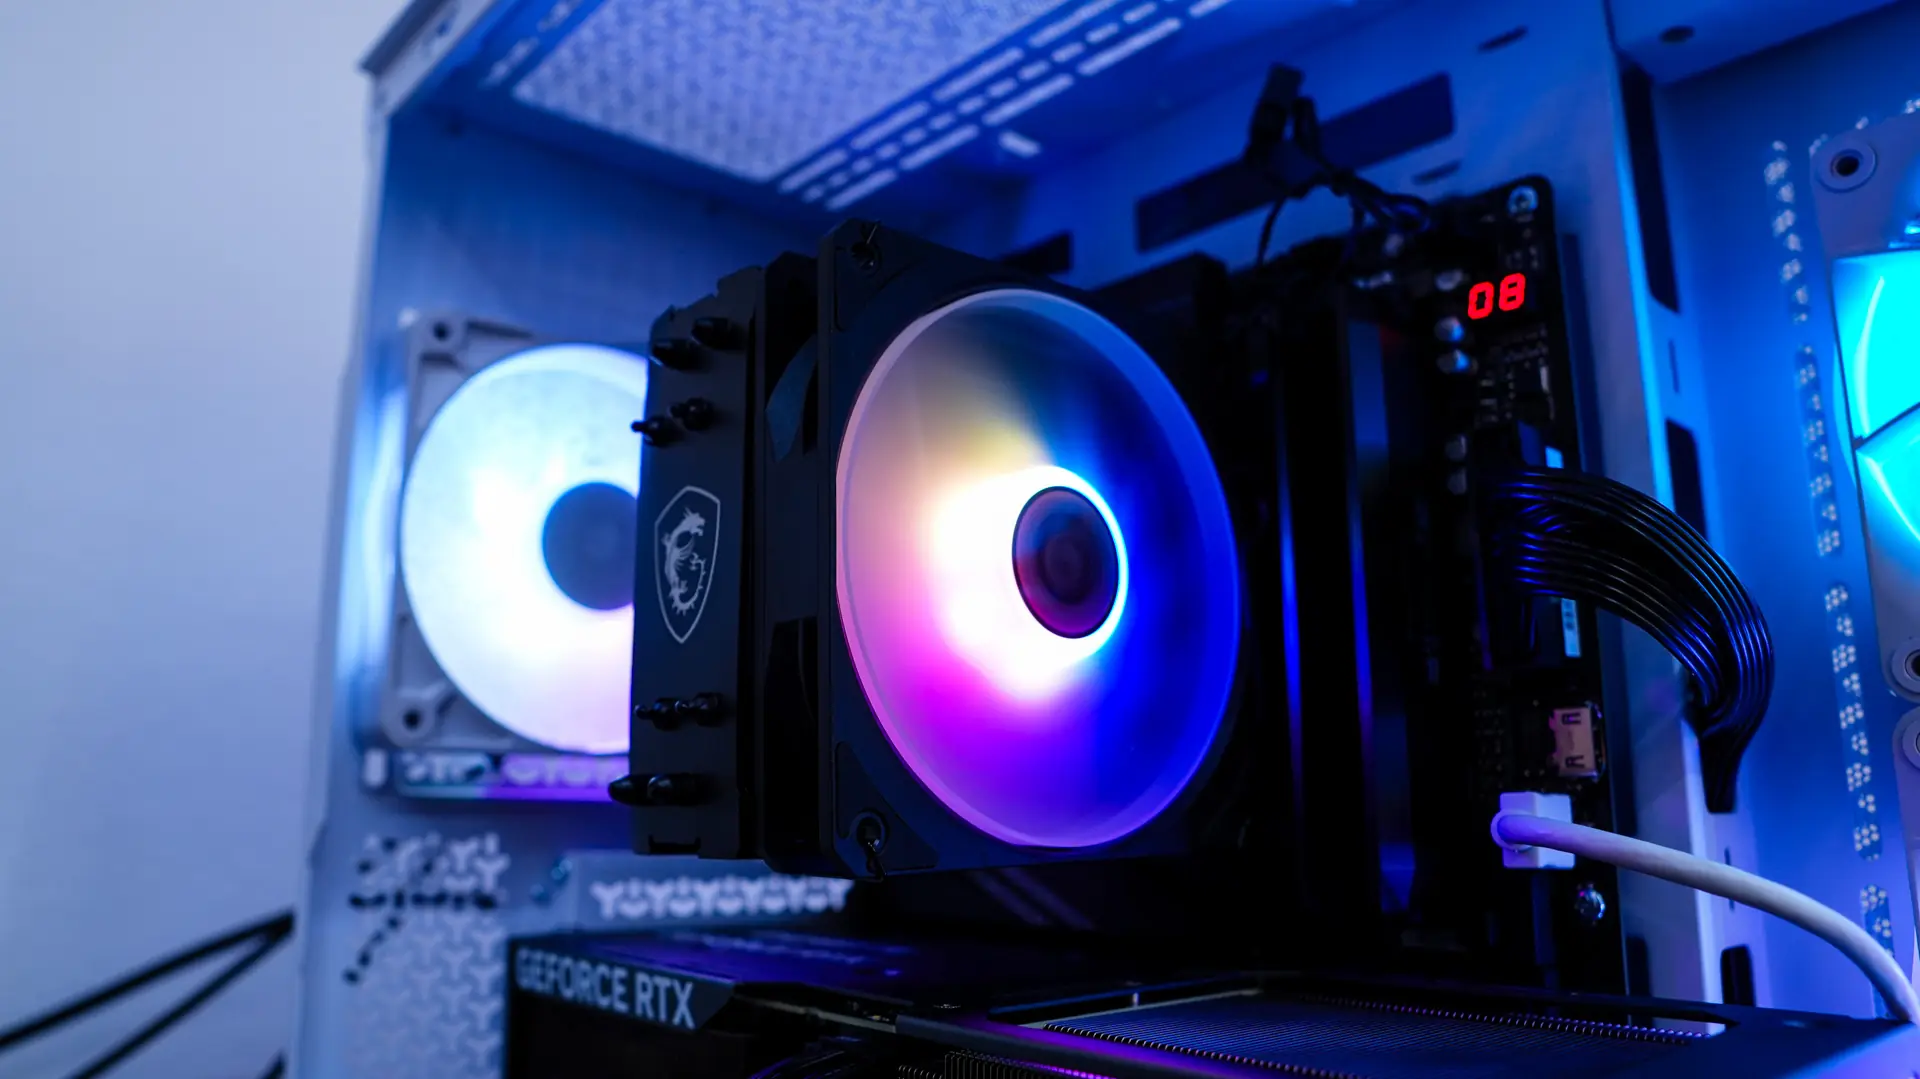
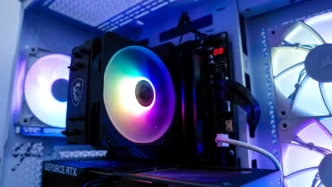
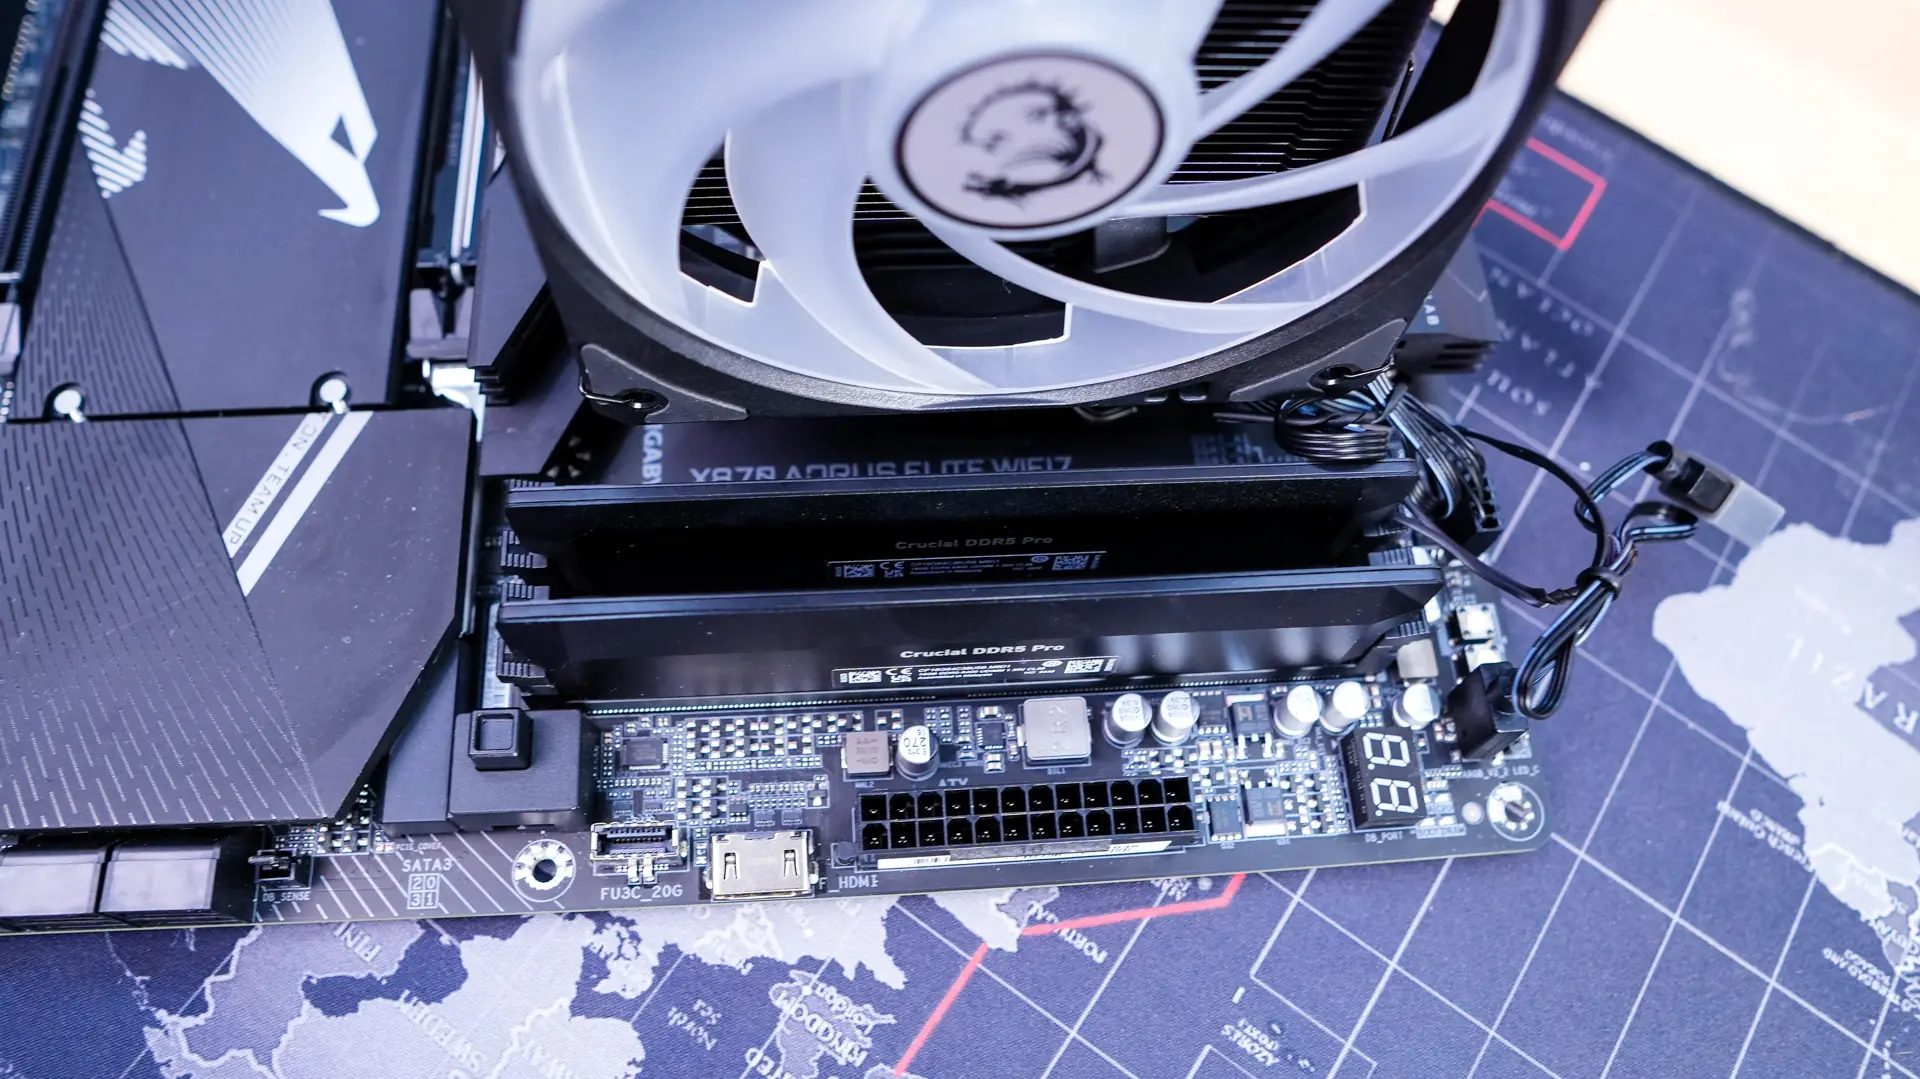
Now that we have the AMD mounting hardware installed we want to remove the fan (you likely won’t have to do this as the cooler comes without the fan installed), then carefully place the cooler on top of your CPU lining up the screws on the mounting hardware with the holes in the AMD backplate. With everything lined up secure the cooler by tightening the four screws. Reattach your fan, and then finally connect the PWM connector to the CPU fan header on your motherboard and the ARGB connection to the ARGB header on your motherboard. With the cooler installed we can see that even with the fan we have 100% RAM clearance.


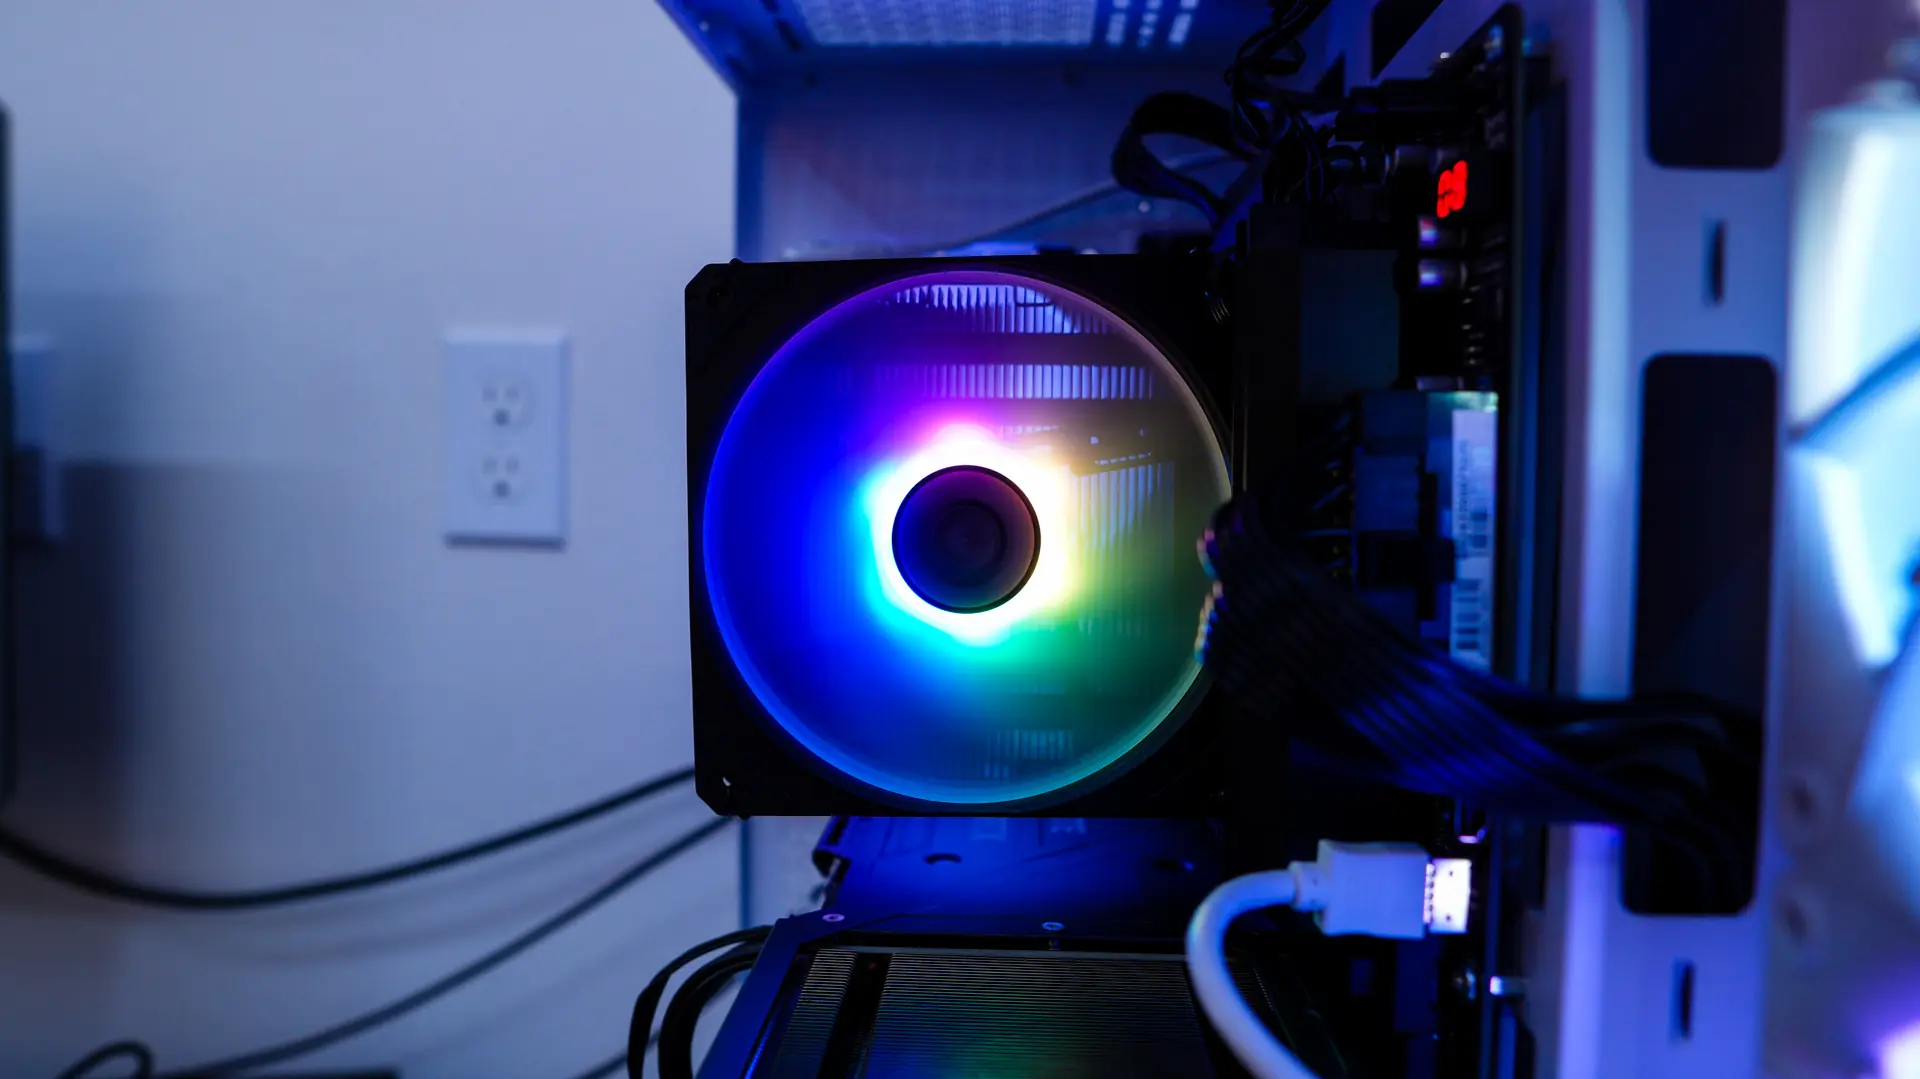
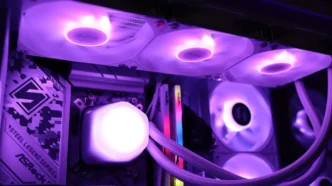
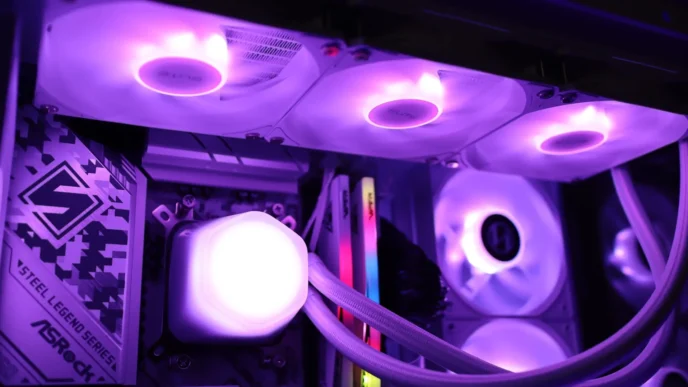
Lighting on the MSI MAG COREFROZR AA13 CPU Cooler
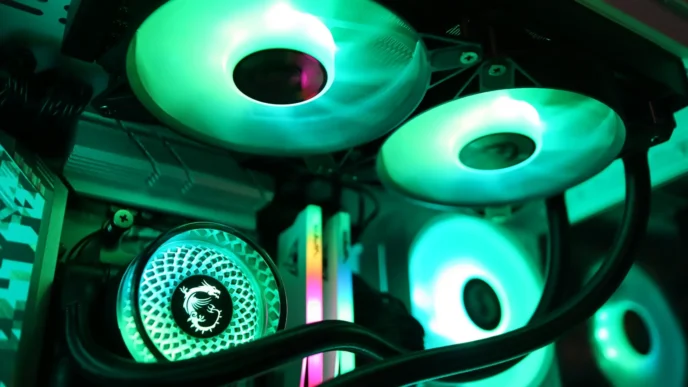
When it comes to lighting on the cooler of course we have the ARGB fan. With no controller supplied you can easily control the lighting with your motherboard’s RGB software.