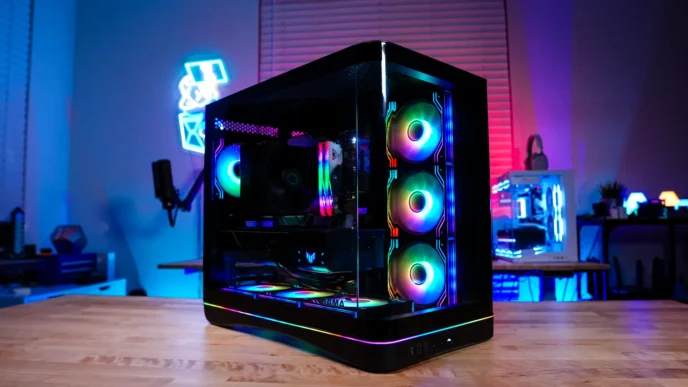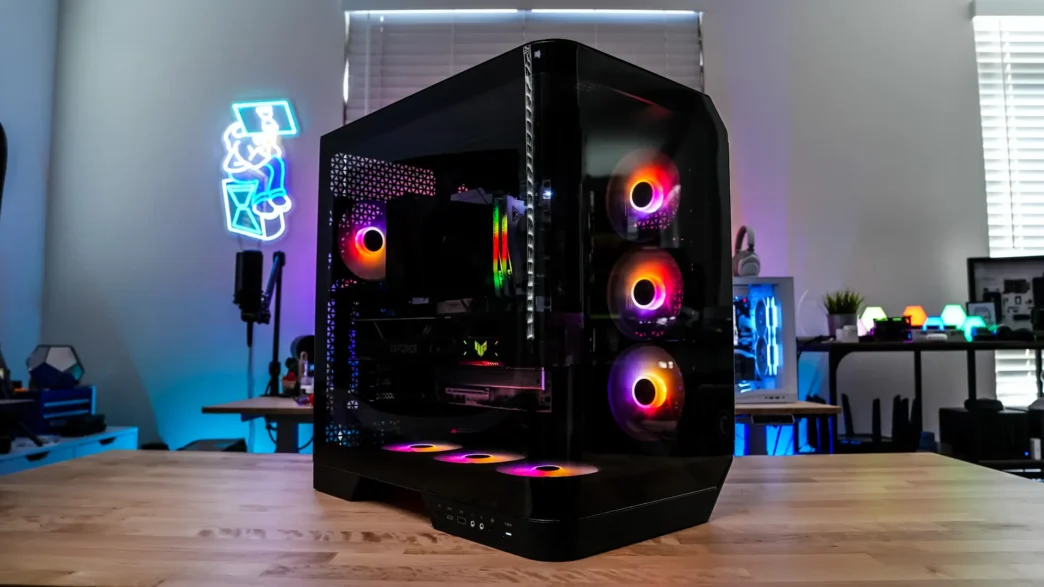
Building Inside the MSI MAG Pano 120R PZ PC Case
Getting started with our build the first thing I did was remove the GPU support bracket. This is a weird GPU support bracket that covers the end of your card. If you ever wondered why graphics cards have those 3 holes on the end, it is for these types of support brackets. This is actually the first case that I’ve seen with this type of bracket. It actually takes six screws to remove it, which is a bit annoying.
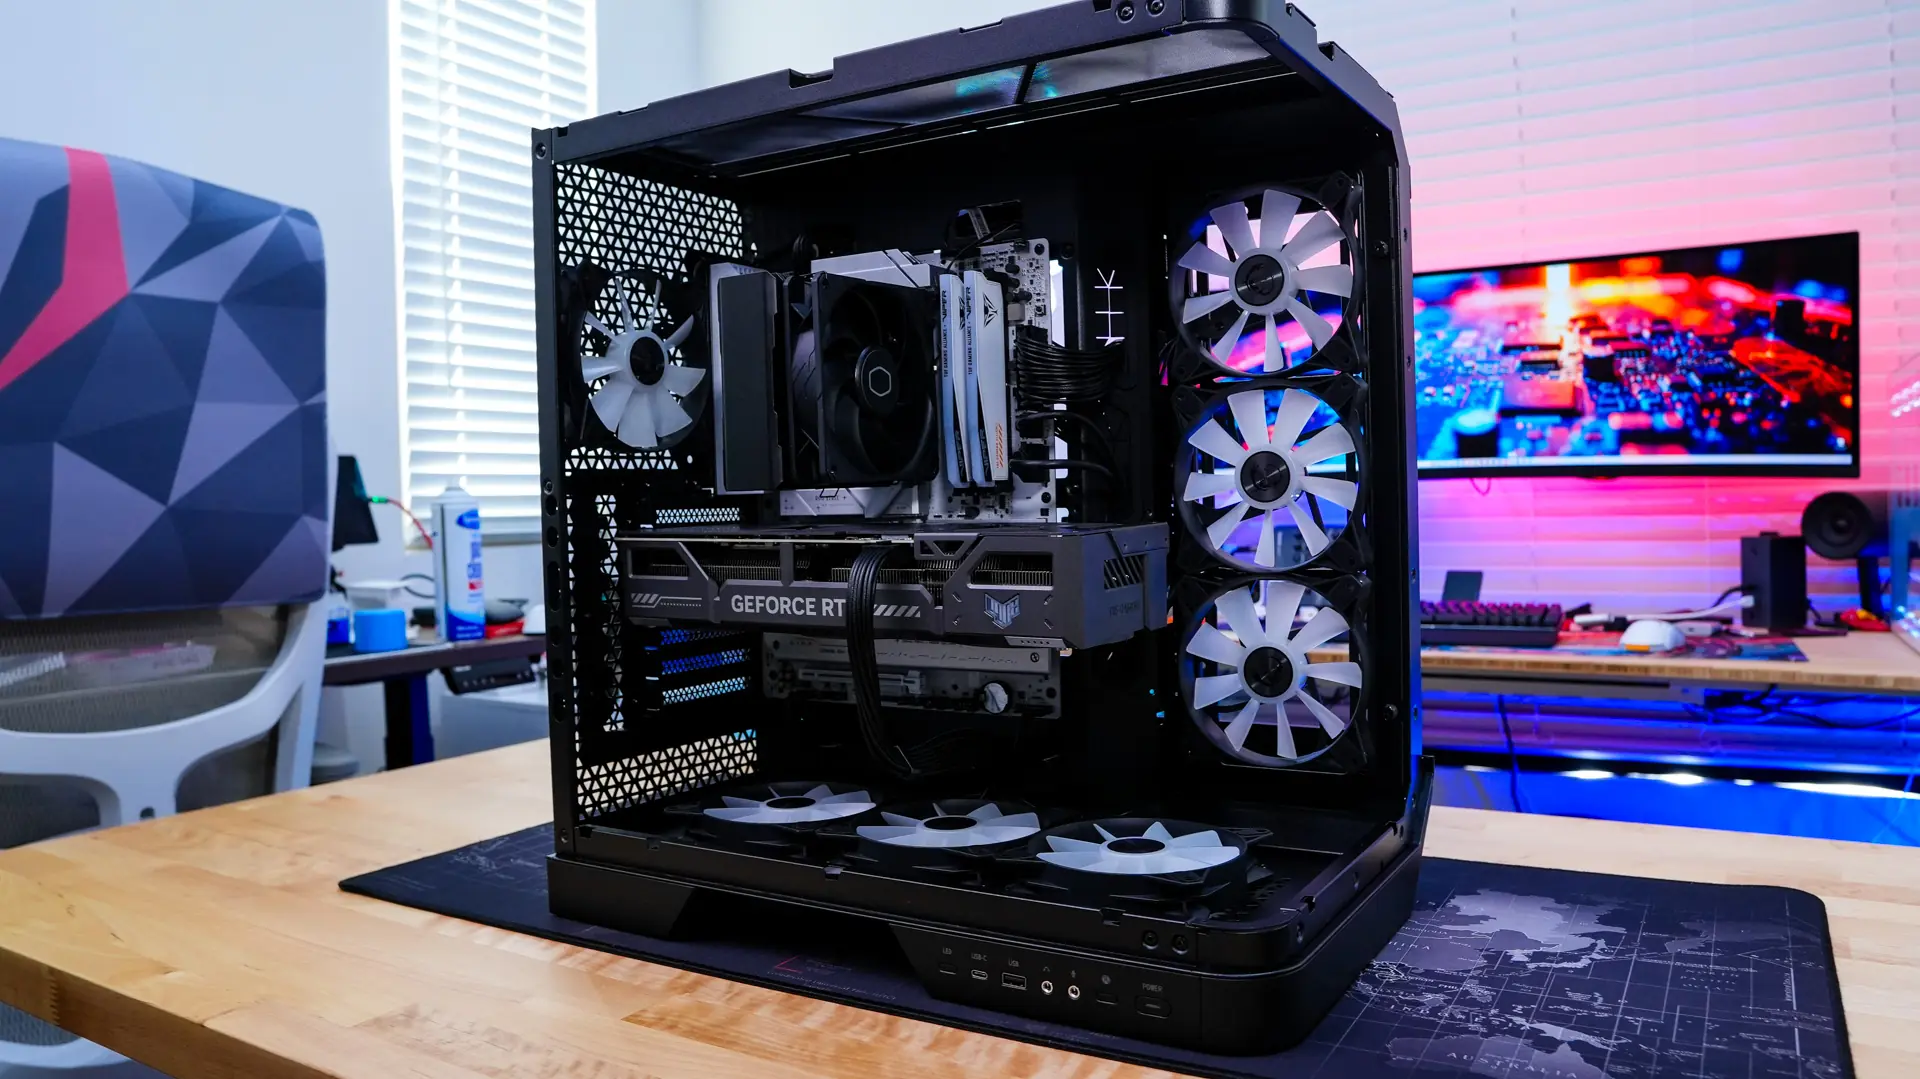
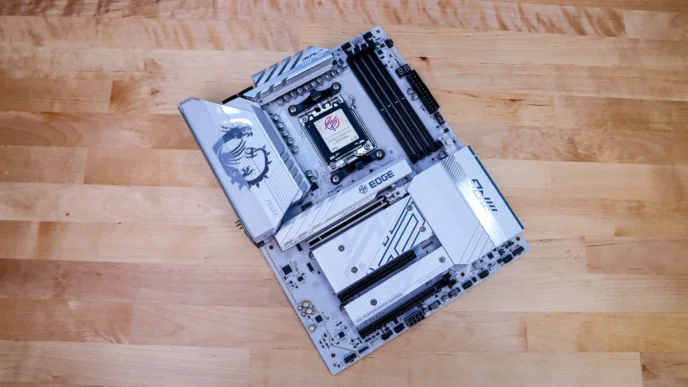
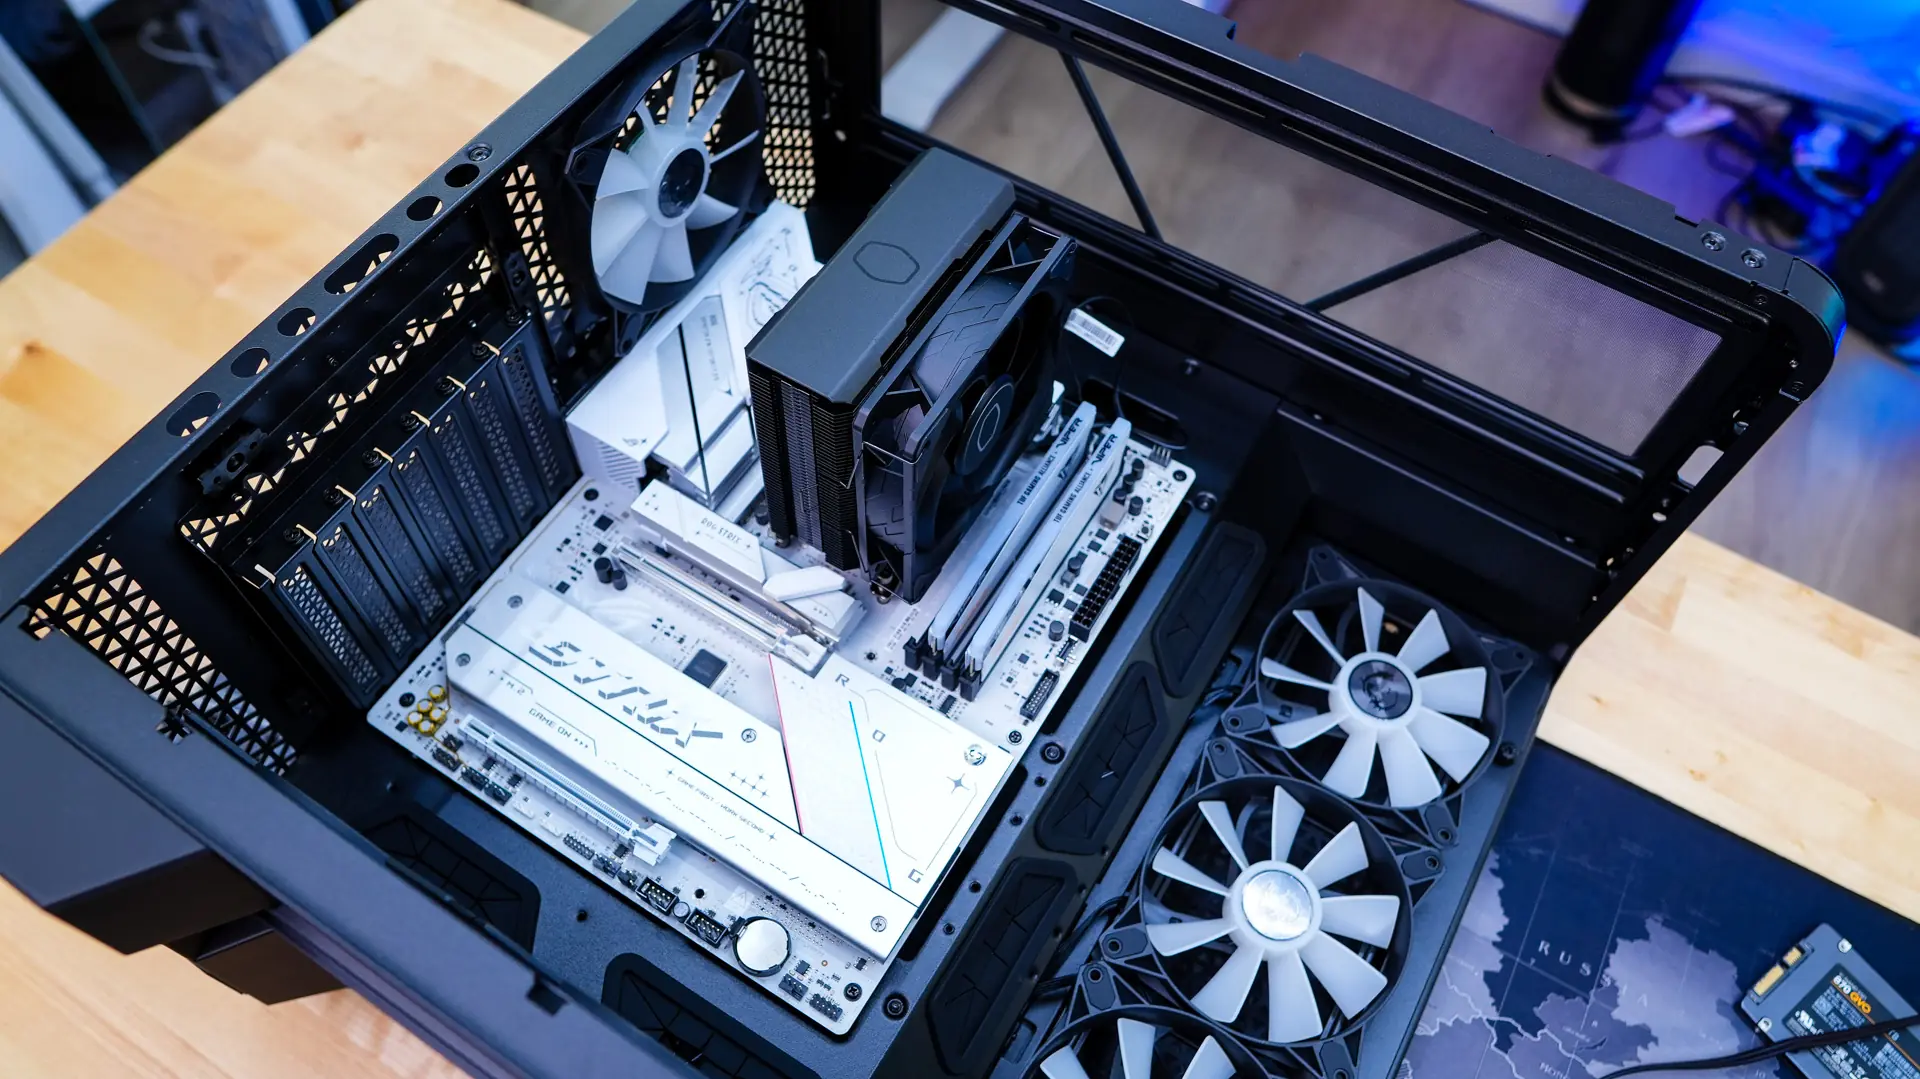
After removing the GPU support bracket it was time to install our motherboard. With plenty of room to work with our motherboard went in no problem.
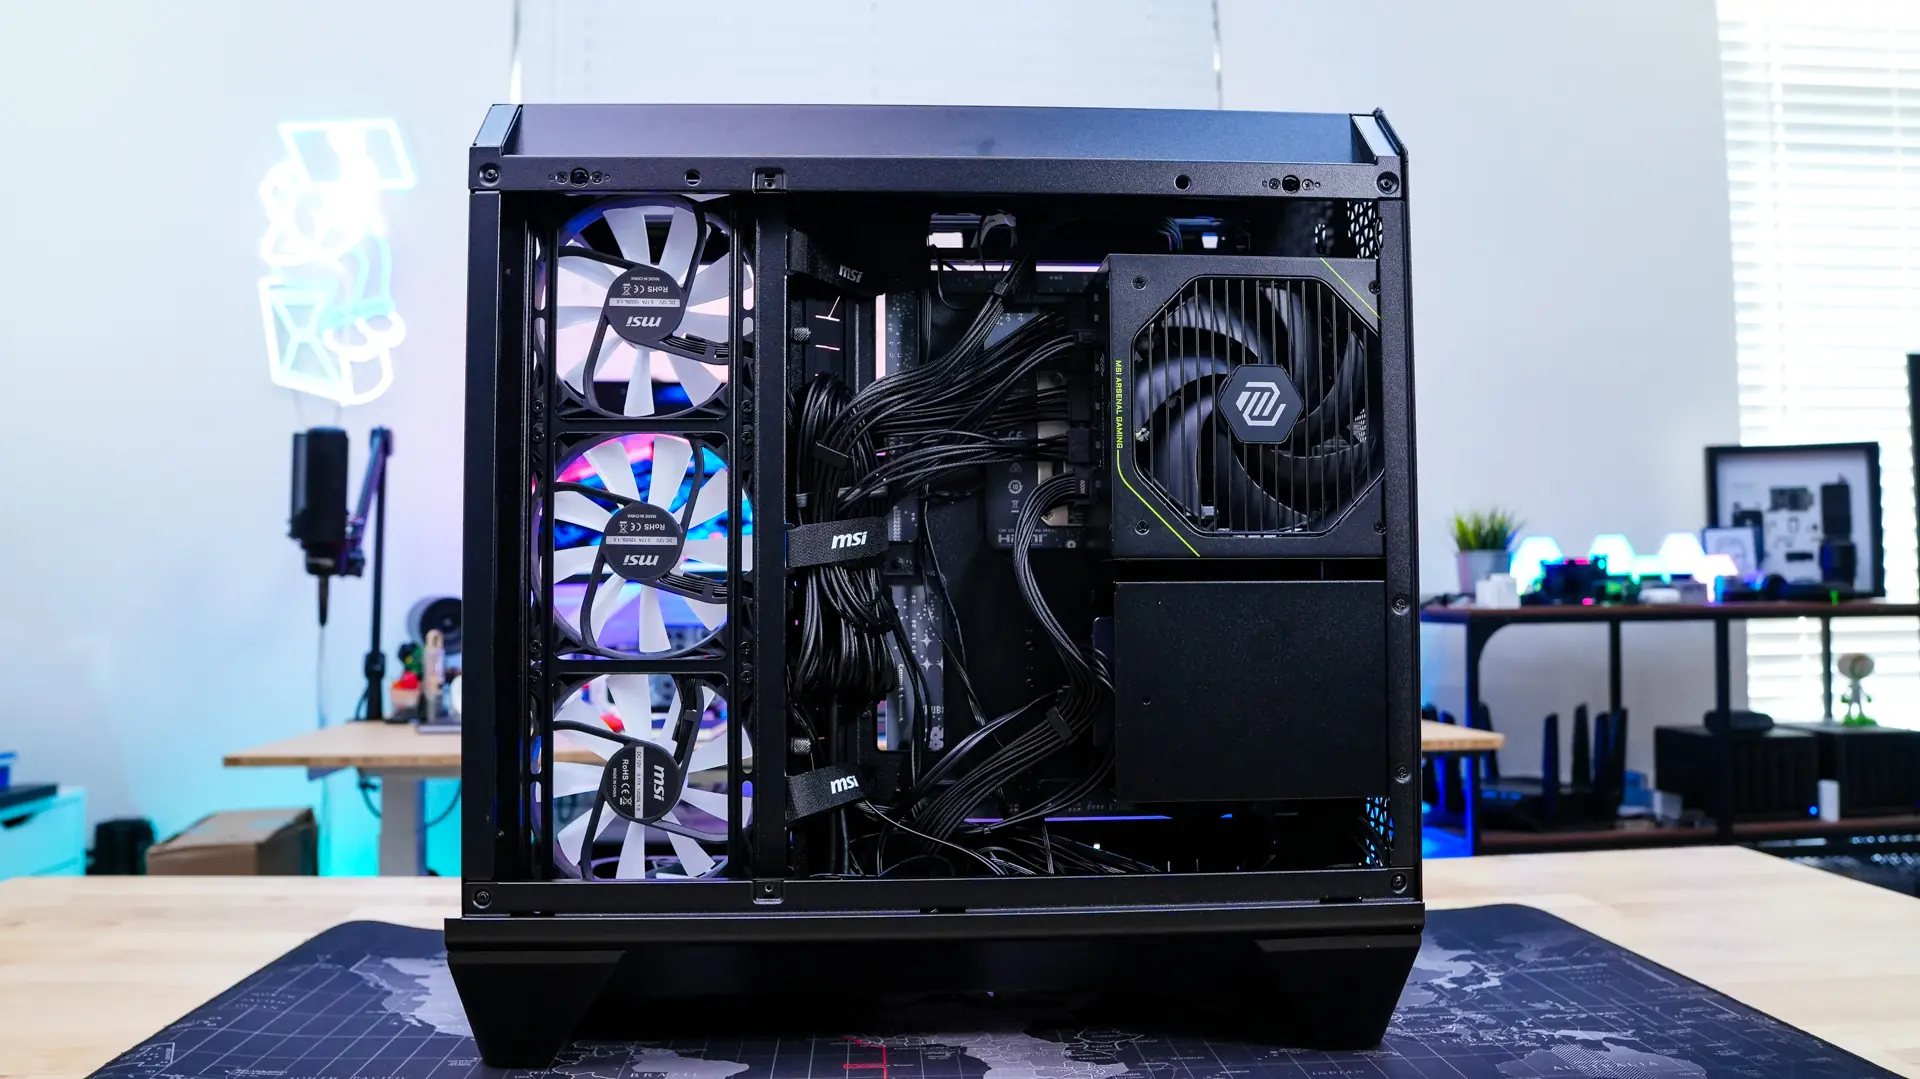
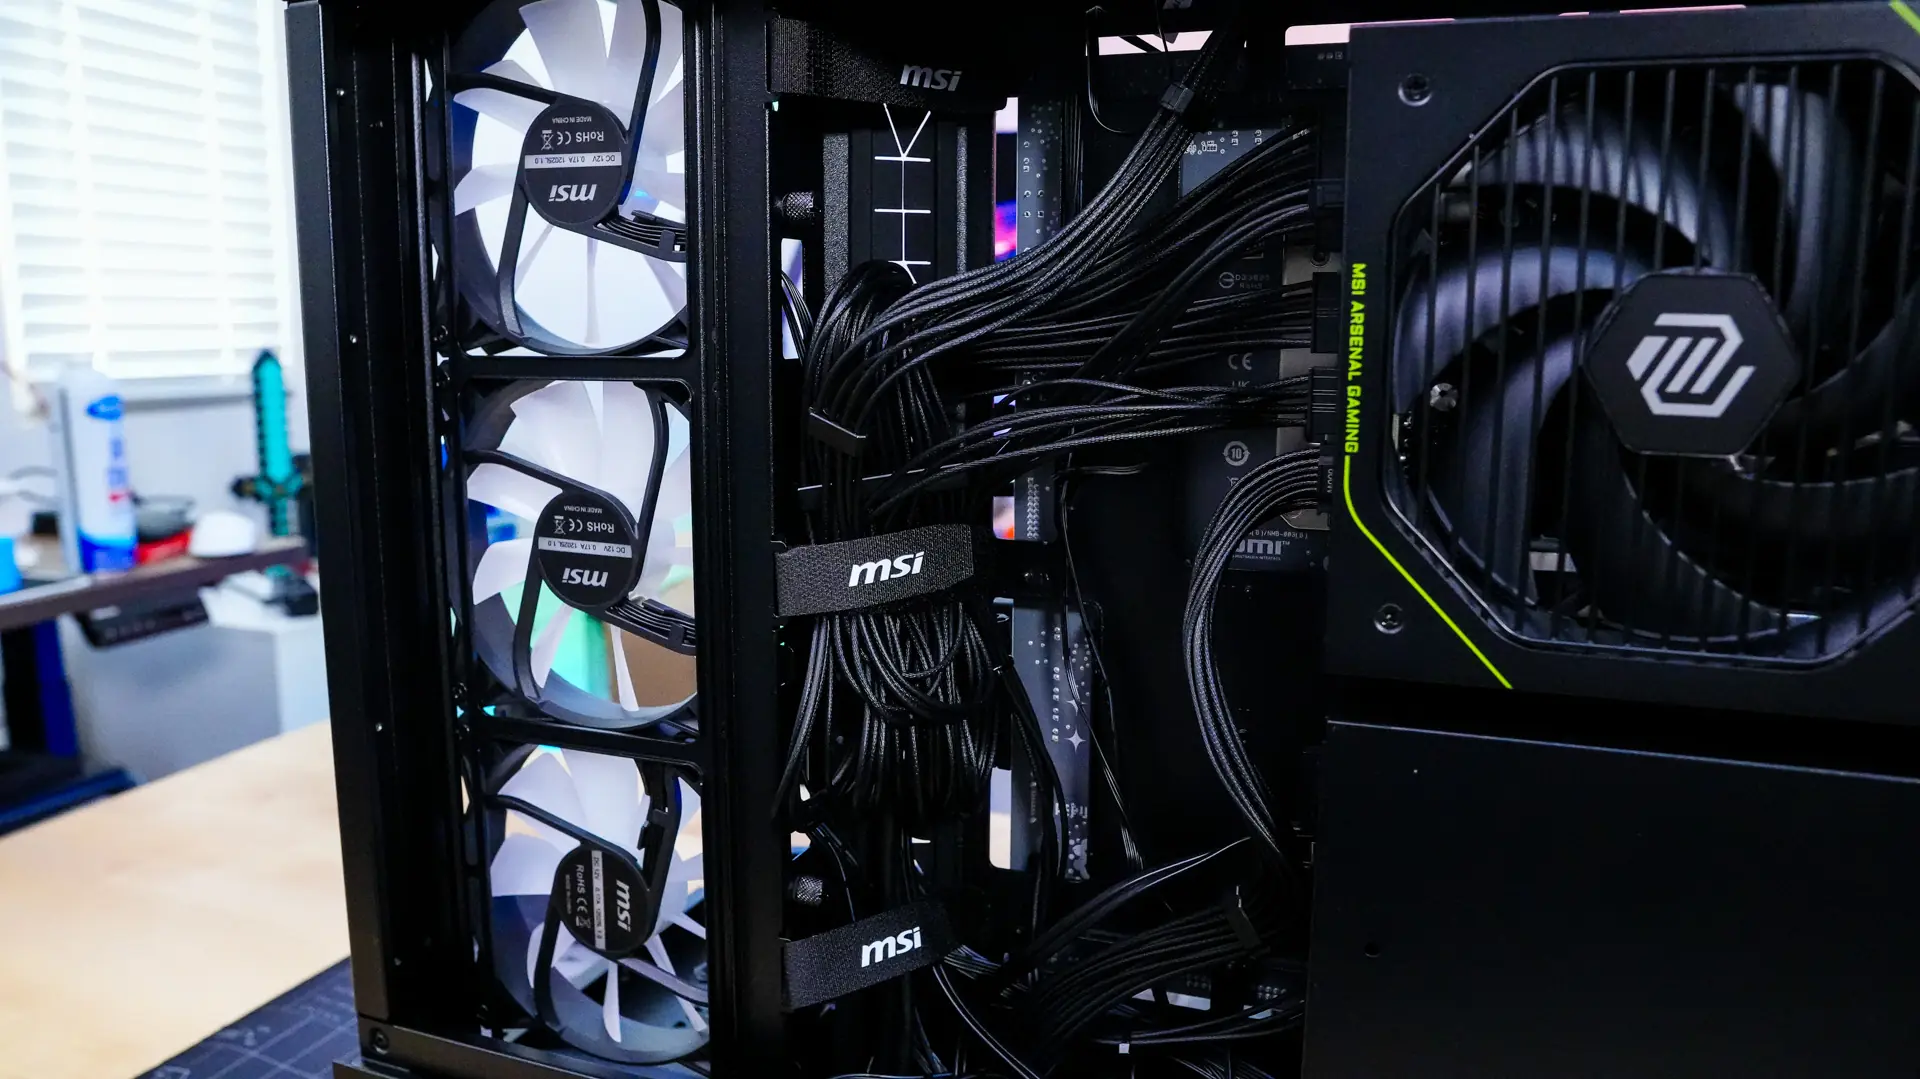
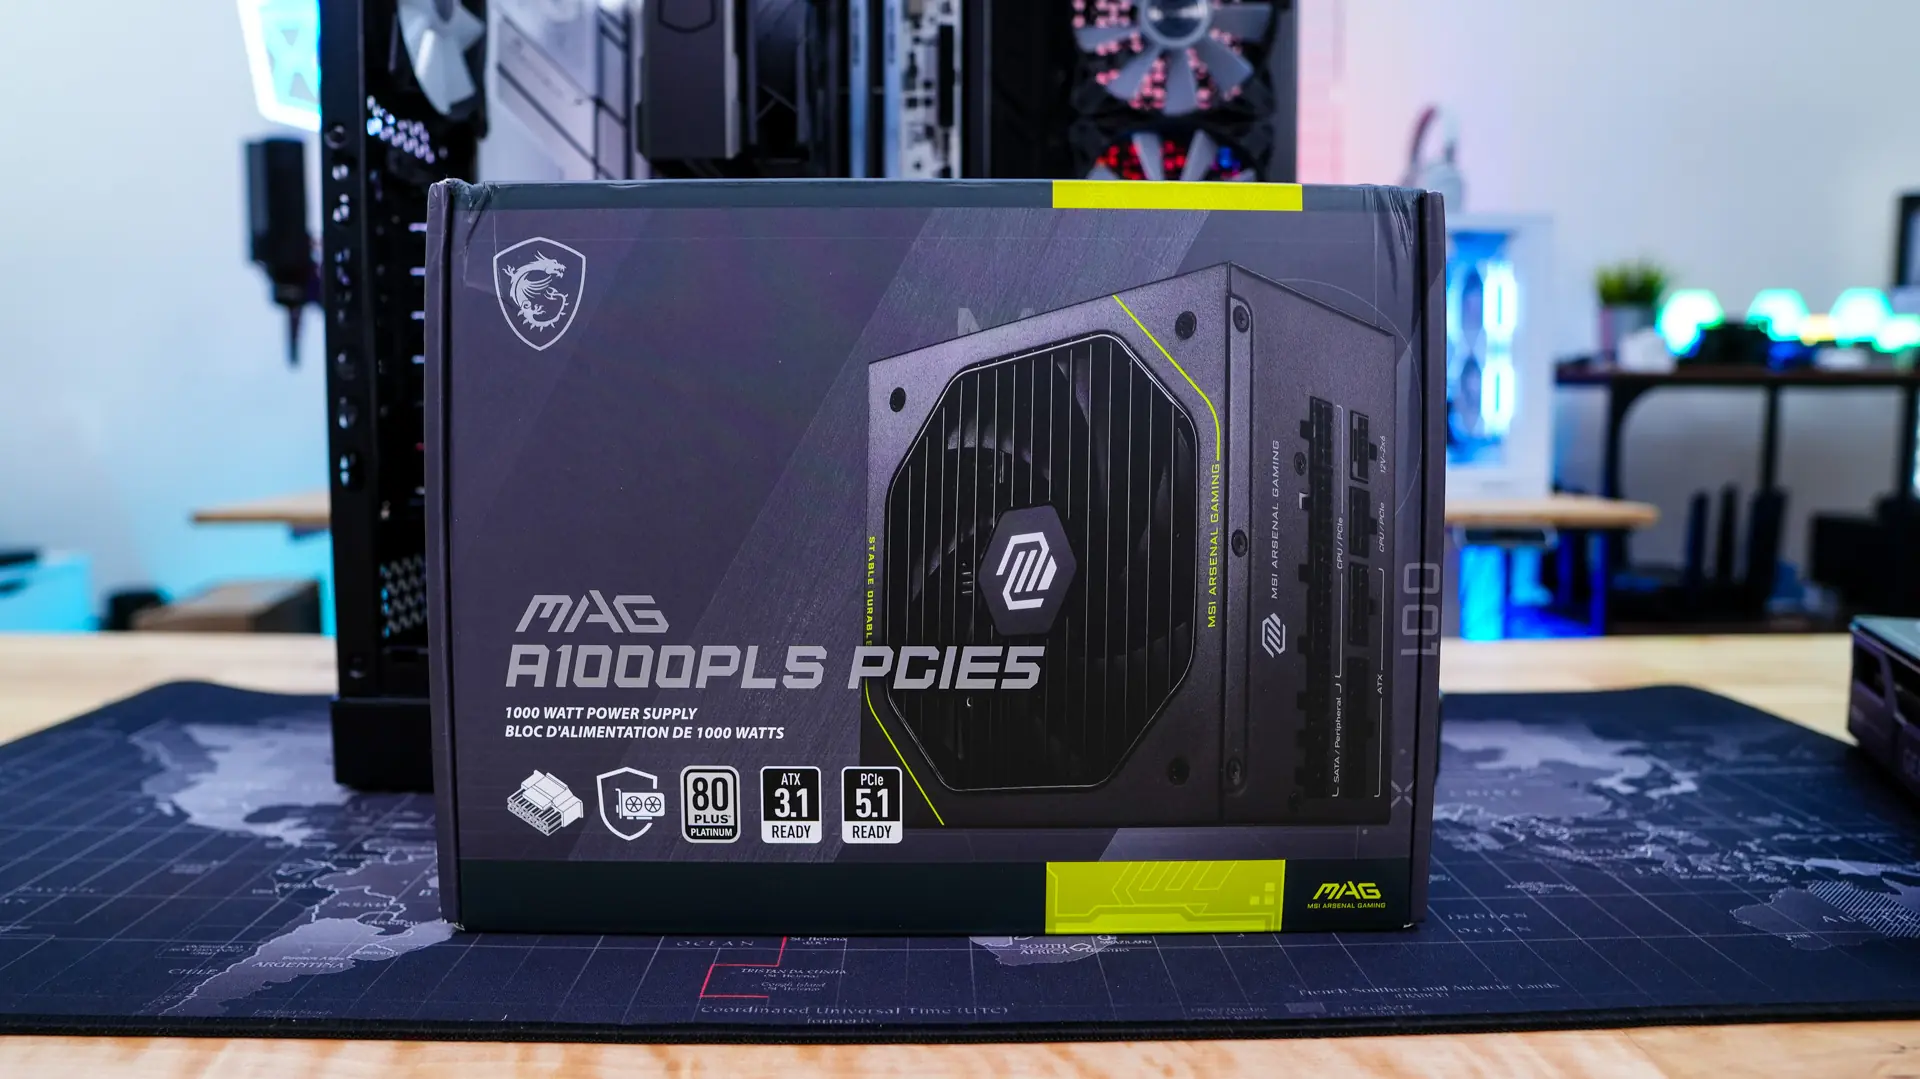
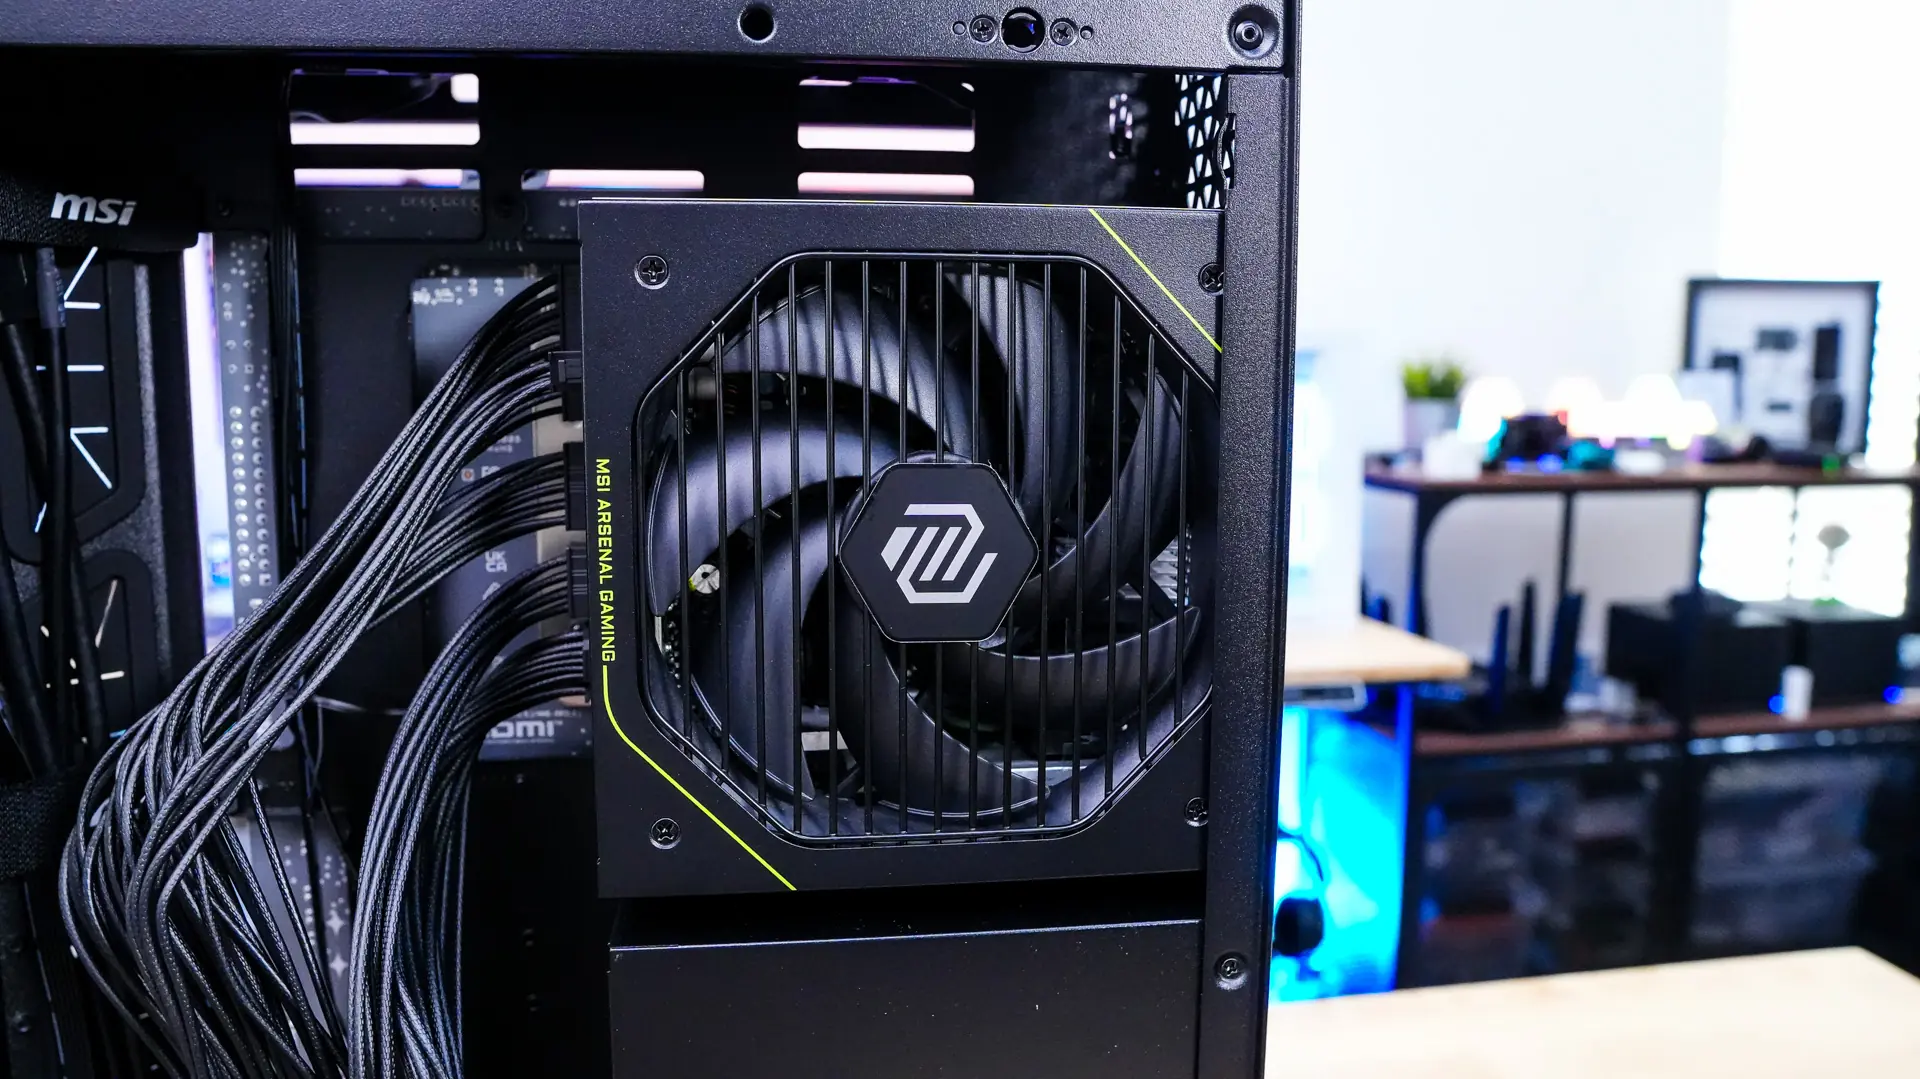
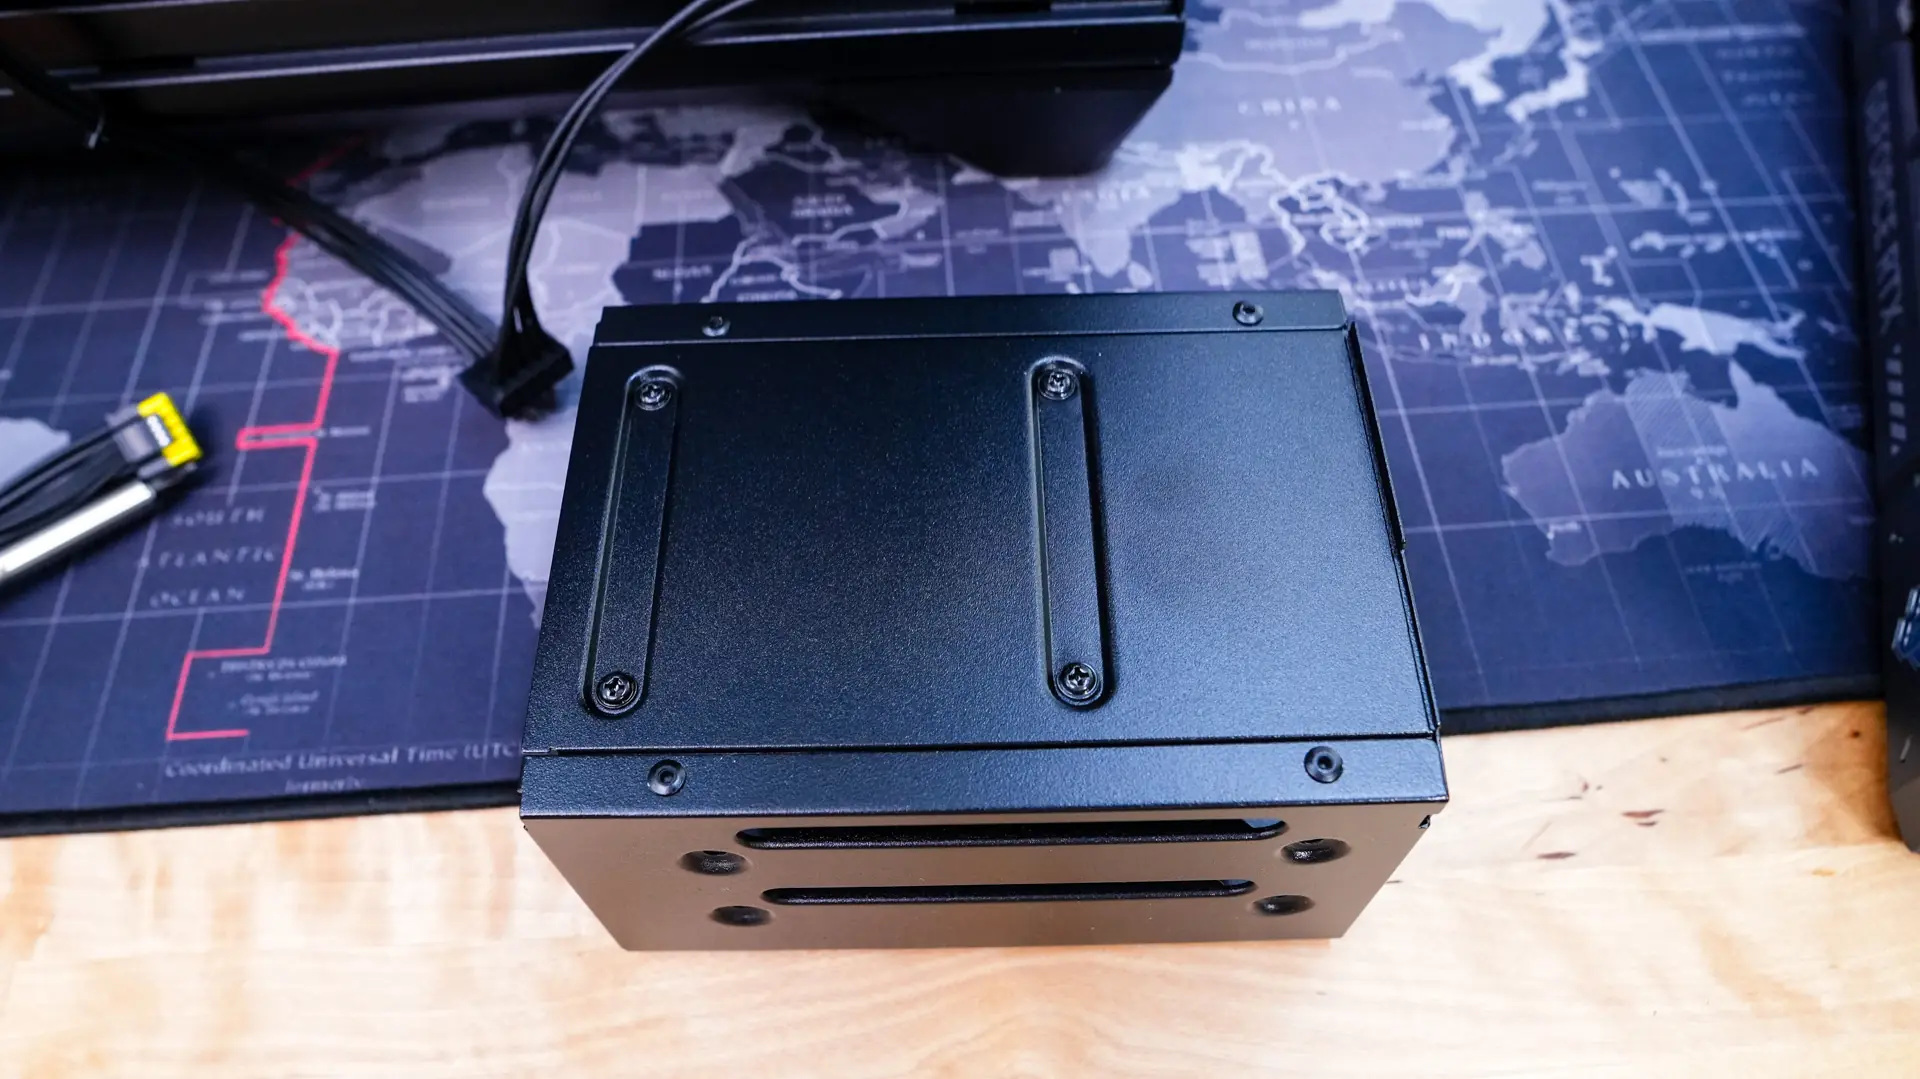
After that was our power supply and MSI was nice enough to provide us with their MAG A1000PLS PCIE5 unit. This easily slides in the back side of the case and you just secure it with four screws.
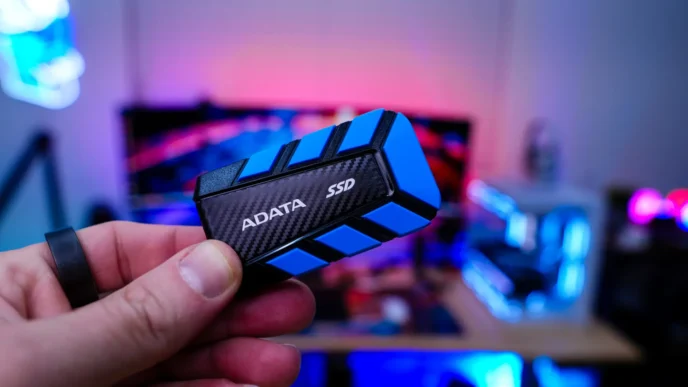
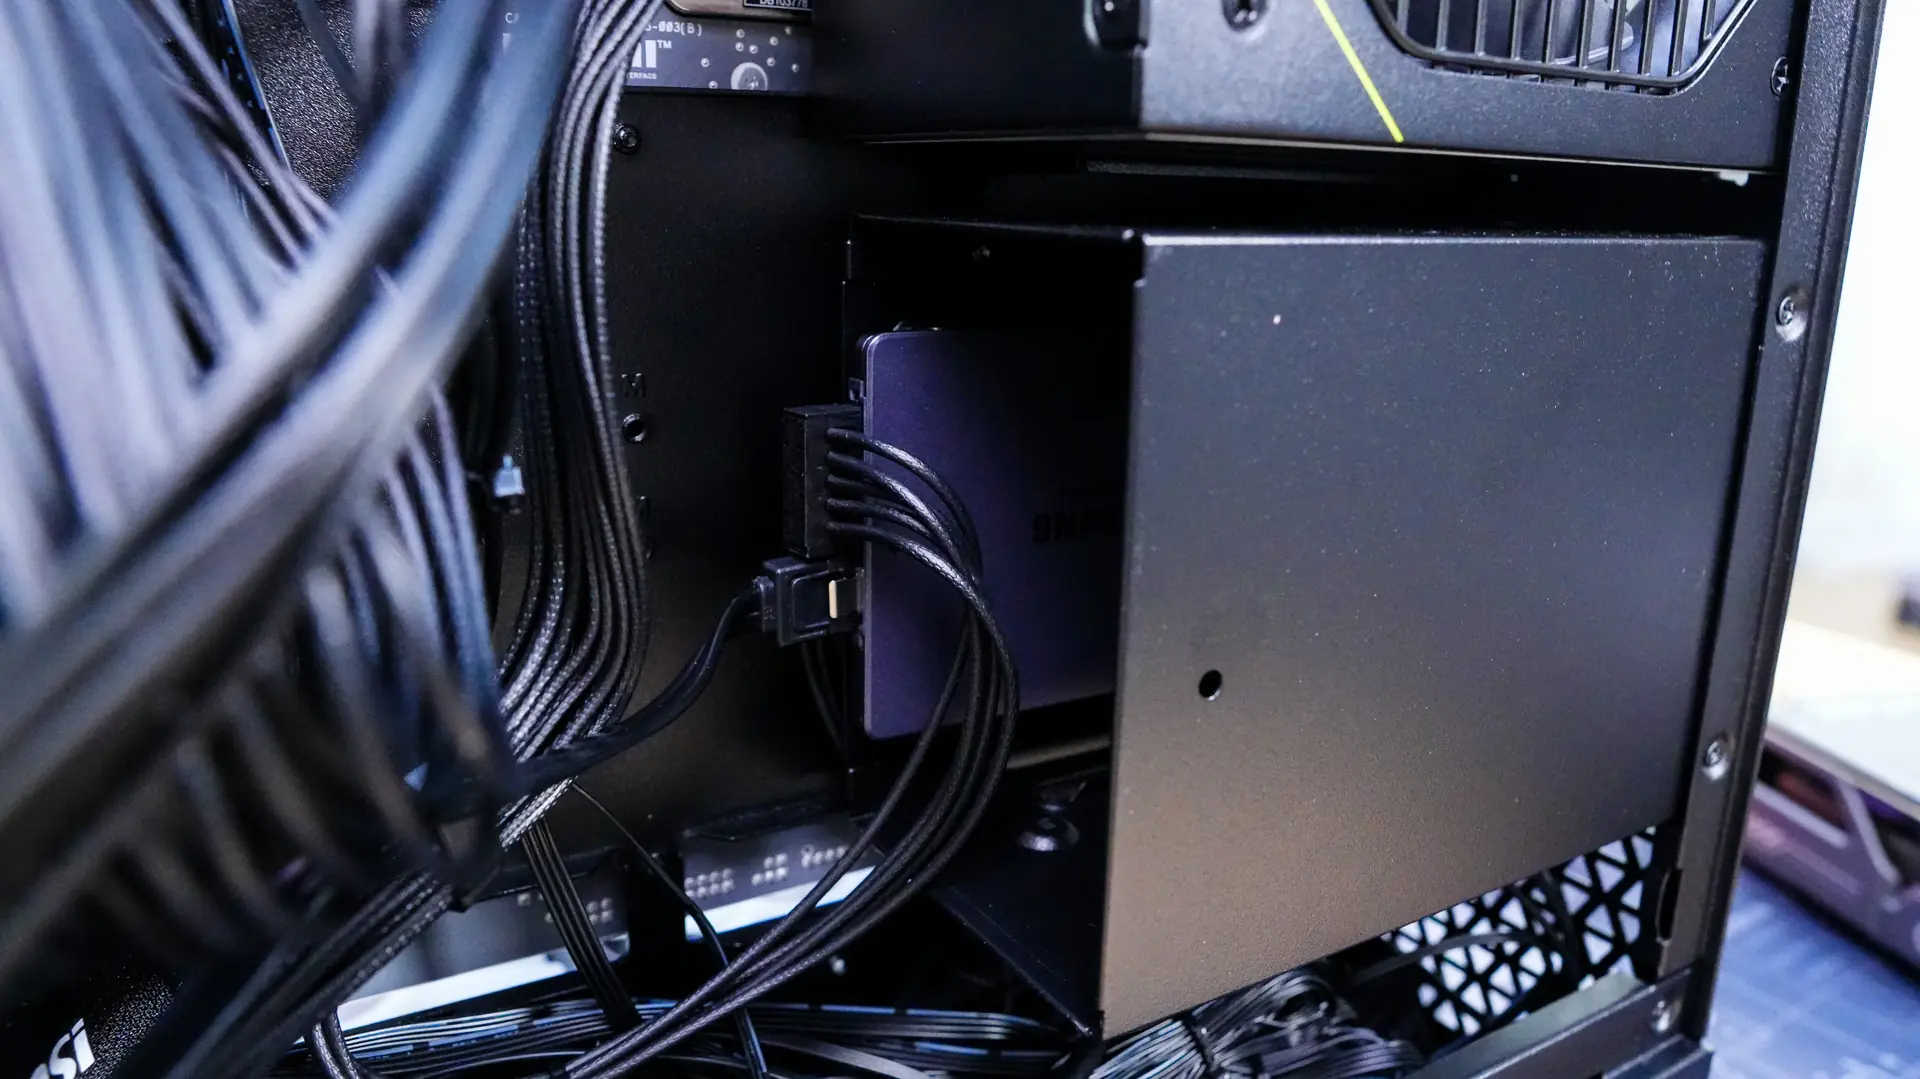
Since we are on the backside of the case let’s install our hard drive. You have to fully remove the hard drive cage to install your drives, so that is 4 screws. Once removed we can pretty easily install our 2.5-inch drive and then re-install the hard drive cage.
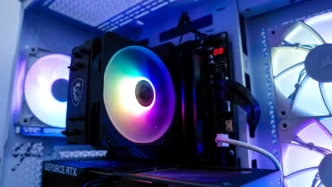
Moving back over to the other side of the case it is time to install our graphics card. MSI has designed the case so you’ll need a long screwdriver to complete this installation as there are holes in the side of the case for the screwdriver to fit through. Interestingly enough the LTT Screwdriver did not fit, but one I had from a CPU cooler did.
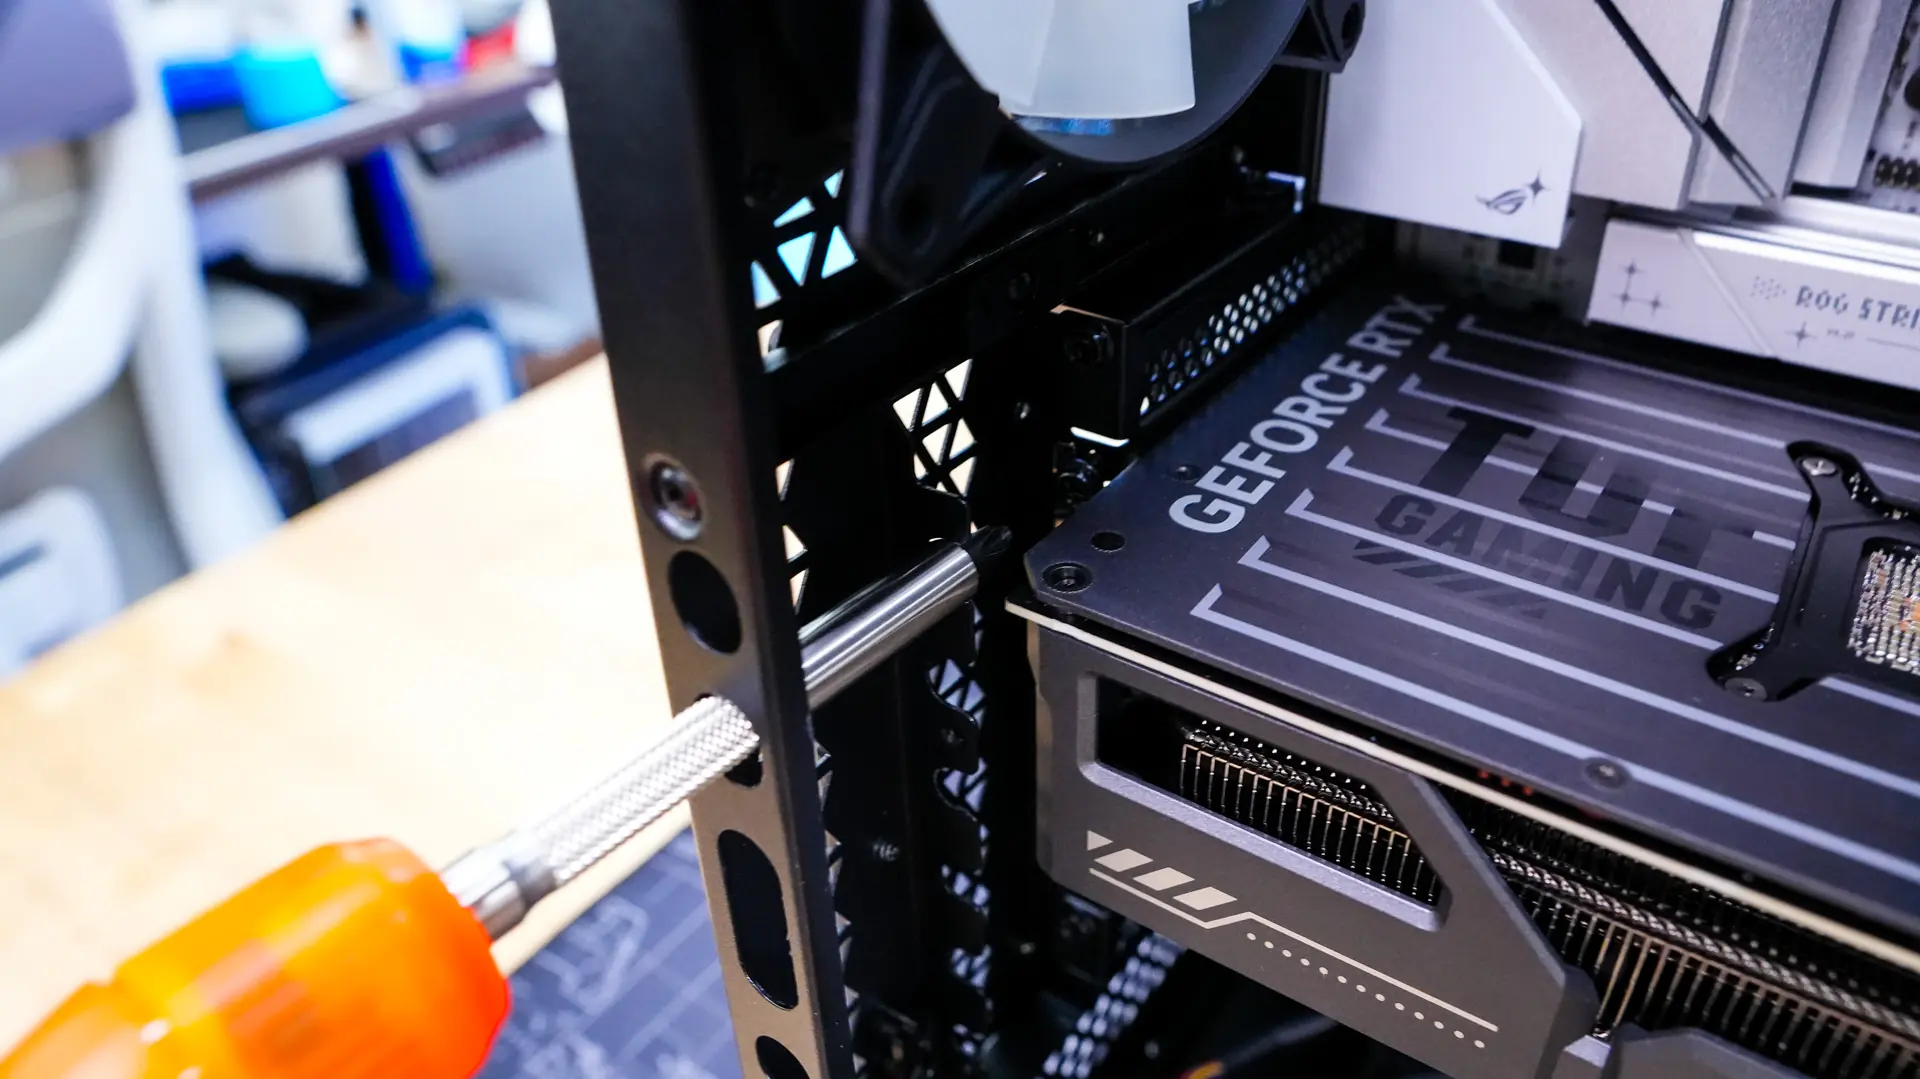
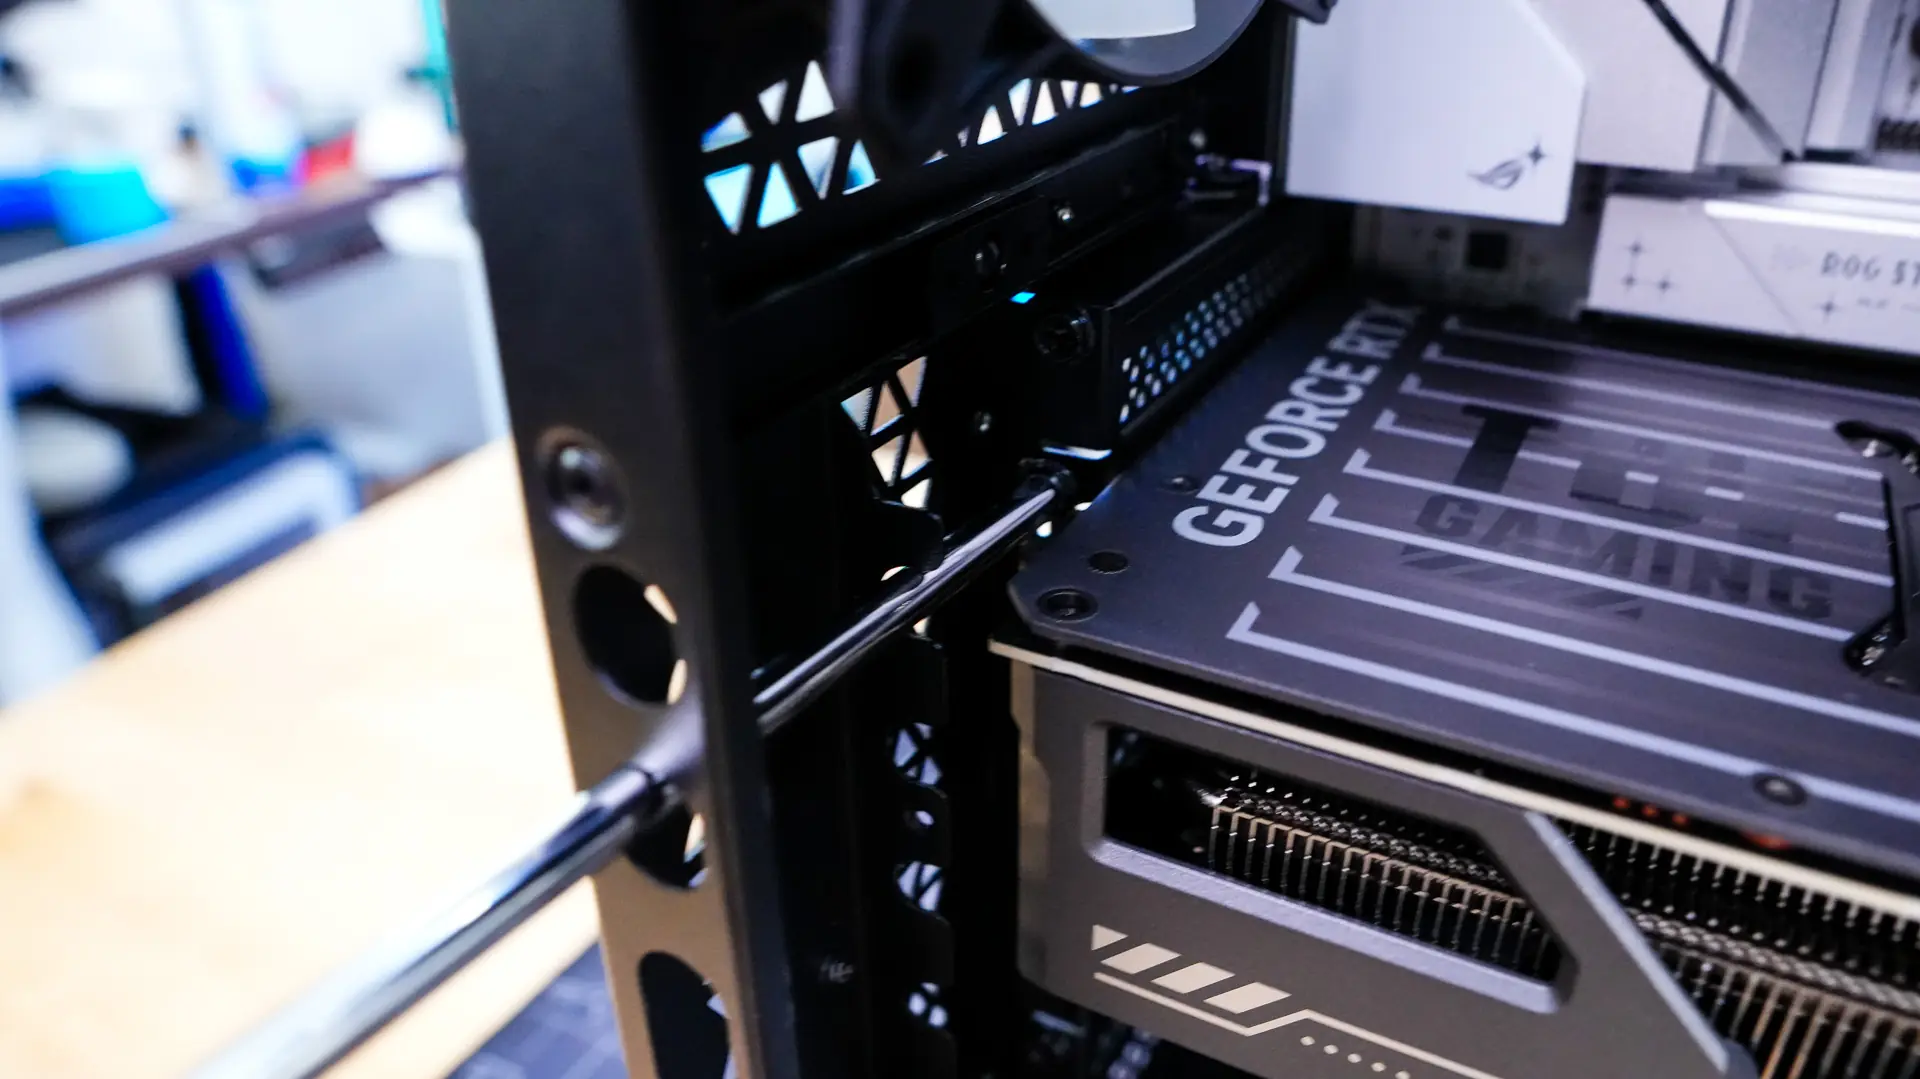
Again, with plenty of room our graphics card went in no problem.

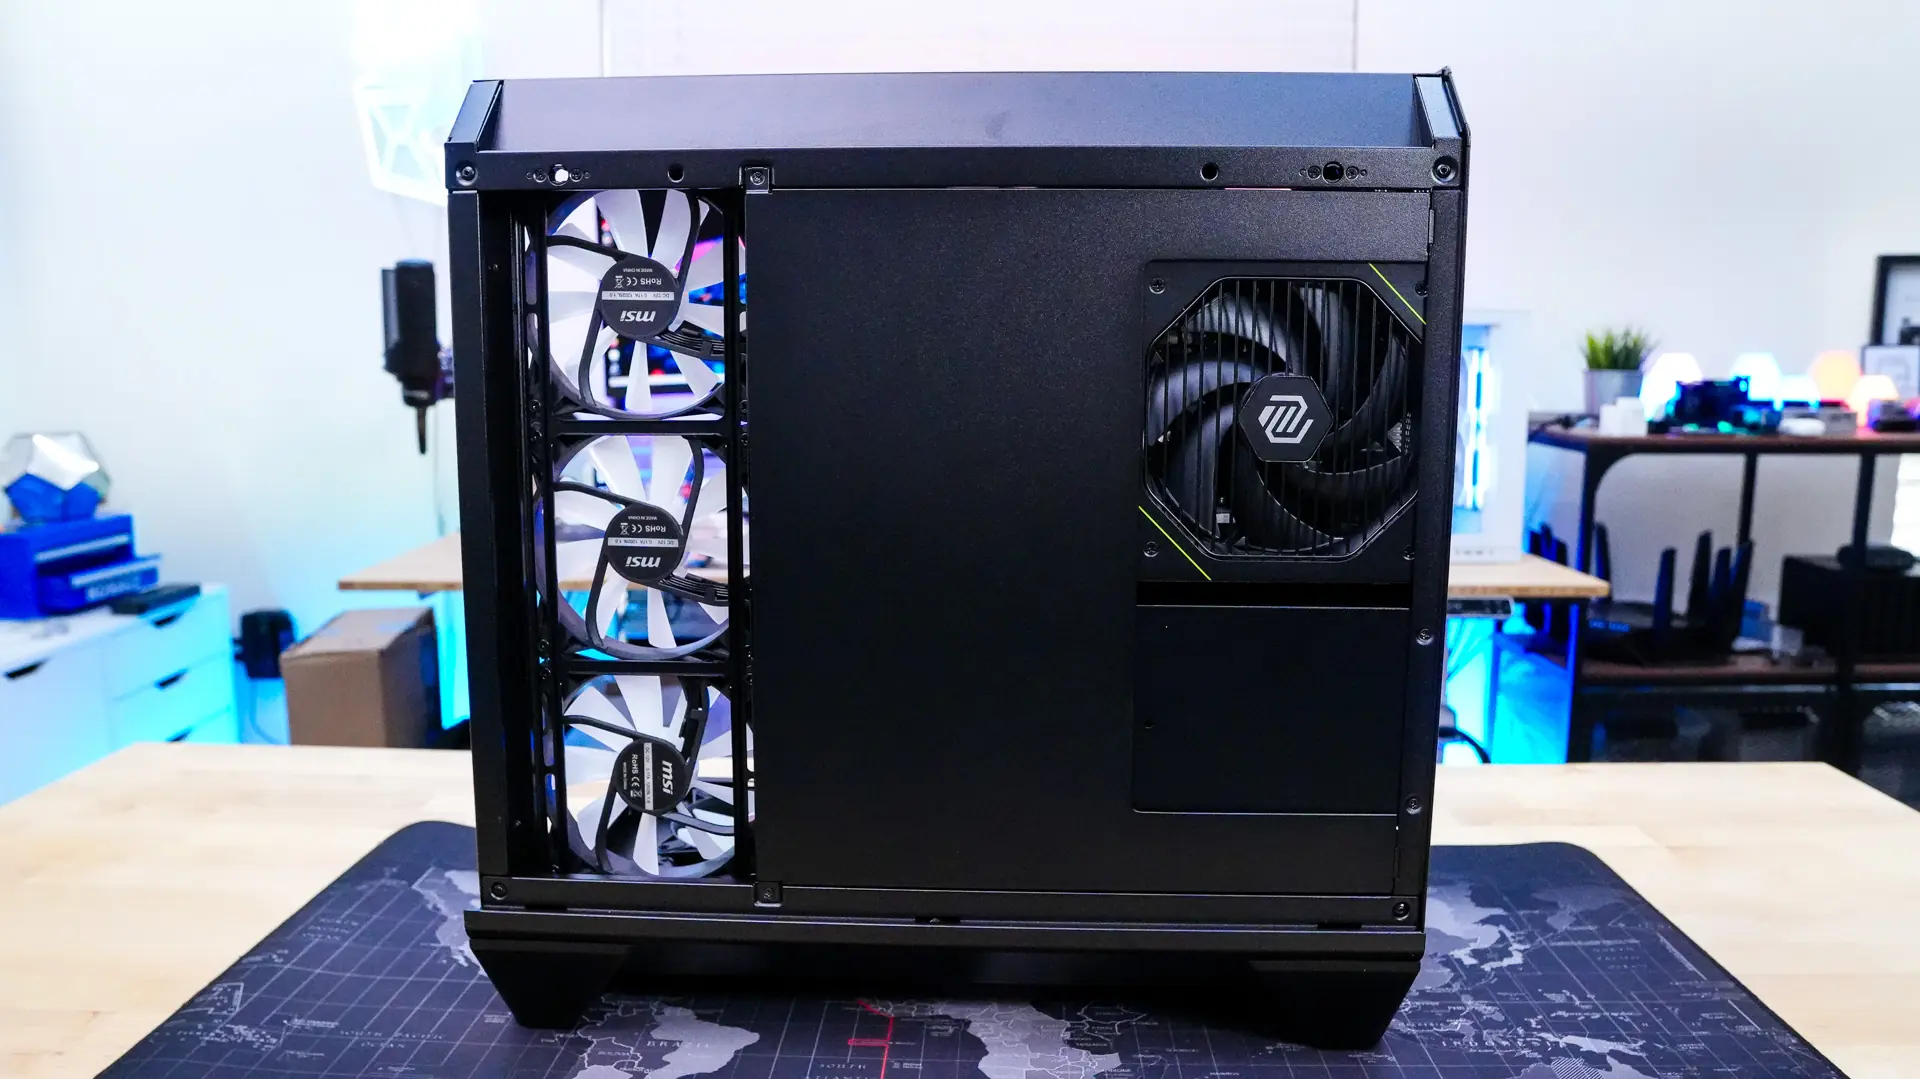
With everything installed it is time to wire it all up and clean the cables up a bit. The included Velcro ties on the backside of the case make it really easy to group your cables together for a clean look. Also be sure to reinstall the panel on the backside of the case. The main side of the case is extremely clean as well.